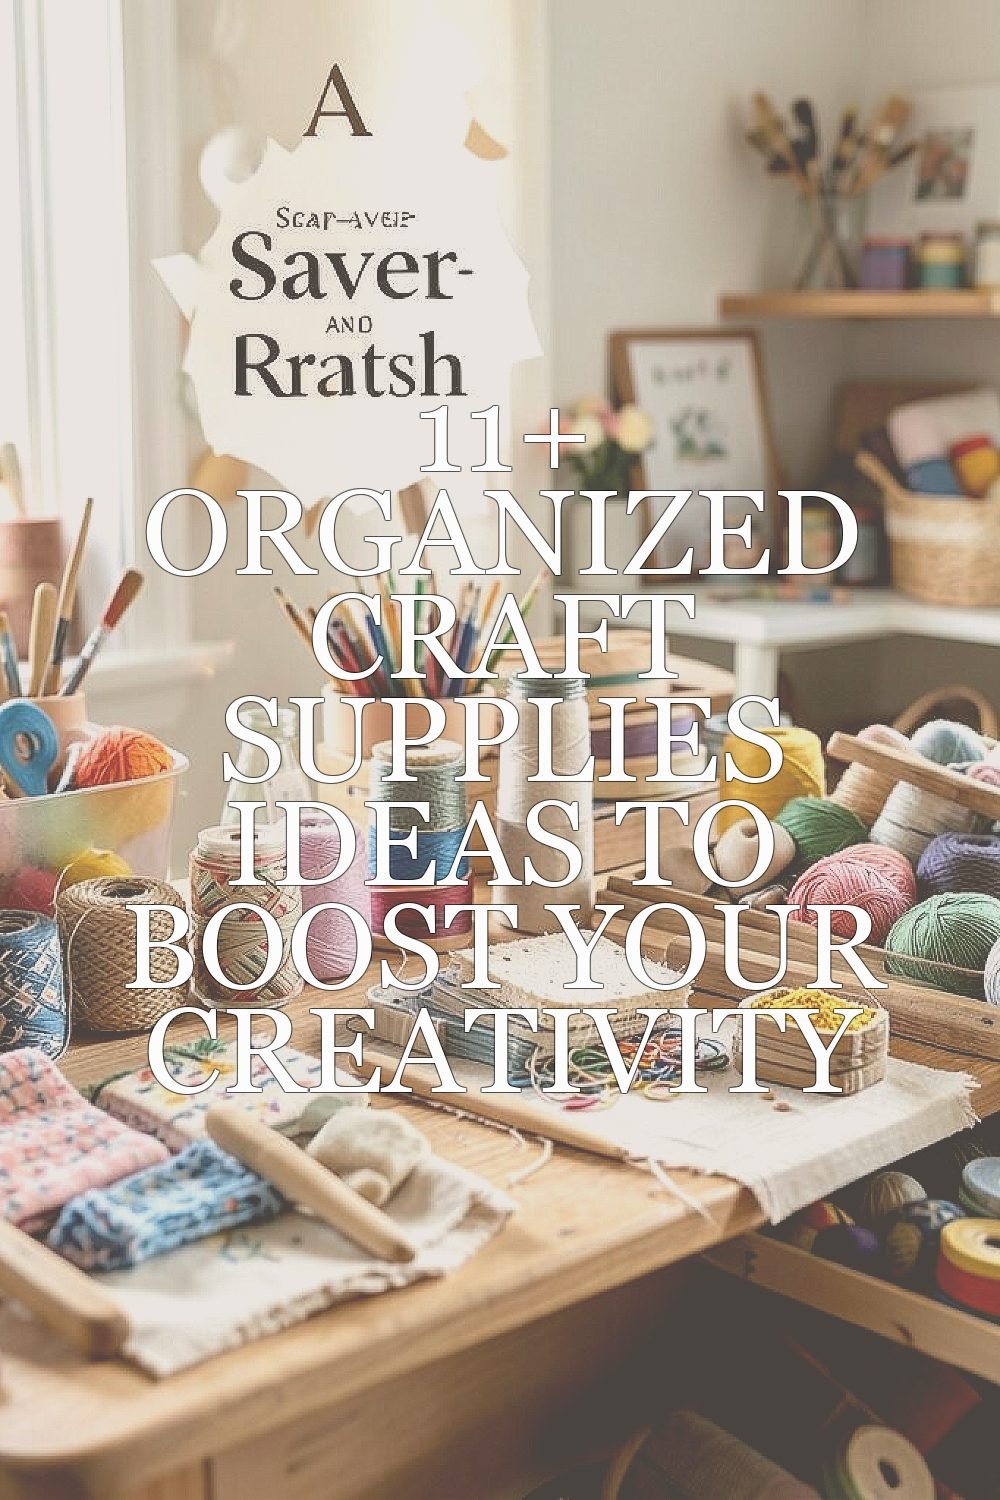
Your craft room can feel like a friendly studio instead of a messy hallway. With the right organization, ideas show up faster and stay longer.
1. Numbered Label System for Instant Findability

Start by giving your most-used supplies a clear label and a number. When you can find things in seconds, you spend more time making and less time searching.
Choose labels that match your style, like matte black for a clean look or colorful stickers for a playful feel. Keep the numbers visible but not distracting, and group items by type so your brain learns the pattern. For best results, label containers, drawers, and even common refills like glue sticks and tape rolls.
2. Modular Storage Bins for Quick Swaps
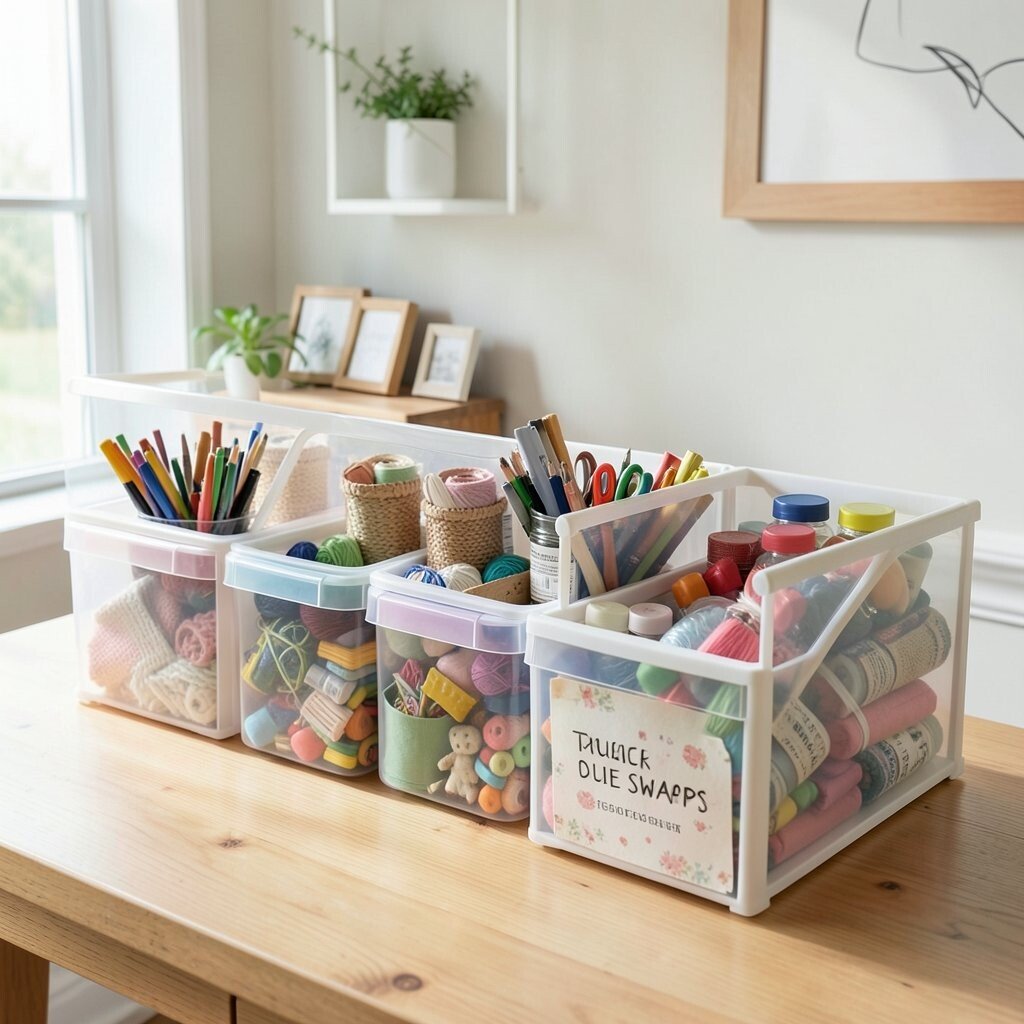
Use modular bins so you can rearrange your space without starting over. Clear front bins help you see what you own at a glance, and that makes planning projects easier.
Mix sizes for small pieces like beads, paper clips, and thread spools, then keep bigger bins for sketchbooks or rolls of ribbon. When you need to switch from paper crafts to sewing tasks, you can pull the right bin and set it on your work surface. Many crafters are choosing stackable drawer sets right now because they save space and keep items from tipping over.
If you want to personalize, tint the labels to match each bin’s category, like pastel for journaling items and bright colors for painting supplies. A practical trick is to keep one bin “for tomorrow,” where you place tools you might need soon. This helps you avoid buying duplicates when you realize you already have a thing in the wrong drawer.
3. A Scrap-Saver Station for Reuse and Rhythm
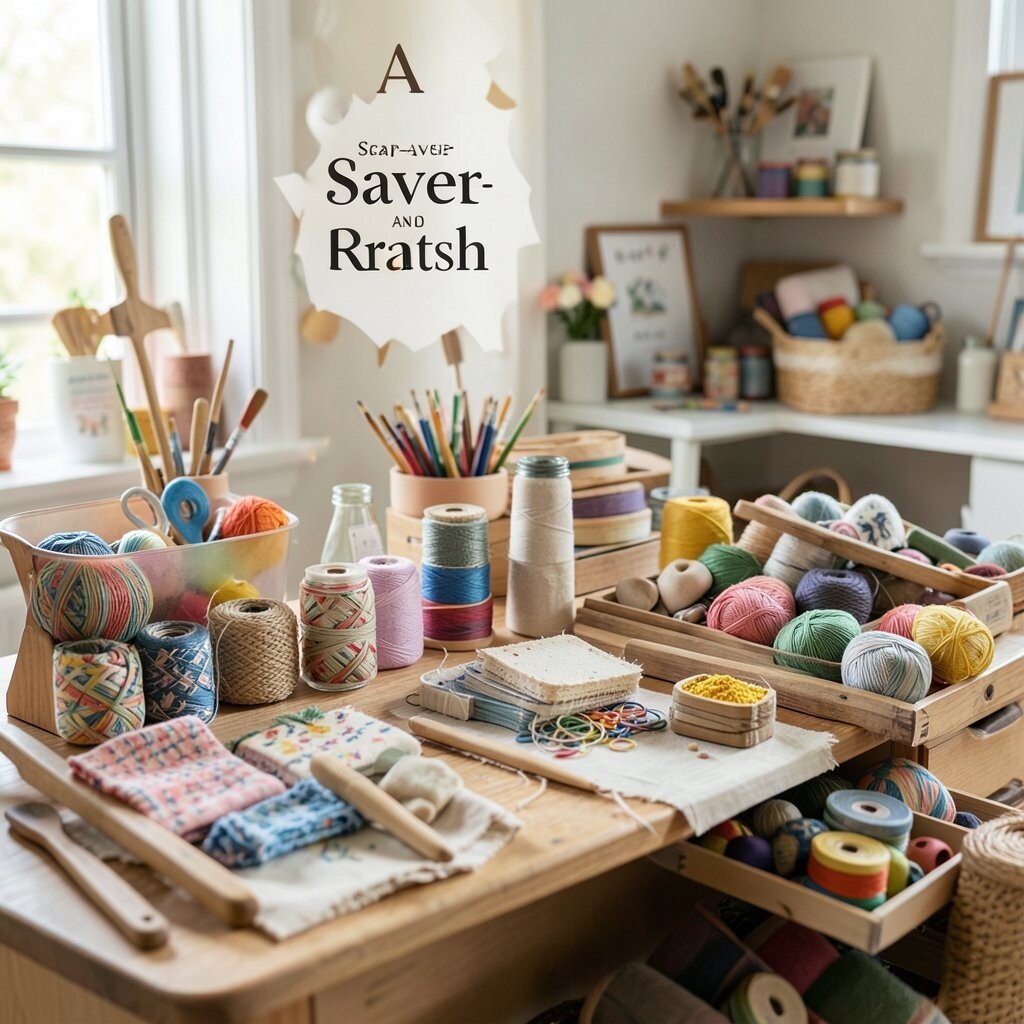
Make a dedicated spot for scraps, and your creativity will move at a steadier pace. When you see tiny scraps waiting for a new purpose, you’ll feel less pressure to finish perfectly.
Sort scraps by size or material, such as paper slips, fabric bits, yarn ends, and ribbon fragments, then keep them in shallow trays. The visual pleasure of a tidy scrap station is real, because your work area looks lively instead of empty. Try setting up a small basket where you toss in scraps during the week, then use your organized pile for quick collage sessions on busy days.
To make it personal, add a “theme lane” for seasonal colors like autumn browns or summer sea shades. This is a great way to use what you already own before purchasing new supplies. Many artists also share scrap-led ideas online, and those trends often focus on playful textures and layered shapes.
Keep scissors nearby with a simple hook or holder so cutting scraps becomes a habit. When scraps are easy to grab, you naturally test ideas faster and learn what you love.
4. Color-Coded Thread, Yarn, and Floss Management
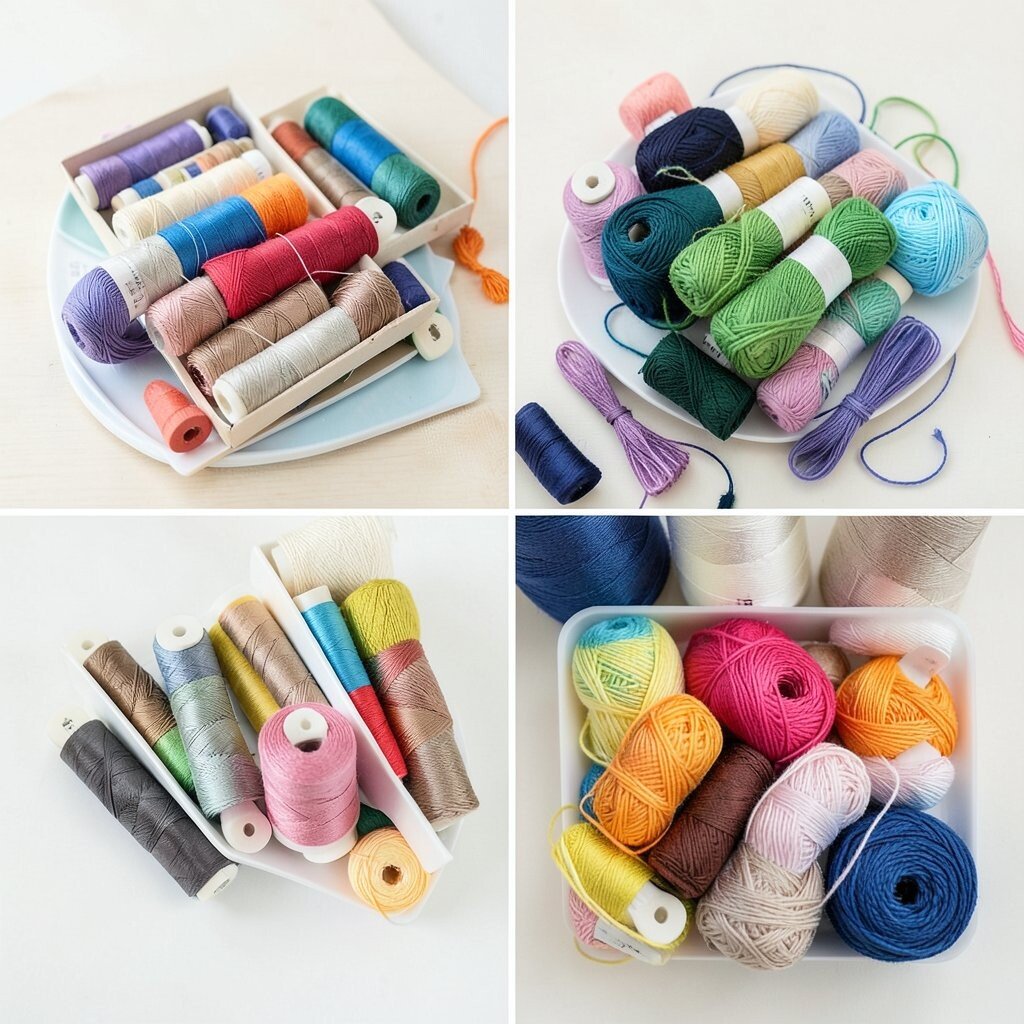
Color-coding helps you match tones without guessing, and it makes projects feel smoother. A neat system is especially helpful for knitting, embroidery, weaving, and even macramé.
Use small organizers with separate compartments for each color family, then store skeins or spools in a way that shows the shade clearly. You can wind yarn into consistent skeins or keep it on labeled cards, which reduces tangles and saves time. Pair the system with a color swatch card so you can compare shades quickly when planning a design.
5. Brush and Tool Clean-Down Kit for Better Results
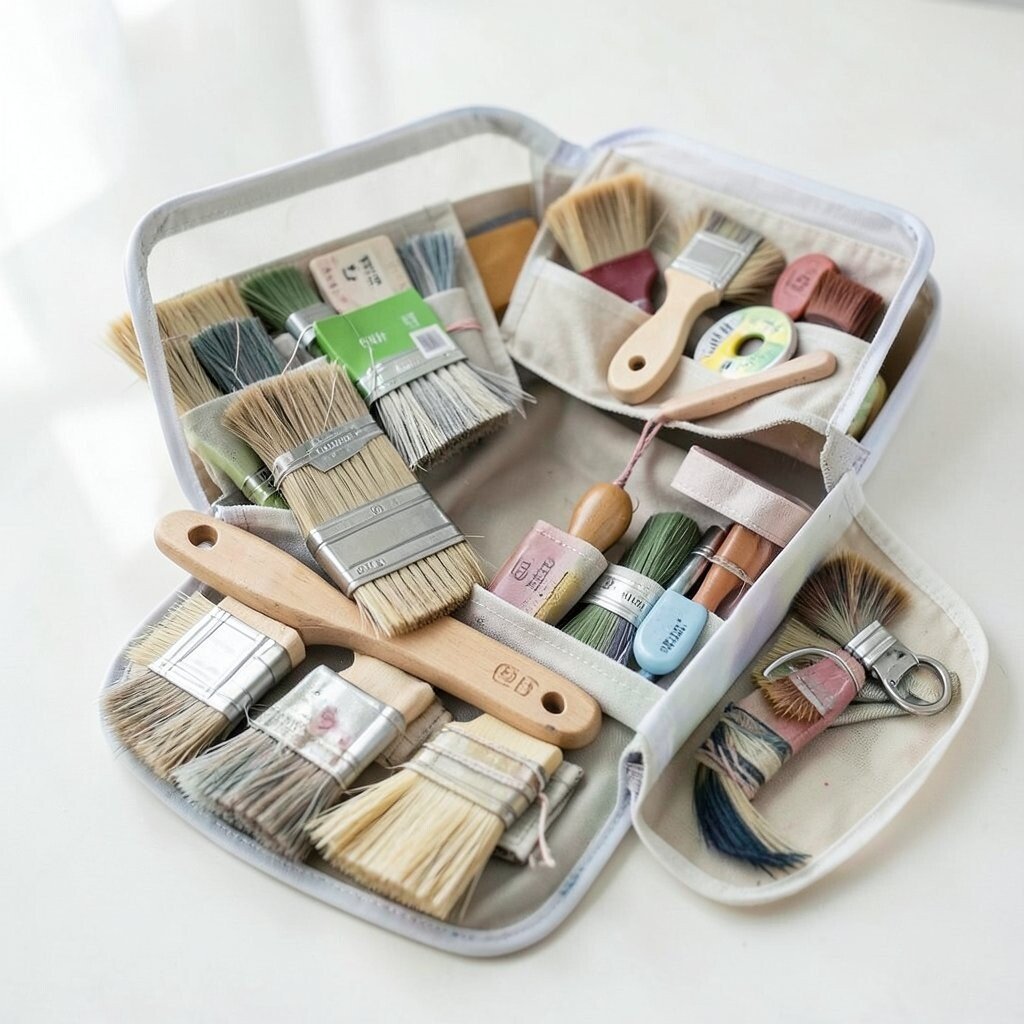
Set up a small clean-down area with the tools you need right next to your workstation. When brushes, stamps, and cutting tools stay cleaner, your finished work looks sharper.
Keep a jar for rinsing, a container for drying, and a simple cloth or paper towel roll within arm’s reach. For small paint brushes, use a brush holder that prevents bristles from bending, which keeps them performing well. This kind of organization also reduces waste because fewer tools get ruined by dried residue.
To personalize, decorate the container with the kinds of colors you love painting with, or add a tiny painted mark that matches each medium. For cost consideration, you can start with one multipurpose jar and one drying rack before buying specialty organizers. Many crafters now use minimal brush guards and reusable cloths to cut down on disposable supplies.
6. Paper Organization by Weight, Size, and Mood
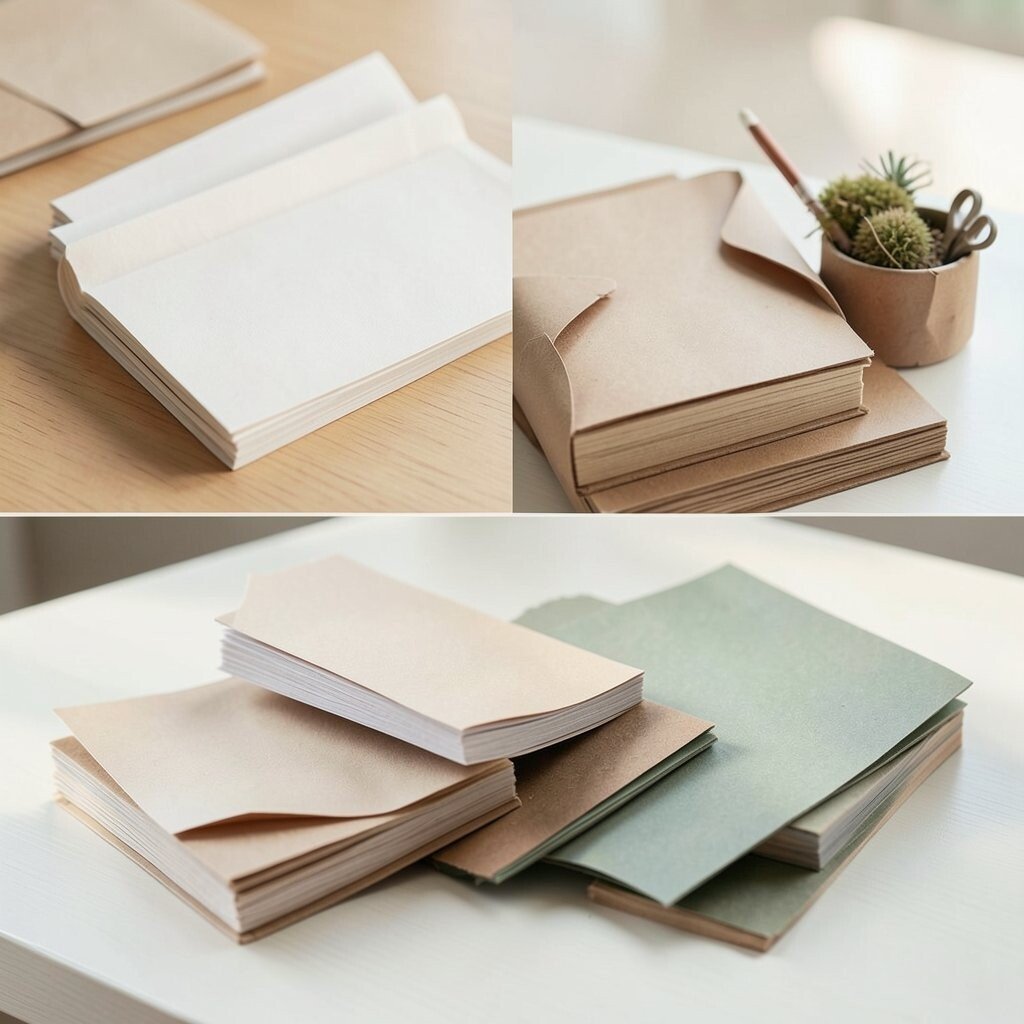
Sort paper like you sort clothes, by how heavy it feels and what it’s best for. When your paper is organized, you can pick the perfect sheet for cards, collages, and art journaling.
Store paper in stacks by size and then label the sections by weight or texture, such as cardstock, sketch paper, watercolor paper, and patterned sheets. A slightly visible divider makes it easier to flip through without messy piles. Try keeping your “mood” papers together, like bright backgrounds, soft neutrals, and dramatic darks, so your creativity keeps flowing.
7. Ink, Marker, and Pen Caps That Stay Put
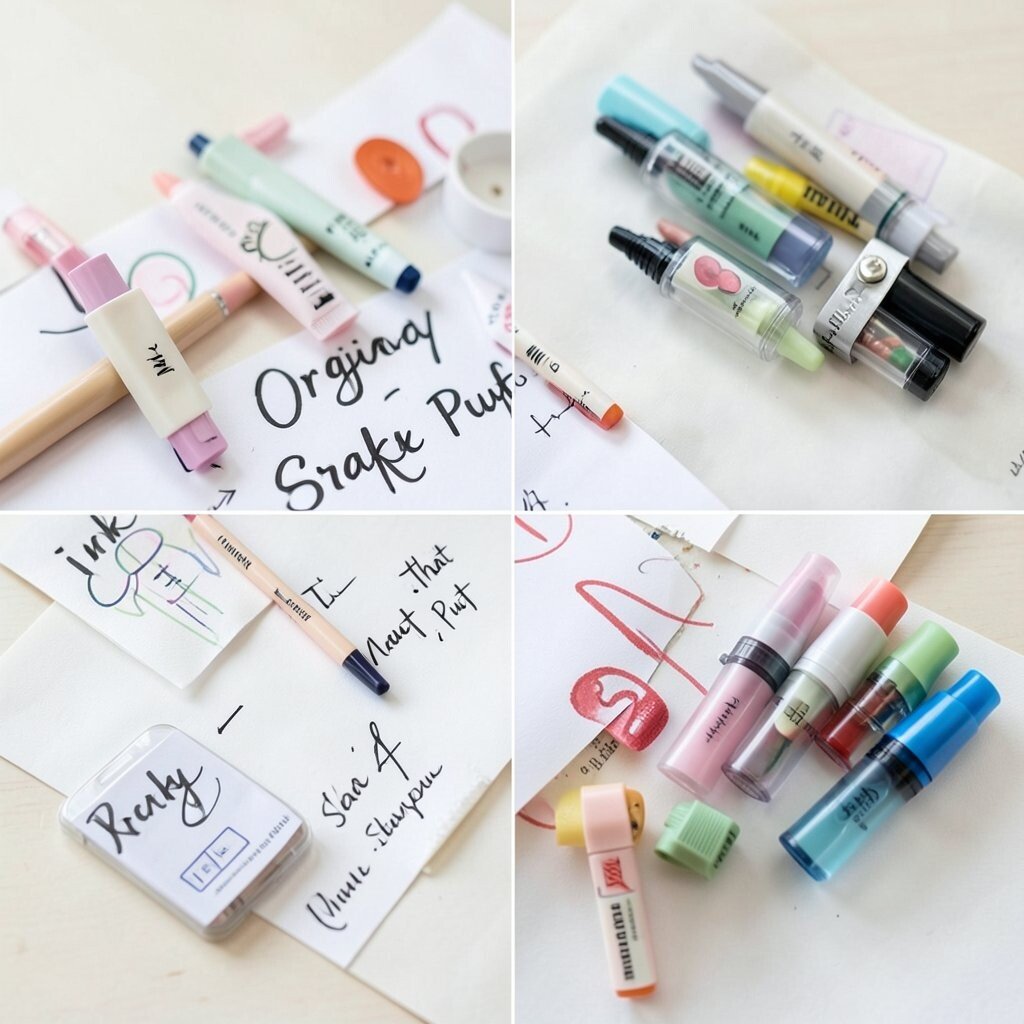
Markers and pens are tiny tools, but they cause big messes when caps vanish. Keep them organized so you can grab a color and keep working without worry.
Use a holder that keeps caps secure and stores markers upright, then group them by type so you don’t mix permanent ink with water-based pens. For an extra helpful touch, place a color strip on the front of the organizer so you can spot shades quickly. Many people are using magnetic strips and slim cases right now because they keep markers off desks and reduce clutter.
Personalize by arranging your set in a palette order, like warm to cool, so your brain sees color relationships. If you’re cost-conscious, prioritize your most-used colors in one easy-access tray and store rarely used shades in a deeper drawer. That way, you stop buying replacements just because the right marker is hard to find.
A practical trick is to store spare caps or extra tips in a small labeled bag inside the same organizer.
8. Measuring Tools in a Dedicated Drawer Track
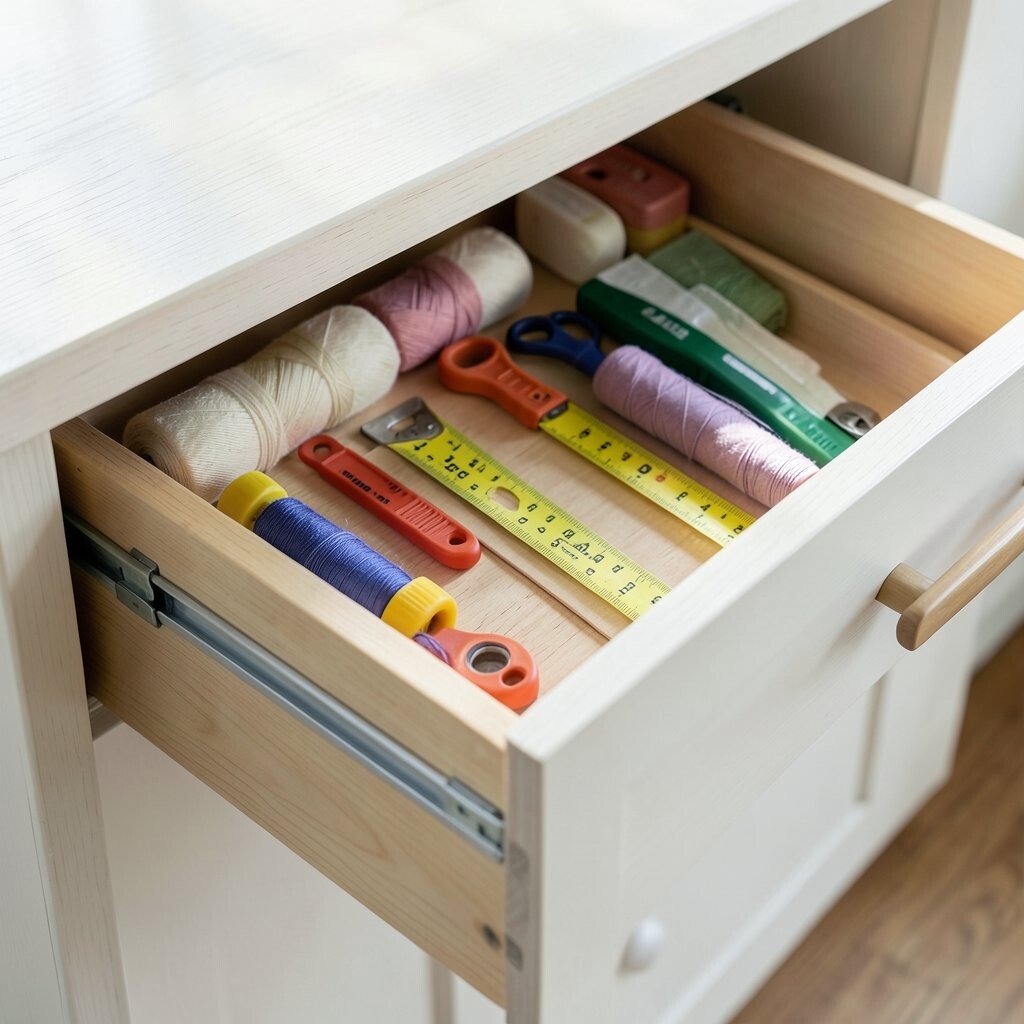
Accuracy makes art feel confident, and organization helps you measure without hesitation. When rulers, tape measures, and cutting guides share one drawer, your setup becomes faster each time.
Keep rulers flat and aligned, tape measures wound and secured, and cutting guides stored vertically or in a protective sleeve. Add a simple system for small measuring tools like circles templates or protractors, so they don’t scatter across the desk. This is especially useful for card making, sewing adjustments, and scrapbooking pages where tiny measurements matter.
9. Device and Template Holder for Modern Crafting
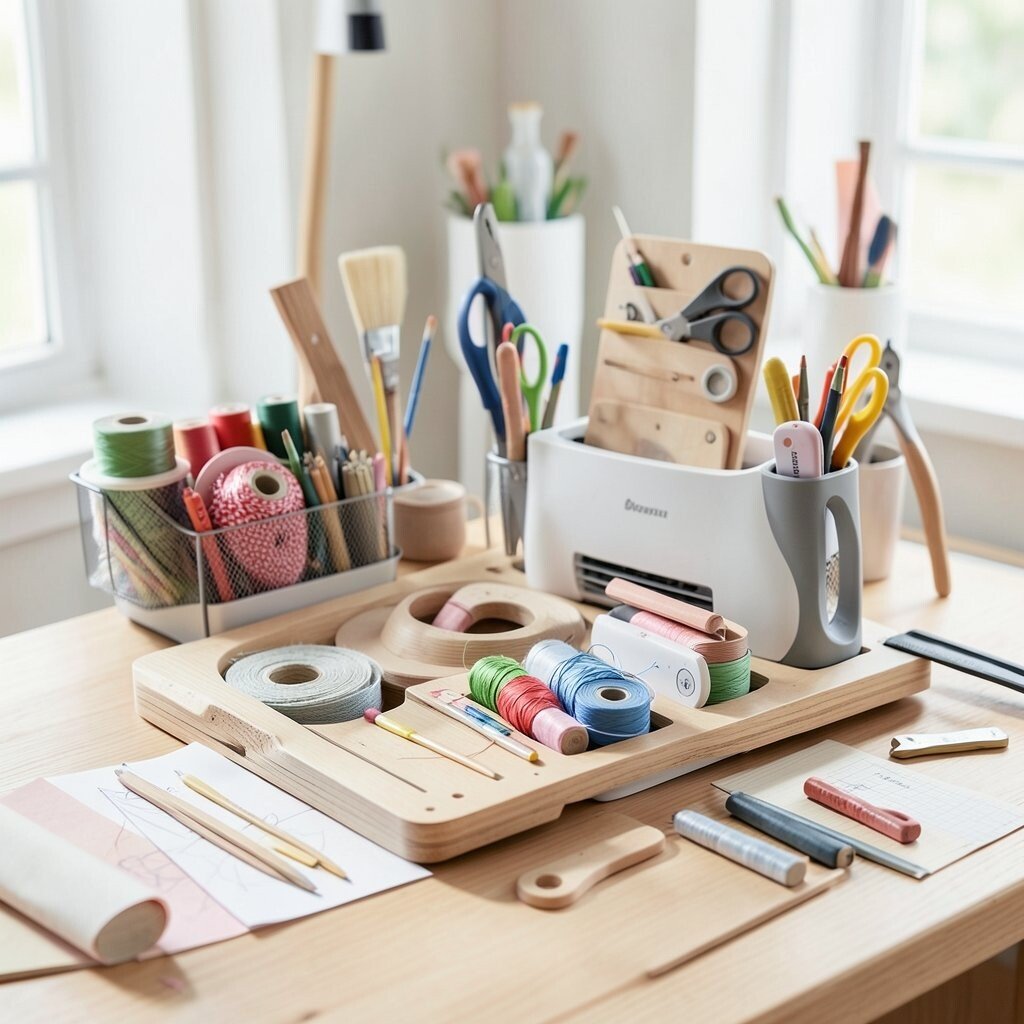
Even if you love hands-on crafting, templates and patterns often live on screens. A dedicated holder keeps devices and printed guides safe and ready at the same time.
Use a small stand or foldable holder on your workspace so you can reference a pattern while you create. Store printed templates in flat folders by project type, and keep sticky notes nearby for your own personal tweaks like “shorter strip” or “bigger border.” This setup supports current trends in maker communities where people design with digital aids and then bring the plan into physical form.
To personalize, create a “reference corner” where you place your favorite pages, like a handmade pattern index or a photo of a finished project you want to repeat. For cost considerations, you can begin with a basic clipboard stand and a few manila folders, then add sturdier pieces as you see what you use most.
10. Emergency Craft-Bag for Time-Saving Sessions
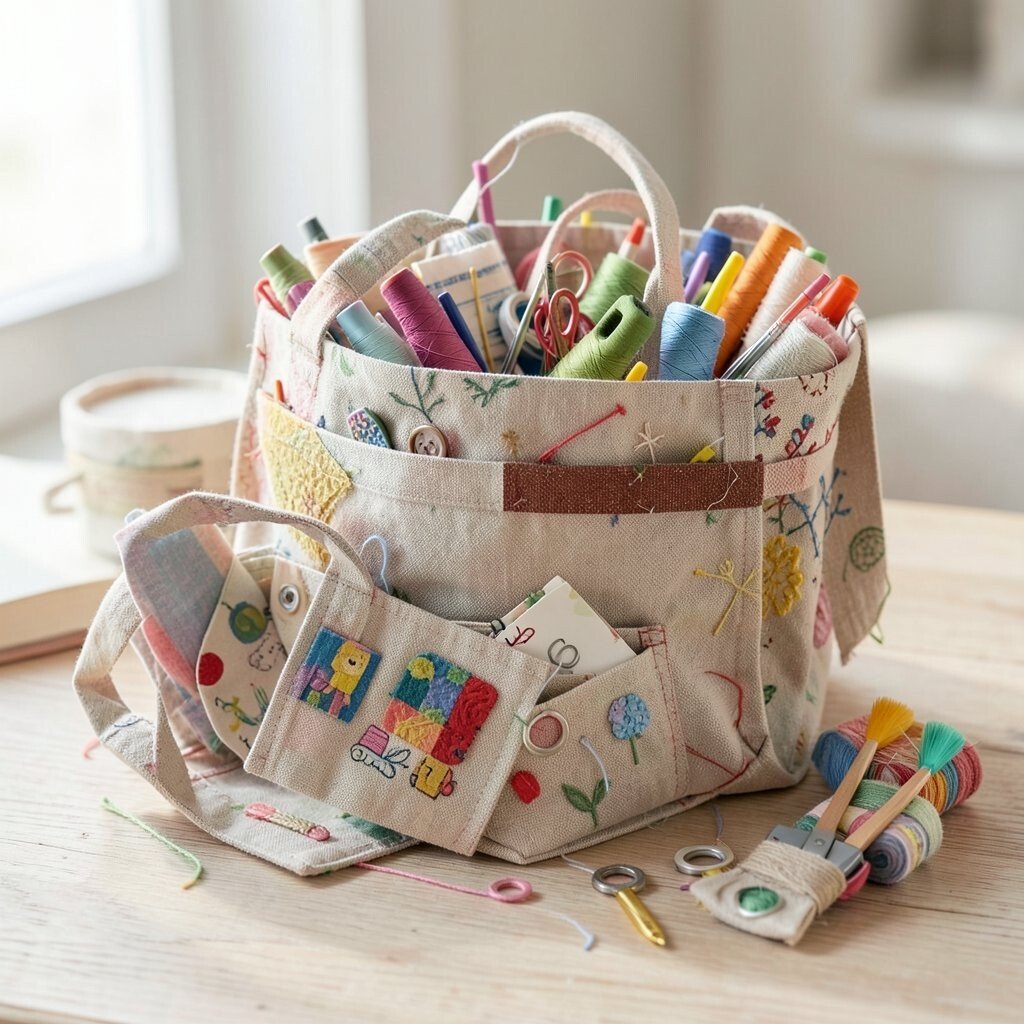
Sometimes creativity hits when you’re not ready, and an emergency craft bag fixes that. Keeping a small kit ready means you can turn spare time into a satisfying session.
Choose a bag size that fits your lifestyle, then pack essentials like scissors, a glue option, a small tape roll, a couple of pens, and a mini notebook for ideas. Add a few versatile materials such as paper scraps, a small pack of embellishments, or a ready-to-use stencil. The visual payoff is a bag that looks neat and well-prepped, so you feel excited when you open it.
To personalize, theme the bag for your life, like “kid craft,” “travel sketching,” or “weekend card making.” This helps you avoid overbuying because you learn which tools truly work for quick projects. Many makers like these grab-and-go kits now because they make creative habits easier on busy schedules.
When supplies are in one bag, you’ll also spend less time rummaging through drawers.
11. Project Folders for Clean Work-in-Progress Tracking
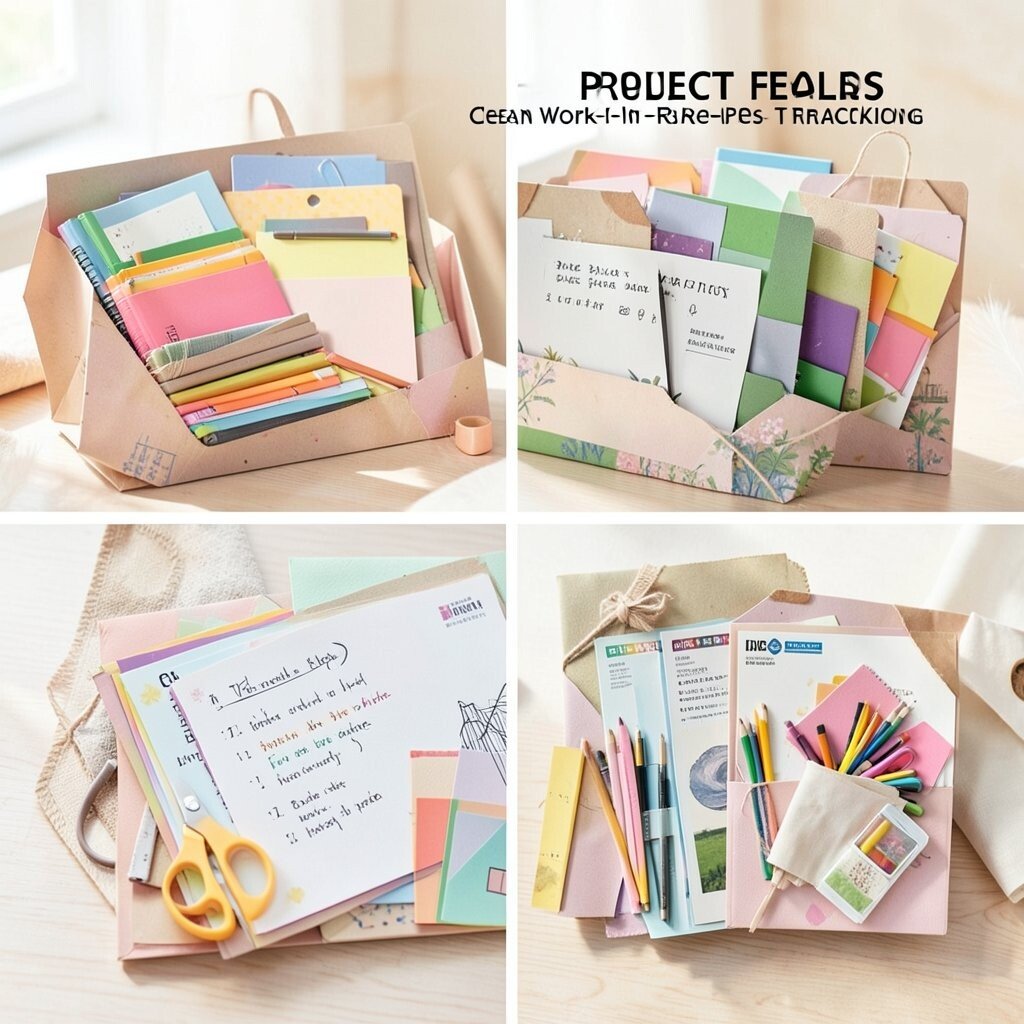
Keeping each project together prevents the sad feeling of lost progress. A folder system makes your craft work-in-progress look organized and intentional.
Use folders or envelopes for each project, and label them with the project name and date. Store all matching paper pieces, instructions, photos, and notes inside so you don’t have to remember where you left off. If you like visual cues, slide a small picture of the finished idea onto the front so the folder feels inspiring.
Personalize by adding color-coded tabs based on project type, like painting, sewing, or paper crafting. For cost considerations, folders are usually low-cost, and you can start with what you already have like recycled file folders. Current trends in creative planning often highlight process records, and a folder can become your mini archive of what you tried.
A practical tip is to include a tiny pocket for leftover stickers and tiny embellishments from that same project.
12. A Personal Supply Audit to Prevent Duplicate Purchases
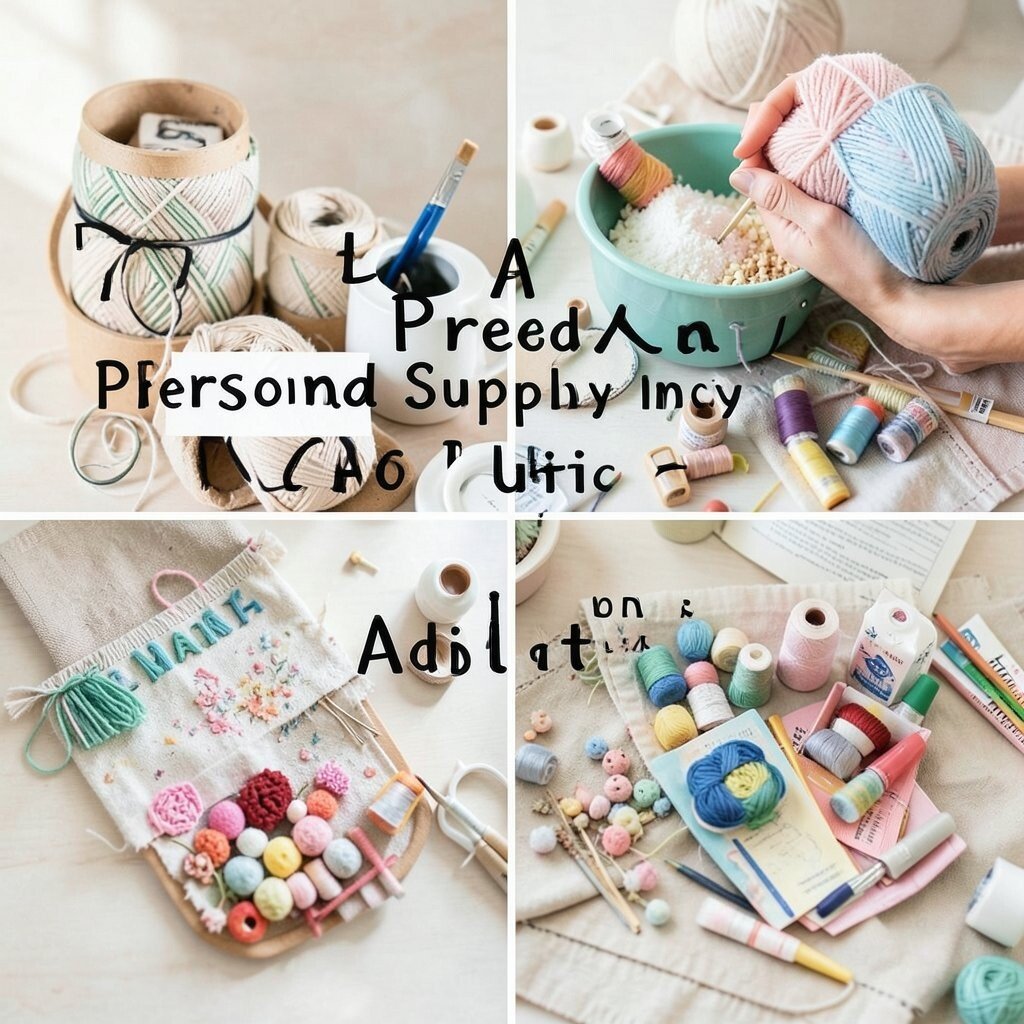
Take time to see what you already own, then organize with purpose. When you can clearly spot your supplies, your creativity feels safer and your spending stays calmer.
Do a quick audit by walking through your storage and making mental notes of what you’re stocked on, what’s running low, and what you truly use. Keep your labels updated and adjust categories based on real habits, because your routine should guide your system. This approach is popular in maker circles right now because it supports mindful making and helps people focus on finishing and experimenting instead of constant buying.
To personalize, create a simple “favorite tools” section with the supplies you reach for most, like your go-to pens or your best glue. For cost, you can set a rule to buy only after using what you already have for a set number of sessions. That small habit often leads to better projects because your materials become part of your style, not a random collection.
A practical technique is to schedule your audit after you finish a project, so you naturally notice what’s missing and plan your next step.