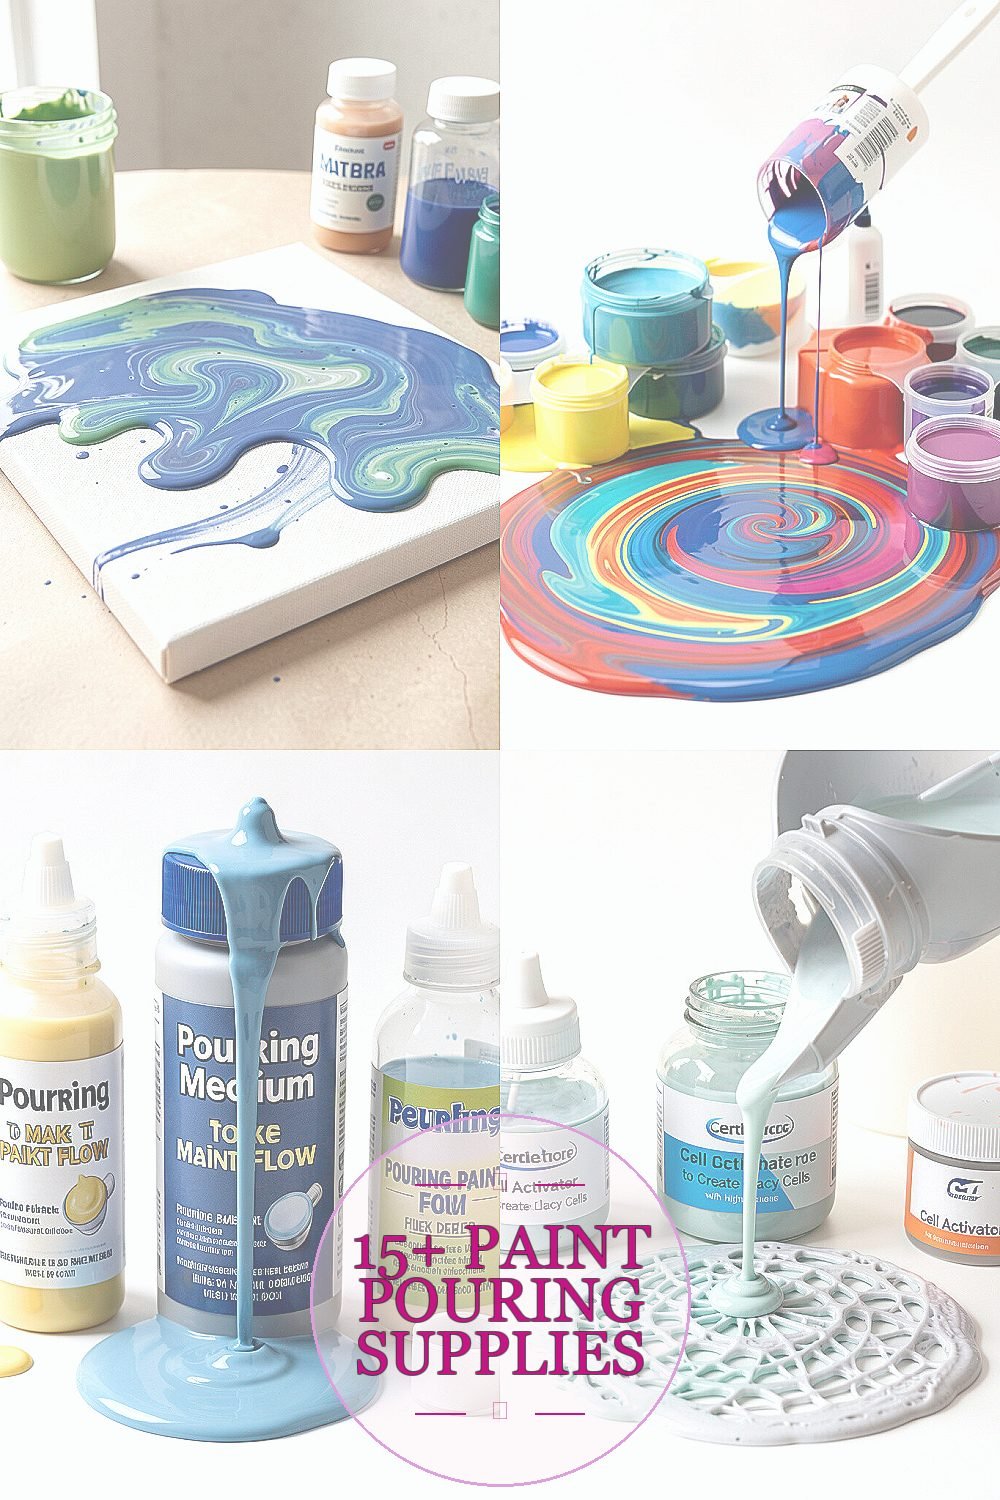
Paint pouring turns a blank surface into a mood with movement. Once you gather the right tools, your ideas start flowing more smoothly.
From everyday kitchen items to studio favorites, the best supplies help you control color, texture, and time. The result can look elegant, wild, and totally yours.
1. Canvas or Pouring Paper for Your Base
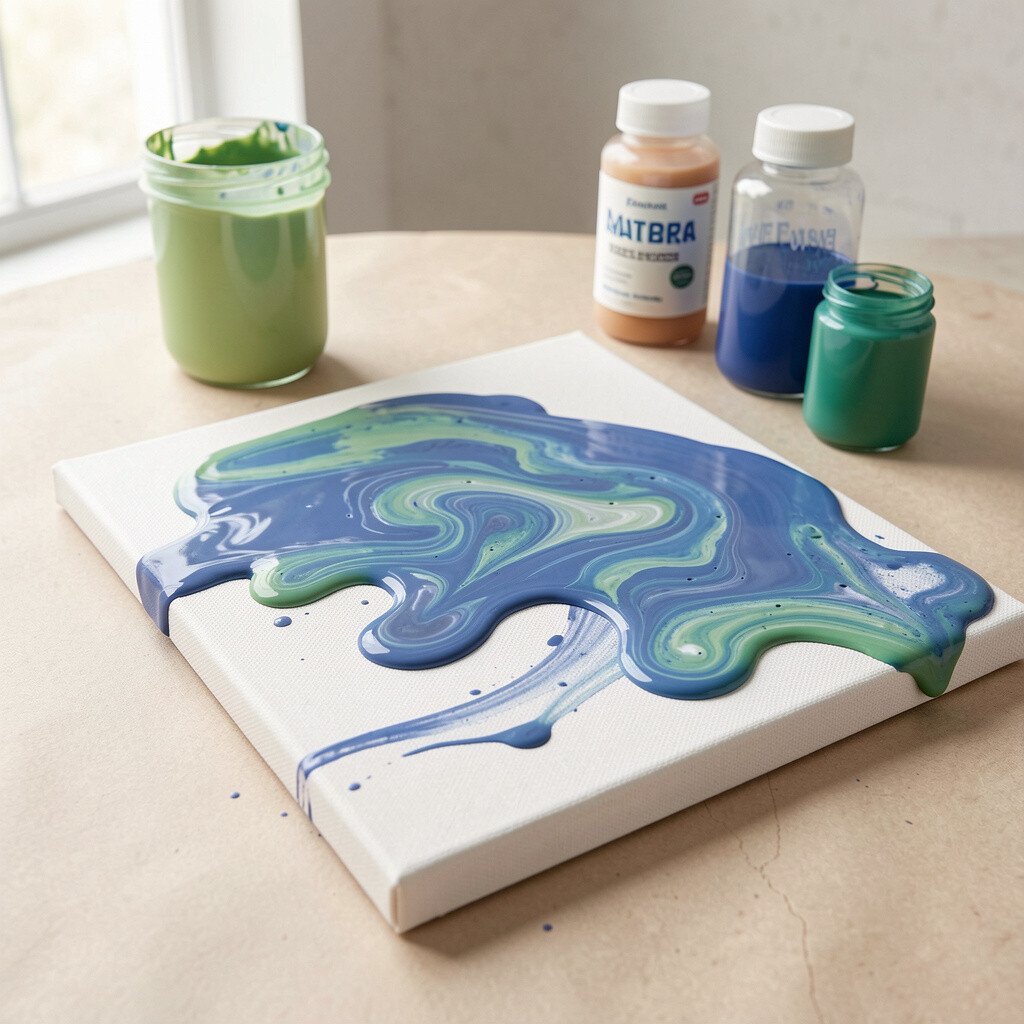
A good surface is the quiet hero of paint pouring. You want something that holds paint without buckling or soaking up too much.
Pouring paper is lightweight and friendly for experimenting because it grips pigment while staying affordable. Canvas panels feel sturdier and help your colors look crisp, especially when you frame the finished work. If you like bold pieces, choose a thicker surface so your layers keep their shape.
2. Acrylic Pour Paint for Smooth Color Layers
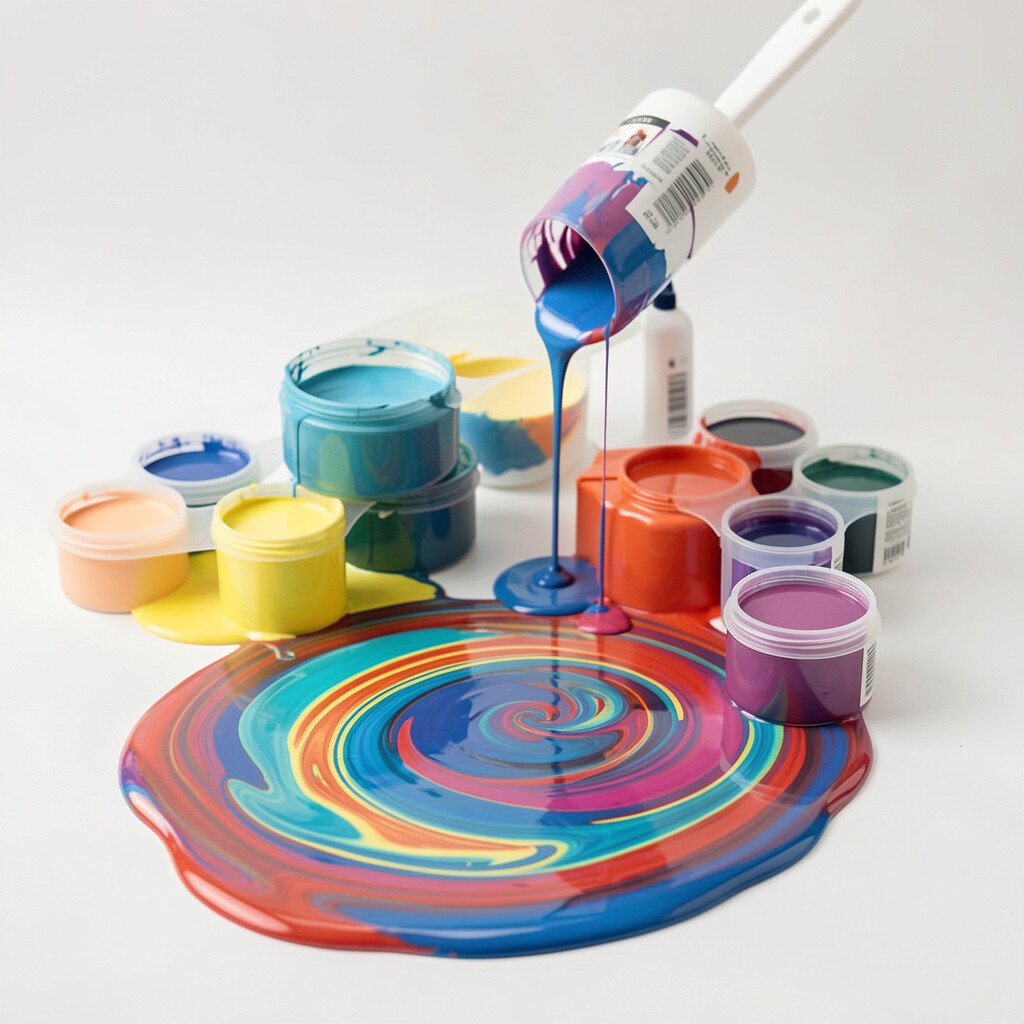
Acrylic pour paint gives you reliable color that mixes well and flows without fighting you. You’ll see glossy swirls form more easily when your paint is made for pouring or is formulated to stay fluid.
Many artists mix their own with acrylic paint and pouring medium, but ready-to-use pour paint saves time. Try a small test board first to see how each color behaves when it spreads. Matching brands across your palette often gives more consistent results.
For a practical approach, keep your favorite colors in small bottles so you can quickly start new sessions. Add a little water only when needed, because too much can make paint thin and weak on the surface.
3. Pouring Medium to Make Paint Flow
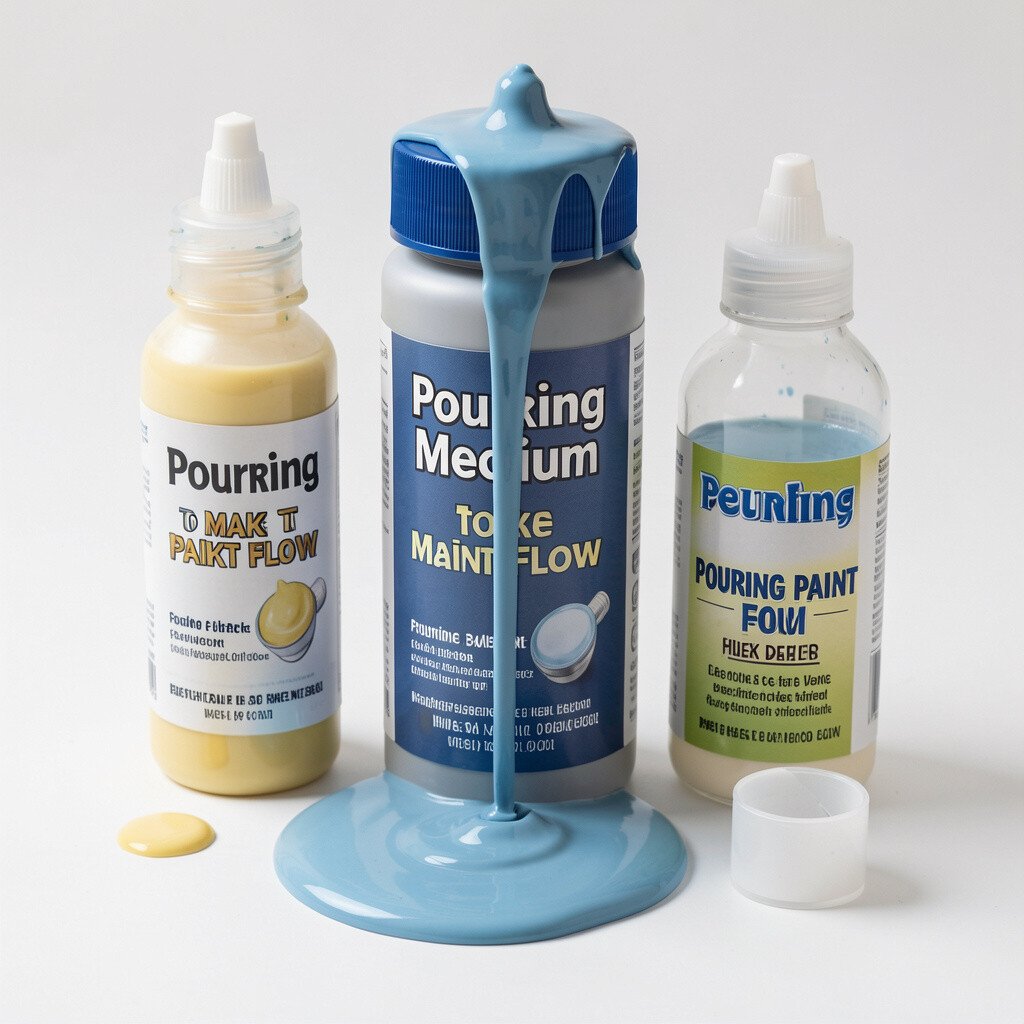
Pouring medium is the secret to getting that ribbon-like movement. It changes paint from “stubborn” to “ready,” helping it glide across the canvas.
Many pourers choose a glossy medium for deep cells and vibrant color edges. Matte medium can reduce shine and create a softer look that feels more modern. The mix ratio matters, so write it down on a scrap card after you find what works.
Start with a modest amount, then adjust based on how quickly the paint levels out. If you notice uneven thinning, increase medium slightly rather than adding more plain water.
When you personalize, use different medium types for different effects, like thicker mixes for dramatic ridges and thinner mixes for lacey patterns. That way, your next piece can look intentionally different while using the same base colors.
4. Cell Activator to Create Lacy Cells

Cell activator helps certain paints pull into surprising networks of bubbles and edges. Those tiny bursts create the “cells” that look like marble, foam, or cracked glass.
Some activators work best with specific mediums and paint brands, so don’t be afraid to test. If you want delicate cell structures, use a gentle activation amount and allow the pour to rest undisturbed.
5. Silicone Oil for Bigger, Stronger Cells
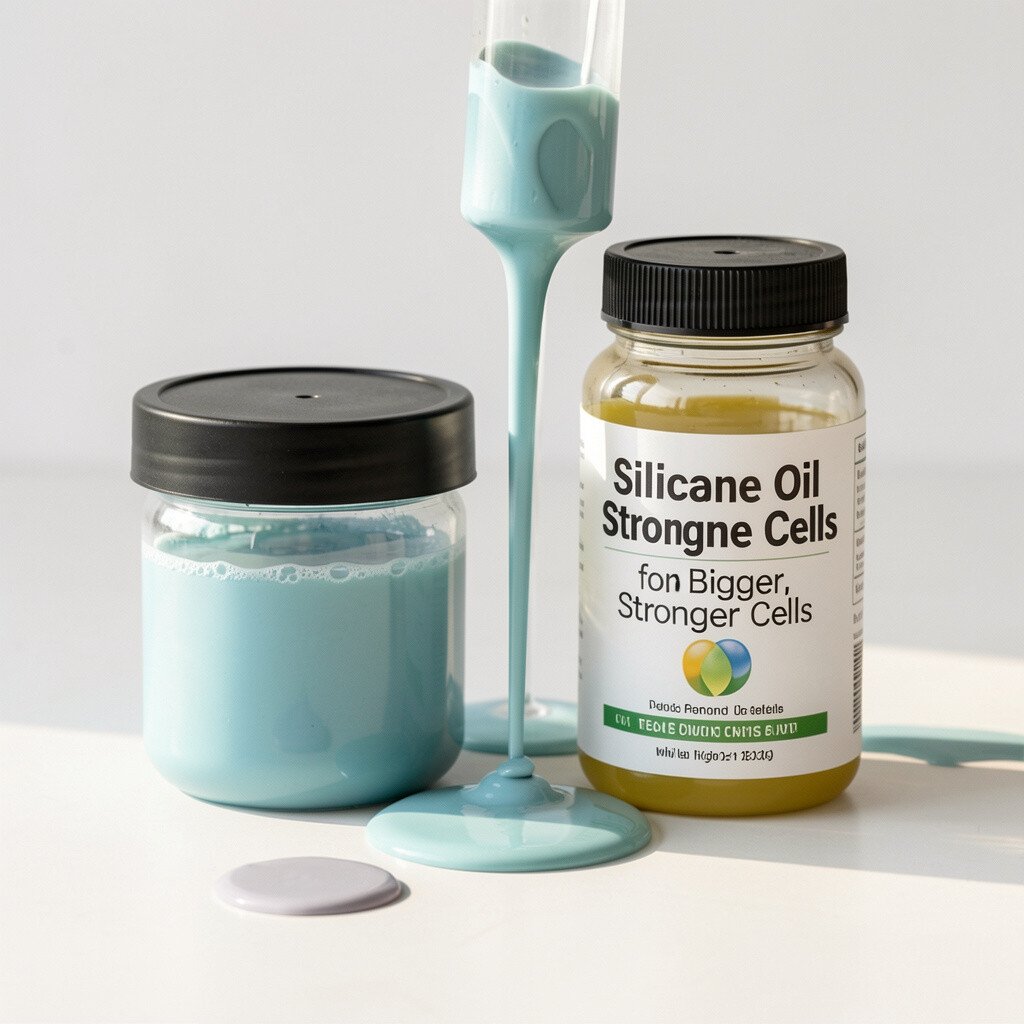
Silicone oil is famous for helping paint form larger, punchier cell patterns. A little goes a long way, and you’ll often see dramatic movement near the top of the pour.
Because it’s powerful, you can control the look by changing how much you add and where you introduce it. Some artists drizzle tiny drops into the mix, while others add it at the end for targeted effects.
For practical safety and cleanliness, keep a small squeeze bottle and wipe drips right away. If your cells get too wild, reduce oil and increase medium so the paint levels more smoothly.
6. Brushes for Mixing, Swirls, and Cleanup
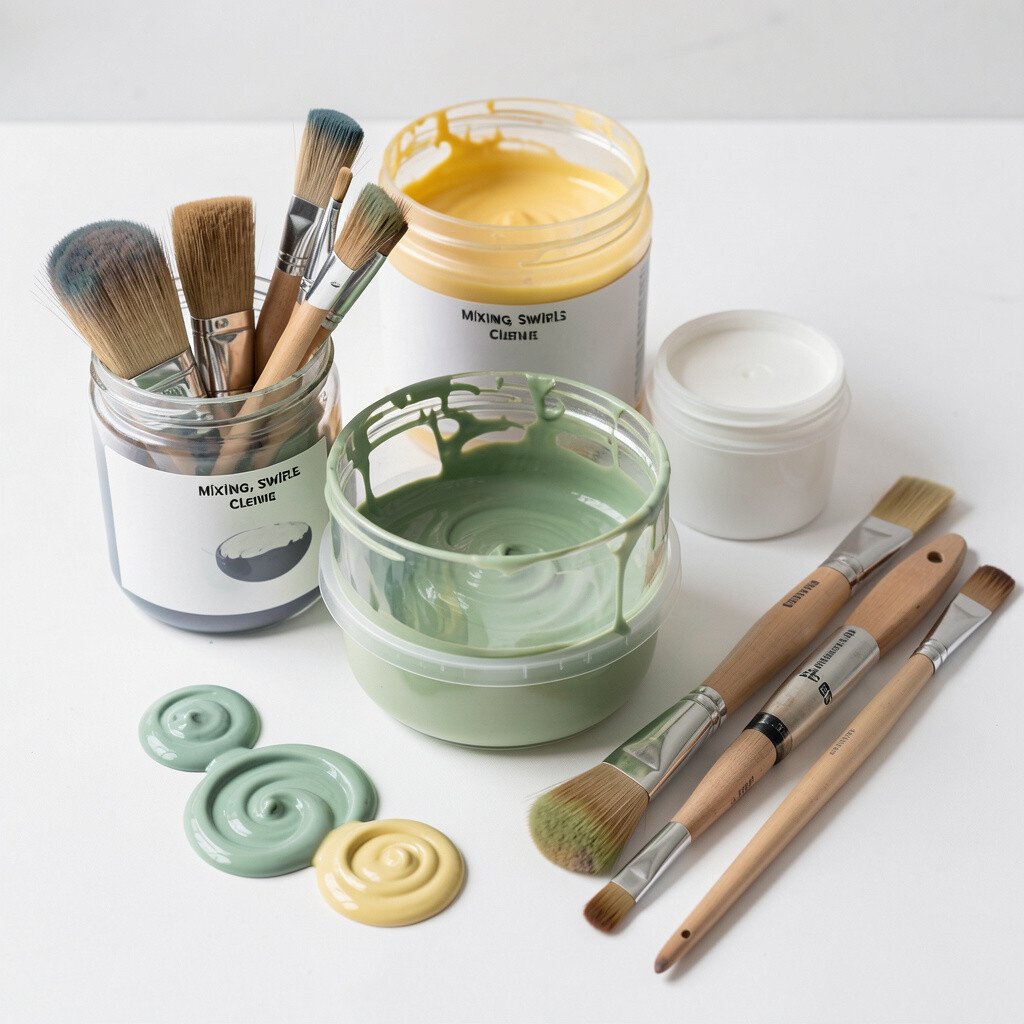
Even in pour art, brushes are essential for mixing and tidying. A sturdy brush helps you combine medium with paint thoroughly so the flow stays even.
Use a flat brush for scraping bowls clean and a smaller brush for nudging edges where you want more control. Many pourers keep a few “dedicated” brushes and don’t worry about spotless performance.
7. Mixing Cups and Measuring Tools for Consistent Results
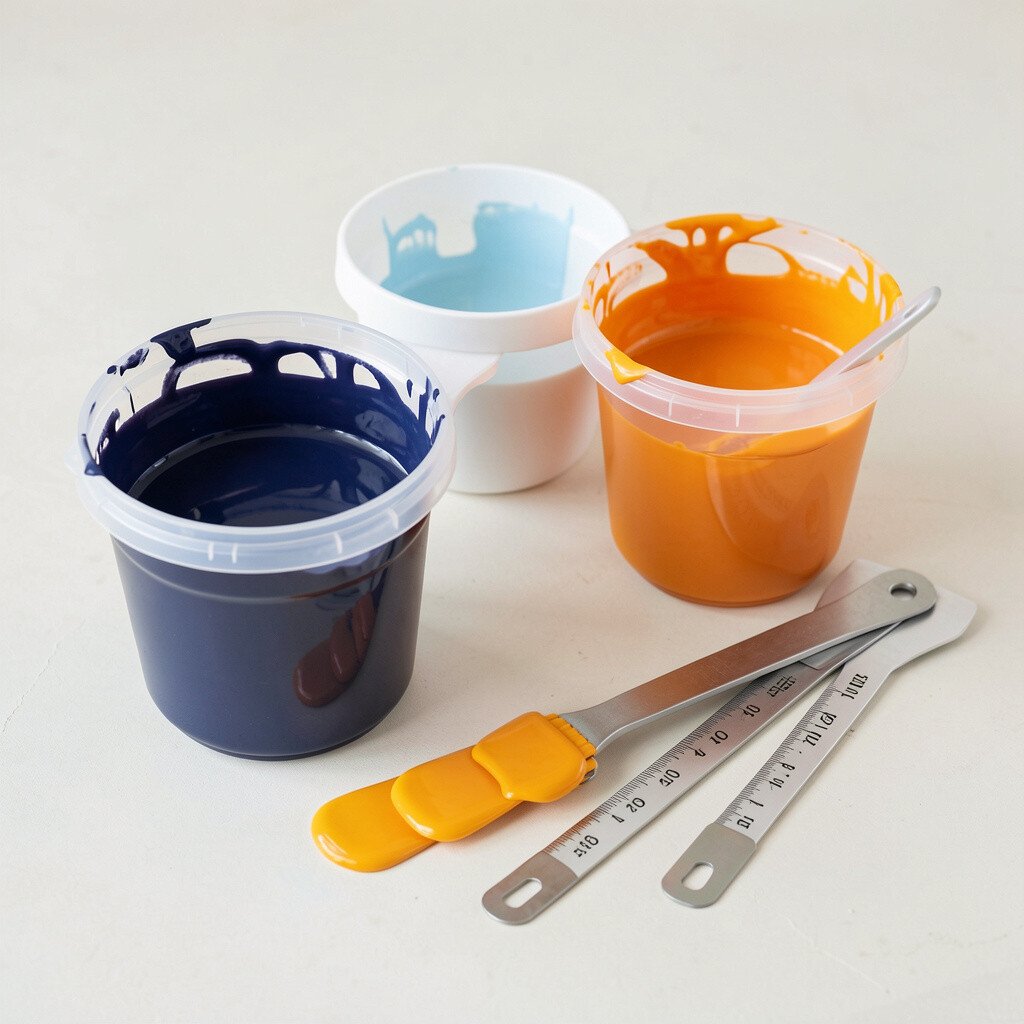
Mixing cups help you keep color ratios steady from one batch to the next. When you pour from repeatable mixes, your palette feels more organized and less like guesswork.
Choose cups that are easy to label, then use a set of measuring tools to keep pigment and medium ratios similar. Disposable cups are popular because they reduce cleanup stress after messy sessions.
If you like personalization, use color-coded markers on your cups so you can rebuild your favorite combinations fast. This also helps you recreate effects you loved, like a particular background shade with cell-heavy contrast.
8. Stir Sticks for Even, Bubble-Free Paint
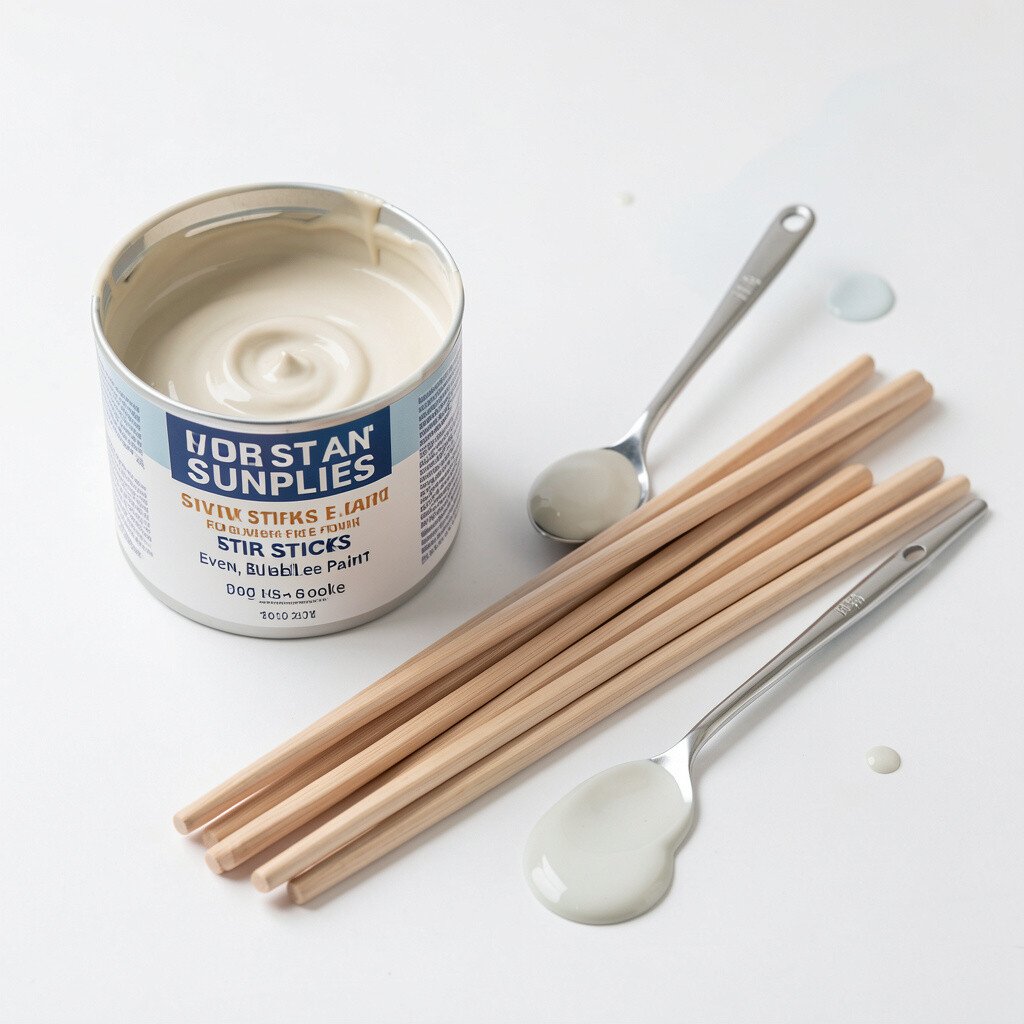
Stir sticks might seem simple, but they affect how smooth your pours look. If paint isn’t mixed evenly, you can get streaks, clumps, or weak cells.
Wooden craft sticks and plastic stirrers both work well, so pick what feels comfortable in your hand. Stir slowly and thoroughly until the paint looks glossy and uniform.
9. Gloves and Protective Gear for a Neat Studio
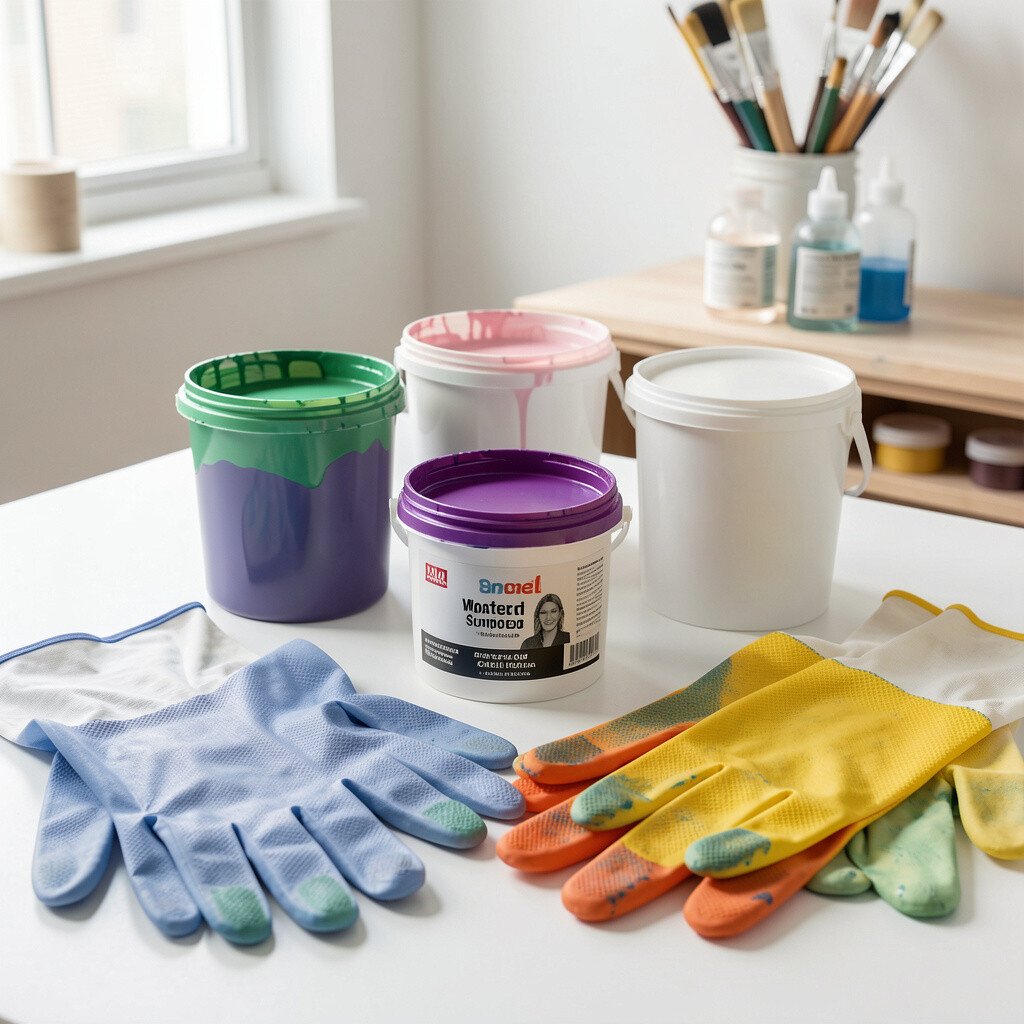
Paint pouring can be messy, and protection makes the process feel more relaxed. Gloves help keep skin safe from pigments and make cleanup faster when you’re done.
Consider wearing an apron and using a simple mask if you’re working with stronger additives or lots of pigment. A clean workspace also helps you focus on creativity instead of worrying about stains.
For cost considerations, you can buy basic reusable gloves and upgrade only if you find they wear out quickly. Keep paper towels and a small trash bag nearby so you can keep your area tidy while you work.
10. A Leveling Stand or Turntable for Smooth Spreads
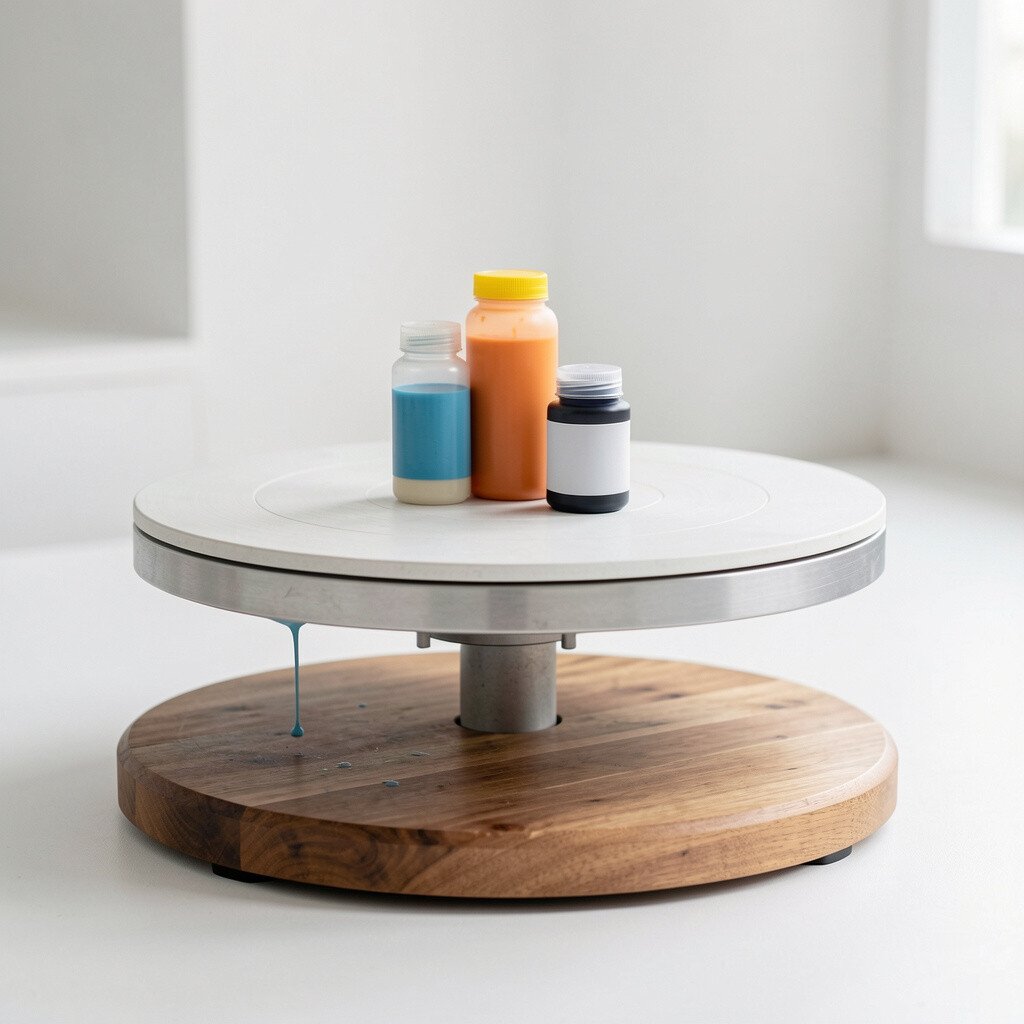
Leveling tools help paint flow evenly rather than pooling in one corner. A small tilt and gentle rotation can spread paint into graceful arcs that look intentional.
Many artists use a simple turntable so they can move the surface while watching the paint settle. This is especially helpful when you want consistent coverage and balanced color placement.
11. Heat Gun or Torch for Controlled Surface Effects
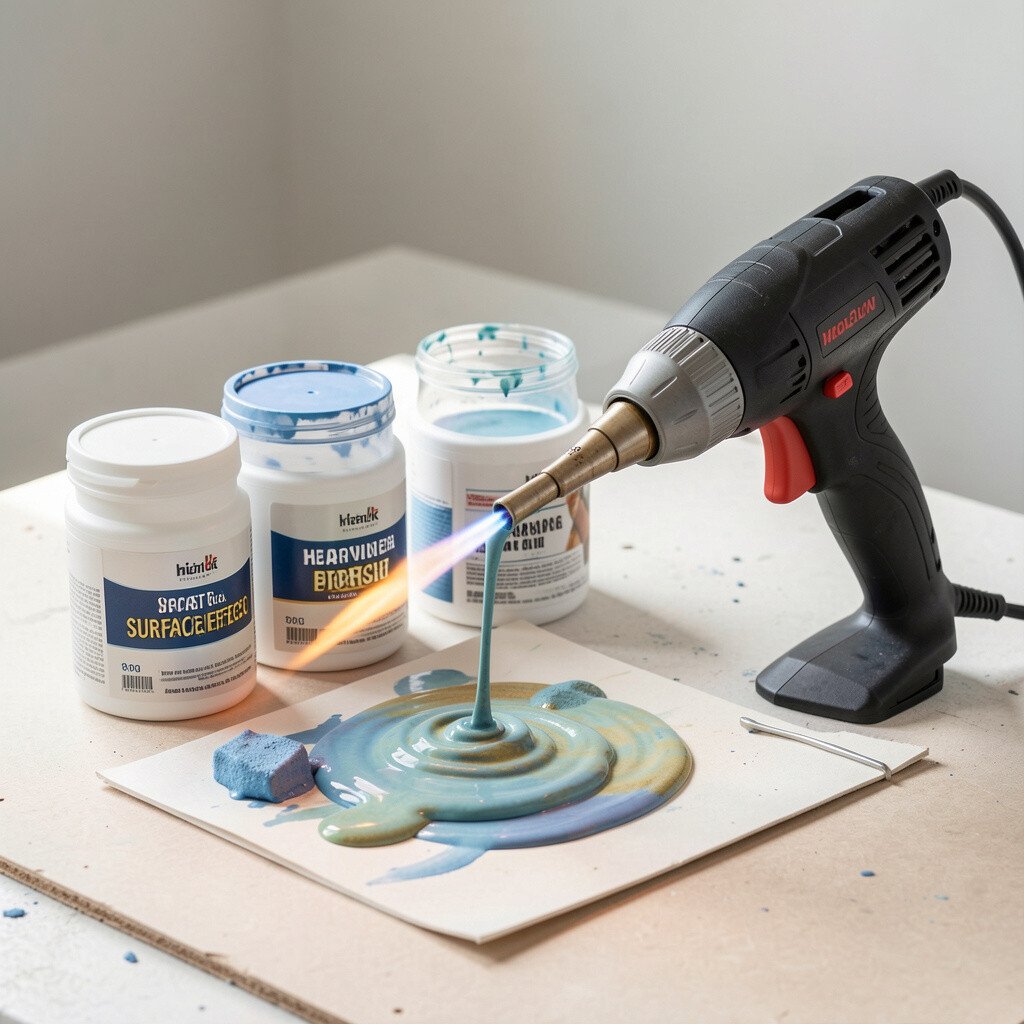
A heat gun can help pop surface bubbles so your pour looks clearer and smoother. It can also encourage movement that makes cells appear with more shape.
Keep the tool at a safe distance and use short bursts, since too much heat can over-thin paint or change the look drastically. If you’re cautious, practice on a scrap surface before working on your final piece.
Trends right now show many artists pairing heat with layered color for sharper contrast and more defined lacing. You can personalize by choosing a cooler tool setting for softer textures or a slightly stronger blast for bolder texture.
12. Dropper Bottles for Precise Color Placement
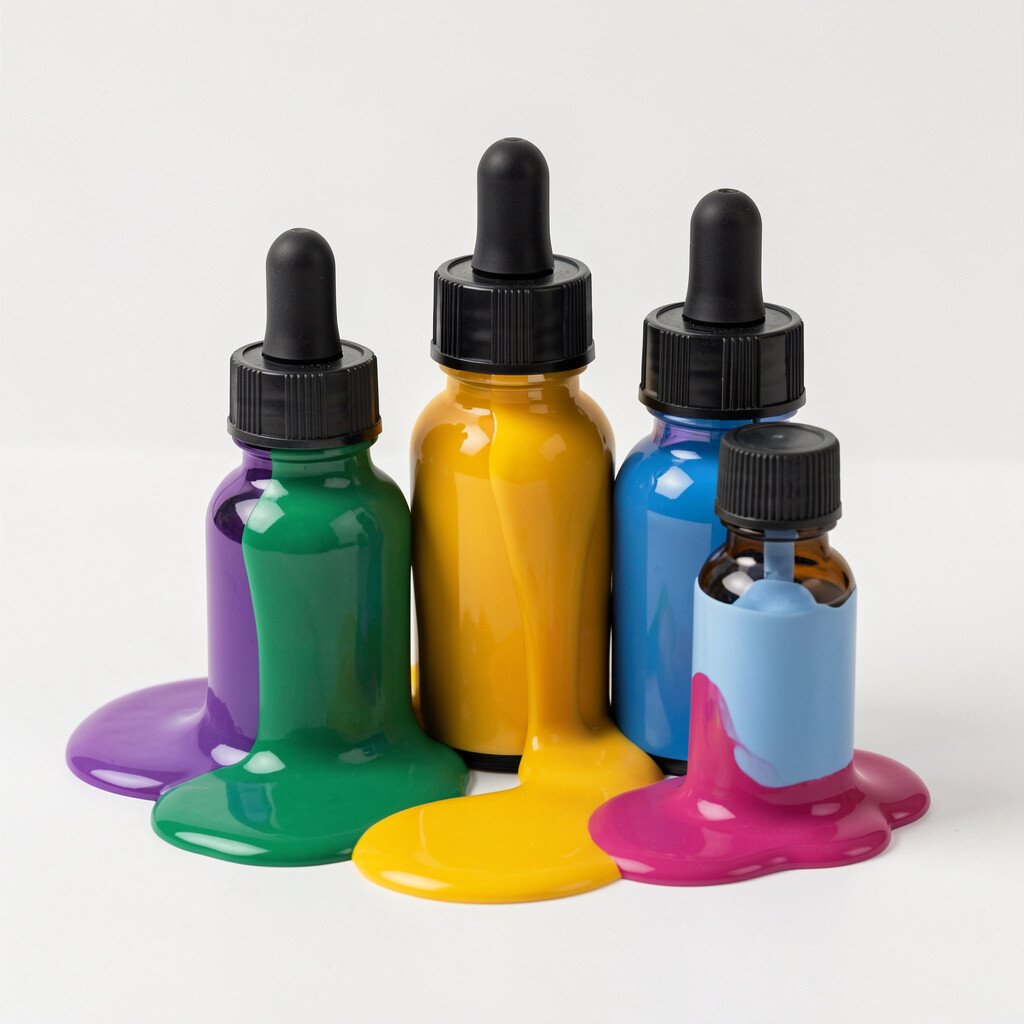
Dropper bottles give you fine control over where color goes. Instead of dumping pigment, you can guide it like a pen stroke across the surface.
This technique is great for marbling effects and for adding highlight lines near the edges. It also helps with personalization when you want a specific design element, like tiny bursts of gold or a thin line of contrasting color.
For practical tips, label droppers by color and store them upright so they don’t leak. The small bottles cost less than you might think, especially if you reuse and refill them.
If you’re learning, start with one or two accent colors and place them slowly so you can see how they spread before adding more.
13. Spatulas for Thick Mixes and Clean Edges

Spatulas are perfect when you use thicker mixtures or when you want to scoop paint without wasting any. They also help you remove paint from cups cleanly so fewer leftovers turn into messy hard chunks.
Use a wider spatula for moving paint from a mixing cup to your canvas and a smaller one for spot adjustments. If you love layered looks, thicker mixtures can create textured ridges that feel tactile even after the paint dries.
14. Sealing Spray or Varnish for Long-Lasting Finish
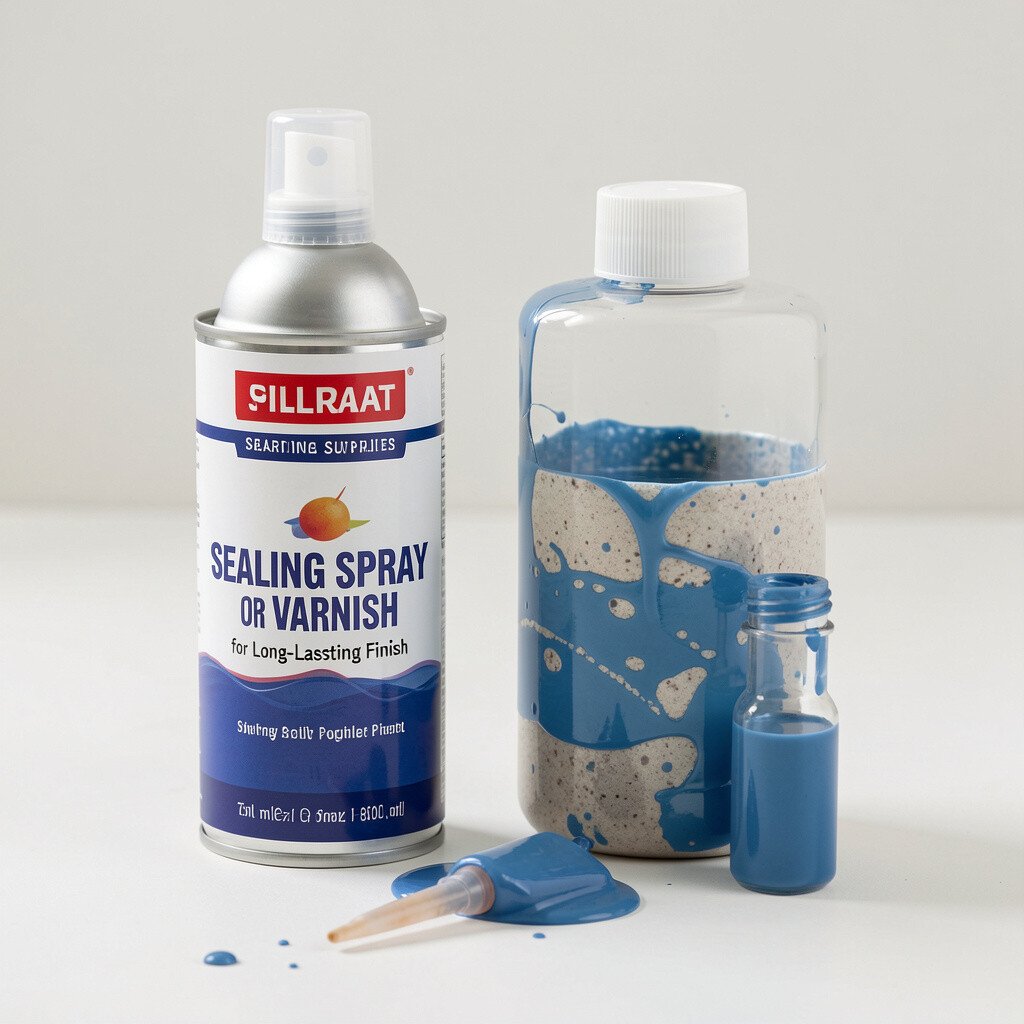
Sealing is what keeps your artwork looking fresh and protected. A varnish can deepen colors, reduce dust settling, and help the surface resist scratches.
Choose a finish that matches your style, like glossy for dramatic reflections or satin for a balanced glow. Always test a small area first, because some finishes can slightly change the final tone.
Cost matters here, so compare sizes and check coverage amounts, since better coverage can lower the long-term price per piece. Many artists also wait until the paint is fully cured so the seal locks in the surface properly.
15. Decorative Add-Ins Like Glitter or Metallics
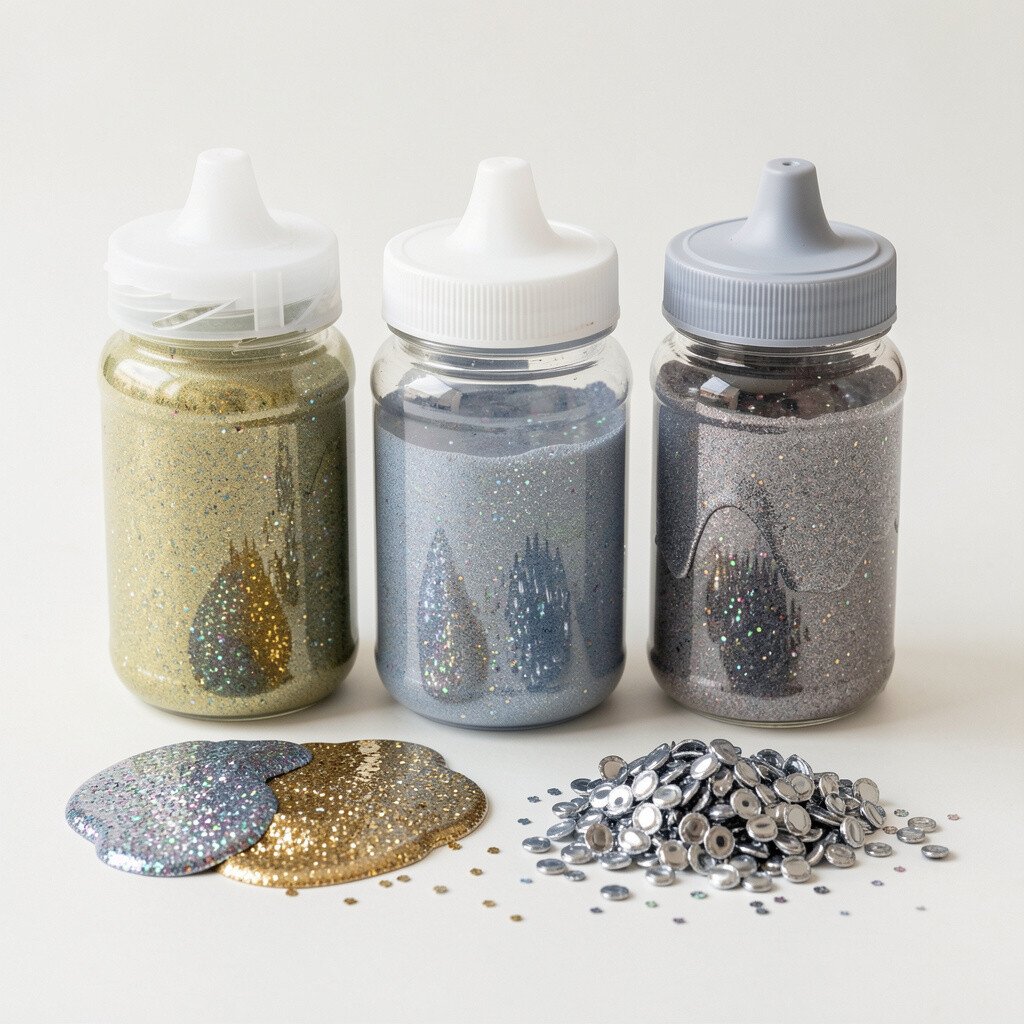
Glitter and metallics bring instant personality to your pours. When light hits a metallic ribbon, it can make even simple color combos look fancy.
Use add-ins carefully so they don’t sink or clump, and mix them gently. Metallic acrylics and mica powders can create subtle sparkle, while fine craft glitter makes bolder highlights.
If you want trendy results, try adding metallic accents only in strategic places instead of mixing everywhere. That approach keeps the overall piece balanced and lets the sparkle feel like a deliberate detail.
To personalize on a budget, look for small sampler packs or refill-friendly jars so you can try different textures without buying huge containers.
16. Starter Palette and Color Wheel for Better Color Choices
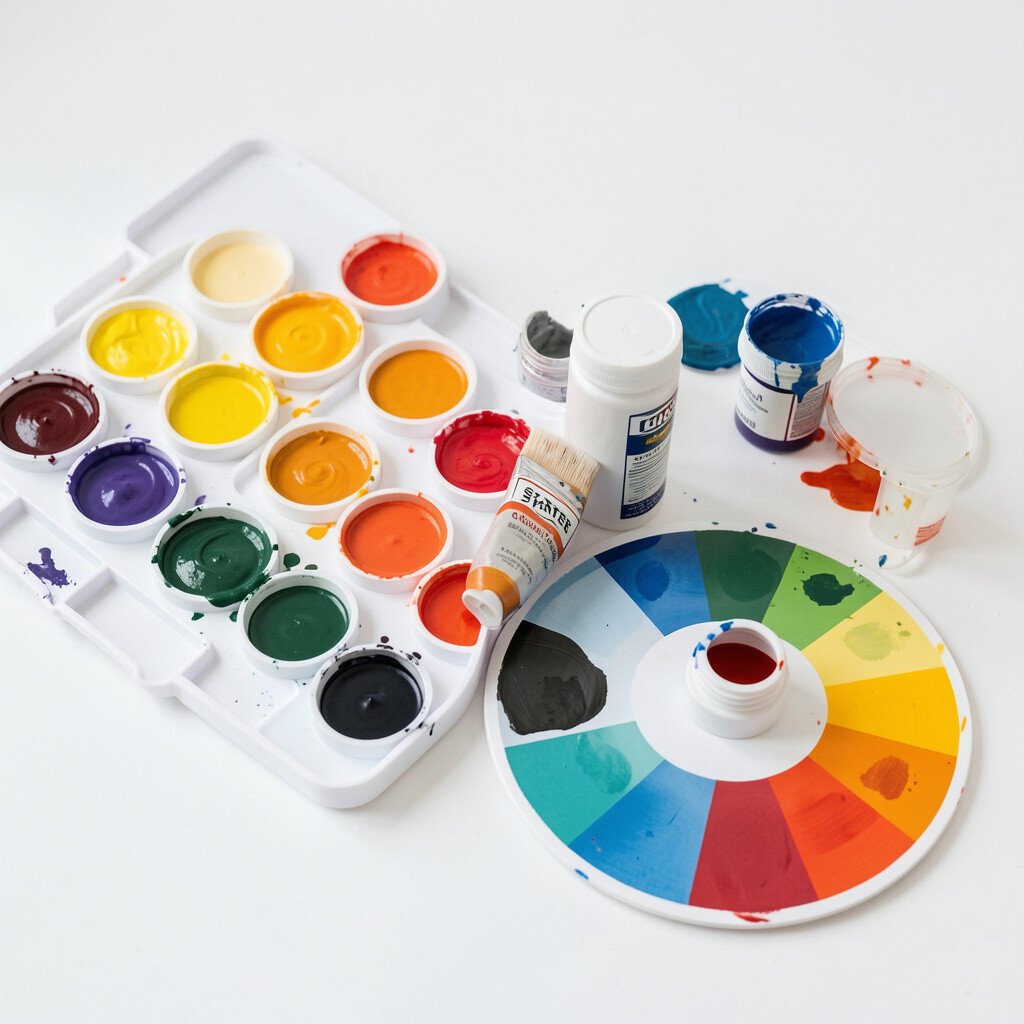
Even the best pouring supplies won’t shine without a smart color plan. A starter palette helps you pick shades that work together, so your pours feel balanced rather than random.
Use a simple color wheel as a guide for contrast, like pairing complementary colors for strong tension. For a softer look, pick neighboring hues in the wheel so transitions feel smooth and calm.
This is also where personalization happens, because you can build a signature palette for your style. Many artists keep one “home base” set of colors and then swap in seasonal favorites, like warm autumn tones or cool winter blues.
When cost is a concern, focus on buying a few versatile primaries and a couple of accent colors first. After that, your extra purchases feel intentional because you already know how each shade behaves in a pour.