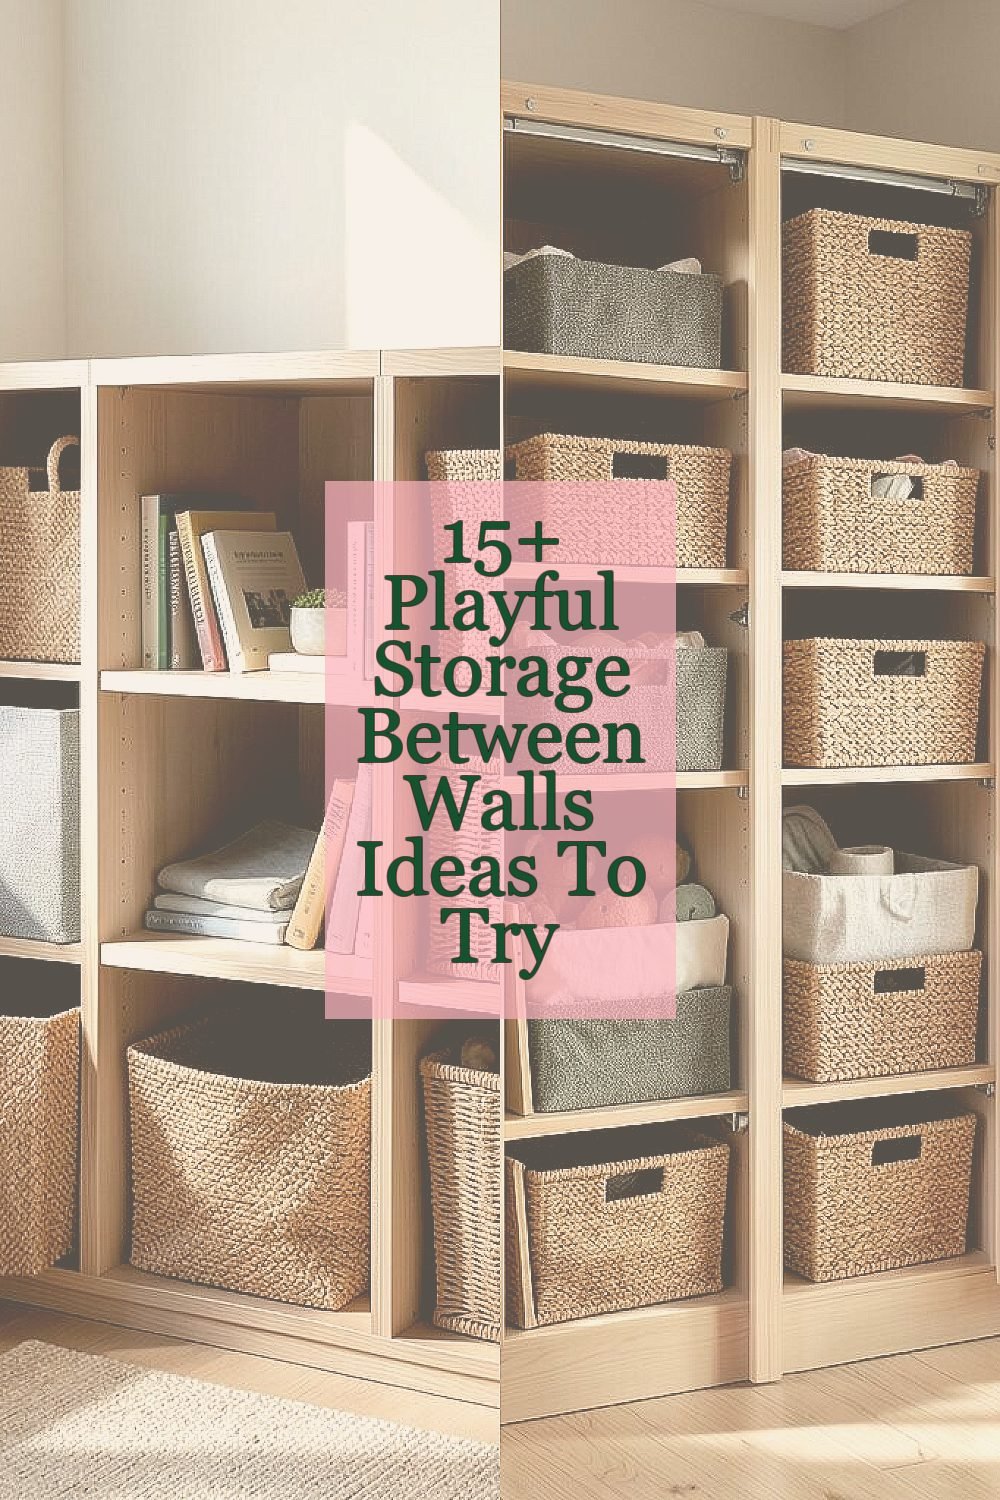
A hidden wall gap can become your home’s secret playground. The best part is how much personality you can tuck into tight spaces.
You just need a clever plan, a few smart choices, and the willingness to make the ordinary feel fun.
1. Stackable Cubby Nooks With a “Secret Drawer” Feel

Imagine opening a narrow wall slot and pulling out a stack of small cubbies like a game cabinet. The walls look clean, but your storage feels delightfully interactive.
Start by measuring the gap width, then sketch how deep each cubby can be without fighting the door swing or trim. Use lightweight plywood or MDF with smooth edges so items slide in easily. Add a small pull tab or rounded knob so it feels like a secret drawer without needing strong hands.
2. Built-In Sliding Baskets Behind a Closet-Like Panel

Picture a wall panel that looks like part of a closet, but it slides aside to reveal neatly stacked baskets. Your things stay out of sight while still looking organized and friendly.
Choose baskets that slide smoothly and match the height of your wall cavity. Install guide rails or sturdy tracks so the movement stays quiet and steady. For practicality, label the basket fronts with simple icons like toys, craft paper, or extra cables.
To keep costs reasonable, reuse hardware from old drawers and pair it with new basket liners. This is a great way to follow current trends toward tidy “no clutter” storage that still feels warm and usable. Personalize the look with fun fabric liners in a color you love and a washable finish for everyday messes.
3. Swing-Out Book Perches for Small Favorites
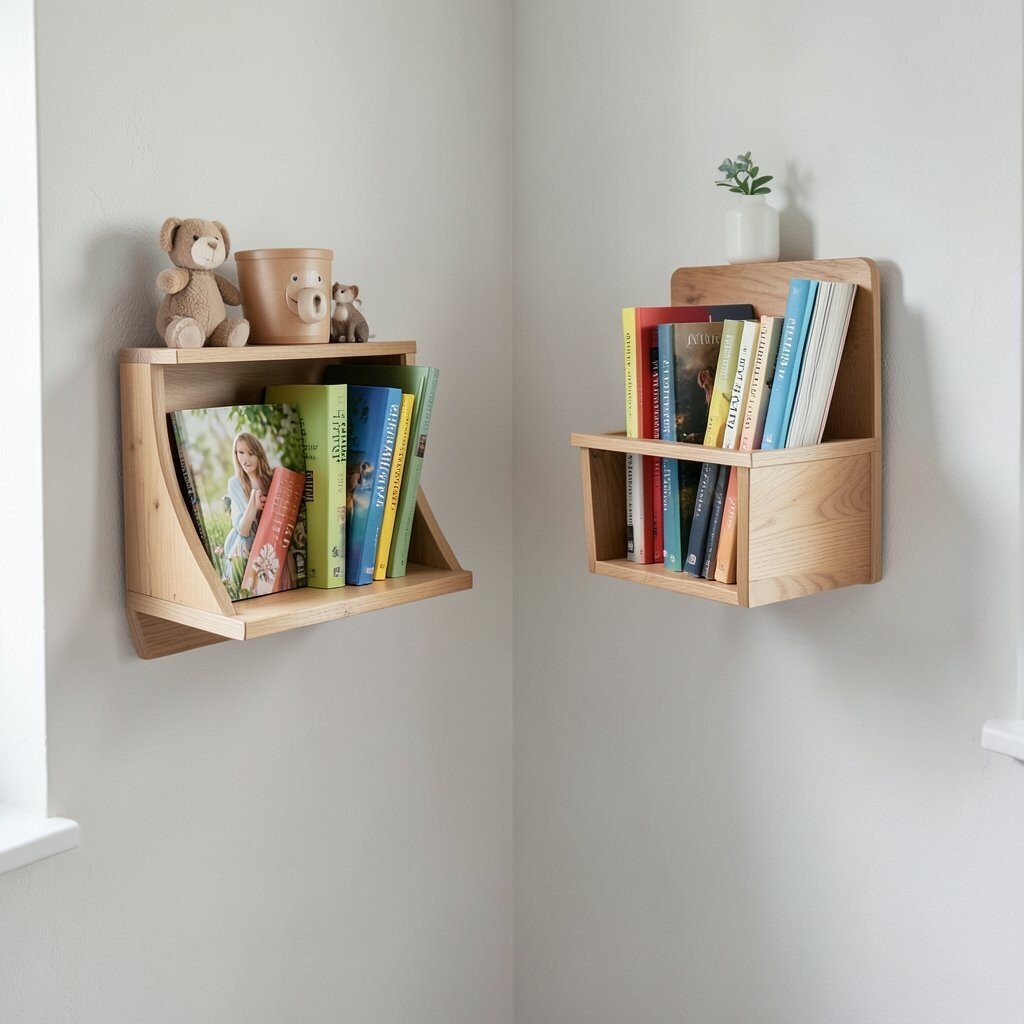
Think of a tiny library shelf that opens outward like a friendly sign. When you swing it out, spines face you, and the space suddenly feels playful.
Install a hinged shelf board inside the narrow cavity so it can pivot outward when you lift the edge. Keep the shelf shallow enough for books or notebooks, then add a stop so it won’t flop too far. Use a satin seal or paint so it wipes clean when dust collects.
For personalization, paint the inner back panel in a cheerful accent color and add a strip of removable wallpaper on the back edge. A snug book perch is perfect for kids’ favorite stories, family planners, or quick-reach reference guides. If you want a budget-friendly route, use scrap wood for the shelf and purchase only the hinge hardware.
Trending home styles often mix function with visible organization, and this gives you that “display while stored” vibe. It also helps you keep the wall gap useful without turning it into a hidden mess that’s hard to reach.
4. Magnetic Rail Inserts for Keys, Tools, and Tiny Metal Toys

Picture a slim strip of wall space holding keys and small tools as if they’re floating. Instead of digging through a drawer, you glance at the rail and grab what you need.
Mount a thin board inside the wall cavity, then attach a magnetic strip for metal items. Add a small lip to prevent things from sliding off when the door closes. For practical use, place it at eye level or near the entry so it becomes a daily habit.
If your space is narrow, keep the rail short and add multiple smaller magnets rather than one long strip. Use different magnet strengths to hold heavier keys and lighter craft tools. For personalization, attach tiny colored labels beside each magnet point using nonstick adhesive so you can switch categories later.
This kind of wall storage matches the current love for smart organization and visible “at-a-glance” layouts. Keep costs low by buying magnets in a variety pack and using inexpensive backing boards from a home center.
5. Flip-Top Storage Lids With a Patterned Front

Imagine a smooth wall-front panel that pops open like a mini stage prop. Inside, the gap turns into tidy storage that feels more like decor than utility.
Use a flip-top lid mechanism or a simple hinge system that keeps the panel aligned when you open it. Choose a sturdy panel and add a soft-touch latch so it closes without rattling. Line the interior with foam or felt to protect delicate items.
For personalization, paint the outer lid in a playful pattern or attach a removable peel-and-stick tile for an easy style change. This makes a great home for seasonal items like wrapping tape, small ornaments, or spare light bulbs. If cost is a concern, build the lid from leftover cabinet door material and spend on the latch hardware only.
It also supports a growing trend toward storage that looks intentional and stylish, not purely practical. A patterned front can tie into your room theme and make a hidden cavity feel special.
6. Clear-Front Wall Niche With Rotating “Grab and Go” Tubs
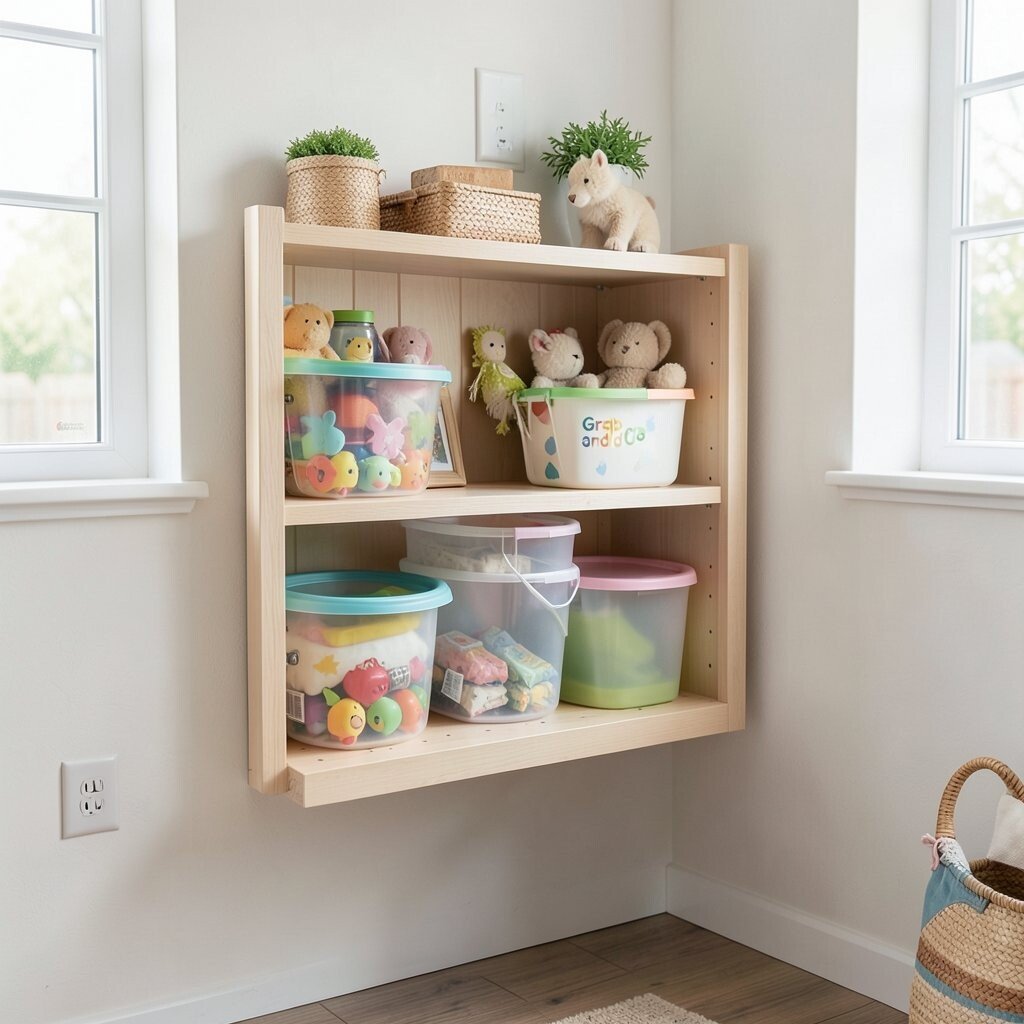
Picture a narrow section of wall with clear fronts that show exactly what’s inside. You can spot snacks, art supplies, or everyday backups without opening everything.
Choose durable clear bins sized to fit the cavity, then mount them on a rotating lazy-susan style tray or a simple pull-out track. Make sure the bins are shallow enough to reduce digging. Add a small handle on the bin frame so kids or guests can reach it confidently.
To keep things practical, group items by routine, like morning grab items near the kitchen or craft essentials near a desk. A clear storage niche looks especially good in modern interiors that favor clean, visible organization. If you want a budget-friendly option, use clear storage drawers from a local store and adapt the wall backing with basic wood framing.
Personalize the look by tinting the bin labels with colored dots, or wrap the interior back panel in fabric that matches your decor. This kind of system also helps you see what needs restocking before you run out.
7. Pegboard-Like Insert for Hanging Lightweight Wall Treasures
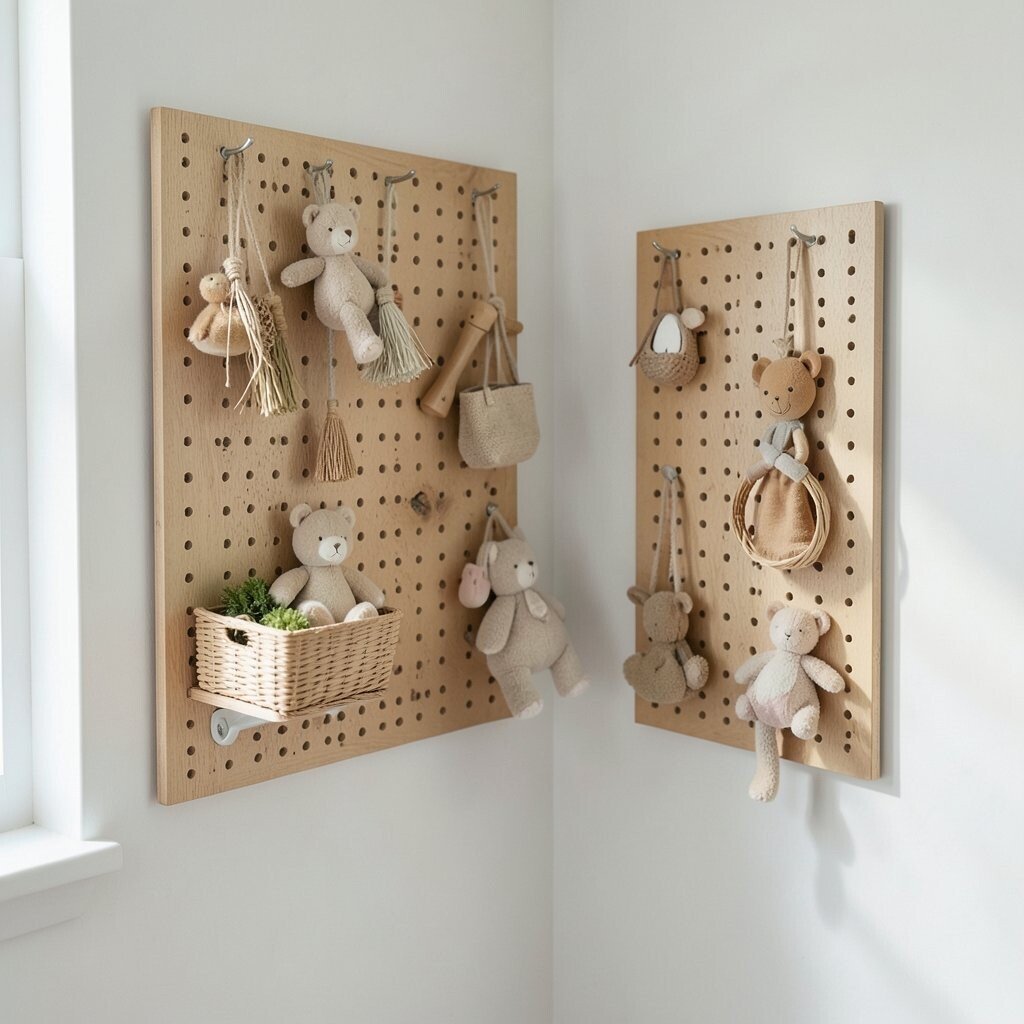
Think of a slim wall gap that turns into a tiny hanging organizer. Light items look cute when they’re spaced evenly on small hooks.
Build a pegboard insert using thin perforated board and attach it to the inner cavity. Add hooks sized for scarves, lanyards, craft tools, or even decorative keys. For smooth access, keep the hooks within easy reach and add a small door or magnetic cover on the outside.
For practical tips, place the pegboard slightly off-center so a hand can get behind items without catching on trim. Personalize it with hooks in different colors or finishes to match your room. If cost matters, start with a pre-made pegboard panel, then cut it to fit using a careful measuring routine.
This is a playful twist on the current trend of makerspace organization at home. It’s also great for seasonal items because you can rearrange hooks quickly.
When you want to keep the area tidy, add small bins at the base for accessories that don’t hang well.
8. Hidden Wall Hamper With a Soft-Lidded Peek
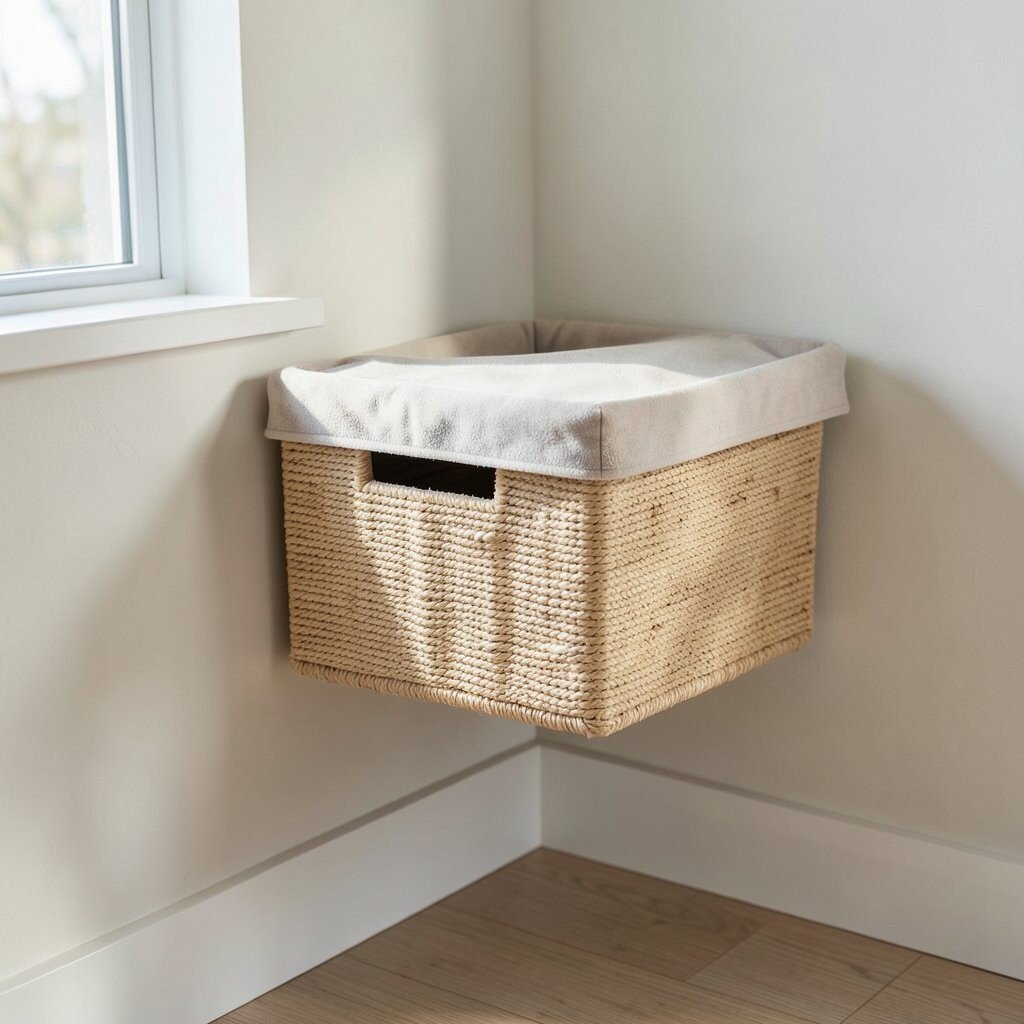
Imagine a discreet hamper tucked between studs, only visible when you open a soft-lidded front. It feels cleaner than a bulky bin and looks calmer in the room.
Install a pull-out hamper tray inside the wall cavity, then add a fabric-lined lid that reduces noise and helps the contents stay contained. Use ventilation material or leave small gaps so airflow prevents odors from building up. For practical use, keep it close to laundry drop zones or bedrooms where clothes pile up.
Cost considerations depend on how custom you go, but you can use an off-the-shelf hamper frame and build a simple wall surround. For a friendlier look, choose a lid color that matches towels or bedding and add a removable liner for easy washing. Personalize with a small patch or embroidered name label that’s easy to update.
This type of setup matches the modern trend toward “closed storage” that hides daily clutter. A hidden hamper also makes shared spaces feel less messy and more welcoming.
9. Sliding Drawer Unit for Kids’ Art Supplies
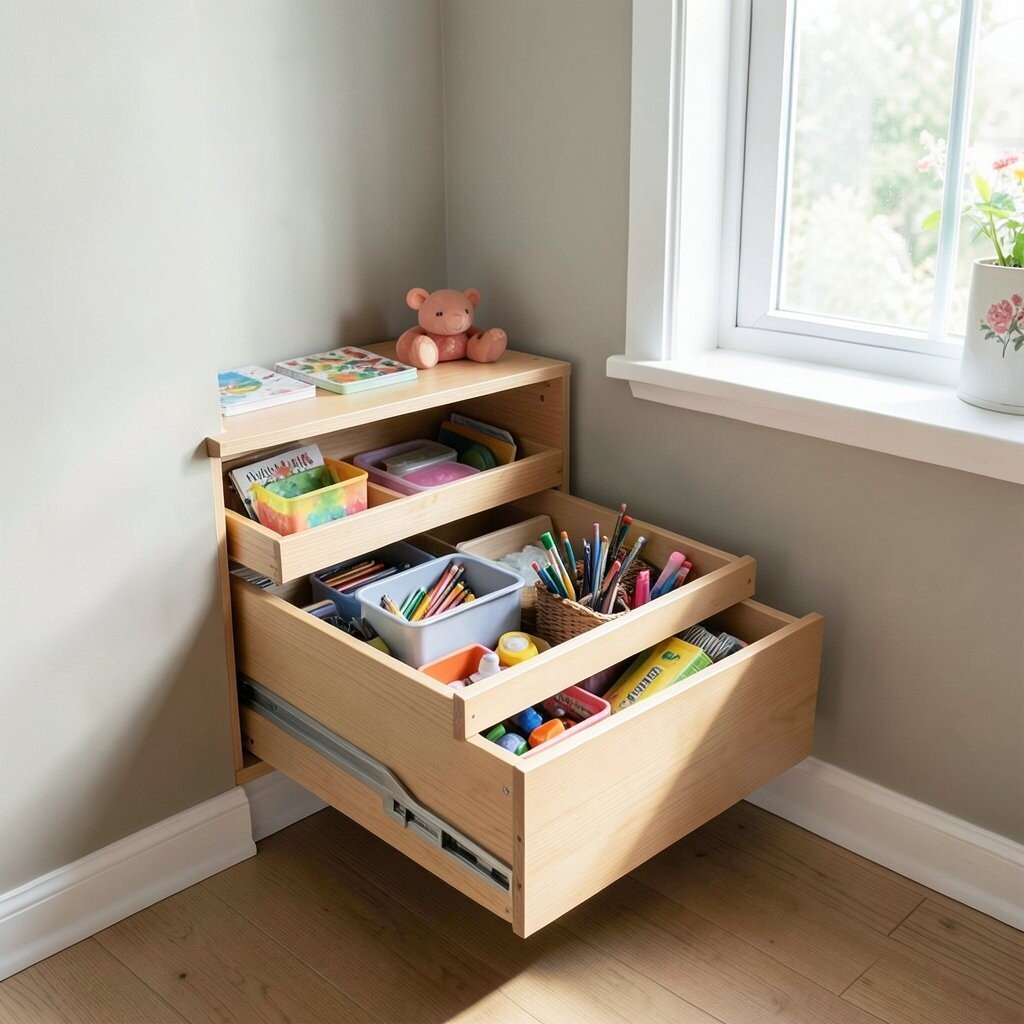
Picture a narrow wall drawer that rolls out smoothly like it’s part of a toy chest. Crayons, markers, and paper rolls fit neatly without covering the floor.
Build a shallow drawer using durable runners so it slides easily even when kids pull it. Add compartments inside with simple dividers so small pieces stay separated. For practical tips, use low-profile handles so fingers can grip comfortably and so nothing sticks out to catch on sleeves.
Personalization can be as simple as painting the drawer front with a bright color and adding a small illustrated label on the inside edge. To keep costs down, use inexpensive wood panels and focus spending on drawer hardware and smooth runners. This also helps you follow the trend of family-friendly storage solutions that make cleanup feel like play.
For daily success, store only the items kids use most so the drawer stays light. If you want extra fun, create a rotation routine where you swap one drawer insert every season.
10. Built-In Step-Shelf for Decorative Items and Light Reading

Imagine a tiny shelf that forms a small “step” inside the wall gap. When you pull back the outer panel or open a narrow door, a miniature display appears.
Create layered shelves with gentle risers so books, small plants, or figurines can sit at different heights. Make sure the depth supports items without tipping when you open and close the panel. For practical tips, use a non-slip mat on each shelf surface to prevent things from sliding.
Personalize it by choosing a finish that matches your room, like warm wood stain or a glossy painted look. Cost varies based on shelf material, but you can keep it affordable using basic lumber plus a good paint finish. This setup aligns with current styling trends that mix functional storage with curated decor.
To keep it playful, place a small LED strip inside for soft glow that makes the niche feel like a mini gallery. Just ensure any lighting is low-heat and safely installed.
It’s perfect for small reading favorites because you can store them neatly while keeping them visible.
11. Latch-Open Tool Pocket With Soft Cushioning for Repairs
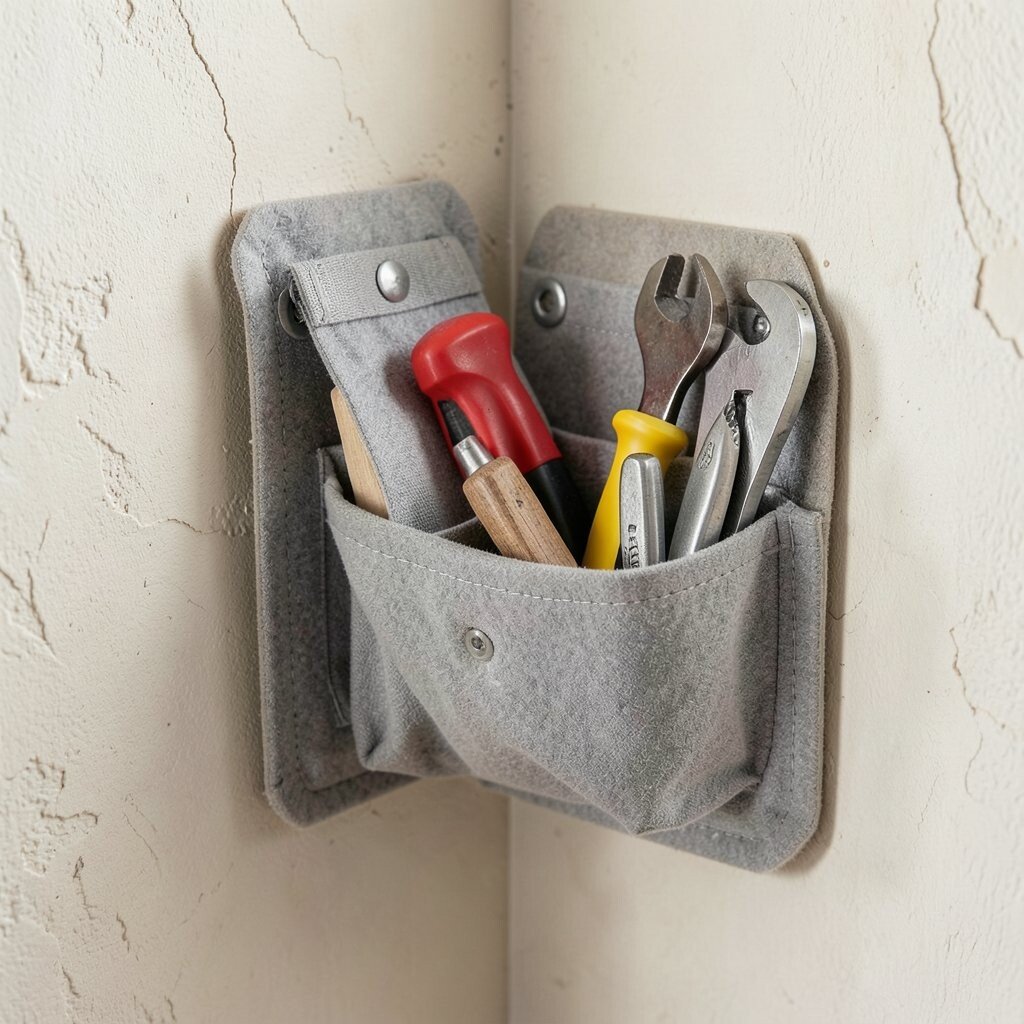
Picture a slim tool pocket that opens like a cabinet door and reveals everything you need for quick fixes. It feels practical, but the cushioned lining makes it feel cozy too.
Use a hinged cover panel for the outside, and install an interior organizer board with compartments for screwdrivers, small pliers, and spare batteries. Add foam padding where metal tools rest so they don’t scratch surfaces. For practical tips, keep the largest tools closest to the opening so they come out easily.
Personalization is easy by adding color-coded rings or labels to the organizer board, using removable adhesive so you can reconfigure. Cost considerations are usually moderate because you’ll spend on sturdy hinges and basic organizer materials. A pocket like this fits the current trend toward “repair readiness” at home, where you’re not hunting through random drawers.
If the wall gap is narrow, use smaller compartments rather than trying to fit full-size tools. Keep a tiny envelope inside for spare screws and wall anchors so you can complete small repairs faster.
12. Fold-Down Table Pullout Hidden in a Wall Gap

Imagine unfolding a small table from between walls, like a secret workspace. It’s perfect for wrapping gifts, working on crafts, or eating a quick snack at home.
Choose a pullout mechanism rated for the weight you’ll place on it, then build the tabletop to fit the cavity. Add a support brace that locks in place so it feels steady. For practical use, include a small ledge or hooks nearby for a mug or lightweight bag.
To personalize, paint the underside in a fun color and place a patterned mat on top for everyday protection. Cost varies, but you can keep it reasonable by using a pre-cut board for the tabletop and sourcing the mechanism from a home improvement store. This aligns with a growing trend toward flexible spaces that adapt to real life.
For safety, make sure the front panel closes flush and has a smooth latch. Also consider childproofing the pull so the table stays stable when needed and hidden when not.
13. Rotating Wall Spice-Like Trays for Craft Beads and Buttons

Picture a tiny rotating carousel hiding inside the wall, each compartment holding a different color. You spin it once and your whole kit is ready.
Install a rotating tray mechanism, then fit small jars or divided compartments inside. Use clear containers so you can see colors and quantities without opening everything. For practical tips, keep compartments identical in size so you can add or remove pieces easily.
Personalize the look by painting the tray rim in a bright shade and using matching jar lids. Cost considerations are manageable because small containers and a basic rotating base are often cheaper than custom cabinetry. This fits the trend of hobby storage that looks good while keeping supplies tidy and easy to grab.
To keep everything from cluttering, store only what you use frequently. You can also add a simple seasonal swap, like holiday buttons or summer bead colors, to keep the area feeling fresh.
14. Stack of Sliding Lids for Seasonal Linen Swaps
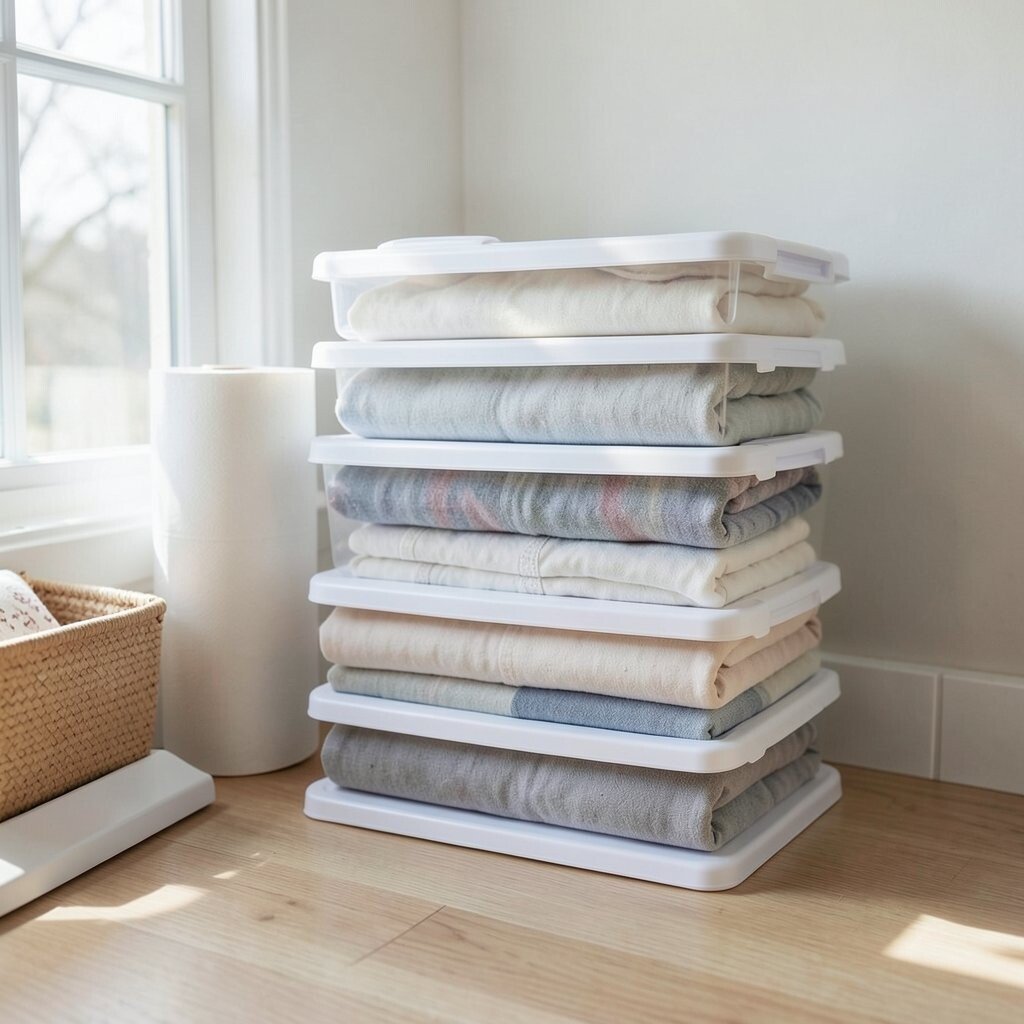
Imagine opening a narrow wall slot and pulling out stacked storage with sliding lids. Each layer feels like a neat drawer, even though the outer space stays sleek.
Build a series of thin trays that slide in and out with small handles, then add lightweight lids to protect linens from dust. Use breathable fabric liners to reduce musty smells, especially in humid rooms. For practical tips, keep each tray height just right so towels and small blankets fit without bending.
Personalize the system by choosing different colored liners for different seasons or rooms. Cost depends on tray material, but you can often use scrap wood framing and buy fabric liners in bulk. This matches current trends toward smart closet organization that reduces visual clutter and makes seasonal changes easier.
When you pack, label the trays with simple icons like snowflake, leaf, or bed so you can swap quickly. A system like this makes storage feel less stressful and more fun.
15. Hidden Wall “Mail Tidy” With a Catch and Decorative Cover
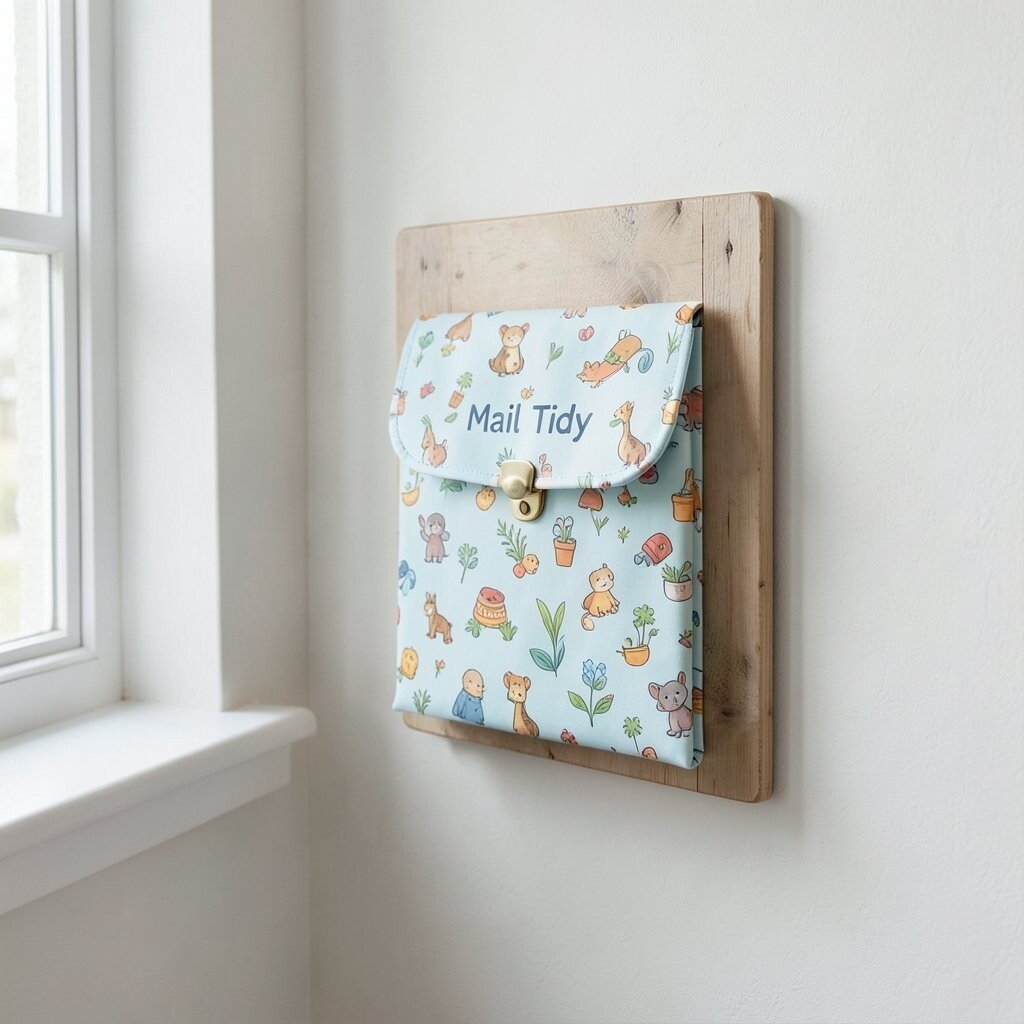
Picture a slim wall niche where mail drops into a tidy catch. The decorative cover keeps the area looking neat, even when bills and letters arrive.
Install a slanted catch inside the cavity so mail slides into a folder or bin without piling on top of itself. Add a front cover panel with a handle or a magnetic latch for quick access. For practical tips, keep the opening narrow enough to prevent extra items from being stuffed inside.
Personalization can be done with a pattern on the cover, like stripes or a subtle botanical print, so it matches your entryway style. Cost considerations are friendly if you build the interior catch from wood and use a pre-made door handle or latch. This aligns with a current trend toward organized entry zones where daily items are managed at the point of arrival.
If you share a home, create separate sections for family members using small dividers. It also helps you keep important papers visible without leaving stacks on tables.
16. Playful Hidden Toy Vault With a Two-Part Door
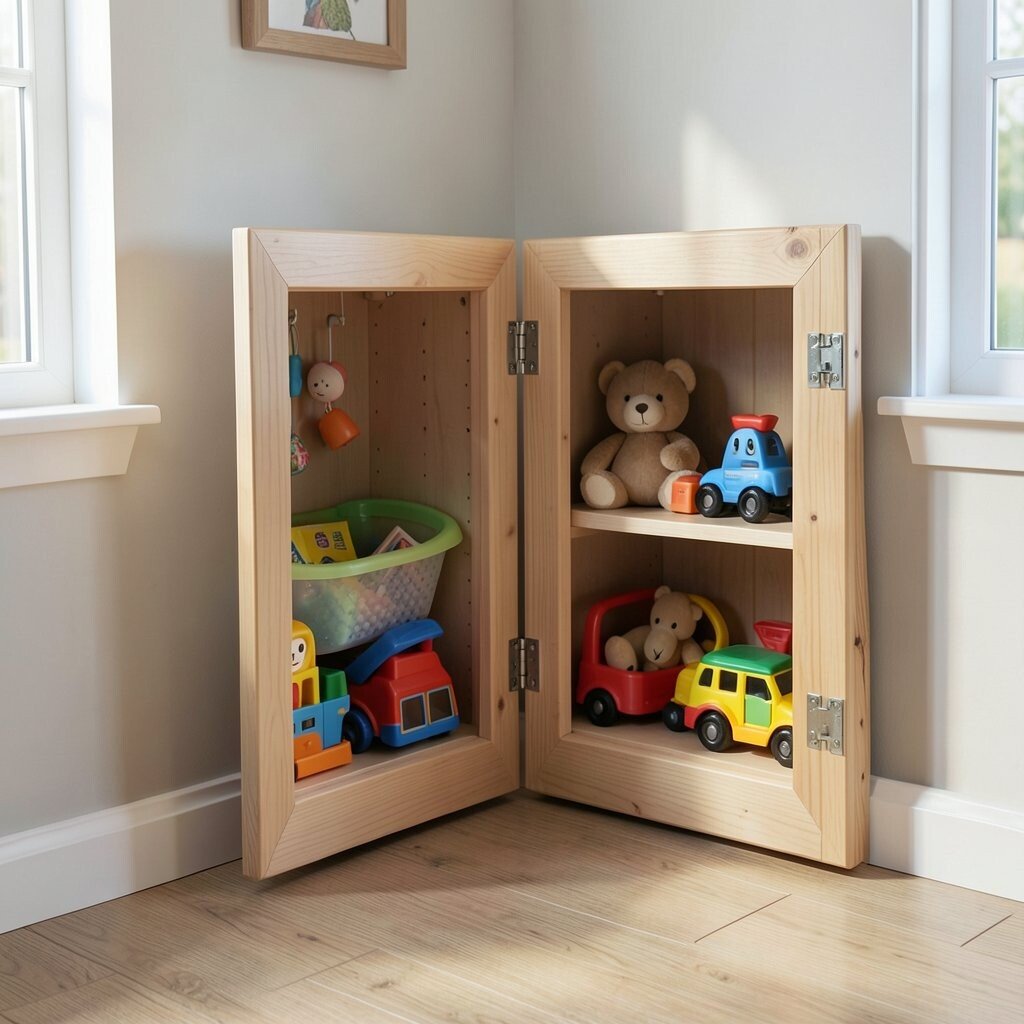
Imagine a toy storage pocket that looks like plain wall paneling until you press and pull. Then a vault-like compartment opens, and toys appear in neat rows.
Build a two-part door system with one panel for access and another that helps align the opening so it closes neatly. Inside, use low bins and soft dividers so pieces land where you expect. For practical tips, keep the lower bins shallow so kids can reach easily and older family members can reset quickly.
Personalize the front with removable decals of your child’s favorite themes, like stars, dinosaurs, or space maps. Cost can stay manageable when you use basic wood for the frame and invest mainly in hinges and door alignment parts. This idea matches current trends in kid-friendly storage that feels like part of the room design, not an afterthought.
To help with daily routines, add a quick “return pattern” by grouping toys by type. The vault becomes a game in itself, and the room stays calmer because toys are always headed back into the same spot.
Just make sure the door opens smoothly and closes firmly so it doesn’t rattle during busy mornings.