That glossy finish you love can fade faster than you think. The good news is you can bring it back with simple, smart habits.
1. Start With a Gentle Clean That Lifts Dust
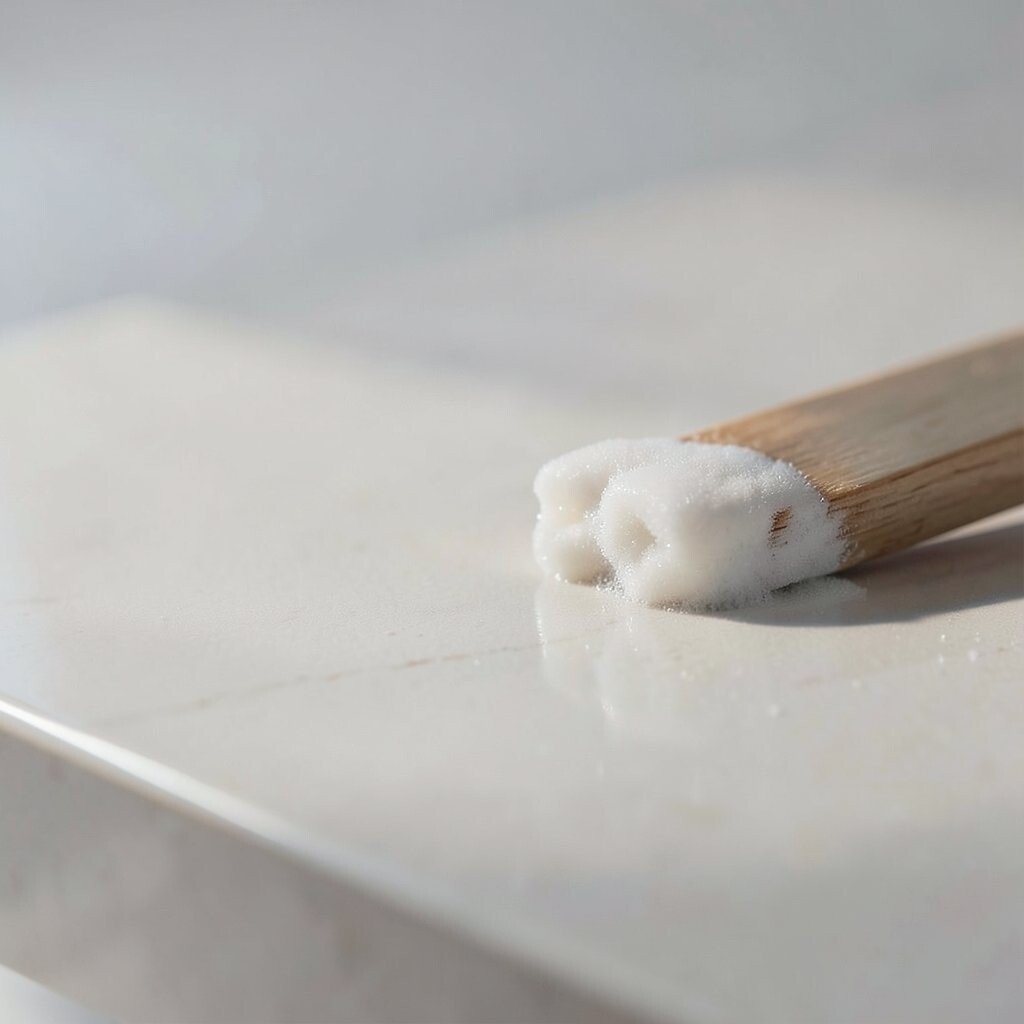
Before you add any shine, give the surface a calm, careful wash. Use a soft microfiber cloth and a pH-balanced cleaner meant for polished materials.
Dust and grit act like tiny scratches, so wipe in smooth passes and don’t press hard. Rinse if your product calls for it, then dry right away with another clean cloth.
2. Choose the Right Cloth for a Real Mirror Look
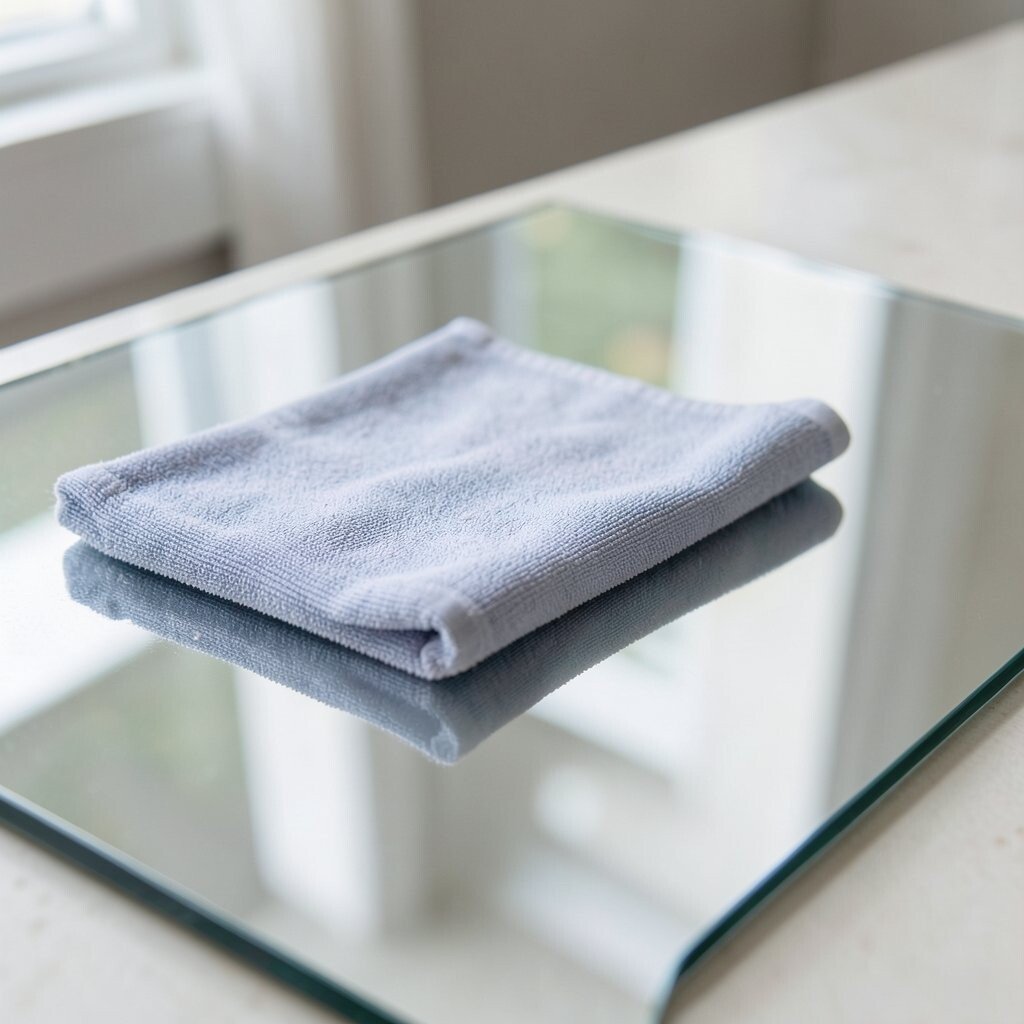
A polishing cloth changes everything in how light bounces. Look for microfiber or polishing pads that feel plush, not scratchy.
When you use a cloth with the right texture, streaks soften and the shine looks even. Keep separate cloths for cleaning and finishing so you aren’t smearing residue around.
For a personal touch, match cloth colors to the area you’re working on, like a dedicated cloth for countertops and another for fixtures. This small habit saves time and helps the finish look consistently fresh.
3. Use Microfiber Drying to Prevent Water Spots
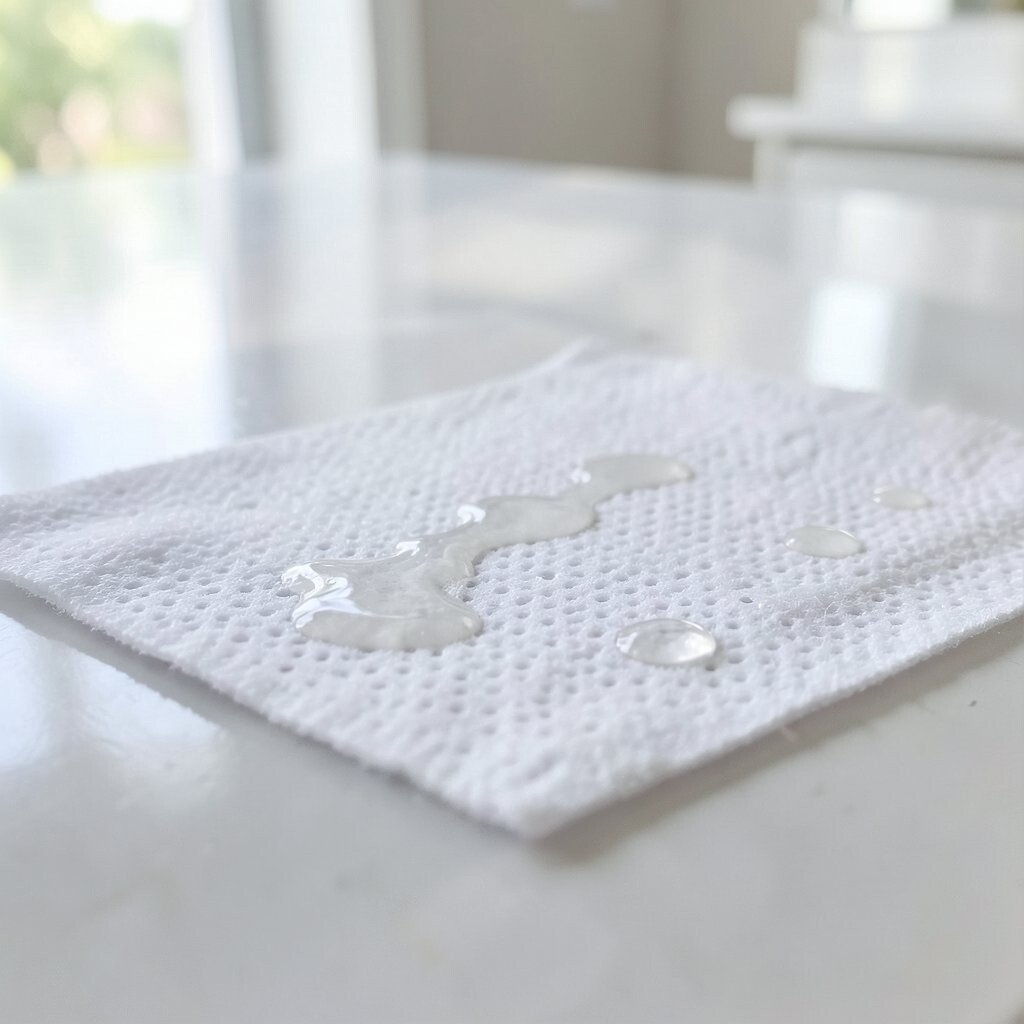
After cleaning, drying is where many people accidentally ruin the look. Water spots form when minerals dry on the surface.
Pat the surface lightly, then buff with a dry microfiber cloth in gentle circles. You’ll see dull patches fade as the top layer clears and the light returns.
If you want to add a simple routine, keep a small stack of clean cloths in one spot. That way you dry immediately instead of leaving the surface to air-dry.
4. Apply a Thin, Even Layer of Polish

Polish works best when it’s light and even, not thick. A thin coat gives a smooth surface and helps reduce streaky shine.
Use a soft pad and work in small sections, then wipe off according to the polish directions. You’ll notice a calmer, brighter glow that looks more “glass-like” than “sticky.”
5. Buff With the Grain for Extra Clarity
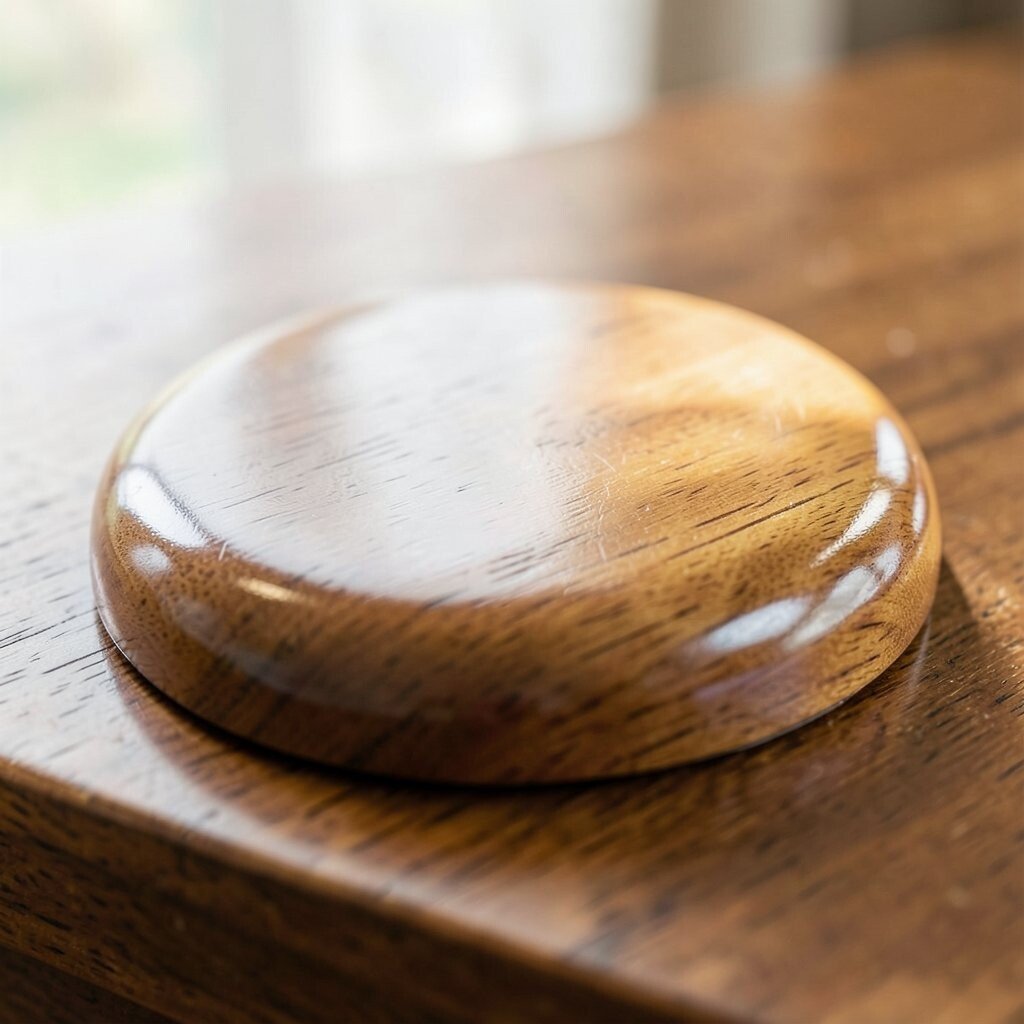
Polished surfaces often show movement lines, especially under bright light. Buffing with the grain or the natural pattern helps hide those tiny directional marks.
Pay attention to how the finish looks up close and follow that direction with steady pressure. This makes the shine look cleaner and more uniform from every angle.
To personalize, set up good lighting and tilt your head while buffing so you catch any remaining haze. That quick check helps you get a more professional look without extra products.
6. Upgrade Your Lighting to Make the Shine Pop

Sometimes the surface is perfect, but the room lighting makes it look dull. Switch to warmer, softer bulbs or add a small task light aimed across the finish.
When light hits at the right angle, you see the depth and smoothness more clearly. This “spotlight effect” can make your polished area look richer without buying anything new.
If you enjoy creativity, use adjustable lamps so you can change the angle for different times of day. It’s a fun way to make the same surface look brand new again and again.
7. Keep High-Touch Areas Protected From Fingerprints
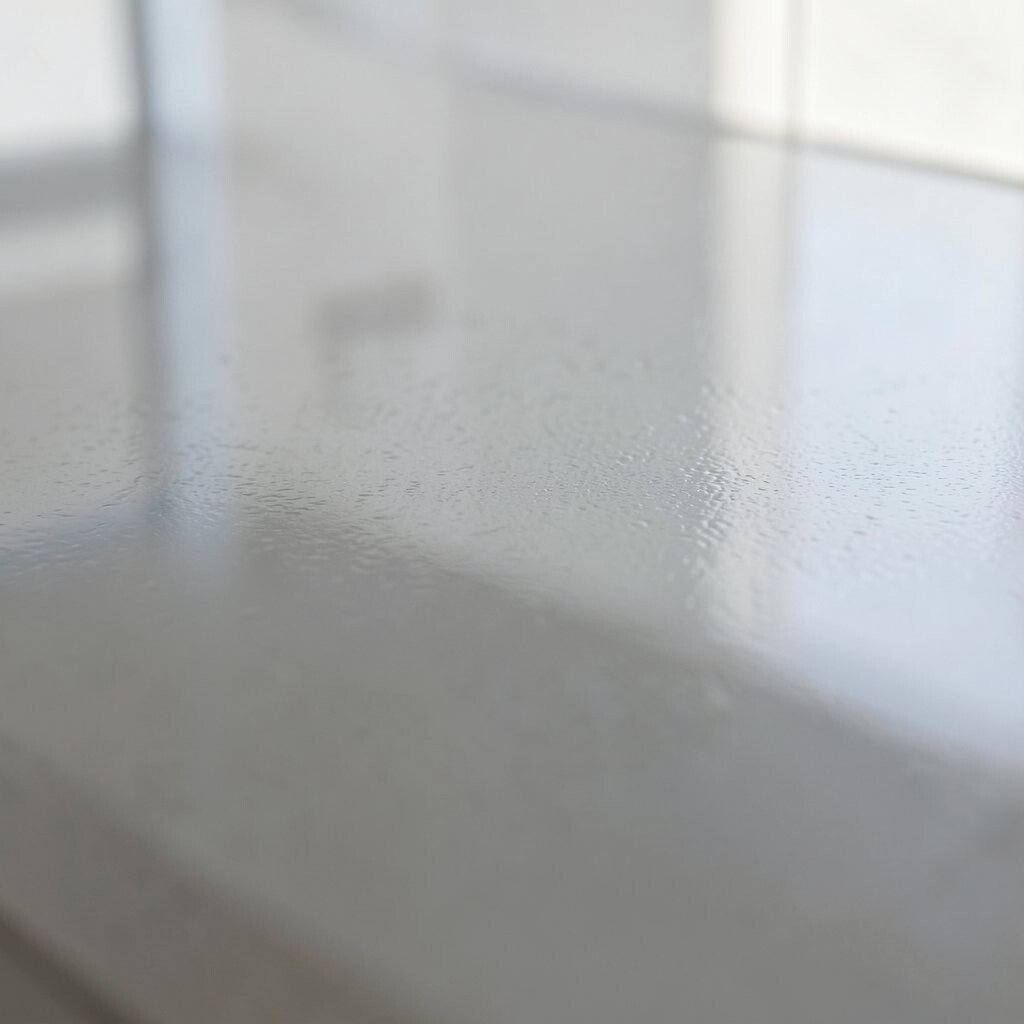
Everyday touch leaves natural oils behind, and on polished surfaces that shows up as smudges. Handle with clean hands and avoid touching right after applying polish.
If the area gets frequent contact, protect it with a clear, safe barrier layer made for polished finishes. The surface stays cleaner longer, so you spend less time wiping and more time enjoying the look.
8. Use Coasters, Mats, and Trivets Like a Pro
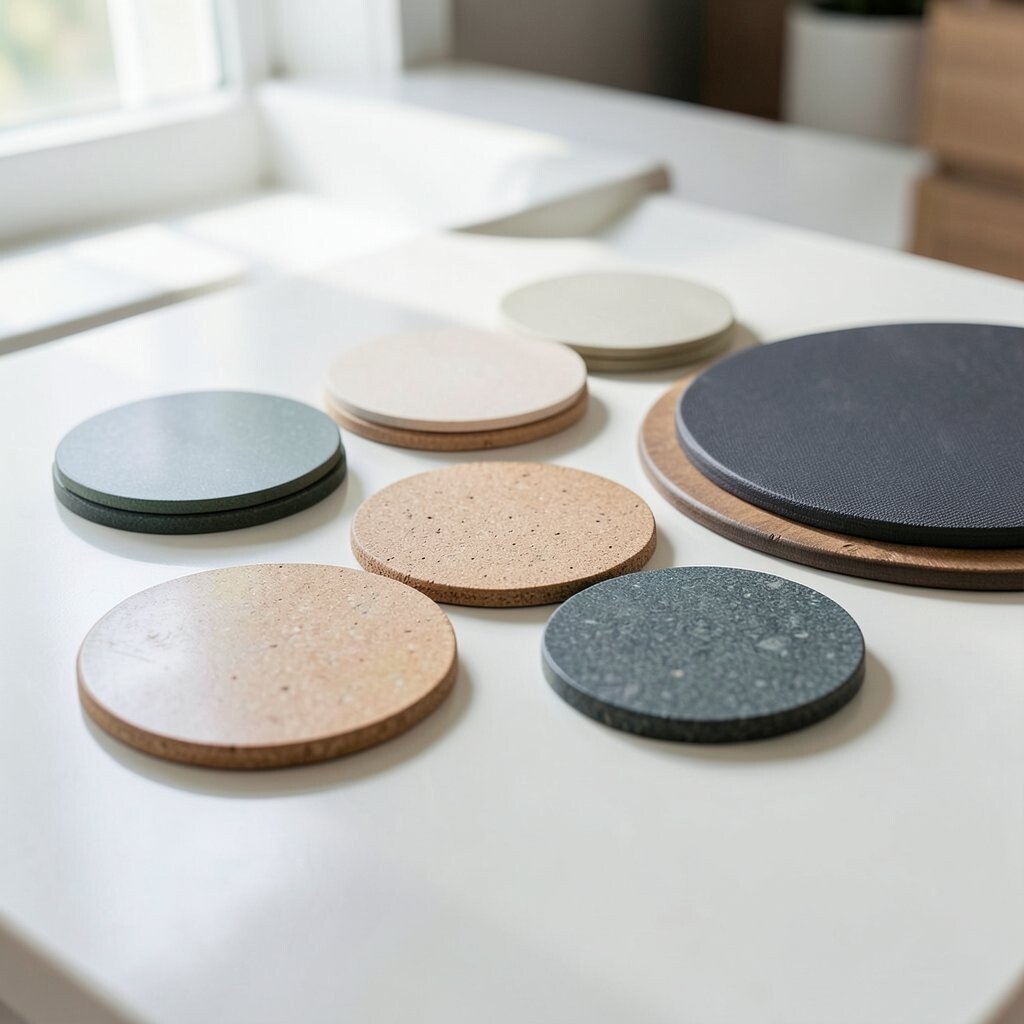
Heat rings and moisture marks happen quietly, especially on counters and tables. Put coasters under drinks and use trivets under hot items to prevent damage before it starts.
Choose materials that look good too, like sleek cork or felt-backed options that won’t scratch. When everything stays dry and cool, your polished shine stays bright for longer.
For personalization, match your mats to seasons or colors in your room. It’s an easy way to keep the finish safe while making your space feel styled.
9. Remove Residue With Care, Not Harsh Scrubs
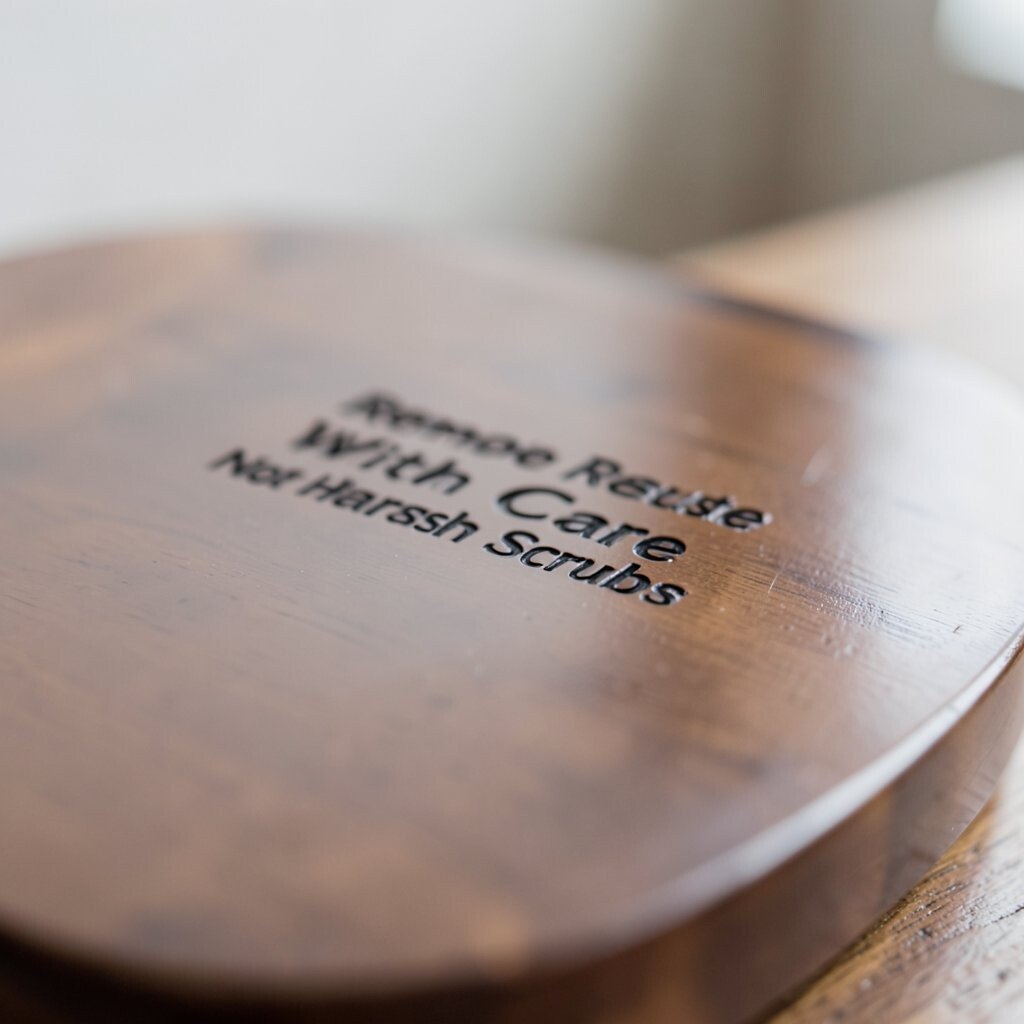
Sticky cleaners, leftover polish, and everyday grime can build a dull film. Instead of scrubbing, use a gentle cleaner and soft wiping motions.
If you see haze, try a residue-removal step made for your surface type, then buff dry. This clears the top layer so the shine looks sharper and more reflective.
10. Try a “Test Spot” Before You Full-Polish Everything
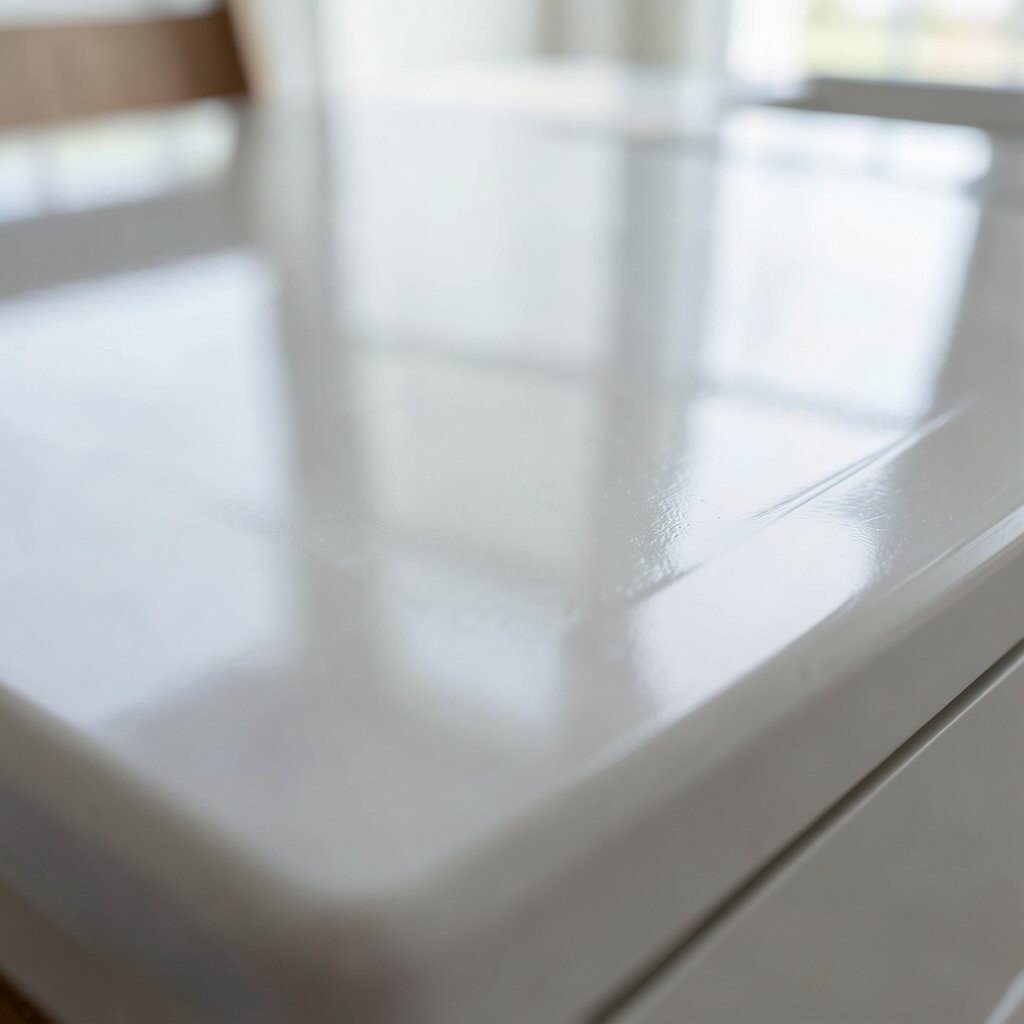
Different materials react differently to polish, even if they look similar. Testing a small hidden area helps you avoid surprises like cloudiness or patchiness.
Pick a corner or underside spot, apply a little product, and wait the recommended time. If the finish looks smooth and bright, you can confidently continue across the whole area.
Cost can also guide you here, because one careful test helps you avoid wasting a full bottle. It’s a simple step that keeps your budget and your finish both happy.
11. Balance Shine With Safety for Daily Use
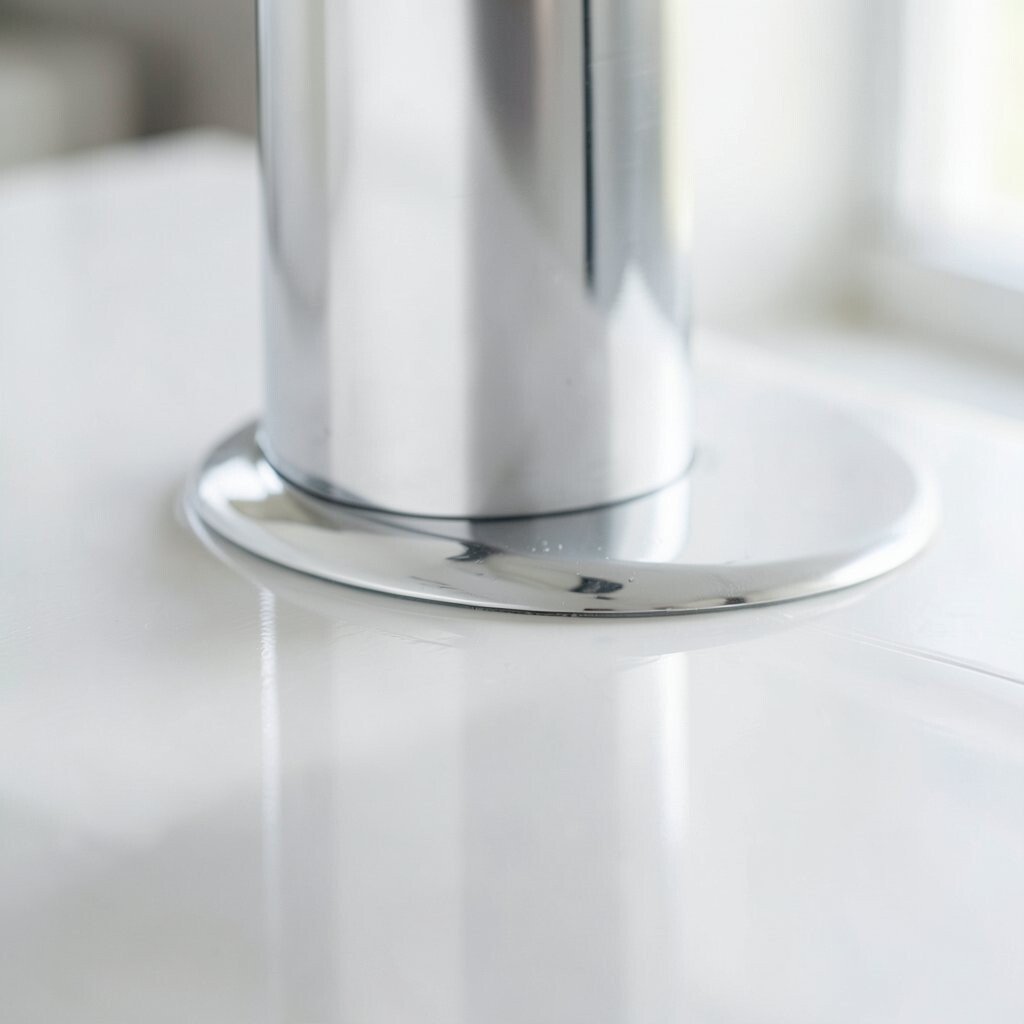
A bright surface is exciting, but it shouldn’t become slippery or unsafe. Choose polishes that dry to a stable finish, especially in kitchens or bathrooms.
Wipe off fully so you don’t leave a tacky residue that can attract dust. When the surface feels comfortable to use, the shine stays cleaner and more practical.
For personalization, you can aim for a “soft glow” rather than extreme mirror shine, depending on your style. That balance can also hide tiny imperfections better during real daily life.
12. Refresh With a Quick Buff Between Deep Cleanings
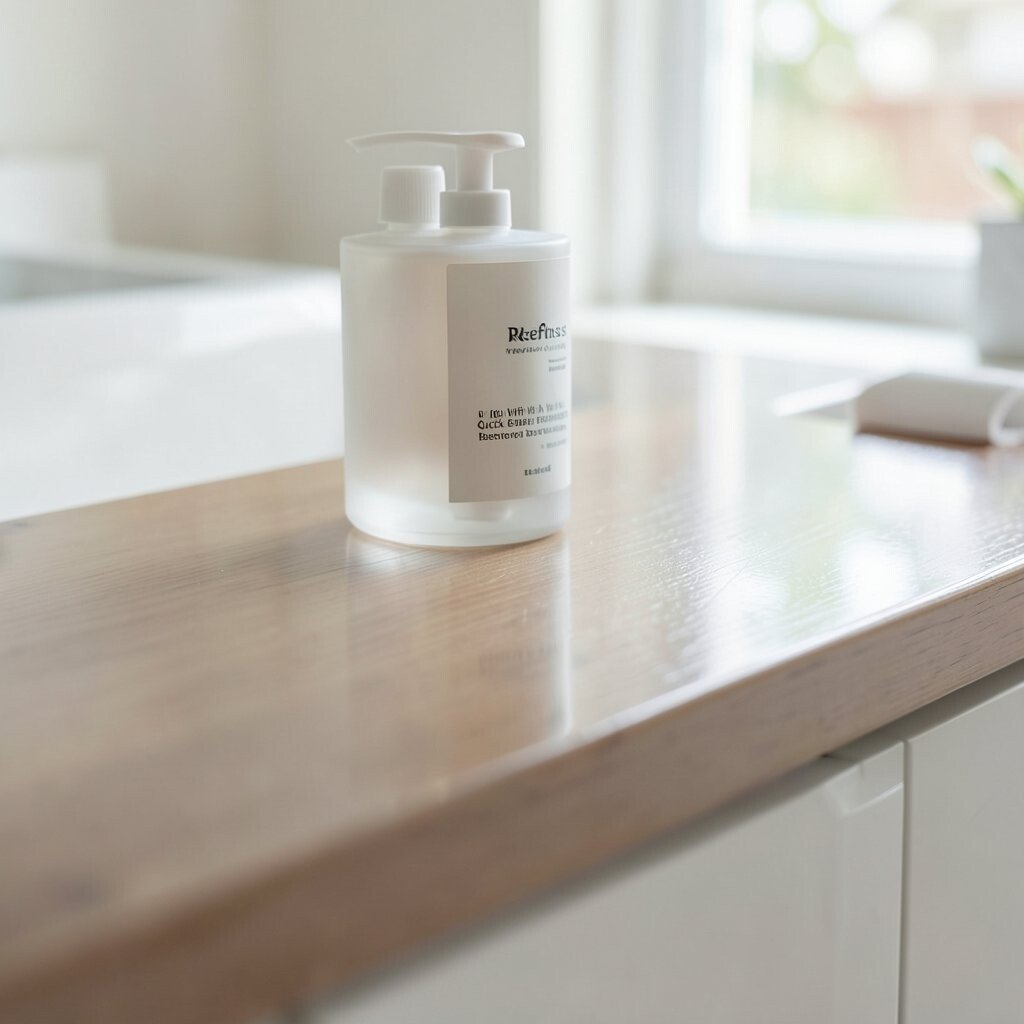
You don’t have to wait for a major cleaning to keep things looking great. A short buff between deeper sessions can bring back the glow.
Use a clean microfiber cloth and a tiny amount of polish or a finish-safe spritz, then wipe in gentle circles. This quick routine helps dust and fingerprint marks release before they build up.
13. Match Product Type to the Material You Have
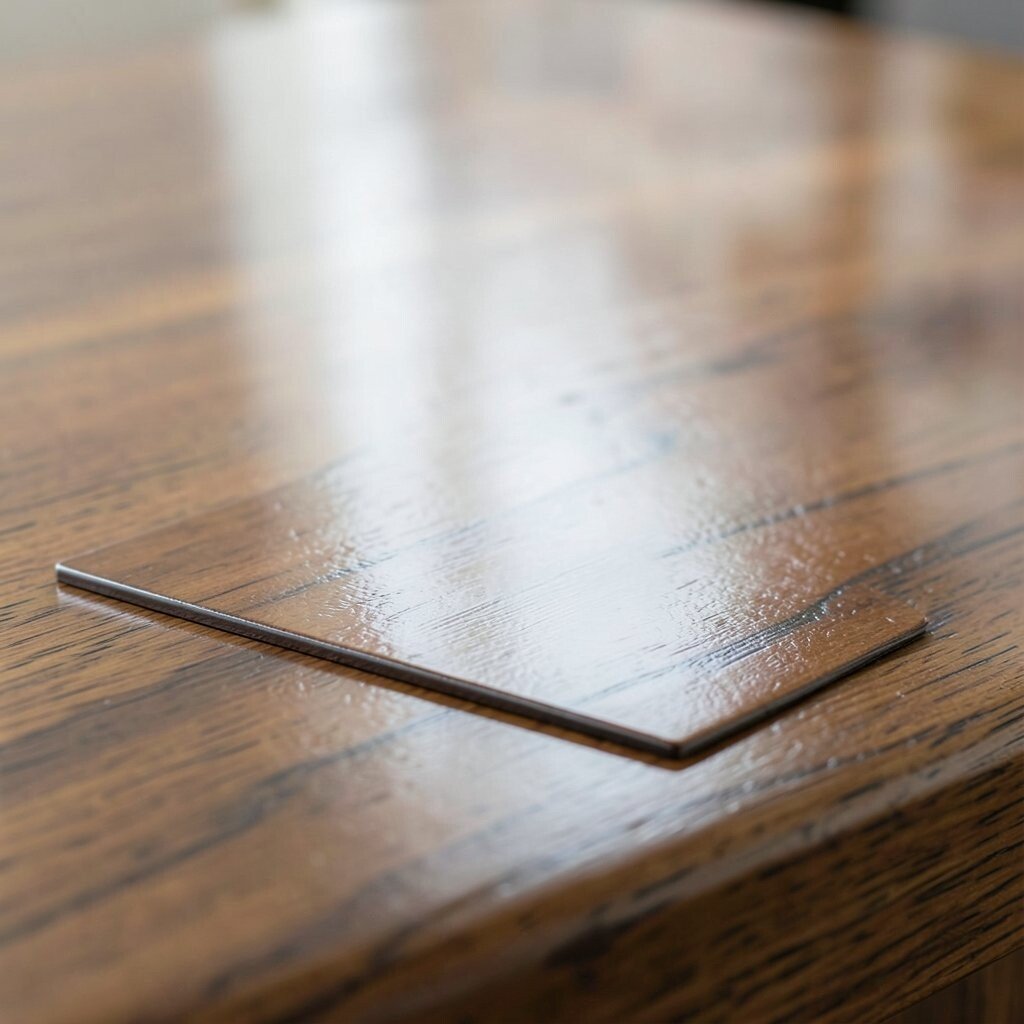
Polished surfaces come in many types, like stone, metal, and sealed wood. Each one needs a product that fits its finish, and using the wrong one can dull the look.
Check what the surface is made of and choose a polish that matches it. When the product is right, you’ll notice the shine looks deeper and the texture feels smoother.
If you’re trying to keep costs steady, buy one trusted brand for your main material and test carefully on small areas. Consistency reduces trial-and-error, which saves money over time.
14. Make It Yours With Finish-Safe, Seasonal Style
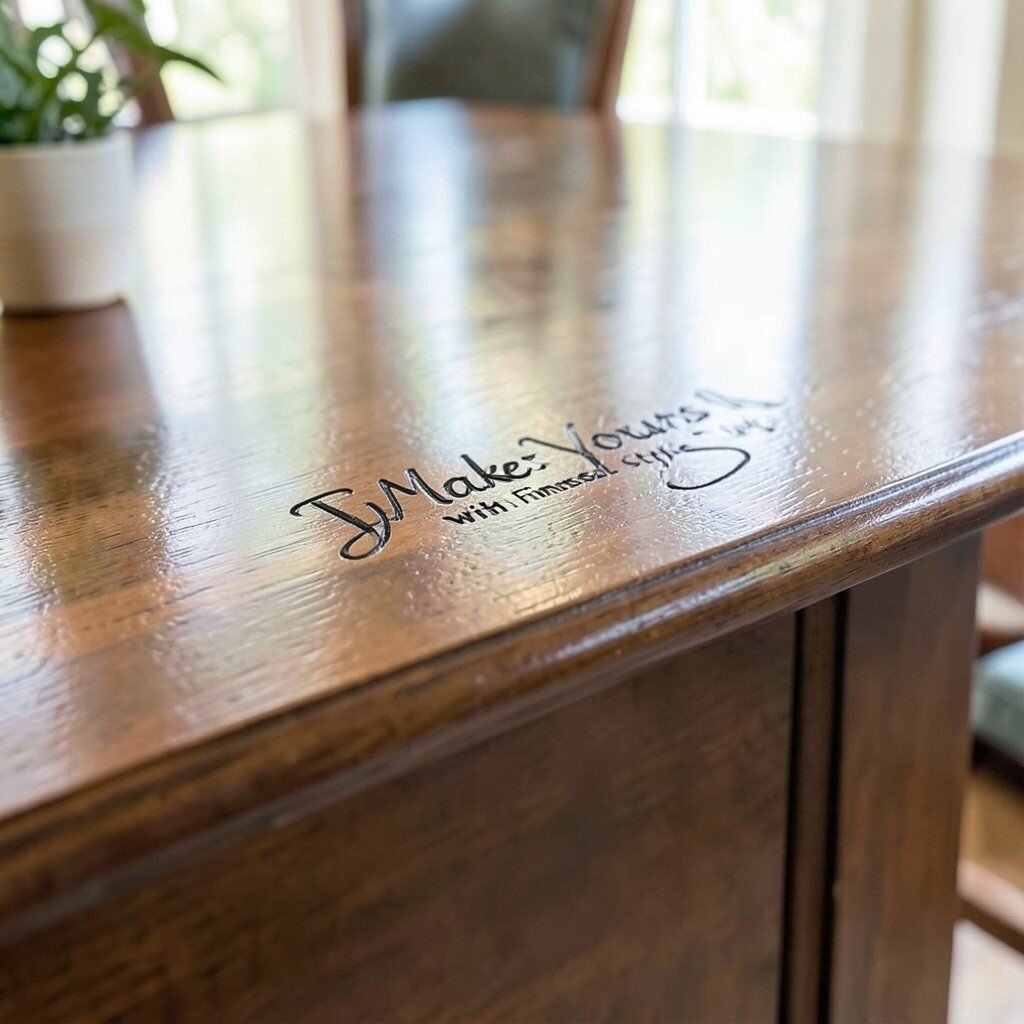
Shine feels even better when your space looks intentional. Rotate decorative items like trays, candle holders, and coasters so the polished surface stays part of the design.
Use seasonal accents that won’t scratch, like protective pads under decor and heat-safe bases under candles. You get a fresh look without risking the finish.
If you want a modern trend, consider subtle, minimal props that let the polished glow take the spotlight. The result feels clean, current, and satisfying every time you walk by.