The clutter in your supplies has a way of creeping in quietly. A few smart changes can make everything feel orderly again.
1. Sort With Clear Front Bins
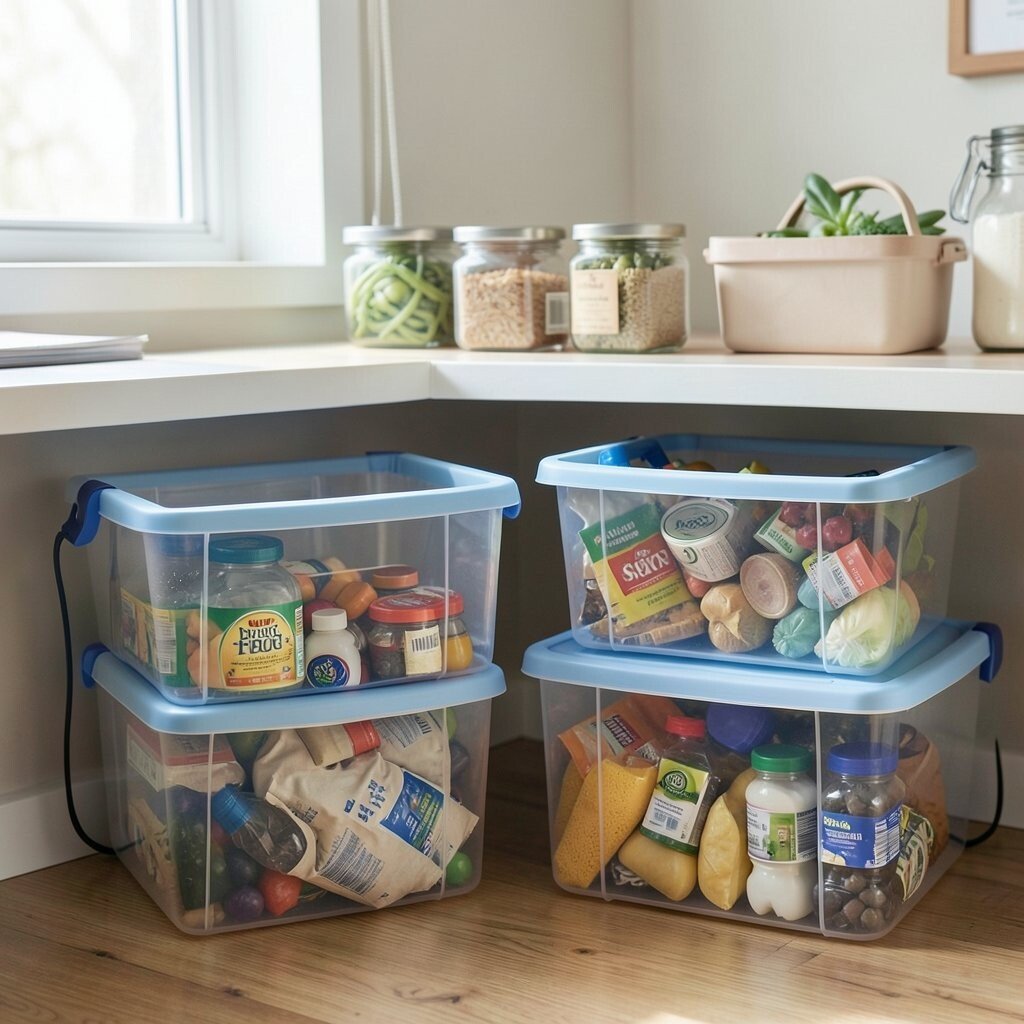
Grab a set of clear bins so you can spot items at a glance. When you can see what is inside, you waste less time hunting around.
Start by grouping similar supplies together, like tape, scissors, and labels. Use small bin dividers or even folded paper to keep tiny things from sliding. Pick sizes that match your space so the bins do not end up stacked in an untidy tower.
2. Add a Simple Wall Rail for Daily Use

Hang a rail or track on the side of a closet, craft room, or laundry area. Tools you touch often, like scissors and rulers, look tidy when they have a home.
Place hooks at different heights so bulky items and flat items both fit. This keeps your work surface clearer and makes grabbing supplies faster during busy days.
For personalization, paint the rail a fun color that matches your room. Choose lightweight options first if you are working with rented space or drywall that needs care.
3. Use Drawer Inserts Made From Cardboard
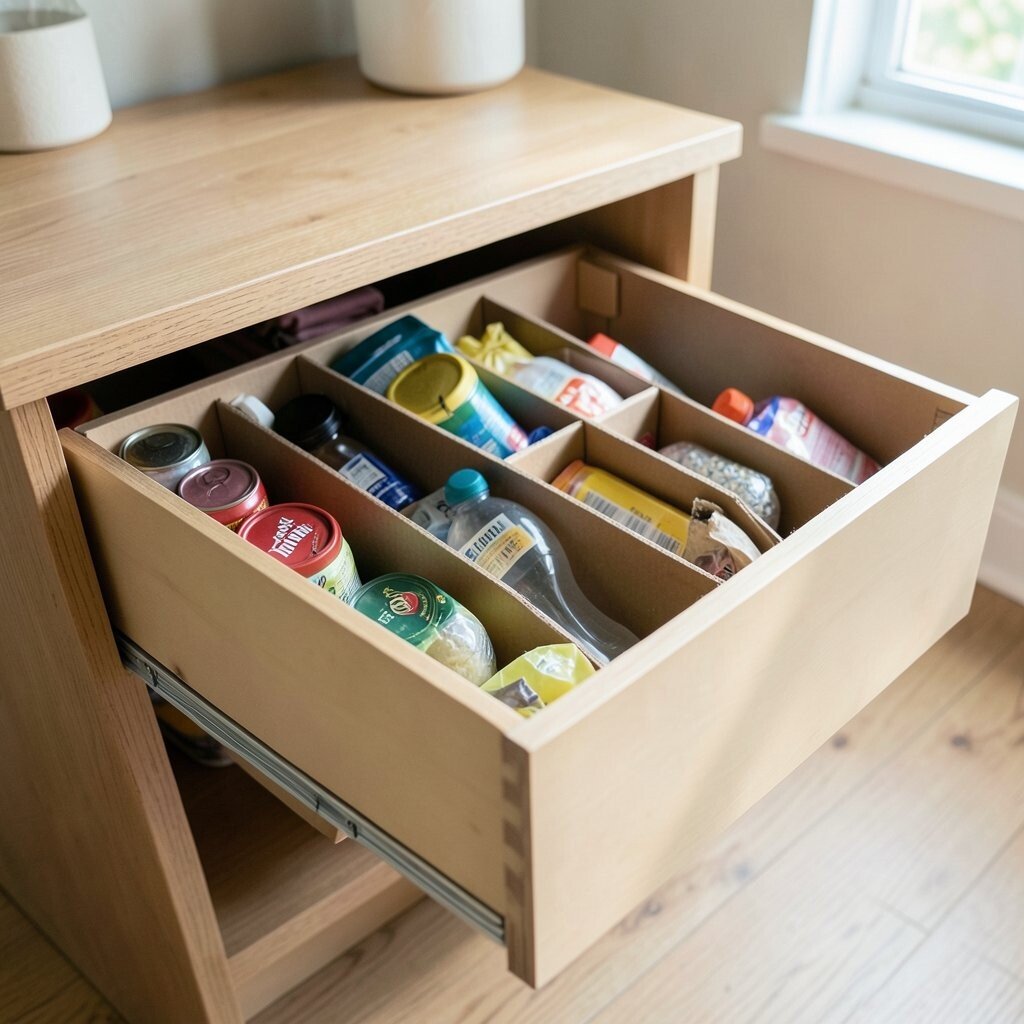
Cut sturdy cardboard into neat rectangles and line your drawers. This gives small supplies a boundary so they do not roll into one messy pile.
Make compartments for things like paper clips, hair ties, glue sticks, and marker caps. It is easy to customize the size, and you can replace the inserts whenever they get worn.
For a cleaner look, cover the cardboard with patterned contact paper or wrapping paper. Keep heavier tools in the bottom section and keep lighter bits on top so they stay easy to reach.
If you want a current, modern vibe, match the patterns to the colors you already use in your home. This quick fix feels creative but still practical, and it costs very little.
4. Label Everything With Removable Tape

Use removable label tape for bins and drawers so you can update your system. Clear labels reduce the mental load of remembering where things go.
Write big, simple words and keep the handwriting consistent. People often think labels are for other folks, but labeling helps you too when you are tired.
5. Store Spray Bottles in a Caddy Tray
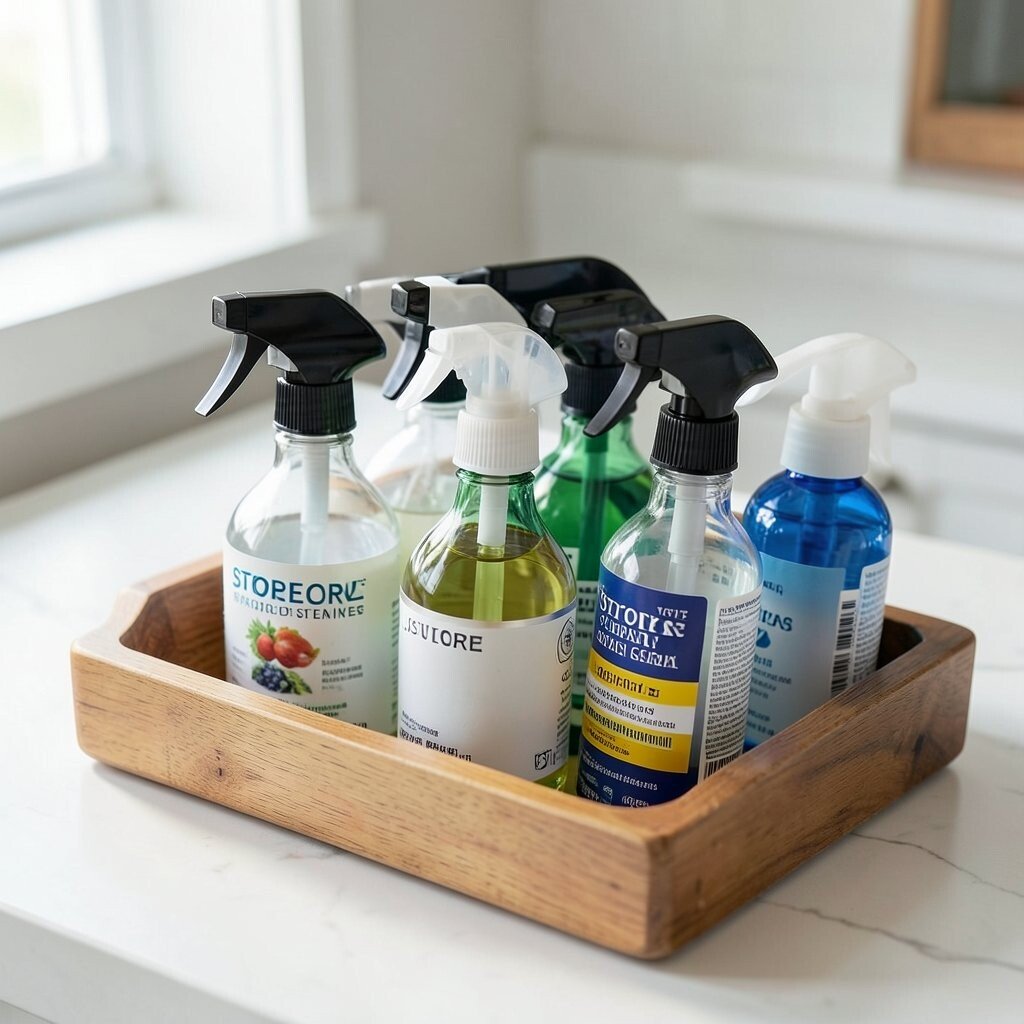
Place spray bottles in a shallow caddy so they do not clatter around. A tray like this turns a hazard-prone pile into a neat row.
Choose a caddy with dividers to prevent caps from pressing into each other. It also helps you find the right bottle faster when you need it during cleaning or projects.
If the bottles are different sizes, customize the dividers using cut foam or thick felt. This adds softness and prevents scratches on labels and surfaces.
6. Hang Pegboard for Small Tool Density
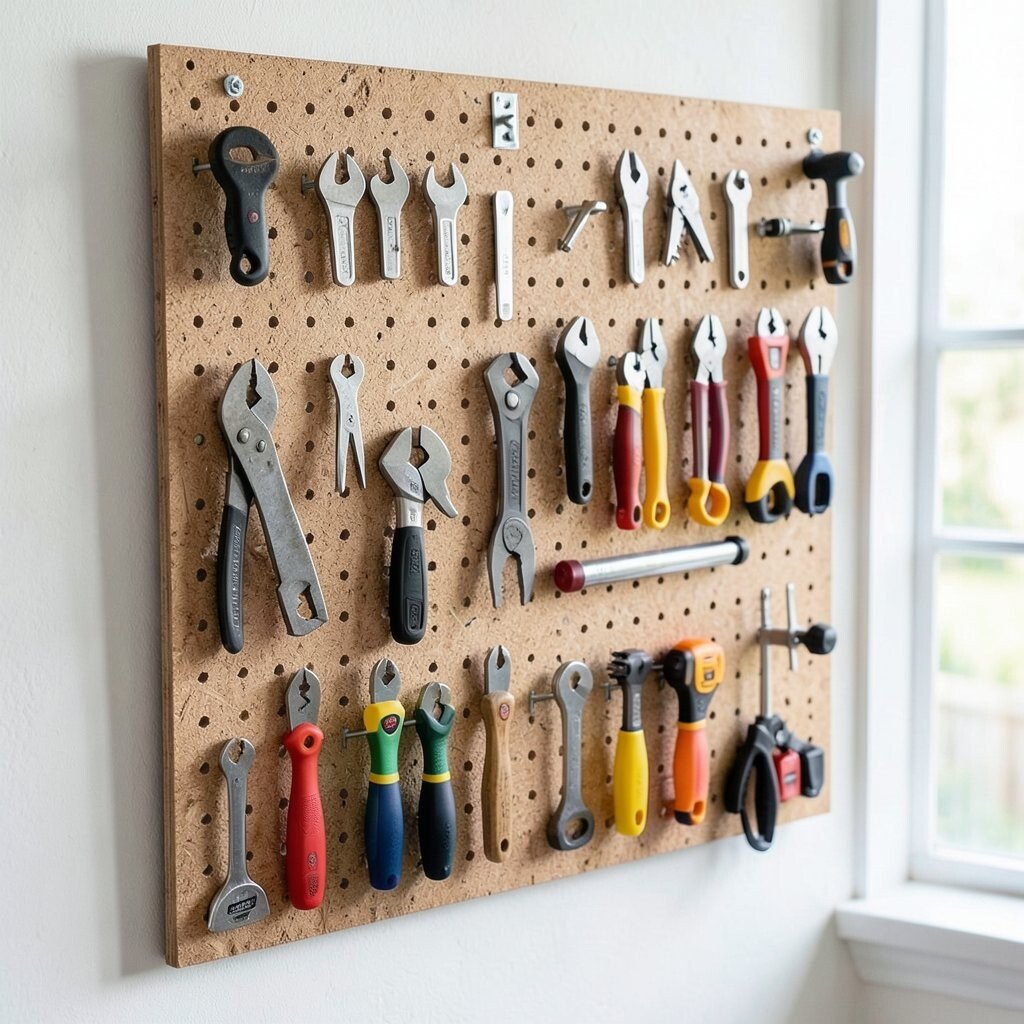
Pegboard is one of those storage upgrades that instantly makes a space feel organized. It lets you hang lots of small items while keeping your counters open.
Arrange commonly used tools in a layout you actually like to see, such as grouping by task. Add labeled hooks and small baskets for bits like batteries, nails, and extra screws.
For a more polished look, paint the pegboard or add a frame around it. Many people are choosing pegboard in bright colors right now because it adds energy without extra clutter.
7. Create a “Go Bag” for Supplies on the Move
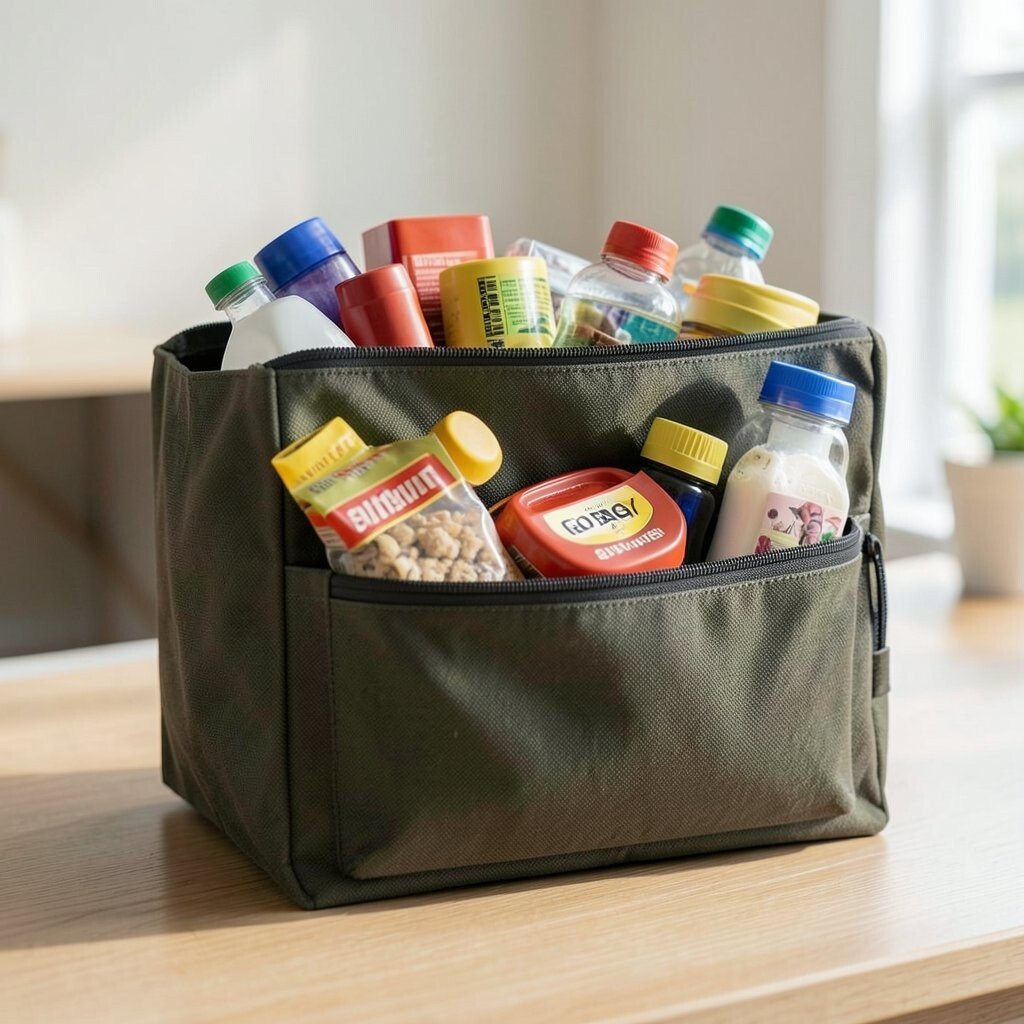
Keep a dedicated tote or rolling pouch for supplies you grab at the last minute. This works well for school projects, hobby time, and weekend errands with a “just in case” mindset.
Pick a size that fits in a closet or car trunk, and keep a consistent set of essentials inside. Think along the lines of tape, a mini stapler, a few pens, and a small notepad.
To personalize, decorate the outside with stickers or color-coded patches for quick recognition. You can also swap out items seasonally without upsetting the rest of your storage.
8. Stack Pantry-Style Baskets for Bulk Refills
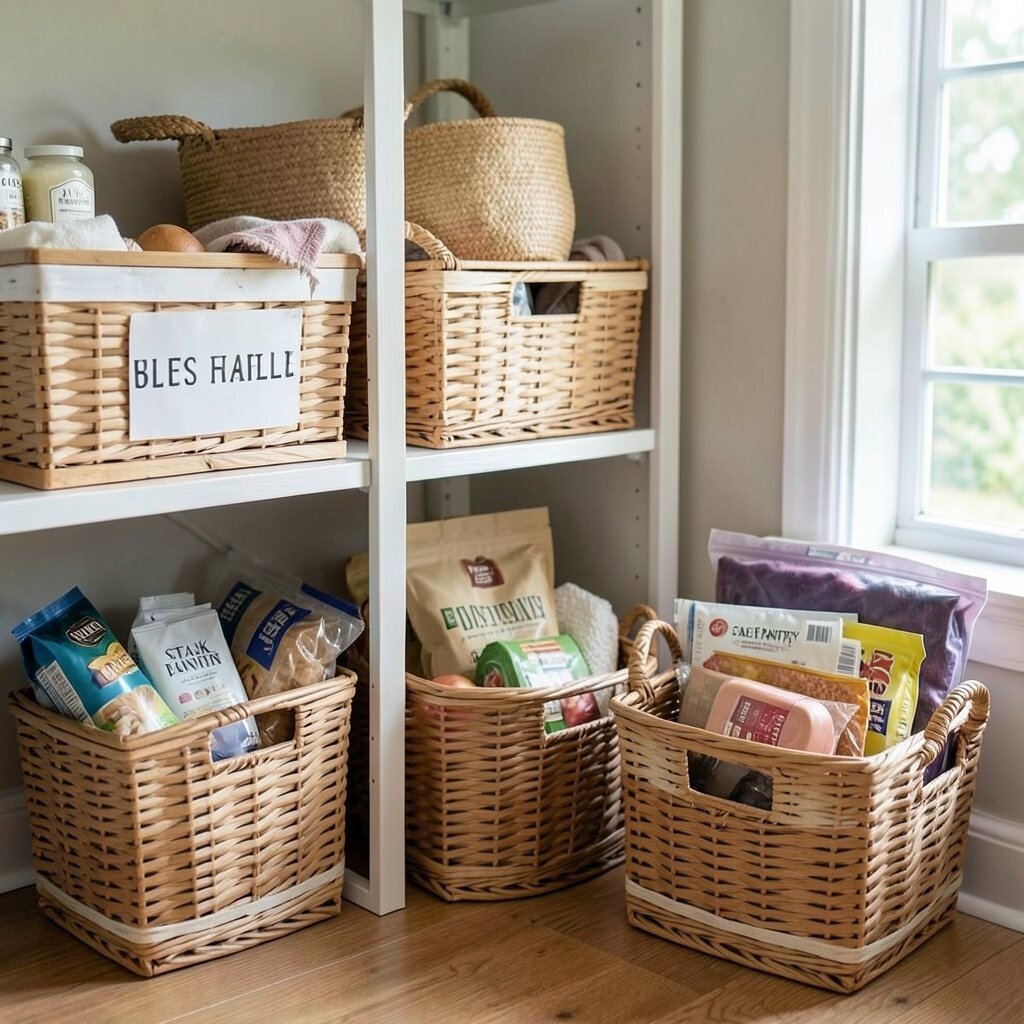
Use stackable baskets like the kind you see in pantries for bulk refills. They make bigger supply amounts easier to manage without creating a giant pile.
Sort refills by category and keep each basket at one level so it is not buried. You will enjoy the visual calm of seeing everything in consistent sizes.
9. Turn an Old Spice Rack Into a Marker Station
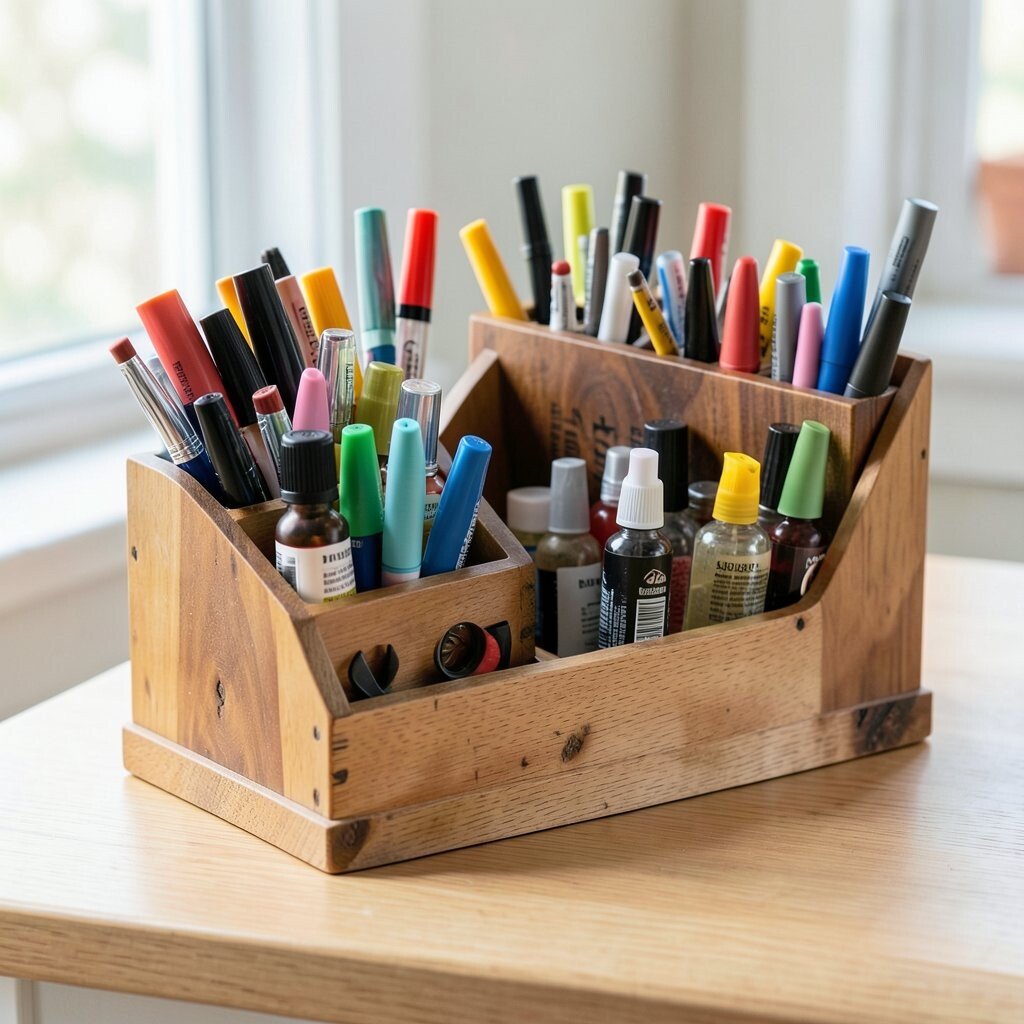
An old spice rack can become a charming marker and pen organizer. The small slots keep caps straight and reduce the chance of lost marker tips.
Place it in a craft area, home office, or even near the entryway for quick notes. Choose a rack with enough compartments for your most-used colors and writing tools.
For personalization, label each slot with a simple color icon or a short word. If you like current trends, consider a two-tone look where the rack matches your desk accessories.
10. Use Vertical File Holders for Paper and Patterns
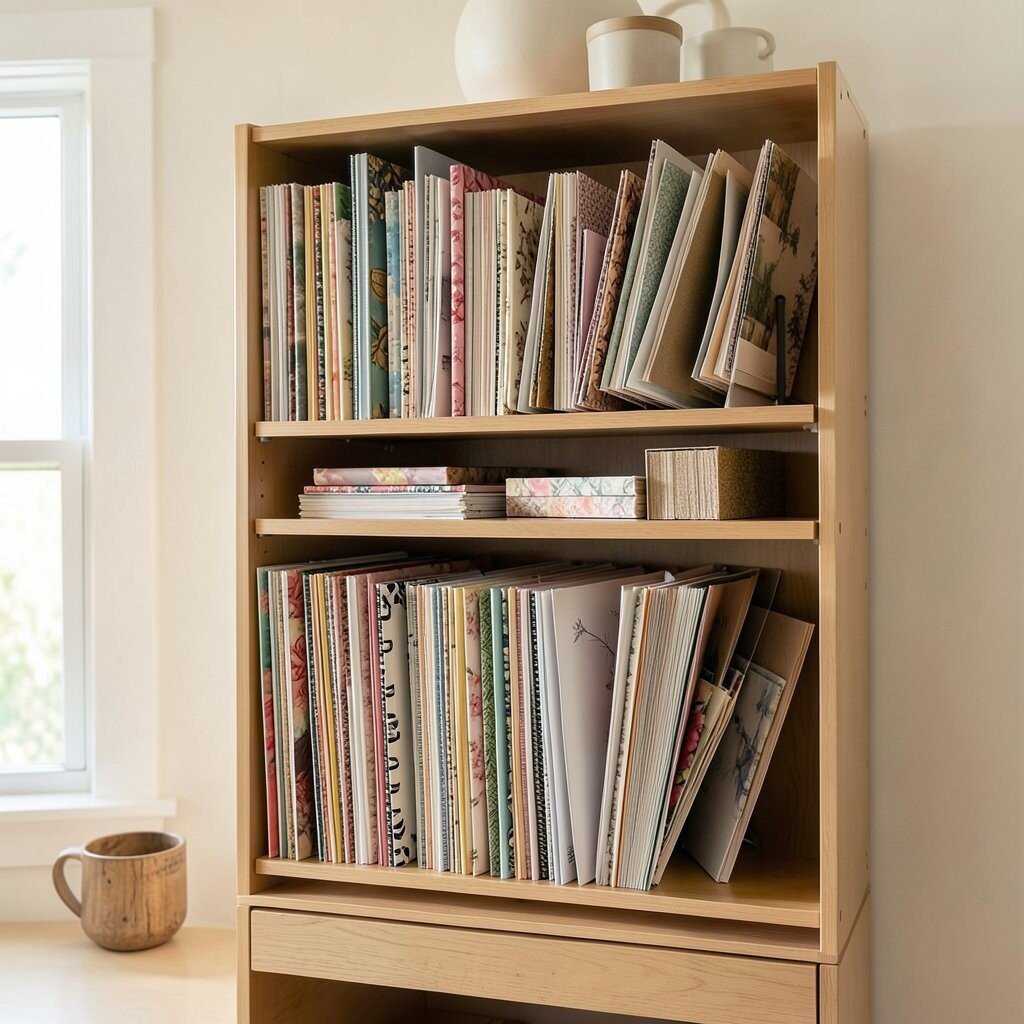
Try vertical file holders to store paper, templates, and sheet music. Instead of crumpled stacks, you get a neat set of upright documents.
Arrange items by size or by project so you can grab what you need in seconds. Use paper bands or a thin elastic strip to hold together patterns that belong together.
If you have limited floor space, mount the holders on a wall or inside a cabinet door. This keeps paper safe from bending and makes your system easier to maintain.
When you notice that certain projects repeat, keep them within reach and store the rest higher up. This small choice reduces mess because you do not overreach for rarely used supplies.
11. Store Cords and Accessories in Labeled Envelopes
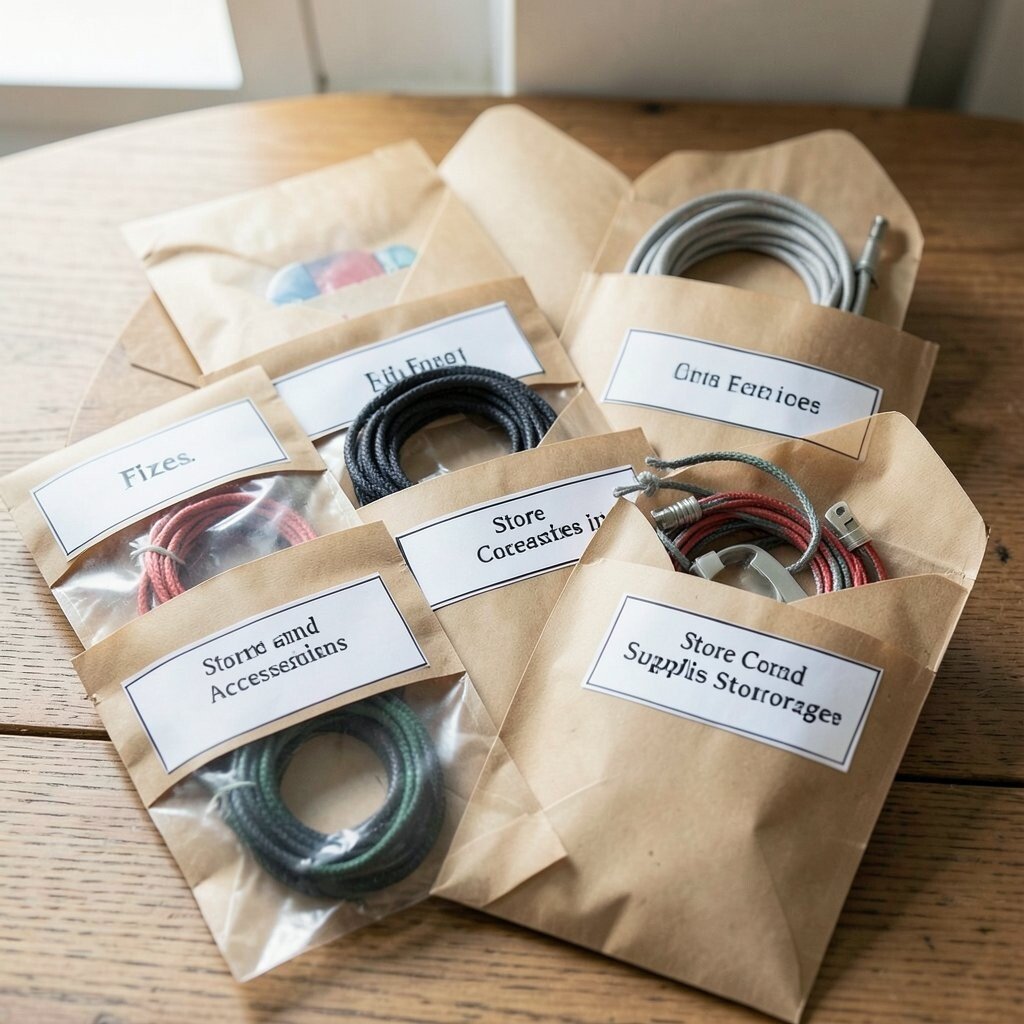
Put cords, chargers, and small accessories into labeled envelopes or zipper pouches. It is a simple way to stop tangled surprises from eating your time.
Choose envelopes that match the size of each cord bundle, so nothing needs to be forced. Add a short description so you can tell the difference quickly, especially when two items look similar.
For personalization, use different colors for categories like office, camera, and kitchen. People are leaning into color systems right now because they make organization feel less stressful and more fun.
12. Keep Frequently Used Items in a Sliding Bin

A sliding bin or drawer insert keeps supplies close and controlled. When you can pull it out, you avoid digging through stacked boxes.
Store your top daily items there, like tape rolls, scissors, extra batteries, and sticky notes. The benefit is immediate because you reduce rummaging and keep your space calm.
13. Add a Heat-Resistant Tray for Hot Tools

If you use hot glue, soldering tools, or curling supplies, add a heat-resistant tray nearby. It gives you a safe landing spot that prevents damage to your table or shelf.
Place the tray on a stable surface and keep tools and glue sticks in nearby compartments. This makes your workspace feel safer and more professional, even for small projects.
For uniqueness, choose a tray color that contrasts with your work area so it stands out. You can also use the tray as a staging zone so you know what is active and what is finished.
When you plan storage for safety, you prevent messy spills and reduce stress mid-project. That practical peace of mind is a big part of why this fix is worth trying.
14. Bundle Supplies With Elastic Bands and Wrap Strips
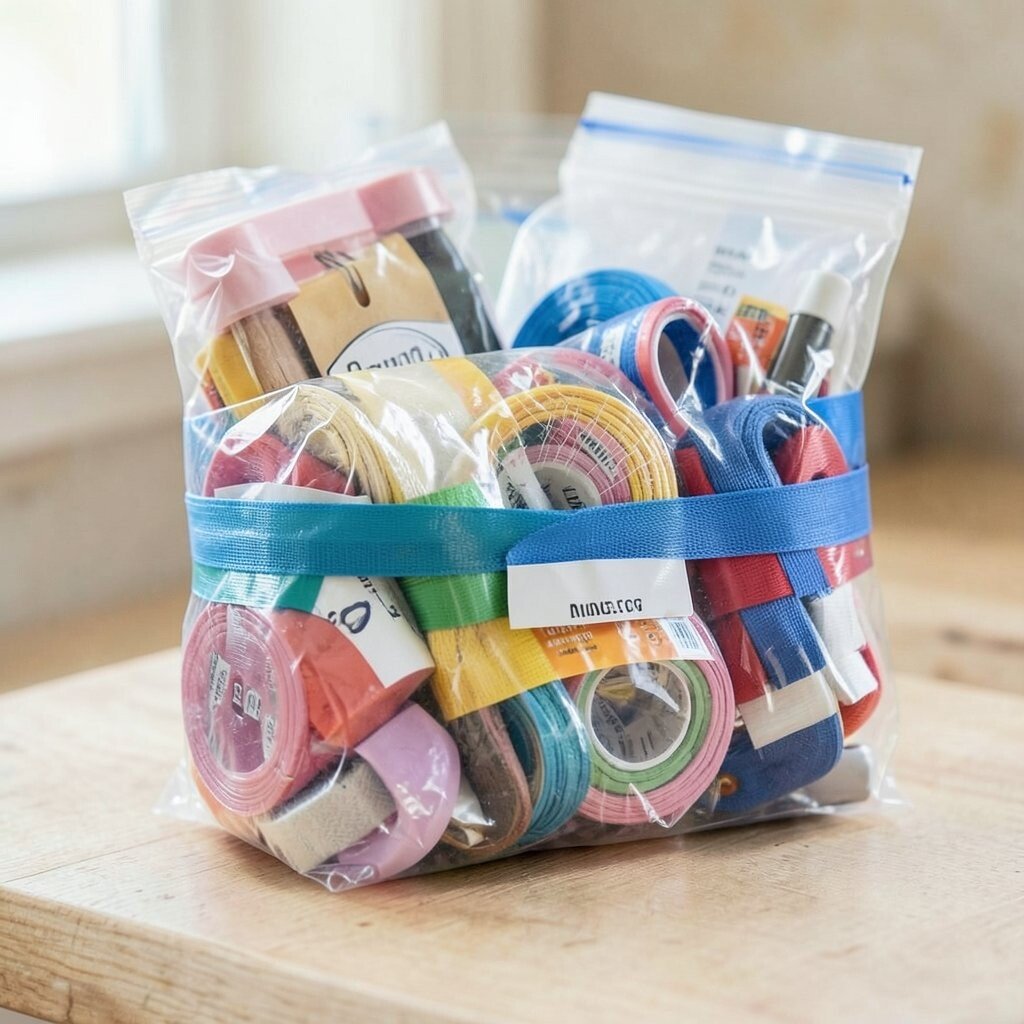
Elastic bands and wrap strips can turn scattered items into neat bundles. This is great for things like cables, small measuring tools, and sets of craft accessories.
Group bundles by size or purpose and keep them in a bin, drawer, or shelf zone. You can label the outside of each bundle with a simple marker so you can tell them apart quickly.
Try mixing band colors so each category has a visual signal. This small personalization makes it easier to put things back where they belong.
15. Build a “Parts Container” for Hardware and Odds
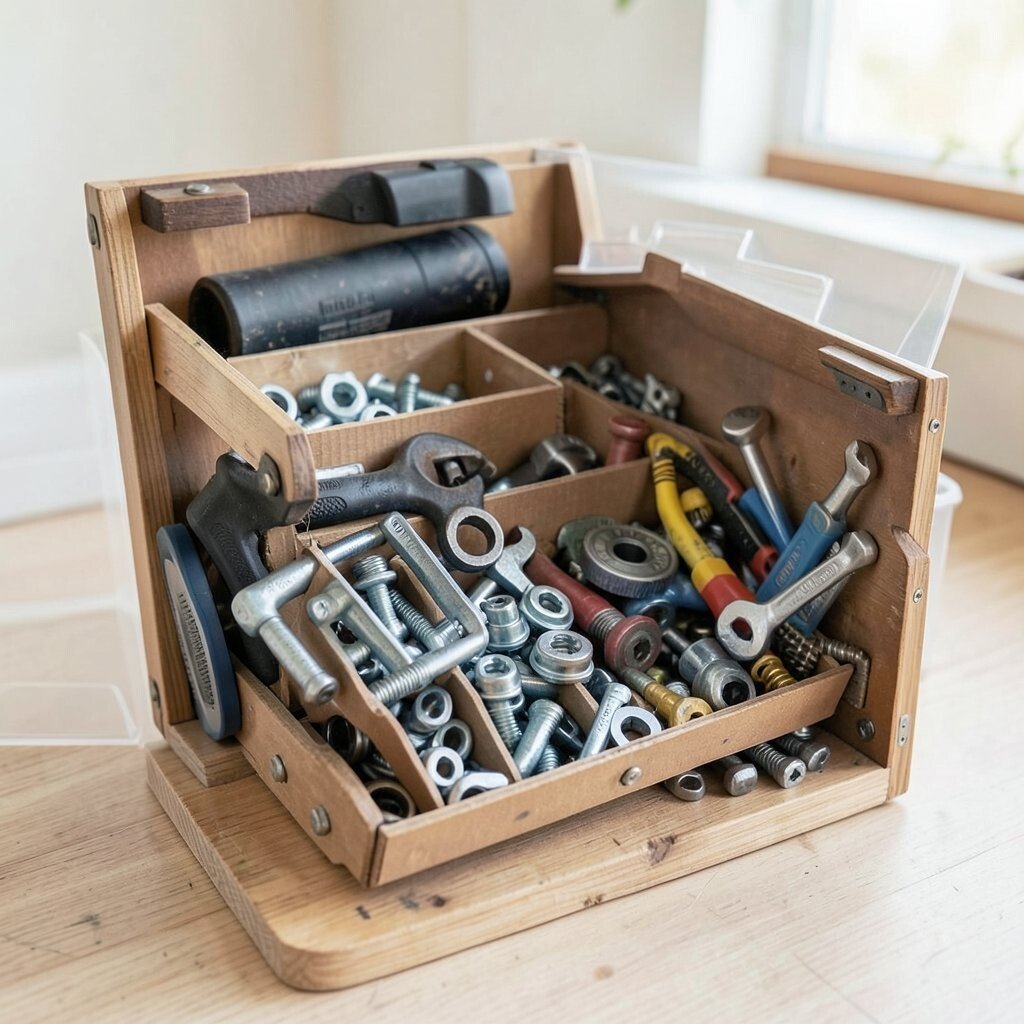
A parts container is a smart storage move for nuts, screws, buttons, and tiny odds. When you keep them separated, future repairs feel faster and more confident.
Use small divided containers and sort by type, size, or frequency of use. If you often need a specific size, keep that section at eye level for easy grabbing.
For a budget-friendly approach, reuse clean containers like old medication organizers or small food containers. Just be sure they are sturdy enough for the weight and not too flimsy for daily use.
To keep the system current, update labels as you add new items. A parts container feels unique because it grows with your home and your hobbies.
16. Store Textiles and Roll-Items With Hanging Rod Clips

Use hanging rod clips or curtain clips to hold rolls of ribbon, twine, or fabric strips. This creates a display you can reach without fighting tangled loops.
Clip a ribbon to each spot on the rod so you can see lengths and colors clearly. It also reduces the need for plastic bags that can trap dust and hide what you own.
For personalization, arrange by color gradient or by project, like “birthday” near the front. You can even coordinate clip colors with your decor for a modern, tidy look.
Consider cost too, since clips and small hanging hardware are often inexpensive. This is a clever storage idea that turns everyday materials into something that looks intentional.