
A wooden bookshelf can look plain for years, then suddenly feel brand new. Small changes can bring big personality without a big mess.
Grab a few tools, take a careful look at what you already own, and pick the hacks that match your style.
1. Add a Sticky-Note Color Map
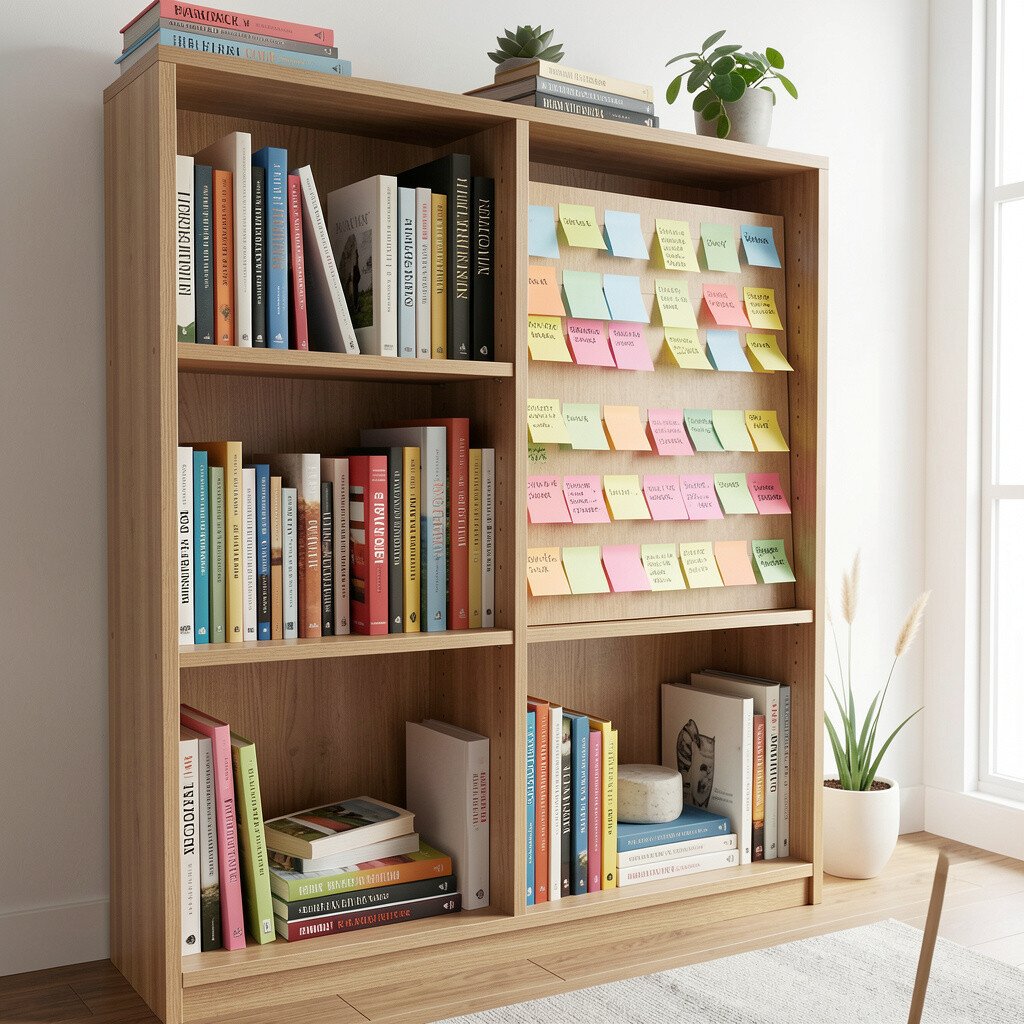
Start by placing small sticky notes on the shelf to sketch a color order. Step back and notice how your eyes travel from one section to the next.
Once you like the pattern, remove the notes and group books, baskets, or decor the same way. This makes the shelf feel planned and calm, even when you rearrange often.
Choose a simple theme, like warm browns mixed with cream spines, or bright covers spaced like little signals. For personalization, swap colors seasonally with lightweight additions such as paperbacks or display cards.
2. Swap Drawer Pulls for Mini Handles
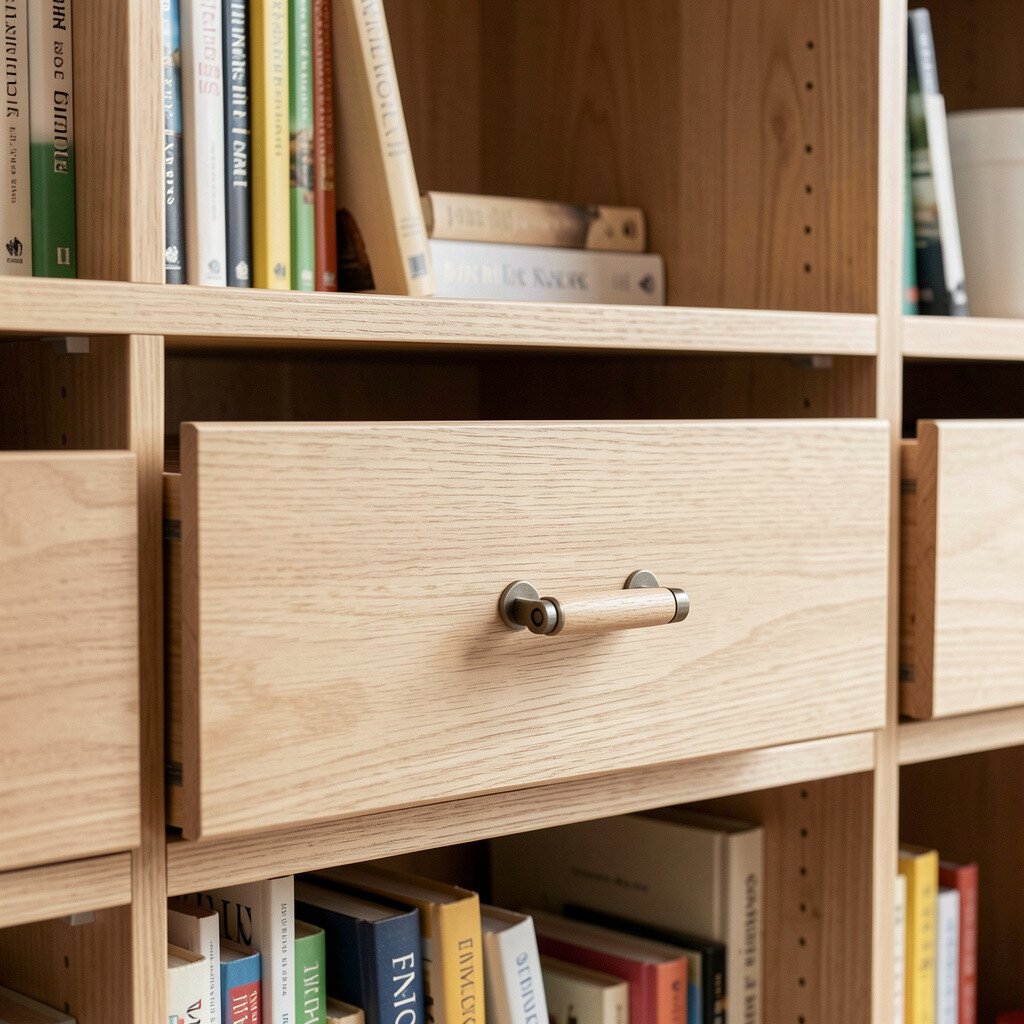
If your bookshelf has doors or built-in cubbies with pull tabs, change the hardware. Even small metal pulls can catch light and make the wood look more intentional.
Pick handles that match your room style, like black for modern spaces or brass for cozy warmth. You will feel the upgrade every time you open a compartment.
For practical steps, unscrew the old pulls, measure the hole spacing, and drill only if needed. Set aside extra screws so you can reverse the change later if you want.
3. Line Back Panels With Scrap Fabric
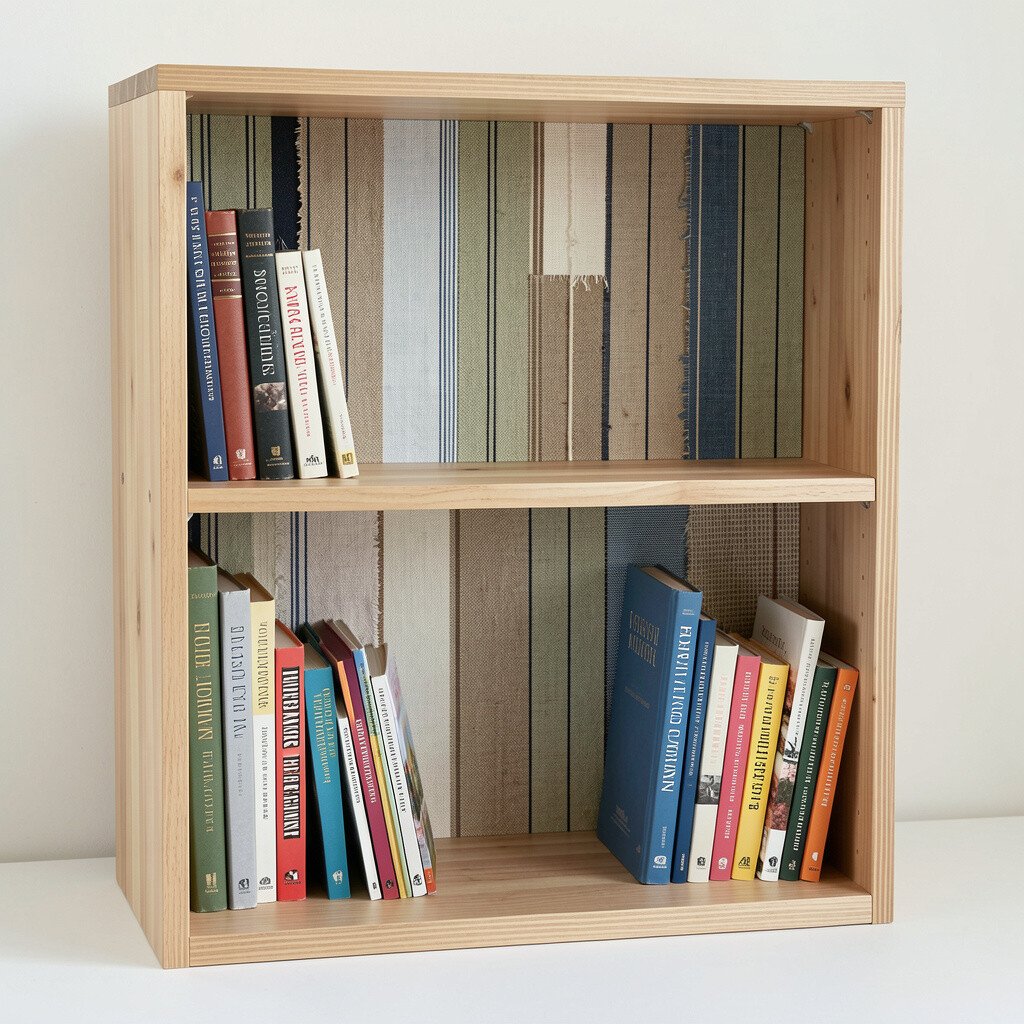
Look at the back of each shelf and imagine it as a hidden stage. Adding a thin fabric or scrap wallpaper layer creates a soft background that makes books pop.
Try burlap for rustic charm or cotton prints for a playful look. Make it snug with small tacks, glue dots, or a staple gun, depending on what the shelf can handle.
This hack feels unique because it changes how the shelf looks from across the room, not just up close. It also helps hide dust behind stacked books, which means less cleaning time.
Cost can stay low by using leftovers from craft projects or old curtains. Personalize by matching the fabric to your curtains, bedding, or artwork colors.
4. Turn Thin Boards Into Book Ledge Rails
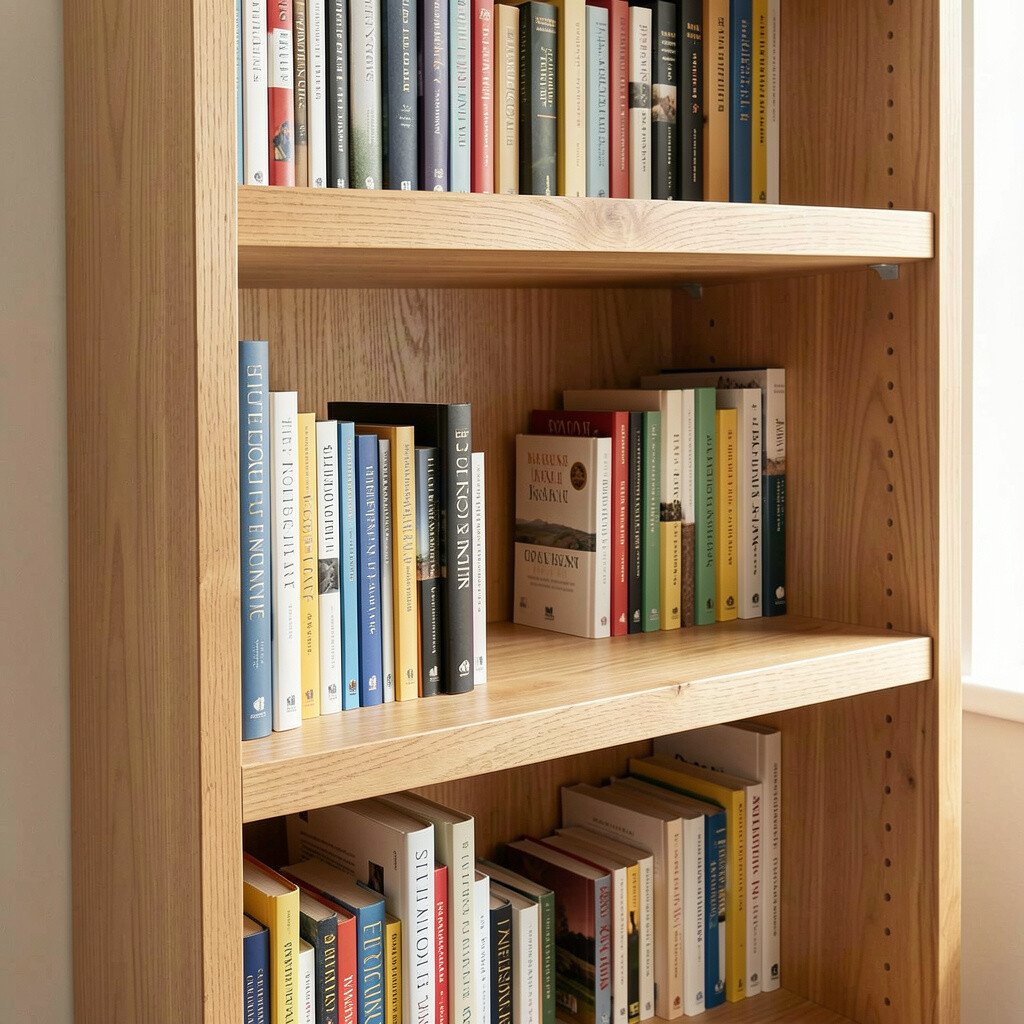
If your shelves bow slightly or books keep sliding, add simple ledge rails. Use a thin wooden strip or a straight scrap board at the front edge.
Lightly sand the strip, then attach it with wood glue plus small brad nails or screws. You will notice more stability right away, especially for lightweight paperbacks.
This also adds a neat visual line that makes the shelves look custom. For trends, mixed materials are popular, so a wood rail with a subtle stain can look current without feeling trendy in a fake way.
5. Build a Floating Corner Organizer Shelf
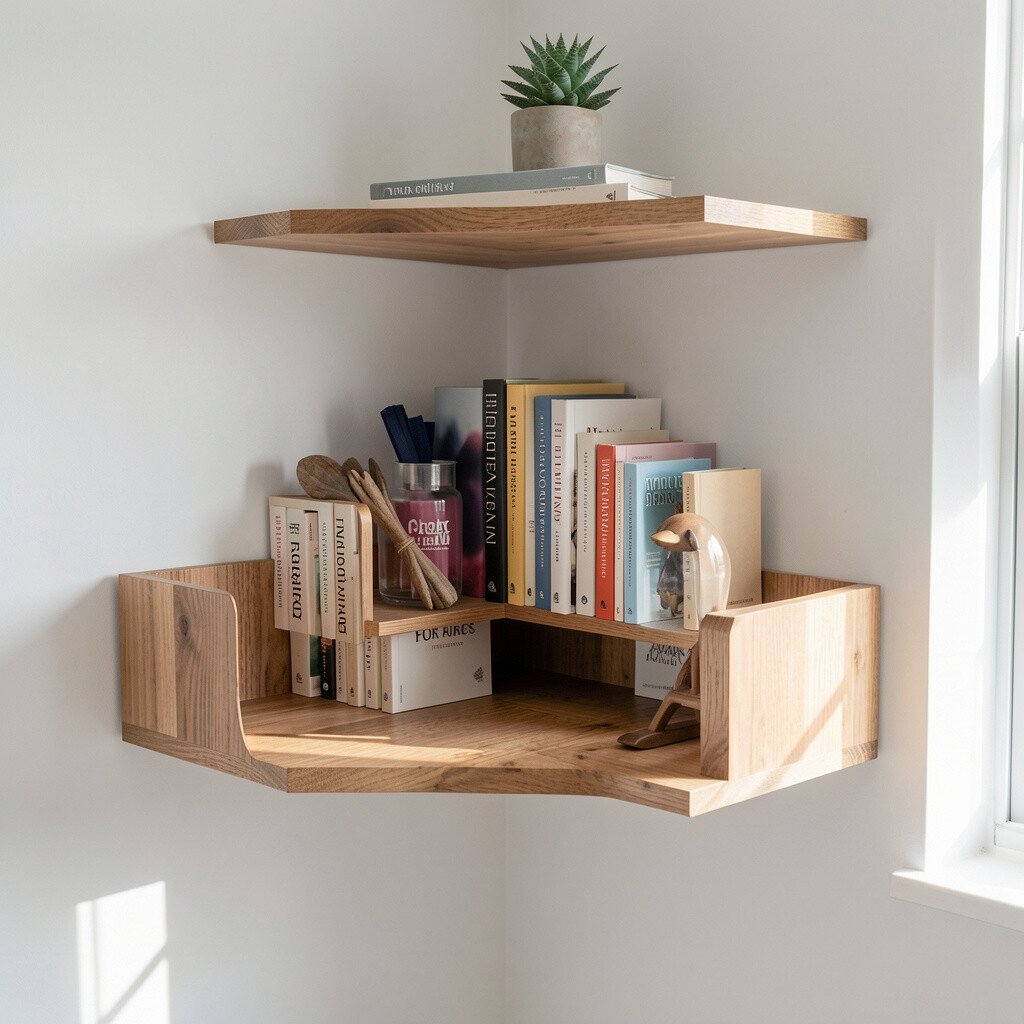
Pick one corner where items tend to pile up and create a tiny extra shelf. A short wooden ledge mounted at an angle can hold bookmarks, small frames, or a mini plant.
Use a level, then mark the screw points and mount the board with sturdy brackets. The result feels like a boutique reading nook.
Visual impact is high because it draws attention upward and gives your decor a clear place. It’s also practical since you can keep small items off the main shelf so books stay easier to reach.
6. Use Shelf Risers From Old Cutting Boards
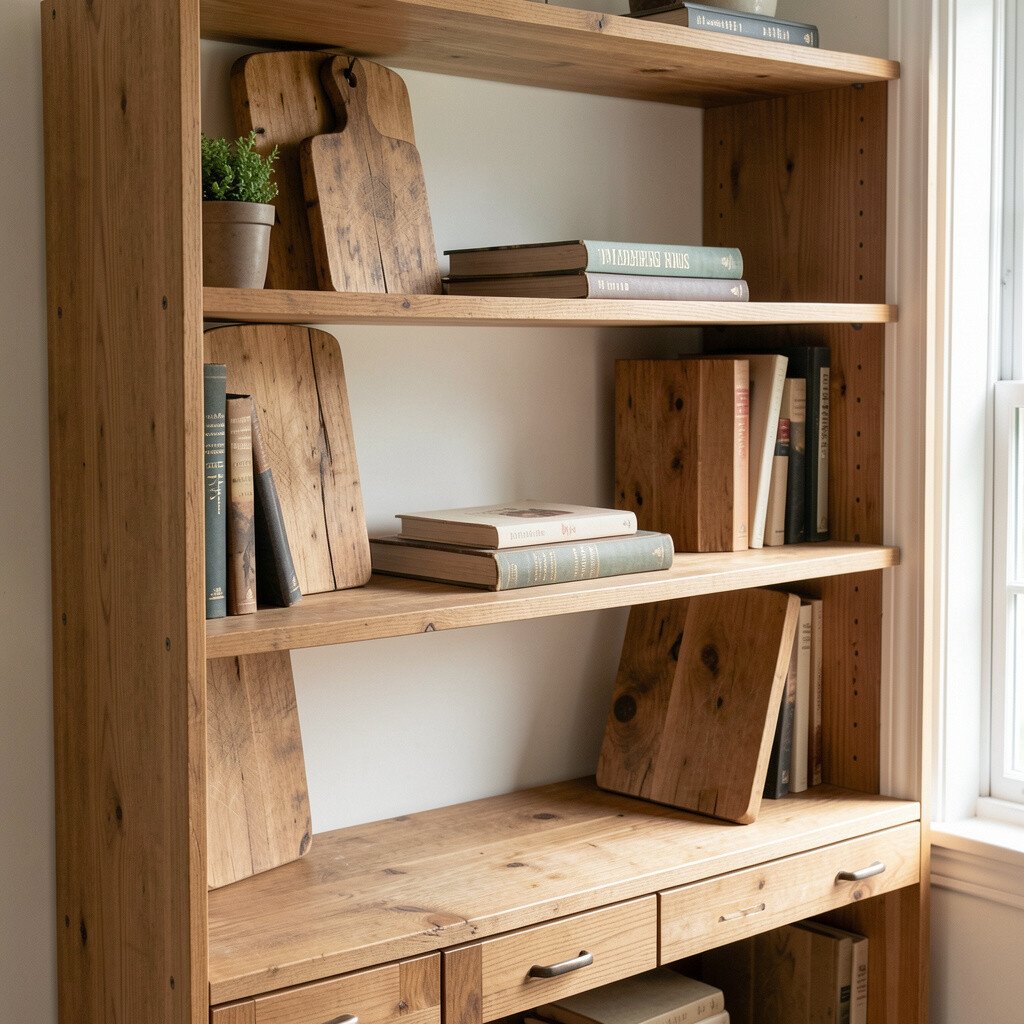
Instead of buying risers, check your kitchen for unused cutting boards. Placing one board under a row of books creates instant steps and better visibility.
For a clean look, choose boards with similar thickness and finish, then wipe them for a uniform shine. You can also add small non-slip pads so the boards stay put.
This hack brings a warm, lived-in feel and it’s easy to personalize by using boards that match your kitchen colors. Cost stays low because you’re reusing something you already own.
It also helps with organization because taller books won’t hide behind flatter ones. Even your most frequent reads become easier to grab.
7. Color-Match Bookends With One Bold Material
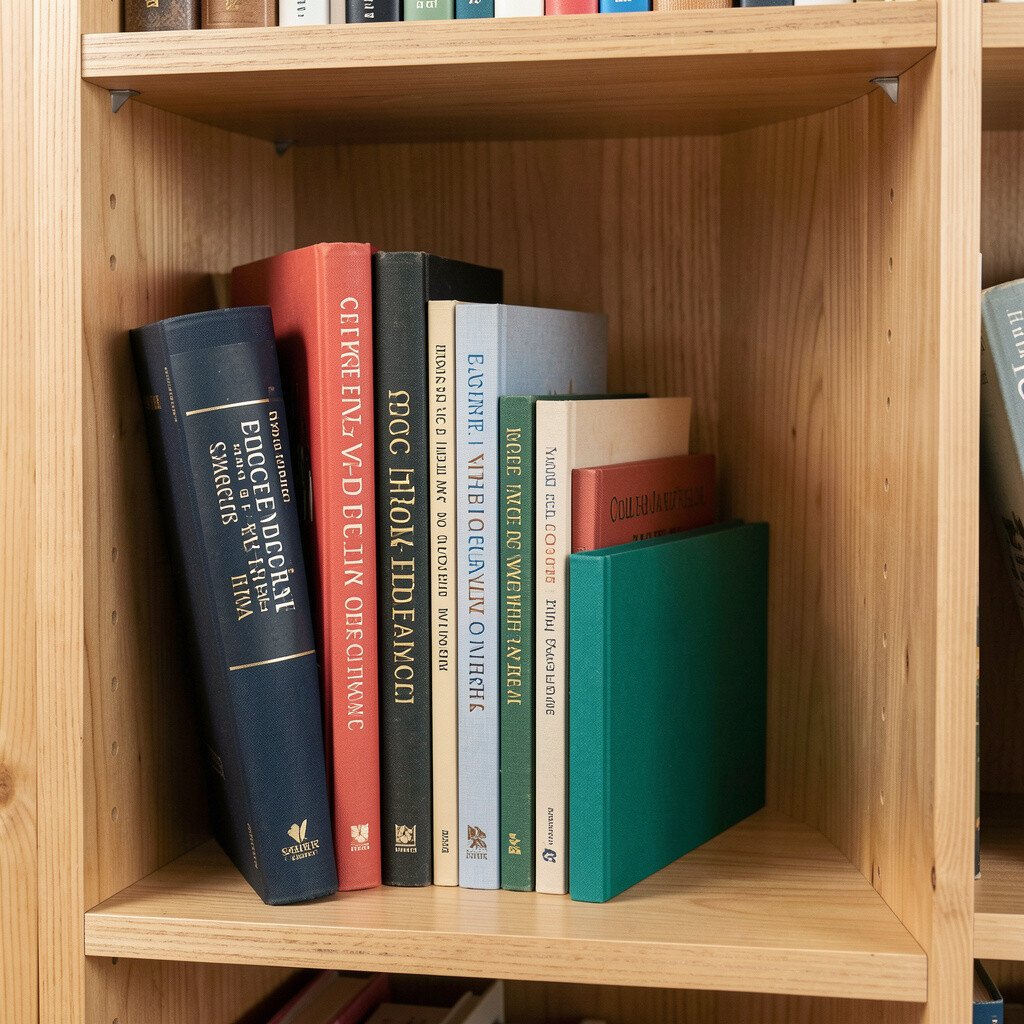
Bookends can act like the “anchor” of your shelf layout. Pick one bold material to repeat, like matte black metal, painted wood, or woven rattan.
Place them where the shelves start to look messy, then group books that match each anchor’s vibe. This makes the shelf look intentional without you needing perfect spacing.
For a visual trick, use bookends at equal distances so the shelf feels balanced. Uniqueness comes from choosing one unexpected style, like smooth stone-looking bookends on a light wood shelf.
Cost considerations are flexible because you can buy a pair, borrow a style from friends, or even repurpose heavy jars lined up like bookends. The best part is how easy it is to swap them when you change your season theme.
8. Add a Thin Under-Shelf Light With Battery Clips
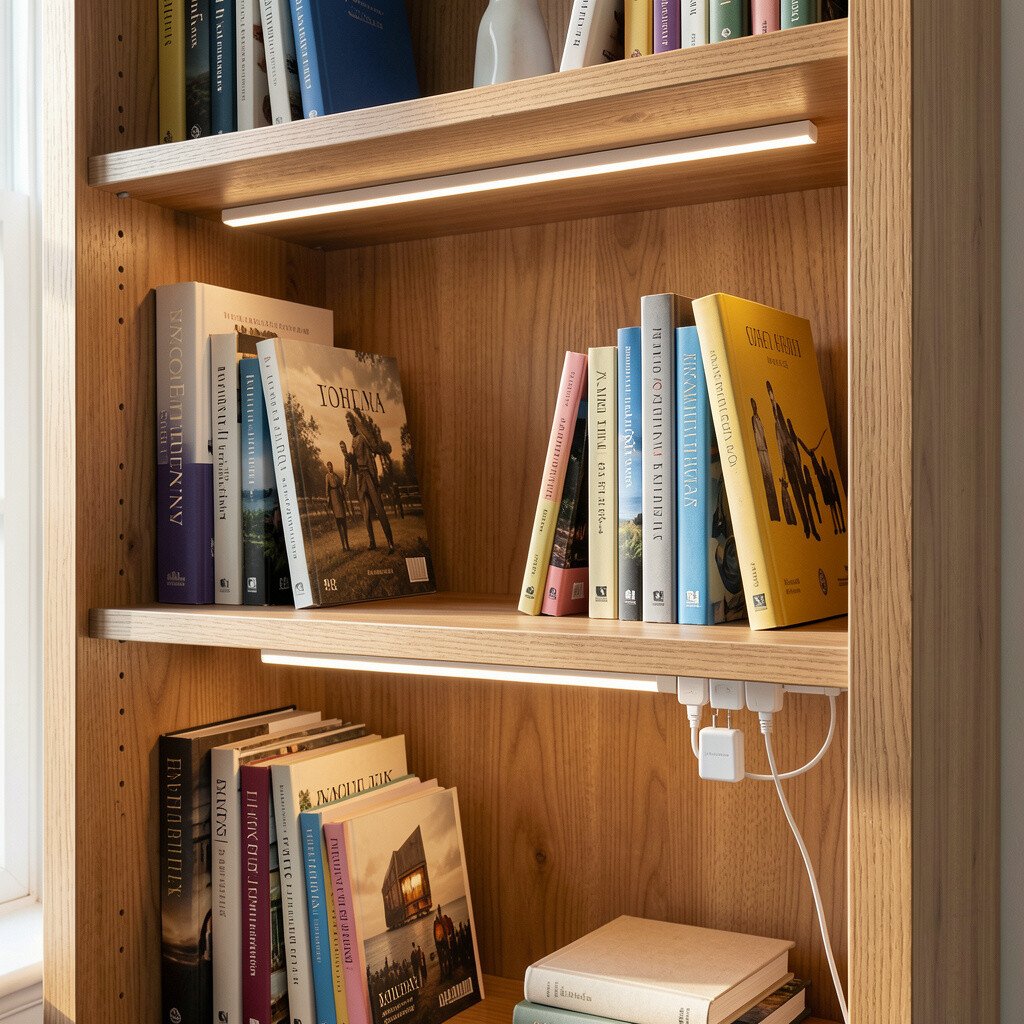
When you want a cozy glow, place battery clip lights under the top shelf. A soft light makes book spines easier to read and highlights wood grain.
Look for warm white bulbs for a calm vibe, and aim the light slightly sideways to avoid glare. This keeps the shelf feeling welcoming at night.
It’s practical too because the shelf becomes easier to scan, especially in dim rooms. Current trends often lean toward warm, layered lighting, and this hack gives that feel fast.
9. Make a “One Tray Per Shelf” Rule
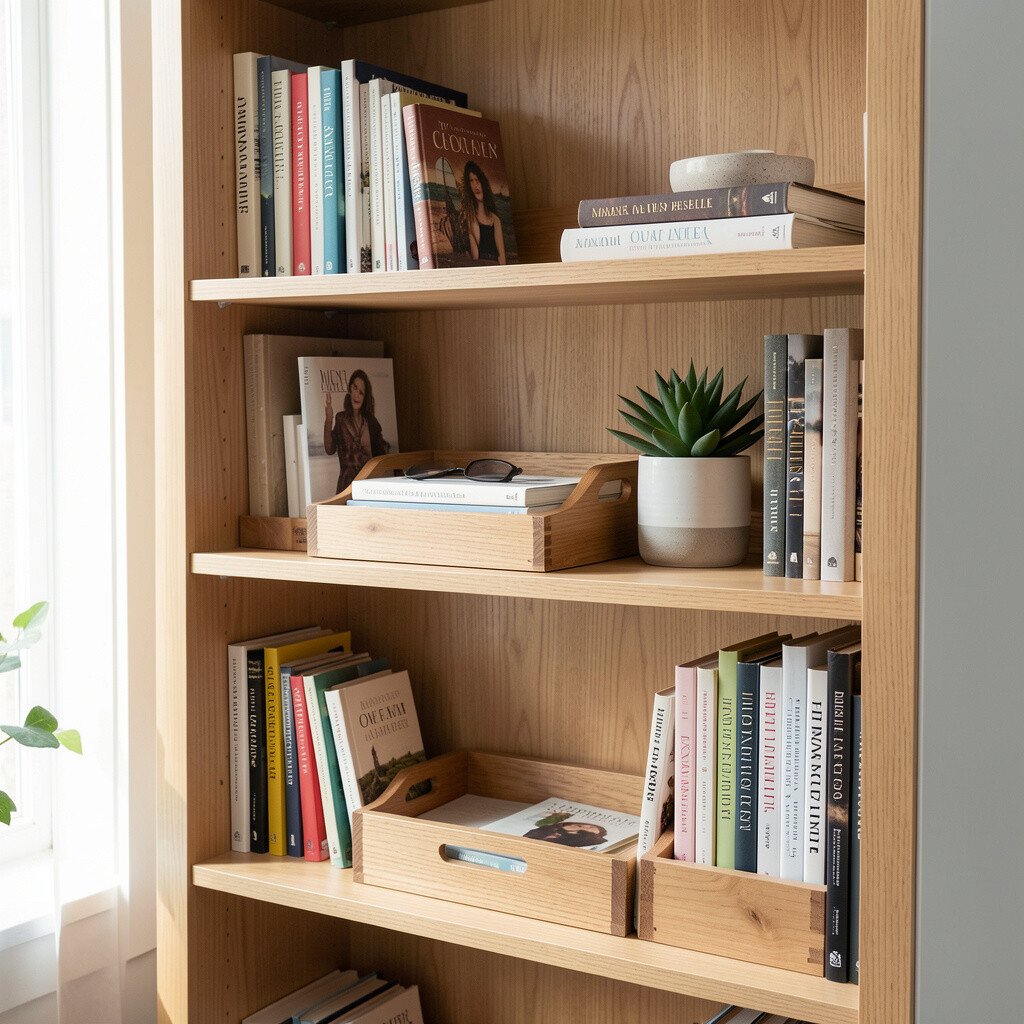
Choose one shallow tray or small basket for each shelf section. Everything small, like loose pens, charging cords, or tiny photo frames, goes in the tray.
The visual benefit is huge because clutter looks smaller when it’s grouped in one spot. Your shelf will also look neat after busy days, even if you don’t rearrange.
For personalization, pick trays that match your fabric-lined back panel or your color map plan. Cost can fit many budgets since even thrifted baskets work well.
10. Stain Only the Shelf Edges for a Two-Tone Look
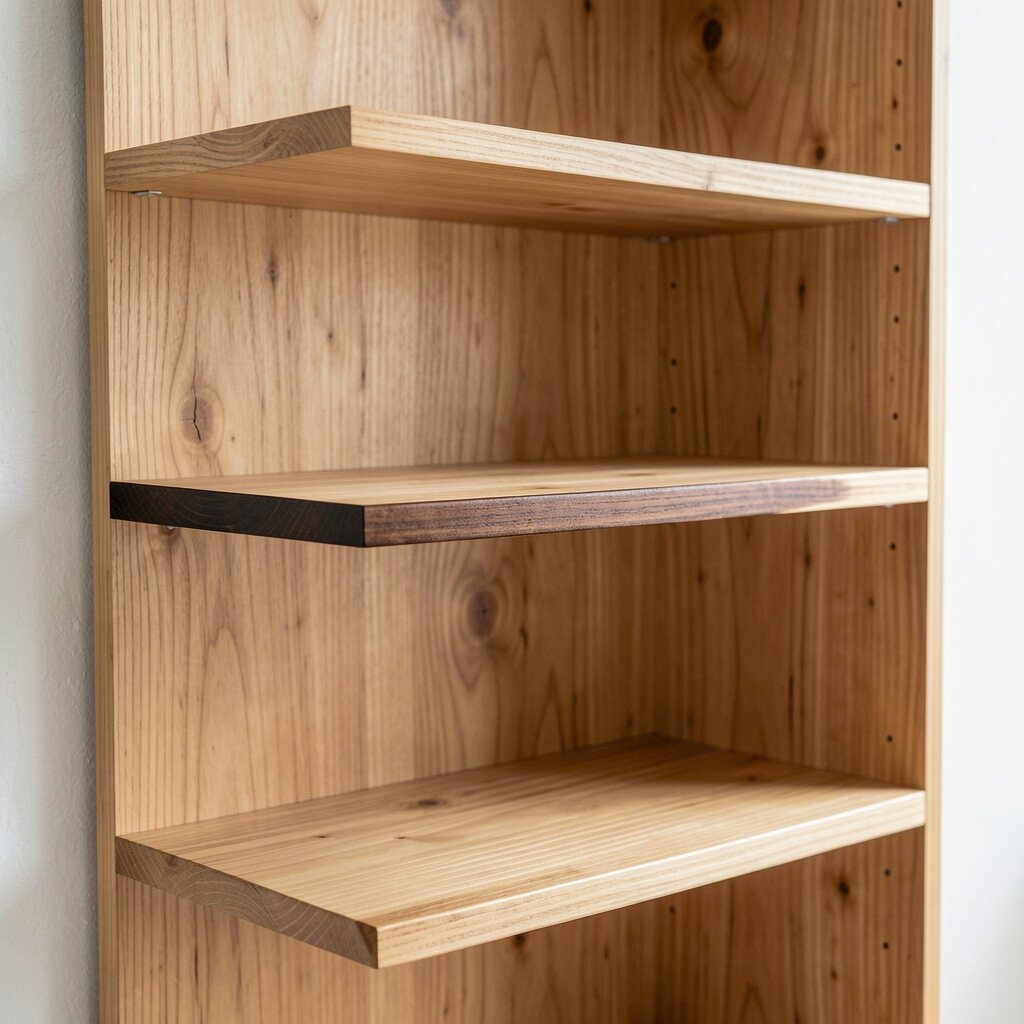
If you like your bookshelf shape but want a fresh look, stain only the edges. A light sanding followed by a thin stain layer around the frame gives a two-tone effect.
This creates depth and makes the wood look richer without covering the whole shelf. You’ll also notice how shadows change, which makes the shelf look more designer-like.
Use a brush and wipe quickly so the stain stays even. Uniqueness comes from choosing a shade that matches your room, like honey for warmth or walnut for drama.
Cost is moderate because you may only need sandpaper, stain, and clear top coat. If you rent or prefer low commitment, test on a hidden spot first.
11. Clip Book Jackets Back On With Small Binder Clips
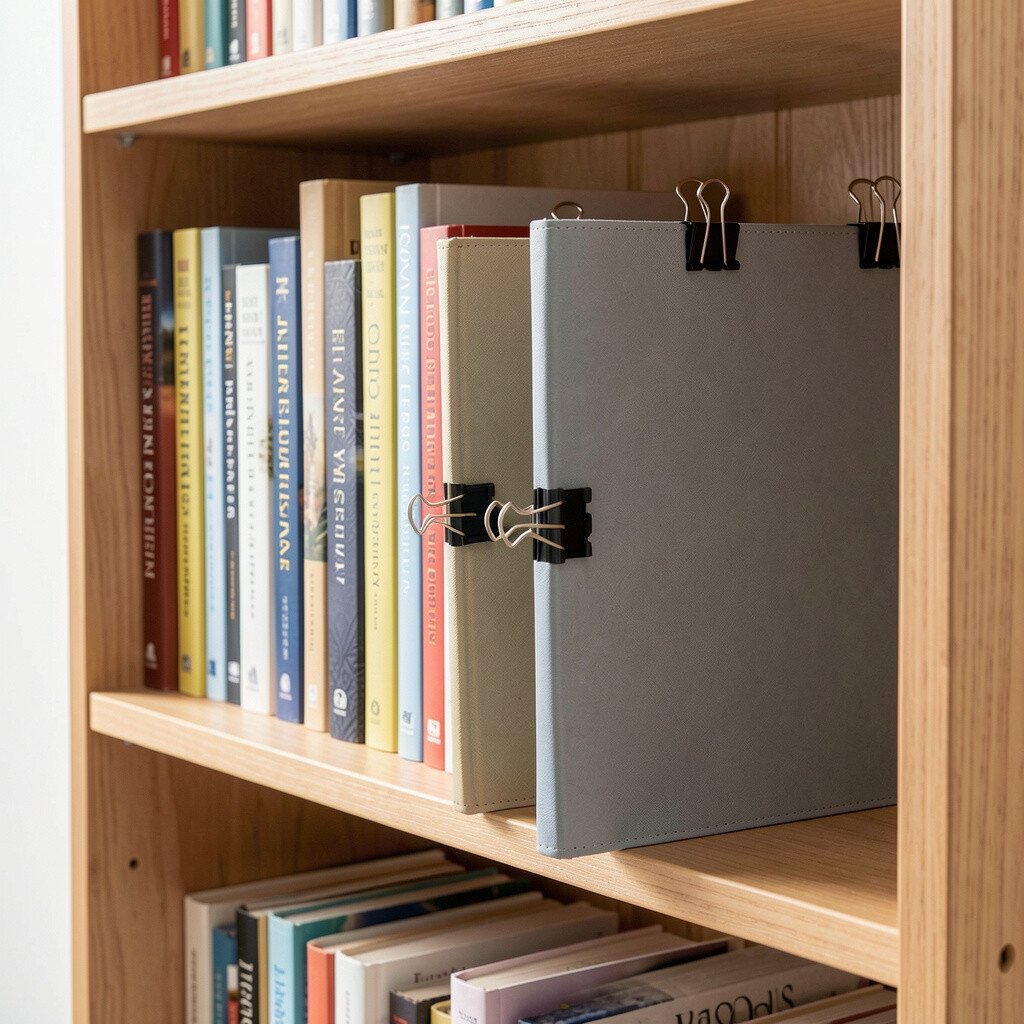
Some books look better with their protective jackets or dust covers. If your shelf includes keepsakes, use binder clips to keep covers neatly in place while displayed.
Choose clips with a simple finish so they don’t steal attention. This gives you that crisp, gallery look while still protecting the spines.
It’s also practical because dust covers reduce grime buildup and keep your favorite titles looking fresh. Personalize by stacking clips in a repeating color, like pale blue or charcoal, to match your decor palette.
12. Create a Rotation Shelf for Read-Now Favorites
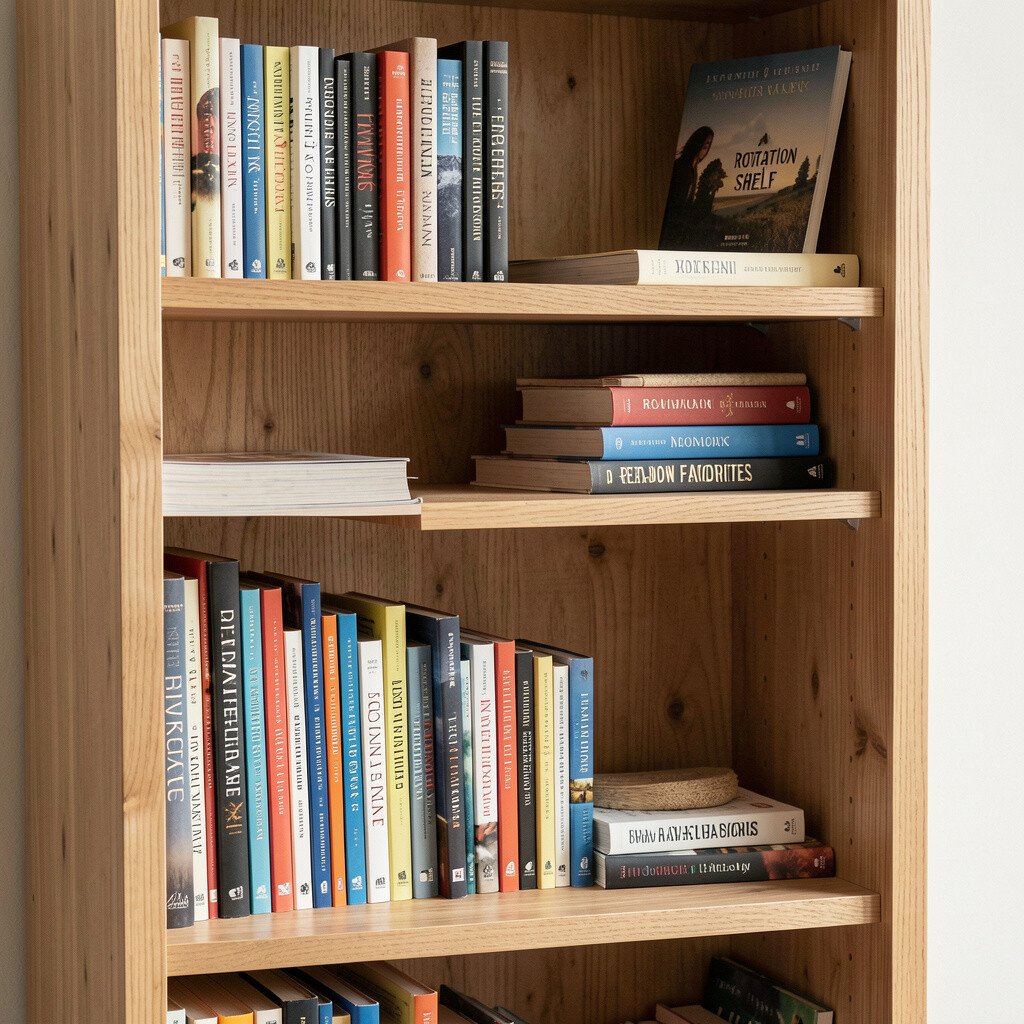
Pick one shelf level as your read-now space and rotate books often. Make it visually clear with a slightly tighter layout or a small divider so it feels like a “current stack.”
When friends come over, this makes your taste easy to see and shows your shelf is alive. It also reduces decision time because the next book is right where your eyes land.
For trends, the “curated” bookshelf look is popular, and rotation is a simple way to keep things fresh. Cost is minimal because you’re using what you already have.
Personalization can be as playful as adding small notes tucked into spines, like tiny slips that show what you’re reading for or why you picked it up.
13. Use Removable Labels for Each Shelf Section
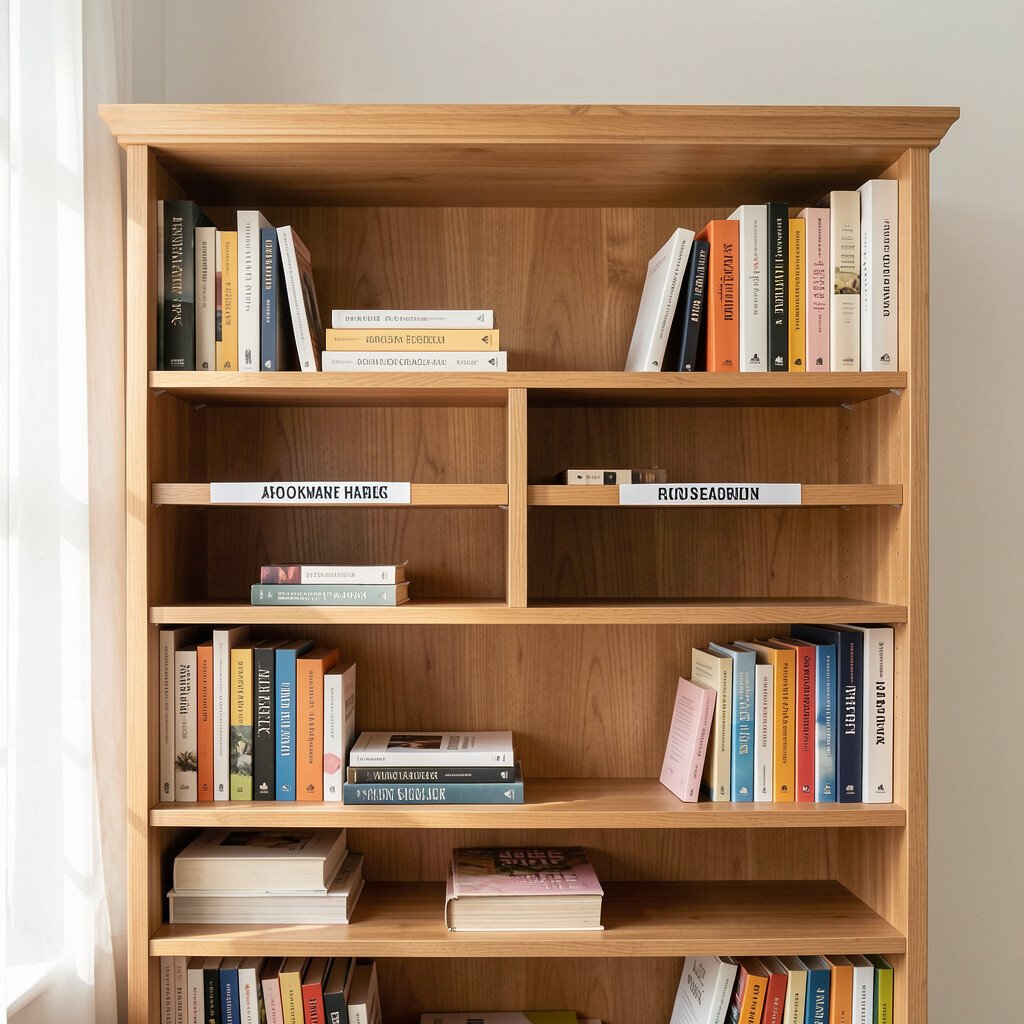
If your shelf has many categories, removable labels can help without making it feel like a library. Use removable label tape or small sticky cards that you can swap later.
Write with a neat hand, or print simple text on paper, then place it at eye level on the back or shelf front. This makes finding books faster and supports better organization.
The visual uniqueness comes from using your own style, like rounded fonts, soft colors, or tiny icons. It also helps you remember your own layout rules, especially after you rearrange.
Cost stays low because you can start with basic tape and scrap paper. For personalization, match label colors to your room palette so everything looks like it belongs together.