Creativity grows where children feel safe to test ideas with their whole bodies. A classroom or home space can be a quiet partner in that process.
Reggio inspired design isn’t about buying fancy things. It’s about shaping rooms so curiosity has room to breathe.
1. Window Stories
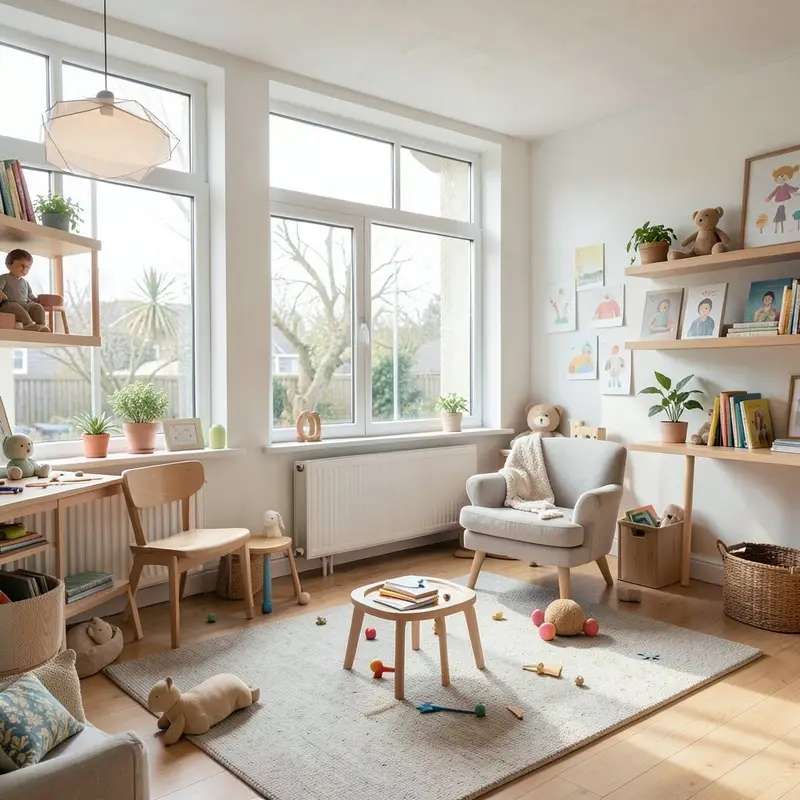
Cover a window with a strip of clear contact paper or removable film, then let kids add drawings with markers that wipe away easily. Each day, add a new “scene” using collage materials like fabric scraps, tape, and layered paper shapes.
Choose themes based on what you see outside, like clouds, plants, or birds. This creates a lively visual link between nature and imagination, and it helps children practice careful observation.
2. Light Table Mini-Lab

Use a small light table or a DIY light box with translucent plastic sheets and a stable surface. Add items that glow from different angles, such as colored acrylic, clear glass pebbles, and textured laminating sheets.
Let children sort, stack, and arrange pieces, then encourage them to change the lighting by moving materials closer or farther away. The soft shine invites slow looking and helps children notice patterns they might miss in regular space.
Keep costs in check by using safe thrifted finds and repurposed clear containers. Store everything in labeled bins so the lab stays ready without extra setup time.
3. Museum Wall With Living Exhibits
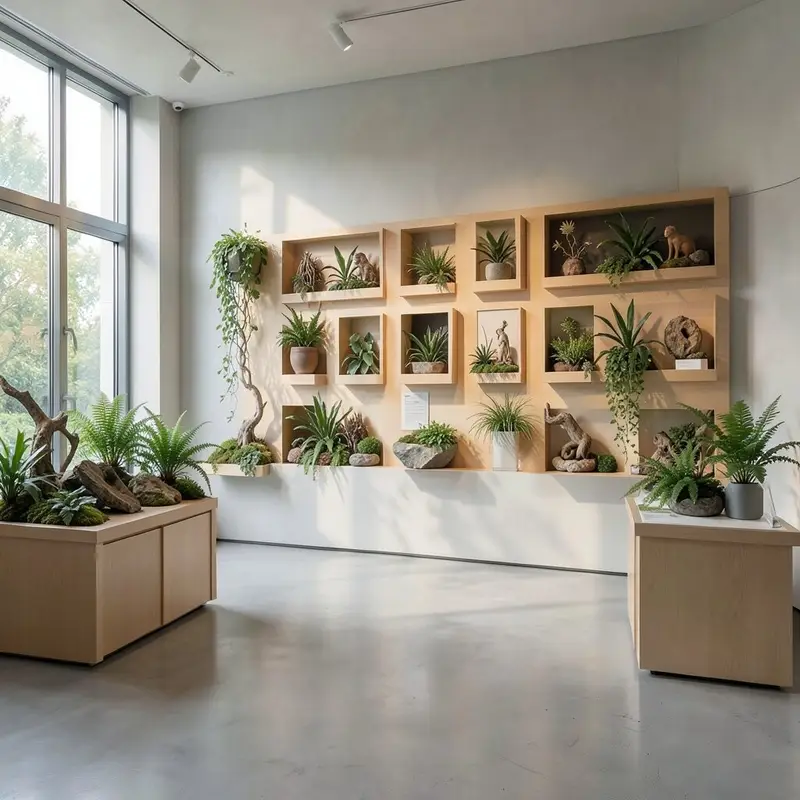
Create a display wall using picture ledges, rail systems, or removable strips so artwork can be changed often. Add small objects beside drawings, like miniature blocks, shells, or paper “artifacts” that match the theme.
Rotate pieces weekly and add fresh elements as children build new interests. When kids see their work treated like something worth noticing, they usually speak more, explain more, and take more pride in revising ideas.
Use natural materials for extra texture, like cork, leaves, and twine. Personalize the wall with simple name tags and a few “wonder” prompts written by children.
4. Open Materials Shelf
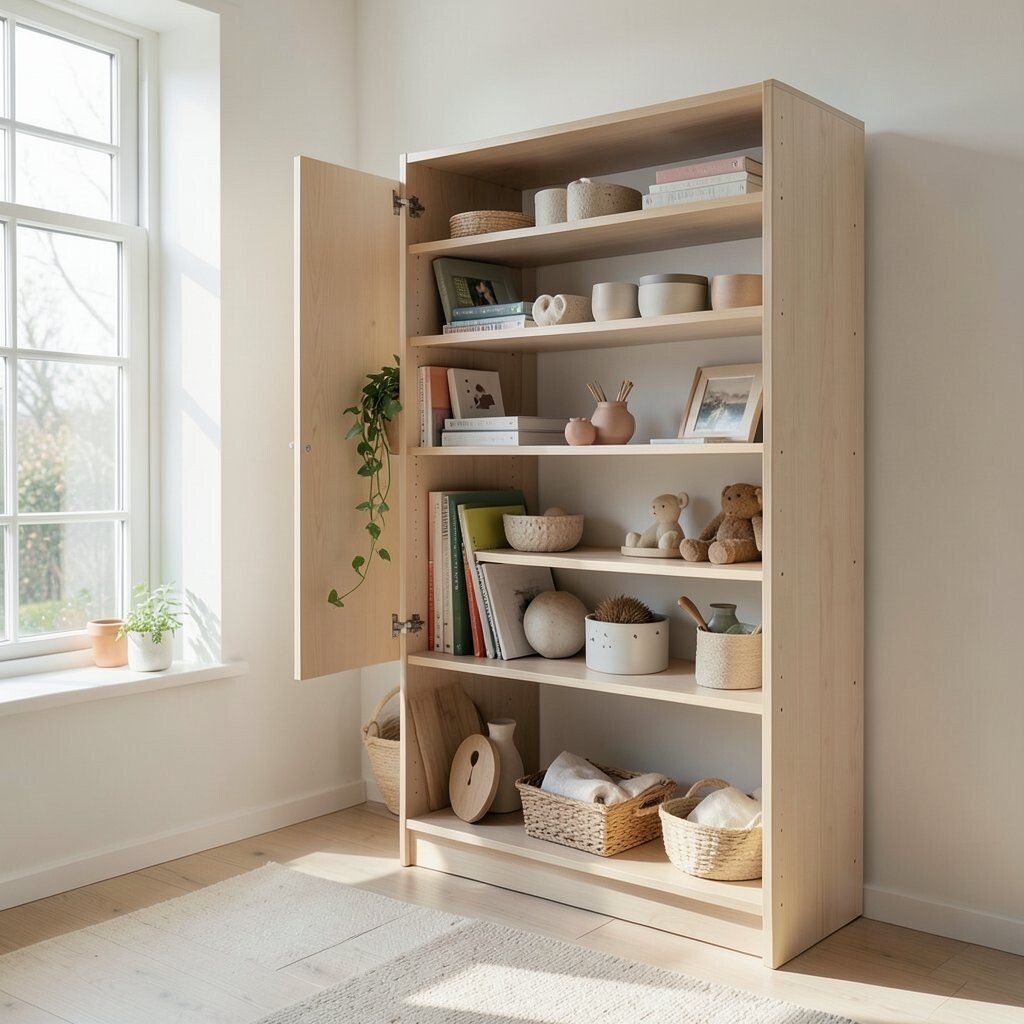
Set up one or two shelves at child height with baskets of everyday supplies visible and easy to reach. Include paper scraps, odds-and-ends fabric, ribbons, bottle caps, cardboard tubes, and safe scissors.
Instead of saving everything for later, let children choose materials for the moment. This supports autonomy and reduces waiting, so creativity keeps moving.
5. Floor Plan With Pathways
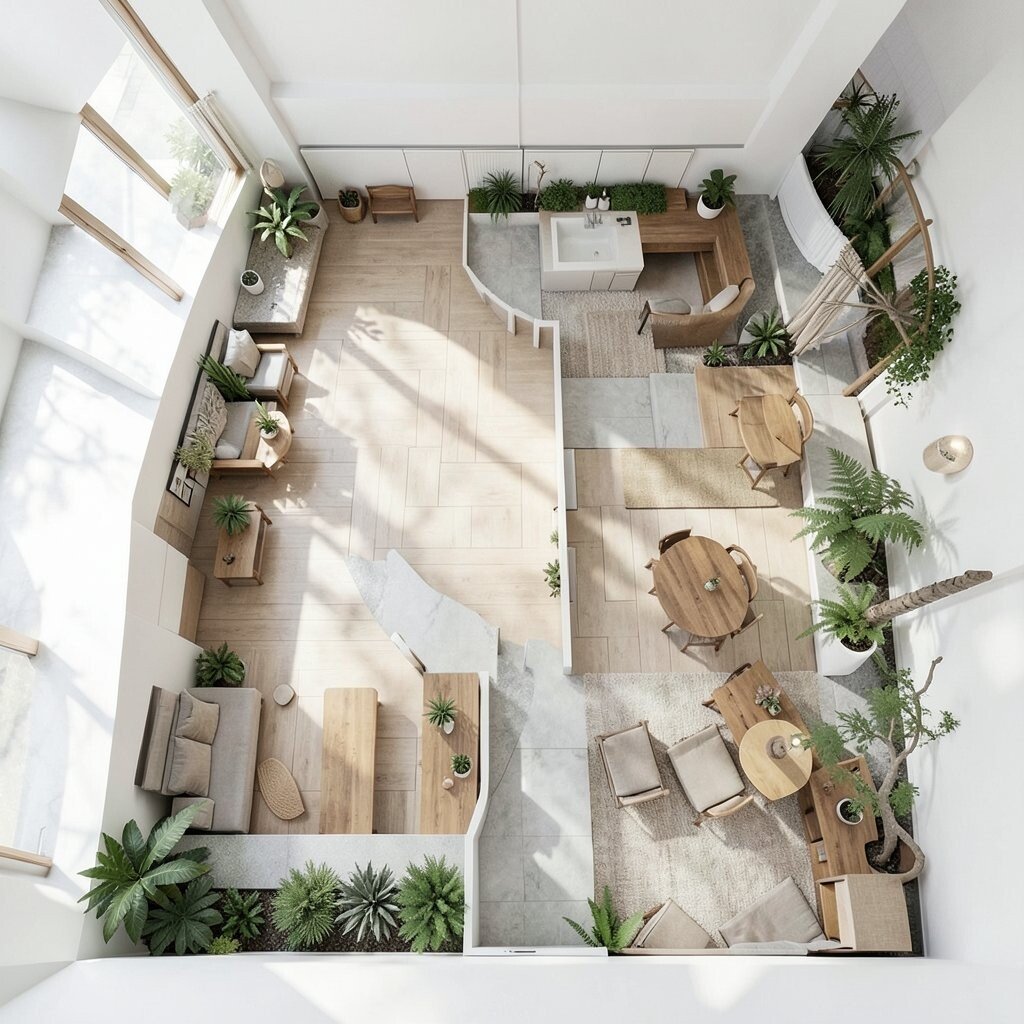
Design the room with clear pathways using tape lines, rugs, or subtle tile mats. Create zones for making, reading, quiet building, and dramatic play.
Add visual cues on the floor that guide choices, like a small arrow made from colored tape leading to a block area. Children find what they need faster, and that calm flow helps them stay engaged longer.
Update the pathways when interests shift, such as turning the reading rug into a “forest” route. This small change makes the space feel new without buying much.
6. Reused Frame Gallery
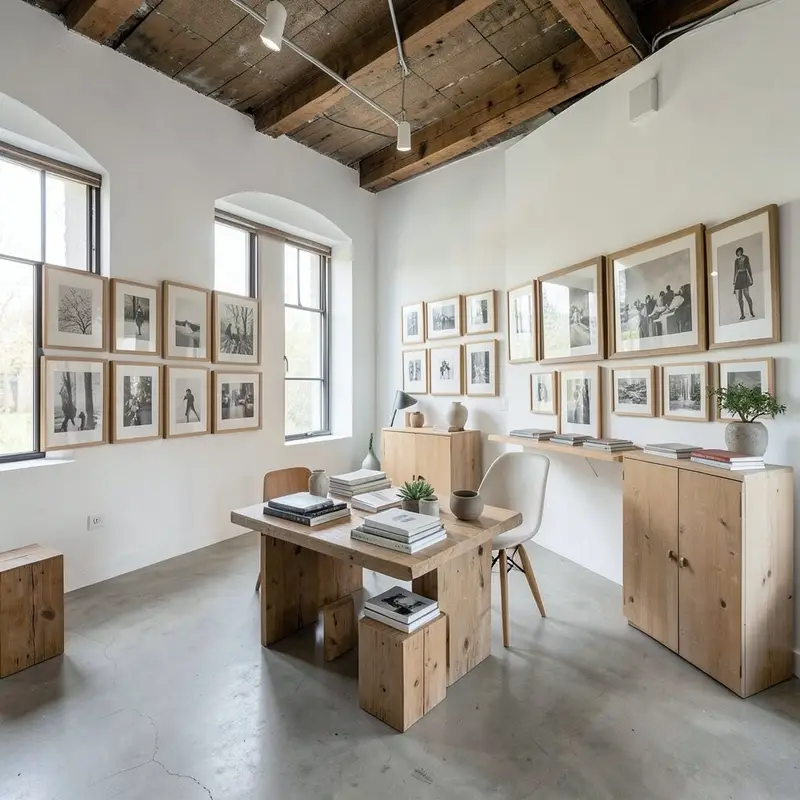
Collect frames of different sizes from thrift stores and garage sales, then use them as movable display tools. Attach strings, magnets, or clothespins so photos, notes, and process photos can be held securely.
Let children choose which “frame moment” to feature, like a first attempt, a revised plan, or a favorite pattern they noticed. Seeing process work valued nurtures persistence and helps children understand that making includes changing.
Choose frames with plain backs for easy swapping, and use acetate or thick plastic sheets when you want durability. Keep a simple storage box for extra string clips and fasteners.
7. Sensory Story Corner
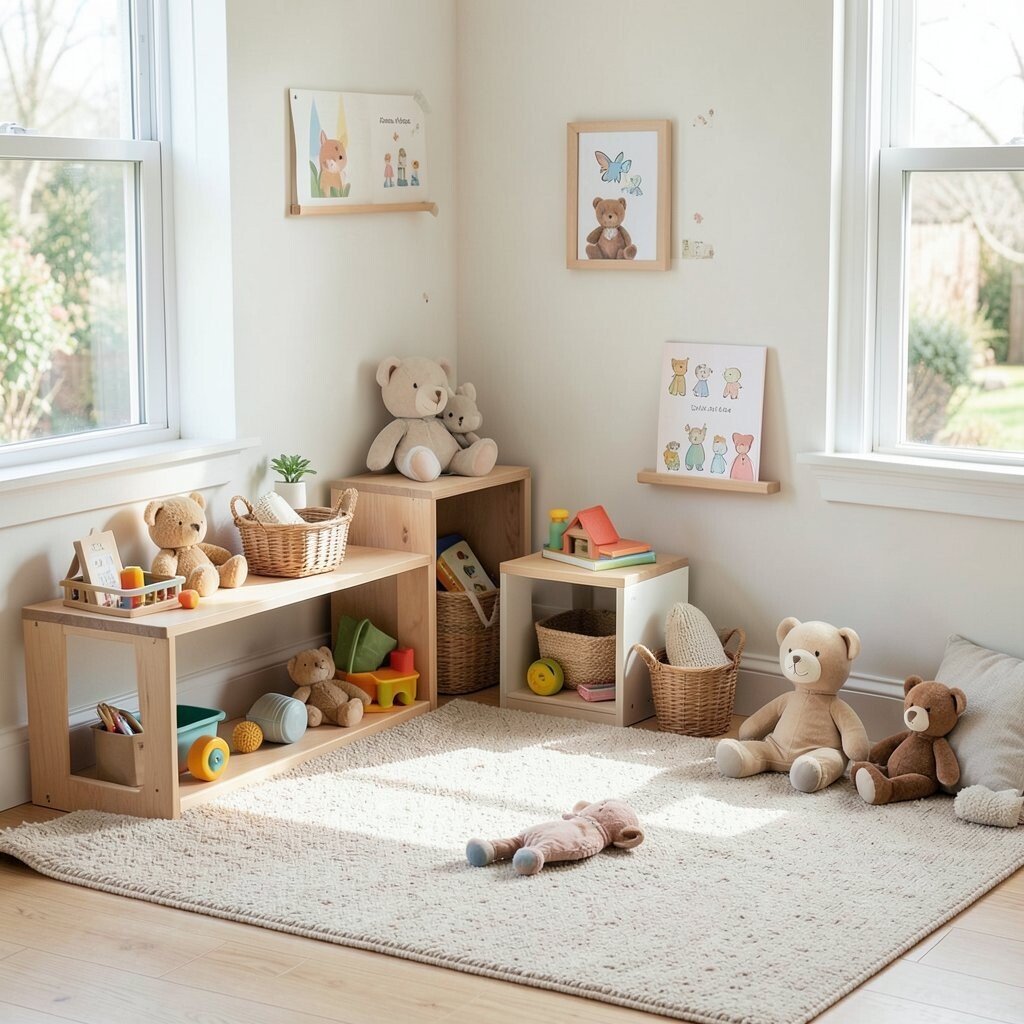
Build a corner where kids can interact with a story using textures and safe props. For example, a “rainy day” theme can include different water-like materials, fabric waves, and paper umbrellas for handling.
Keep the setup flexible so the same corner can host many narratives, from space adventures to garden seasons. Sensory play supports language growth because children describe what they feel, not just what they see.
Use budget-friendly items like cotton, felt scraps, sponge pieces, and homemade shakers. Rotate materials every week to maintain excitement without clutter.
Let children help pack up and set the corner again, which builds responsibility. When the story corner becomes familiar, kids take more creative risks.
8. Shadow Theater Stage
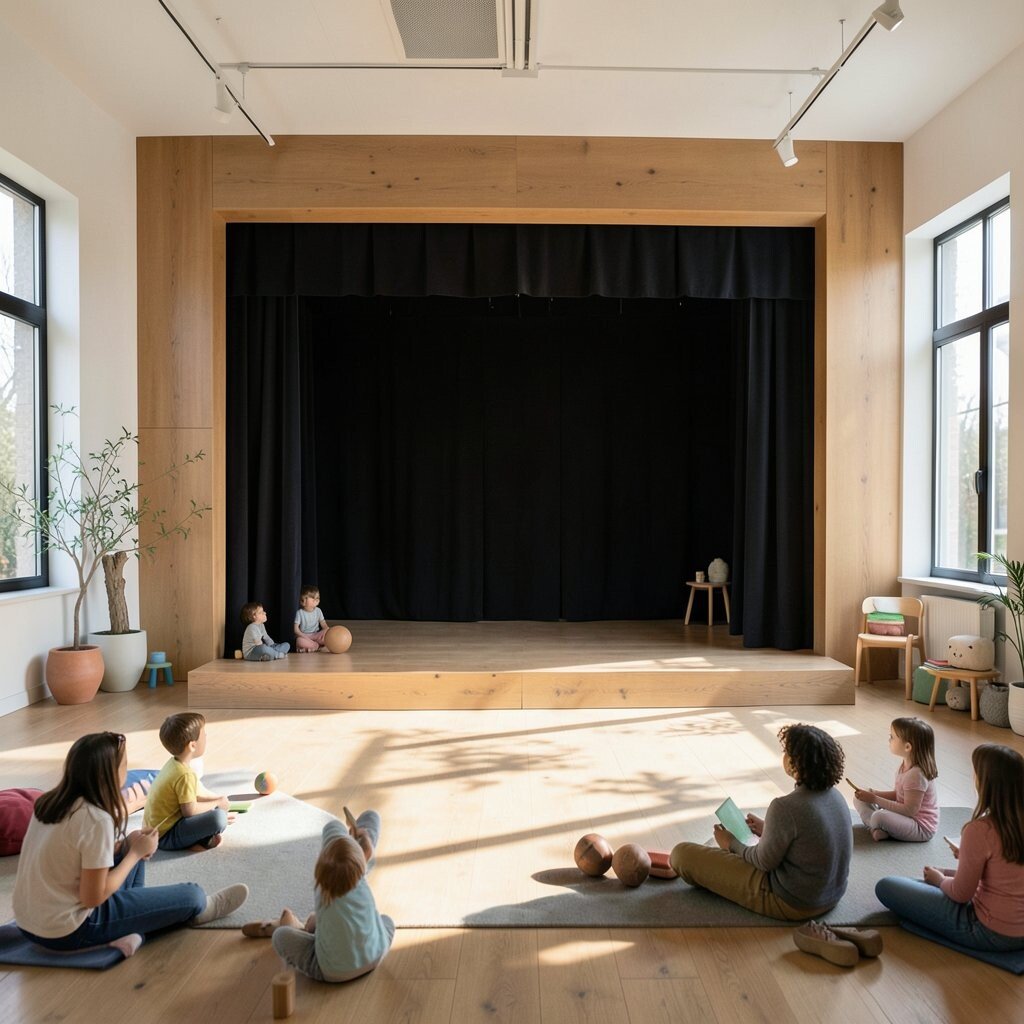
Use a small table, a lamp, and a screen made from thin fabric or a white sheet to set up shadow play. Provide cut-out shapes from cardboard and paper that children can manipulate in front of the light.
Encourage them to create stories with shadows, using slow motions and layered shapes. This turns a simple light into a whole performance space and makes experimentation fun.
9. Inventor’s Tool Tray
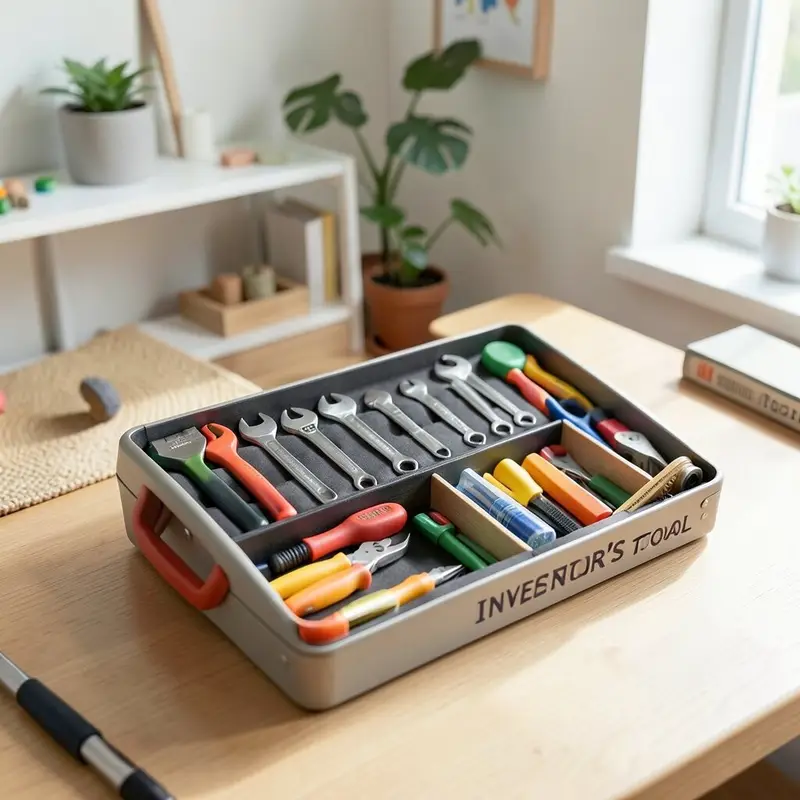
Create a tray of basic “maker tools” that are safe and manageable, such as hole punches, tape dispensers, child-friendly glue sticks, and measuring strips. Keep tools near materials so kids can combine ideas quickly.
Let children decide which tools match their plans, then guide them to test and adjust. When they learn that tools support their thinking, they feel more capable and less afraid to try.
Pick tools with low cleanup needs and durable bodies to reduce frustration. Personalize the tray by letting kids decorate it with their favorite colors or symbols.
10. Soft Sculpture Micro-Studios
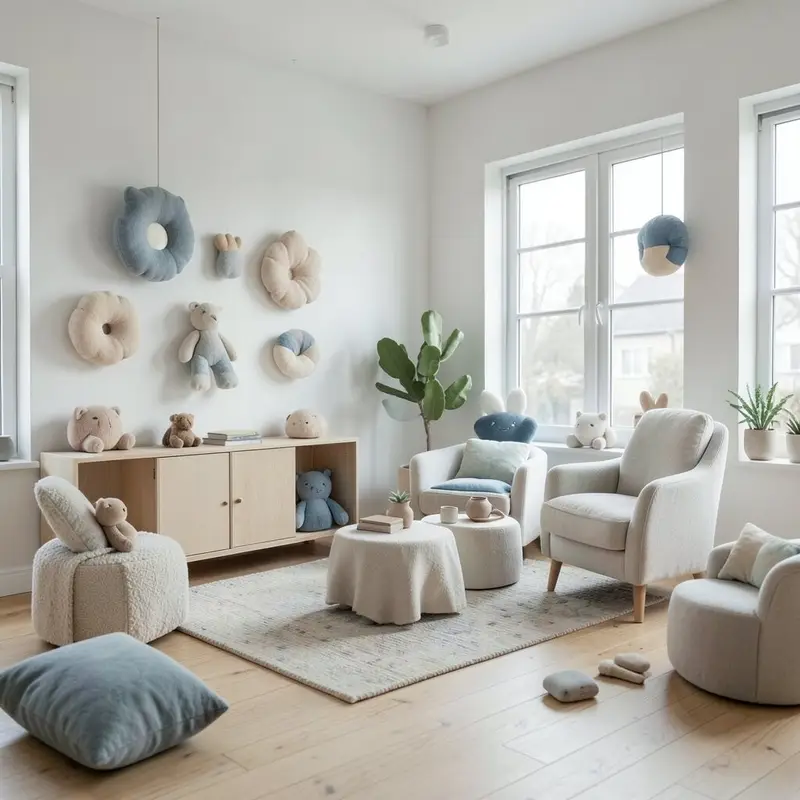
Set up small areas where kids can build with soft materials like felt, wool roving, fabric strips, and foam shapes. Use simple base forms such as foam blocks or sturdy cardboard bases wrapped in cloth.
Offer a variety of textures so children can experiment with what holds, what bends, and what stretches. Soft making supports fine motor control and gives children a soothing way to express feelings.
11. Sound Walk Listening Station
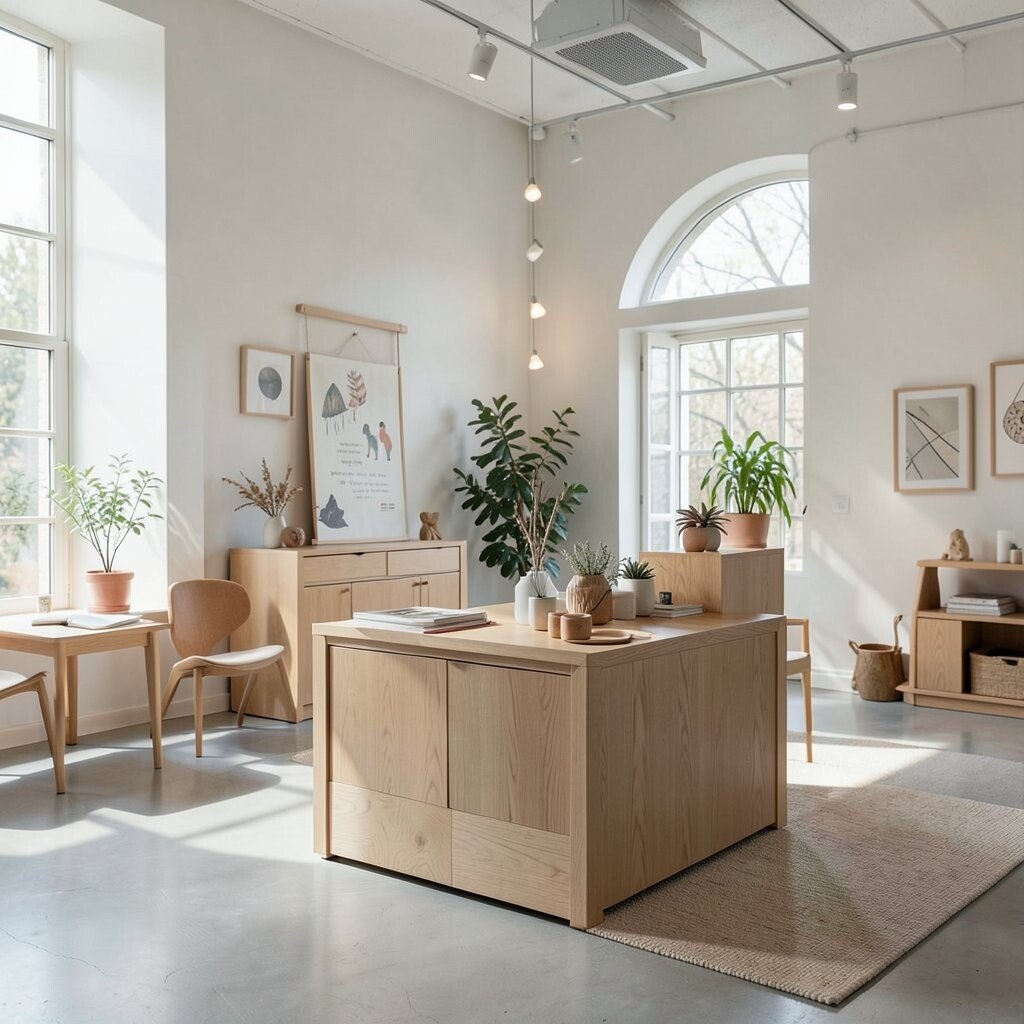
Create a listening spot with a gentle chair, a basket of sound makers, and a small timer or visual schedule. Include items like wind chimes, textured sticks, and small containers that shake differently.
After a short sound walk around the room, ask kids to recreate what they heard using the sound makers. This strengthens attention and helps children connect sensory details to creative choices.
Keep the station simple and store pieces in a small, labeled cloth bag. You can personalize it with a “sound map” drawing that grows over time.
When you notice new interests, swap items to match the season, like adding crinkly leaves in fall. Small changes keep curiosity alive without extra spending.
12. Cardboard Architecture Corner
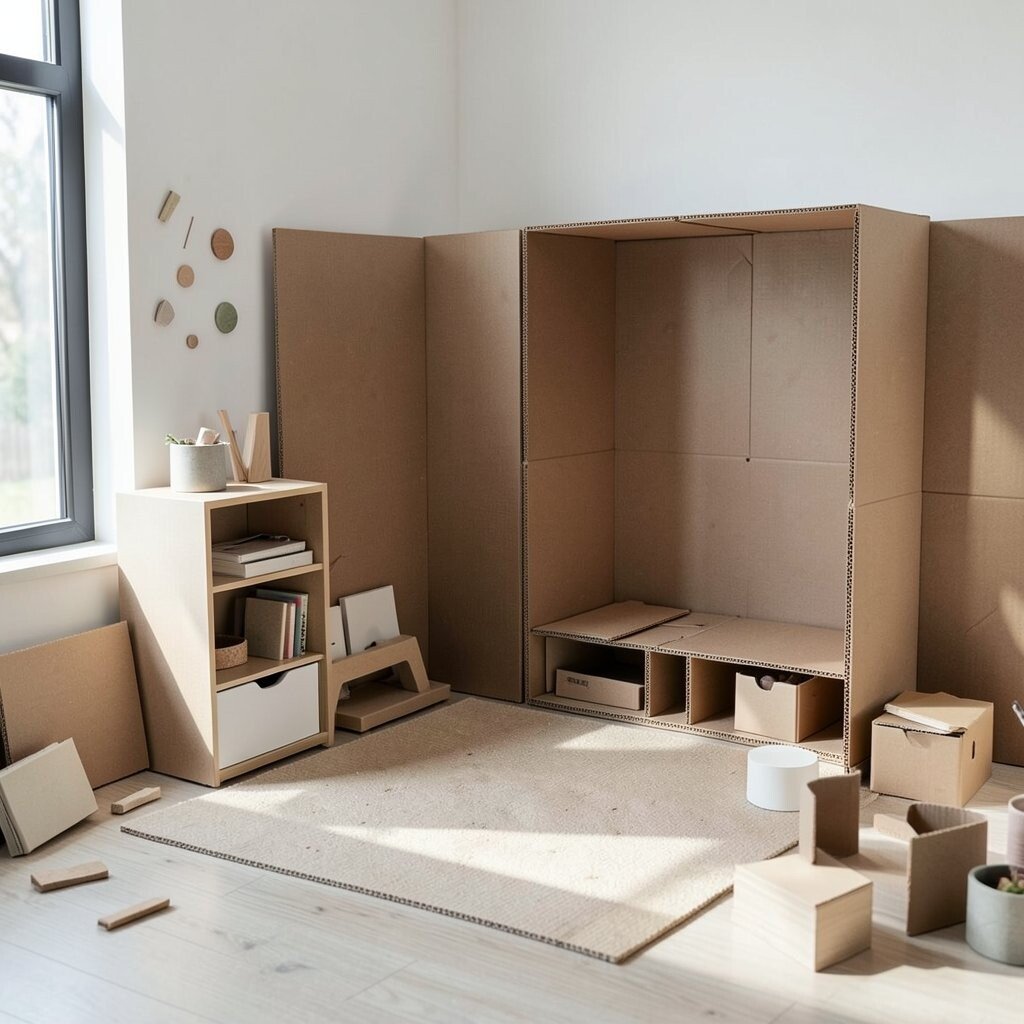
Dedicate a corner to structures made from cardboard, tubes, and tape, with a clear “building zone” boundary. Provide flat sheets, long strips, and connector materials like binder clips or paper fasteners.
Encourage children to build, test, knock down, and rebuild, using the room layout as part of the design. The physical act of planning, constructing, and revising supports deep thinking and teamwork.
13. Nature Sorting Tables
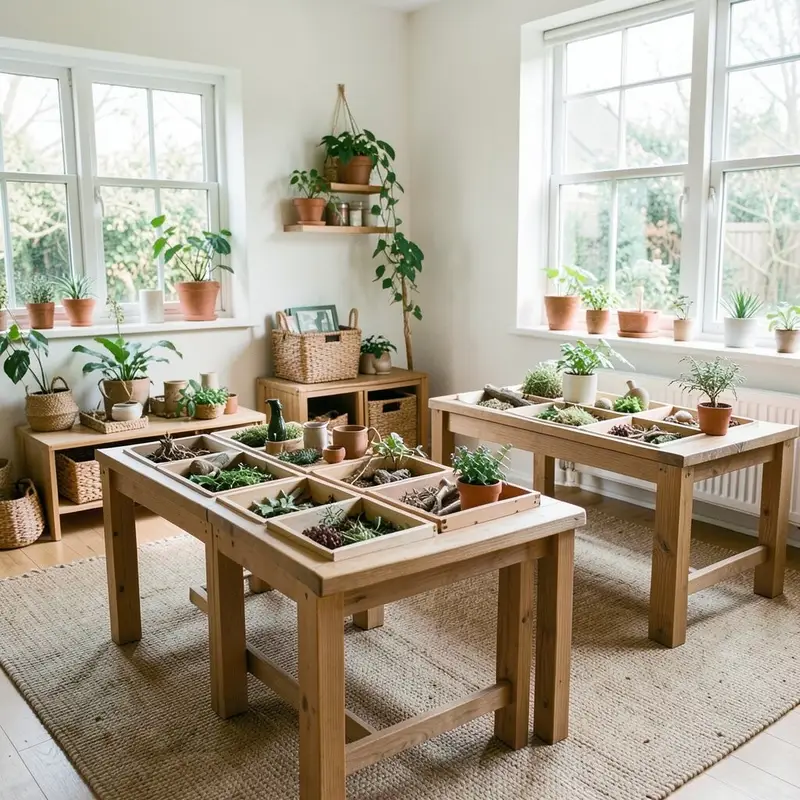
Set up one low table with trays for leaves, seeds, stones, and safe plant parts collected during walks. Add magnifiers, tweezers, and a few sturdy bowls so children can handle items carefully.
Let kids sort by color, size, texture, or shape, then create small “collections” they can display. This connects observation to art, and it makes science-like curiosity feel creative instead of strict.
Use cost-smart practices by collecting items responsibly and keeping a simple checklist for what’s safe. Personalize the trays with handmade labels created by the group.
14. Process Photo Cloud
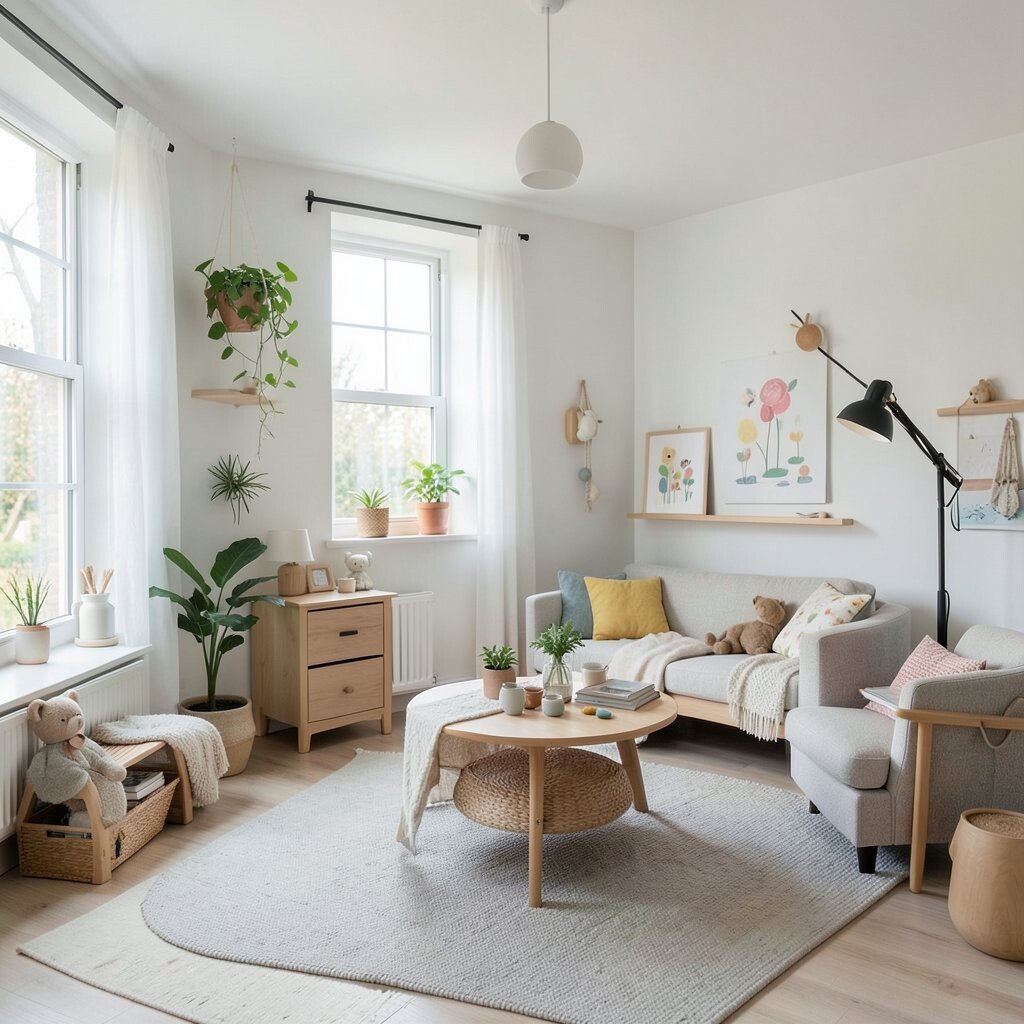
Photograph ongoing work from different angles, then print small copies to create a “process cloud” on a board or bulletin wall. Place photos in clusters so children can see how ideas grew rather than only the final product.
Invite kids to choose which photo “should be next” and add a short child-written caption with drawings. This makes documentation feel like part of making, not extra paperwork for adults.
15. Dramatic Play Role Exchange
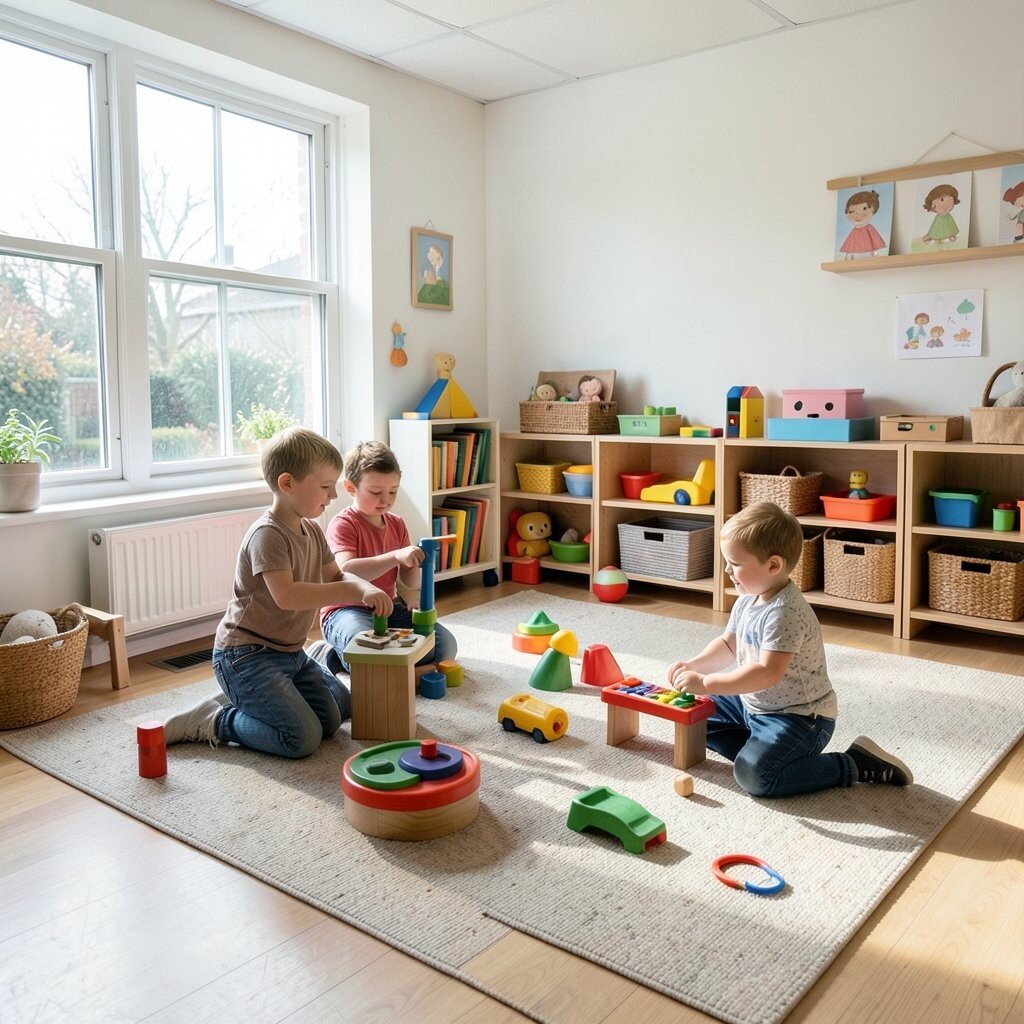
Create a rotating wardrobe using a clothing rack, dress-up bins, and a shoe shelf at kid height. Keep costumes simple and mix in hats, scarves, aprons, and themed items like toy tools or grocery props.
Invite role exchange by swapping roles mid-play, such as shifting from chef to delivery driver, or from builder to storyteller. This keeps play flexible and helps children practice perspective taking.
Choose washable items and store them by category so changes happen quickly. Personalize with a “role card” display created by children that shows the current big ideas in play.
When you notice new interests, add one new prop at a time, like a fabric cape for superhero stories. Small additions make dramatic play feel fresh without big purchases.
16. Collaborative Mural on Wheels
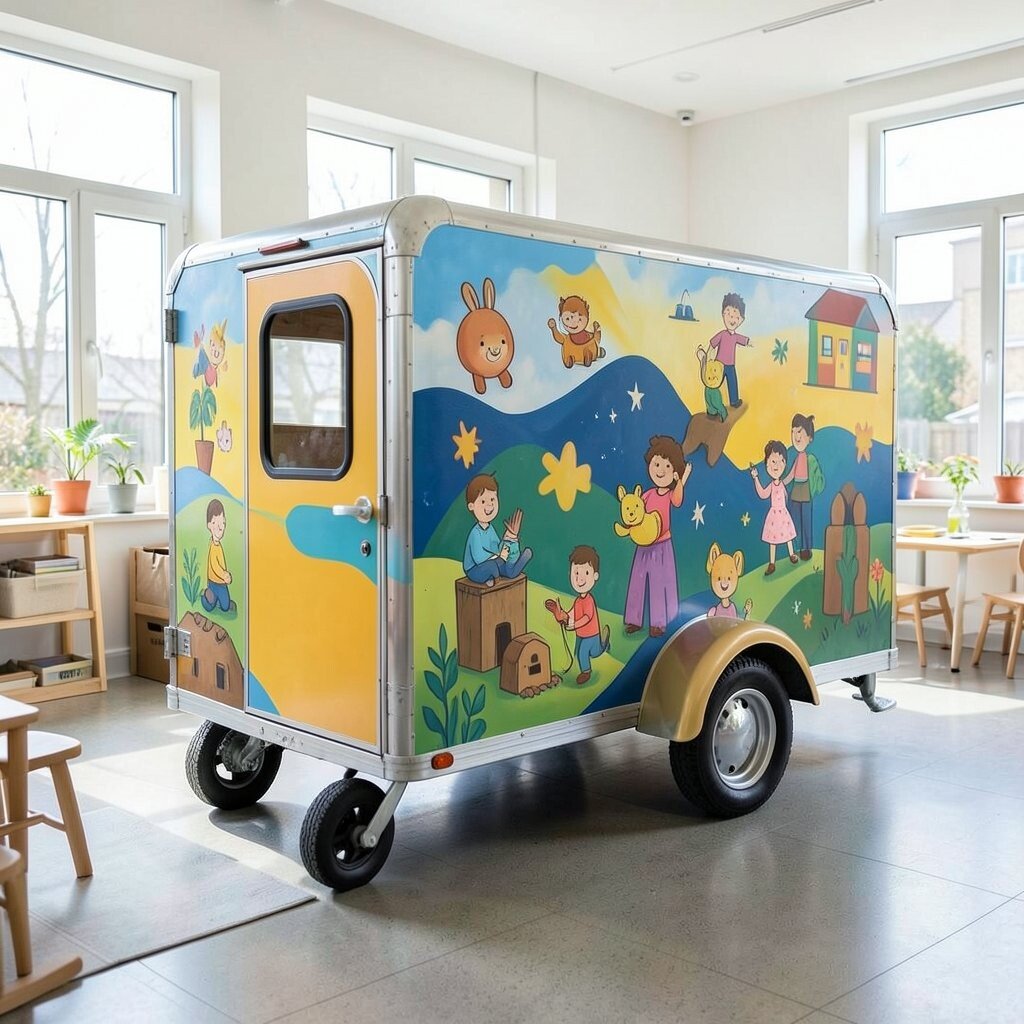
Use a large roll of paper or a canvas stretched on a lightweight board that can be moved around the room. Let children collaborate by adding marks with brushes, rollers, stamps, or hands with washable paint.
Position it near different activities during the day so the mural “joins” many spaces. This supports social creativity because children contribute together and notice each other’s choices.
17. Poetry of Shapes Wall
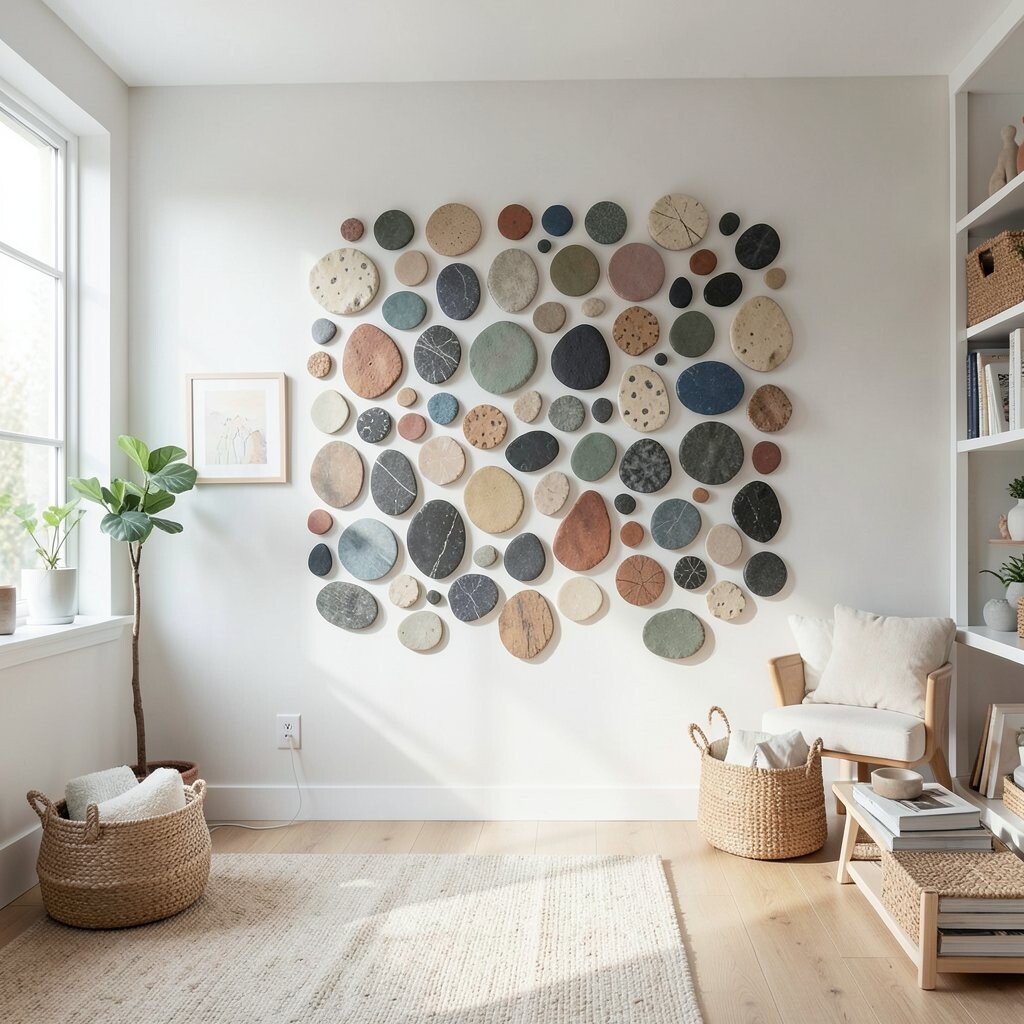
Cover a portion of the wall with paper that stays in place using tape strips along the edges. Provide stencil shapes, pattern blocks, and string for making lines and curves.
Let children create shape poems by combining forms into repeating patterns, then add tiny notes or drawings that explain what they were thinking. This supports early visual literacy and helps children connect creativity to language.
Keep supplies budget-friendly by using cardstock stencils, leftover cardboard, and washable markers. Personalize the wall by letting each child add a signature shape that appears again later.
18. Quiet Nook With Choice Seating
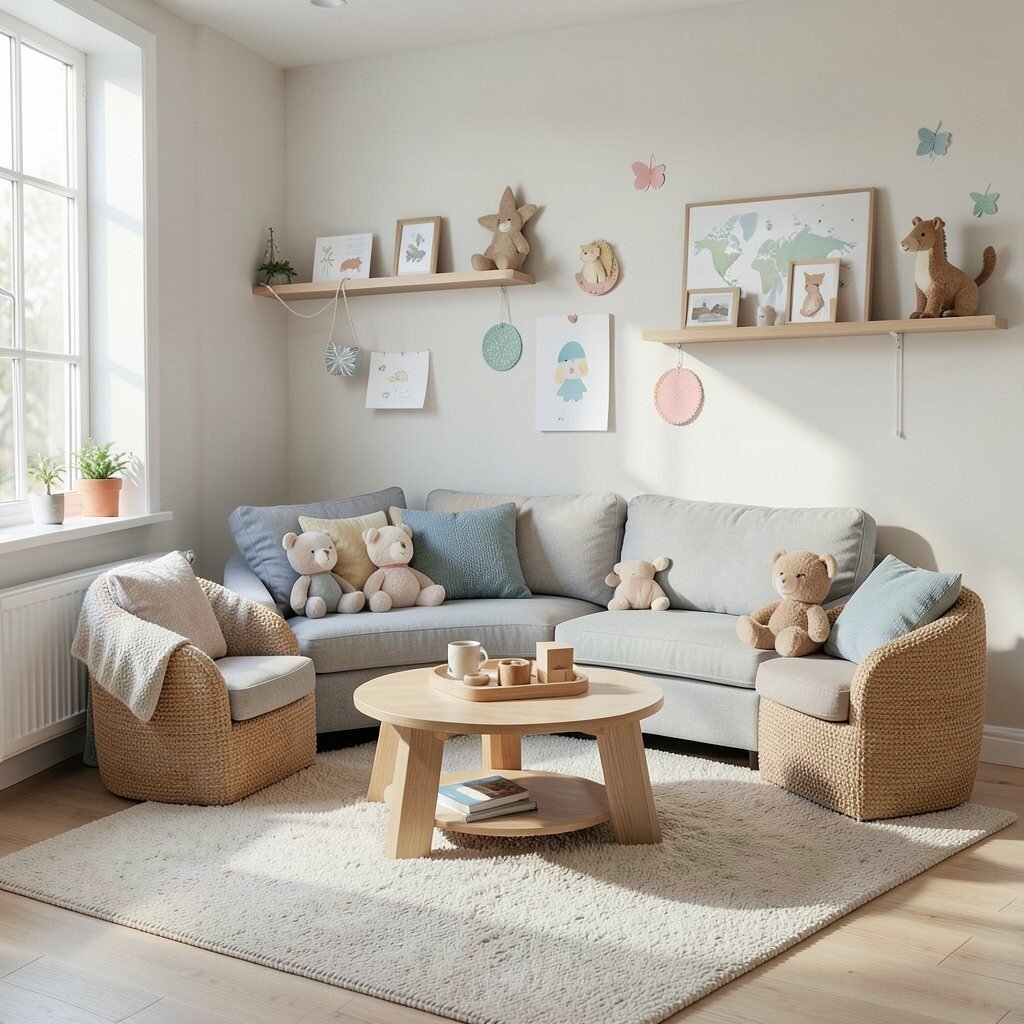
Set up a quiet nook with soft seating options like cushions, floor pillows, and a small reading tent. Provide a low basket with calming activities such as picture books, felt stories, or hand puzzles.
Create a choice system by placing several items visible at once so children can decide what fits their mood. When kids can choose quiet tools, adults spend less time troubleshooting and children build self-regulation.
19. Community Map With Moving Pins

Create a large floor or wall map of your neighborhood on sturdy paper or a sheet mounted to a board. Give kids safe string pins or large movable magnets so they can mark places like parks, shops, and library spots.
After walks or events, add notes, photos, and small drawings near the map points. This turns the community into a creative prompt and builds belonging through shared knowledge.
Use inexpensive materials by making your own map outline and printing photos only when needed. Personalize the activity by letting each child choose one “favorite place” to highlight with a color that becomes part of the group’s style.
When new trends show up, like bike-friendly routes or garden projects, update the map to match what families are doing. The room becomes a living story, where creativity connects to real life.