Your favorite clothes have a way of feeling like you. A few smart repairs can make them look new again.
When a seam loosens or a cuff frays, you don’t have to give up. You can bring life back with simple, satisfying fixes.
1. Mend Tiny Holes With Invisible Patches
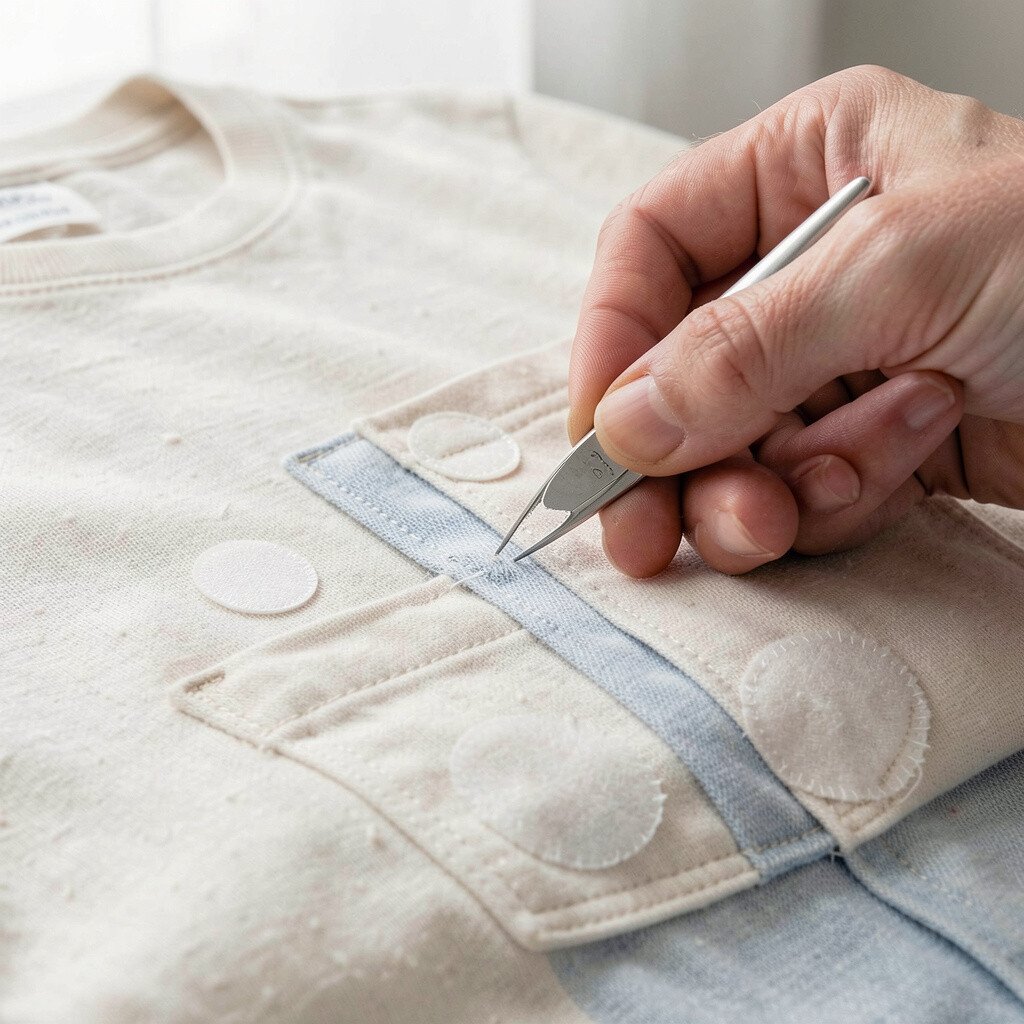
That faint little hole can turn into a bigger problem fast, especially on elbows, knees, and pockets. I love how a careful patch can make the fabric look whole again.
Choose a patch that matches the weave, then trim it so it sits flat under the torn area. Stitch around the edge using small, neat stitches, and use a thread color that blends with the garment. After finishing, gently steam the area so the surface looks smooth and natural.
2. Reattach Loose Buttons Without Bulk
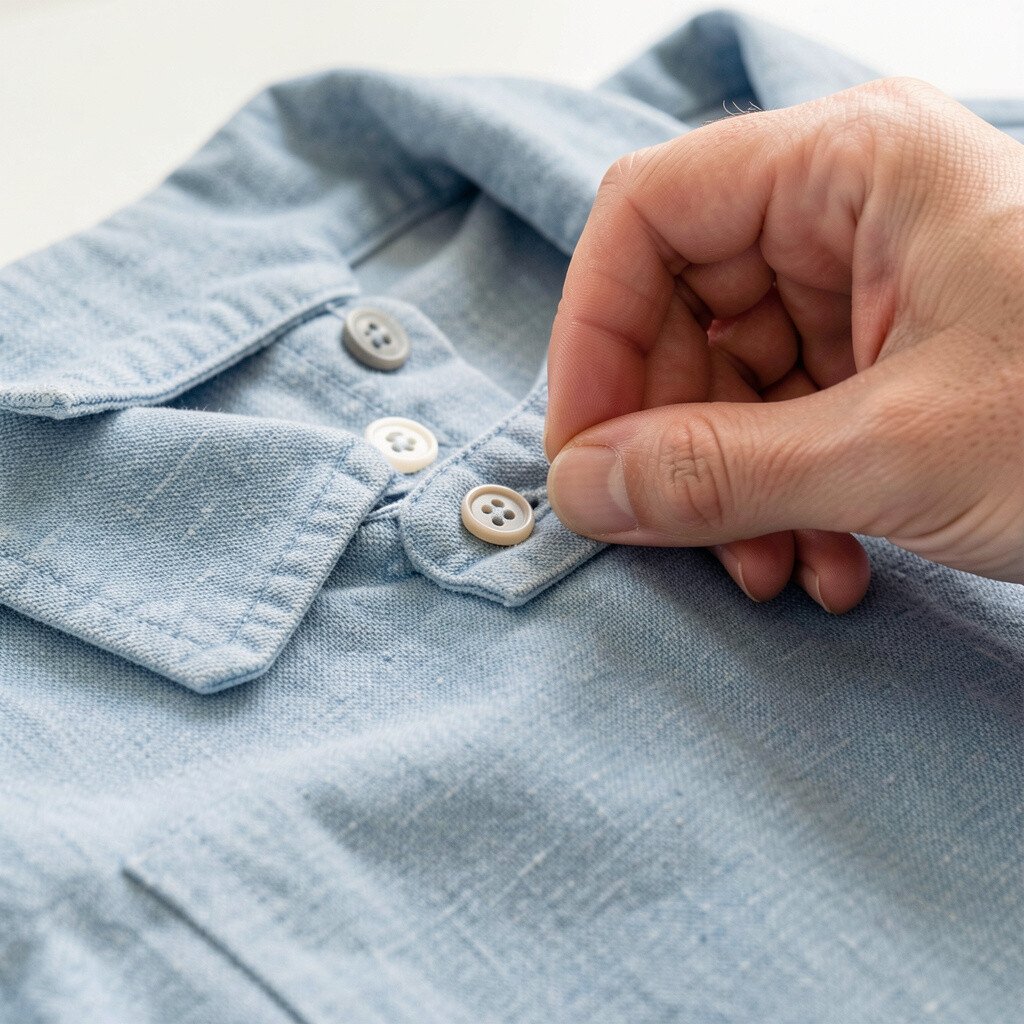
A loose button can make a shirt gap open or a cardigan hang uneven. Reattaching it is one of the quickest ways to restore a polished look.
Use strong thread and sew a few tight passes through the holes, then add a small spacer stitch so the button sits neatly. That tiny lift helps fabric lie flat and prevents the button from pulling the cloth. For a more finished look, match the thread shade to the garment and secure it with a firm knot hidden between layers.
If you want a fresh vibe, swap in a button that still fits the style, like a matte finish for basics or a bright tone for denim. It can feel personal without looking flashy. Keeping spare buttons in a small jar is also a practical habit for future repairs.
3. Stop Sags With Underarm and Crotch Reinforcements
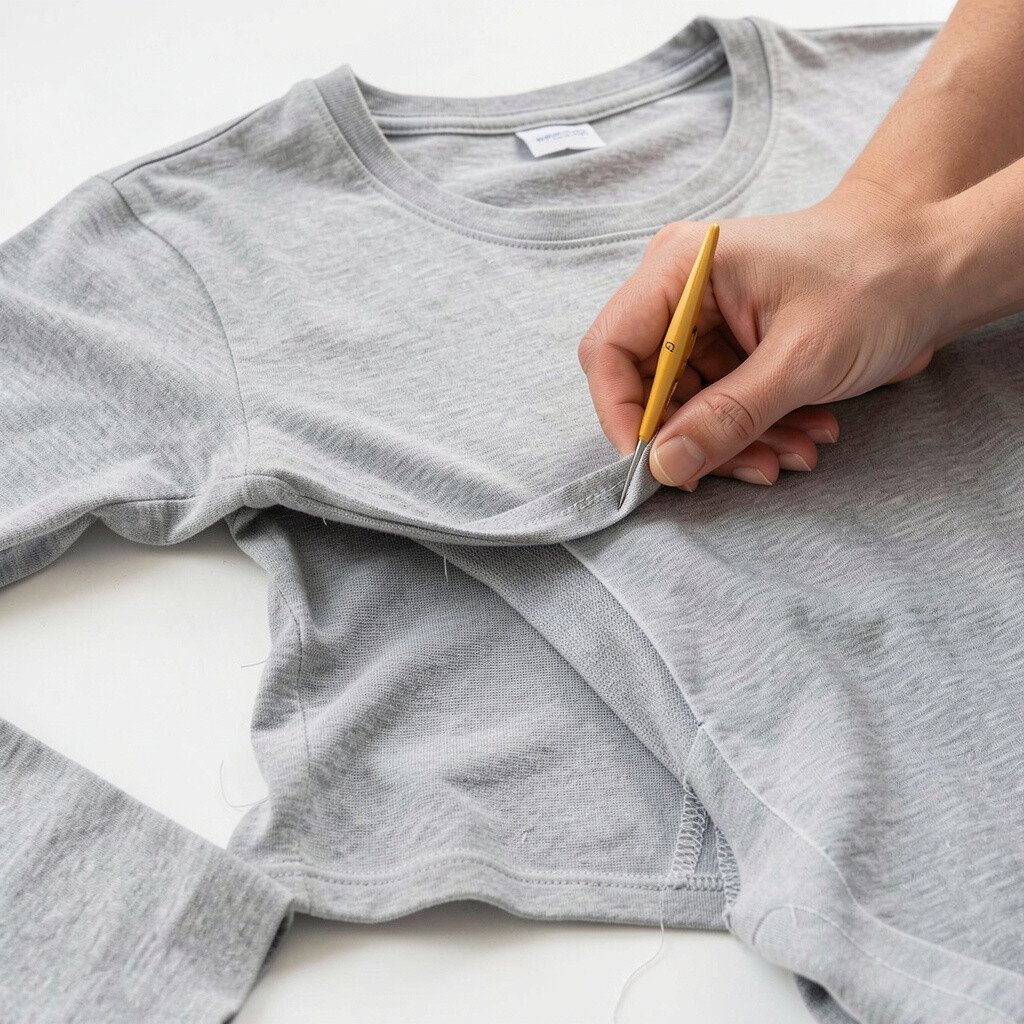
When fabric stretches at the underarm or crotch, it’s usually from constant movement. You’ll notice it as a droop, pulling seams, or fabric that seems thinner than before.
Cut reinforcement fabric that follows the shape of the worn area, then baste it in place before sewing. Use a flexible thread and stitch in a way that holds the stress points without making the garment stiff. After that, press the repaired spot gently so it blends with the surrounding fabric.
This kind of fix keeps your favorite fit and prevents the next tear. It also helps the garment last longer, which is a real money saver over time. If you’re into current styles, reinforced details can subtly match the look of modern workwear when the patch fabric is chosen thoughtfully.
4. Fix Hem Fraying With Clean Finishes
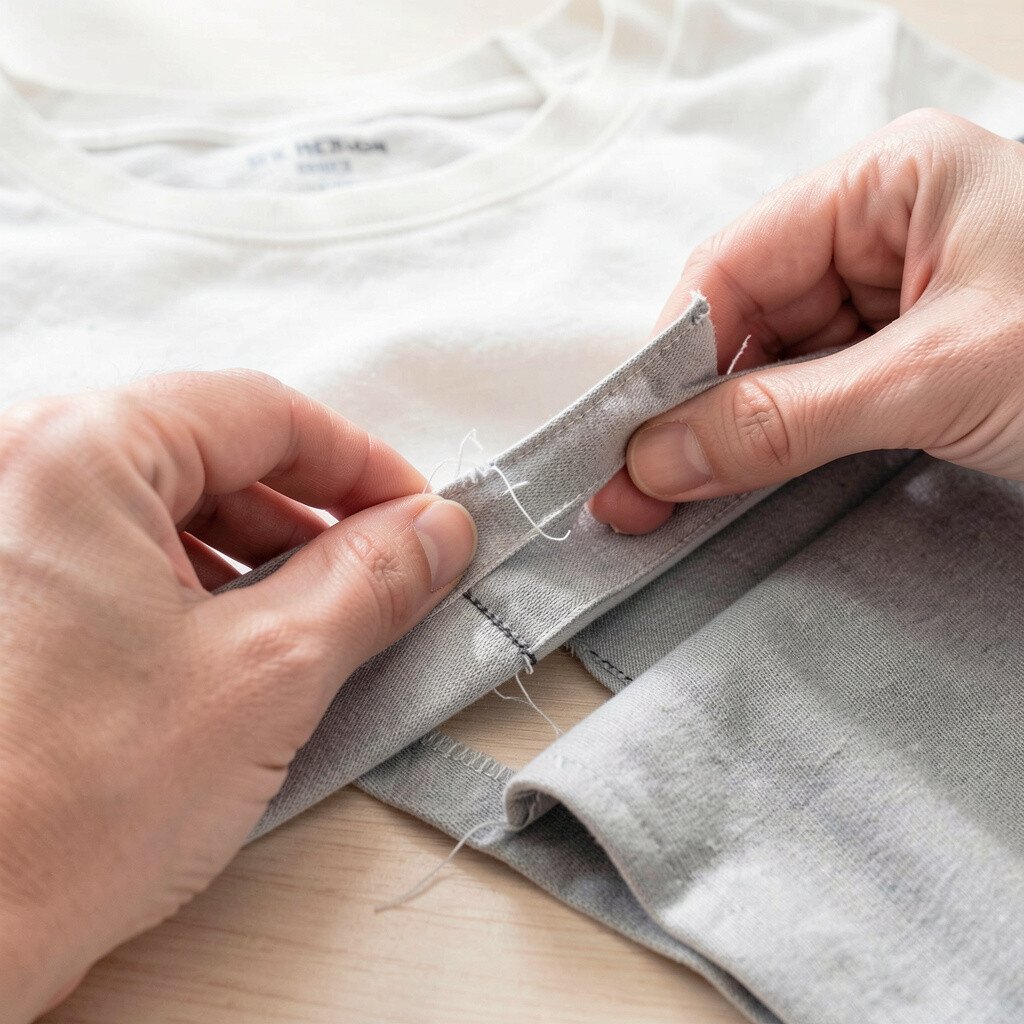
Fraying hems can make even a good outfit look messy. The good news is that a tidy hem repair is usually quick and satisfying.
Trim only the damaged threads, then fold the hem so raw edges are inside. Sew with a straight stitch for sturdy fabrics, or use a narrow zigzag for knits so it flexes with you. Finish by pressing with steam, because a crisp edge always looks sharper than a rushed one.
If the hem is slightly uneven, take a moment to measure against another side. That small check helps the garment hang correctly again. Choosing thread that matches the hem color keeps the repair invisible, while contrasting thread can look trendy on casual pieces.
5. Replace Worn Elbow Patches on Sweaters

Elbows take a beating, and you’ll often see thinning before you notice a tear. When the patch gets worn, it can look tired rather than cozy.
Remove the damaged section carefully, then sew on a fresh elbow patch that matches the sweater’s knit weight. Keep the patch slightly textured so it doesn’t look flat or mismatched. After stitching, stretch the sweater gently over your hand to help the fabric settle naturally.
For personalization, use patches with subtle patterns like small checks or muted stripes. That gives a playful twist while still feeling wearable. If cost matters, buying a small remnant of fabric or using a thrifted sweater to cut patches can be much cheaper than replacing the whole item.
6. Rebuild Torn Pocket Corners
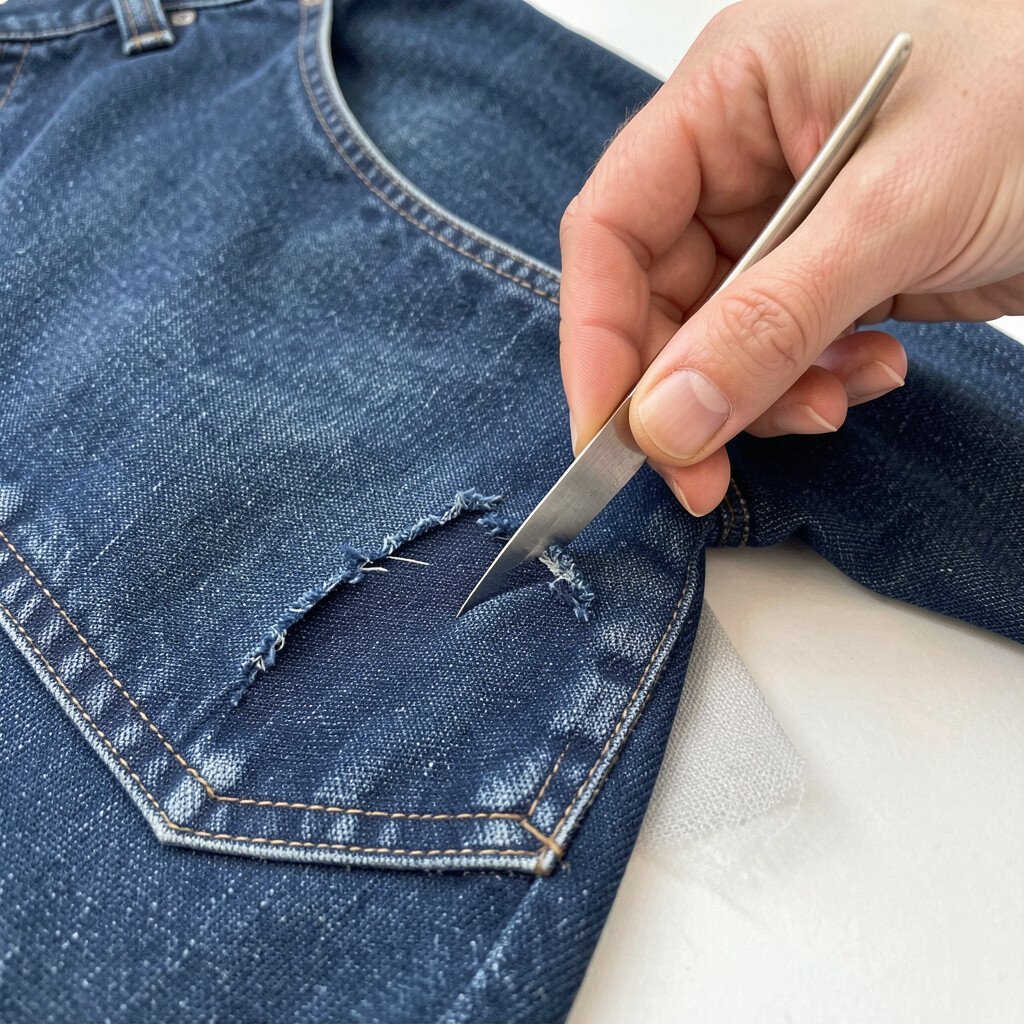
Pocket corners are always under pressure, especially when you carry your keys or a phone. A tear here can also make the whole pocket look off.
Trim frayed threads and reinforce the inner corner with a small strip of fabric, then stitch through both layers to close the gap. A sturdy thread helps, and sewing slowly keeps the seam line neat. Finish by pressing so the pocket lays smoothly when you reach in.
To make it feel new, align the pocket opening so it sits at the same angle on both sides. That visual balance is what makes repaired clothes look intentional. If you like a current utilitarian look, matching pocket fabric in a slightly different shade can create a cool contrast without ruining the original style.
7. Straighten Twisted Seams With Steam and Stitching
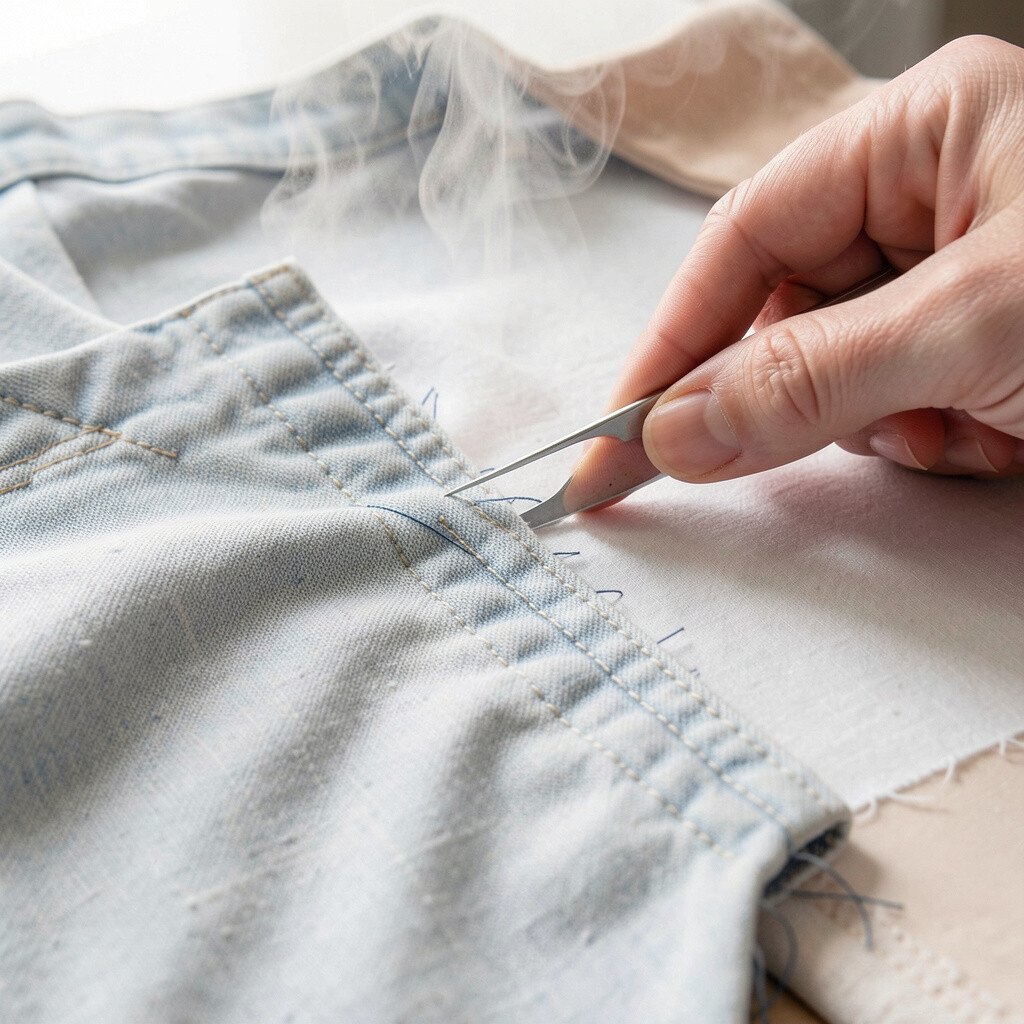
Sometimes a seam doesn’t break, it just twists. You’ll see it as a line that curves, pulls, or looks like the garment is leaning.
Start by steaming the area and pinning the seam back into its correct position. Once it sits flat, sew along the existing seam line or use a careful backstitch to secure it. Press again after sewing so the fabric regains its shape.
This repair improves how the garment hangs, which changes your whole look in seconds. It’s also a low-cost fix because it uses only thread and your time. If you want a personalized touch, you can adjust the seam slightly for a cleaner fit at the waist or shoulders.
8. Patch Lining Tears Without Changing the Outfit Shape
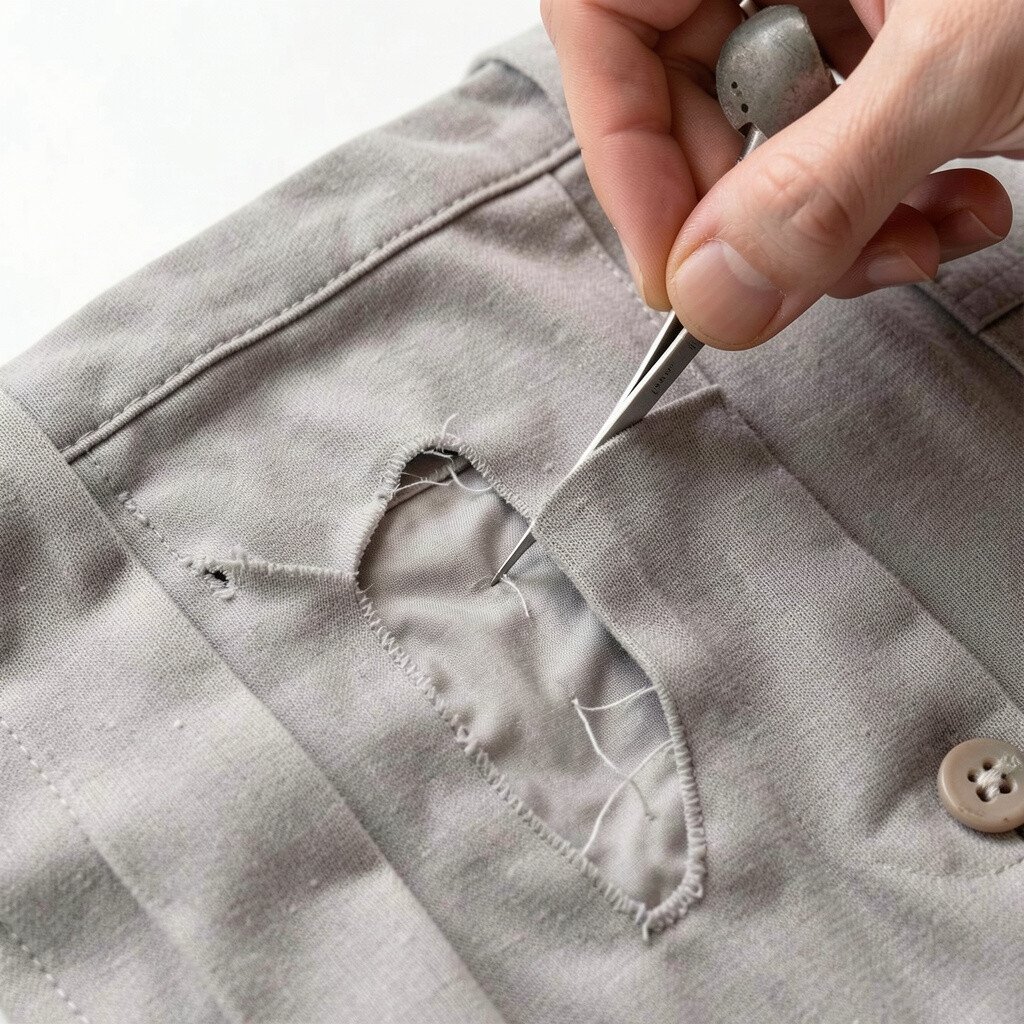
When a lining rips, the outer fabric can still look fine, so it feels like a waste to replace the entire piece. Lining repairs are the secret to keeping jackets and skirts feeling comfortable inside.
Turn the garment inside out and reinforce the tear with a thin patch that won’t add bulk. Stitch in a way that matches the lining texture, then test the garment by moving your arm or walking. Press lightly so the lining falls back into place.
This keeps your outer surface smooth and prevents snagging on your clothes. It also helps the garment keep its shape longer, which is a big benefit for items you wear often. For personalization, choose a lining fabric color that complements the garment so any near-edge peek looks intentional.
9. Replace Zippers for Smooth Daily Wear
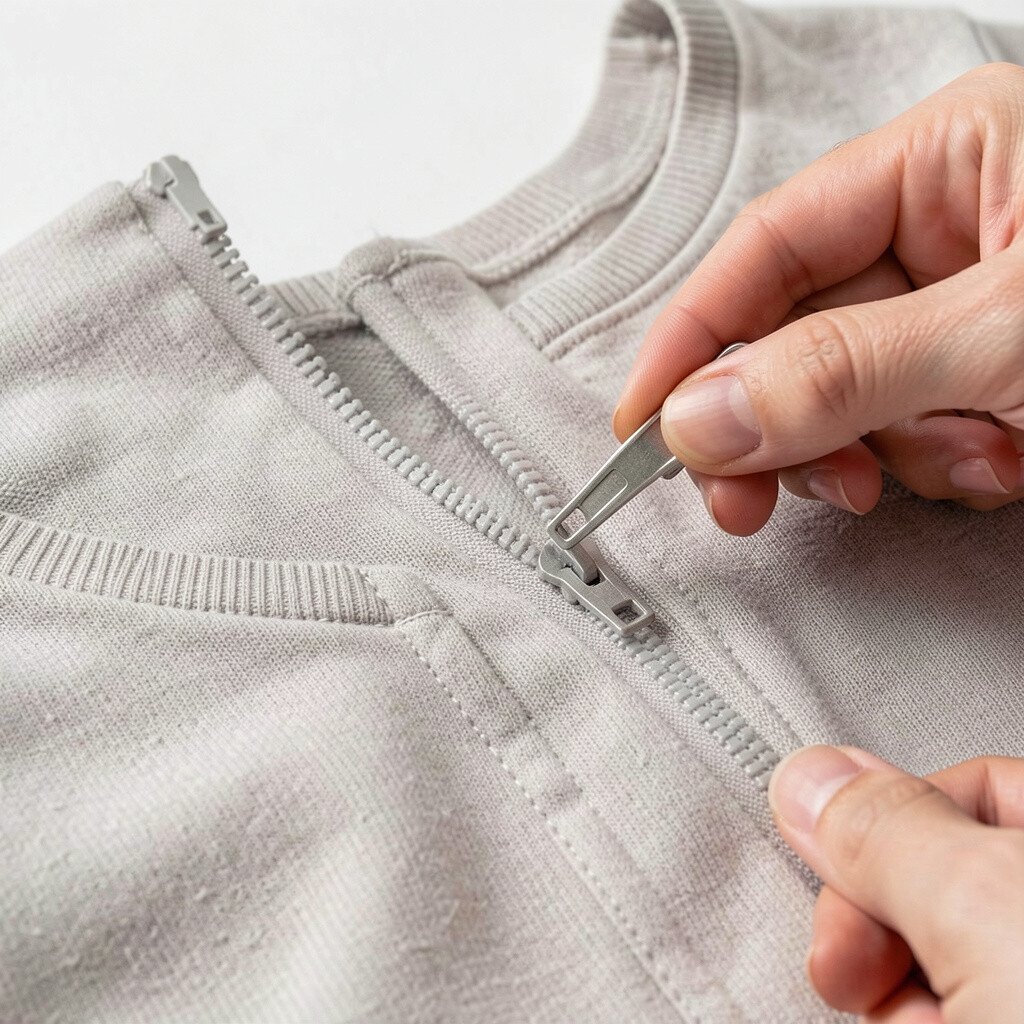
A zipper that catches or won’t close can ruin the feeling of a favorite jacket or bag. Replacing it brings back that smooth, confident pull.
Match the zipper length and style to the original, and use pins to hold it steady before sewing. Take your time with alignment because the zipper track needs to sit evenly. If the zipper has teeth that don’t match, the fabric may bunch, so double-check before you commit.
For cost considerations, a zipper replacement is often cheaper than buying a brand-new item, especially for well-made pieces. A fresh zipper can also make the garment look updated, which fits current trends toward well-finished everyday wear. If you want personalization, consider a zipper pull charm that adds a little sparkle without changing the overall style.
10. Fix Stretched Collars and Cuffs
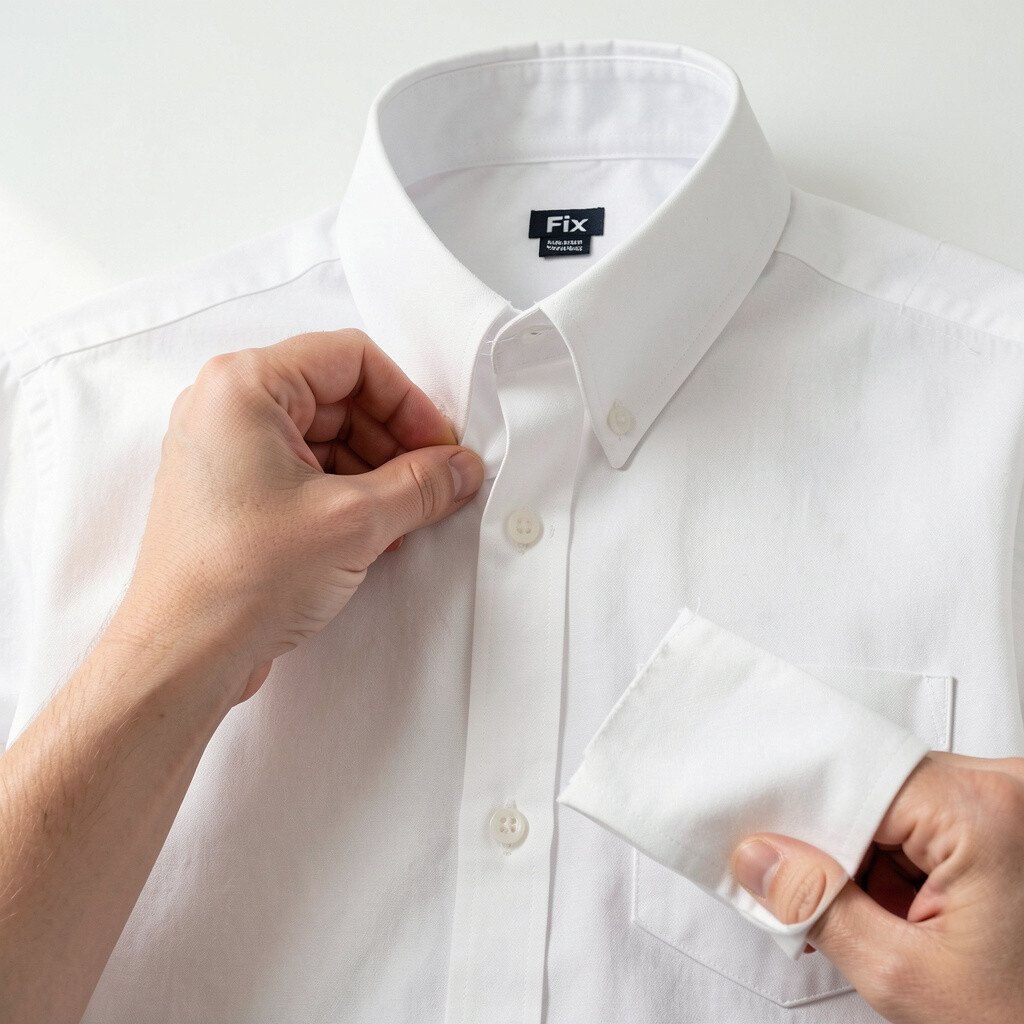
Stretched collars and cuffs can make shirts look sloppy, even when the rest is fine. The goal is to restore structure, not just hide damage.
Try steaming the area first, then baste the collar or cuff back into shape before sewing it securely. If the fabric is too stretched, add a thin interfacing to give it strength. Use matching thread so the repair blends and feels smooth against your skin.
This kind of repair makes the garment look crisp, and it helps it hold its shape for longer. It’s also a smart way to avoid replacing items that still fit perfectly. If you like trends, crisp cuffs pair beautifully with modern minimalist outfits, and a neat collar always photographs well.
11. Repair Stretch Knits With Reinforced Threading
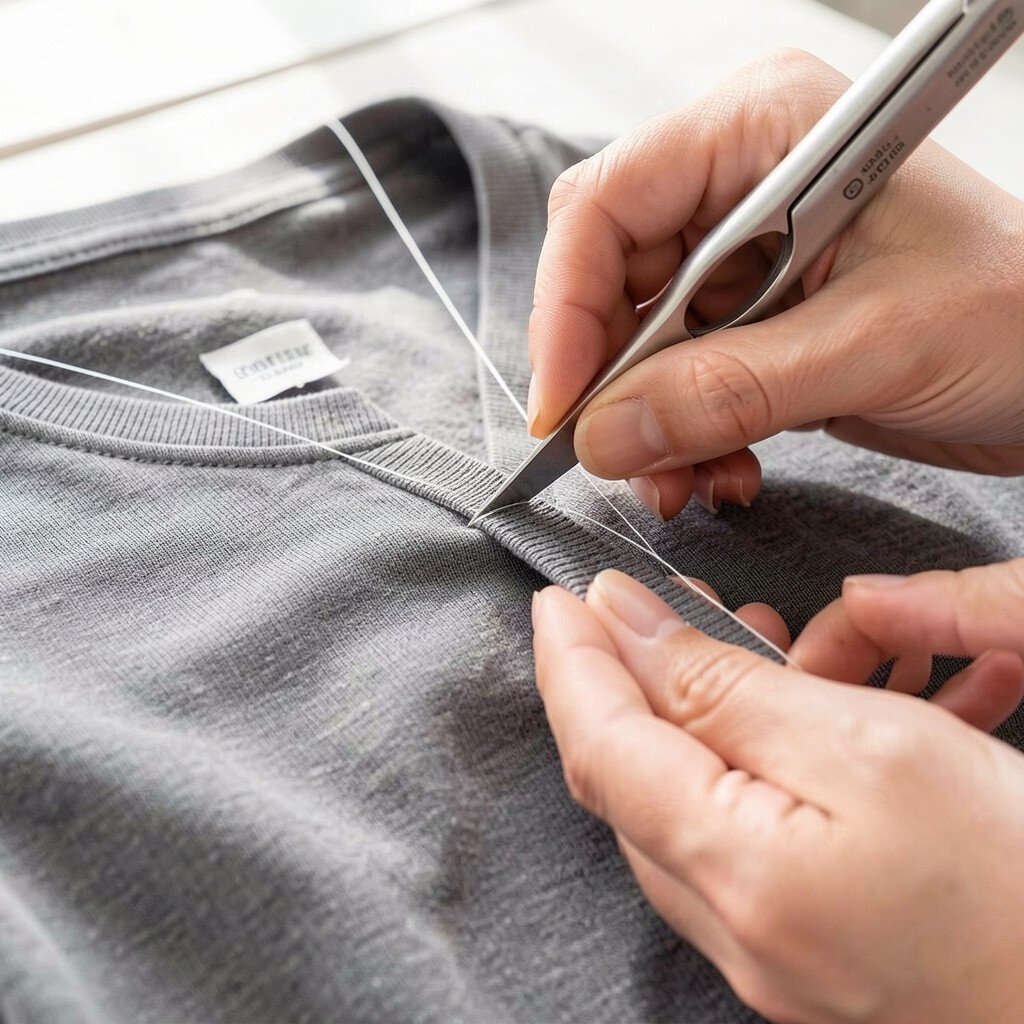
Knits can snag and tear at seams, leaving you with a hole that seems to grow. The fix should keep stretch, so the repair doesn’t pop out again.
Use a stitch that allows movement, like a zigzag or a stretch stitch, and reinforce the area with careful topstitching. If the knit is thin, place a small knit interfacing behind the tear for stability. After sewing, gently stretch the repaired section to confirm it moves with the fabric.
When done right, your garment feels comfortable again instead of stiff and scratchy. This saves money and helps you keep using the pieces you already love. For personalization, you can choose a slightly contrasting thread for a subtle modern look, especially on casual tees and fitted tops.
12. Replace Worn Shoe-Lace Loops and Tie Areas
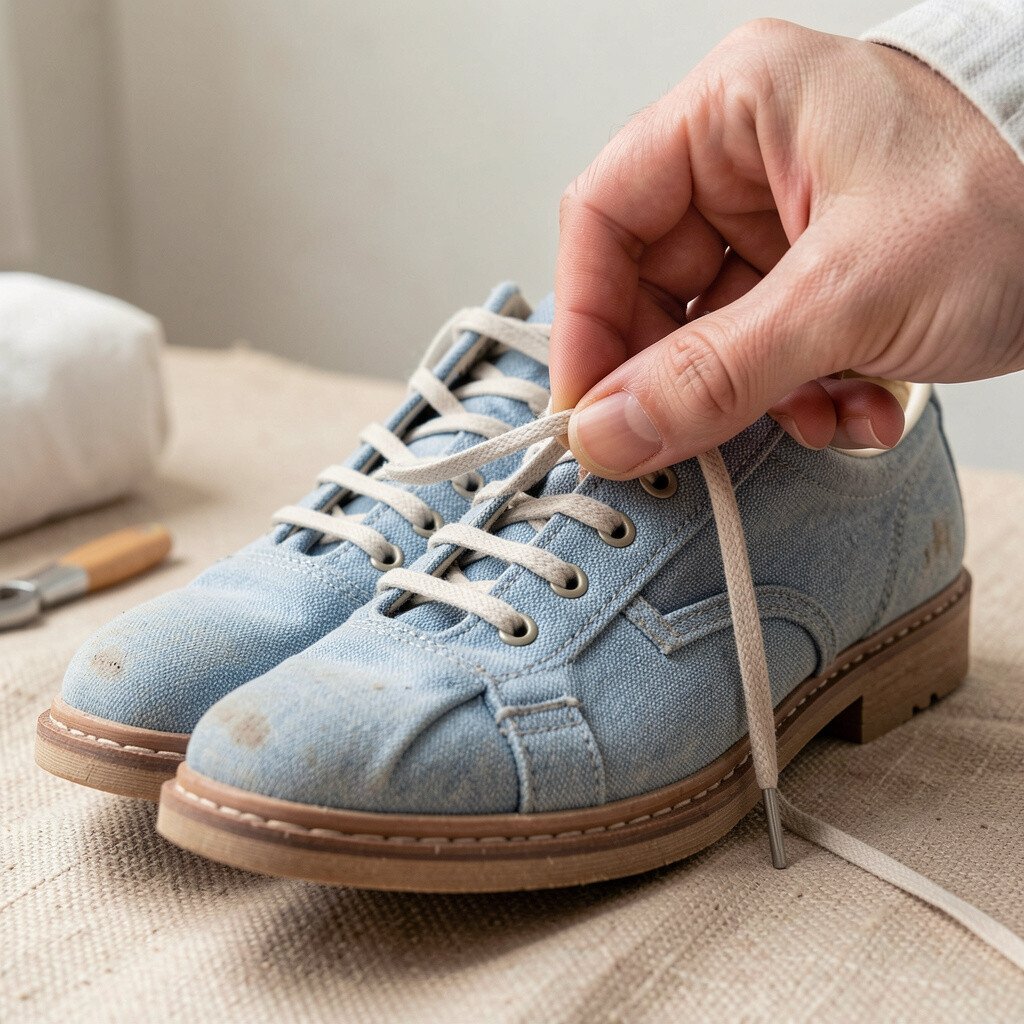
Some garments and hooded items lose their tie ability because loops wear out. When ties flop, the whole look feels unbalanced.
Remove the damaged loop, then sew on a new loop using matching fabric or a small strip folded with strong stitching. Keep the loop attachment symmetrical so it lines up with the tie area. Test the tie by pulling it through and adjusting the fit once it’s secure.
This repair gives you control over fit again, which is a big comfort win. It’s also a simple cost-saving choice because small parts are inexpensive. If you want to match current fashion, try a slightly bolder cord color while keeping the garment itself unchanged.
13. Refinish Peeling Fabric on Faux Leather and Coated Items
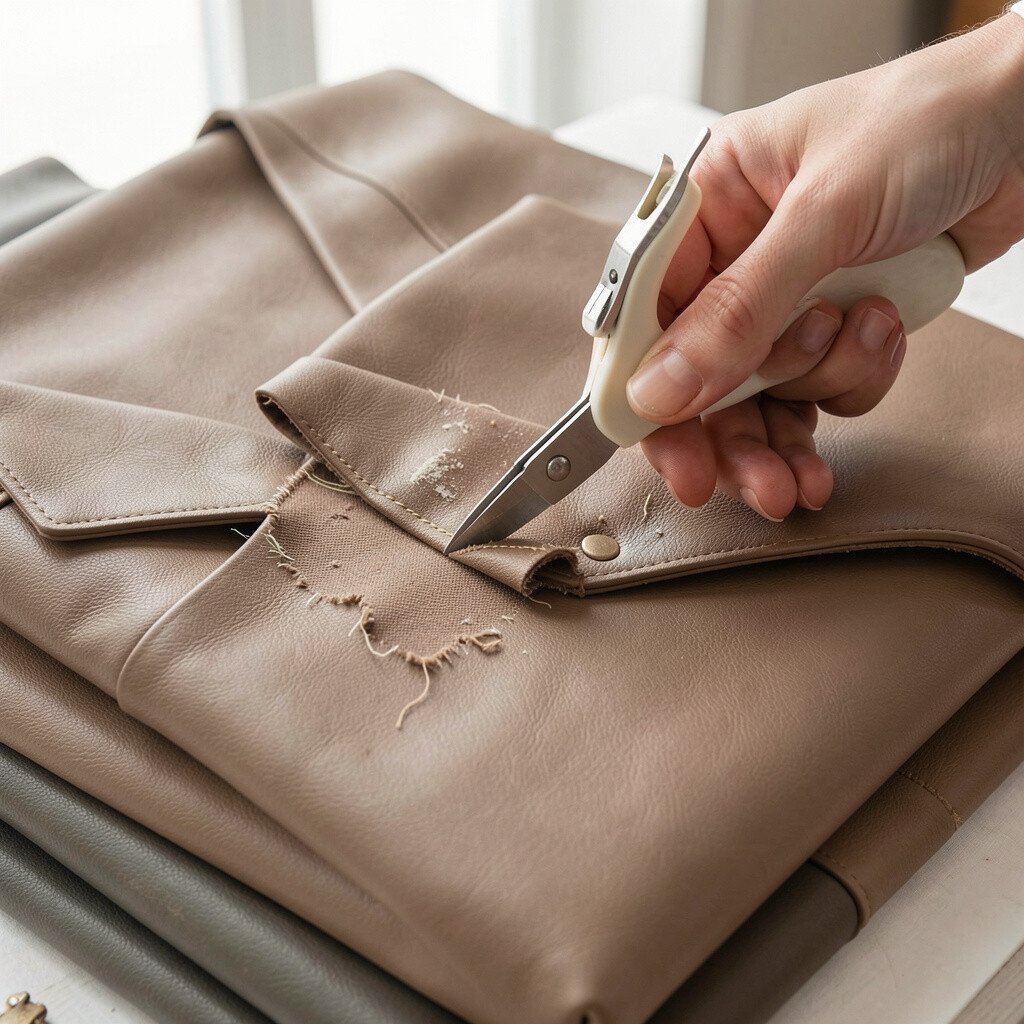
Coated jackets and faux leather pieces can start peeling, and that can make the surface look rough. Often, the best first step is to stop the peeling from spreading.
Gently clean the area, then apply a flexible fabric coating or leather-style repair compound designed for the same material type. Let it cure fully, then inspect for any edges that still lift. If the peel is near a seam, consider reinforcing the seam inside so movement doesn’t crack the new finish.
This restores visual smoothness and helps the garment resist everyday wear. Cost-wise, coatings are usually far less than replacing the whole jacket, especially when it’s a timeless shape. For uniqueness, you can keep it true to the original color or choose a slightly darker tone for a richer, trend-friendly look.
14. Fix Shrunk Fabric With Smart Stretching and Pressing
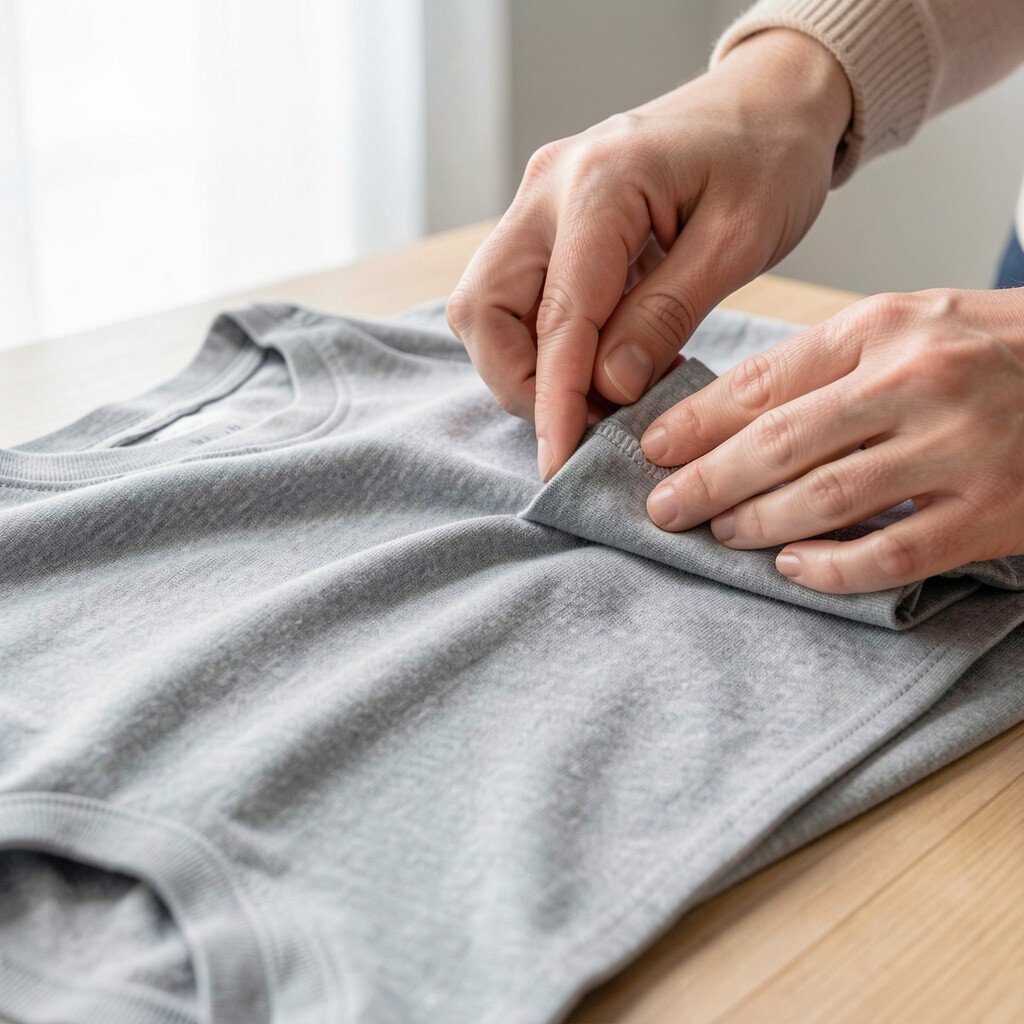
Sometimes a garment shrinks and feels tighter in a way that changes everything. It can also pull seams out of alignment.
Start by dampening the fabric lightly, then stretch it back to its original measurements while it’s still pliable. Use your hands to shape the area, and press gently with heat-safe settings if the fabric allows it. Let it dry while pinned or laid flat to keep the shape consistent.
This doesn’t always work for every fabric, but when it does, the benefit is huge. You avoid replacement and keep the same style you already love. For personalization, adjust the fit slightly so it becomes more flattering, like giving a little extra ease at the shoulders.
15. Remove Rust and Stains Before Repairing Seams
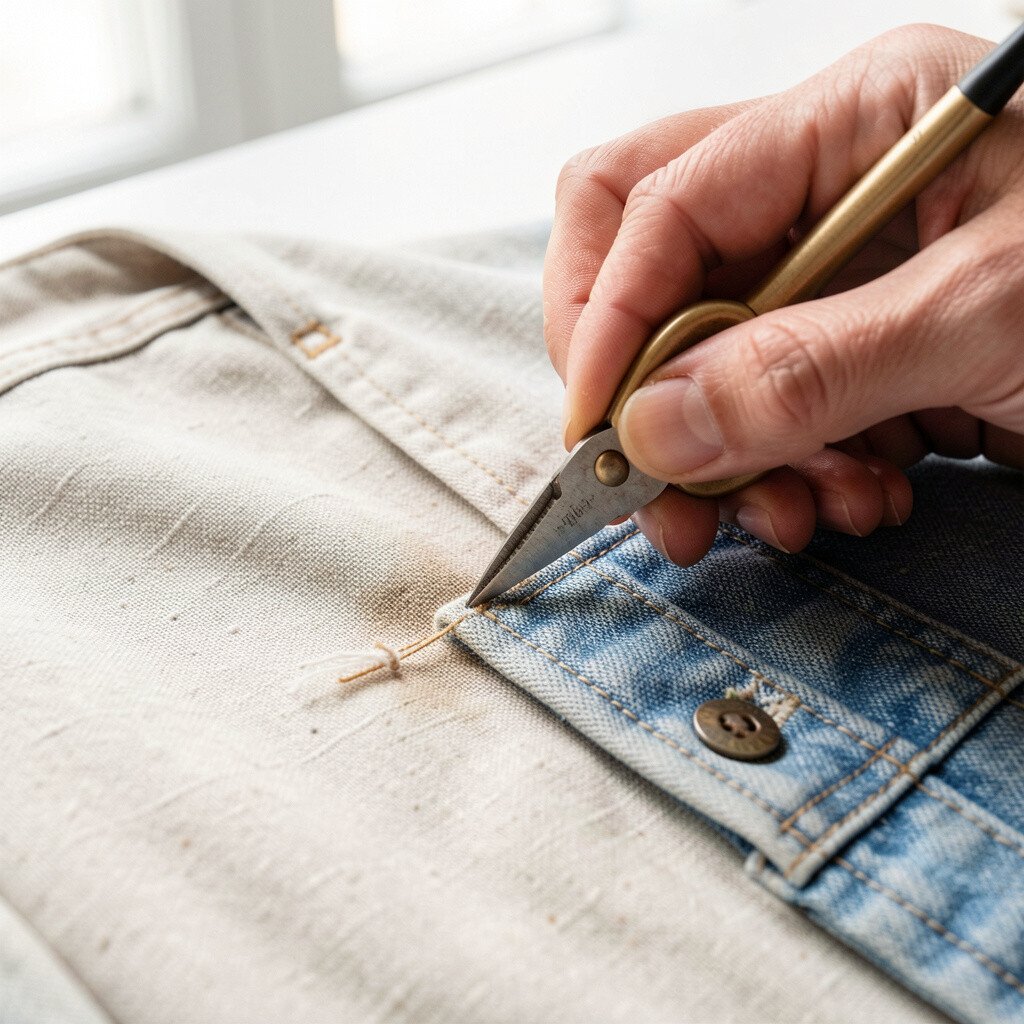
A stain can be more than a cosmetic issue, because it can weaken fabric near seams. Repairing a seam on stained fabric often fails if the fibers are damaged.
Treat the stain gently first using a fabric-safe method that matches the garment type. After cleaning, let the area dry completely before you sew. Once the fibers feel stable, reinforce the seam or patch the affected area with careful stitching.
This sequence improves the strength of the repair and helps the garment look cleaner overall. It also prevents repeat problems, which is a practical way to save money. For uniqueness, you can sometimes blend the repaired area using thread that matches the stain undertone, so the repair feels like it belongs.
16. Hem With Intentional Cuffing for a New Silhouette
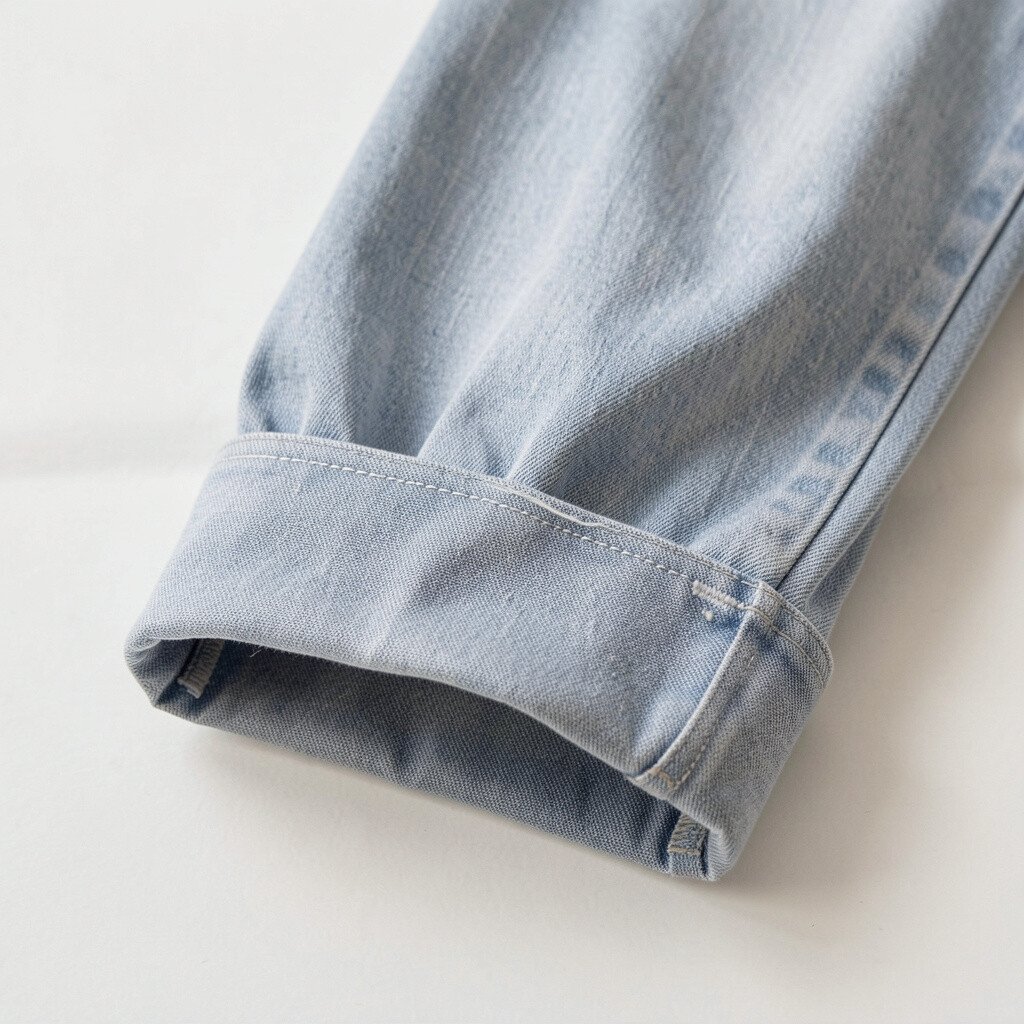
If your hem is damaged or just not your current style, don’t fear changing it. A repaired hem can become a whole new look while keeping the same garment you love.
Trim worn edges carefully, then fold up the hem to a fresh length that fits your style. Sew it in place with a stitch that matches the fabric weight, and press for a crisp finish. If you want flexibility, consider leaving enough seam allowance for future length changes.
This repair gives you a visual update without buying new clothes, which is a smart cost consideration. It also matches current trends toward intentional proportions and playful lengths. For personalization, add a contrasting inner hem lining or stitch in a color that echoes your shoes or bag.
17. Create a Matching Repair Set for Coordinated Outfits
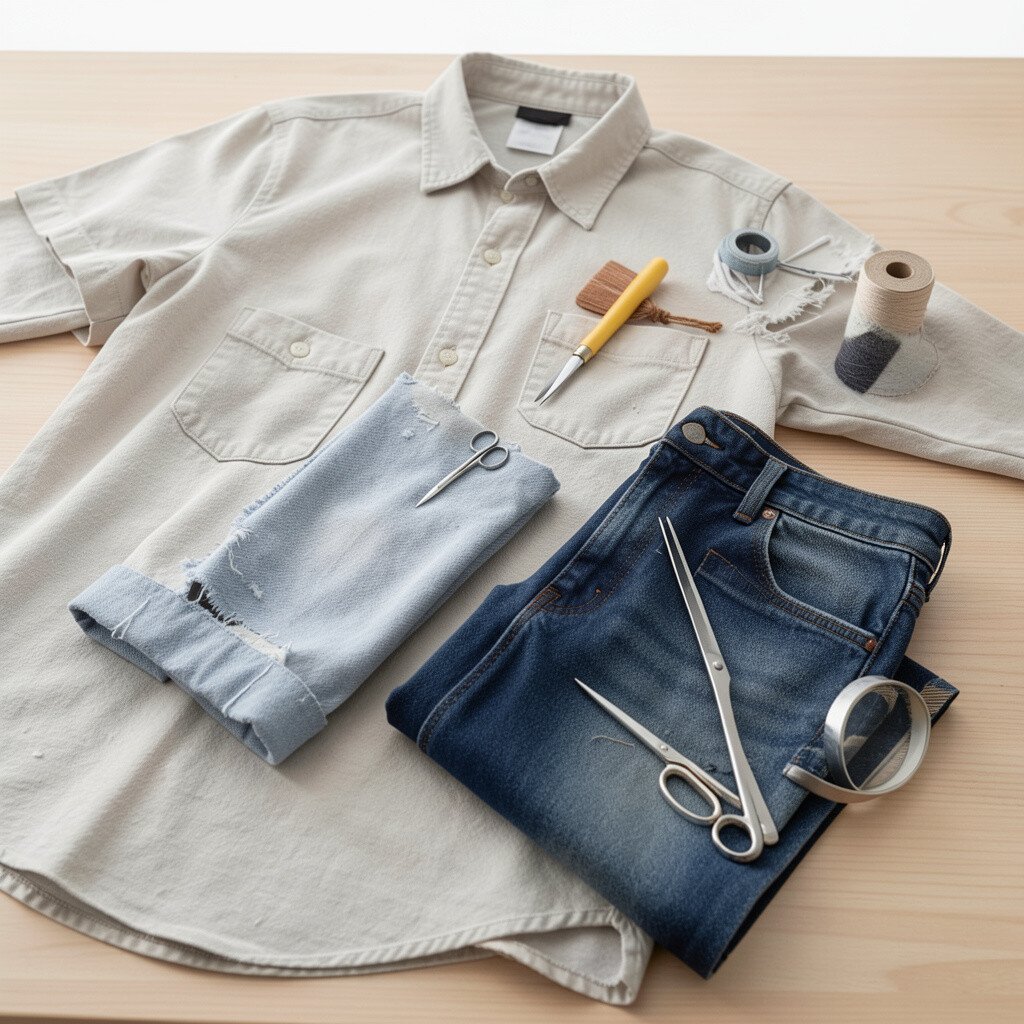
Repairs don’t have to be hidden completely, and coordinated fixes can make your wardrobe feel like a team. When you repair multiple items in similar ways, your style looks deliberate.
Choose a consistent thread color, patch style, or seam finish across your favorite pieces, then repeat the same technique where wear shows up. That visual rhythm helps the garments feel cohesive even if they came from different eras. Make small adjustments so each repair fits the fabric and the way you wear it.
This approach builds uniqueness and makes your clothes feel like they have a story. It also gives you a practical system, because once you find a method that works, you can reuse it again and again. For personalization, match the repair theme to your seasonal wardrobe, like lighter tones for spring layers or deeper shades for cozy fall knits.