The quiet click of a marker can brighten your whole day. Pick one small activity and let your hands do the thinking.
1. Upcycled T-Shirt Tote With Fabric Paint
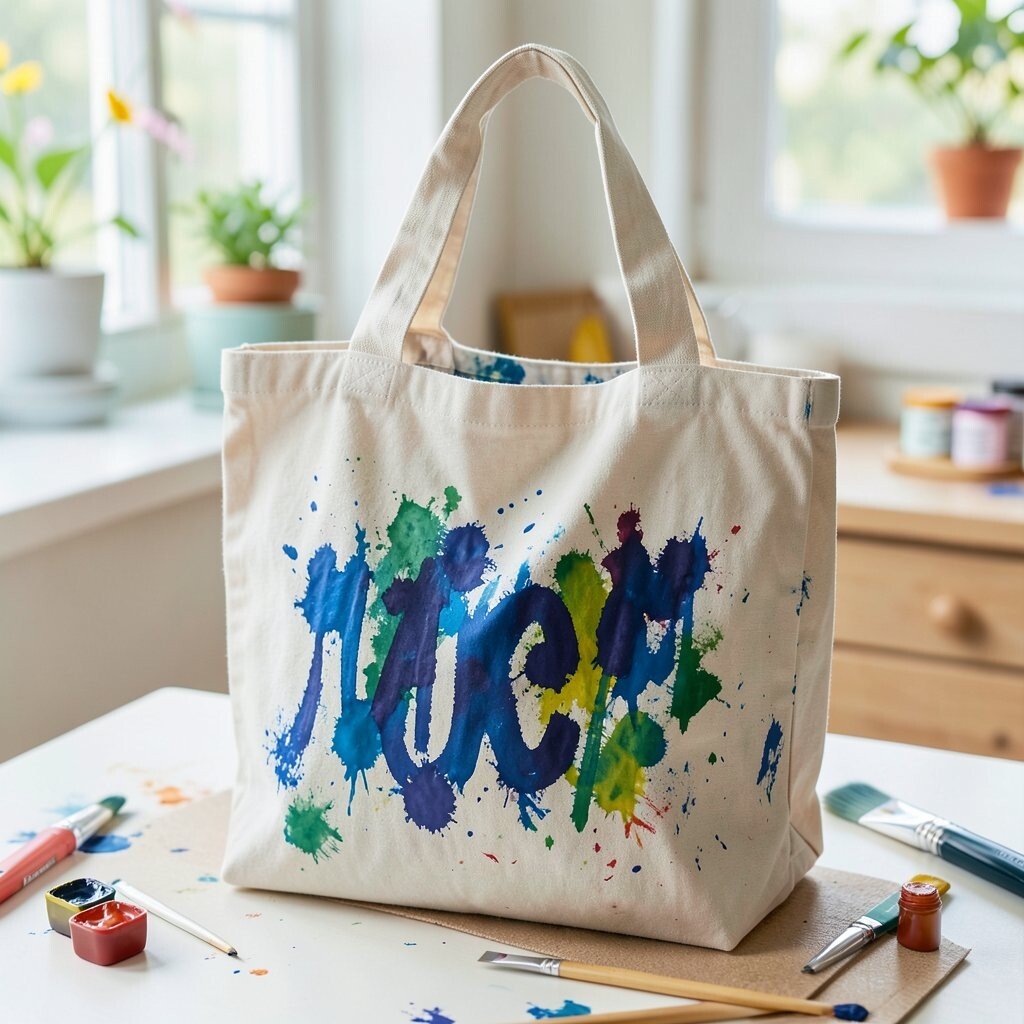
Grab an old T-shirt and cut off the sleeves and neck. You can picture the soft cotton folds turning into a sturdy bag with every careful snip.
To make it easy, trim the bottom edge straight, then cut fringe strips on the lower part and tie them together. Paint the tote with fabric paint in simple shapes like stars or waves so the design looks lively even when it is minimal. For personalization, stamp a few handprint circles or add your initials using a thin brush and a steady pace.
2. Collage Postcards Using Magazine Scraps

Choose a few pages from old magazines and tear out pieces that catch your eye. You will love how bright colors overlap like tiny scenes on a postcard-sized paper.
Layer cutouts on cardstock, then glue them in a pattern you enjoy, such as a border, a skyline, or a rainbow strip. Add a little personalization with doodles in black marker, and keep it current by using bold typography-style shapes that echo modern packaging graphics. If you have glue sticks and scrap paper already, the cost is basically just time, and that makes it a budget-friendly creative break.
Try practical tips like sealing the finished surface with a thin coat of clear glue or school-safe Mod Podge so it holds up. Let the postcards dry flat under a book for a few hours so the pieces stay smooth and neat.
3. Salt Dough Ornaments With Simple Shapes
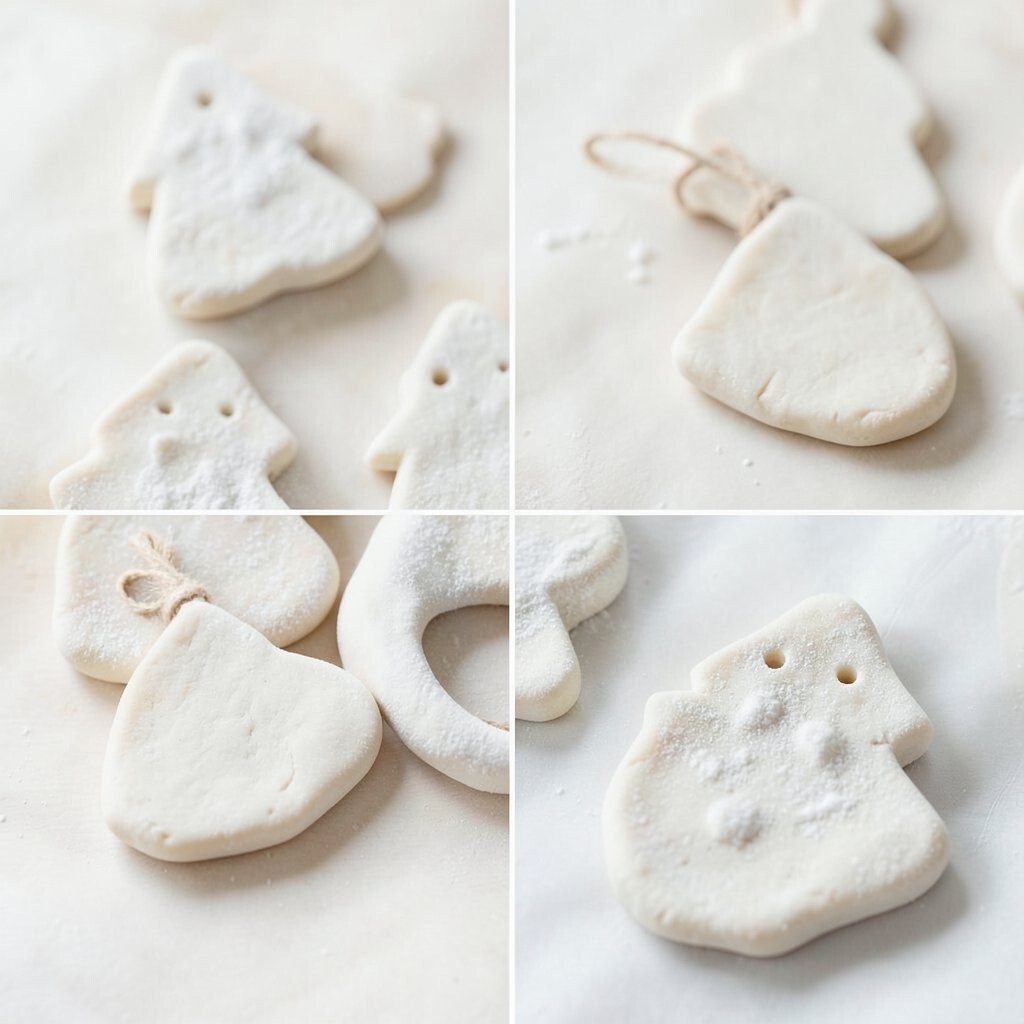
Mix salt dough using flour, salt, and a little water, then roll it on a lightly floured surface. As you shape it, you can practically feel the dough warm up under your fingers.
Use cookie cutters to make hearts, circles, or stars, then poke a hole for a ribbon before baking. After they cool, paint them with bright craft paints or watercolors for a cheerful finish. For uniqueness, press texture using a fork, lace, or bottle caps so each ornament shows a different pattern.
To personalize, write a short year or a short message on one side, like a tiny promise for the season. Keep cost considerations in mind by using pantry staples and reusing ribbons from old gifts.
4. DIY Nature Leaf Rubbings and Color Washes
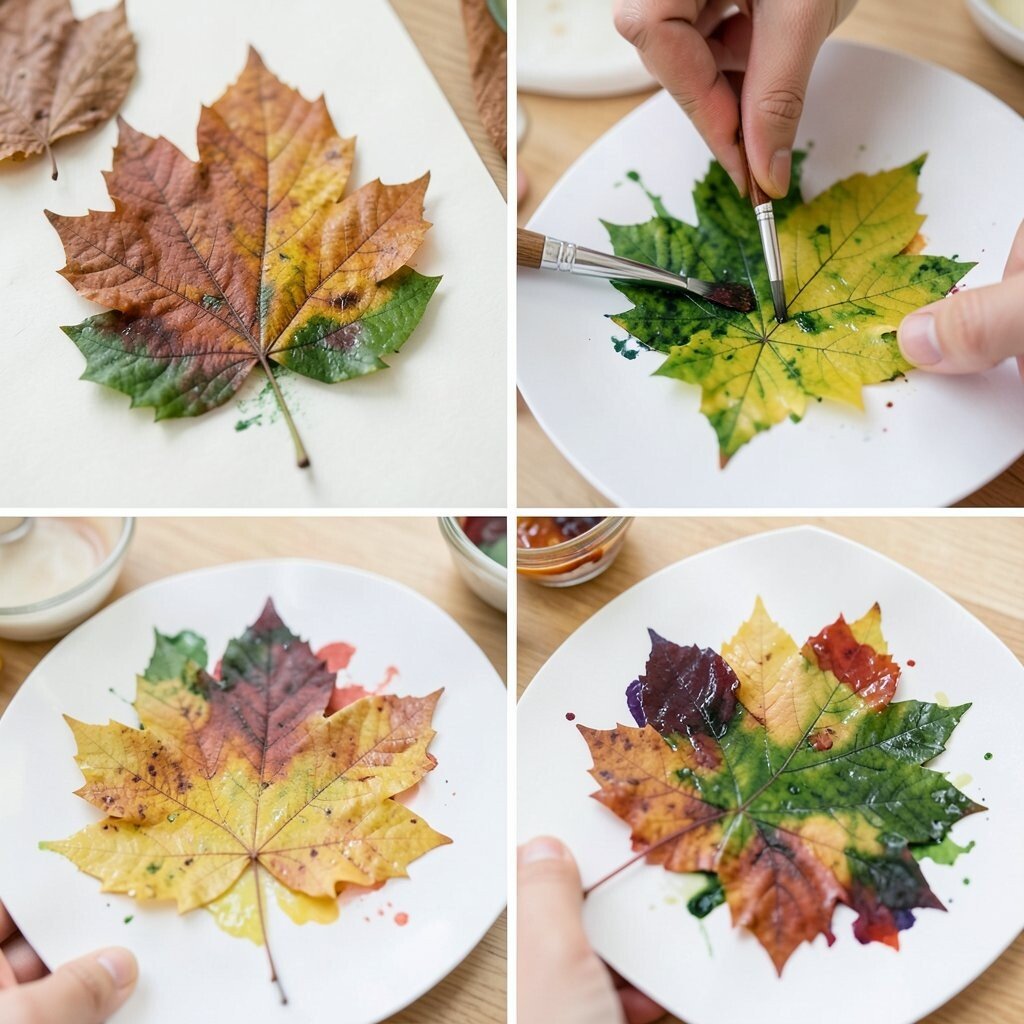
Go outside with a small collection of leaves or use leaves you already have from a park walk. Place a leaf under paper and rub over it with a crayon to see the veins appear like delicate lines.
For extra flair, try a color wash on top using watered-down paint or marker so the texture looks soft and dreamy. This activity benefits fine-motor practice and helps you slow down, notice details, and enjoy calm creativity. Choose different leaf shapes each round, and you will naturally build a personal gallery of patterns.
5. Pom-Pom Keychains With Yarn and Cardboard Wheels
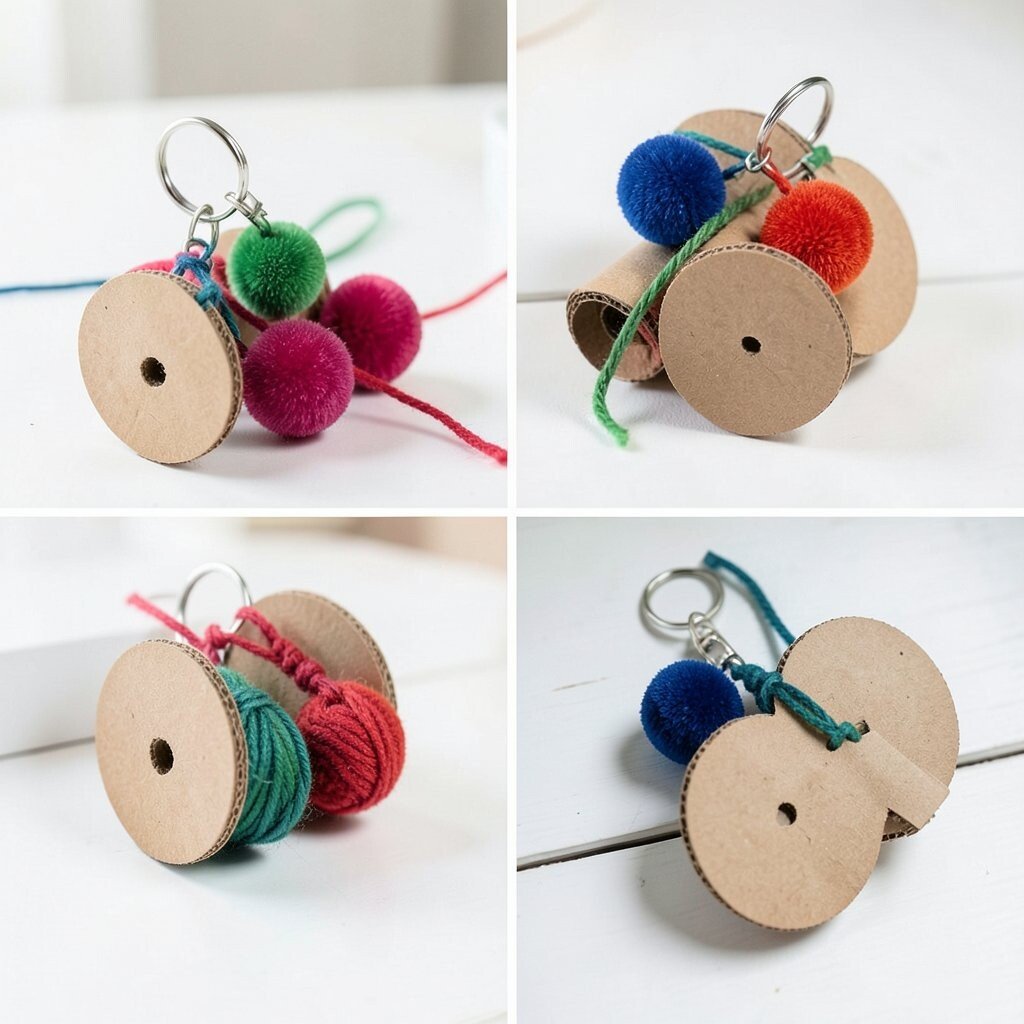
Wrap yarn around cardboard circles and tie it tight in the middle. When you snip the loops, the yarn blooms into a fluffy ball that looks like a tiny cloud.
Once you attach a key ring or zipper pull, your keychain becomes instantly more fun to use. For practical tips, keep your wraps even so the pom-pom stays round, and trim carefully at the end for a neat finish. If you want uniqueness, use two colors and twist them slightly so you get blended stripes instead of separate blocks.
Cost is low if you use leftover yarn, and it also fits a current trend toward handmade accessories and cozy textures. Personalize by adding a small charm, like a miniature heart or a bead with a bright pattern.
6. Paper Bead Bracelet From Old Magazines
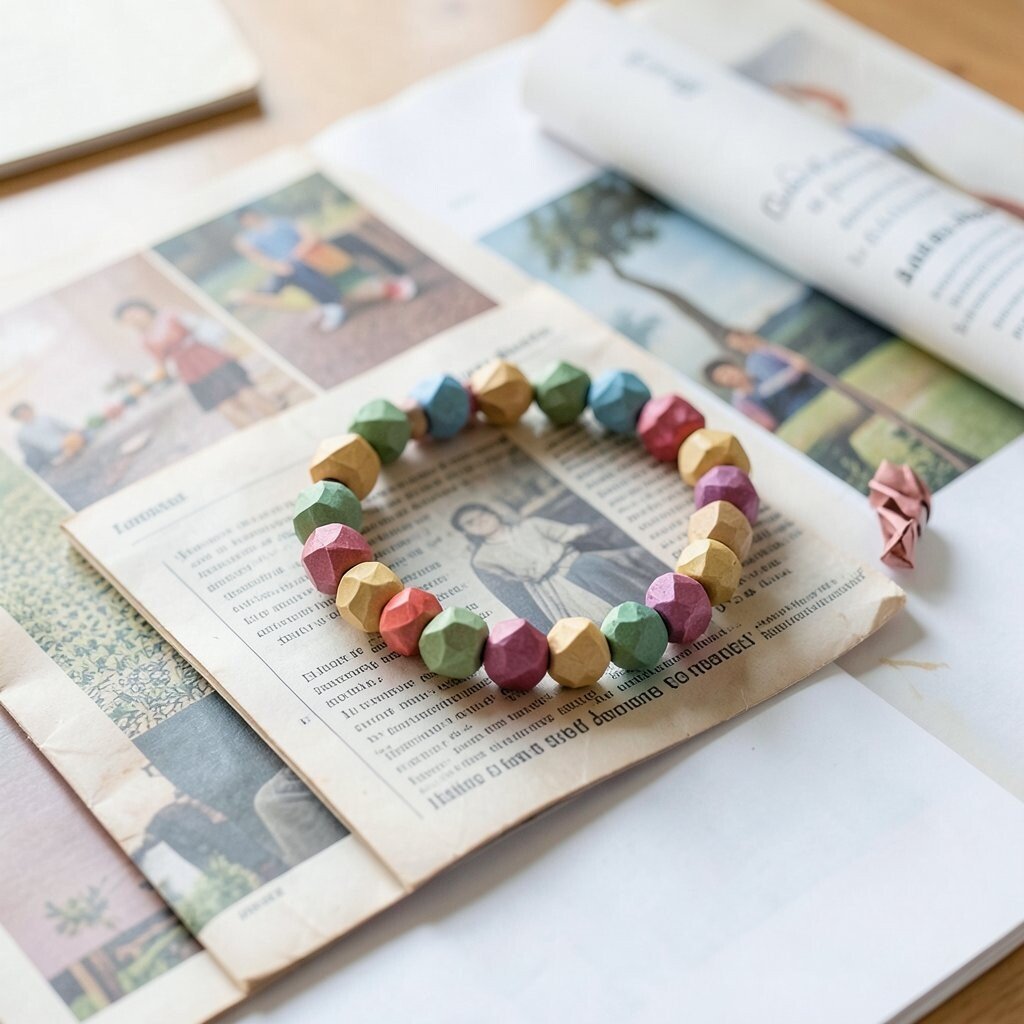
Cut magazine strips into thin long rectangles and roll them around a toothpick. The glossy pages wrap into smooth beads that look bold right away.
Seal each bead with a tiny dab of glue, then slide them off and let them dry. Thread the beads onto string and tie a knot, and you will get a bracelet that feels light and stylish without much effort. To make it more personal, alternate colors by section, like using only reds and blues for a cleaner look.
7. Crayon Resist Watercolor Stars on Cardstock
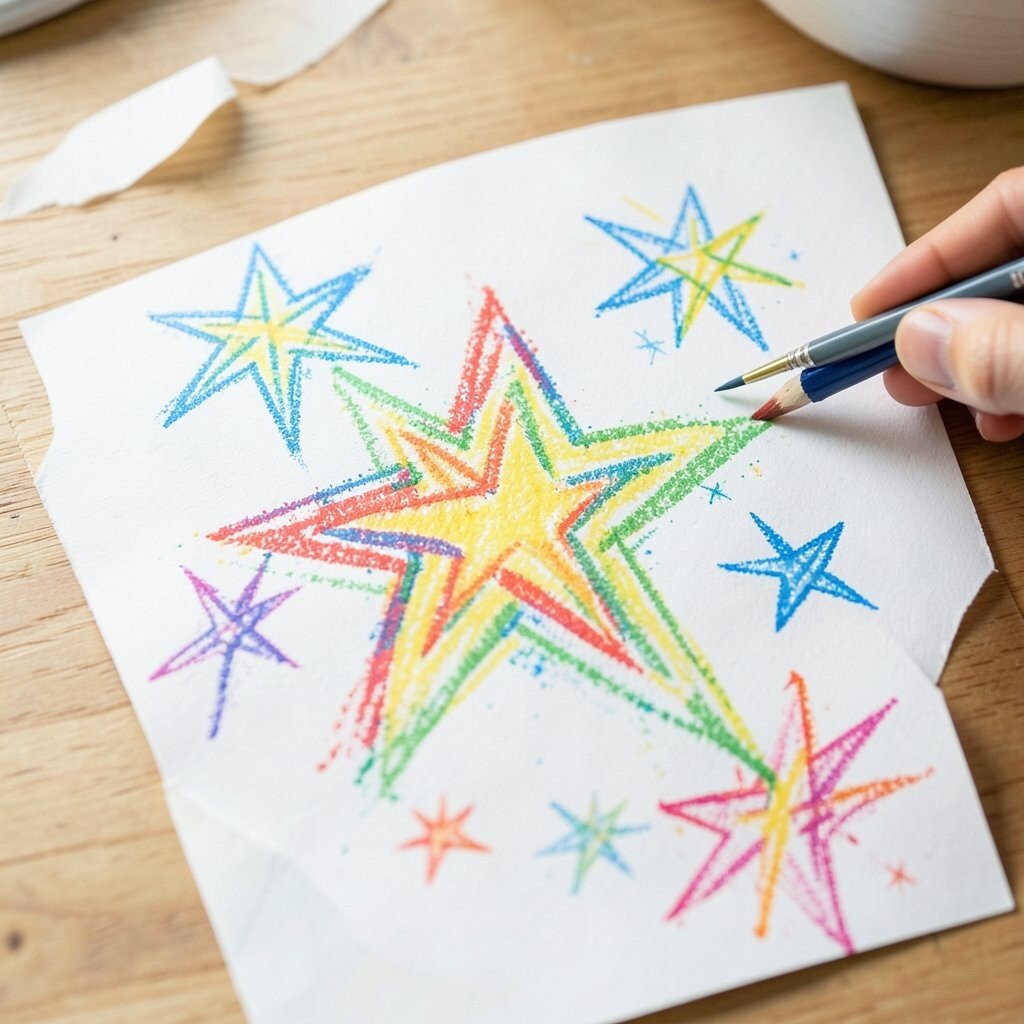
Draw star shapes with crayons on thick cardstock, pressing firmly so the wax creates a clear barrier. You can almost see the star outlines waiting beneath the paper.
Paint over the page with watercolor or watered-down paint, and the crayon marks resist the color. As the colors spread, your stars pop out in bright lines that feel magical and fresh. This kind of sensory craft helps build patience and hand control, and it costs very little if you already own crayons.
For uniqueness, try moons, hearts, or even simple doodles like clouds, then vary the paint colors to match your mood. Personalize by adding a glitter glue border after it dries for a sparkly modern finish.
8. Painted Rock Paperweights With Dots and Lines
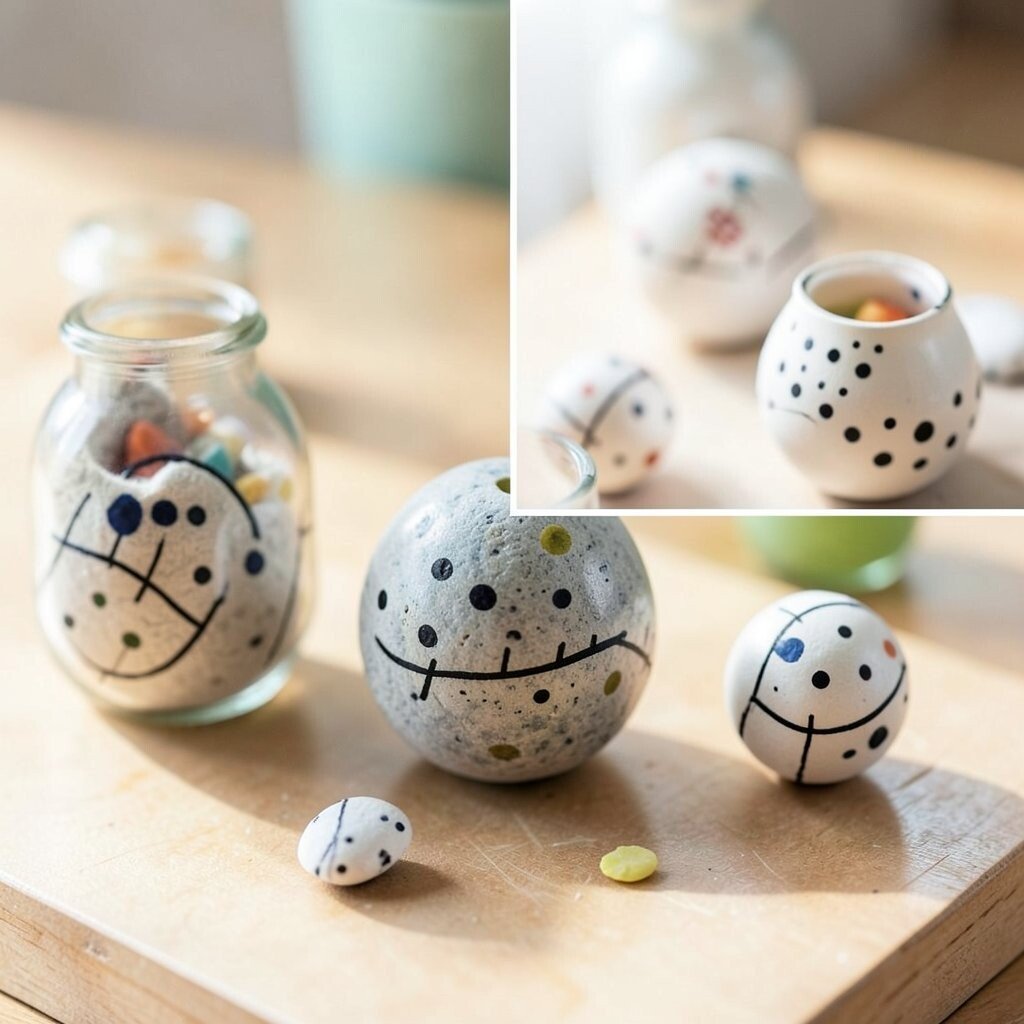
Find a smooth rock, or use craft stones from a store if you prefer. When you hold it in your palm, it feels solid and ready to become art.
Paint the surface with a base coat, then add dot patterns, stripes, or a tiny scene like a flower. The visual reward is quick, and benefits include calming focus and a satisfying sense of completion. Keep cost considerations simple by using leftover acrylic paint and saving good brushes for future projects.
Personalize by choosing colors that match your room, like soft neutrals, bright rainbow dots, or a monochrome style. If you want a current trend vibe, try minimal line art with high contrast, like black lines on white or cream.
Seal with a clear craft sealer if you want it to last longer, especially if it will be handled often.
9. Scrapbook Pocket From a Single Sheet of Paper
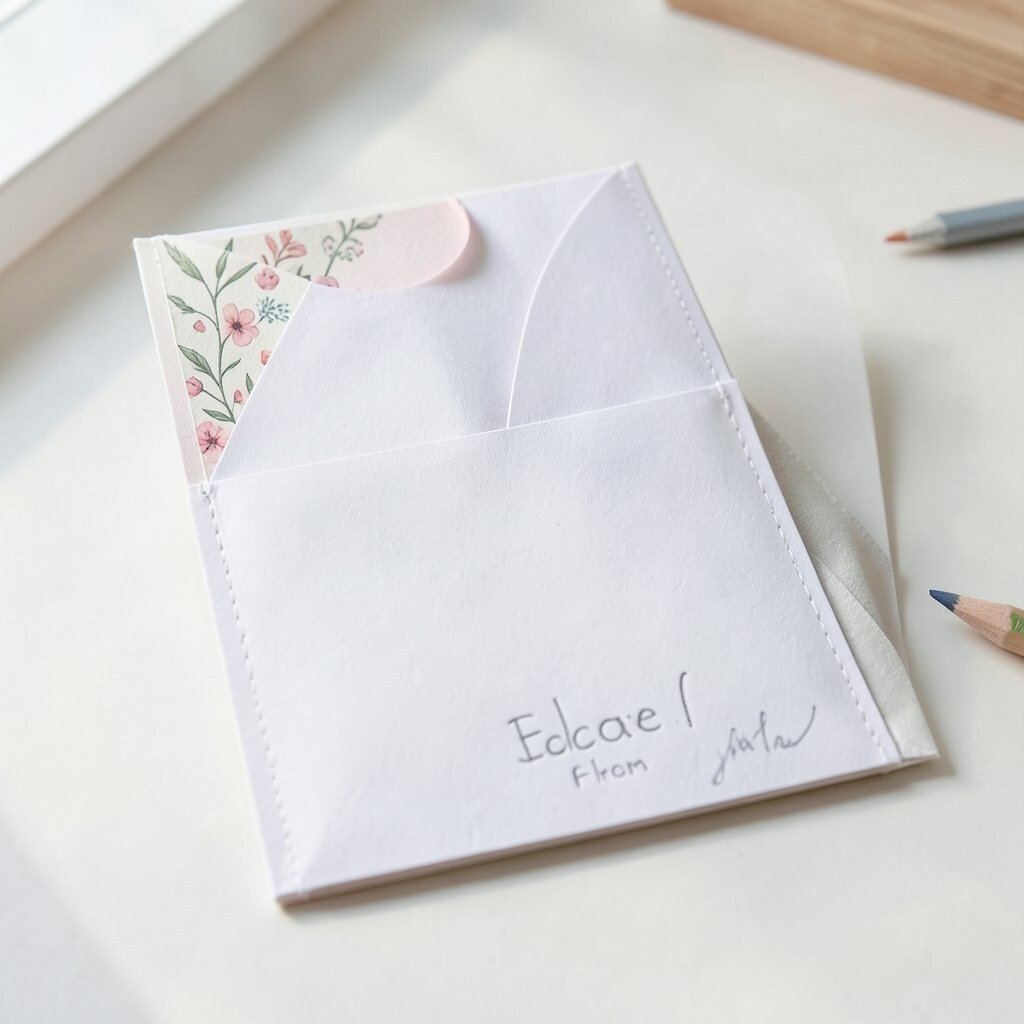
Fold one sheet into a pocket style, then reinforce the edges with a second fold. You will enjoy how quickly the paper turns into a practical home for small notes.
Decorate the pocket with drawings, washi tape strips, or torn paper shapes so it looks like a mini memory holder. This activity supports organization and helps you practice neat folding, and it is perfect for using up tiny scraps you would otherwise toss. For uniqueness, add a small pull tab from the same paper so the pocket is easy to open.
Personalize it for a purpose, like storing movie tickets, a short love note, or a page of doodles. Cost is almost zero since it uses one sheet, and it fits the popular trend of functional journaling and creative organization.
10. Stamp Patterns Using Sponges and Homemade Shapes

Cut a sponge into simple blocks or carve basic shapes from an old eraser. Dip lightly in paint and press onto paper to create repeating patterns.
You will see clear textures appear, especially when the sponge edge is crisp. For practical tips, keep the paint thickness consistent and test one corner first so your pattern looks intentional. Personalize by choosing a theme, like polka dots for fun, or small leaf stamps for a gentle nature look.
This craft benefits rhythm and creativity because you can repeat shapes without needing perfect drawing skills. Cost considerations stay low if you repurpose household items, and you can keep it current by aiming for bold modern pattern styles like geometric grids and thick outlines.
11. Oreo-Style Cardboard Coasters With Texture Ridges
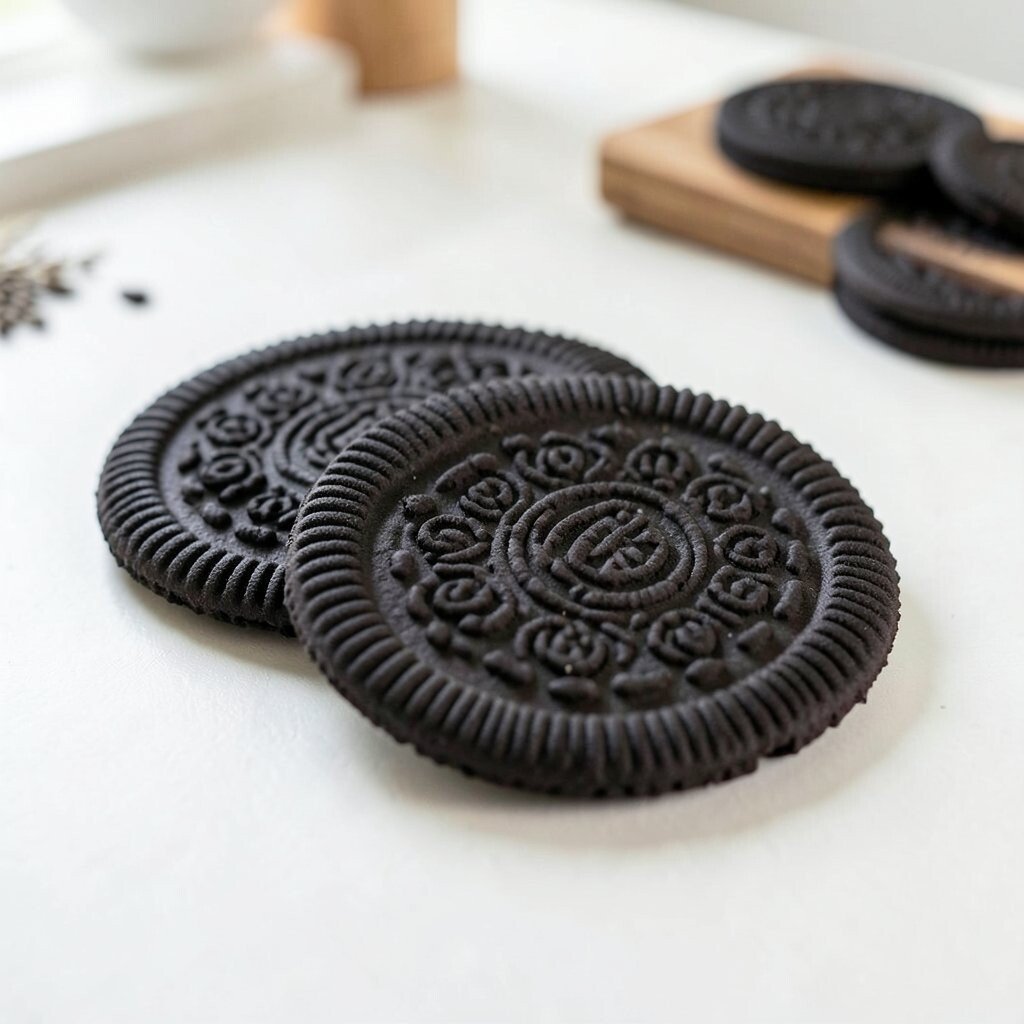
Use thick cardboard from a cereal box and cut circles, then stack and glue them for a sturdy coaster. You can picture the ridged edge forming when you add strips around the sides.
Paint the top surface with dark and light colors to mimic cookie layers, or create your own unique ring pattern. Add texture by pressing a fork, using crumpled paper as a stamp, or running a textured object across the cardboard before the paint dries. This activity helps build planning skills and fine control, and it is fun for making a set for gifting.
For personalization, write tiny messages along one edge or add a small icon in the center. Cost is mostly free if you use cardboard scraps, and it matches the current love for handmade table decor and playful desk accessories.
12. Easy LEGO-Inspired Sculpture From Buttons and Strips
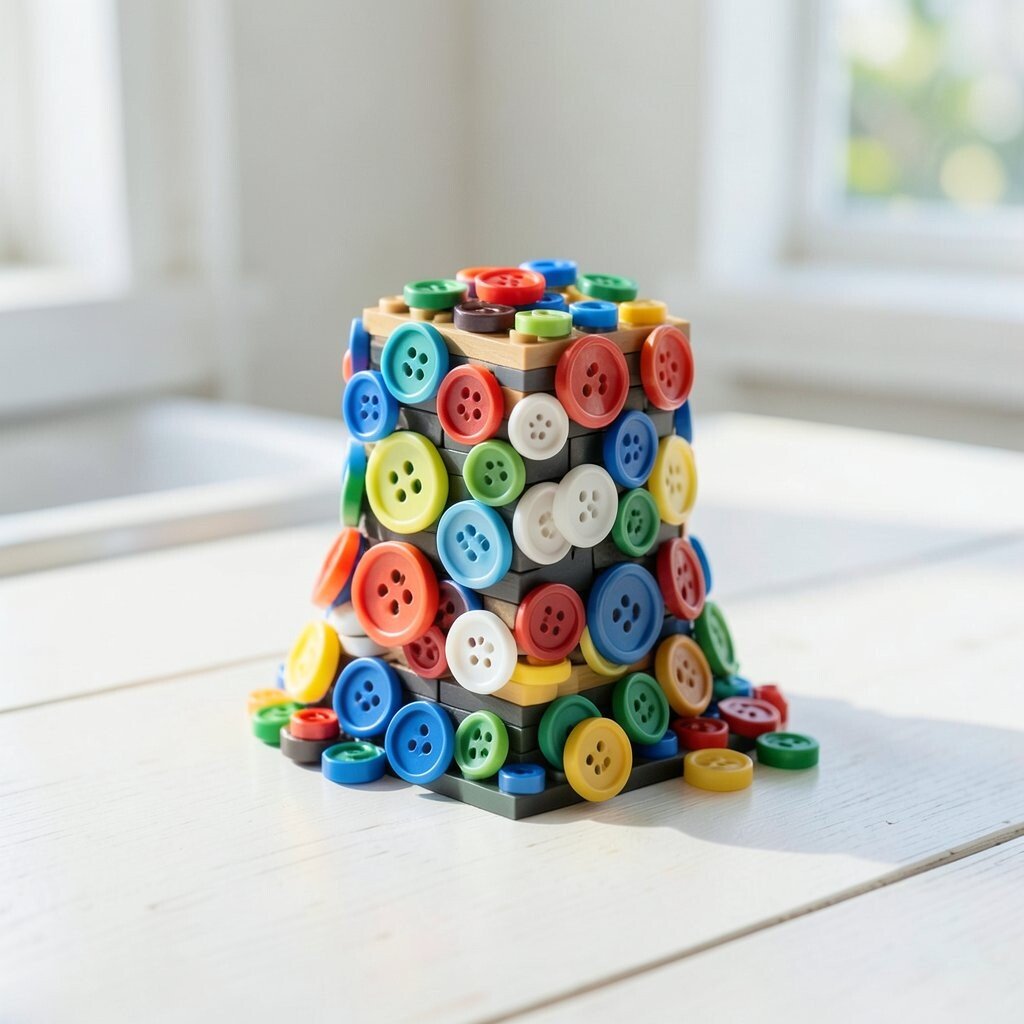
Collect buttons, pipe cleaners, craft sticks, and small scraps of foam or cardboard. Arrange them like building blocks, and you will feel the structure take shape under your hands.
Glue pieces together for a mini sculpture, or keep it modular using tape so you can rebuild. The visual appeal comes from the mix of textures, like smooth buttons paired with fuzzy pipe cleaners. This craft benefits spatial thinking and encourages you to try new combinations without worrying about drawing accuracy.
For uniqueness, make a character, like a tiny robot face, by placing button eyes and a strip mouth. Personalize by matching colors to a favorite outfit palette, and keep cost low by using spare supplies you already have around the house.
13. Faux Stained Glass With Tissue Paper Windows
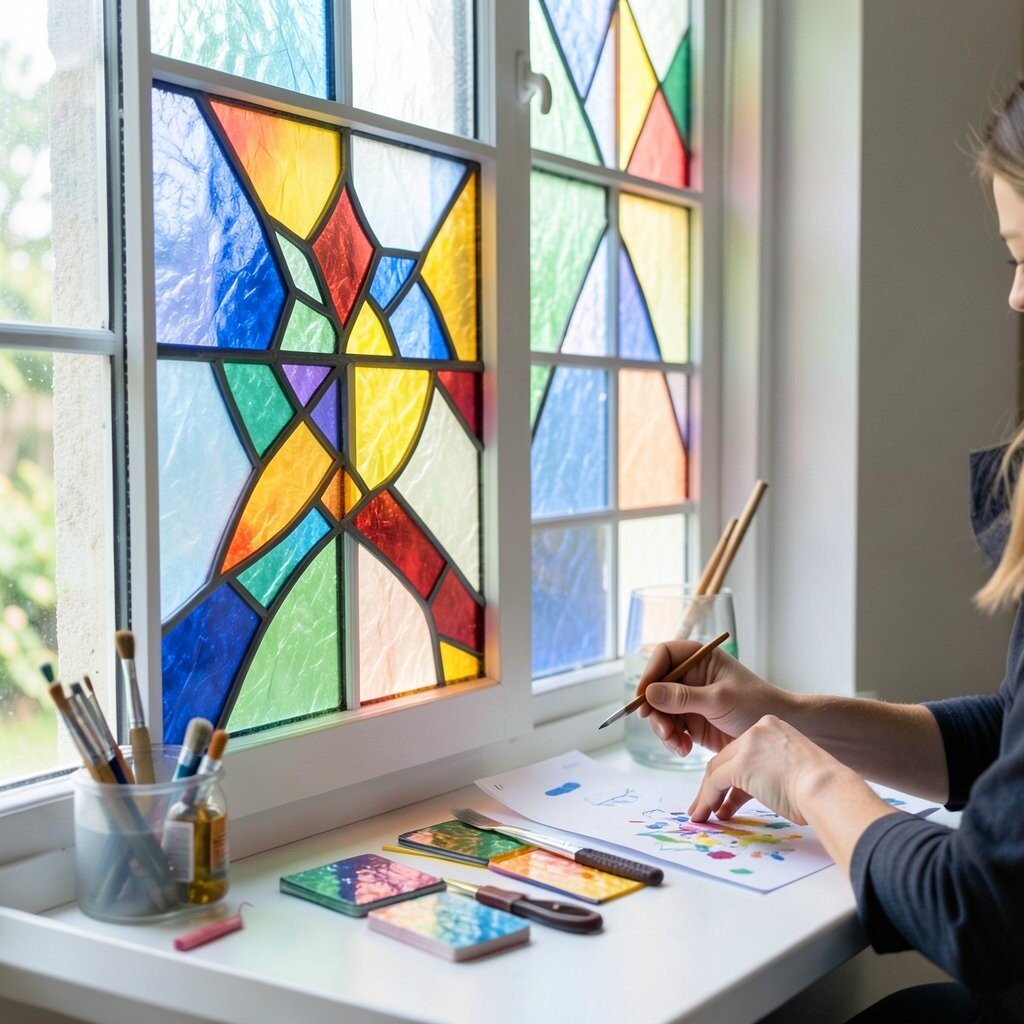
Draw a simple window shape on paper, like a rounded rectangle, then outline sections with thick marker or glue. Fill each section with small pieces of tissue paper, pressing gently so the colors spread and soften.
When the tissue overlaps and catches the light, it looks like stained glass even without a glass cutter. This activity supports creativity and relaxes you because the shapes guide your choices and keep the work straightforward. Cost considerations are friendly since tissue paper and markers are usually easy to find and inexpensive.
Personalize by using jewel tones, pastel tones, or even school colors, and you can tailor the design to seasonal decor like autumn leaves or winter snowflakes. For practical tips, use clear glue sparingly and let everything dry flat so the window sections stay crisp.
14. Seed Paper Gift Tags With Plantable Sketches
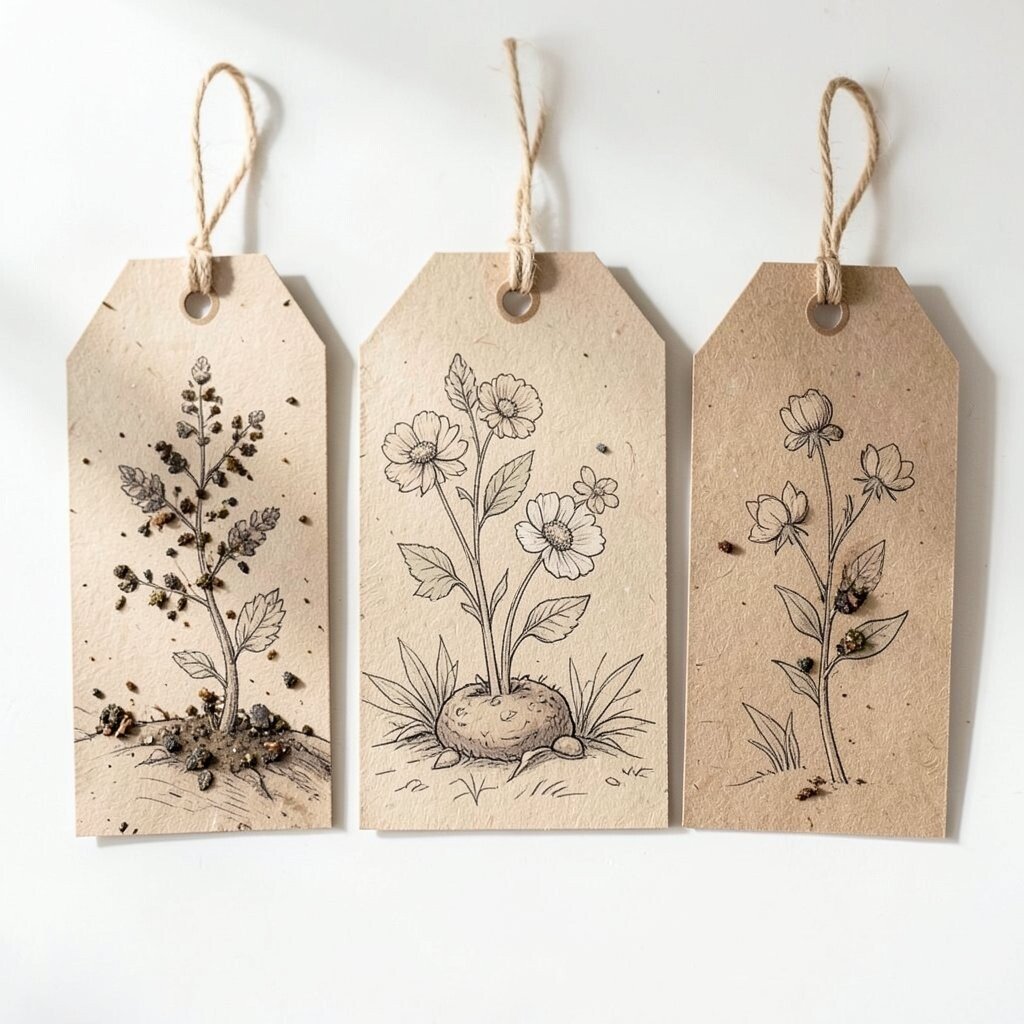
Make or buy seed paper, then cut it into small tag shapes with a craft knife or scissors. As you sketch simple pictures on the tag, the texture feels earthy and natural.
Sprinkle extra seeds lightly on any blank areas and press them in so they stay put when the tag dries. Personalize by writing a name or a short message using a marker that works on textured paper, then add a tied string loop. This craft benefits mindful preparation and turns a small gift into something memorable and useful.
If you want cost control, use cheaper seed paper sheets or cut from scrap packs, and keep the tags small so you do not waste material. It fits current trends in eco-friendly gifts and plantable paper crafts that people love to keep.
15. String Art Heart With Nails and a Sturdy Base
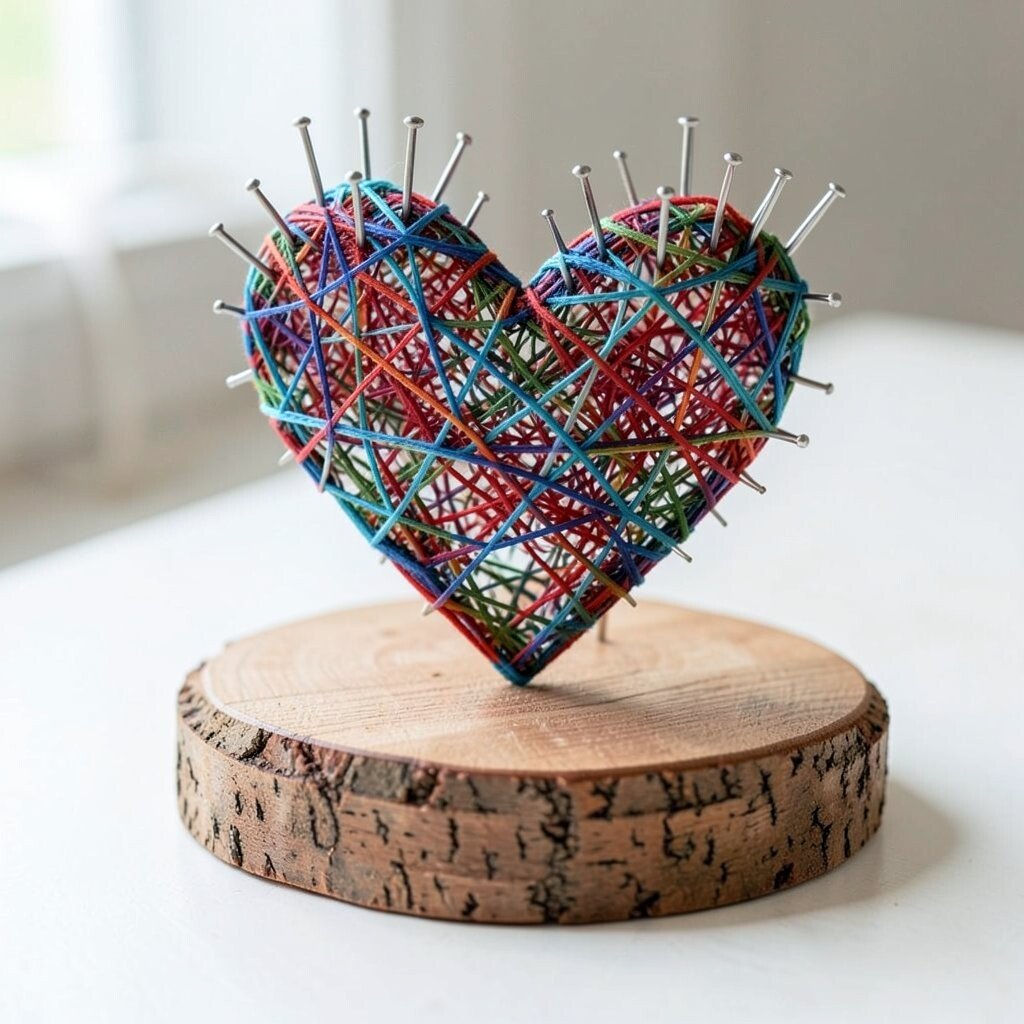
Hammer nails into a board in a heart shape, or any shape you prefer, leaving space between nails. You will enjoy the moment the shape becomes real as the lines start to form.
Wrap strong string around the nails in looping paths, then cross over in a way that feels balanced. The visual effect is bold and modern, and the benefits include relaxing focus and a strong sense of accomplishment as the pattern grows. For practical tips, keep tension steady and tie off the string firmly at the end so it does not loosen.
Personalize by choosing colors based on your decor, like warm reds and pinks, or cool blues and greens for a calm look. Cost is manageable because string and a board can be reused, and this activity stays popular thanks to the handmade wall art trend that fits both cozy and minimalist rooms.