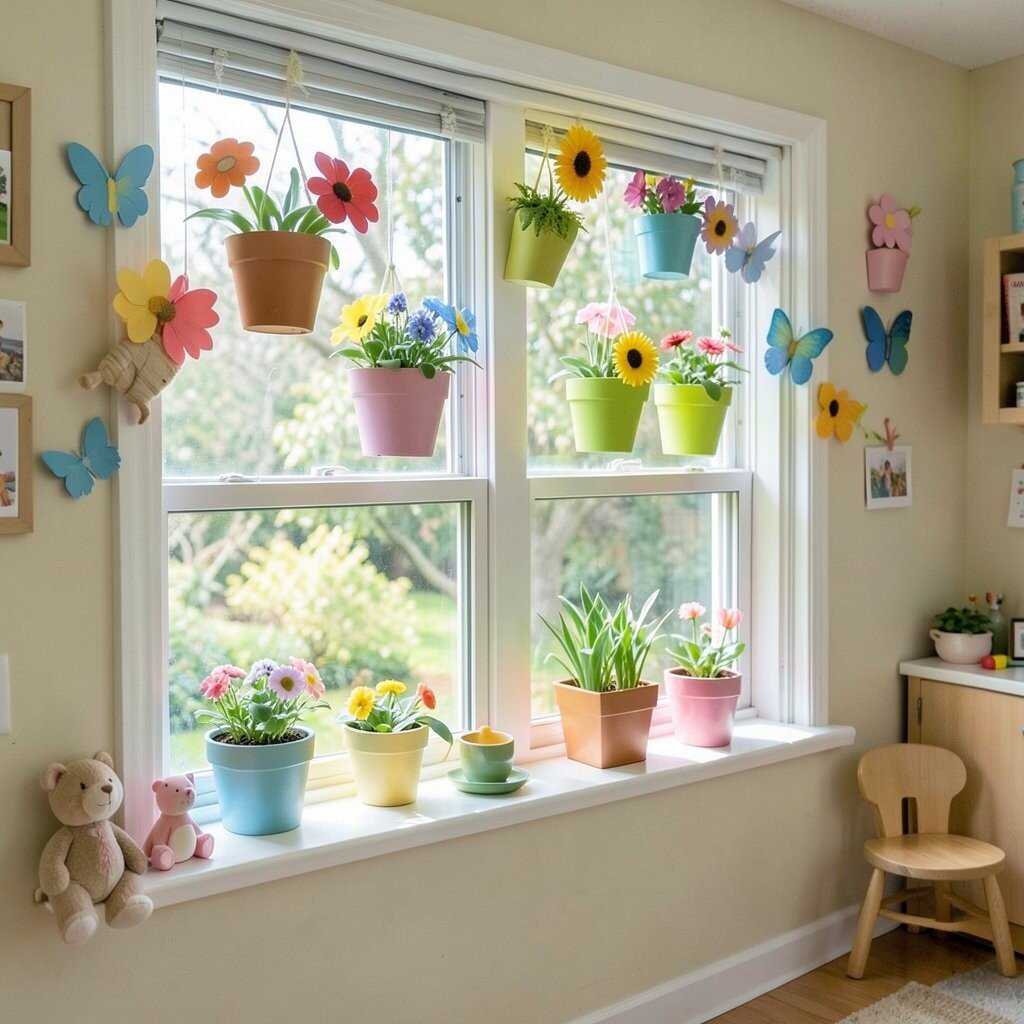
Windows are where the sunshine story starts in a classroom. With a few cheerful touches, you can make spring feel close enough to touch.
When kids look out and see colorful scenes, they feel calmer, prouder, and more ready to learn. Best of all, these ideas are simple to set up and easy to keep tidy.
1. Blooming Window Garland from Paper Flowers

Imagine a long ribbon of paper blooms gently “floating” across the top of your window. Each flower can be cut in bright pinks, sunny yellows, and soft pastel blues that match your classroom colors.
To make it feel cozy, vary the sizes so some flowers look like they’re closer to the glass and others look like they’re drifting. Kids love pointing out which petals are newest, and that small excitement helps with routines like arrival time and morning meetings. Use yarn or thin green paper strips to hang the garland, so it’s light and won’t droop.
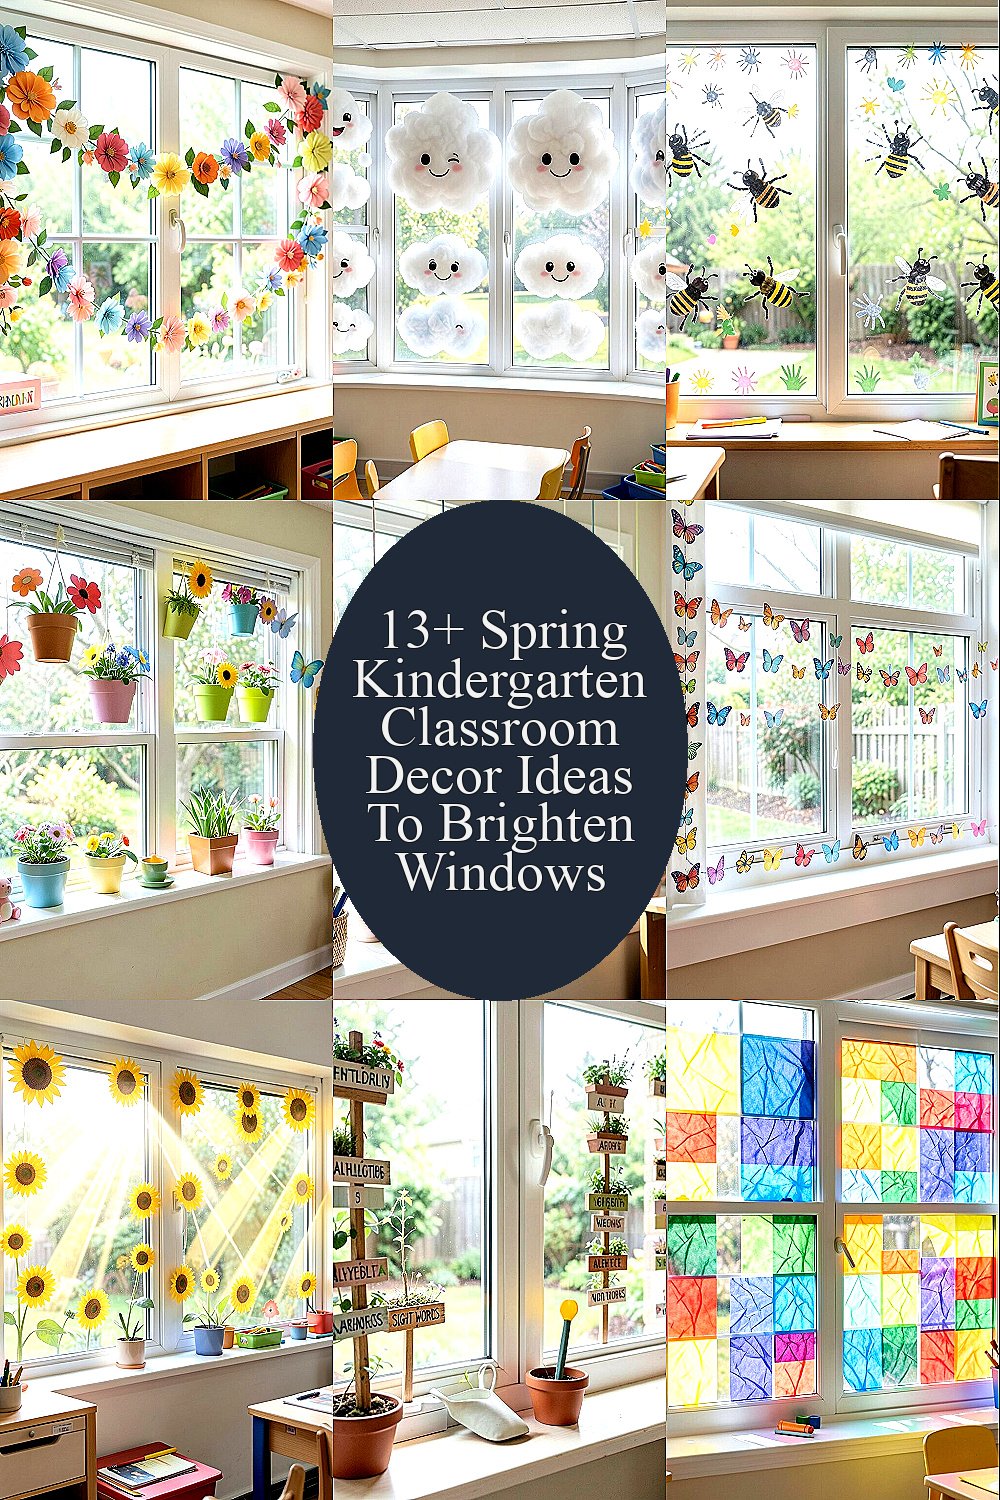
2. Cloud Window Panels with Puffy Cotton Smiles
Soft cloud shapes can turn a plain window into a friendly sky. You can press cotton balls onto cardstock clouds so they look fluffy from across the room.
These panels bring a gentle spring mood while also creating a “quiet zone” vibe when the light comes in. For practical setup, attach clouds with removable clear tape at the edges so you can switch them out for summer themes. Let kids add tiny raindrops or sun rays using washable markers to personalize the look.
Cost stays low because cotton is easy to find and cardstock is usually a staple already on hand. This kind of tactile, cozy display matches what many teachers are using now, since sensory-friendly visuals are popular in early childhood classrooms. Keep the clouds at kid eye-level so they can “read” the picture during calm moments.
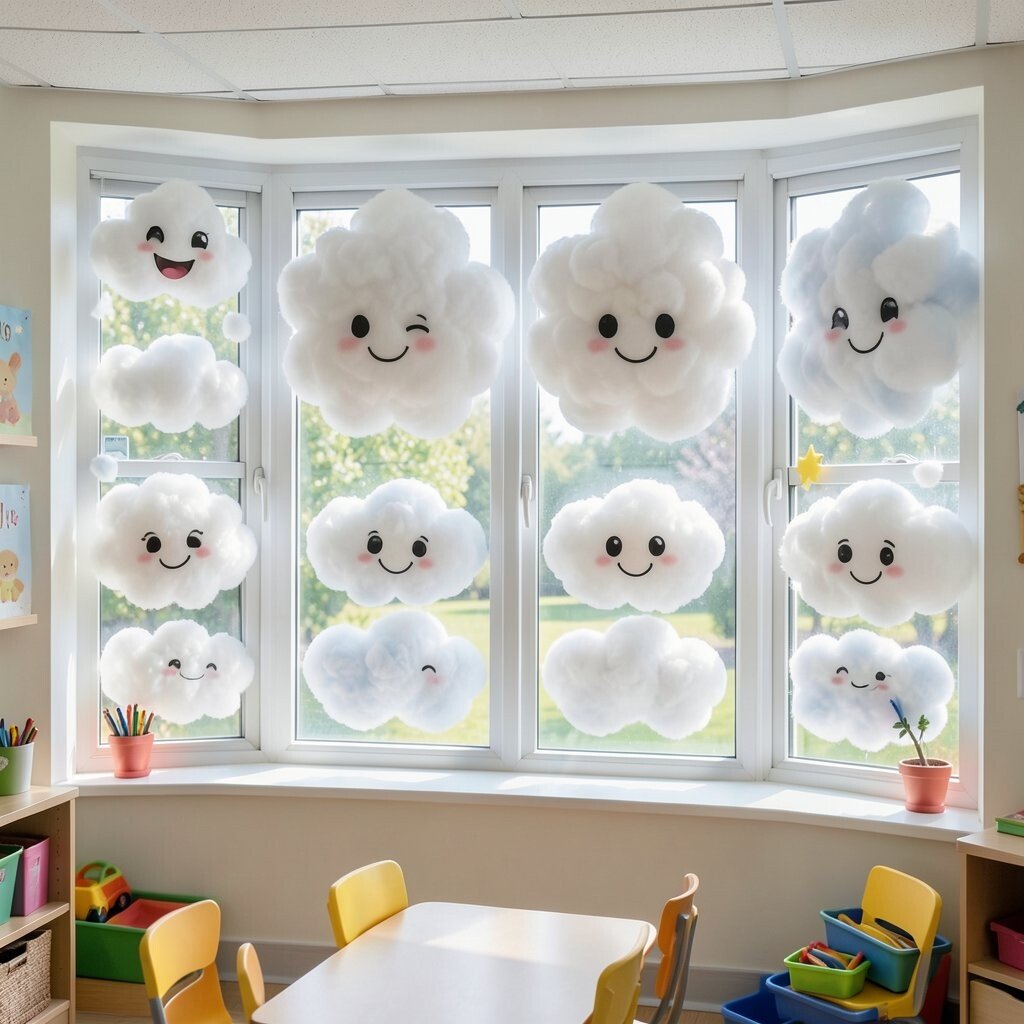
3. Handprint Bees That Buzz Across the Glass
Turn playtime handprints into bright spring visitors by outlining little hands in black or mustard yellow. Then add simple stripes and tiny wings so each bee looks like it has its own personality.
Once the handprint bees are mounted on the window, the sunlight makes them look extra cheerful and dimensional. Kids gain pride when they see their own art leading the “bee parade,” which supports ownership and positive behavior. Use repositionable adhesive so you can remove them without damaging the window film.
To personalize, add names under each bee using short words or just a letter. If you want a budget-friendly approach, use tempera paint and basic cut-out shapes for wings. This idea is unique because it turns everyday classroom movement into a spring story that travels with your students.
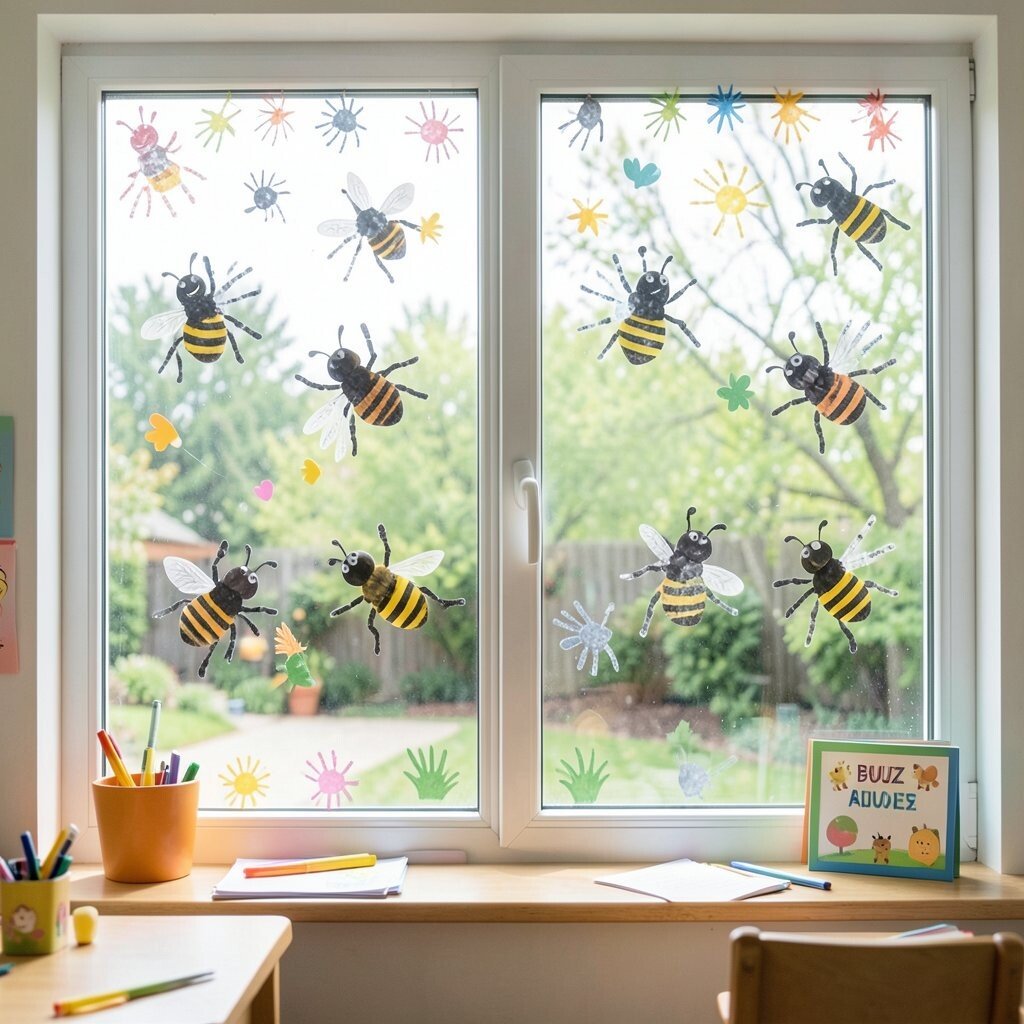
4. DIY Flowerpot Window Frames with Spring Color Blocks
Create a window “garden doorway” by building simple frames around the glass. Use cardboard cut into pot shapes, then paint bold color blocks like teal, coral, and lemon for a fun spring pop.
These frames help organize the space so the window decor looks intentional, not cluttered. For practicality, keep the pots lightweight and secure them with magnetic strips or painter’s tape that peels clean. Kids enjoy making choices about color combinations, and that choice-making supports early visual preferences and confidence.
5. Hanging Raindrop Catchers for a Light, Airy Look
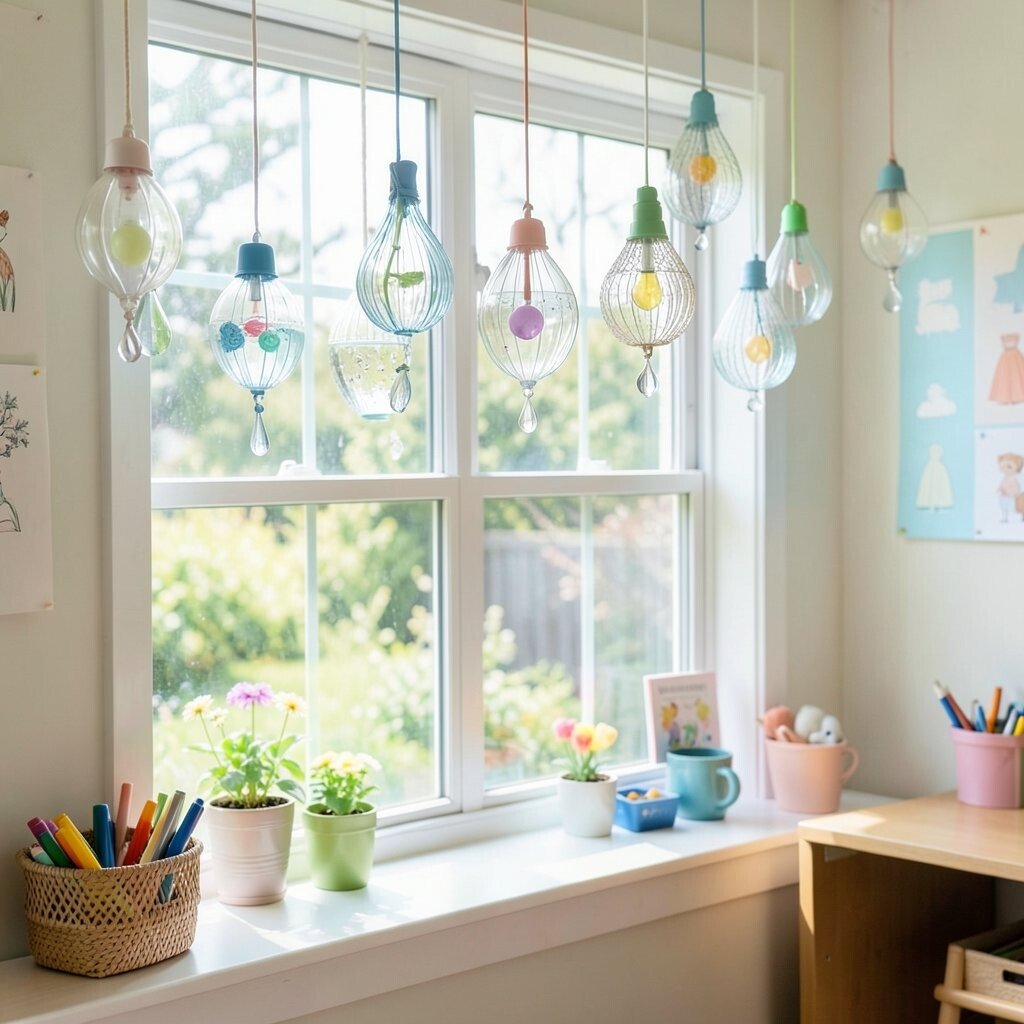
Let strips of colored paper hang like raindrops from a curved line above the window. When the room has airflow, the strips sway slightly and make the whole display feel alive.
Each raindrop can hold a tiny message or symbol like a star, a heart, or a leaf so kids can “find” their favorite. This gives you a quick, low-pressure activity during downtime because children can point, count quietly, or match colors to what you’re practicing in class. Use tissue paper for softness and to keep the pieces from looking too heavy.
For cost considerations, paper tissue and craft string are usually inexpensive and you can cut them from larger sheets. Current classroom trends often include interactive window decor, and these hanging drops fit that idea without needing fancy tools. Personalize by letting each child choose one color strip that becomes “their” raindrop.
6. Butterfly Timeline Border Using Preschool-Friendly Stickers
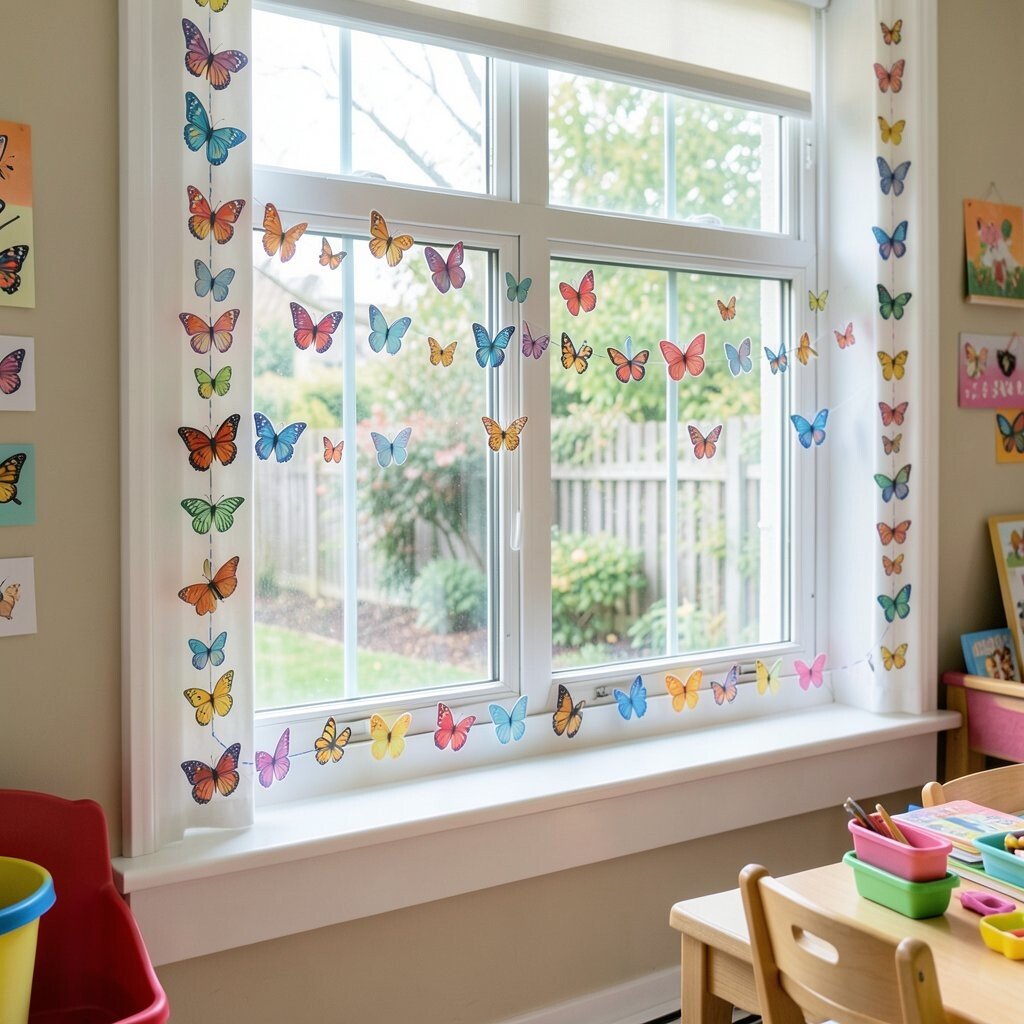
Make a gentle seasonal border by placing butterfly stickers or cutouts along one side of the window. Keep them grouped in clusters so the display feels like a calm migration instead of a random scatter.
This decor helps reinforce routines because you can swap the butterflies when you reach new topics in your curriculum. You can also use the border for quick discussions about patterns, like alternating two colors or noticing the wings’ shapes. Choose stickers that are repositionable so you can adjust placement when learning needs change.
For a unique twist, add small symbols inside each butterfly, such as a raindrop for rainy days or a sprout for growth days. Cost stays manageable since sticker packs last a long time when used in a border format. This approach feels current because many classrooms are using “micro-displays” that are easy to update without a full redesign.
7. Sunflower Sunbeams with DIY Window Tint Rays
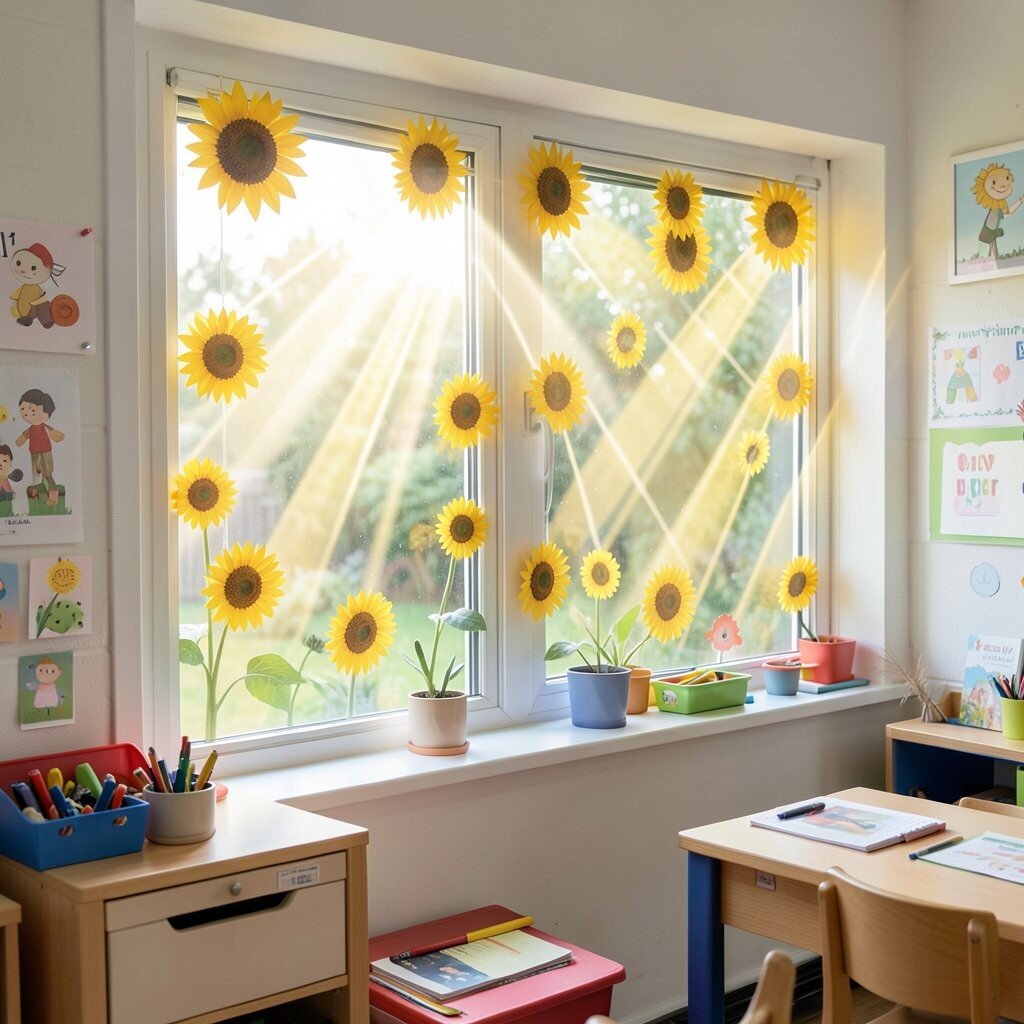
Cut bright paper rays that fan out like sunshine coming through the window. Layer them with translucent tissue paper so the light makes the colors glow.
These sunbeams instantly brighten the room and create a hopeful spring feeling, especially on cloudy mornings. Place them where the sun hits in the afternoon so they “sparkle” as light shifts. To keep it practical, secure the rays to the window with clear tape at the corners only.
8. Mini Garden Signposts for Alphabet and Sight Words
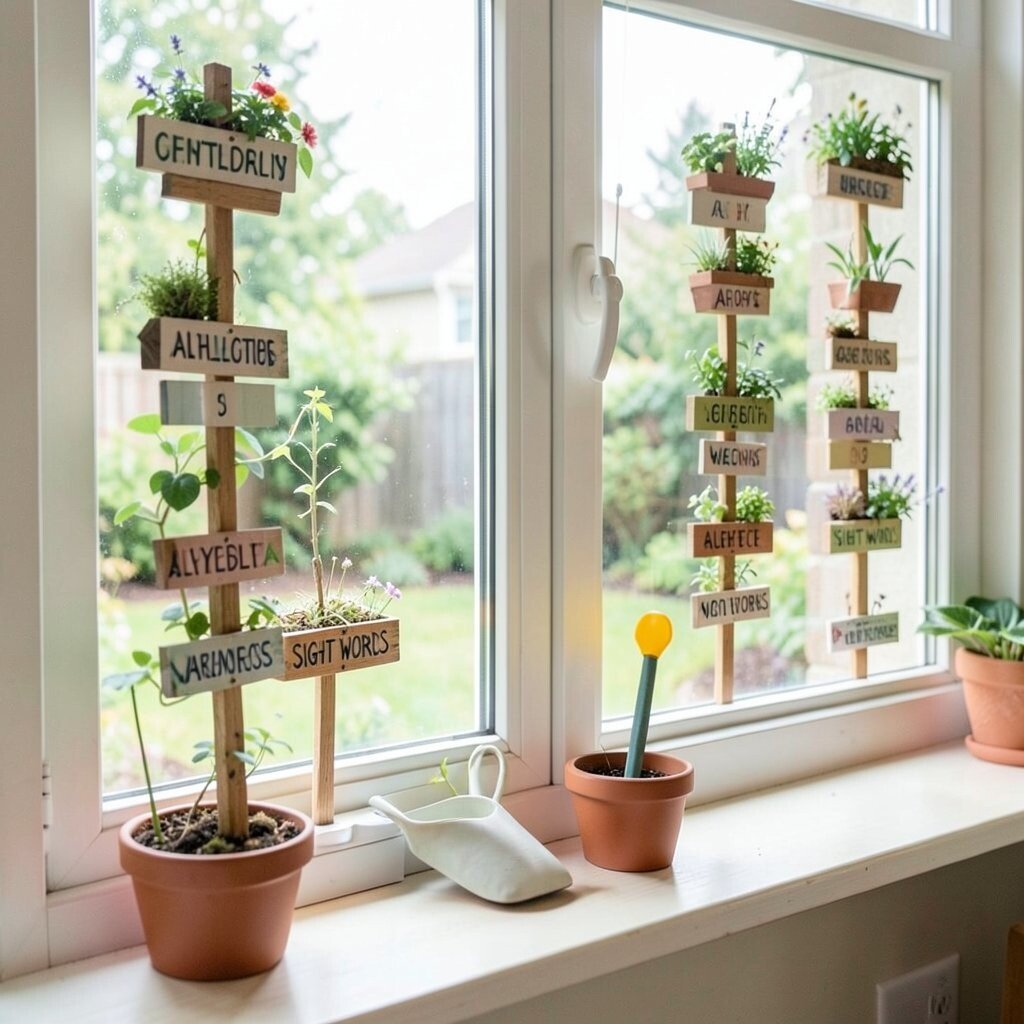
Make small sign shapes that look like garden markers and place them along the sill. Add simple letters, short sight words, or picture cues like “leaf,” “bee,” and “sun.”
When kids read or recognize these words, they’re practicing without feeling like it’s a worksheet. The window display becomes a friendly reminder of what you’ve been learning, which supports memory through repeated visual exposure. Personalize signposts by letting children help pick which words belong in the garden.
Cost is usually low because cardboard or foam sheets can be reused every season. This idea is especially unique because it blends classroom literacy goals with spring nature visuals in a way kids can actually “use” during the day. Keep fonts simple and large so early readers feel successful fast.
9. Tissue Paper Mosaic Window Squares for Color Play
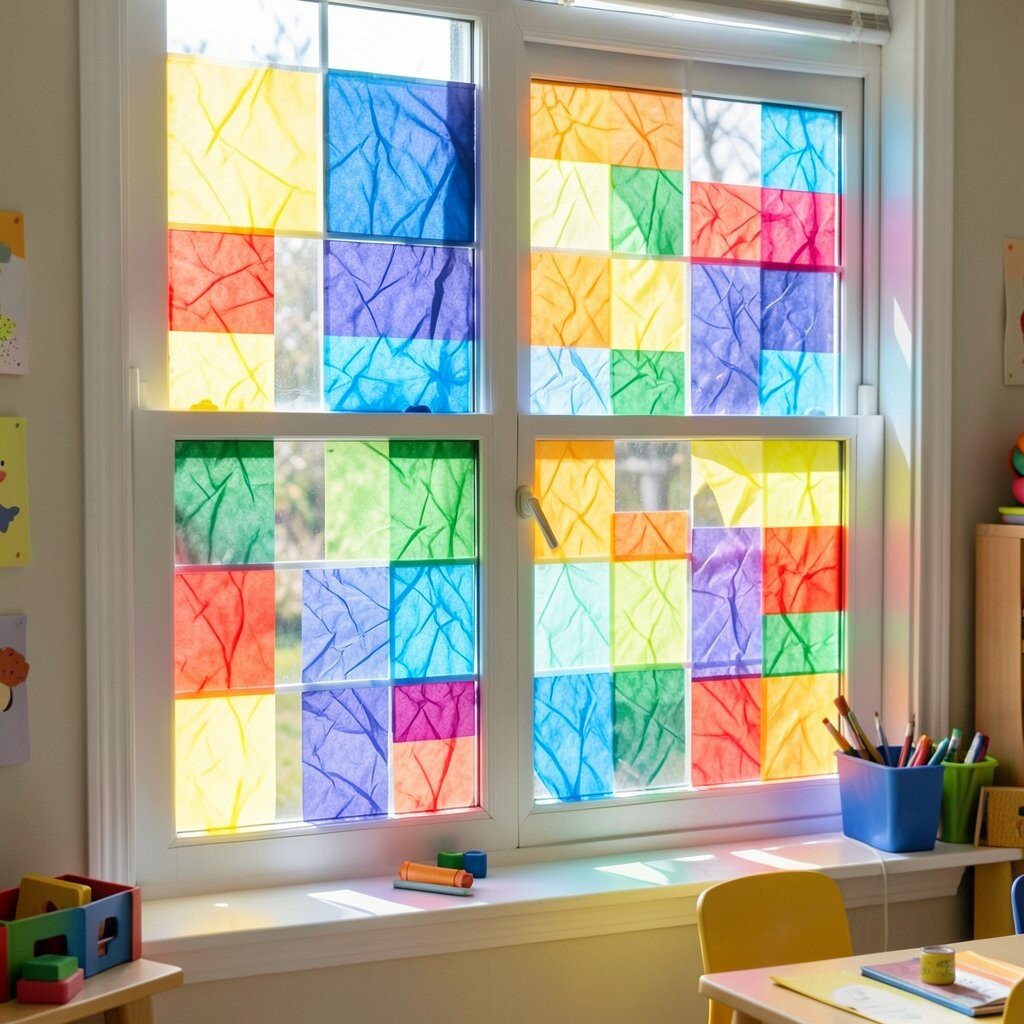
Tissue paper mosaics add a stained-glass look that feels fancy while still being preschool-friendly. Tear or cut small squares in spring colors and press them onto clear contact paper to form bright window squares.
These colorful panels soften the light and make the room feel warmer and welcoming. For practical tips, keep edges neat by sealing the outside border with extra contact paper so pieces don’t fall off. Let kids create individual squares, then combine them into a shared mosaic so everyone’s art becomes part of the whole.
10. Spring Timeline “Bird Track” with Washi Tape Paths
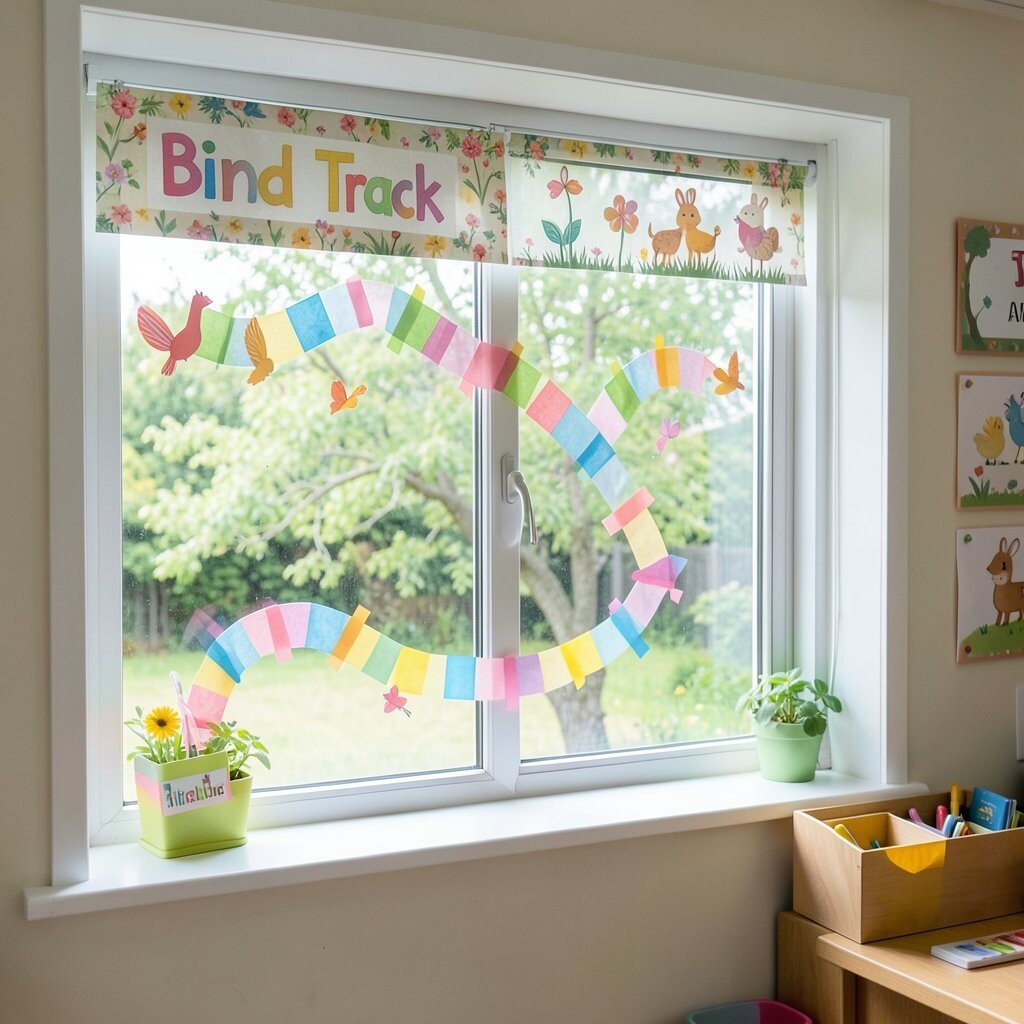
Create a playful path across the window using washi tape in bright spring colors. Add small bird cutouts that sit along the tape like they’re flying from one spot to another.
This decor is a fun way to support direction words like up, down, left, and right using a simple visual story. When sunlight hits the tape, it looks cheerful and crisp, which helps the window stand out even when the classroom is busy. Keep a roll of extra washi tape nearby so you can adjust the path when you add new birds for each week.
Washi tape is a great cost consideration because it sticks gently and often lasts for many projects. The uniqueness comes from turning the window into a “route” kids can talk about during transitions, not just a background picture. Personalize by letting each child choose a bird color that matches their own spring mood.
11. Painted Pebble Buds on the Window Sill for Nature Realism
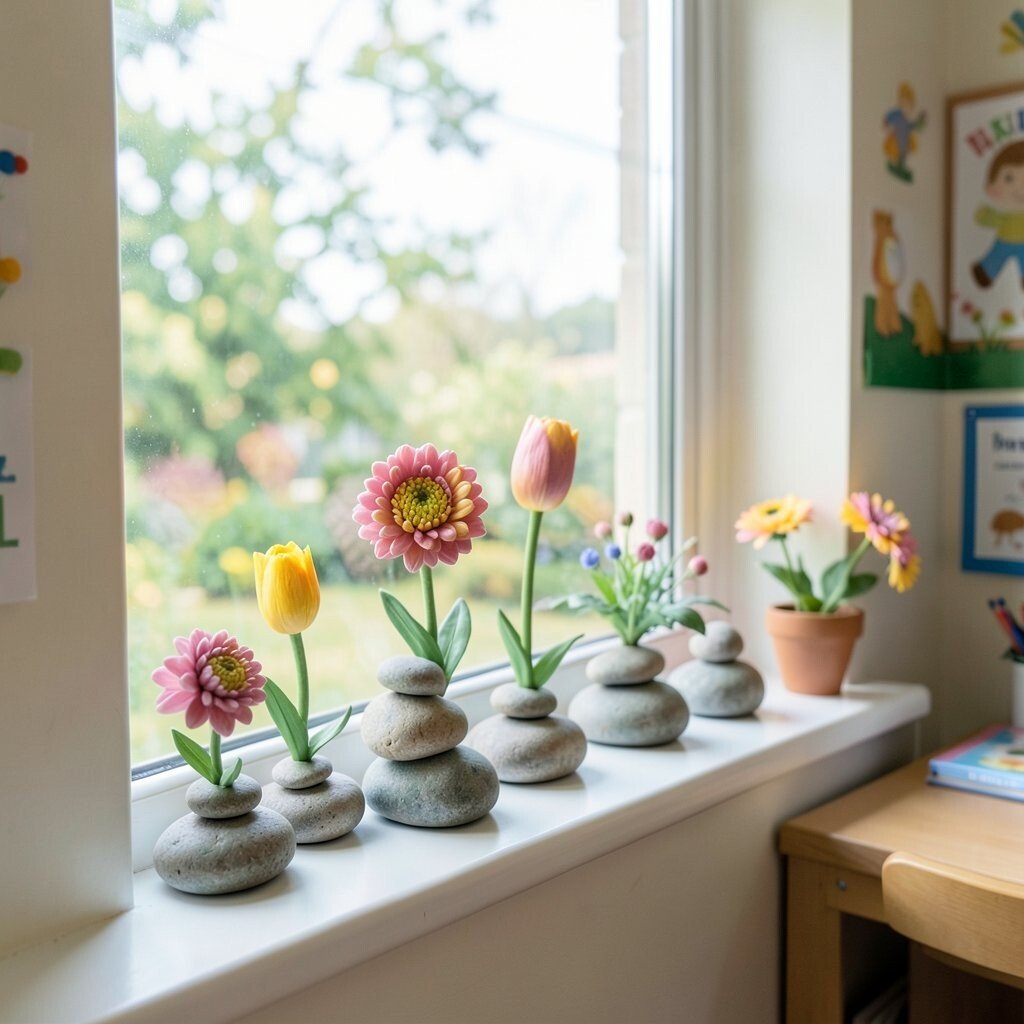
Paint smooth rocks or pebbles with little bud faces, leaves, and stems, then place them neatly along the window sill. The texture brings a real nature feel that looks charming and slightly surprising.
These pebble buds encourage respectful observation, because kids naturally slow down when they look at something small and tactile. For practicality, use a shallow tray or container so nothing rolls off and so cleanup is easy. Personalization shines here too since each pebble can have a different pattern, like stripes, dots, or tiny flowers.
12. Layered Leaf Stencils with Green Tonal Window Art
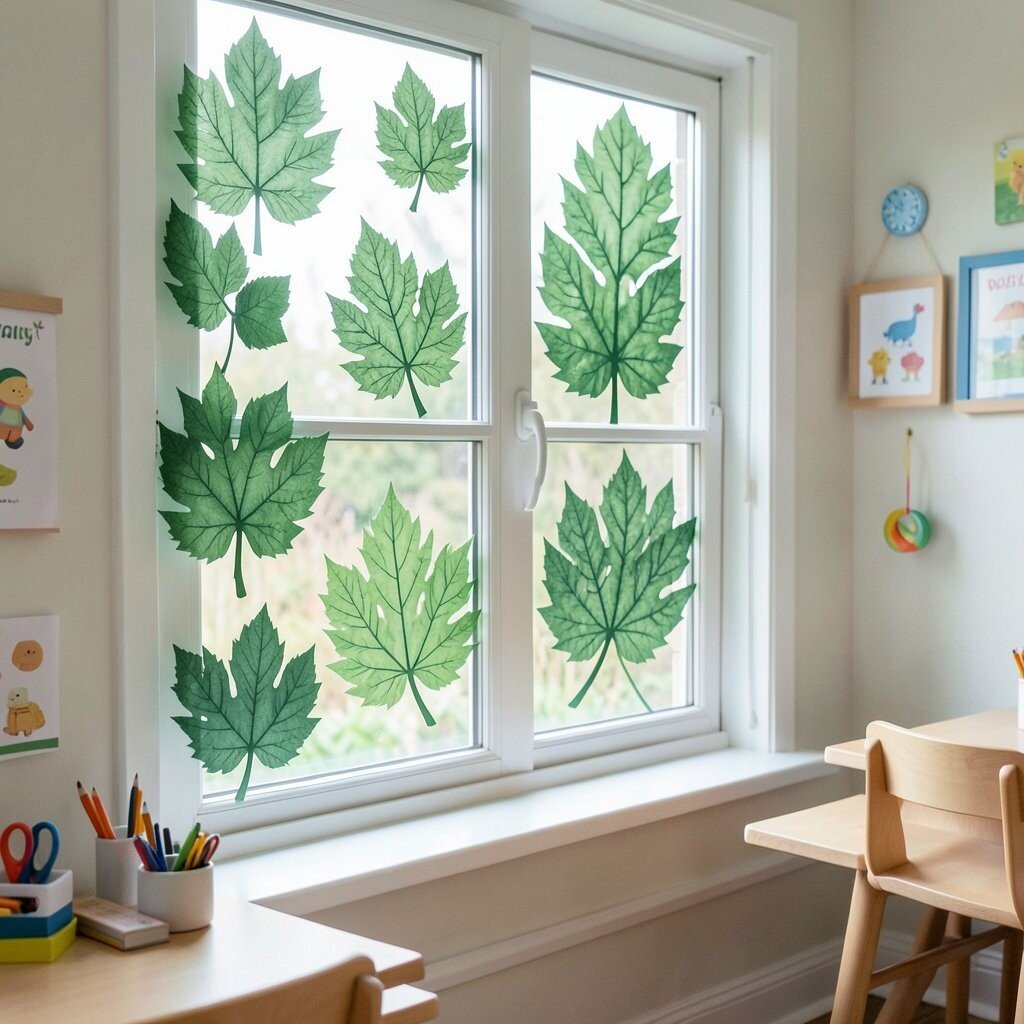
Use leaf stencils to paint layered leaf shapes in different shades of green. You can repeat one leaf style or mix several types so the window art feels like a gentle forest wall.
This creates a calming spring backdrop that supports focus during circle time and reading. To keep it simple, use sponge brushes so the edges look soft instead of harsh. Current trends favor nature-inspired, not-too-busy visuals, and tonal leaf art fits right in while still looking bright.
Cost is low because you can use inexpensive craft paint and reuse stencil sheets for future seasons. Personalize by letting kids pick one leaf color for their handprint or thumbprint accent in the corner. The uniqueness comes from layering, which makes the window feel deeper and more interesting than flat paper cutouts.
13. Rainbow Kite Border with Lightweight Streamers
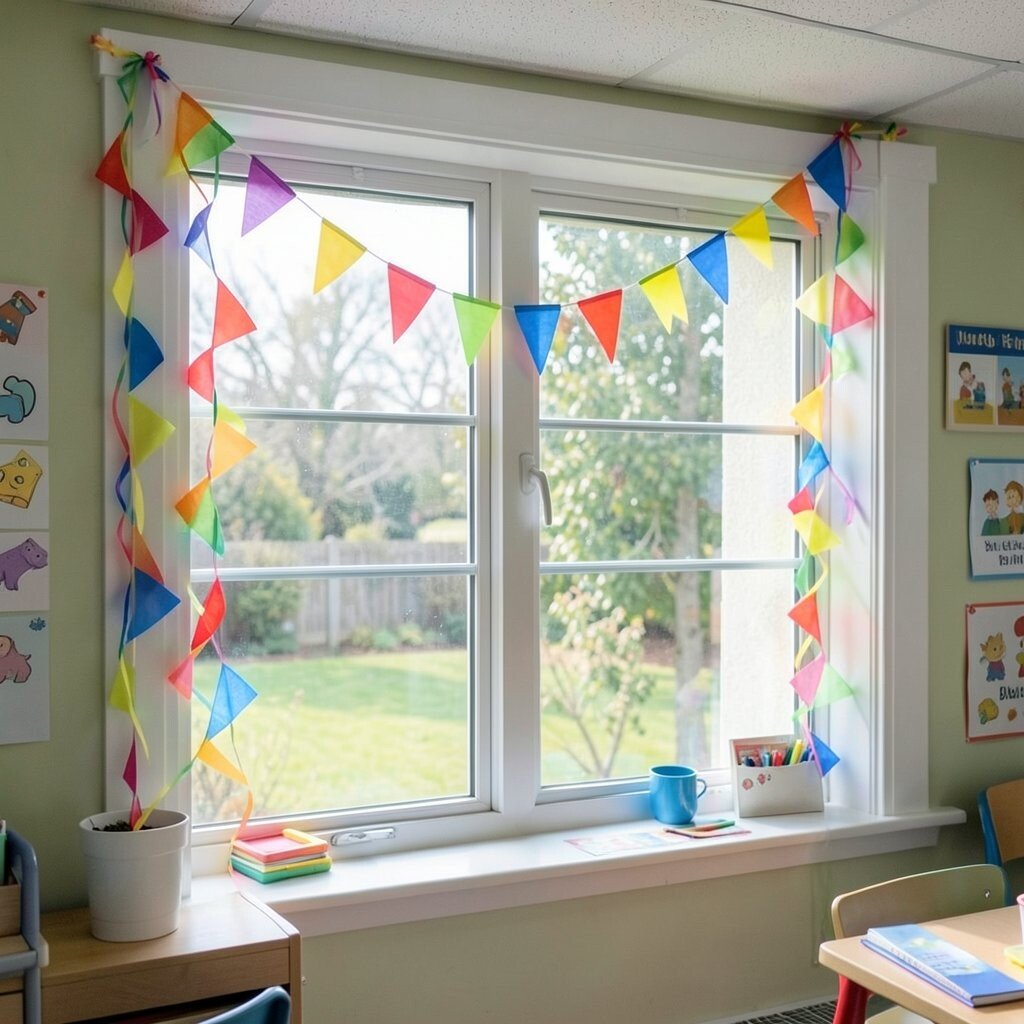
Hang lightweight streamers from a row of simple kite shapes along the top of the window. Use tissue paper or crepe paper strips so they flutter lightly and catch the light.
This decor turns a windy spring theme into a visual celebration that energizes kids in a good way. For practical setup, attach streamers with string loops so you can remove them quickly for cleaning or when the sun changes. Encourage kids to match streamer colors to what you’re learning in class, like the colors of the rainbow or basic color words.
Cost considerations are friendly because paper streamers and kite templates are quick to make. This idea feels current because motion-based decor is popular in classrooms that want learning spaces to feel alive without being overwhelming. Personalize the border by adding each child’s favorite color to their own kite segment.
14. Photo-Postcard “Spring Moments” Window Gallery
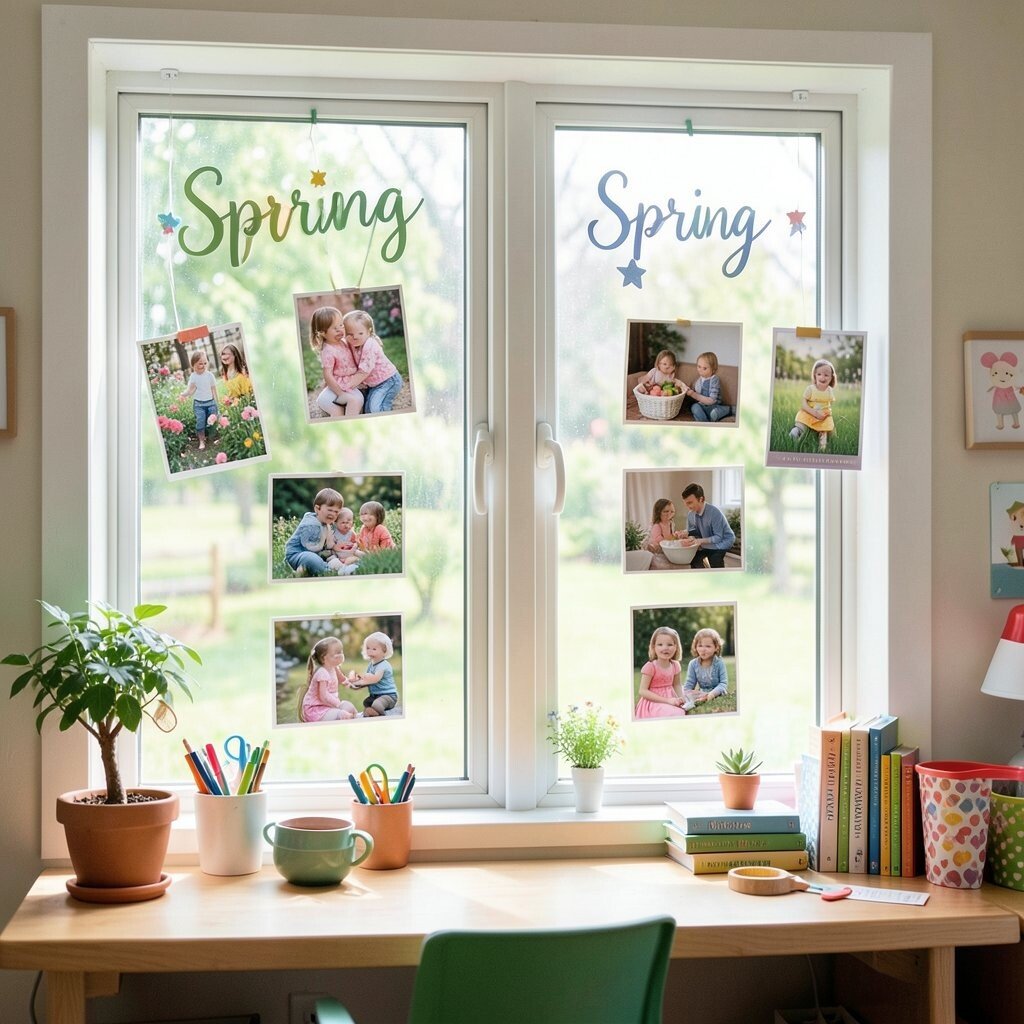
Make a rotating window gallery using small photo frames or paper sleeves clipped to the curtain rod. Display spring moments like outdoor walks, classroom planting, or butterfly books you’ve read together.
This window gallery builds pride and belonging because kids see themselves as part of the classroom’s spring story. It also supports practical teaching because you can refer to the photos when reviewing routines, sharing experiences, or talking about sequencing. Use clear page protectors or laminating pouches so the display stays safe from spills and fingerprints.
Cost can be controlled by printing a small number of photos and using sturdy report covers you already have. The uniqueness comes from combining real memories with colorful spring decor, which many classrooms are doing now to make learning feel personal. Personalize by letting each child pick one photo moment that they want to share with the group.