The classroom can feel like a gallery when student work is treated like real art. Small display choices can make big motivation for every learner.
Below are practical, budget-friendly ideas that help work look special, stay organized, and invite pride every day.
1. Gallery Wall With Rotating Frames
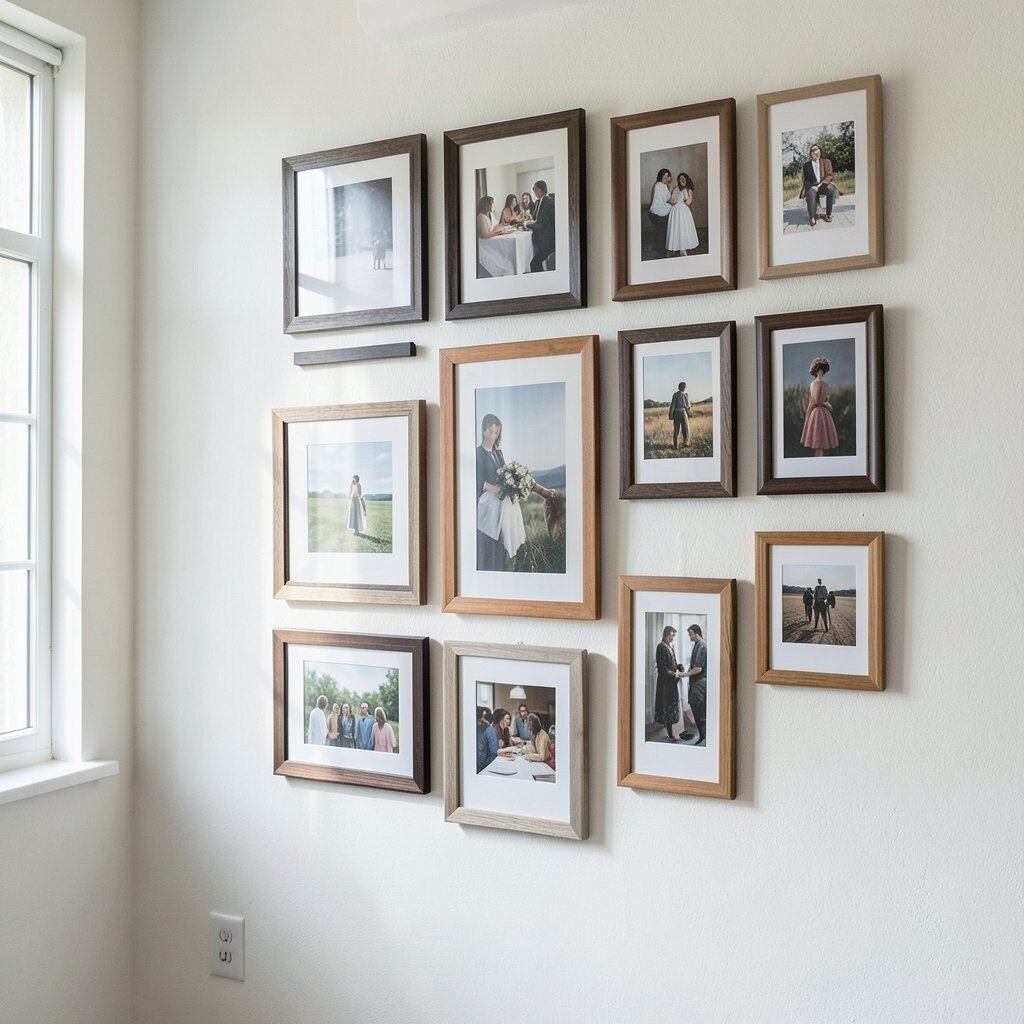
Choose a section of wall and add a simple line of frames in matching colors. Students will love seeing their work take center stage under soft classroom lighting.
Rotate the frames on a regular schedule so more students get a turn and the wall stays fresh. Use clear plastic sleeves or glass if you want extra durability, and label the back with dates to keep track of changes. For personalization, let students write a short reflection on the back that explains what they tried and what they learned.
2. Clipboards for “In Progress” Showcase
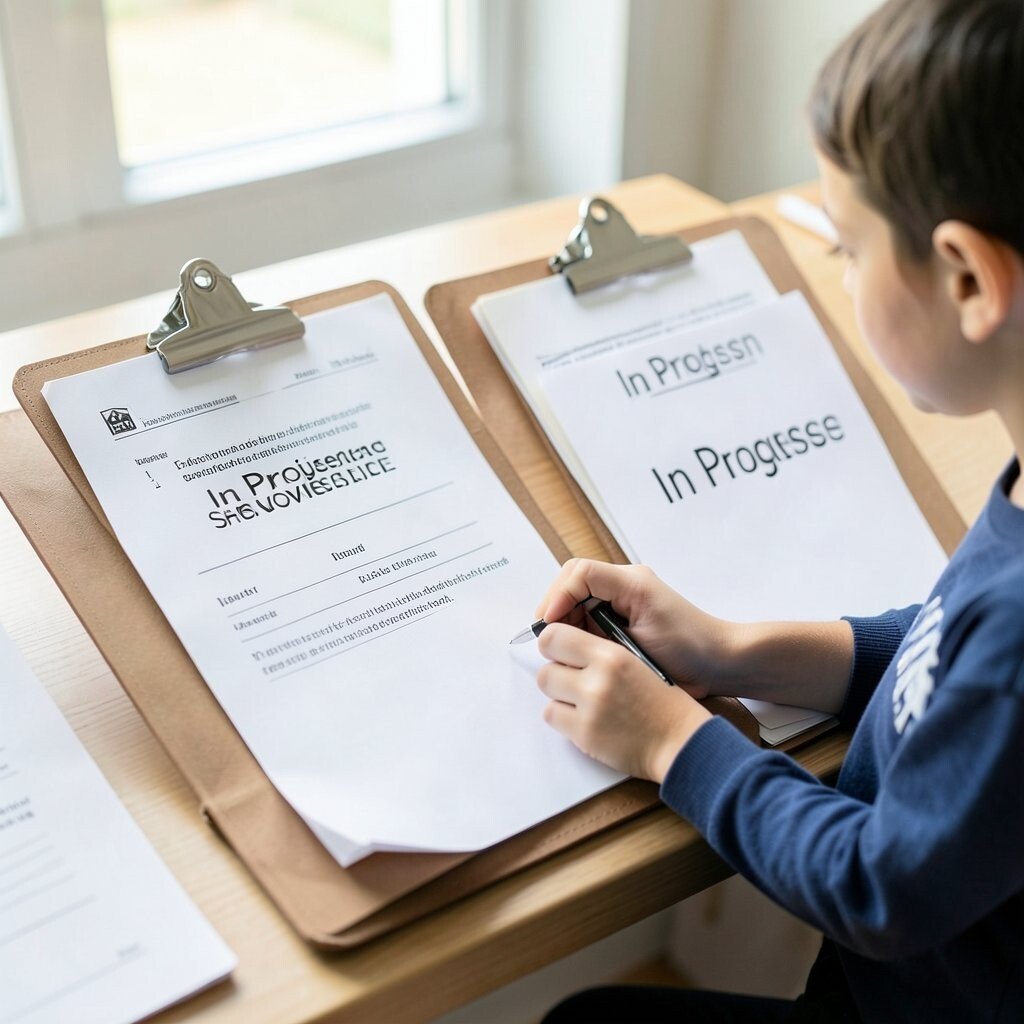
Hang a row of clipboards at student eye level so work can be seen before it is finished. You get a visual of growth that feels encouraging, not stressful.
Set up a simple system where each clipboard matches one class period or one learning group. Keep it manageable by limiting each clipboard to one or two pieces, then swap them as students improve. This helps students notice effort, and it makes it easier for you to spot who needs feedback quickly.
To keep costs low, use thrift-store frames or free clipboards from office supply sales. Add a small color dot on each clipboard so students can quickly find their spot during transitions. If your school allows it, include a “next step” sticky note written in student-friendly language to guide revision.
3. Classroom Timeline of Learning

Create a long visual timeline across one wall with dates or unit names written in kid-friendly wording. Place work pieces in order so students can point to their own progress over time.
As the months move forward, the timeline becomes a story of learning, not just a bunch of posters. Add photos of students at key milestones, like project days or lab demos, to make the display feel alive. Students benefit from seeing how skills build, and they often remember lessons more clearly when they can visually track the journey.
For a practical setup, use a bulletin board strip plus string or removable tape lines so you can move items without damage. Keep the timeline flexible by using pocket folders that slide along the string. Students can personalize their placement by choosing the spot that matches the moment they felt the biggest improvement.
4. Bound “Book of Me” Student Portfolios

Assemble student work into a simple portfolio book using binder rings or inexpensive report binders. The display is not only on the wall, but it also lives with students and becomes easy to reference.
When families visit or students share during conference time, they can flip through pages and talk about their ideas. You also get clear documentation of progress, which helps when writing comments or planning supports. To keep it unique, include one page where students choose their favorite detail and explain why it matters to them.
5. Art Dry-Erase Board Gallery
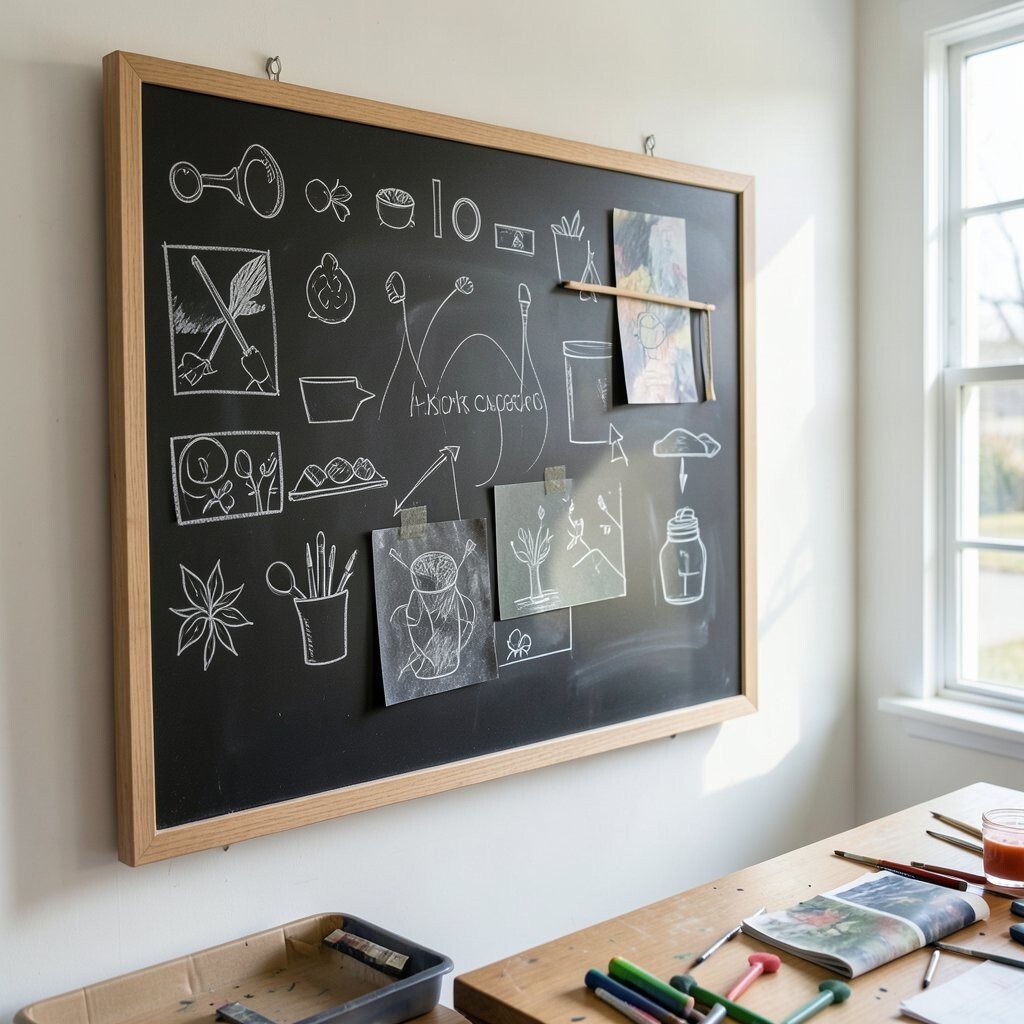
Use a large dry-erase board or whiteboard to display mini versions of student work using magnets or taped note cards. This is a fun way to keep the classroom interactive instead of keeping everything static.
Students benefit because they can see updates and improvements without waiting for the next bulletin cycle. Try adding quick sketches, vocabulary images, or short captions that you rewrite after feedback. For personalization, let each student choose a color for their caption so the gallery looks lively.
To manage materials, store magnetic shapes and note cards in labeled bins and reuse them each week. This idea keeps costs down because you are using everyday classroom supplies. A current trend is making learning visible in small steps, and a dry-erase gallery fits that style perfectly.
6. Ceiling-to-Floor “Paper Trail” Projects
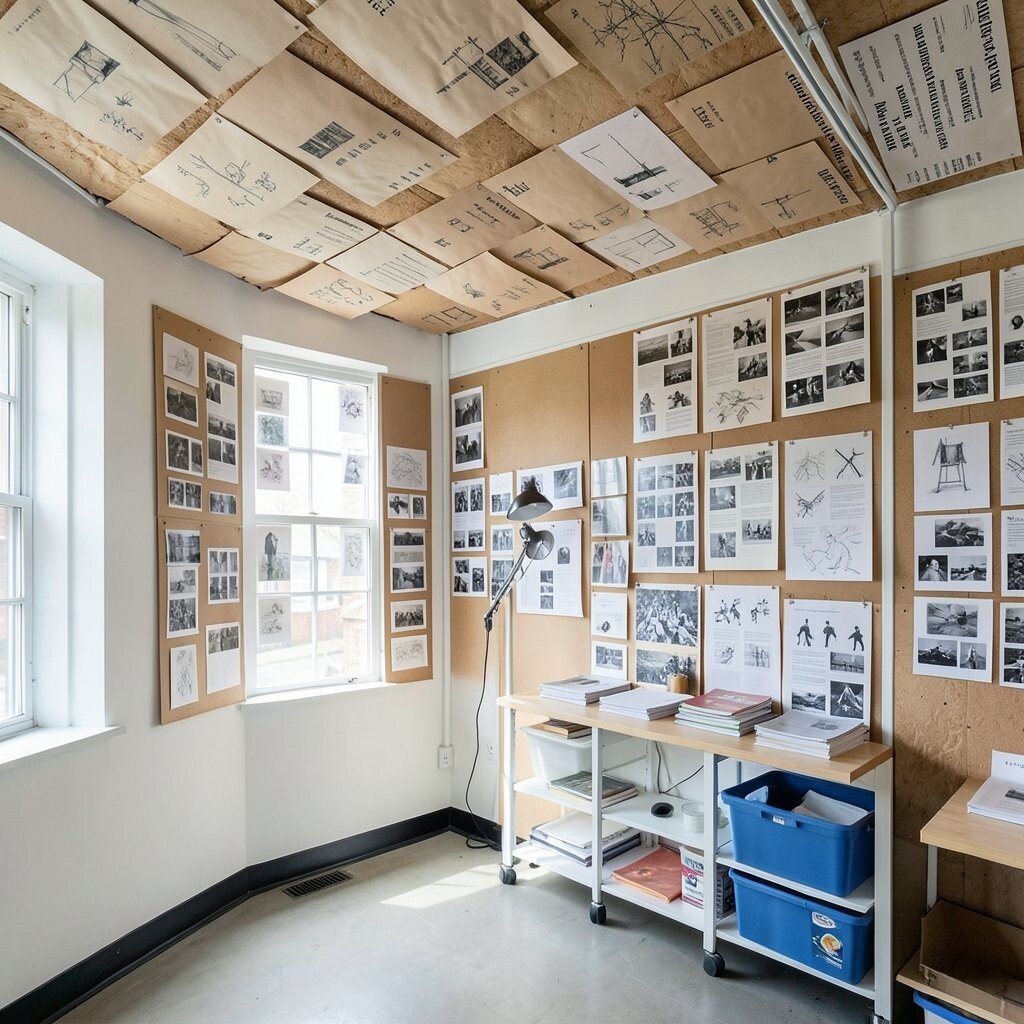
Turn the space above desks into a visual path by hanging student work like a paper trail from ceiling hooks. The effect feels magical, like students are walking through their own creativity.
Use lightweight materials such as printed drafts, folded sketches, or small paper crafts to keep it safe and easy. Students enjoy the surprise factor, and it supports motivation because the display is impossible to ignore. For practical tips, choose a consistent pattern such as one project per week, and secure strings with binder clips so nothing falls.
To personalize, invite students to add a small star on the piece that shows what they are proudest of. If you worry about budgets, you can use clear thread and scrap paper instead of expensive display supplies. This also matches current trends in maker-centered learning where process and iteration are shown in public.
7. “Choose Your Favorite” Voting Wall
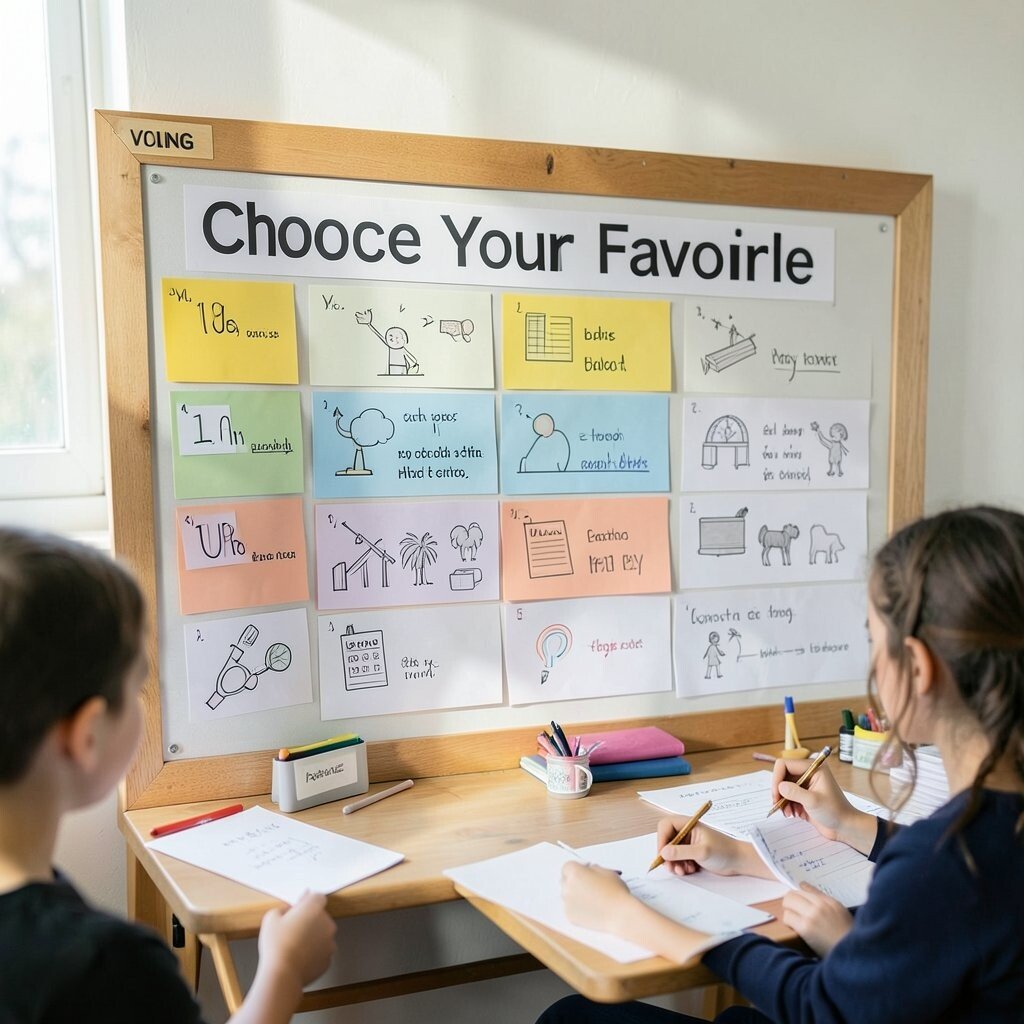
Create a voting wall where students can highlight favorite pieces without turning it into a competition. Place small name tags or color dots beside each student’s work so everyone has a chance to respond.
This kind of display builds community because students practice noticing strengths in others’ ideas. It also helps you see which topics and styles are engaging for the class. Add a short sentence at the top of the display written by students, like “We love how this shows…” to guide kind feedback.
For personalization, allow students to explain their vote on a tiny card that matches the piece. Keep costs low by using cardstock strips and simple adhesive dots. A current classroom trend is feedback-first culture, and this wall supports that goal in a friendly, visible way.
8. Stairway or Hallway Bench With Mini Displays
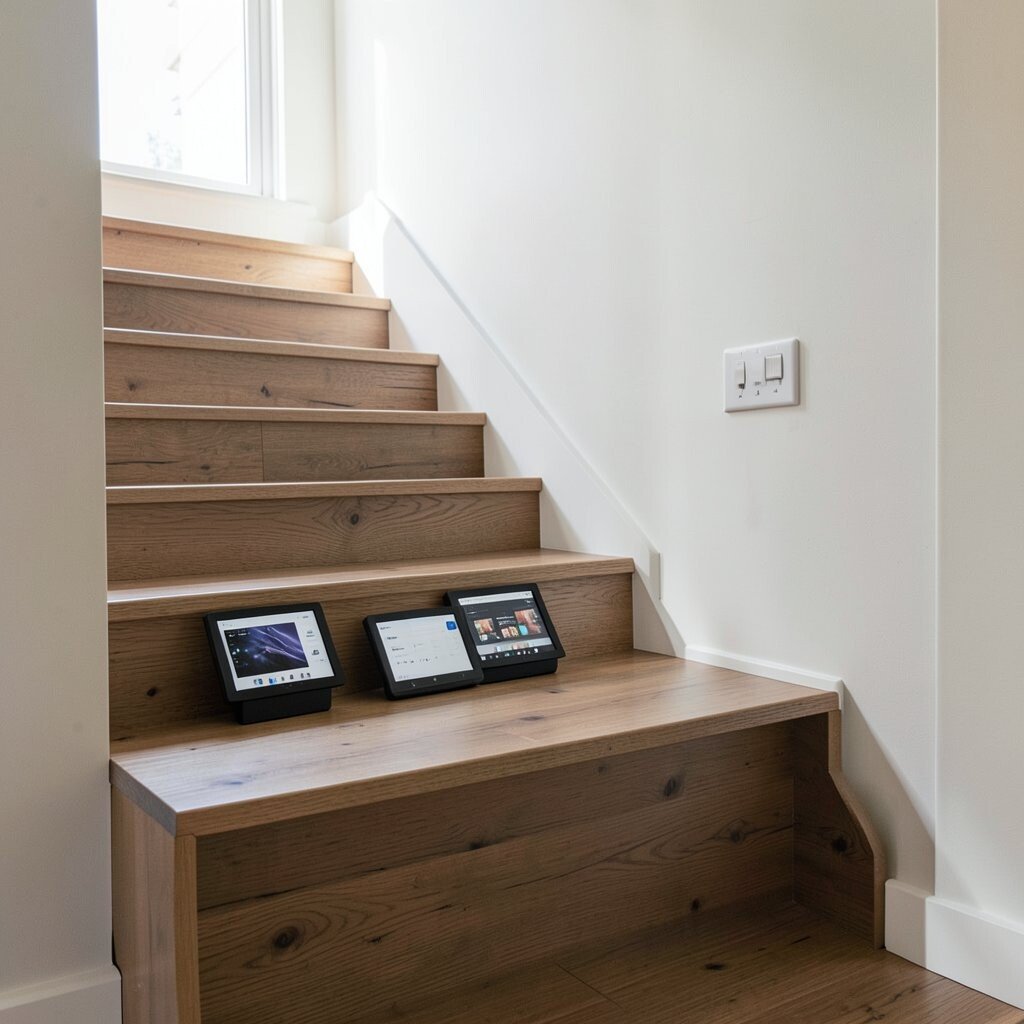
If you have stairs or a hallway near classrooms, use a narrow bench shelf to display small, framed works. Even a small space can become a rotating exhibit when you keep pieces compact.
Students benefit because their work is seen by more people, which can raise pride and effort. Use stands, acrylic holders, or simple picture ledges so items look neat instead of messy. Practical tip: keep work sizes similar and secure each piece so it stays aligned when people pass.
Uniqueness comes from curating by theme, like “Weather stories,” “Strong beginnings,” or “Portraits of character,” rather than by date alone. For cost considerations, look for dollar-store frames, recycling bins for extra stands, and labels made with scrap paper. Students can personalize the display by writing a short “artist’s message” that fits on the side.
9. QR Code Links for Audio Artist Statements

Add a QR code next to student work that links to an audio recording where the student explains their project. Visitors can hear the story, even if they cannot read every caption.
This display helps students practice speaking and gives their work a human voice. Students benefit because it encourages clarity and reflection, not just final products. For practical tips, keep recordings short and store them in one simple folder or class platform so you can find them easily.
Cost stays low if you use a free audio tool on student devices and print the QR codes on regular paper. Personalization shines because each audio clip feels personal and different, like each student’s work has a backstage pass. A current trend in classrooms is blending media with student art, and audio statements fit naturally with that movement.
10. Word-Smart Display With Vocabulary From Student Writing

Turn language learning into a visual display by featuring vocabulary words from student writing on colorful cards. Include one sentence from the student work beside the word to show it in action.
Students benefit because they see how words work in real writing, and that makes grammar and vocabulary feel useful. Keep it unique by showcasing not only correct words, but also student experiments like new descriptive phrases they tried. Practical tip: rotate the word cards often so the wall matches what the class is learning right now.
For personalization, invite students to decorate the card with small drawings connected to the word. Cost is usually minimal since you can print from a class template and use markers already in your supply bins. This also supports current trends toward student-centered language and authentic writing displays.
11. Sorting Stations by Skill Level and Growth Goals
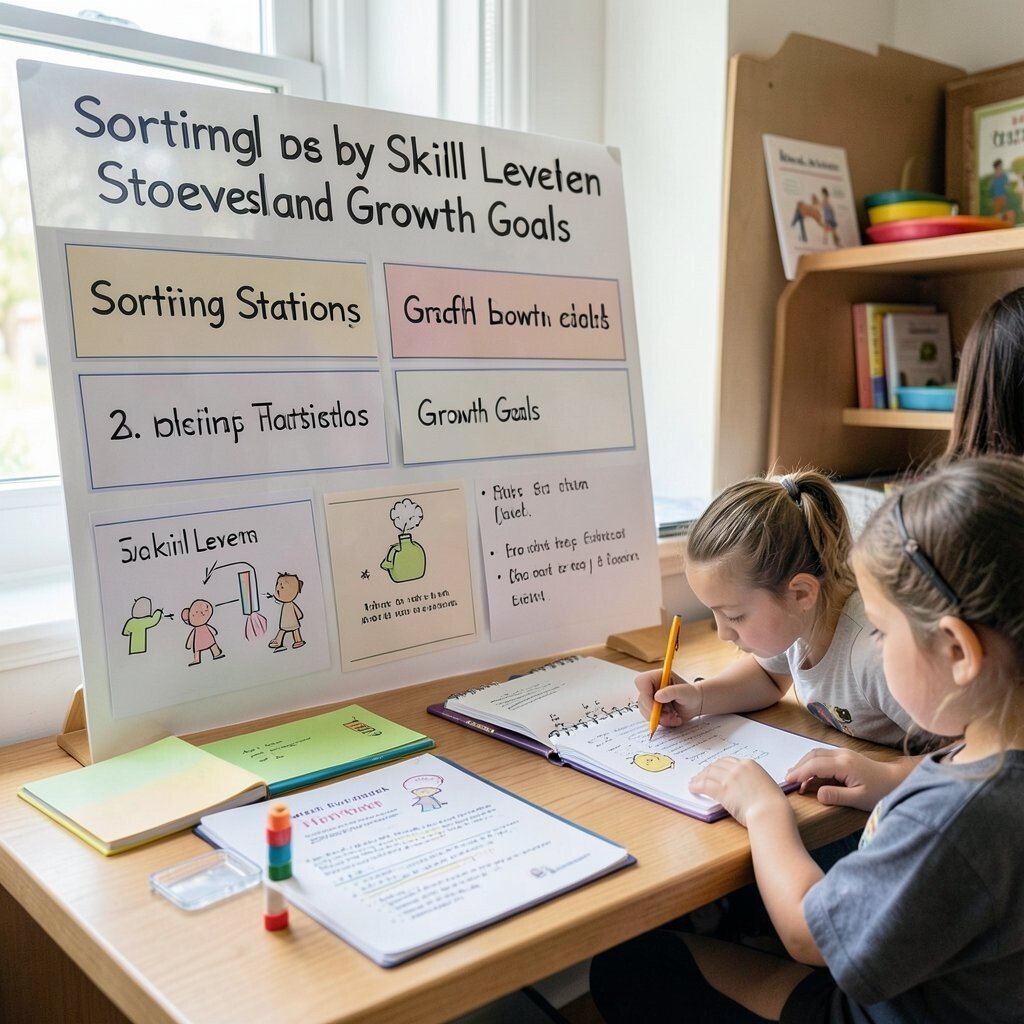
Set up a display that groups student work by growth goals instead of by “high” and “low” performance. For example, you might sort pieces into categories like “Trying strategies,” “Revising details,” and “Ready to share.”
This visual helps students see that improvement is the point, not just the final result. Students benefit because they can choose a next goal and feel supported by clear, visible steps. Keep the system practical by using folder pockets or trays so moving items is easy during class.
To make it unique, ask students to write the small goal statement that belongs with the work. For cost considerations, reuse file folders and label them with student-made stickers. This is also aligned with current trends in growth mindset classrooms where students track progress in concrete ways.
12. Fabric Banner or Pennant Line for Projects
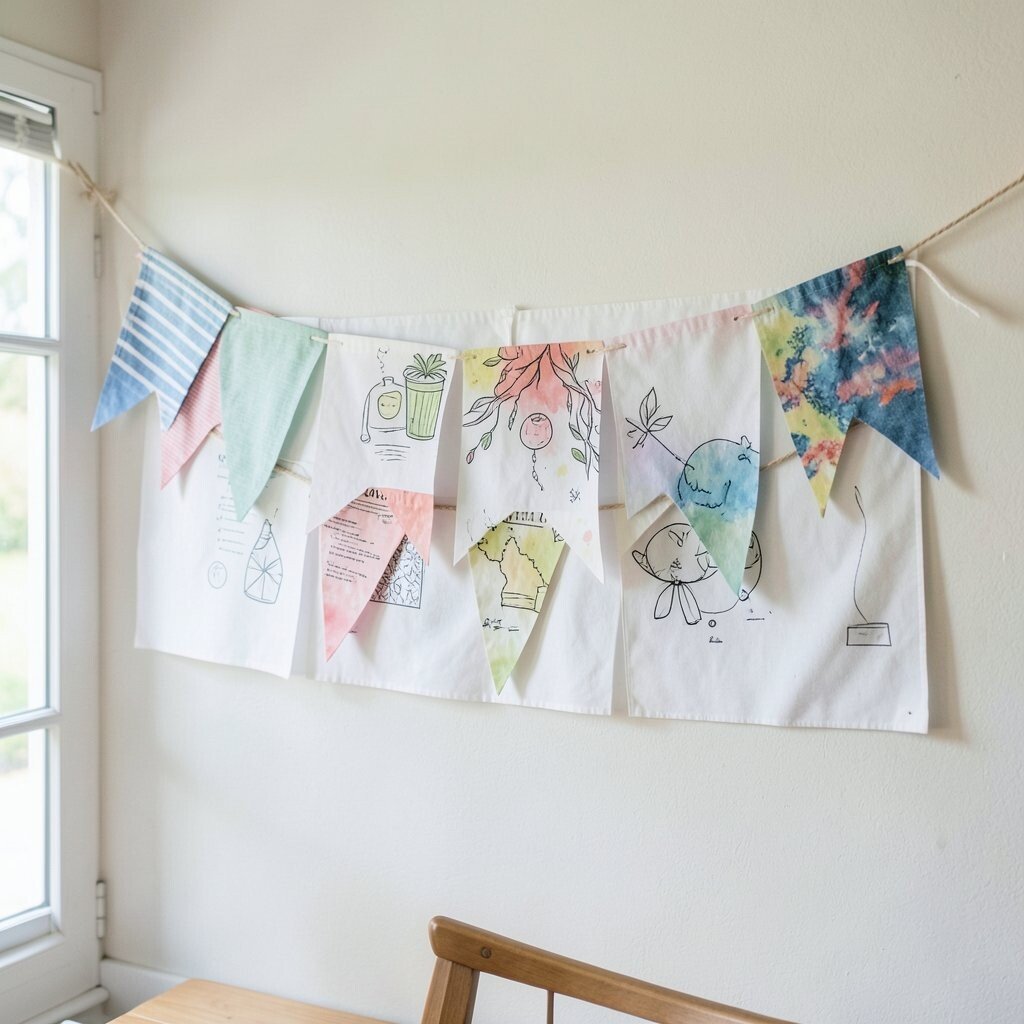
Hang a fabric banner or pennant line across the room and attach student work to each pennant. The display feels warm and bold, and fabric helps it look like a real event.
Students benefit because their work appears celebratory, like a festival of ideas rather than a storage shelf. Use lightweight prints on cardstock or small fabric squares for safety and easy handling. Practical tips include using Velcro strips so you can swap pennants quickly and keep everything tidy.
Uniqueness comes from letting students pick a style theme, like patterns inspired by their hobbies or art they studied. Cost considerations are manageable because you can buy inexpensive fabric scraps at craft stores or use old pillowcases that still have good color. Personalization is built in when students choose colors and add short phrases that match their learning topic.
13. Desk-Side “Show and Tell” Mini Shelves
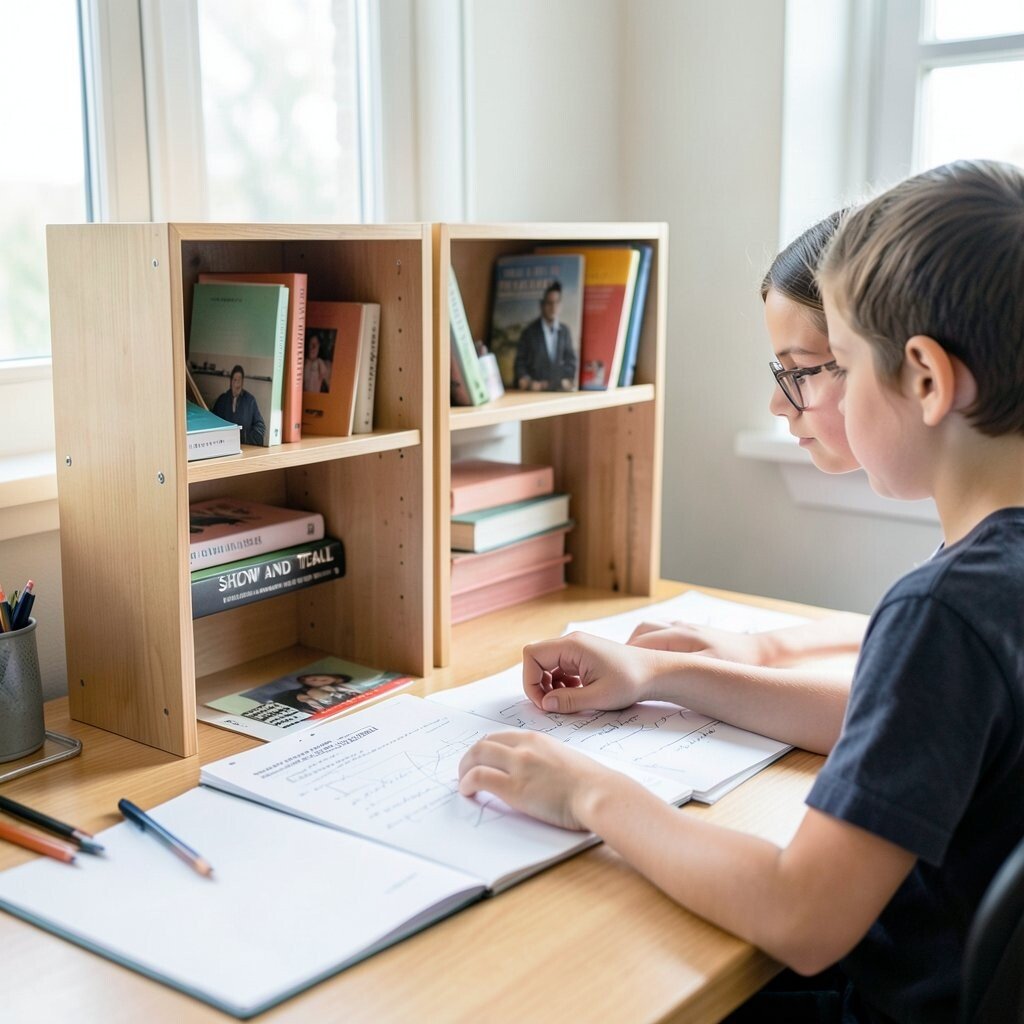
Give each group a small shelf beside their desks or in a shared learning corner to display their latest best work. When students walk by daily, the shelf acts like an ongoing stage for their ideas.
Students benefit because they can use the work as a model during writing, drawing, and problem solving. Try adding one example each for completed work, one for work-in-progress, and one for a student reflection. This keeps the display purposeful rather than decorative, and it reduces the chance of clutter because items have a clear spot.
For practical tips, use stackable trays, spice racks, or shoebox inserts that fit your space. Cost stays low because you can build shelves from inexpensive organizers and label everything with student-friendly text. Personalization can be as simple as letting each group create a small name tag and decorating their shelf background with colors tied to the unit.