A well-placed handrail can make a home feel safer and more welcoming. The best part is that you can choose styles that fit your daily life and your taste.
From clever DIY builds to polished store-bought options, your next upgrade can look great and work even better.
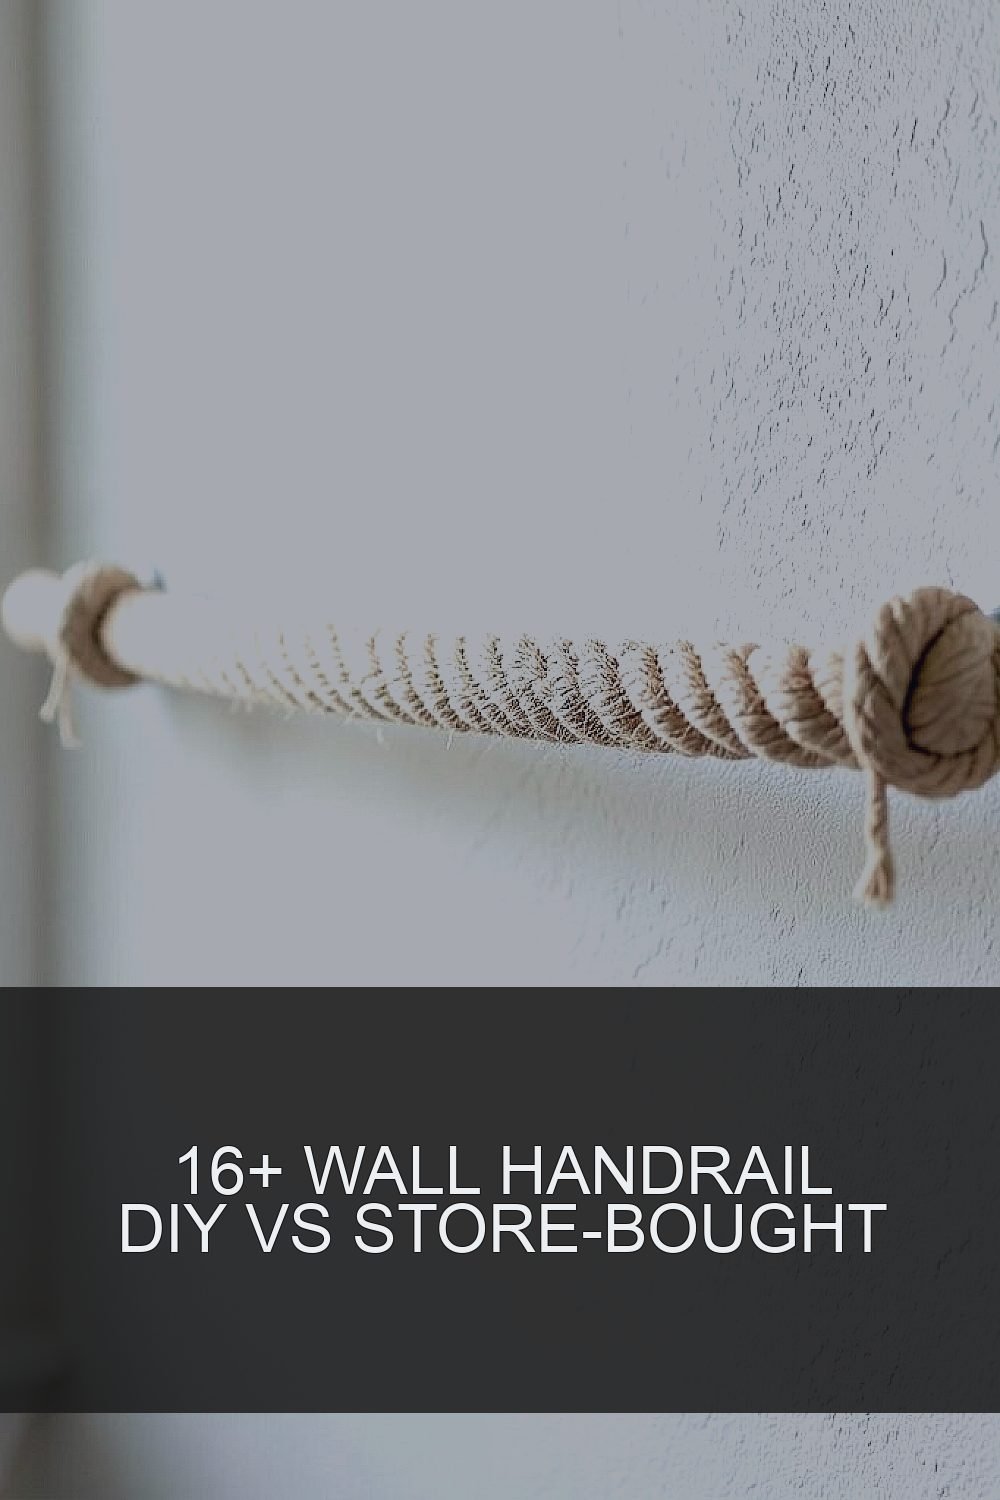
1. Floating Rope Handrail With Knots and a Clean Wall Track

Picture a handrail that looks like it is gently floating, held by neat rope segments and sturdy wall anchors. You walk by and it catches your eye, but it still feels strong and practical.
For a DIY version, use a wall track or straight timber strip that keeps the rope line even, then attach rope sections with tight knots and sealed ends. This creates a softer look than metal while still helping your hand find a steady grip. Choose thick braided rope, then pair it with protective clear seal so it stays tidy near stairs and entryways.
2. Rustic Wood Handrail With a Reclaimed Board and Oil Finish
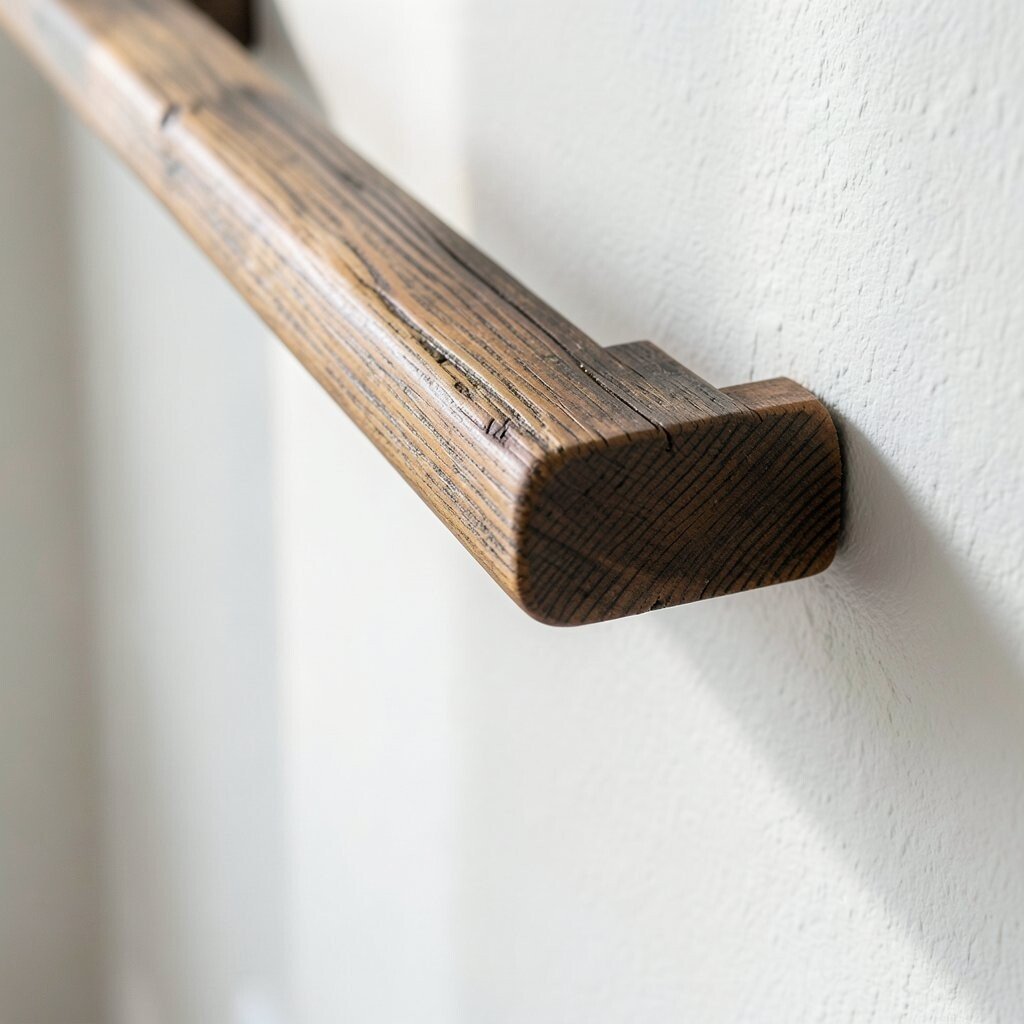
Warm wood can change the mood of a hallway instantly, especially when the grain shows through the finish. Imagine a reclaimed board mounted along the wall, simple brackets holding it like it has always belonged there.
DIY is a great fit here because you can cut the board to length, round the edges for comfort, and sand it until it feels smooth. A store-bought handrail can look nice too, but making it from a reclaimed piece lets you match the exact color of your floors and doors. For cost, reclaimed lumber can be cheaper than buying a premium ready-made rail, and oil finishes tend to be inexpensive and easy to refresh.
Right now, people love natural textures, and a lightly glossy oil finish looks especially modern when paired with matte paint. If you want personalization, stain a small test spot first, then decide between honey tones or a deeper walnut shade based on the light in your space.
3. Matte Black Steel Handrail With DIY Hidden Brackets
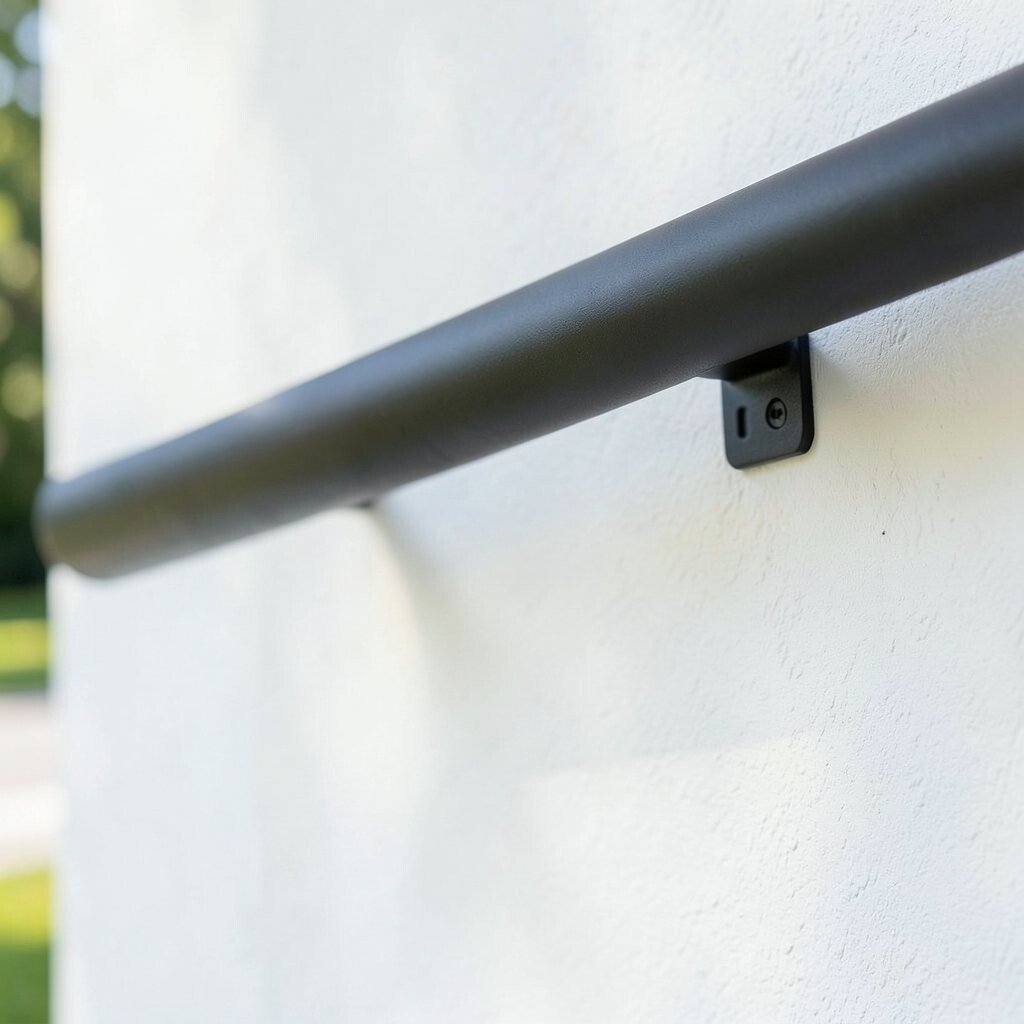
Think of a slim black rail that looks sharp against white walls and feels solid when you hold it. The best part is when the brackets disappear, leaving clean lines that make your hallway look more designed.
For DIY, use steel bar stock or a pre-cut rail, then mount it with hidden bracket plates behind the rail so the wall stays uncluttered. If you prefer fewer steps, store-bought rails with matching brackets can save time, but they may limit your bracket placement choices. A DIY hidden method can also help you hit the exact height that works for your household, which is a big deal for safety and comfort.
To keep it looking current, aim for matte black hardware and pair it with simple lighting like a brushed fixture. You can personalize by adding a small end cap detail, or by routing the rail so it gently follows the wall curve if your stairs turn.
4. Soft-Coated Handrail Using Foam Wrap and Fabric Covers
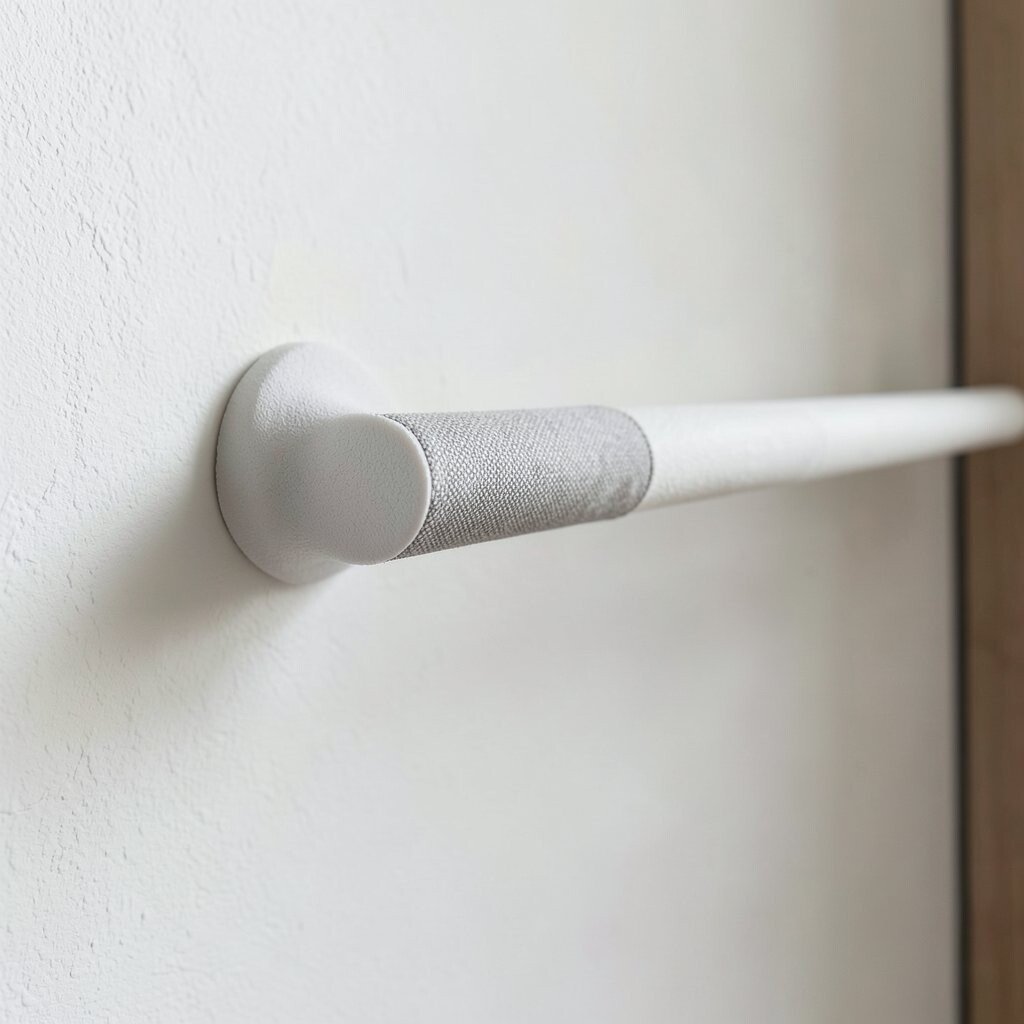
Sometimes the best handrail is the one your family actually enjoys using. A soft, grippy surface can be especially helpful in homes with kids, older adults, or anyone who prefers a gentle feel.
DIY is surprisingly doable by wrapping a solid core rod with foam and then covering it with a washable fabric cover or a wipeable material. Store-bought versions with textured grips are convenient, but DIY lets you pick patterns that match your home, like subtle gray weaves or warm earth tones. Keep practical comfort in mind by choosing a cover that resists slipping and stays clean near bathrooms and kitchens.
5. Adjustable Rail System With DIY Lag Bolts and Slide-On Supports

Picture a handrail that can grow with your home, moving up and down as needs change. That flexibility feels great when you think about new stairs, aging in place, or a room that gets repainted often.
DIY can use a rail with multiple mounting points and adjustable supports, letting you shift the height without replacing everything. Store-bought adjustable systems exist too, but DIY can be more cost-friendly because you can use common hardware and only buy the rail itself. Make it practical by double-checking placement so the rail lines up with natural arm reach.
Current trends lean toward smart, flexible solutions, and an adaptable rail looks neat and intentional rather than temporary. Personalize it by matching the rail color to your door hardware, or by painting the supports so they blend into the wall.
6. Curved Corner Handrail for Hallways With Tight Turns

Some homes have corners that feel tricky, and a curved handrail makes those turns feel smoother. You can almost feel your arm guiding along a path that was built just for that spot.
With DIY, you can work from a template, then bend a rail or assemble a multi-segment system that follows the curve. Buying a store-bought curved model saves time, but custom DIY can match the exact angle of your hallway where cabinets or doorframes limit options. Use careful measuring so the curve feels natural rather than awkward, and consider a gentle radius for comfort.
This idea fits trending “made for your home” styling because the rail looks like part of the architecture. For personalization, choose an end shape that matches your décor, like rounded tips for a softer vibe or square caps for a crisp look.
7. Warm Ceramic Tile Handrail With a DIY Base and Grout Texture

Imagine a handrail that feels like stone and looks like a backsplash turned into comfort. When you touch it, you get a cool, smooth surface that still stays secure.
DIY starts with a stable base like a sealed wooden rail or a solid backing strip, then you can attach tiles and finish with grout that matches your bathroom or kitchen. Store-bought tile-front rails are less common, so DIY can be a unique standout when you want the same color story as your walls. Cost matters here, because tiles add up, but buying smaller leftover tiles or using budget ceramic can keep spending under control.
For practical tips, seal the grout and choose tile with enough texture to prevent slipping when hands are damp. To personalize, use a simple solid tile for a clean look, or mix in a narrow accent strip for a subtle custom detail.
8. Reversible Color-Handrail With Removable Stained Sticks

What if your handrail could change like your décor does? A reversible style lets you switch the look without replacing the whole system.
DIY can use a core rail plus removable stained wooden sticks that attach with hidden screws, so you can swap them after a paint refresh. Store-bought handrails rarely offer easy color changes, but DIY makes customization simple and fun. Keep it practical by using a durable topcoat so each swap doesn’t require sanding every time.
This kind of flexible design matches current trend talk about “changing with the seasons,” only your hands get to enjoy it too. Personalize it by making one side light and bright, then making the other side darker for contrast and a cozier feel.
9. Vertical Slat Handrail With DIY Wooden Spacers for Grip
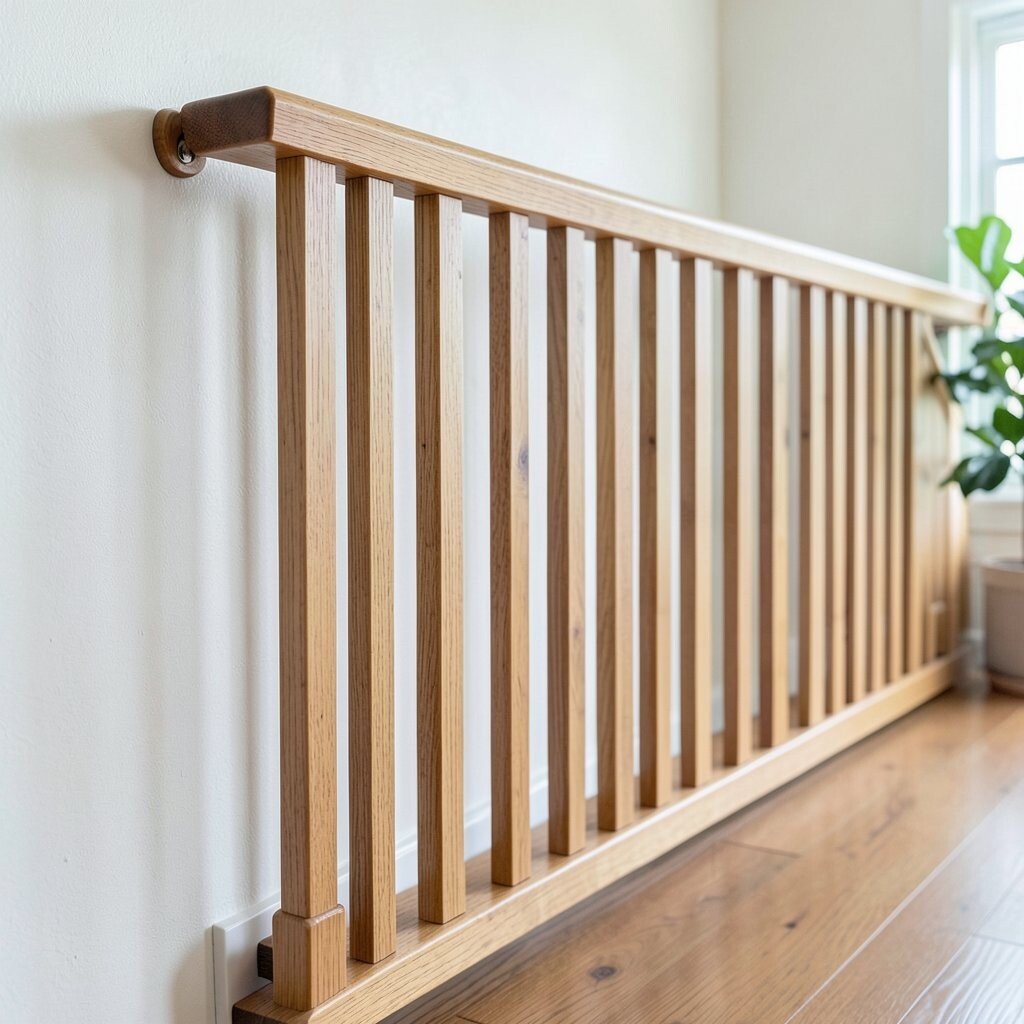
Instead of one solid top rail, picture vertical slats that create little gripping lanes for your fingers. It looks modern and artsy, but it still supports you when you need it most.
DIY is ideal because you can build a simple top bar and attach evenly spaced wooden slats below or along the side for extra texture. Store-bought options often lean plain, so DIY can create a one-of-a-kind look that feels handcrafted. For cost, wood and basic fasteners usually stay budget-friendly compared to specialized metal products.
Try this in entryways or stair landings where you want the rail to look like part of the design, not just a safety piece. Personalize spacing to match your grip preferences, and sand each slat edge so it feels smooth instead of scratchy.
10. Brushed Stainless Handrail With DIY Anti-Slip Pads
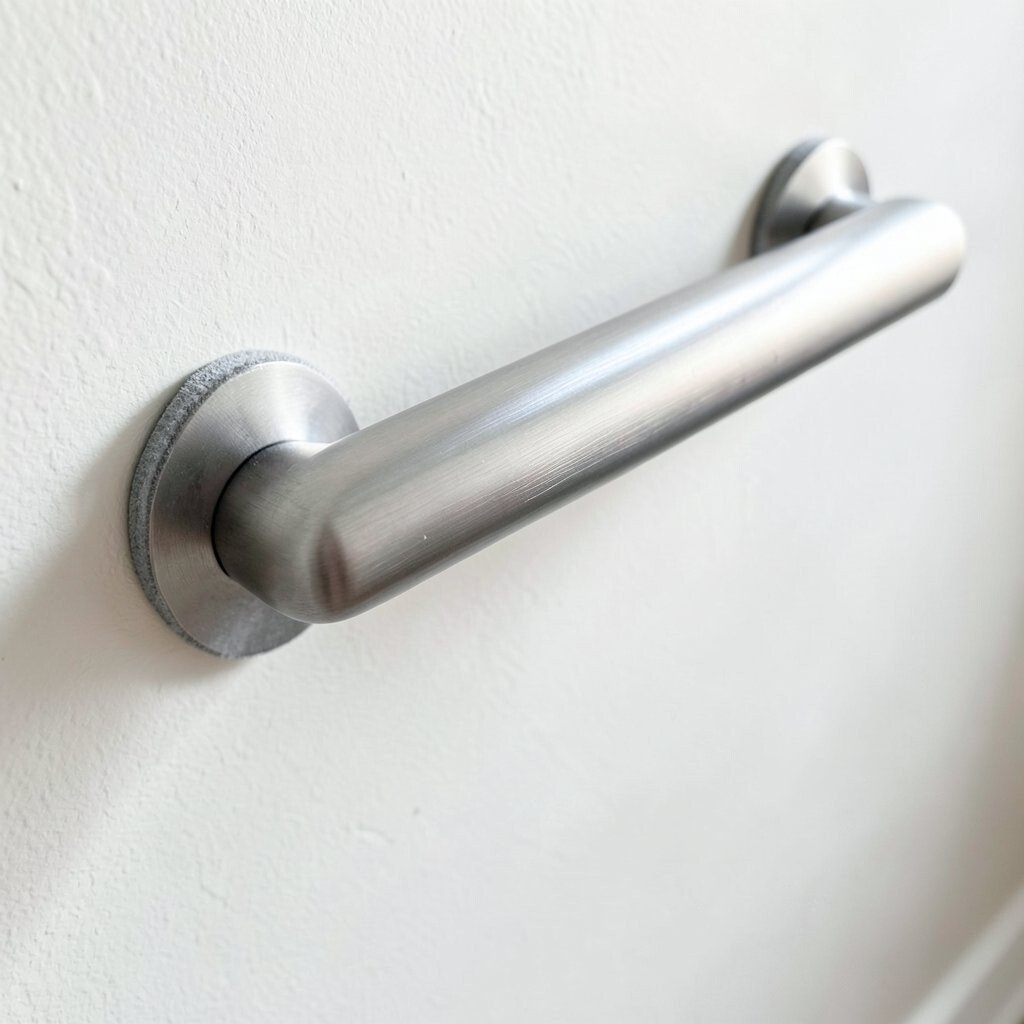
Stainless steel can give a home that clean, bright feel, especially in modern kitchens and hall bathrooms. When you add anti-slip pads, it becomes a rail you can trust even when your hands are a bit wet.
For DIY, mount a brushed metal rail and then attach thin anti-slip grip pads underneath or along the top contact area. Store-bought rails with built-in grip are convenient, but you might pay more for the exact model that matches your wall height. DIY lets you choose grip pad materials based on comfort and traction while staying close to your budget.
Current trends favor sleek metals, and brushed finishes look softer than shiny chrome in daylight. Personalize by selecting pad thickness for comfort, and by matching the rail tone to your faucets, knobs, and light fixtures.
11. Farmhouse Handrail With DIY Shelf-Ledge for Quick Grab Items

Imagine a handrail that does double duty, acting like a small ledge for lotion, hand wipes, or a spare phone charger. It feels handy without taking up extra floor space, and it looks charming rather than cluttered.
DIY can create a rail with a shallow shelf edge and sturdy supports fixed into wall studs. Store-bought rails with shelf features exist, but they can be limited in size or finish, which is where DIY shines. Keep practical thinking by using a lip that prevents items from sliding, and keep the shelf shallow so it stays usable and neat.
This idea fits the trend of small, functional storage that appears built-in. Personalize the shelf by matching it to your cabinet hardware color or adding a simple stain that warms the space.
12. Minimalist Acrylic or Polycarbonate Handrail With DIY Edge Finishing
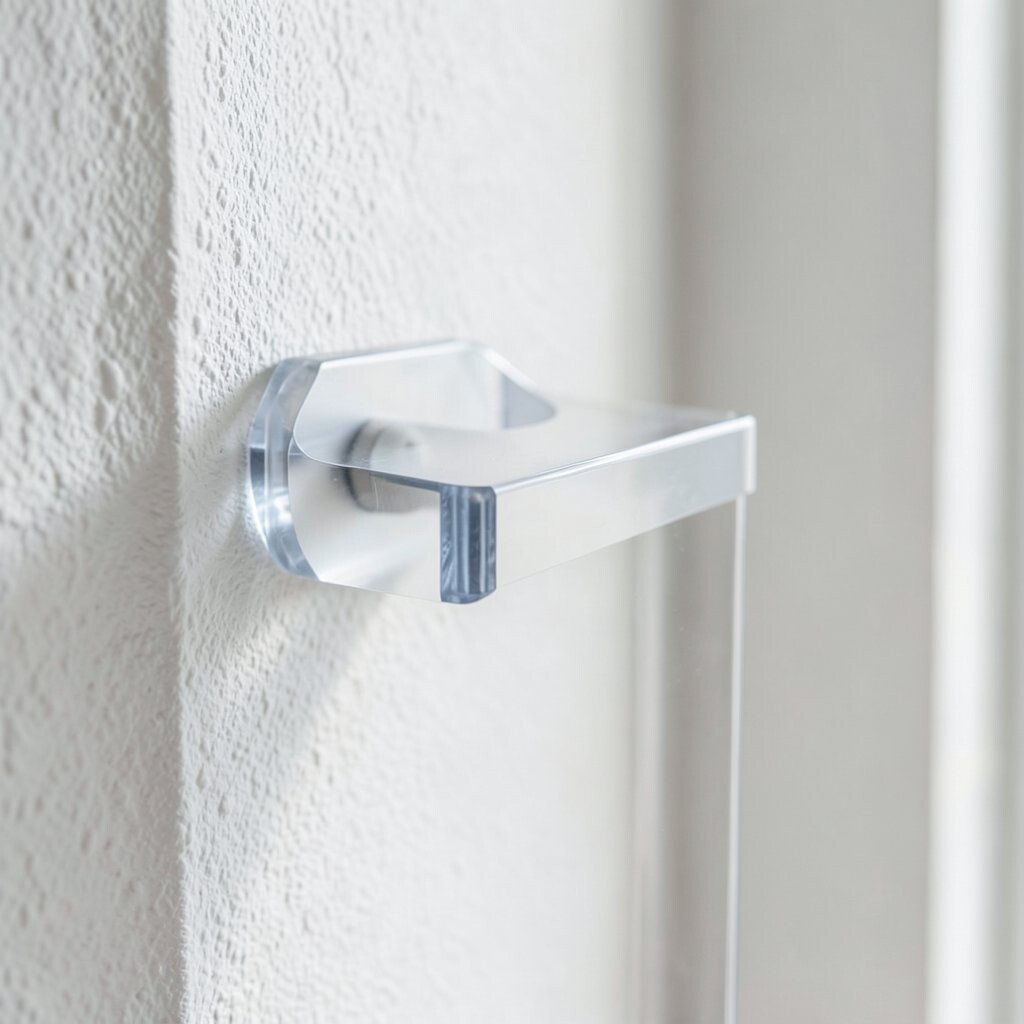
Clear or lightly tinted handrails can make a narrow hallway feel more open and airy. You see the wall behind it, but you still get that helpful support every time you pass by.
DIY can work well if you source acrylic or polycarbonate, then sand and polish the edges so they feel smooth and safe to touch. Store-bought clear rails can be tempting for speed, but DIY can help you select the exact tint and thickness that fits your style. For cost, clear materials vary, so it helps to compare per-foot pricing and avoid going too thick when you only need a sturdy rail.
To keep it looking current, pair it with neutral wall paint and clean-lined brackets. Personalize by tinting slightly warm or cool, depending on whether your room feels better with cozy beige tones or crisp gray lighting.
13. Solid Rubber or Gym-Grip Handrail With DIY Wall-Mount Screws
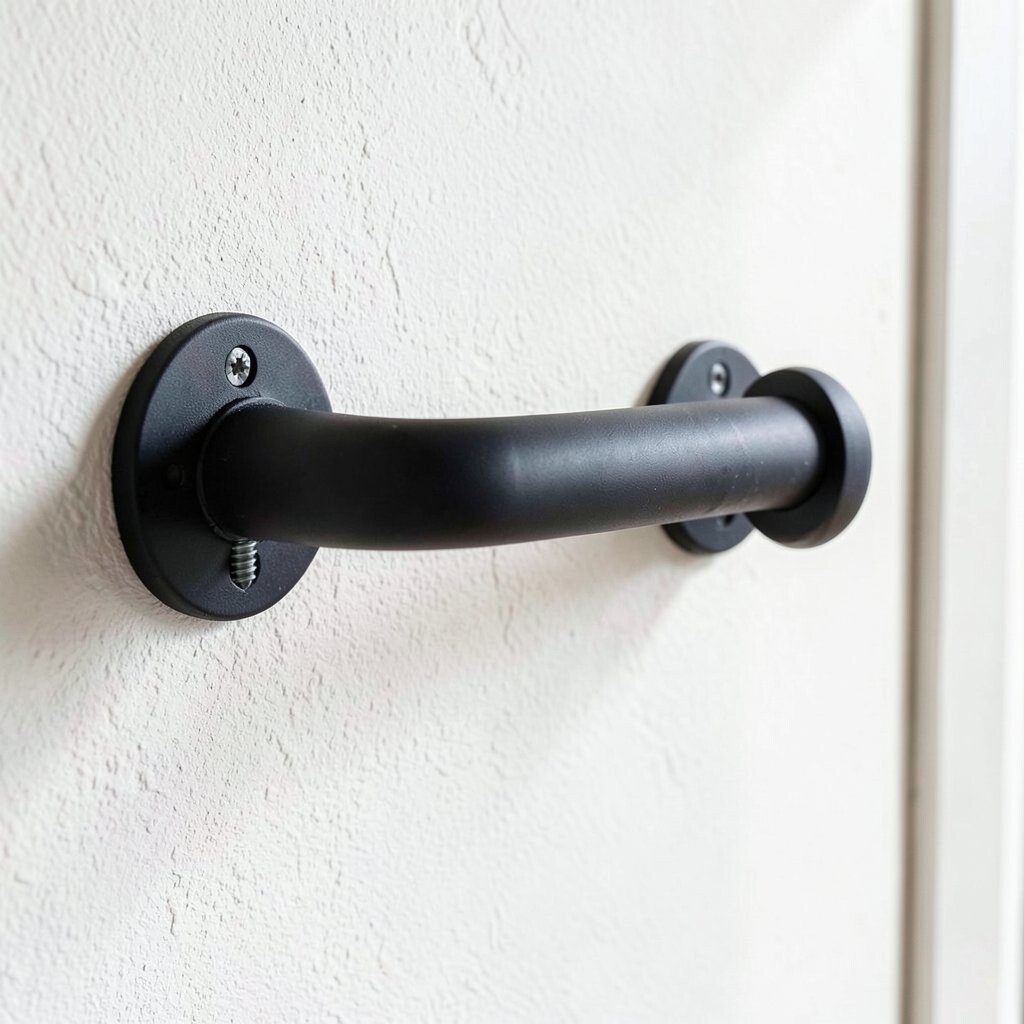
Rubber-like grips feel comfy because they don’t slip and they cushion your hand a little. If you like a practical, “grab-and-go” feel, this option can fit beautifully in a laundry hall, garage entry, or basement stair.
DIY can mount a rubber grip rail to a sturdy backing, then secure it to wall studs with proper screws and anchors where needed. Store-bought rails with rubber texture might cost more for the same length, but DIY can reduce spending by using standard wall-mount hardware. Keep safety in mind by checking that the rail doesn’t flex and that the grip surface is firm, not squishy.
This approach also matches the current preference for durable, hardworking materials that look good under real life. Personalize the vibe by choosing a color that matches your gym gear or by pairing it with matte black mounts for a bold contrast.
14. Handrail Wrapped in Leather Strips With DIY Stitching Details

A leather-wrapped handrail can look rich and soft, like a small luxury you didn’t expect in a hallway. When the leather is pulled tight and stitched neatly, the rail becomes a design feature.
DIY here can be very satisfying because you control the wrap pattern and choose leather color that fits your home. Store-bought leather-wrapped rails are often beautiful, but they may be harder to match if your room has a specific brown, tan, or even deep burgundy tone. For cost, leather can be pricey, but you can use smaller hides or leather-like wrap material to keep spending sensible.
Practical tips include sealing the leather, keeping seams away from the highest pressure points, and testing grip feel before final mounting. Personalize by adding a contrast stitch thread color, then keeping the rest of your décor simple so the handrail stands out.
15. DIY Painted Wood Handrail With Two-Tone Color Blocking
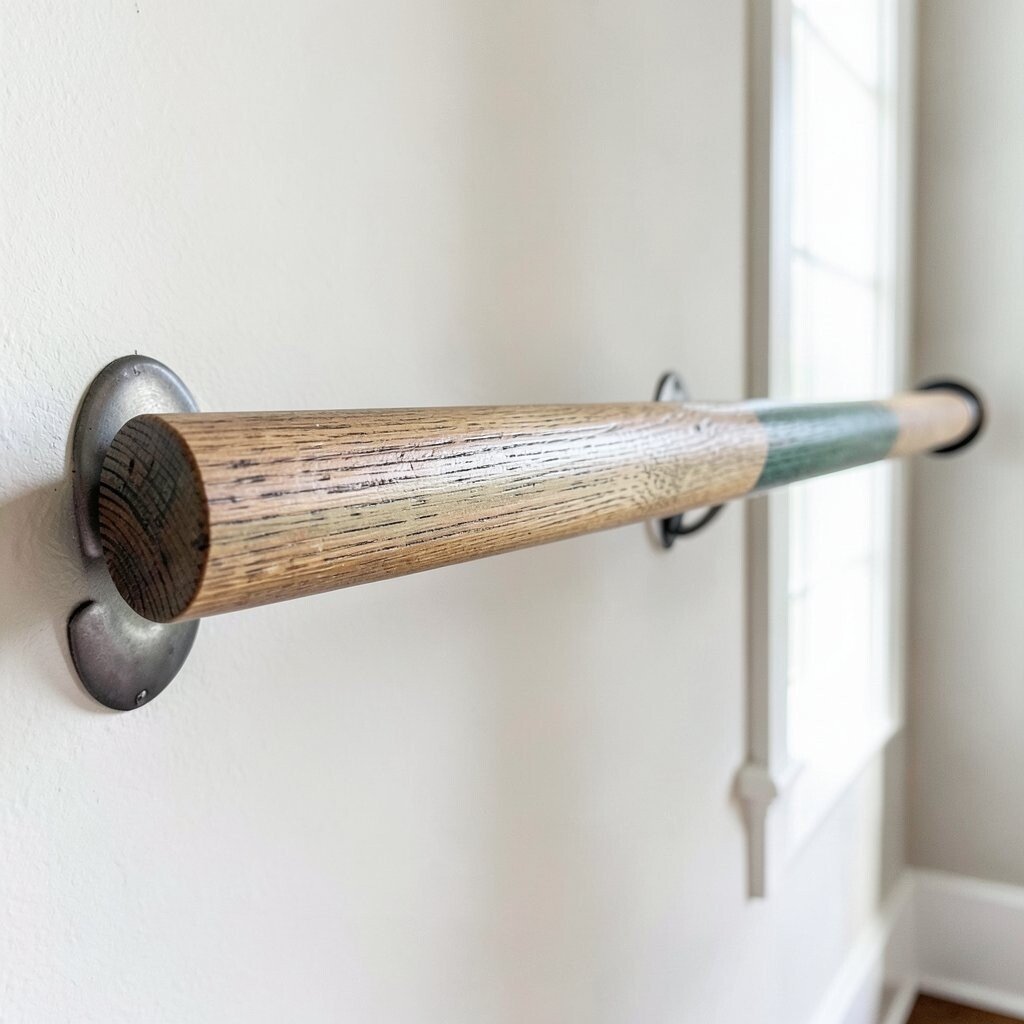
Color blocking on a handrail can make a hallway feel playful without feeling childish. You could frame the rail with one tone and let the top be another, giving it a custom designer look.
DIY makes this idea easy because you can sand, prime, and paint to your exact palette. Store-bought handrails usually come in standard finishes, which may not match your trim, baseboards, or door frames. For cost, paint and primer are typically cheaper than buying a new premium rail, especially if you already have supplies from previous projects.
Current trends include bold-but-clean accents, and a two-tone rail can look especially modern in homes that use simple neutrals. Personalize by using your favorite color on only part of the rail, like a thin band near the ends, so it feels balanced.
16. Store-Bought Rail Styled With DIY Wraparound End Caps
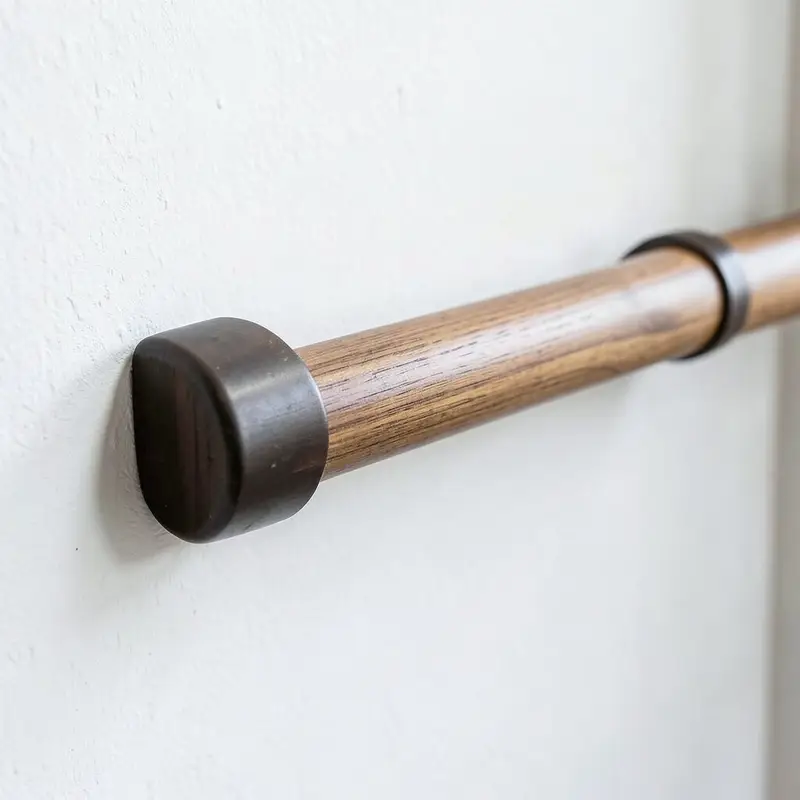
Starting with a store-bought rail doesn’t mean you have to leave it plain. You can upgrade the look with DIY end caps that make the rail feel custom and finished.
Pick a simple rail that matches your wall height, then add end caps made from wood, metal, or 3D-printed pieces shaped to cover raw edges. DIY personalization is great here because you can match the end cap design to other details in your home, like chair legs, cabinet pulls, or shower handles. Cost stays reasonable because you only pay for the rail once and spend extra only on decorative pieces.
To keep the upgrade looking solid, use strong adhesive or screws that won’t loosen over time. This also fits the current trend of “small upgrades with big impact,” where you focus on finishing details that change the whole feel of a space.
17. DIY In-Place Rail Upgrade Using Existing Wall Studs and Strap Bracing

Sometimes the smartest move is using what is already strong, then improving how it supports you. If your wall studs are in the right spots, you can build a rail upgrade that feels sturdy and confident.
DIY can involve using strap bracing and solid mounts so the rail supports real hand pressure, then finishing with paint or stain for a clean look. Store-bought rails are convenient, but DIY lets you align mounting points with the studs you already have, which can improve strength and reduce extra patching. For cost, focusing on studs can reduce wasted materials and limit the need for heavy anchors.
Practical tips include checking level lines, testing grip feel, and considering a slight bevel on the top edge for comfort. Personalize by choosing finishes that match your home’s style, such as matte paint for a soft look or warm wood tones for a cozy hallway.