The winter window can feel like a warm story waiting to be seen. With a few kid-friendly choices, your classroom instantly looks cheerful and cozy.
These ideas focus on what kids notice first: bright color, fun shapes, and spaces that invite them to help. Use them as a menu for your own window setup, mixing and matching until it feels right for your room.
1. Frosty Window Paper Snowfall
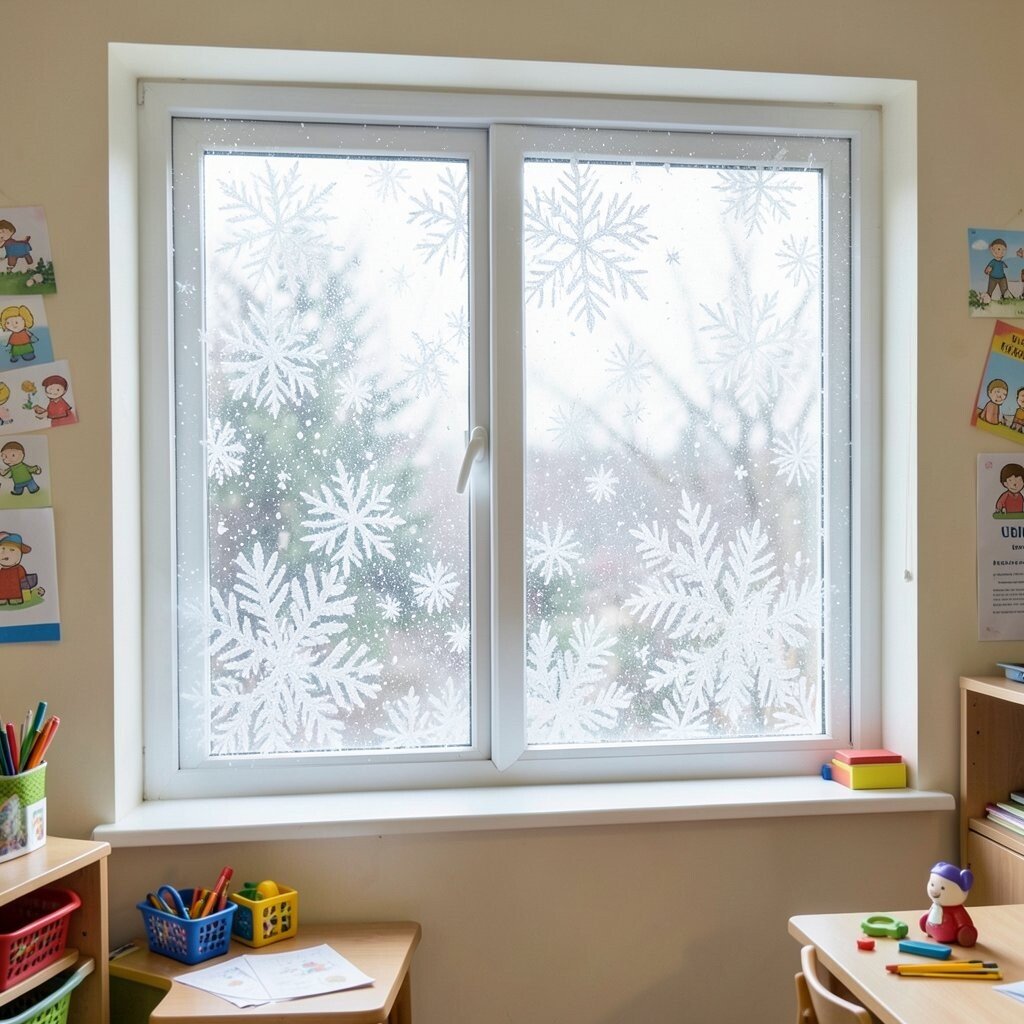
Hang layered white paper “snowflakes” across the window area like a gentle snowfall. Keep them at different heights so the view looks busy but still tidy.
For safety and ease, use repositionable tape along the edges rather than pushing pins into the glass area. Kids will love standing near the window to spot shapes, which can quietly build patience while they wait for a turn. You can personalize by choosing a color theme like soft blue, silver, or pale purple for each week. This is a budget-friendly option because plain printer paper and scissors go a long way.
2. Build a Cozy Scenic Backdrop
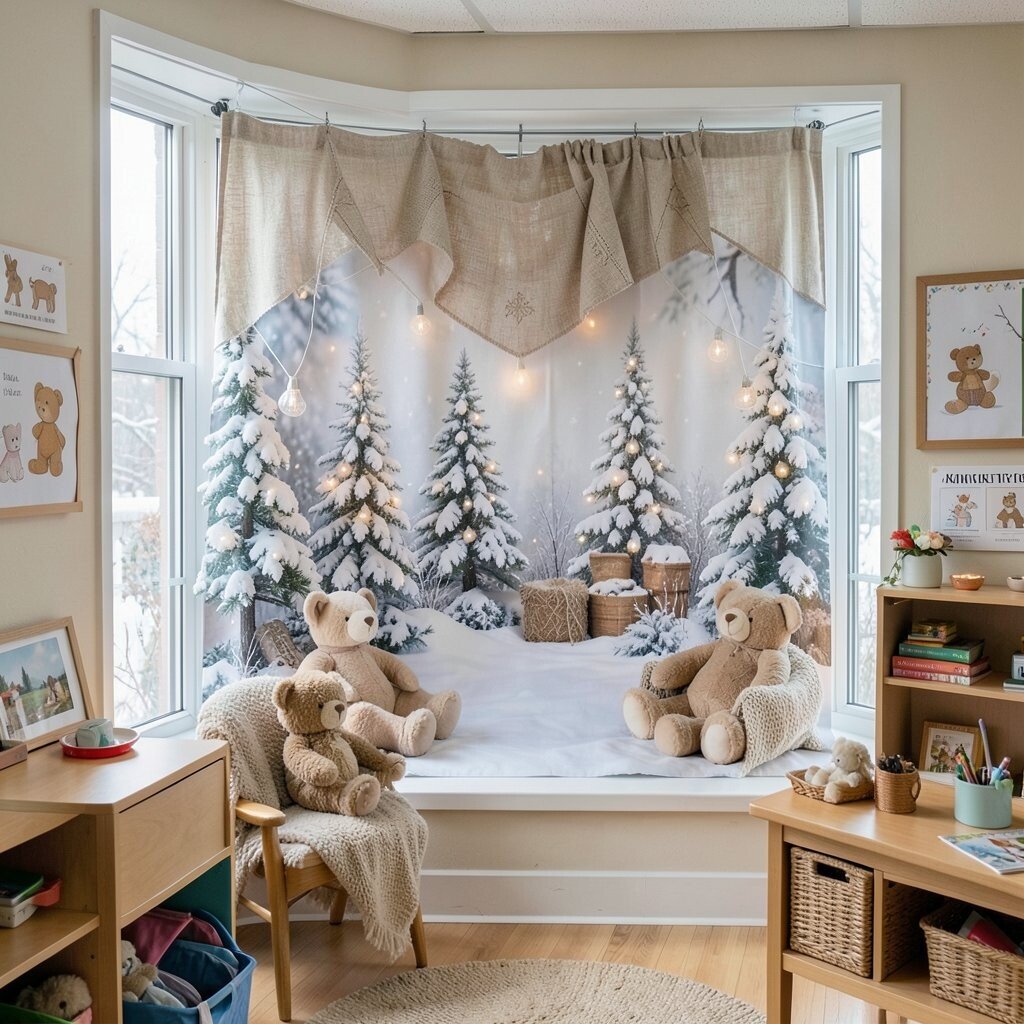
Create a winter scene with simple shapes for the background behind the window. Think snowy ground made from butcher paper, plus a few mitten or tree silhouettes for character.
Frame the scene with a strip of “snow” cut from white felt or paper garland so it looks finished. This kind of backdrop helps kids understand the season at a glance, which is great for daily routines like greeting, morning work, and calendar time. Choose one focal image such as a friendly snowman or a calm pine forest to make the setup feel unique. Keep the materials low-cost by using craft paper, glue sticks, and foam cutouts you can reuse next year.
To keep it current, use a soft, neutral winter palette with one bright accent like teal or sunny yellow. Add a few sparkly highlights using washable glitter glue only in small areas so it stays manageable. If you have limited space, scale the scene down and focus on one corner of the window for a cleaner look.
3. Interactive Paper Mittens Counting Line
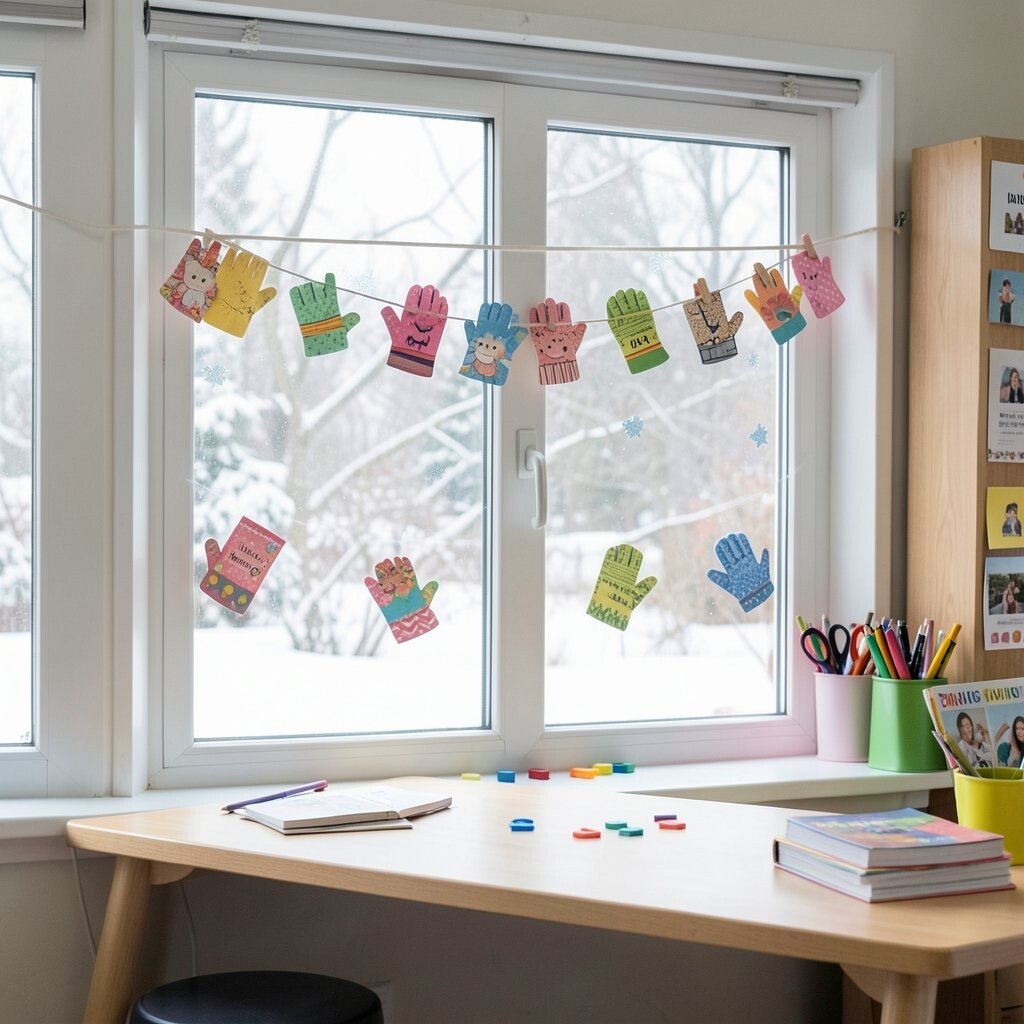
Make a hanging “mitten line” along the window trim using cardstock cutouts. Punch holes near the top of each mitten and thread them on a string so they hang lightly.
Use the mittens to support simple math practice by rearranging them during small groups. You can also write numbers, patterns, or short sight words on the mittens to make the window do extra teaching. This idea feels different because the display can move, so it stays lively instead of becoming just decoration. Use washable markers and laminate only the pieces you plan to reuse a lot.
For personalization, match the mitten colors to your class theme or to the winter reading unit. Keep costs low by using free printable mitten templates or drawing your own. The trend right now is “learning decor,” and this window line fits that perfectly while still looking cute.
To make it practical, attach the string with removable hooks so you can take it down quickly after the season. Keep the bottom ends out of reach by tying the string high enough for safety. When kids can interact safely, the whole room feels more engaging.
4. Light-Up Winter Star Window Garland
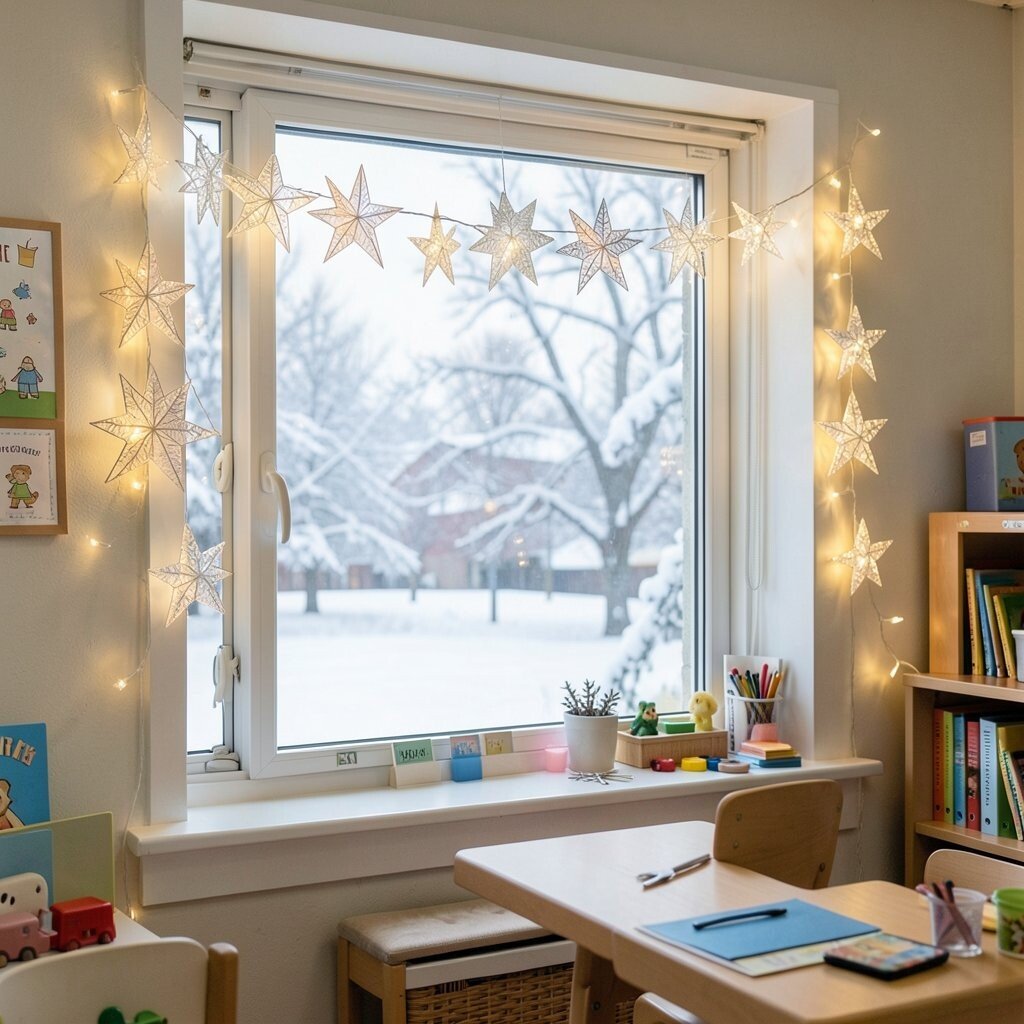
Use battery tea lights or LED mini fairy lights to outline the window edges. Add paper or felt stars spaced around the lights so the glow feels magical and not too bright.
This setup makes mornings feel brighter and can help calm kids during transitions. Keep the materials kid-safe by using LED lights only and securing cords behind trim or along a high wall. You can personalize with star colors that match your classroom decor, like navy with icy white. For cost, start small with a short string of lights, then add more later when budget allows.
5. Create a “Snow Globe” View Using Clear Plastic
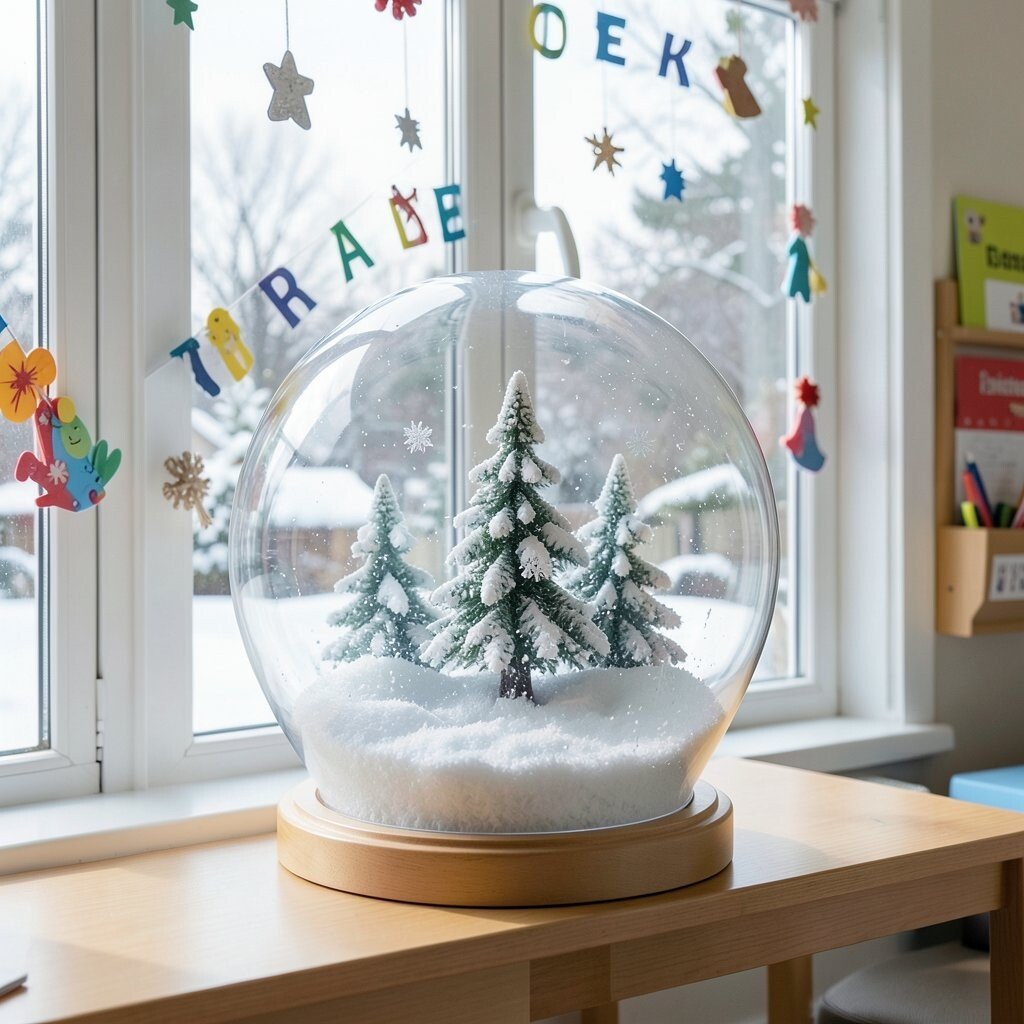
Turn part of your window into a snow globe effect by layering clear plastic sleeves or a clear shower curtain panel. Inside, add cotton balls, small paper flakes, and bits of foam to mimic drifting snow.
Kids love the look, and teachers love how it holds attention without needing constant supervision. Personalize the scene by including a mini cutout banner like “Hello Winter” or a class name in simple letters. Use repurposed materials when possible, such as old clear folders or packaging sleeves, to keep costs down. This is unique because it adds depth, so the window looks three-dimensional from across the room.
To keep it practical, secure the plastic with clips or a sturdy frame so it doesn’t flutter. Choose a spot where it won’t get bumped during busy line time. If you want a current style, keep the color palette minimal and let the “snow” textures do the talking.
6. Pine Tree Layering With Velcro Seasons
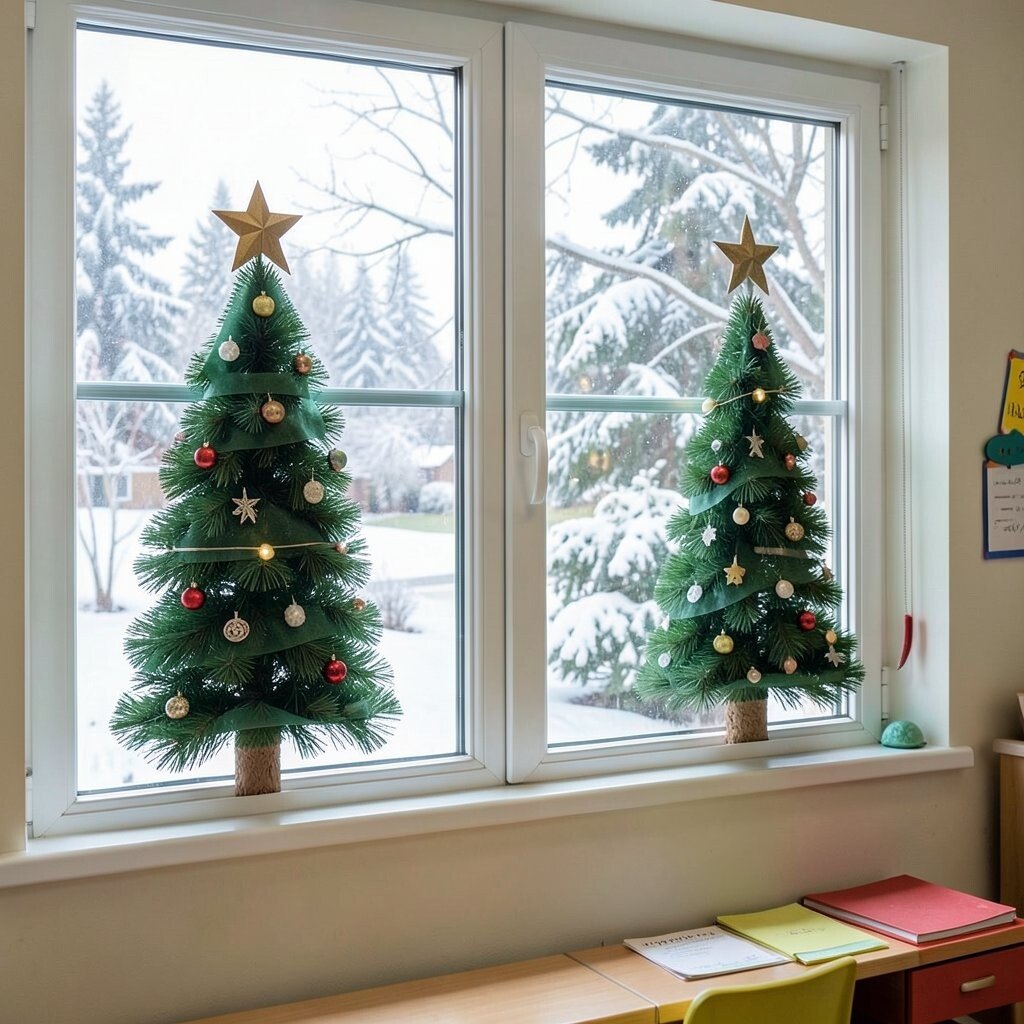
Make simple pine tree shapes from brown and green paper and attach them to the window using Velcro. Each day, add a new “layer” like snow on the branches or a little star on top.
This offers a playful way to talk about changes over time and supports recall during circle time. Kids can participate by placing the pieces carefully, and that builds fine motor skills. Personalize by using your class colors for the ornaments or by choosing a favorite tree style. For cost considerations, use scrap cardboard for the base and inexpensive felt for the pieces kids handle.
7. Ice-Themed Window Borders With Color Blocks
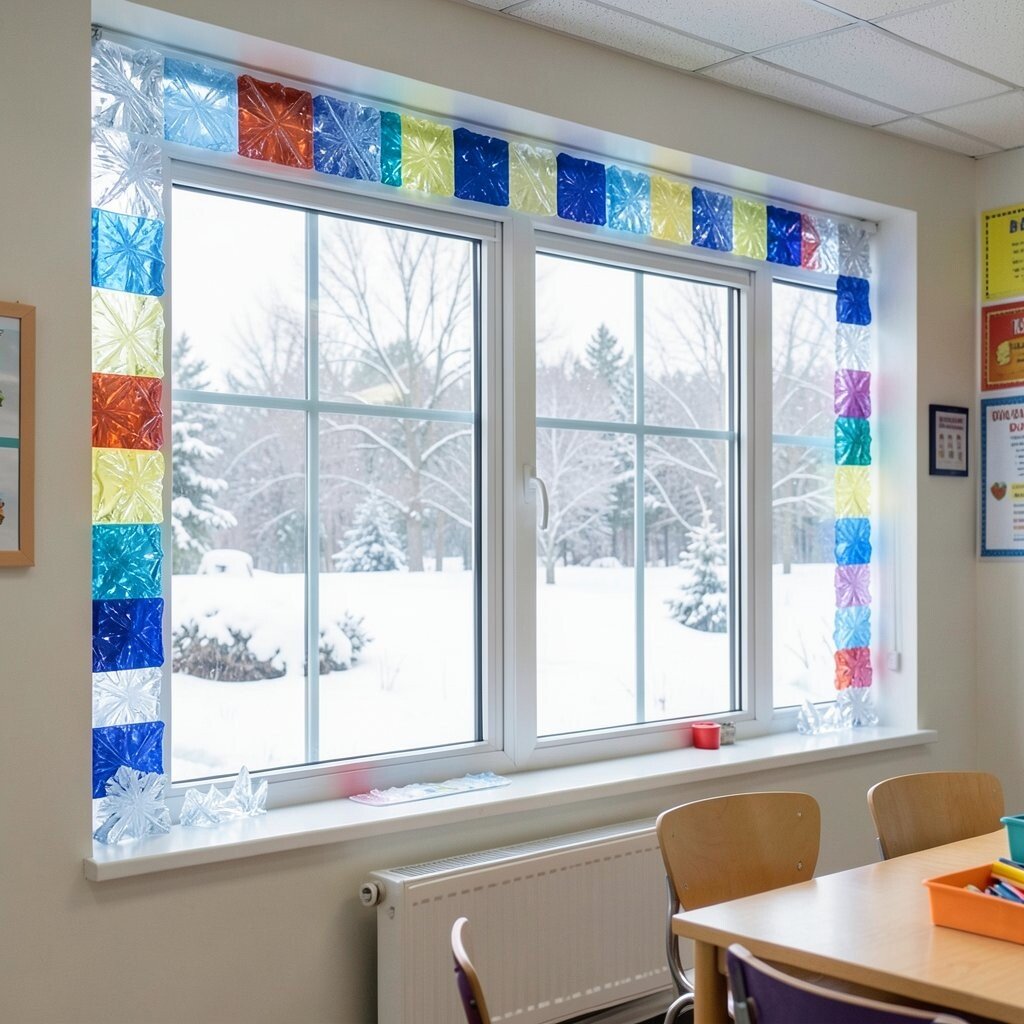
Design borders using wide strips of blue, white, and silver paper taped around the window. Add small cutouts like icicles at even spacing so the whole area looks neat.
Color-block borders make a strong visual impact without being cluttered. They help kids quickly spot where to look during lessons, which is useful for attention during read-alouds. For personalization, alternate thick and thin strips to match the rhythm of your classroom calendar weeks. You can keep costs low with craft paper rolls and a few die-cut icicles or hand-cut shapes.
This idea feels unique because it’s structured and graphic, not just “snow everywhere.” If you’re following current trends, minimal borders with one accent color look modern and clean. Keep edges smooth by trimming paper so it lines up with the frame.
8. Winter Weather Pocket Chart Window Wall
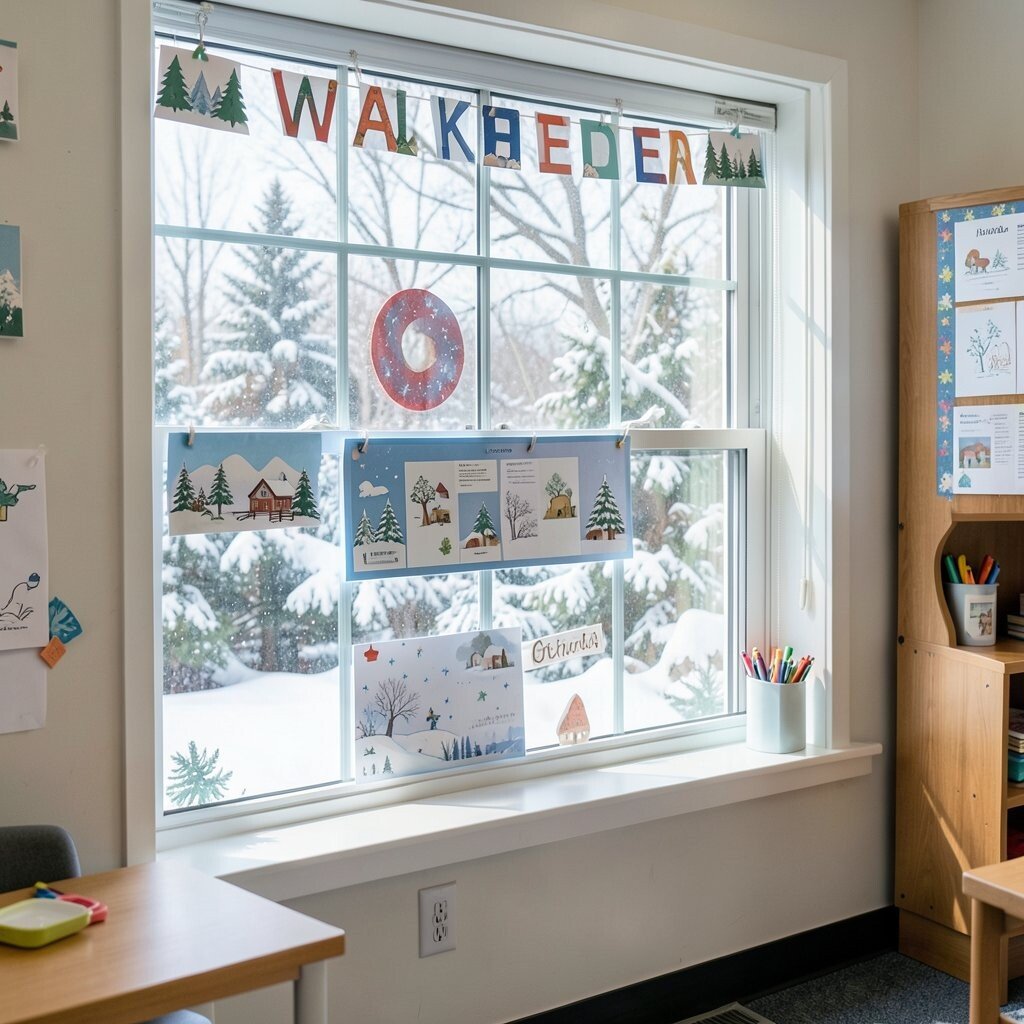
Create a small “weather pocket” area on or beside the window using envelopes or fabric pockets. Put icons like clouds, snowflakes, and warm coats on cards, then let kids swap them daily.
This supports routine building and gives you a natural moment to talk about weather words. It also keeps the decor purposeful, since kids interact with the pieces each day. Personalize the cards with your class name, classroom rules, or favorite characters holding tools like shovels. For a budget-friendly setup, use cardstock and pocket folders you already have or can grab inexpensively.
Make it practical by using Velcro dots so cards stick securely even when hands are busy. To stay current, use soft gradients and simple icons rather than busy designs. The display will look polished while still doing educational work.
9. Build a Leafless “Winter Tree” With Stickers
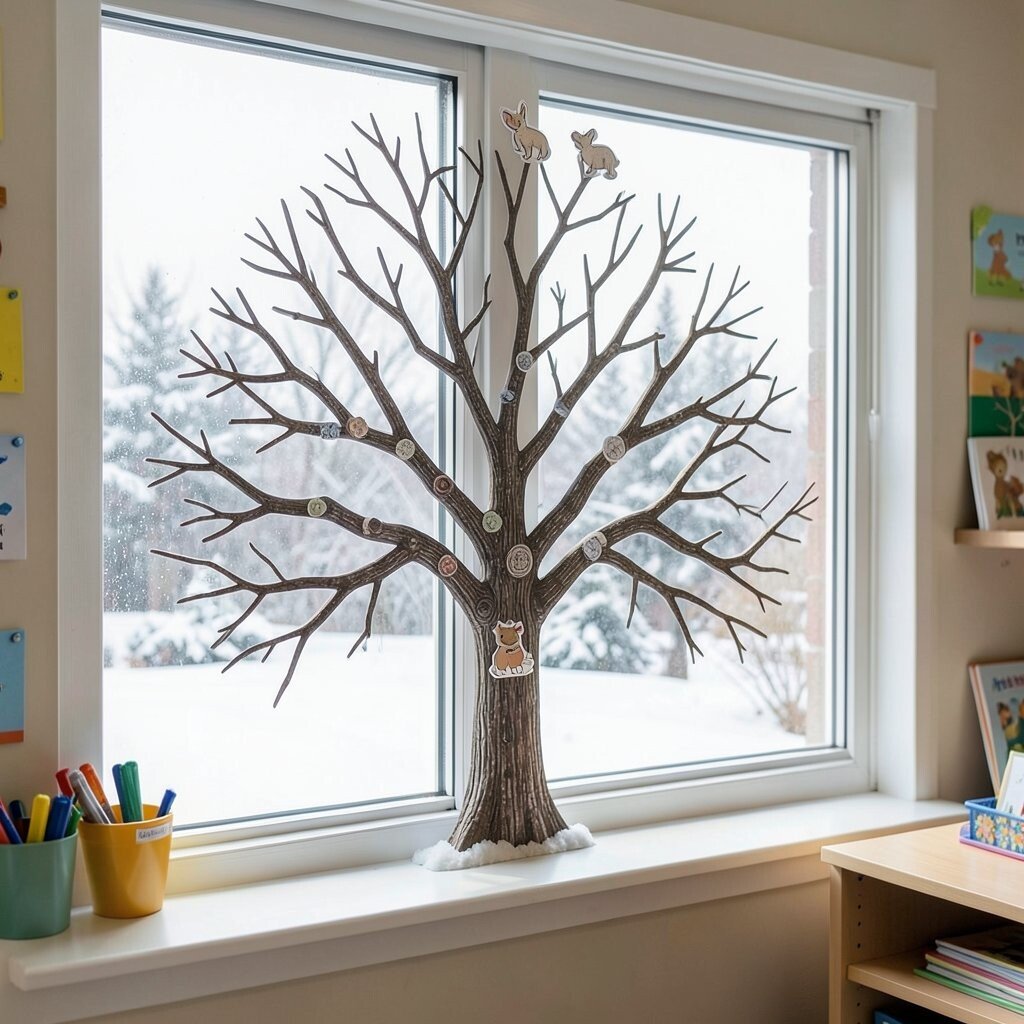
Use a large winter tree drawing on paper taped to the wall near the window, then add it with reusable stickers. Choose sticker sets that work with glass or smooth surfaces if possible, or use removable adhesive dots.
Kids can “decorate the tree” with winter items like snowballs, tiny stars, and seasonal hats. This keeps the window setup changing, which makes it feel special day after day. Personalize by letting each child add one sticker during their turn so it feels fair and memorable. Costs stay low because sticker packs are often affordable and can be used over multiple weeks.
Keep the process practical by placing the tree at kid eye level and making the sticker area large enough for small hands. If you want a trend, consider a monochrome tree with one bold highlight color, like red mittens. The simple design can look stylish while still being playful.
To maintain order, set a clear “decorating time” when kids can add stickers, then pause until the next day. That way the window stays neat and not chaotic.
10. Hanging Paper Snowflakes With Texture Mix
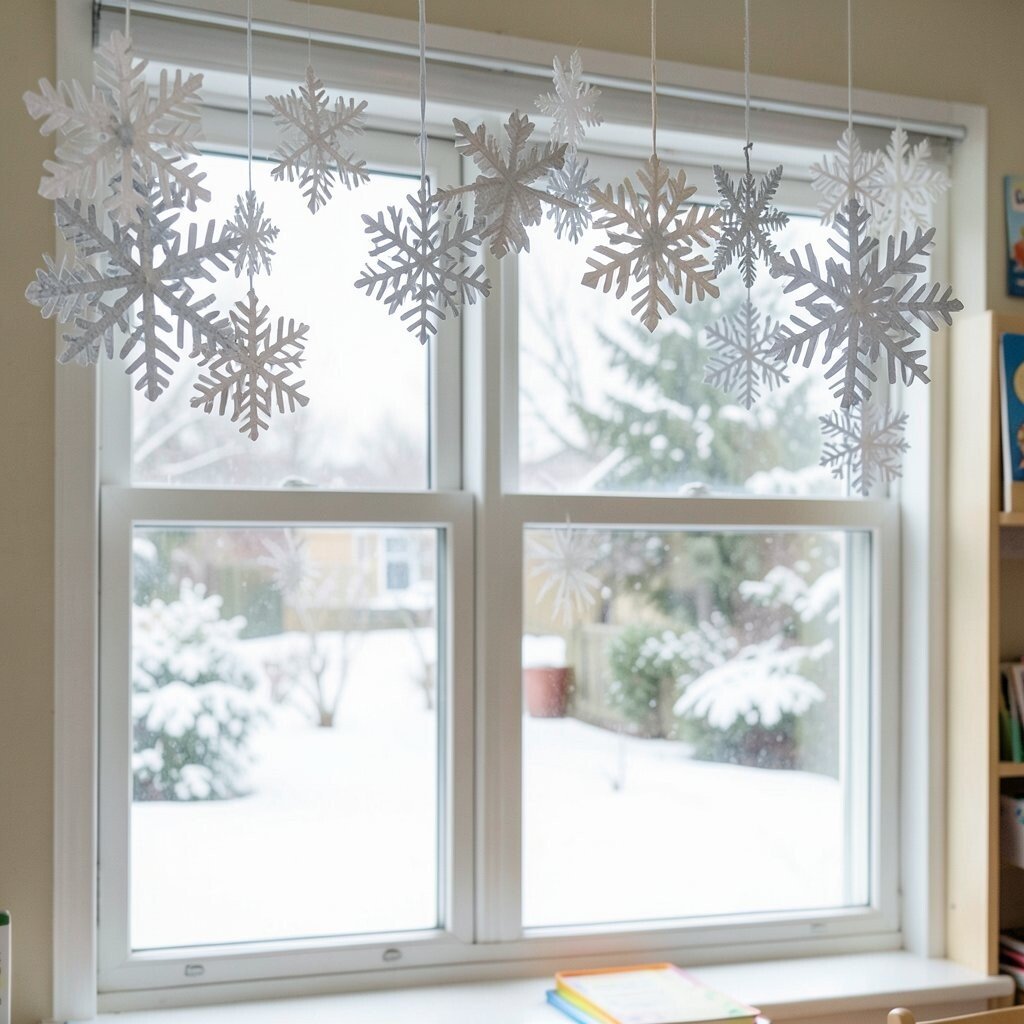
Hang snowflakes made from different materials so the window feels textured and interesting. Try mixing tissue paper, coffee filters, and plain cardstock snowflakes in one area.
Texture helps kids notice details and can support sensory-friendly observation during quiet times. It’s also a great way to use leftover supplies before they get lost in a drawer. Personalize by giving each snowflake a slightly different “style,” like one with holes for light to show through. For cost considerations, coffee filters and paper scraps are usually cheap, and tissue paper is easy to find.
11. Winter Animal Parade Along the Window
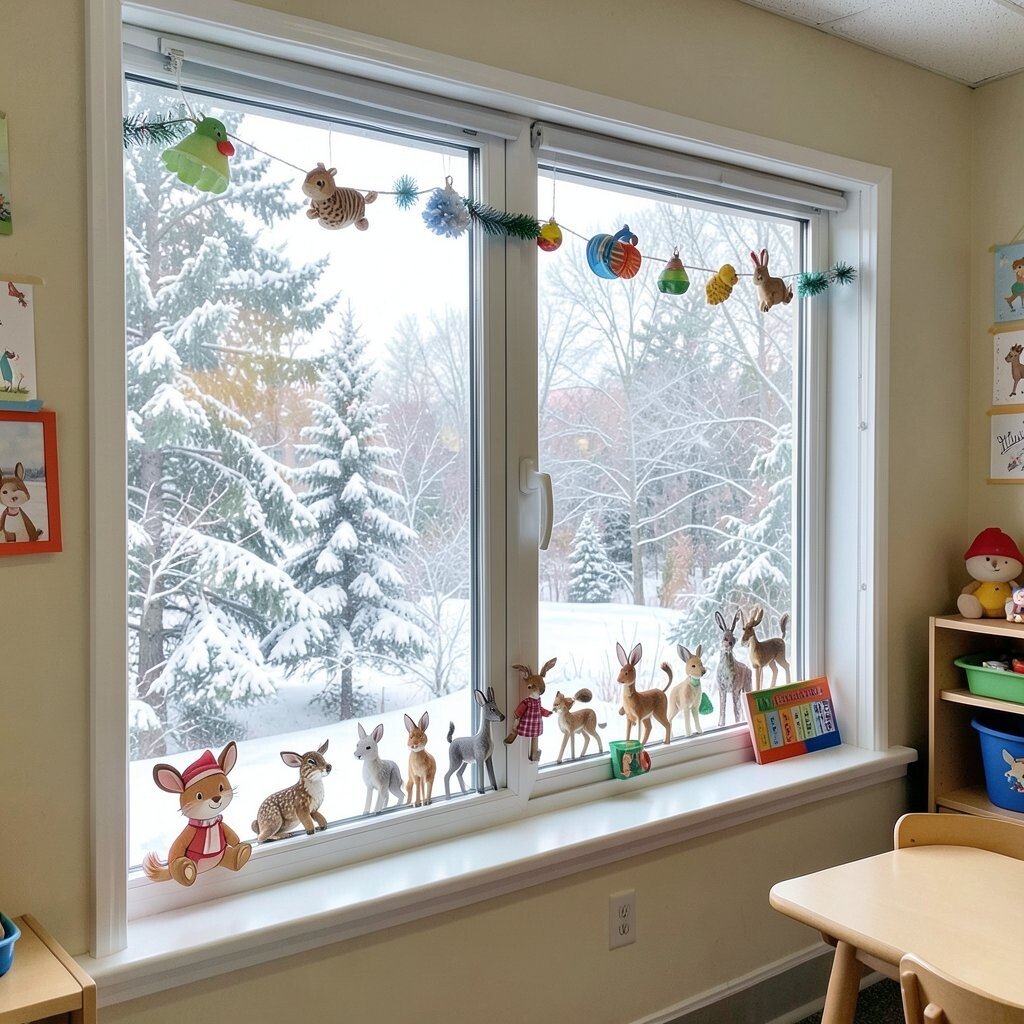
Create a parade line of winter animals using cutouts like owls, foxes, and rabbits. Place them along the window as if they’re walking toward the center of the display.
This makes the window feel story-like, which is perfect for kindergarten attention spans. Kids can predict what comes next in the “parade” during read-alouds, giving you a natural connection to language goals. Personalize by choosing animals that match a theme book your class is reading. Keep costs low by reusing old craft foam shapes or printing simple animal silhouettes you can cut quickly.
12. Glittery “Warm Wishes” Pennant Message

Hang winter pennants across the window with simple positive messages written by you or copied by kids. Use “warm wishes” themes like “Kindness,” “Brave,” or “Teamwork” for a cheerful vibe.
Messages make the window feel personal and can support social-emotional learning without extra activities. Keep the look kid-friendly by using washable glitter glue sparingly and letting most of the pennant be solid color. Personalize by using each child’s first letter or by rotating the message every week. For cost, you can make pennants from scrap paper and old cardstock, then laminate if you want durability.
To follow current design trends, keep the typography simple and use a consistent font style across all pennants. This helps the window look cohesive instead of overly busy. Use a removable string so you can adjust easily for different seasonal weeks.
13. Snowy Sensory Corner Curtain Behind the Window
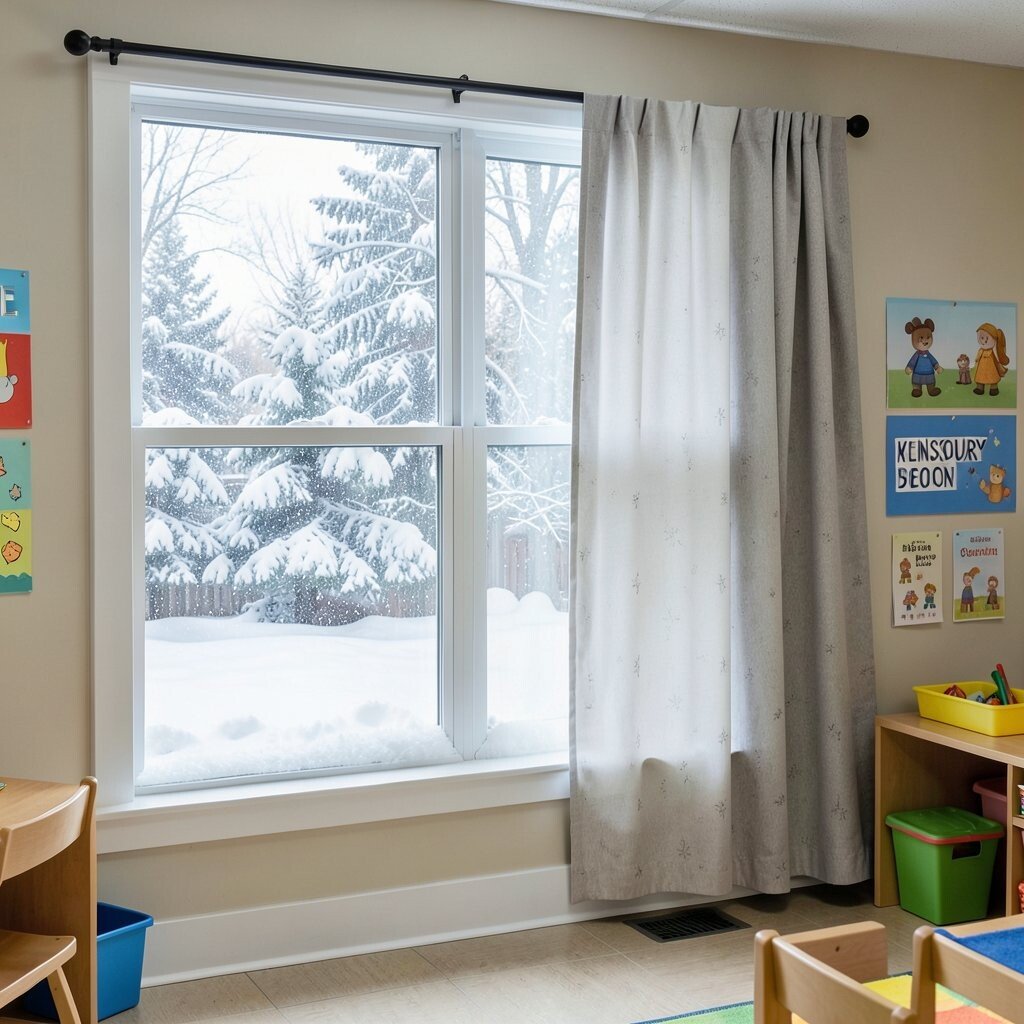
Place a lightweight curtain or sheet behind the window display area and attach sensory elements like soft pom poms. The goal is to create a gentle background texture that looks snowy from a distance.
This gives kids something cozy to look at during waiting times, while also softening the sound in the room. It’s unique because the “snow” becomes a backdrop rather than individual decorations that can be bumped. Personalize by choosing your classroom colors and by adding small felt patches shaped like boots or scarves. For cost considerations, use fabric scraps, leftover yarn, and foam dots you already have.
Keep it practical by securing the curtain high and ensuring anything hanging is firmly attached. Avoid small items that can fall, and check the curtain after energetic line transitions. If you want a modern look, keep the shapes large and simple, letting the curtain texture do the work.
14. Color-Matched Cookie Cutter Window Frame
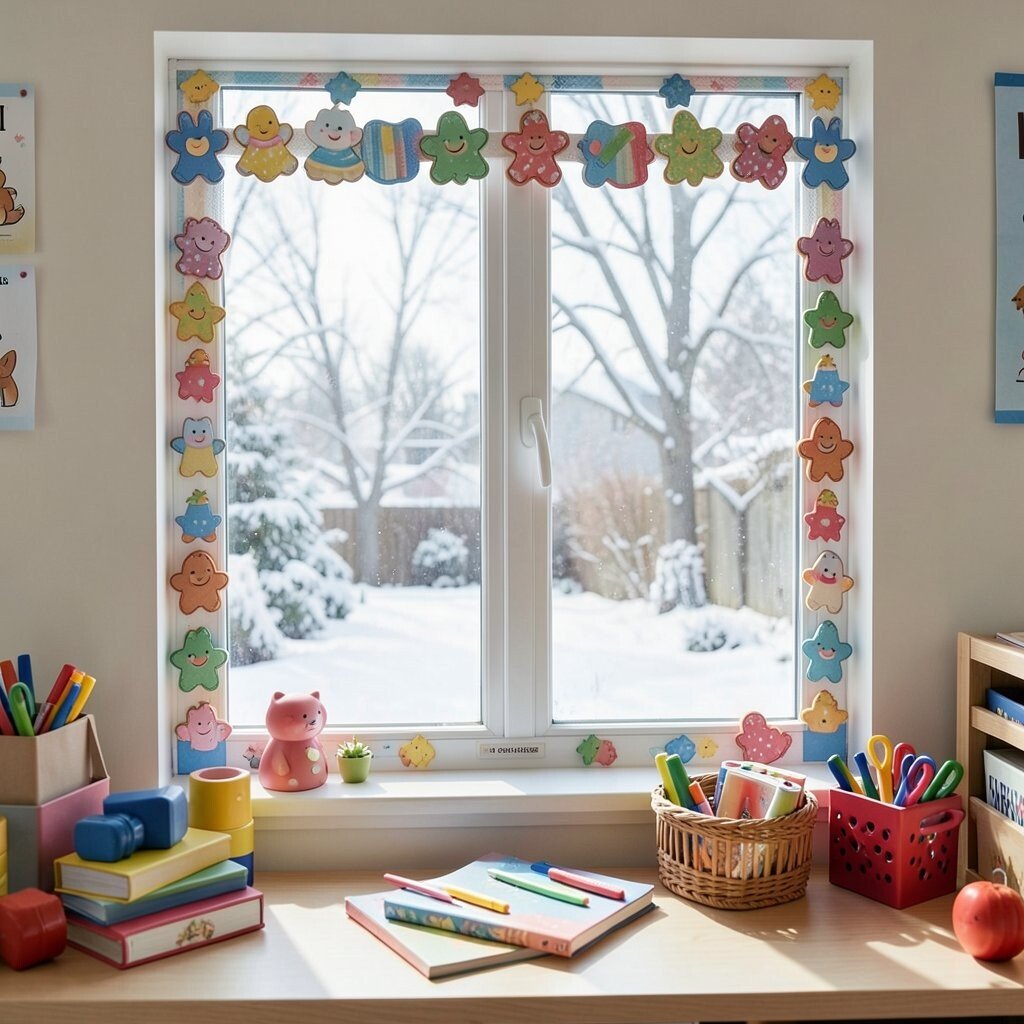
Frame the window with cutouts inspired by cookie cutters, like circles for snowballs and stars for sparkles. Tape them along the edges so they form a border that feels like a winter baking theme.
This idea brings a playful holiday feel while also supporting a fun link to fine motor activities later. Kids can talk about shapes, count items, and describe textures during daily conversations. Personalize by using the shapes your class already loves, like hearts, gingerbread people, or trees. To keep costs low, use cardboard templates or draw outlines and let kids help cut the larger shapes.
Make it practical by choosing sturdier materials for the outer border so it lasts all season. If your window gets bright sun, consider using matte paper rather than glossy paper to avoid glare. This border style is popular because it looks neat, graphic, and easy to maintain.
When you swap themes, you can change only the cutouts while keeping the same border frame.
15. Winter Name Tag Snowcaps on the Glass
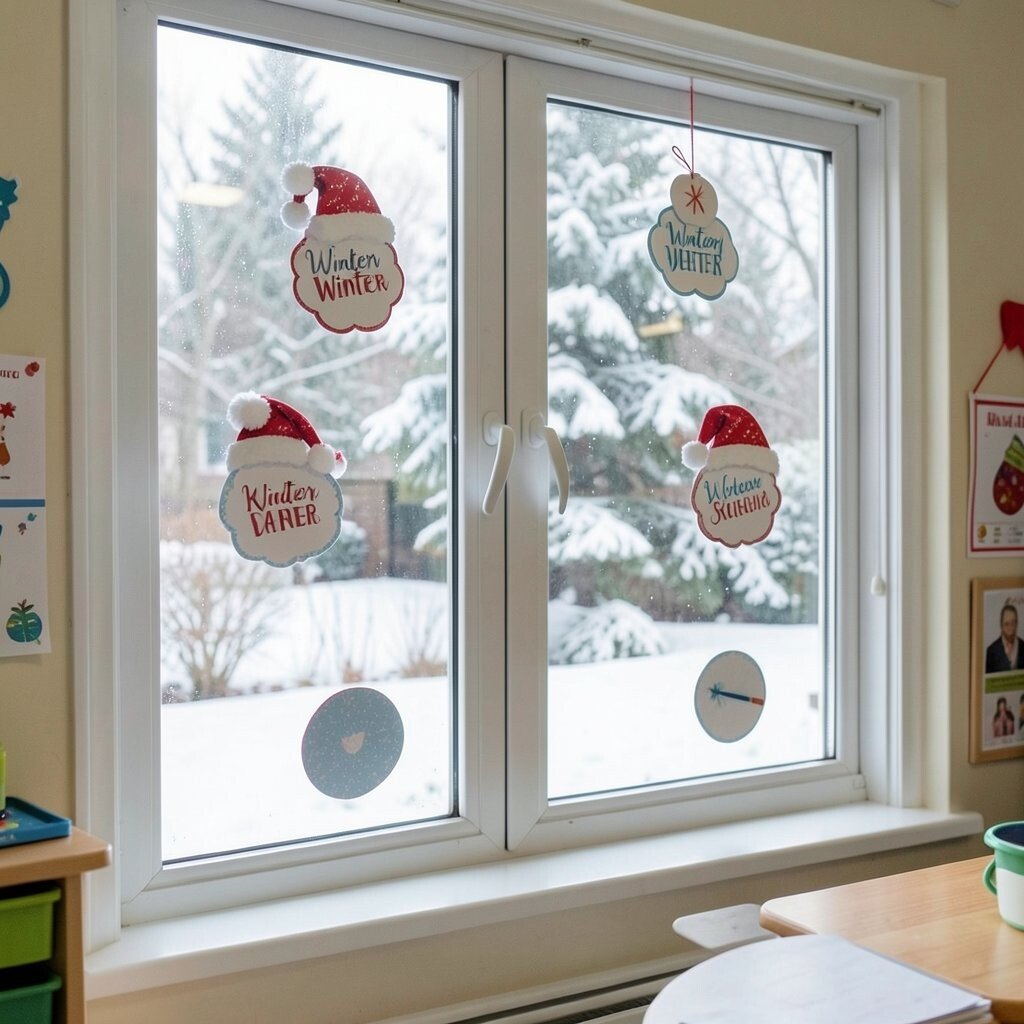
Place kids’ name tags near the window as “snowcaps,” made from small white rectangles with tiny mitten accents. Use removable adhesive so the names can come off cleanly.
This helps kids feel included in the classroom look, not just part of the classroom routine. It also supports reading practice during transitions when kids might glance at their names. Personalize by using each child’s favorite color for the mitten or by adding a small winter symbol like a snowman or tree. For cost, cut simple shapes from cardstock and print names once, then reuse the idea in new colorways each season.
Keep it practical by placing the tags at heights that are easy to reach for you only, so kids don’t peel them off during the day. If you follow trends, focus on clean typography and consistent sizing for a tidy gallery look.
16. DIY “Northern Lights” Tissue Paper Bands
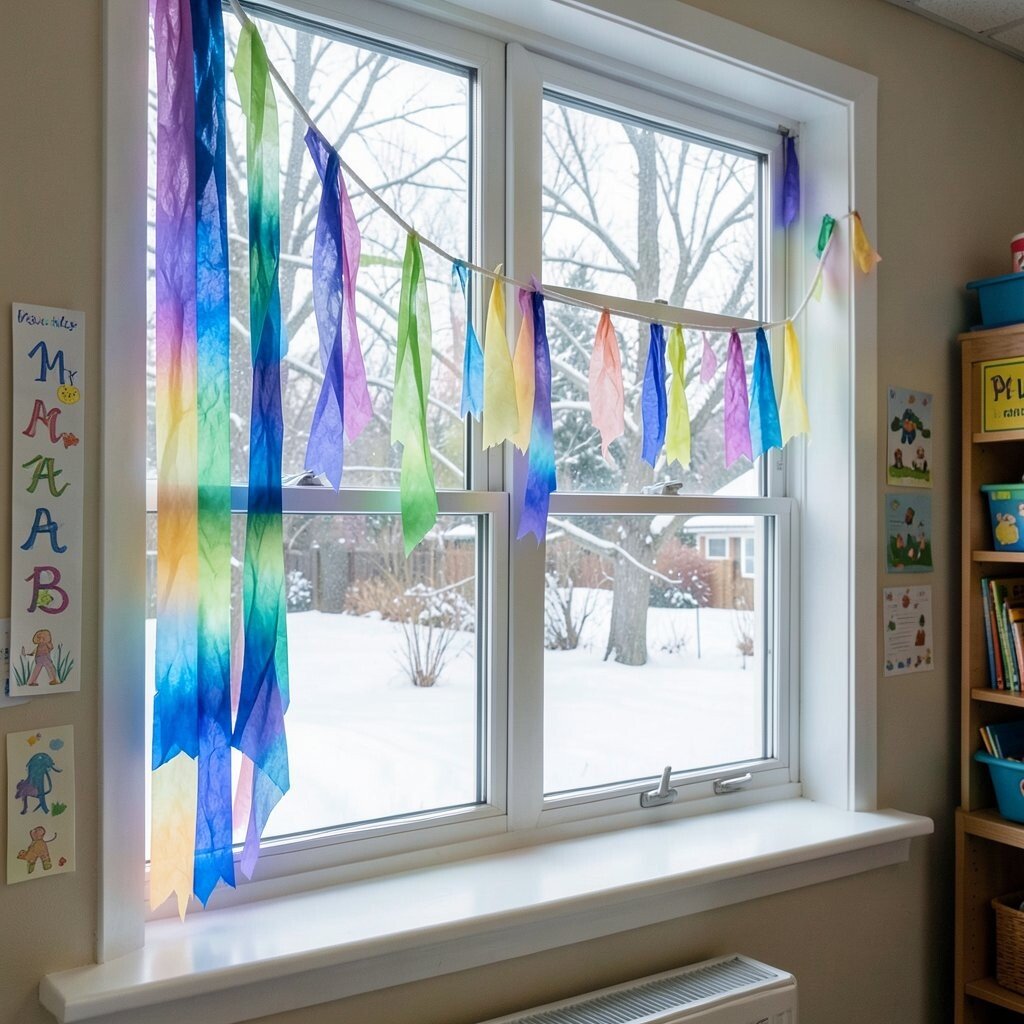
Make tissue paper bands that mimic the northern lights and hang them across the window like flowing ribbons. Choose colors such as green, teal, and soft purple and layer them to create a glowing effect.
This adds a magical winter mood without needing expensive lights. Kids will enjoy looking at the colors during calm moments, and it can even support art conversations like “Which color looks closest?” Personalize the band shapes by letting kids cut soft wave edges, then you layer them into flowing arcs. For cost, tissue paper is usually affordable, and you can reuse pieces from craft kits.
Keep it practical by using lightweight fishing line or strong thread so the bands hang smoothly. Make sure the bands are secured away from where coats and bags touch. For a current trend, focus on semi-translucent layers that look airy and not heavy.
17. Build a “Winter Library” Window Reading Nook

Create a mini reading nook feeling near the window using a small display shelf or floor-level spot. Add a few winter books faced out and decorate the area with simple snowflake stickers on a lightweight background.
When kids see the books from anywhere in the room, reading feels inviting and easy to start. This supports early literacy by encouraging independent book handling and storytelling moments. Personalize by rotating the book set based on themes your class is learning, like animals, weather, or friendly snowmen. For cost considerations, use what you already own and print simple cover labels so the display stays organized.
Make it practical by adding a soft rug or washable mat beneath so it’s comfortable and safe. If you want a unique look, weave a thin garland around the shelf edge so it matches the window decor. Keep the style current by using a clean, minimal background with a few standout pieces rather than lots of clutter.
During winter weather days, you can tie the window nook to your routines by inviting kids to choose a book and point to the most winter-looking picture. That tiny habit makes the whole space feel warm and welcoming.