Woodworking turns a pile of boards into something your home can feel proud of. A bookshelf can be simple, sturdy, and full of personality.
With the right plan, you can build shelves that fit your space and your budget without stress.
1. The Classic Ladder-Frame Shelf
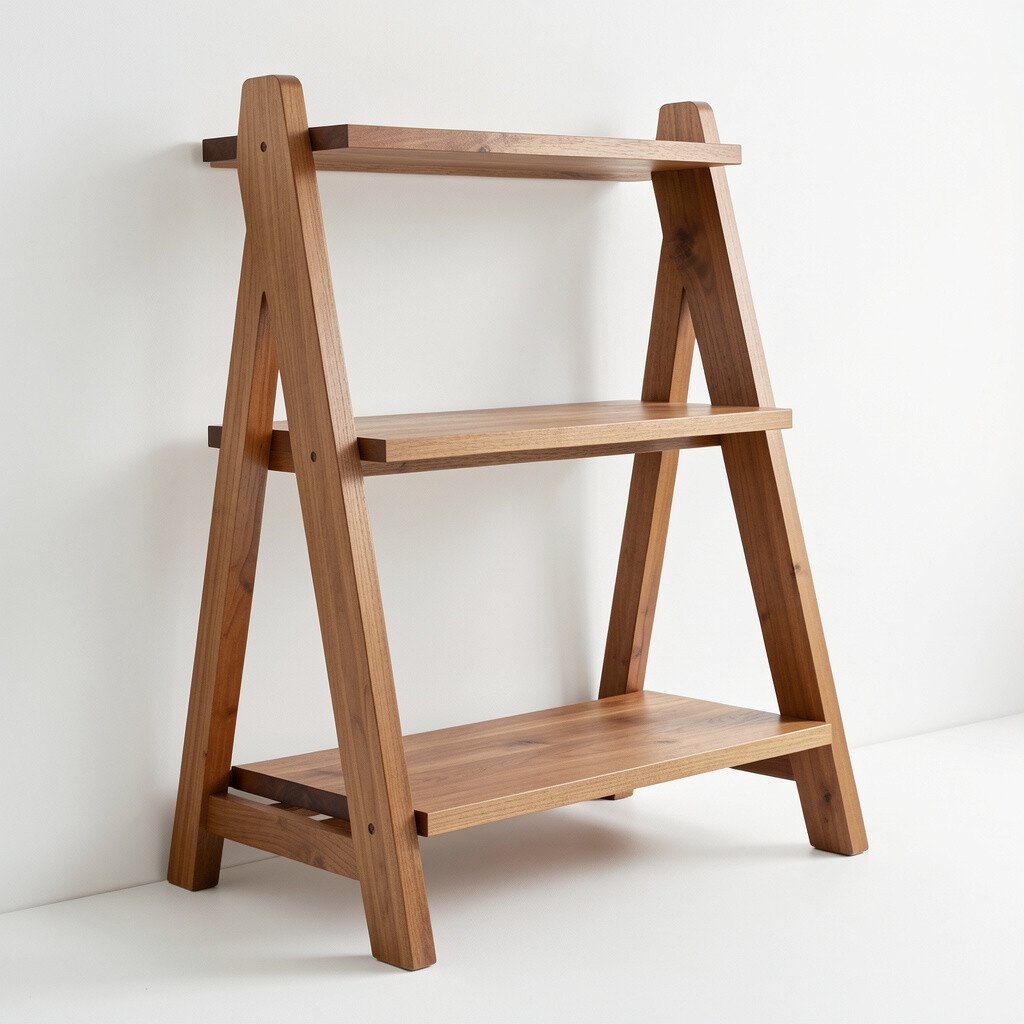
You can build a ladder-frame bookshelf that looks light but holds real weight. Imagine two vertical wood rails with evenly spaced rungs, forming clean rectangles that catch light from the side.
Start by choosing straight boards with minimal knots, then cut rungs to match your book height needs. Use pocket holes or strong corner brackets so the frame stays square while you work.
For visual balance, keep the wood finish simple so the grain shows through. If you want extra function, add a back panel made from thin plywood to reduce wobble and protect the contents.
2. The Floating Shelf With Hidden Supports
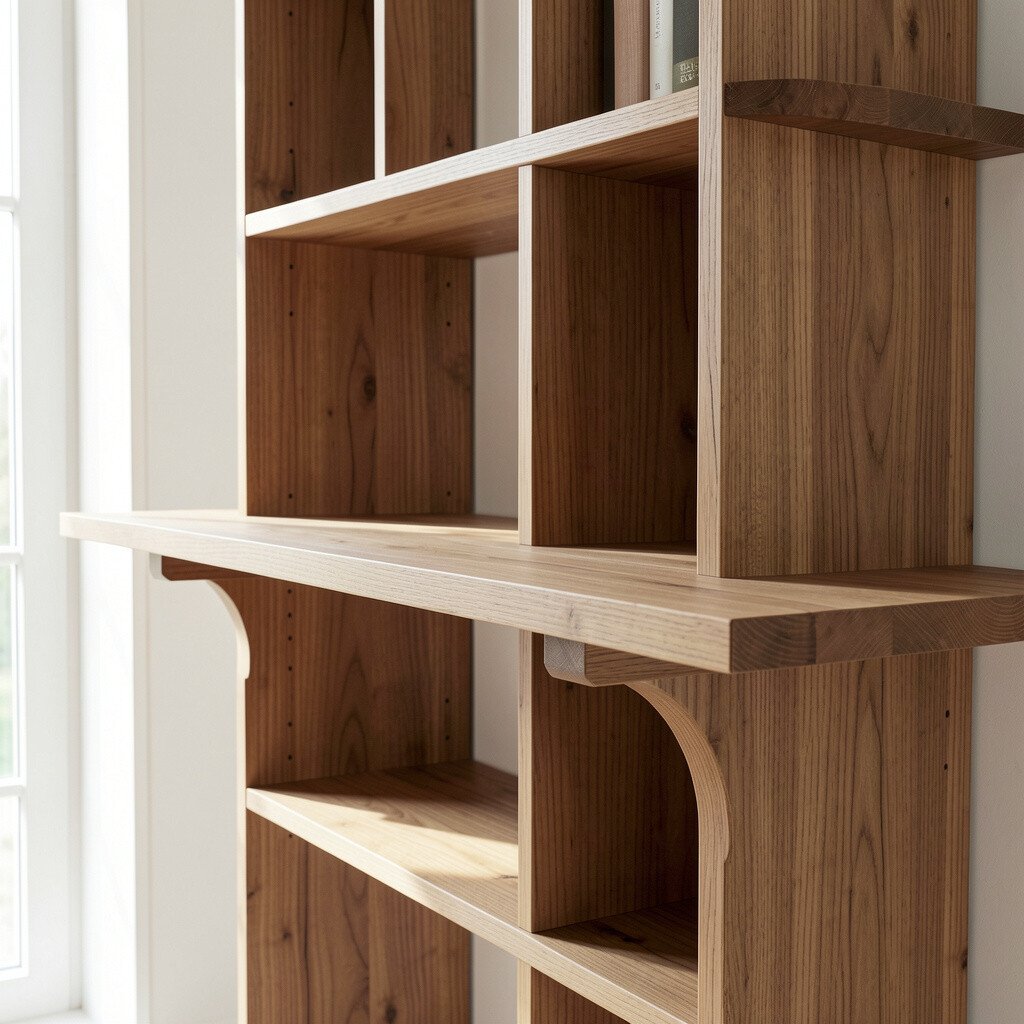
This plan gives you the look of shelves that seem to float in midair. Picture slim boards mounted on the wall, with dark metal brackets hidden behind them for a neat line.
Begin by locating wall studs and using a level so each shelf stays straight. Choose a bracket system that matches your shelf thickness so everything feels solid under daily use.
For benefits, floating designs make small rooms feel cleaner and more open. Keep heavier books on the bottom shelf and balance lighter items above to reduce strain.
3. The Freestanding Box Shelf Organizer
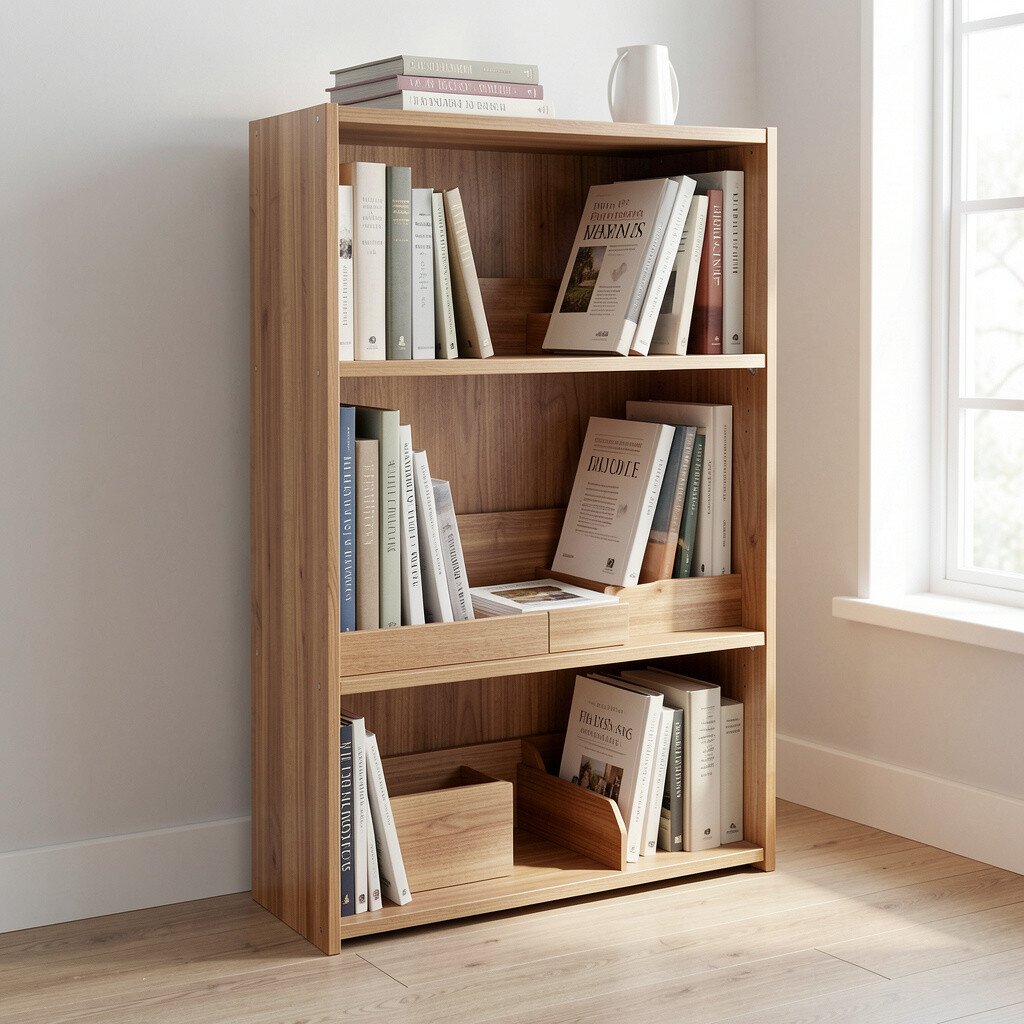
If you like tidy storage, a box shelf plan is an easy win. Visualize stacked cube-like compartments where each section holds books upright like a neat little library.
Cut several identical box panels so the assembly feels repetitive and stress-free. Attach dividers using wood glue plus screws, then clamp until the glue sets.
This style is unique because you can change the layout as your collection grows. Try mixing widths, or leave one open space for a small display plant.
For cost considerations, you can use thicker, budget-friendly plywood and still get a sturdy build. A satin finish helps hide small scratches that show up over time.
4. The Reclaimed-Wood Chevron Shelf
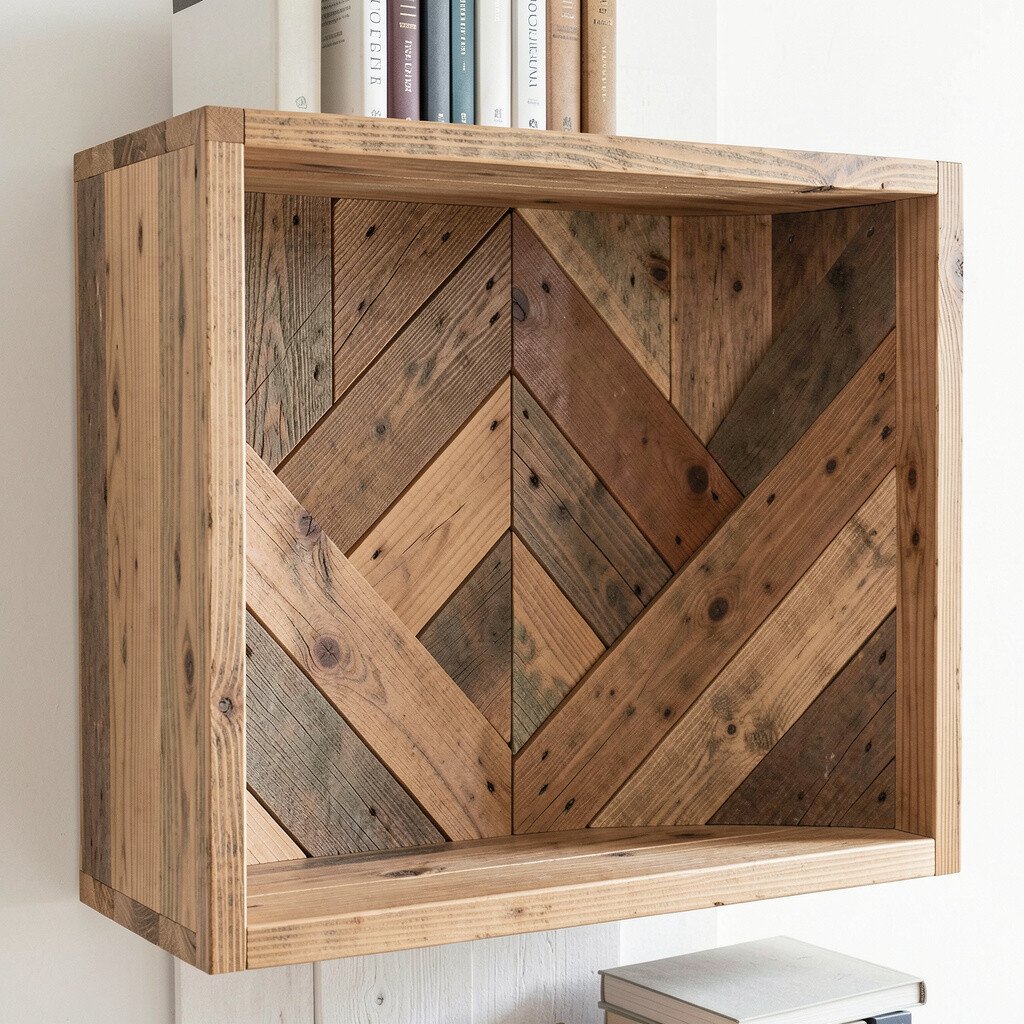
Chevron lines make shelves feel bold without needing complicated shapes. Think of angled boards that form a zigzag pattern, creating movement across the front edge.
Use reclaimed lumber if you can, then check each board for cracks and sand down uneven spots. Dry-fit the pieces first so the pattern lines up before you start drilling.
One of the best benefits is character, since reclaimed wood often carries natural color variation. It also helps you personalize the shelf to match your room because each piece tells its own story.
To keep it practical, use a backing panel to help the structure resist sagging. Seal the wood well so the shelf wipes clean and stays durable.
5. The Rolling Library Cart With Shelves
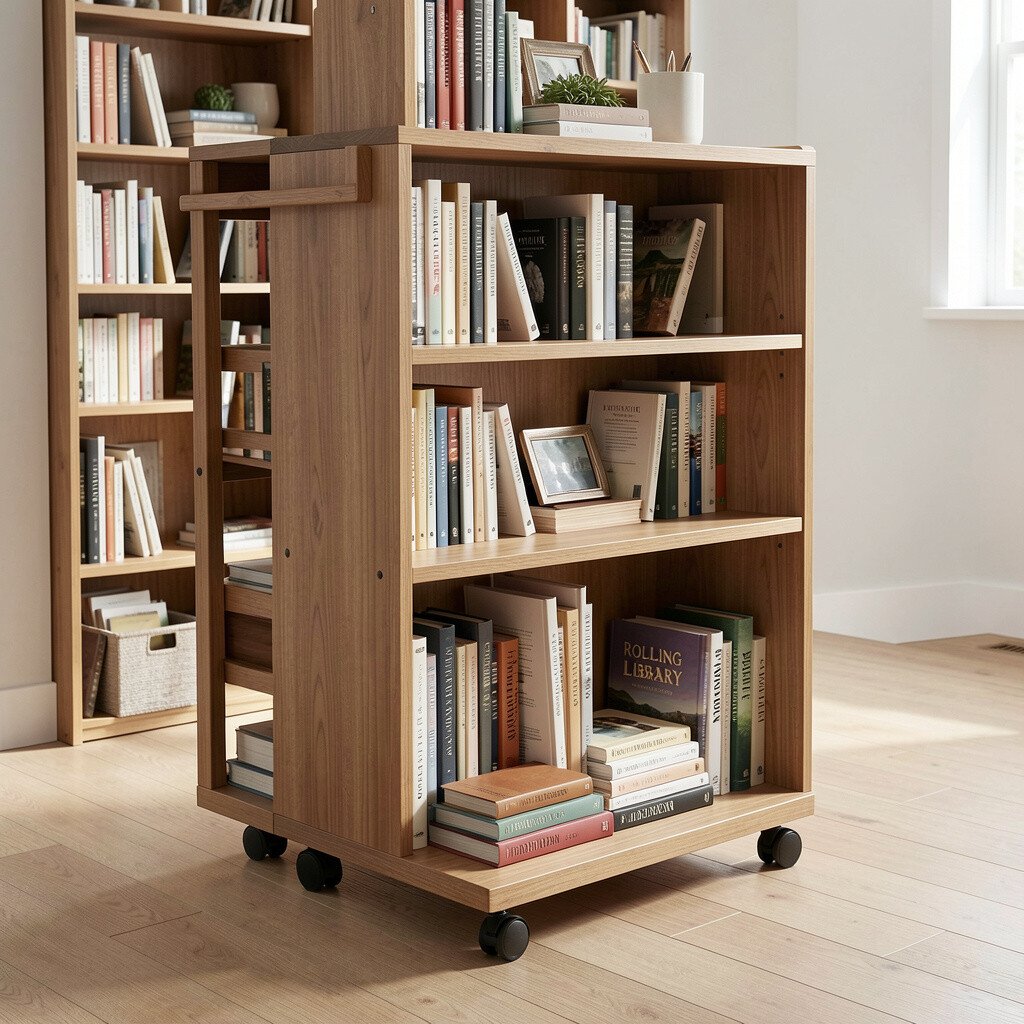
A rolling cart bookshelf is perfect if you like rearranging your room. Imagine three or four sturdy shelves on casters, with a handle on the side for easy movement.
Start with a simple rectangle frame, then add cross braces to prevent racking. Mount shelves so the top edges are smooth and safe for quick grabs.
This plan feels unique because it acts like furniture, storage, and a moving display all at once. You can keep it in your living room for guest-friendly reading, then roll it into a hallway when needed.
For practical tips, choose lockable wheels and test turning before finishing. Add a small shelf lip so books don’t slide out when you move the cart.
Keep costs in check by using plywood for shelves and solid wood only for the frame. A clear topcoat will protect the cart while showing off the grain.
6. The Corner Bookshelf That Fits Tight Spaces

Corner shelves are a smart choice when your room feels too small for bulky furniture. Picture two perpendicular walls meeting, with a triangular or angled bookshelf that hugs the corner.
Measure the corner carefully and design your side panels to match the exact angle. Use angled cuts for shelves so each tier sits cleanly and supports books from the back edge.
For benefits, this layout clears floor space while still giving you full-height storage. It also makes your reading area feel intentional and cozy.
To personalize it, add a small cabinet-style door on one section for mystery novels or supplies. A medium stain can match existing trim and make everything look built-in.
7. The Tall Slat-Back Bookshelf
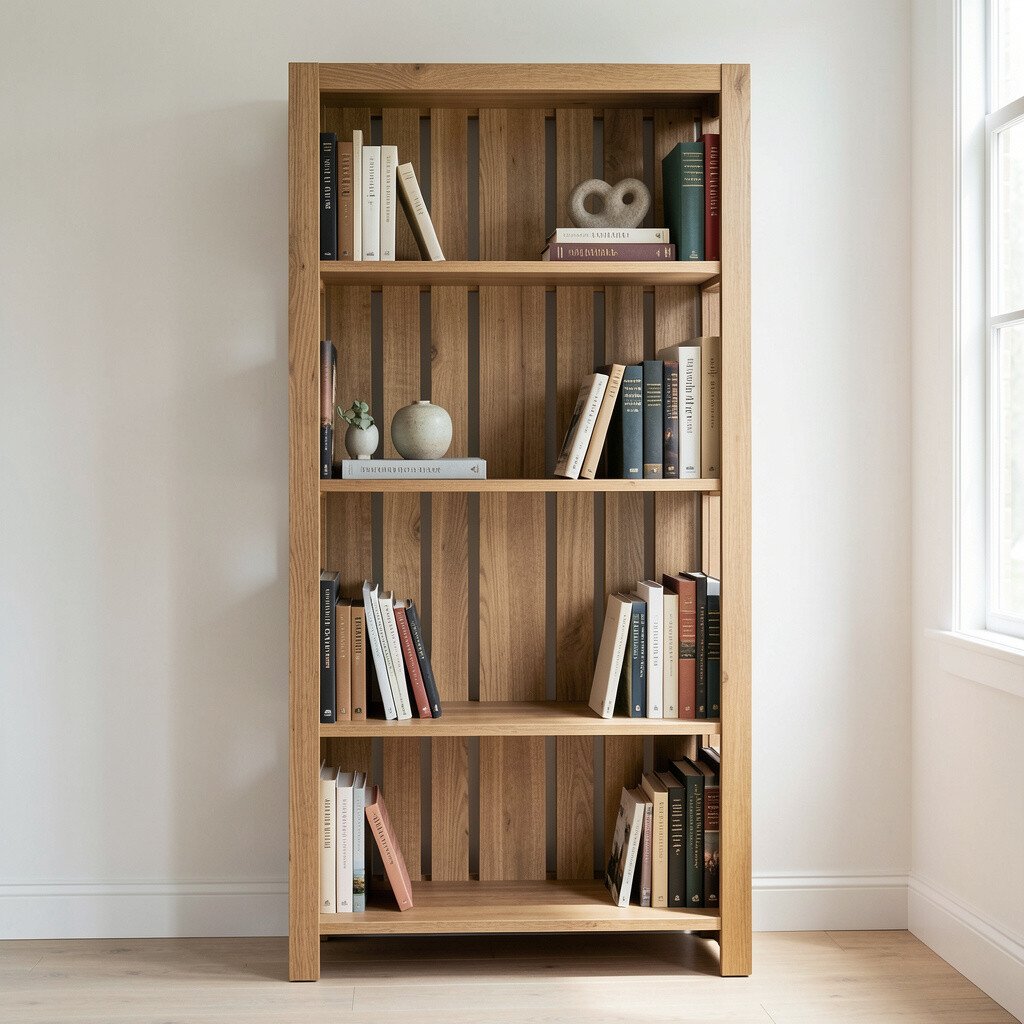
A slat-back design adds texture and helps you create that cozy, rustic look. Visualize vertical slats behind the books, with gaps that let light pass and create a gentle shadow pattern.
Build the side frames first, then attach the slats evenly across the back. Use spacing that fits your book thickness so the back still looks tidy.
This plan stands out because the slats feel decorative even from across the room. It also makes it easy to add hooks for book bags or small wall accessories near the shelf.
Practical tip: sand every slat edges smoothly so books slide in without catching. For cost considerations, you can use thinner stock for slats to keep materials budget-friendly.
8. The Step-Style Shelf With Photo-Ledged Frames
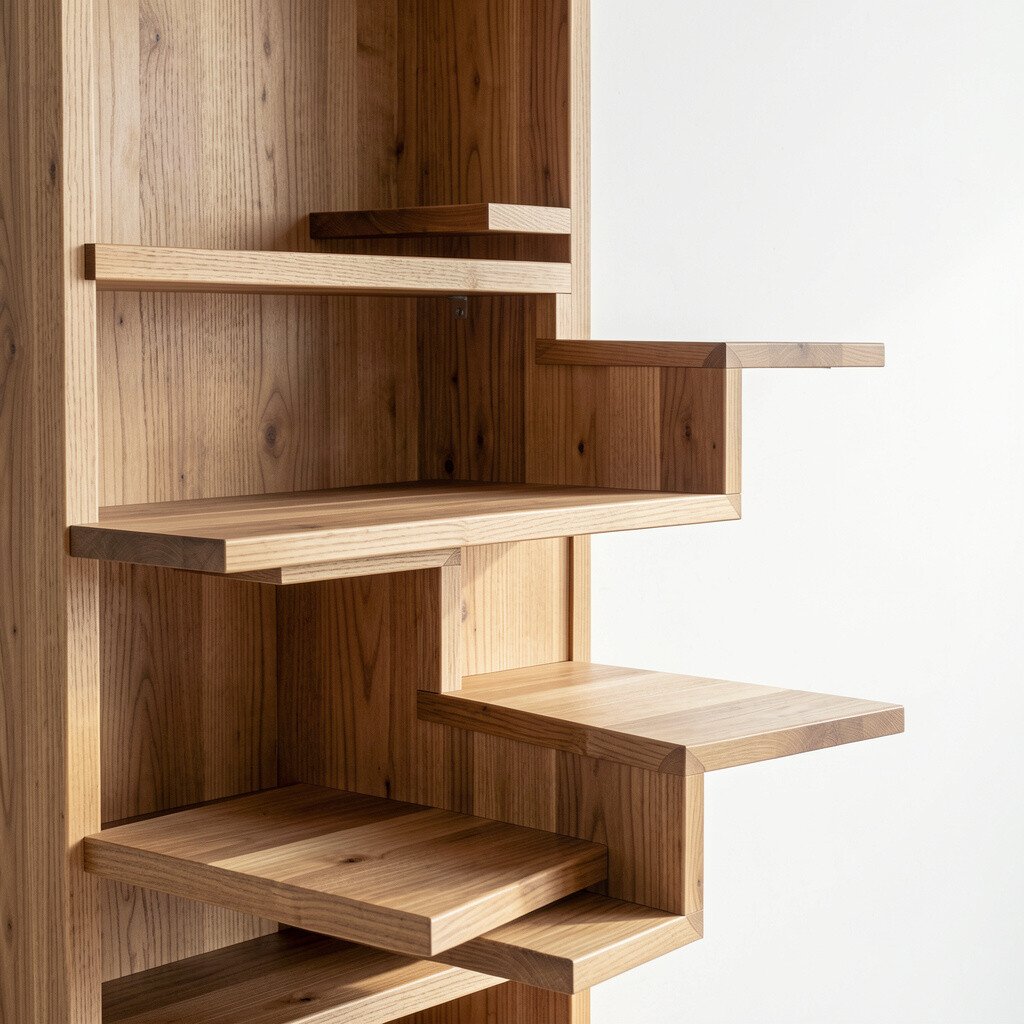
Step shelves feel fun and modern, like a friendly set of stairs for your books. Imagine alternating heights where each tier steps up, creating levels for both books and framed photos.
Cut supports at different lengths and align them so the steps look even. Use a level and a straightedge, then fasten each step board to a sturdy frame.
For benefits, the varied heights help you style your collection, mixing tall hardcovers with smaller paperbacks. You can place picture frames, bookmarks, or decorative bowls on the front edges.
To personalize, choose a wood tone that matches your frames, or paint just the back board for a pop of color. A clear coat keeps the surface resistant to everyday fingerprints and dust.
9. The Modular Three-Section Vertical Organizer
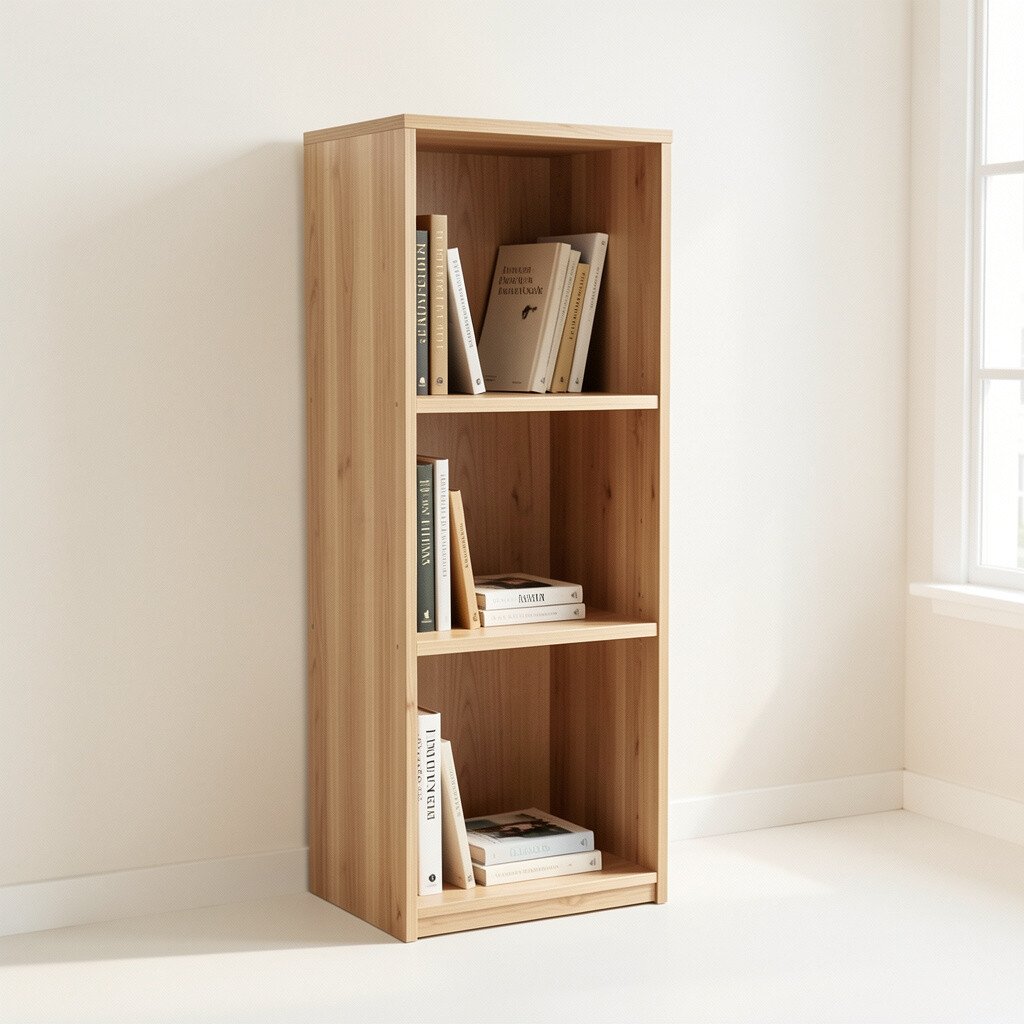
This modular plan makes growth easy because you can build sections one at a time. Picture three stacked vertical blocks with open-front shelves that align neatly for a clean grid.
Build each section as a self-contained unit, then join them later. That approach helps you handle storage while you wait for supplies or finish one weekend at a time.
One of the best practical tips is to standardize the board thickness and cut measurements across every module. When everything matches, the final assembly feels satisfying and steady.
This shelf is unique because the same parts can become a bench, a display cabinet, or extra wall storage later. Use adjustable shelf pins if you want flexible spacing for different book sizes.
10. The Oversized Bench Shelf Combo
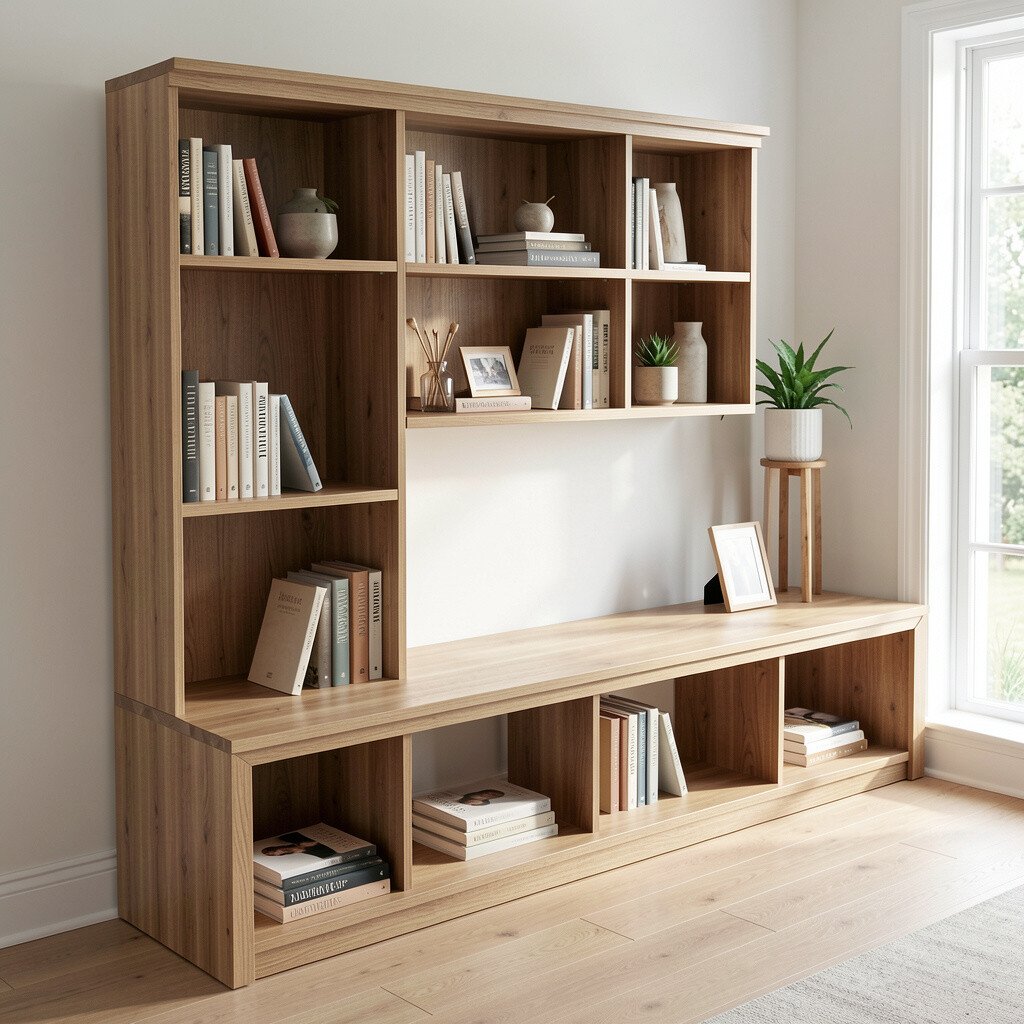
A bench-shelf idea is a two-for-one build that works in entryways and reading nooks. Visualize a low wooden bench with storage shelves underneath, so shoes or blankets can live below books.
Start with a solid base frame, then add shelves inside the lower area. Use reinforced corners and sturdy slats so the bench top can handle daily weight.
This plan feels practical because it keeps items out of sight while giving books a dedicated home. It also helps your room look organized fast, even when you’re busy.
For personalization, add a cushioned top or a removable seat pad. Choose a finish that matches your floor and hides scuffs from everyday traffic.
11. The Slim Wall-Mounted Book Ladder
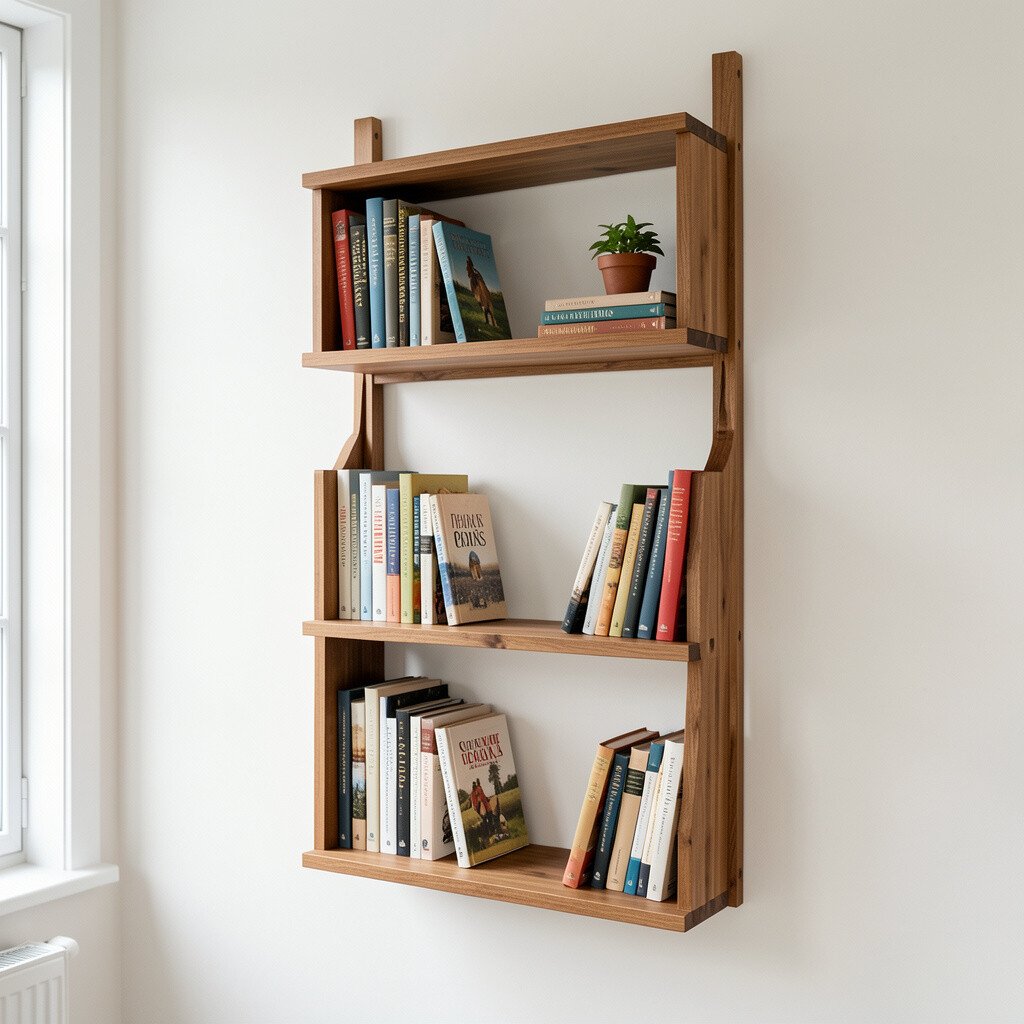
If you want storage without taking much room, a slim ladder shelf is great. Imagine a narrow vertical frame with a few evenly spaced shelves, perfect for tight hallways.
Use wall anchors rated for the weight you expect, and secure the frame into studs when possible. Keep the shelves short enough to feel sturdy, and ensure each tier is level so books don’t tilt.
A big benefit is how fast you can style it, since narrow shelves reduce clutter. You can also rotate your decor by switching between book spines, small plants, and framed quotes.
To keep costs reasonable, use straight studs for the frame and cut shelf boards from plywood. A simple paint job can make it look like modern built-in furniture.
12. The Classic Etagere With Side Panels
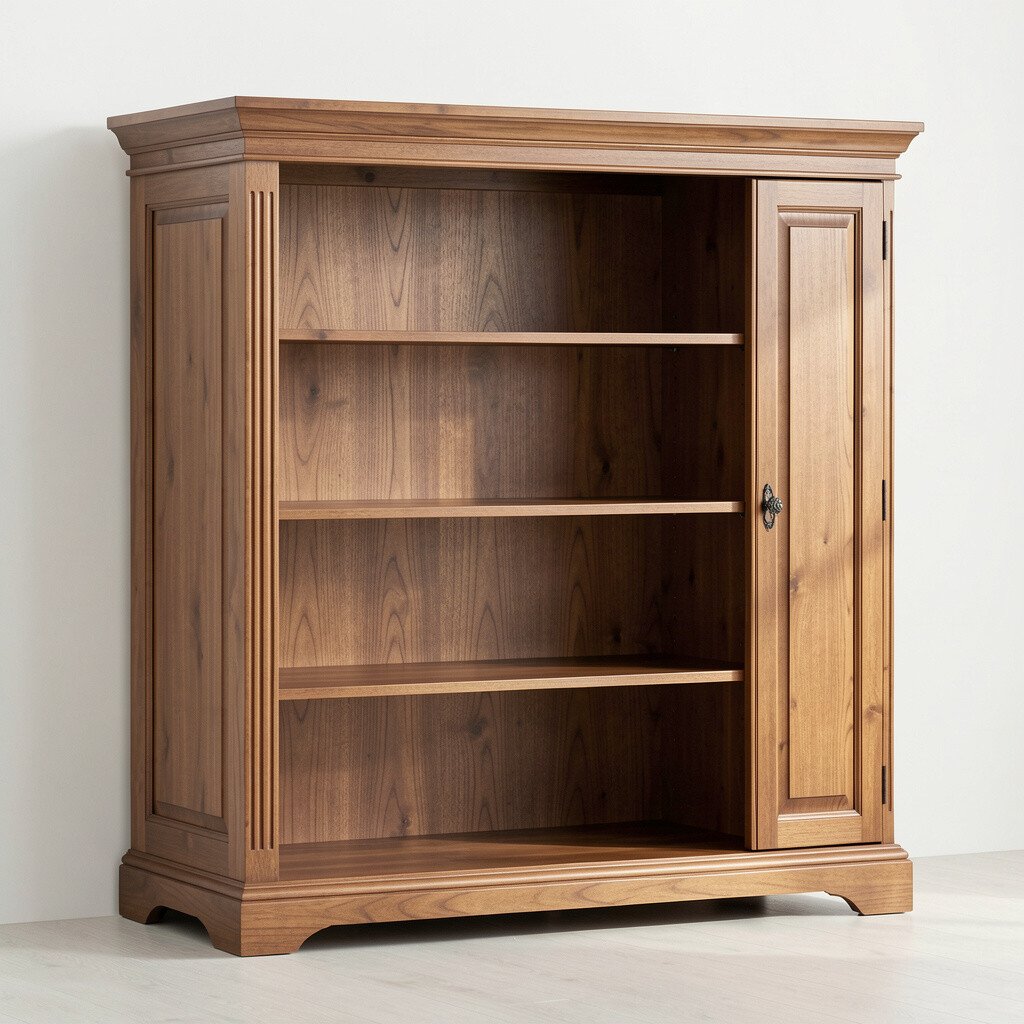
An etagere bookshelf brings an elegant open feel that still stores books safely. Visualize multiple tiers supported by side panels, with a balanced shape that looks great even when shelves are only partly filled.
Cut side panels with consistent thickness so every shelf sits at the same height. Assemble the frame first, then add tiers using screws that bite well into the wood.
This plan’s uniqueness comes from the way negative space shows off your book colors. When you place books with intention, the whole shelf becomes part of the room’s style.
Practical tip: add a back crossbar or thin backing sheet to reduce wobble. For personalization, try a warm stain on the sides and a lighter finish on the shelves for contrast.
13. The Thick-Timber Farmhouse Bookshelf
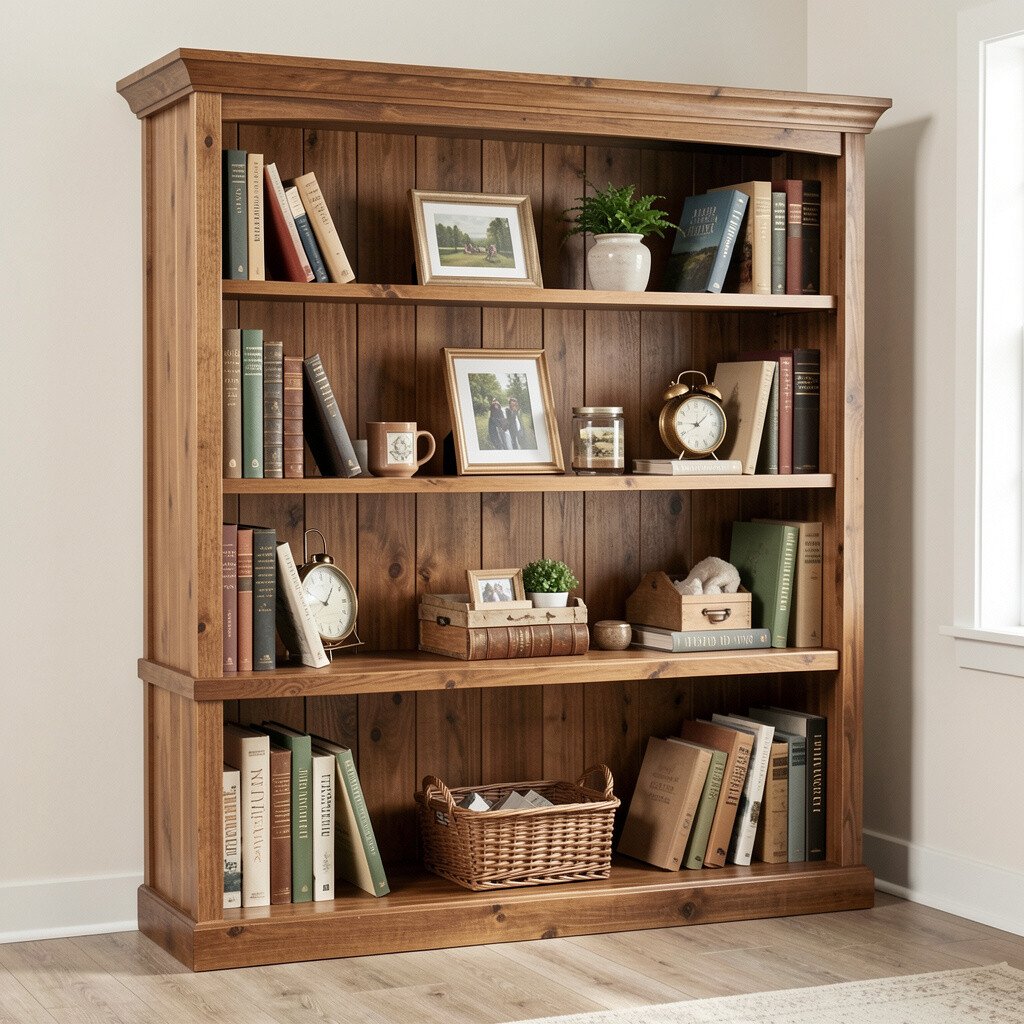
Farmhouse style looks sturdy and inviting, especially when built with thick boards. Picture chunky vertical posts and wide horizontal shelves that show strong, bold wood grain.
Choose wood that can handle weight, such as solid lumber or thick plywood with hardwood trim. Use measured spacing for shelf heights so tall books fit without awkward gaps.
One benefit is durability, since thick timbers resist dents and everyday pressure. You can also add decorative corner blocks to make the structure feel finished.
For cost considerations, use solid wood for visible areas and plywood for hidden interior sections. That way, the shelf looks expensive while you stay in a sensible budget range.
14. The DIY Library Wall With L-Brackets
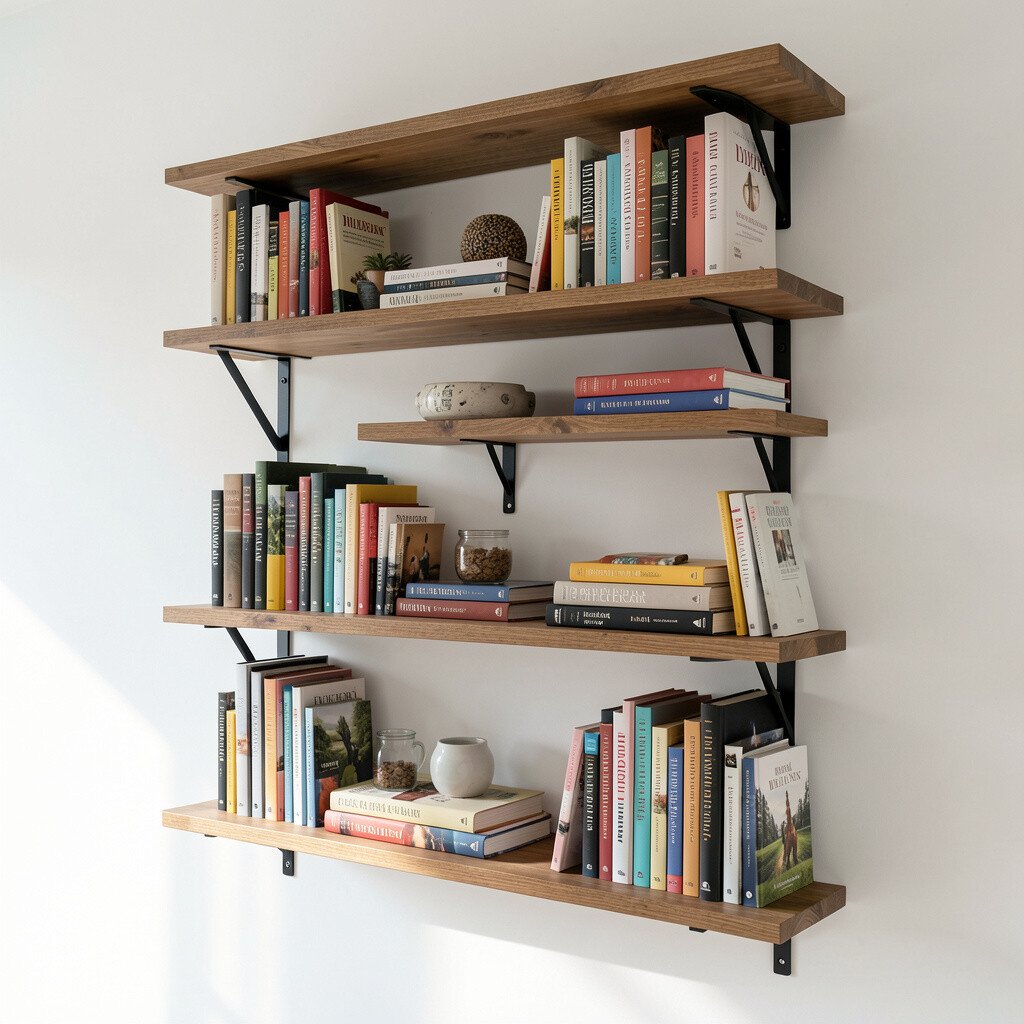
This plan is friendly for beginners because the hardware does a lot of the heavy work. Imagine bookshelves mounted at matching heights with L-brackets tucked under each shelf.
Mark your layout carefully and drill pilot holes to avoid wood splitting. Use long screws that grab studs, then attach brackets and test each shelf before you add books.
Its uniqueness comes from how you can arrange multiple shelves like a gallery wall. When your taste changes, you can reconfigure without rebuilding the entire structure.
For practical tips, seal the shelf tops and edges so spills wipe clean. A matte clear coat helps reduce glare, which looks nice in reading light.
15. The Small-To-Mid Size Built-In Style Shelf
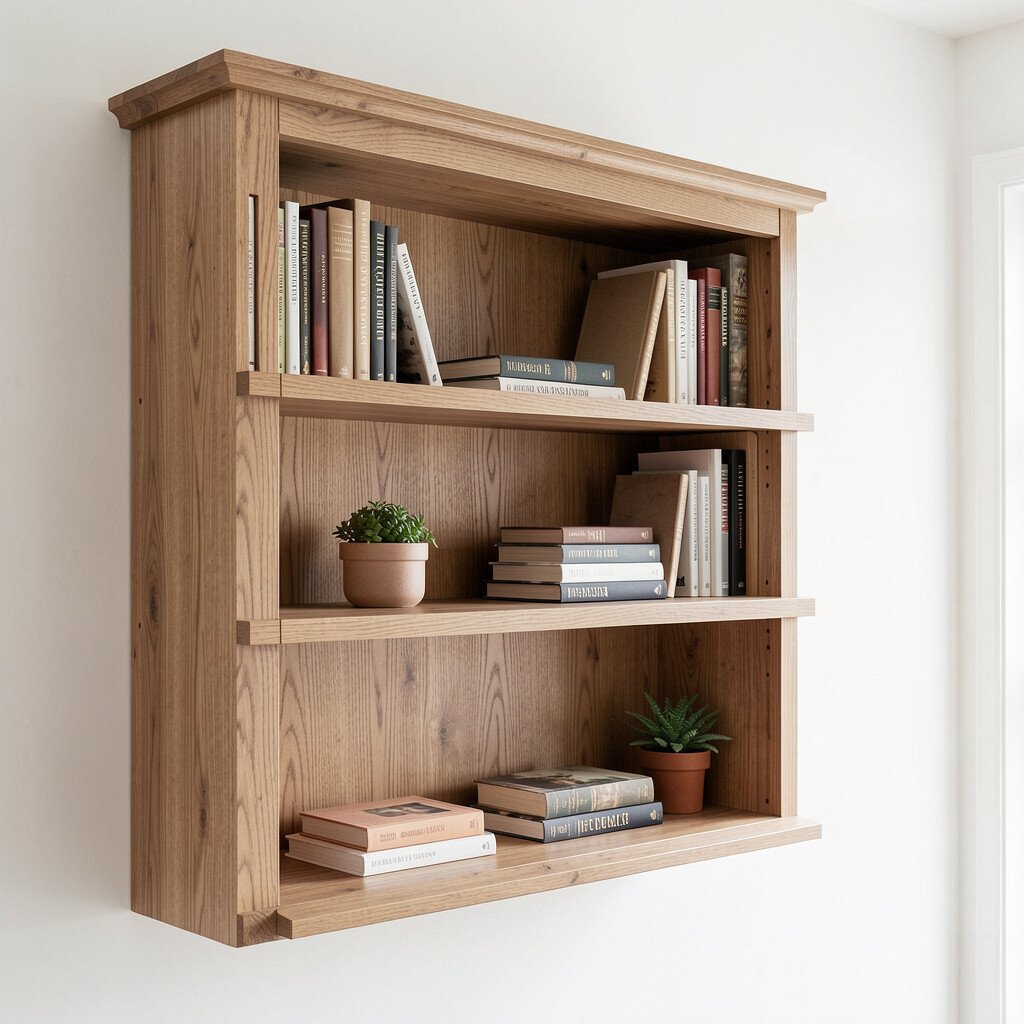
A built-in style shelf gives the wow feeling of custom carpentry. Picture a bookshelf that sits flush like it grew out of the wall, with clean trim lines framing the shelves.
Frame the opening first with boards that match your wall structure, then mount the shelves on a sturdy internal skeleton. Add trim boards around edges to hide gaps and make everything look neat.
This plan is unique because it turns ordinary wall space into a focal point. It also boosts function by aligning shelves with your eye level and room layout.
For cost considerations, use plywood for the main shelves and focus expensive wood only on visible trim. Paint or stain carefully so the finish matches nearby furniture and baseboards.
16. The Hinged Display Shelf With Cabinet Door
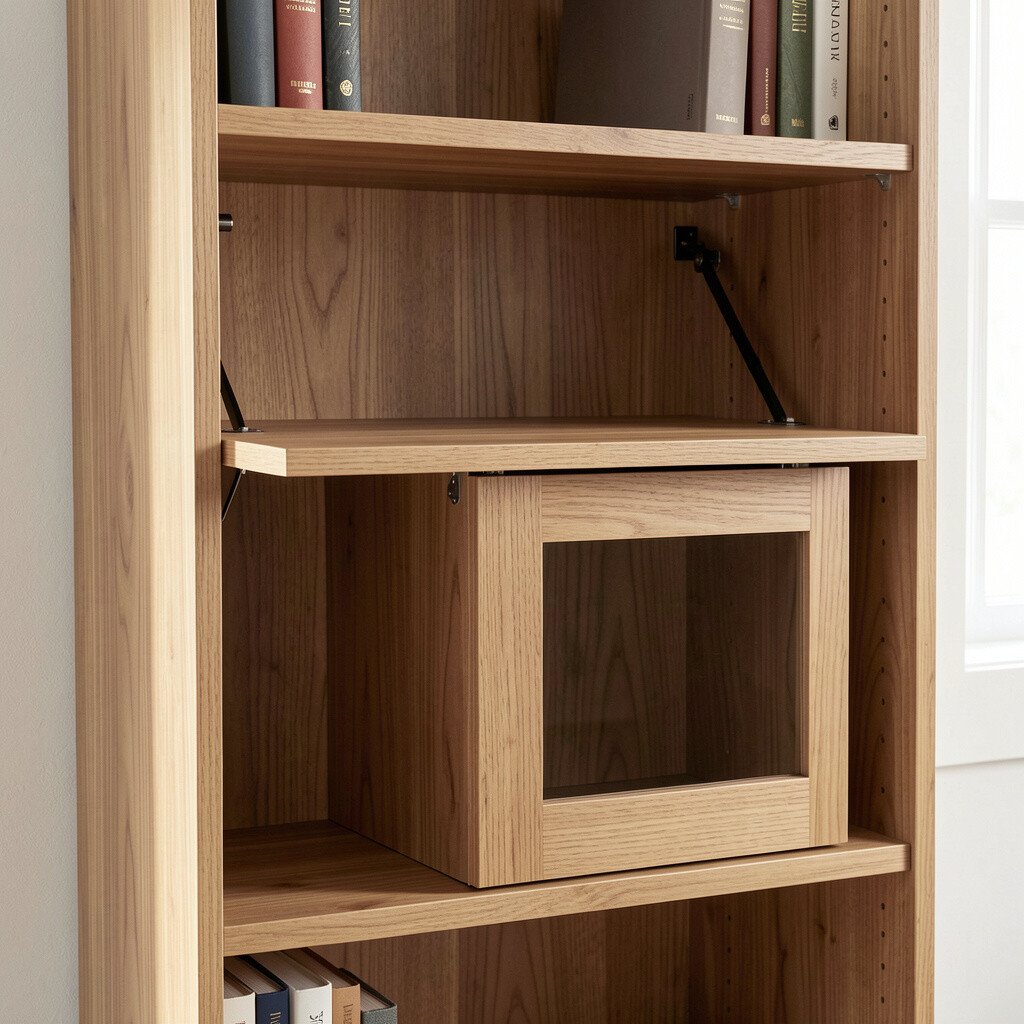
A cabinet-style bookshelf adds storage for items you don’t want on display. Imagine open shelves in the middle, paired with a hinged door on the lower section for hidden clutter.
Build the main frame, then plan the door opening so it swings smoothly without rubbing. Use quality hinges and a latch that feels easy to operate every day.
This is a practical, unique mix because it supports both organization and style. Keep books in the open sections and store bookmarks, chargers, or games behind the door.
Personalization comes from choosing a door style, like slatted wood, simple paneling, or even glass if you want visibility. A soft-close hinge can make the shelf feel extra refined.
17. The Bookshelf With Adjustable Shelf Pins
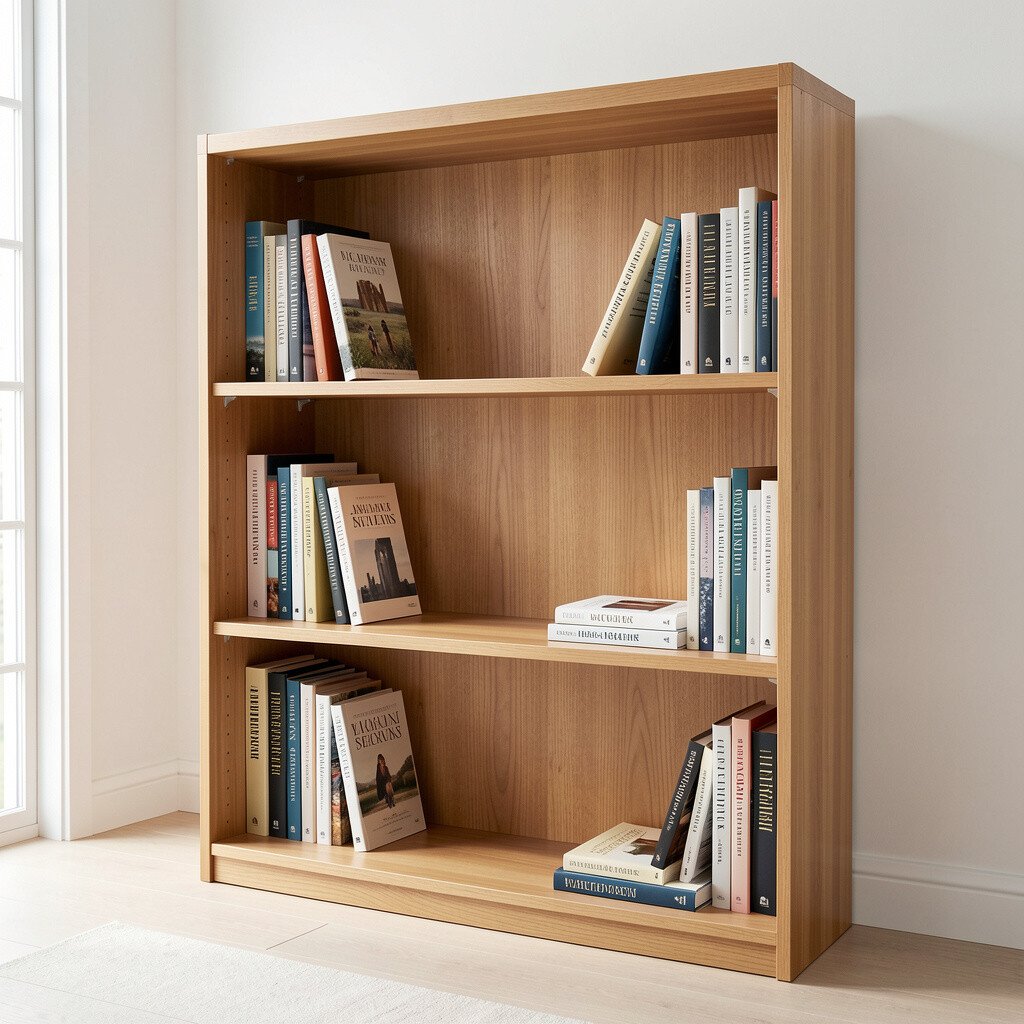
If your book sizes change often, adjustable shelves are a smart upgrade. Visualize a bookshelf with a series of evenly spaced holes along the side panels, allowing shelf heights to shift anytime.
Drill accurate rows of holes, then use shelf pins designed for wood inserts. Build the frame sturdy first so the shelf can handle shifting loads over time.
This plan’s benefit is flexibility, since your collection can grow without forcing you to rebuild. You can also use it to store non-book items like planners, board games, or small bins.
For practical tips, test a few pin heights before finishing so you can pick comfortable spacing. For cost considerations, you can use affordable plywood and add hardwood trim strips for a polished look.
To personalize, paint the back panel a solid color or attach a fabric backing for warmth. A gentle finish keeps the pins protected while giving the shelf a clean, modern appearance.