
The second floor can feel like a creative secret room. With smart layout choices, your art practice can run smoother and feel more magical.
1. Quiet Corner With a Window-Forward Work Zone

Set up your main drawing or painting area near the brightest window you have. Keep the rest of the room a little calmer so your eyes can rest between tasks.
You’ll get better natural light for skin tones, landscapes, and color mixing. Angle your desk so the light hits your paper or canvas from the side, not straight in your face.
2. Flow-Friendly Stair Entry and Drop Zone
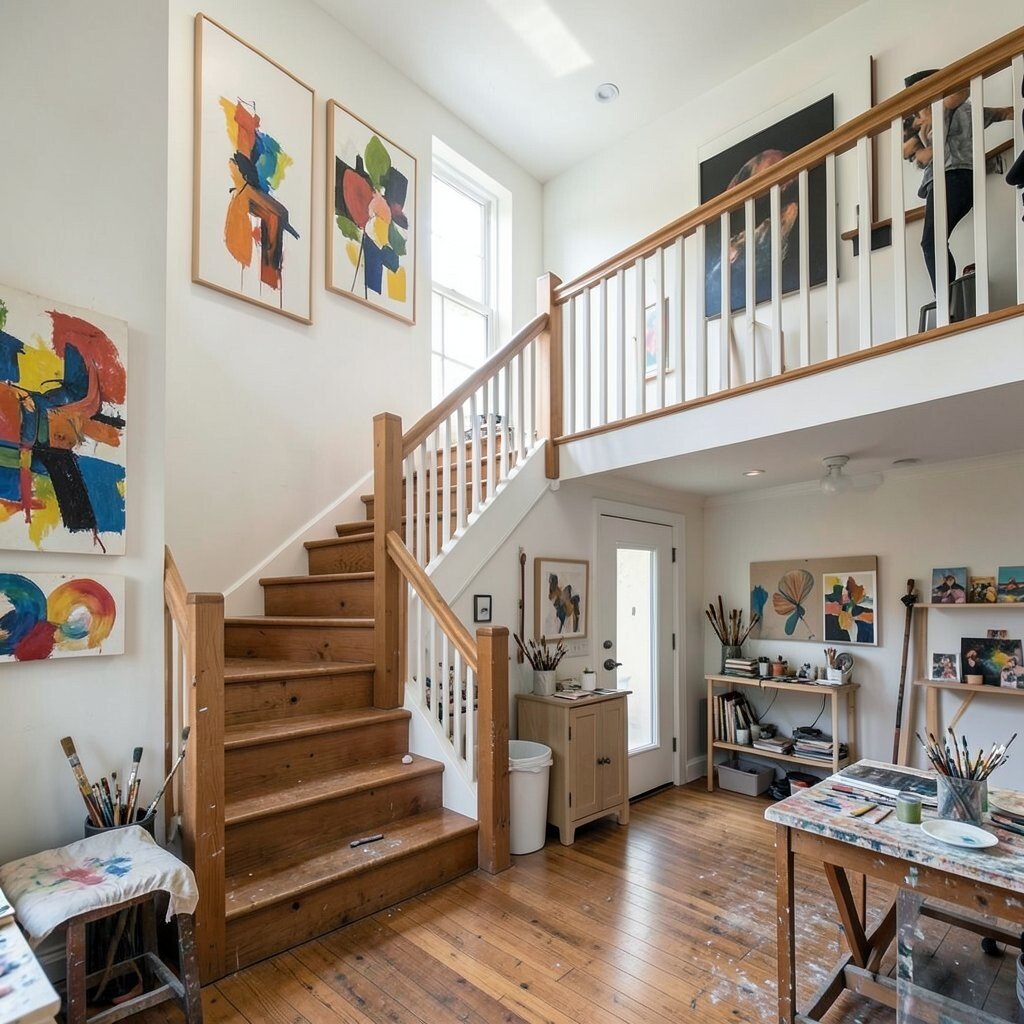
Design the space right at the top of the stairs like a gentle welcome. A small landing area helps you slow down and gear up without tracking mess across the studio.
Add a narrow cart or wall shelf for coats, sketchbooks, and whatever you carry most days. Keep a tray for keys, earbuds, and small tools so you never have to hunt when you’re ready to work.
When your materials have one home, you waste less time cleaning. People who set up a drop zone often feel more motivated because starting becomes easy and quick.
3. Layered Lighting Plan With One Bright Task Spot
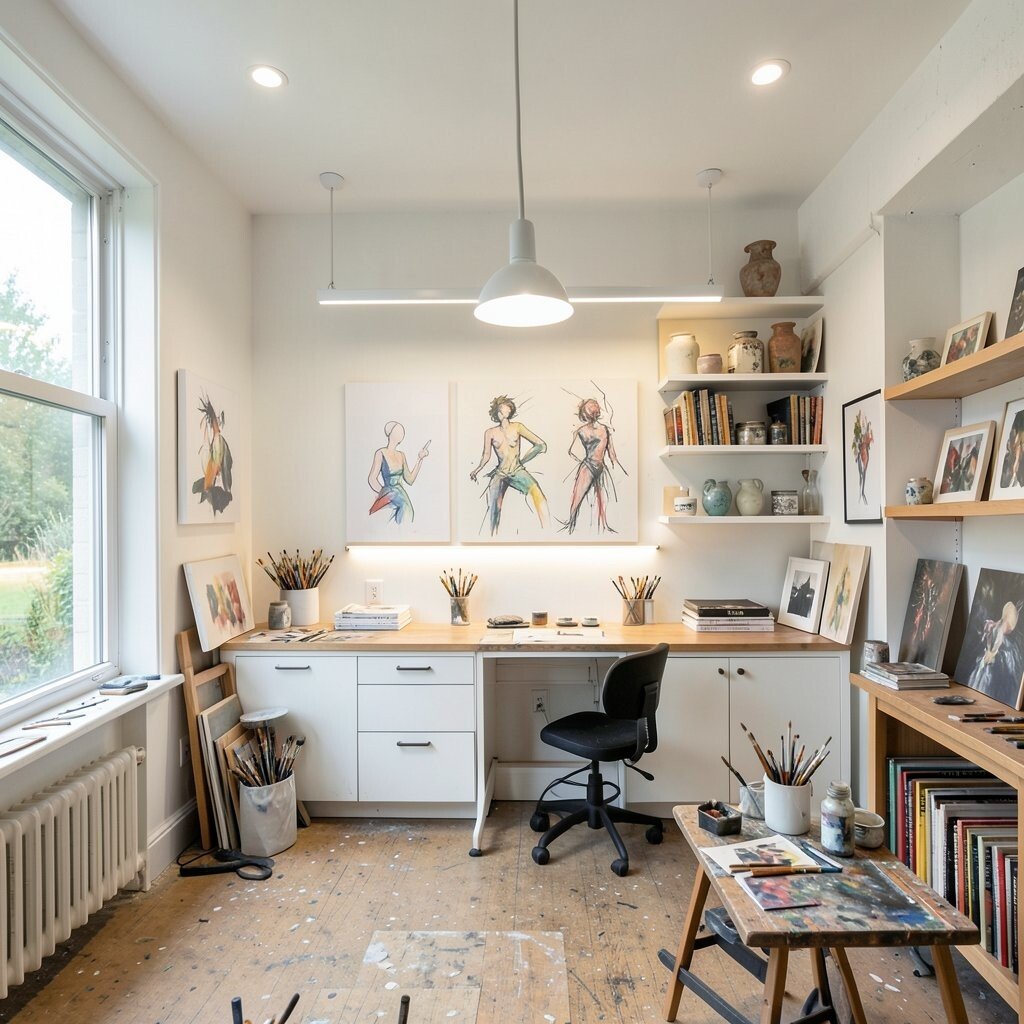
Use light like you use paint, with layers. Pair warm overhead lighting with a strong lamp aimed at your work surface.
Choose a task light that can move, so it stays helpful when you paint tall canvases or switch to paper work. Soft floor lighting can make the room feel cozy during evening sessions.
Good lighting also protects your eyes, especially for long sessions. Consider a color-correcting bulb if you notice your mixes look different at night.
4. Storage Wall Built Into the Layout for Easy Grab and Go
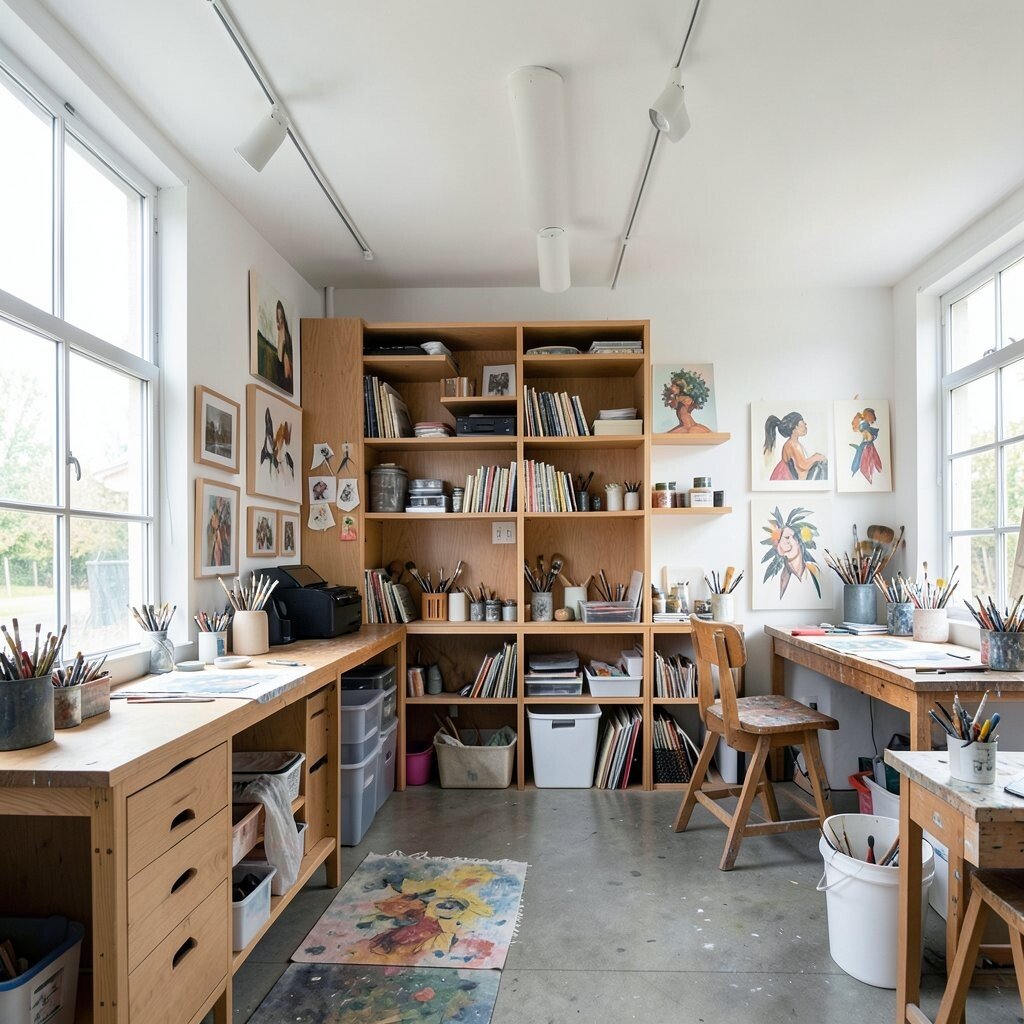
Plan a storage wall so everything you need is visible and reachable. When you can see your supplies, you waste less time opening bins and rummaging.
Try a mix of closed cabinets and open shelves so dust stays away while favorite tools stay within reach. Keep frequently used items at shoulder height and reserve the top shelves for bulk refills.
5. Wet Media and Dry Media Split for Cleaner Daily Habits
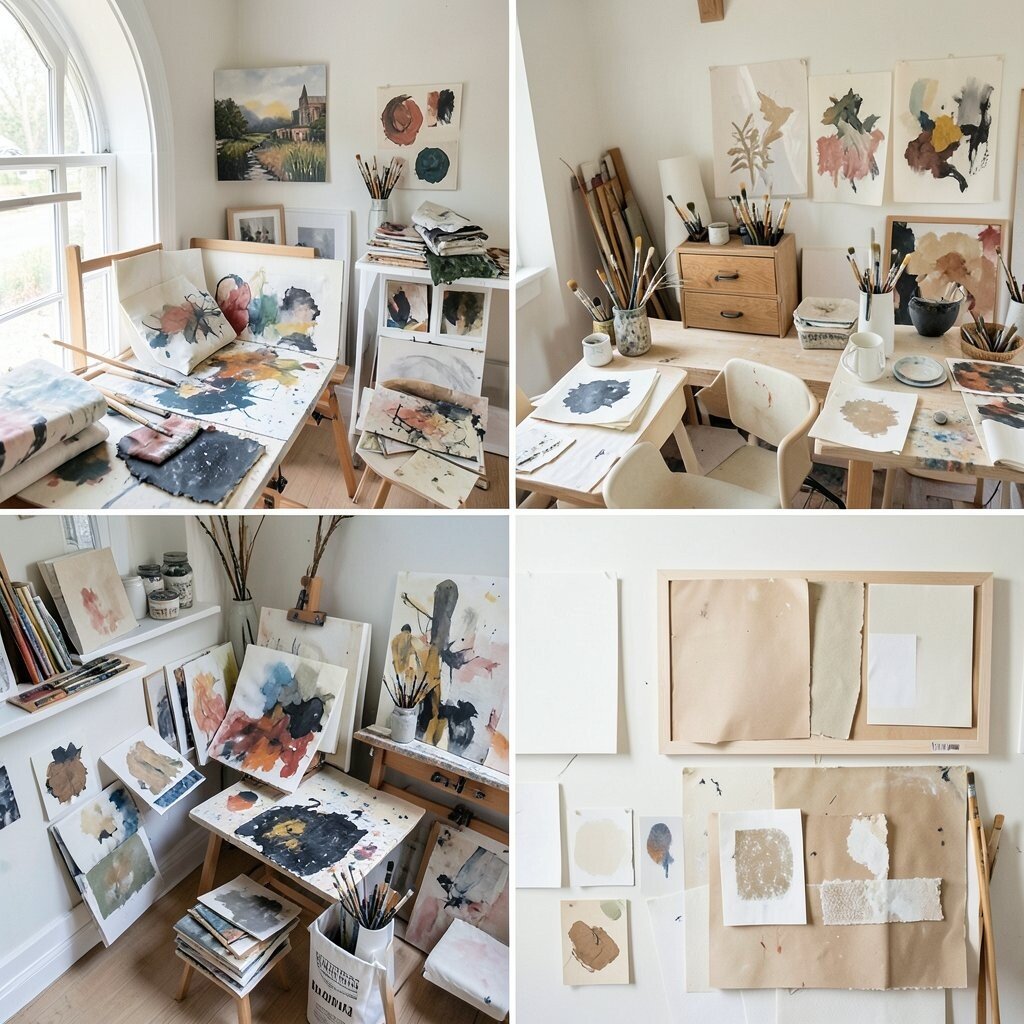
Create a clear boundary between wet work and dry work. Even a small second-floor room benefits when you keep painting activities separated from drawing and paper projects.
Put your sink area or water bucket near the edge of the studio, ideally away from your paper racks. Use a washable mat or a tray system so splashes stay contained.
This layout helps your studio stay tidy, which makes it feel more professional. It also protects expensive sketchbooks and finished pieces from accidental spills.
6. Circular Work Table Layout for Group Sessions and Solo Calm

A round or gently curved table can change the whole mood of a studio. It creates a natural center where tools and sketches gather without blocking walkways.
Place the chair positions so everyone faces the work, not the room. For solo artists, you’ll still enjoy the sense of “one shared focus,” even when you’re working alone.
When you host friends, the circle reduces awkward passing and clutter. People often find they talk more while they work, which can boost creative confidence.
7. Corner Easel Station With a Backstop for Canvas and Back Support

Choose one strong corner for your easel and build the station so it feels stable. A corner gives you extra support and keeps the easel from creeping across the floor.
Use a wall-backed shelf or a low rail to hold paint jars, brushes, and drying racks. Keep a drop cloth under the easel base for peace of mind during long sessions.
If you paint larger pieces, plan for clearance so you can step back without bumping furniture. Artists who set up an easel corner often notice they paint more steadily because everything feels prepared.
8. Vertical Organization Using Pegboard, Hooks, and Hanging Baskets

Going vertical is one of the smartest moves for a second-floor studio. When your wall becomes the storage plan, your floor stays open for movement.
Install a pegboard or a strip of hooks for brushes, rulers, and scissors. Hanging baskets work great for palettes, gloves, and small painting accessories.
Vertical systems also make your studio look tidy and curated. You’ll see your tools faster, which helps you start sooner and finish more often.
9. Floor Zoning With Rugs for the Focus Areas That Matter

Use rugs like invisible boundaries to define the studio. One rug can mark the work area, while another can soften the space for reference and sketches.
Pick rug sizes that fit your routine, not just your room measurements. A non-slip rug pad helps the second floor stay safe and stable while you move around.
Clear zones reduce the mess feeling that can creep in when everything blends together. Your brain often treats each zone like a different “mode,” which makes creative sessions easier to enter.
10. Reference Wall for Sketches, Color Tests, and Finished Studies
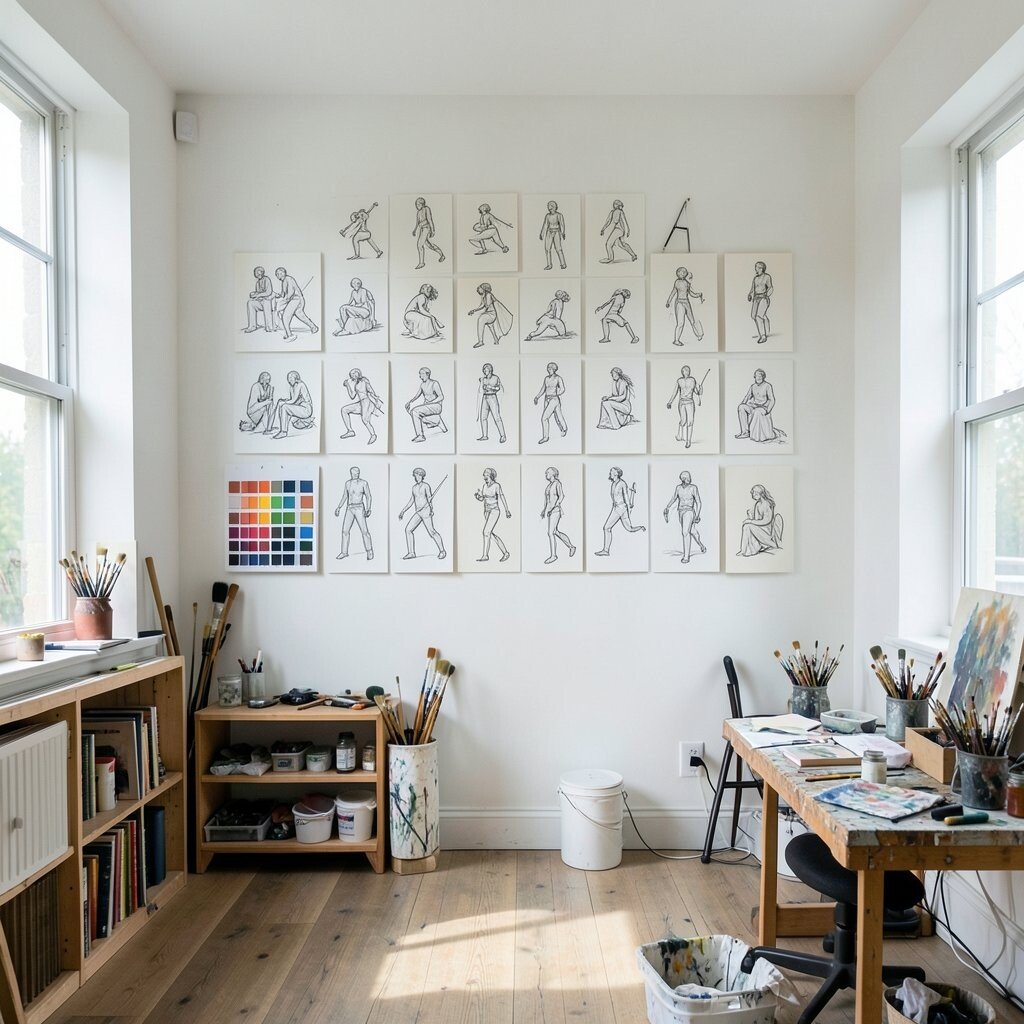
A reference wall turns your studio into a living library. Pinning sketches, color swatches, and observation notes keeps your ideas close while you work.
Try a cork panel or a magnetic board where you can move things quickly. Keep a small section for what you’re using right now so it stays fresh and relevant.
This kind of wall boosts consistency because you can check proportions, repeat colors, and remember what worked. Artists who maintain a reference wall often improve faster because they compare their choices over time.
11. Listening Nook Layout With a Comfortable Chair and Small Side Table
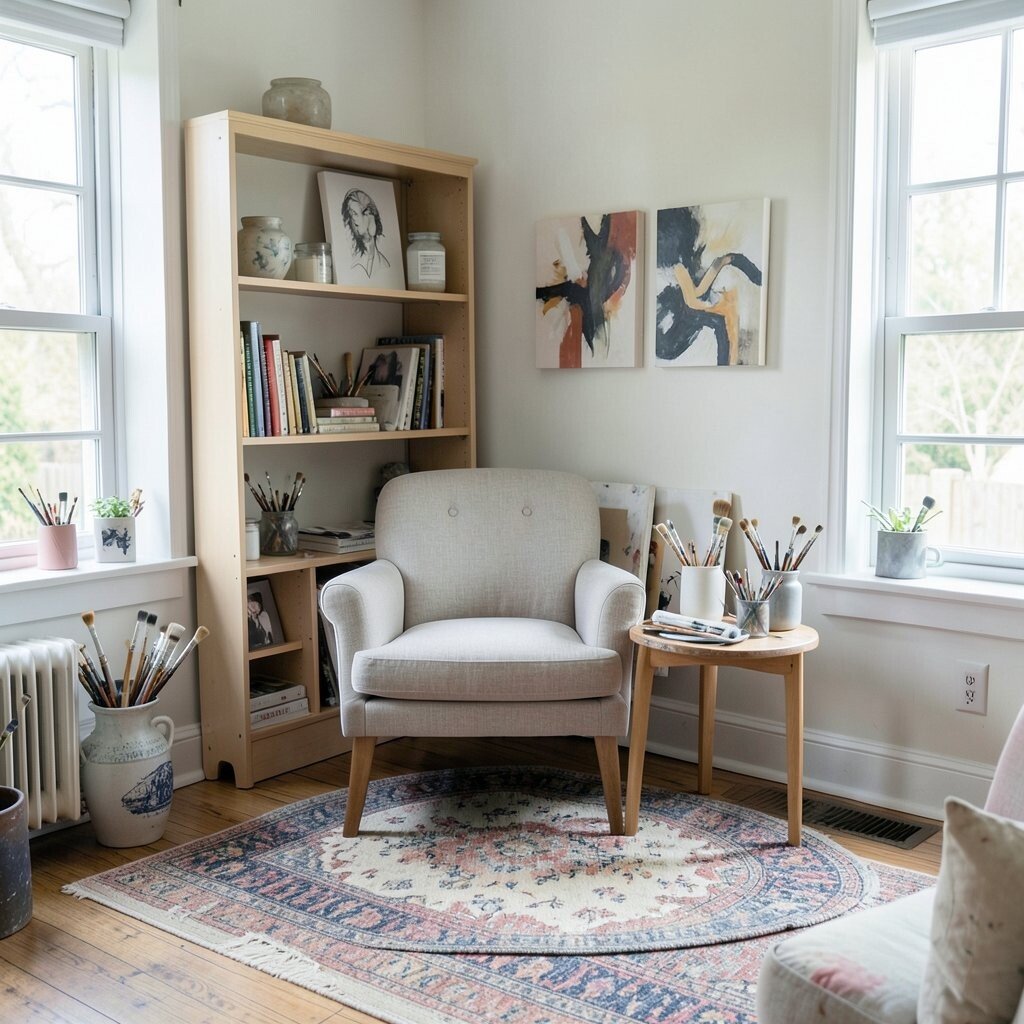
Build a listening nook that invites you to slow down and think. Choose a comfy chair with a small side table for tea, notes, or a sketch pad.
Place the nook away from the densest traffic path. When your seat feels tucked in, you’ll want to use it for planning, stretching, and relaxing between art tasks.
A dedicated chill spot makes your studio feel balanced, not just busy. People who include a nook often find they take more breaks, which helps their creativity come back stronger.
12. Cost-Smart Mobility With Rolling Carts and Light Shelving

Keep your layout flexible by using rolling carts and lighter shelves where possible. A cart can move to follow the work, whether you’re painting one week and sketching the next.
Choose wheels with good grip so they don’t scratch or glide too easily. Artists on a budget often get the best results by investing in a few high-quality carts instead of filling every space permanently.
Mobility also helps if your second floor room changes over time. You might start with one layout and adjust it as your style grows and your needs shift.
13. Personalized Color and Material Palette for a Studio That Feels Like You
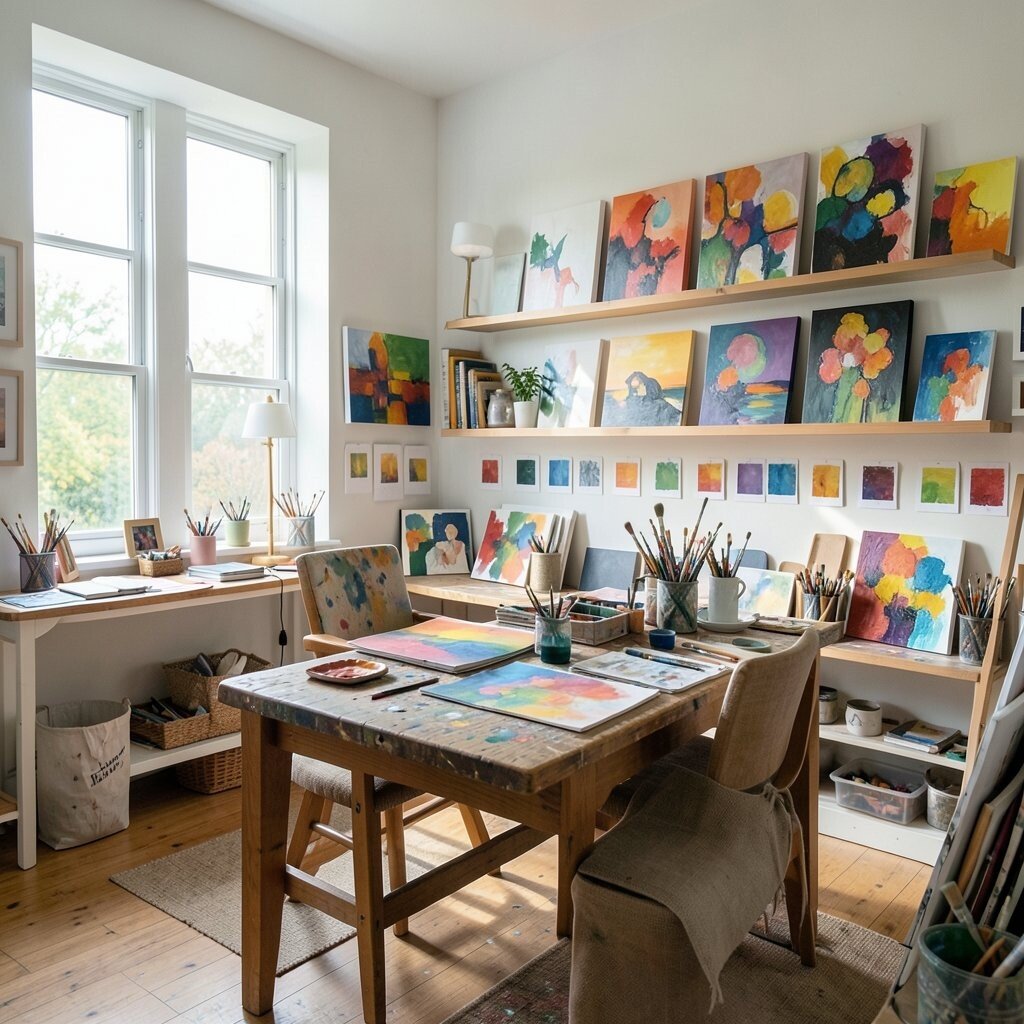
Your studio layout should include your taste in materials and color. Pick calming paint on the walls, a palette-friendly floor finish, or a fabric tone that makes your eyes feel steady.
Match storage colors to your workflow so it looks cohesive even when supplies are out. Many artists choose neutral storage bins with bright labels written in a way that feels personal and easy to read.
This approach keeps the room motivating, not distracting. When your space feels like your own style, you’re more likely to sit down and make time for art again and again.