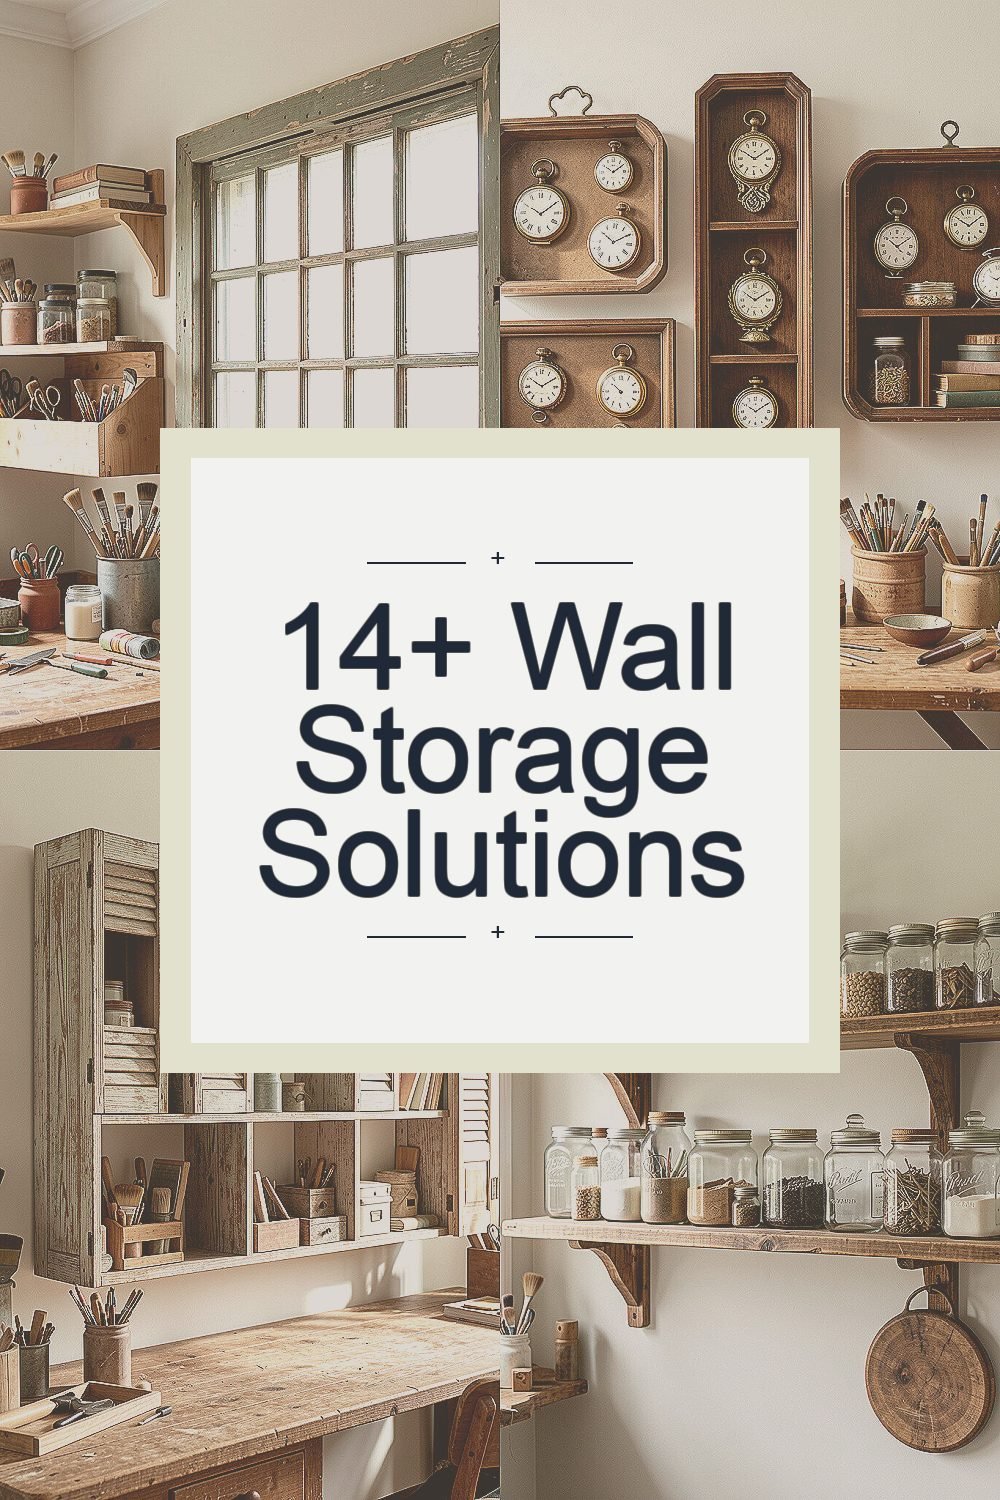
Every craft room needs a little charm on the walls. Vintage storage does that job while keeping your supplies easy to reach.
When storage looks good, you use it more often. And when it’s well planned, your creative space stays calm instead of cluttered.
1. Repurposed Window Frame Mail Slots

Picture an old window frame mounted on the wall, with tiny mail slots where cards and letters used to go. Inside each slot, small envelopes and paper scraps can sit flat and ready.
This option feels special because it mixes old architecture with everyday usefulness. For best results, add a thin backing board so items don’t slide through, and label each slot with removable paper so you can change it later.
2. Antique Pocket Watch Display Trays
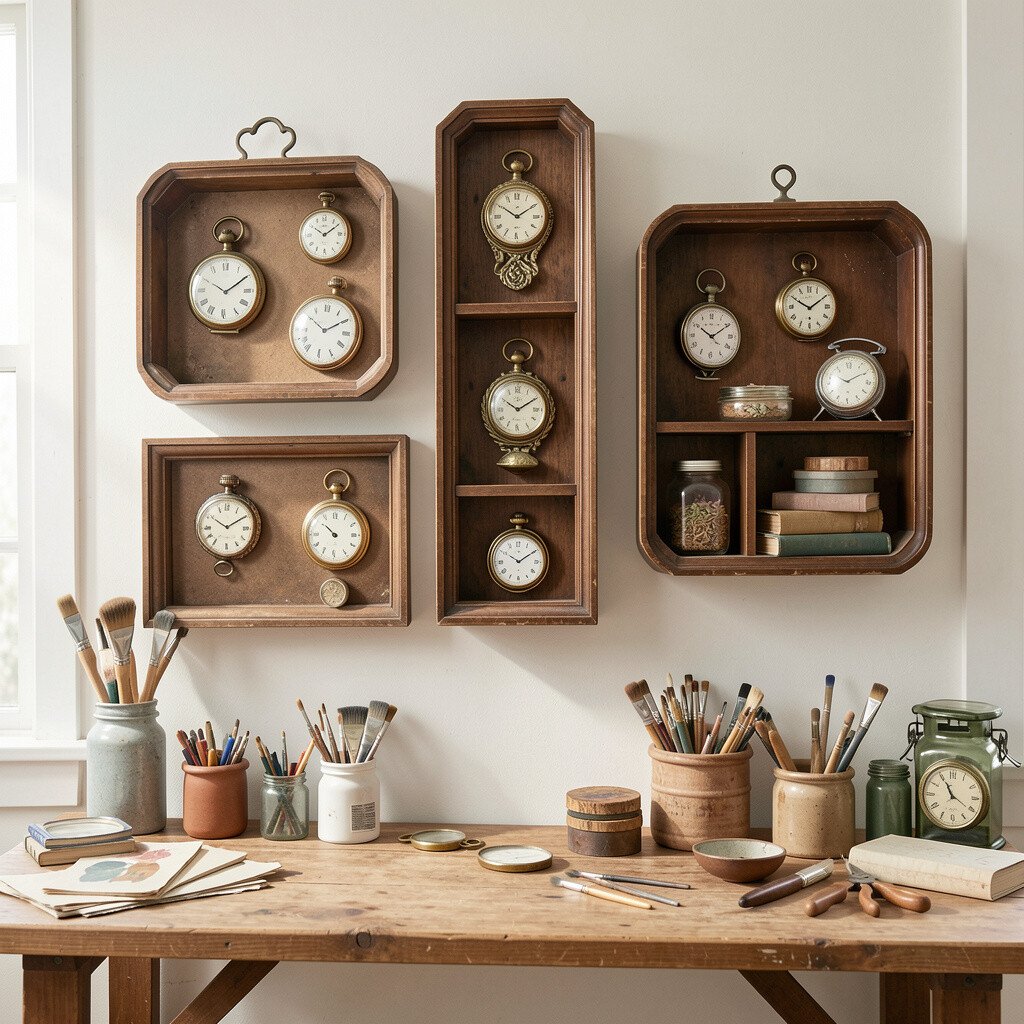
Think of a row of shallow trays sized for small keepsakes, like something you might find in a vintage shop window. Mounted at eye level, they make your notions look curated and tidy.
You get quick visibility for buttons, beads, and tiny hardware, which means less time searching in drawers. To make it practical, line each tray with a different fabric strip or felt square so delicate items stay put.
It also fits the current trend of “small-batch organization,” where every category has its own spot. If you want personalization, paint the tray edges in soft muted colors that match your room.
3. Weathered Wood Shutter Supply Dividers

A pair of aged shutters hanging on hinges can become a wall organizer that looks charming and functional. Each slat naturally creates sections, so supplies feel grouped instead of scattered.
Use the compartments for ribbon rolls, washi tape, and small bundles of tools. Adding hooks on the inside gives you a place for scissors, measuring tape, and cutting rulers without taking up desk space.
Because shutters already have texture, the whole setup looks unique even before you decorate it. For a cost-friendly approach, search thrift stores and salvage yards, then sand only the roughest spots before finishing with clear wax.
Choose a mounting height that matches your reach so you don’t have to stretch when inspiration hits. You can also personalize it by stapling vintage sheet music scraps to the backing behind the hooks.
4. Vintage Apothecary Jars on Board Shelves
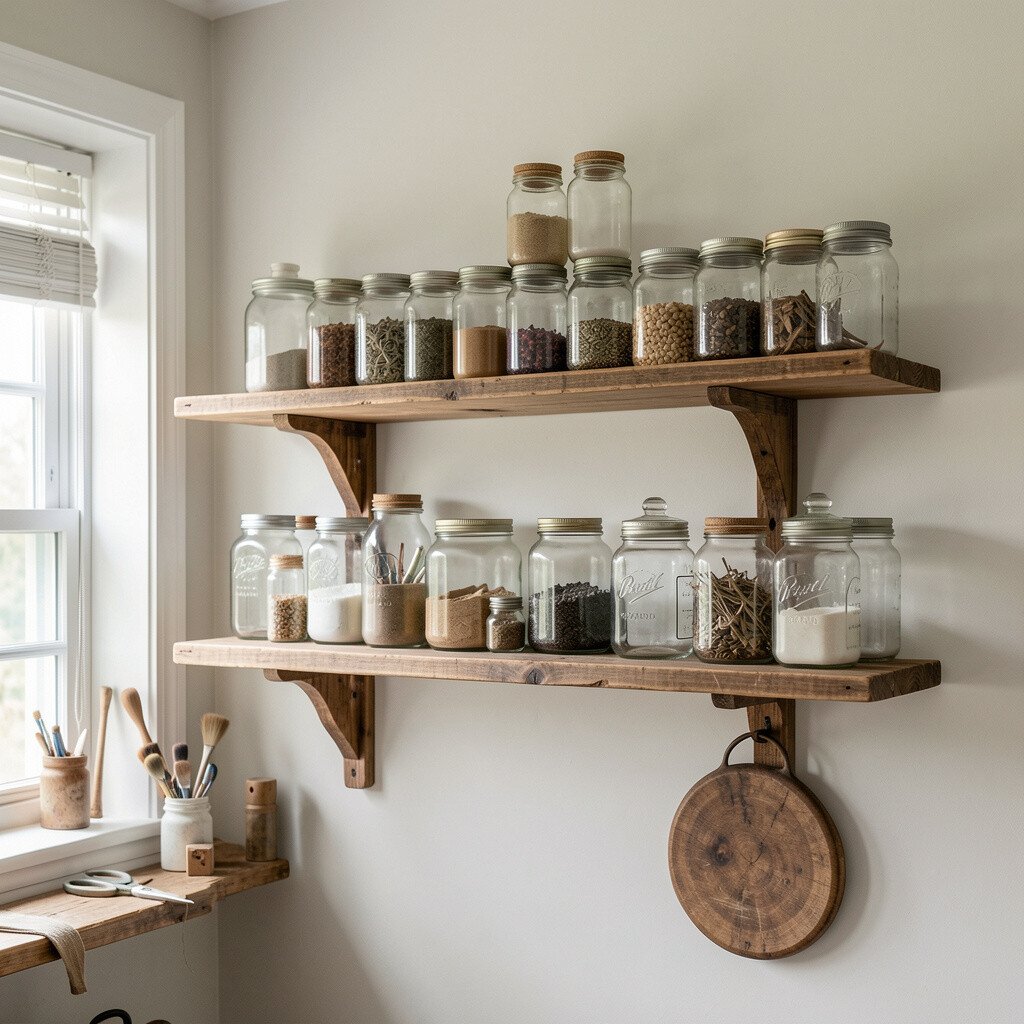
Mount a long wooden board and fill it with mismatched apothecary jars for a warm, nostalgic look. Each jar catches the light, and when you step back you can see the color mix of your supplies.
These shelves work great for buttons, pigment powders, seed beads, and even mini bottle caps. Keep the jars consistent by using the same label style on each lid, so the wall looks neat instead of busy.
To keep items safe, place a small cork mat or felt circle under each jar so it won’t slip. If you want the trend of “visible sorting,” this setup makes it easy to grab exactly what you need.
5. Old Spindle Rack with Hanging Threads
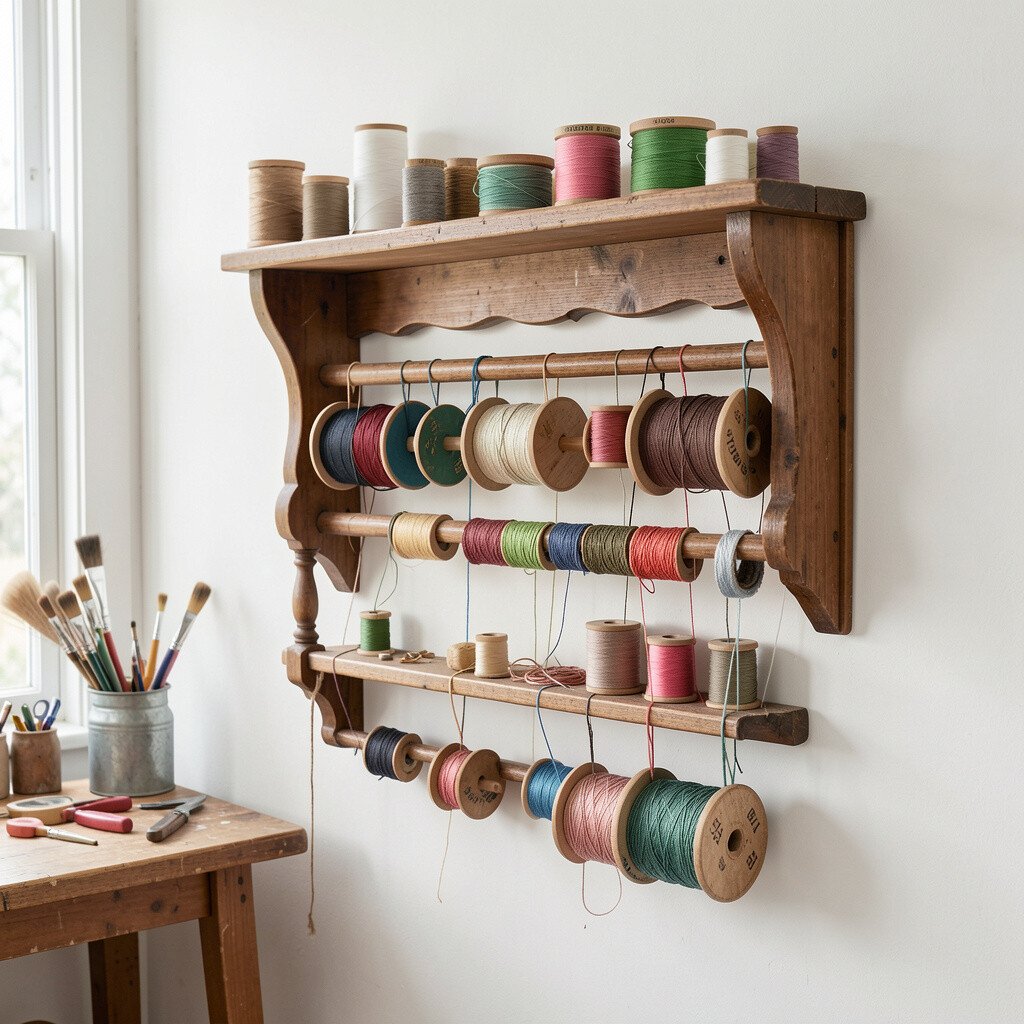
Imagine a vintage spindle-style rack mounted to the wall, with arms that feel made for hanging. Threads and twine can wrap around each spindle so the strands don’t tangle on your desk.
This storage solution is visually satisfying because you can see your thread colors like a mini rainbow. Start by measuring the rack spacing, then match your thread holders to the size of your spools.
You can personalize it by painting the spindles a creamy off-white or a muted sage. For cost considerations, check online marketplaces for spindle racks, then reuse the hardware you already have for mounting.
6. Reclaimed Picture Ledge for Small Paper Projects
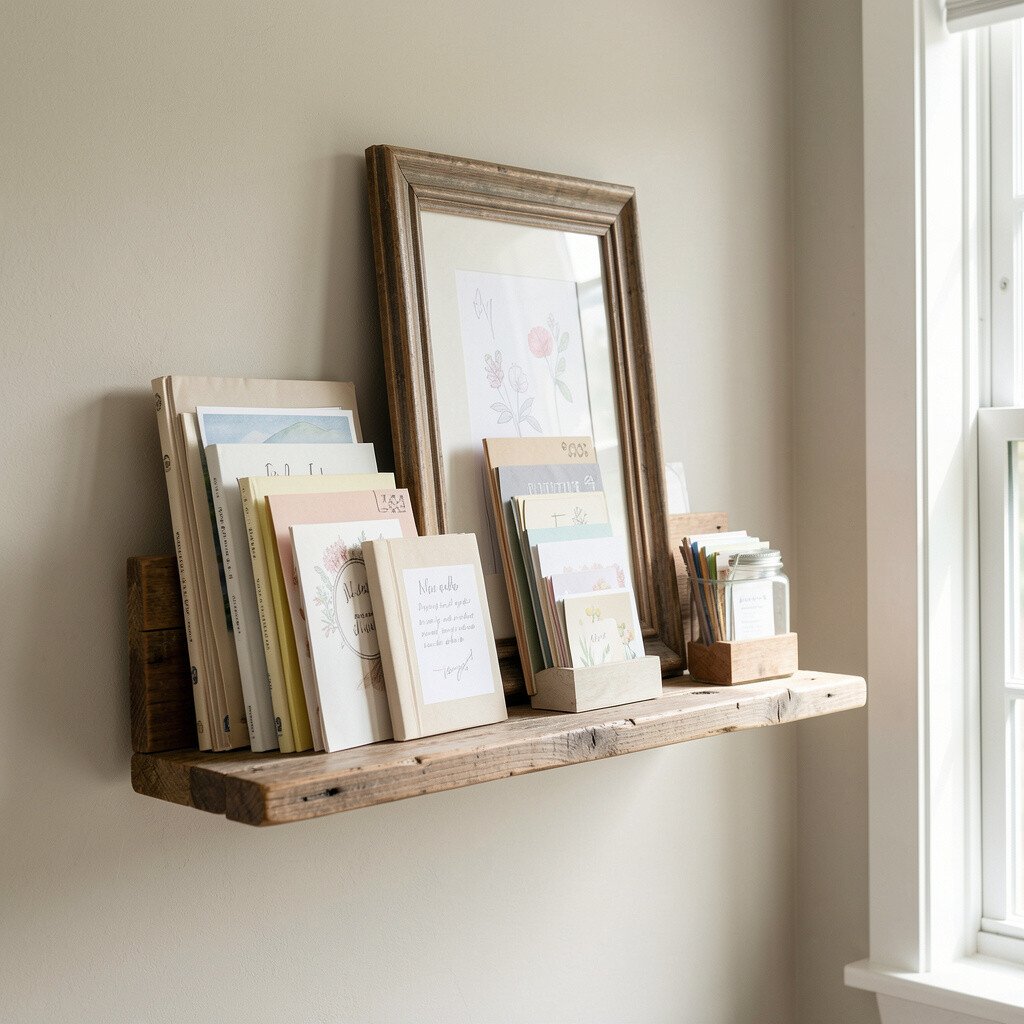
A vintage picture ledge looks like it belongs in a cozy old home, but it’s also perfect for craft storage. It creates a flat surface where you can line up paper stacks and thin tools.
Place it near your work table so grab-and-go feels effortless. To keep things from sliding, add a strip of non-slip shelf liner and use small baskets for stamps and ink pads.
For personalization, decorate the ledge underside with a strip of patterned wallpaper so the room feels layered. This also fits a popular trend of styling your supplies like décor, which encourages you to keep the area tidy.
7. Antique Key Rack for Tool Organization
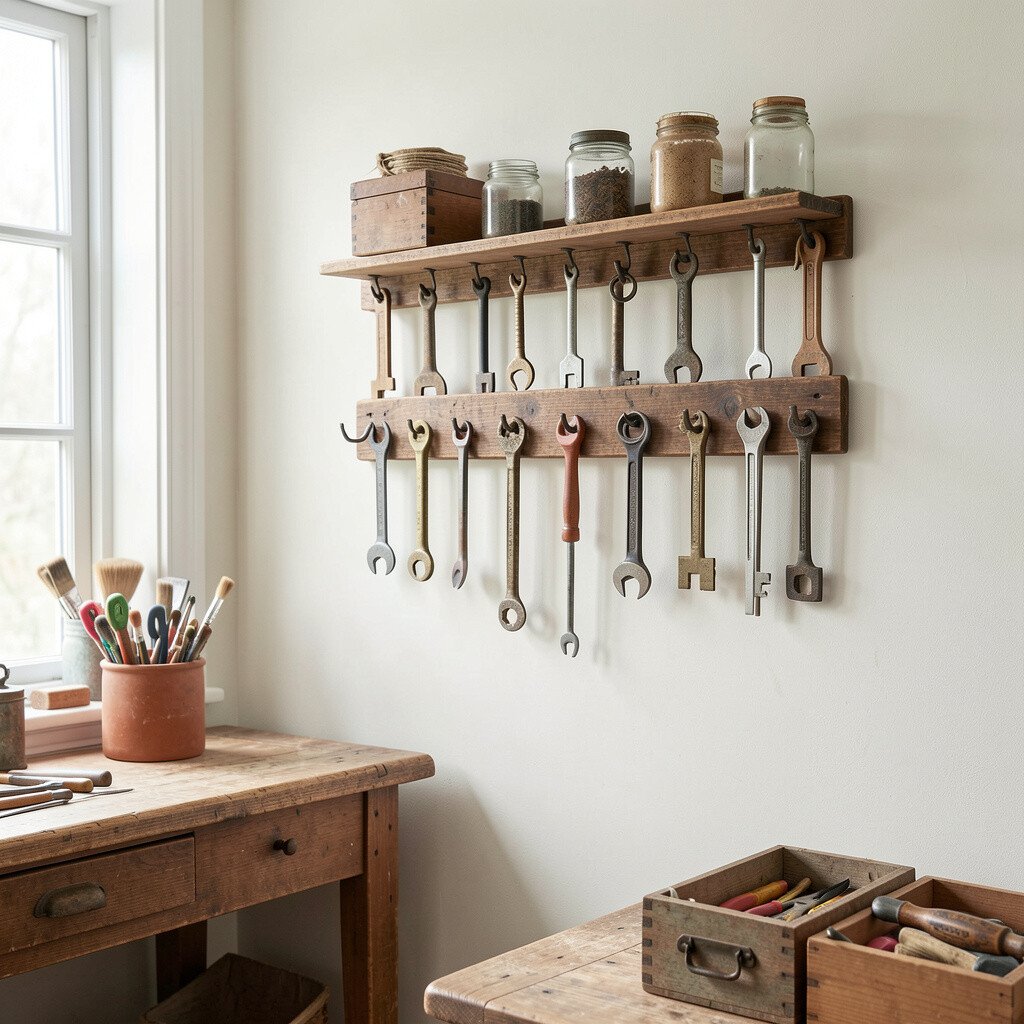
An old key rack with decorative hooks brings instant vintage charm to a craft wall. It’s made for hanging, so it naturally works for scissors, craft knives, and hot glue accessories.
You’ll save time because tools stay visible and off the tabletop. Add small tags to each hook for quick identification, and consider grouping similar tools together so your workflow stays smooth.
8. Vintage Washboard with Pegs for Hanging Notions

A weathered washboard mounted horizontally can look bold while staying practical. The raised ridges make it easy to attach pegs or clips for small notions.
Hang skeins of embroidery floss, small measuring spoons, or clips that hold craft tags and labels. For best results, seal the wood so it can handle dust and occasional cleaning.
This one feels unique because it borrows a farm-style texture and turns it into craft storage. If you want to keep costs low, look for washboards with sturdy rails, then add only the pegs you need.
9. Repurposed Ladder Shelf for Layered Craft Supplies
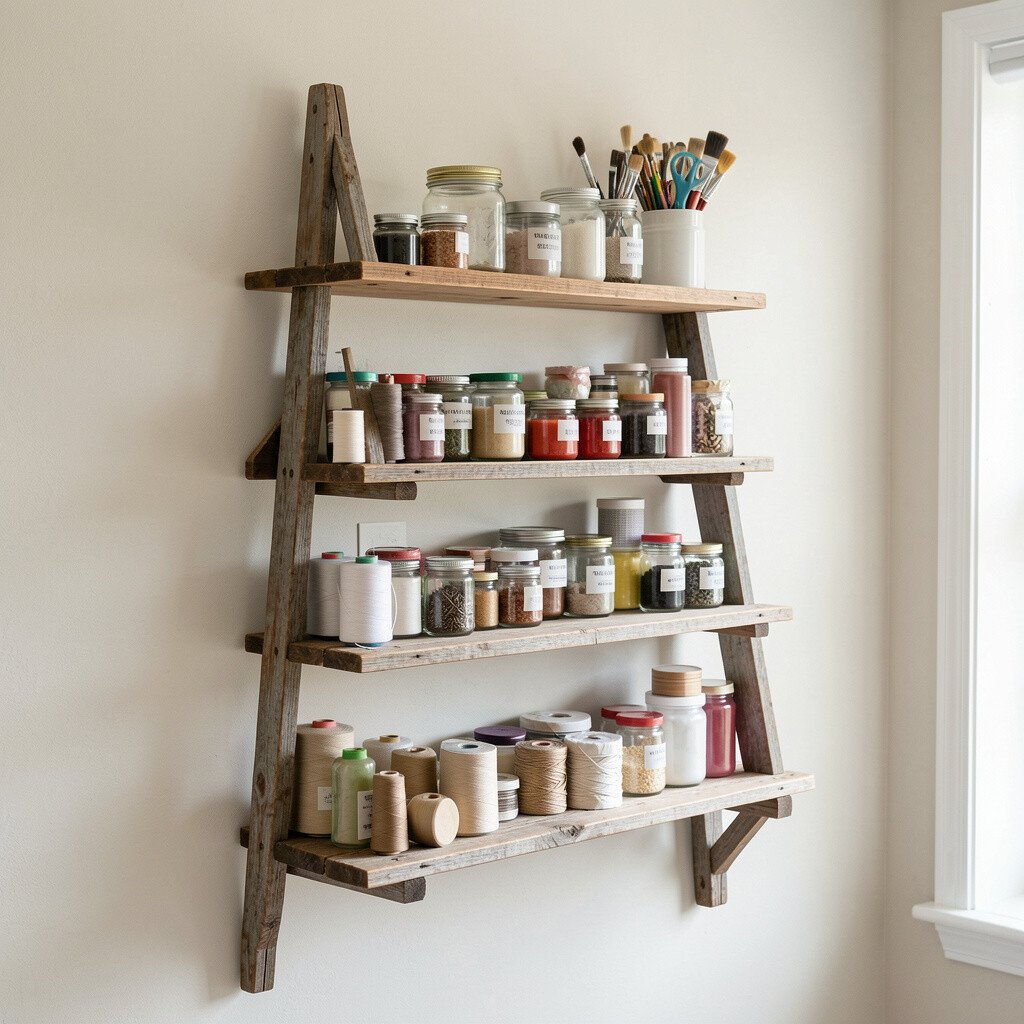
A small vintage ladder leaning or mounted flat can become a wall shelf with layered levels. Each rung holds bins, baskets, or trays so supplies are easy to sort.
Use the upper steps for lighter items like stickers, paper, and ribbon ends, and place heavier tools on the lower shelves. Add a fabric runner across the rungs to protect delicate materials and reduce sliding.
As a trend, ladder storage keeps things visually airy, which helps small rooms feel bigger. Personalize it by wrapping the shelves in twine or adding tiny clothespins for quick photo or pattern display.
When choosing a ladder, check that the wood is strong and the joints feel solid before mounting. That simple safety check keeps your crafty setup secure.
10. Old Wooden Drawer Faces as Vertical Sections

Vintage drawer fronts mounted side-by-side create a grid-like wall organizer that looks like reclaimed furniture. Even without the full drawers, the front panels can hold cards, tiny bags, and craft labels.
Paint the back behind each drawer face with a coordinating color so you get a tidy look. Add small fabric pouches or clear sleeves inside each section for items like buttons, bead mixes, or seed beads.
This idea feels unique because each drawer face tells a story, with different grains and hardware shapes. For cost savings, mix high and low finds by pairing a few nicer antique pulls with thrift-store wood pieces.
11. Vintage Hat Rack with Hanging Fabric Strips
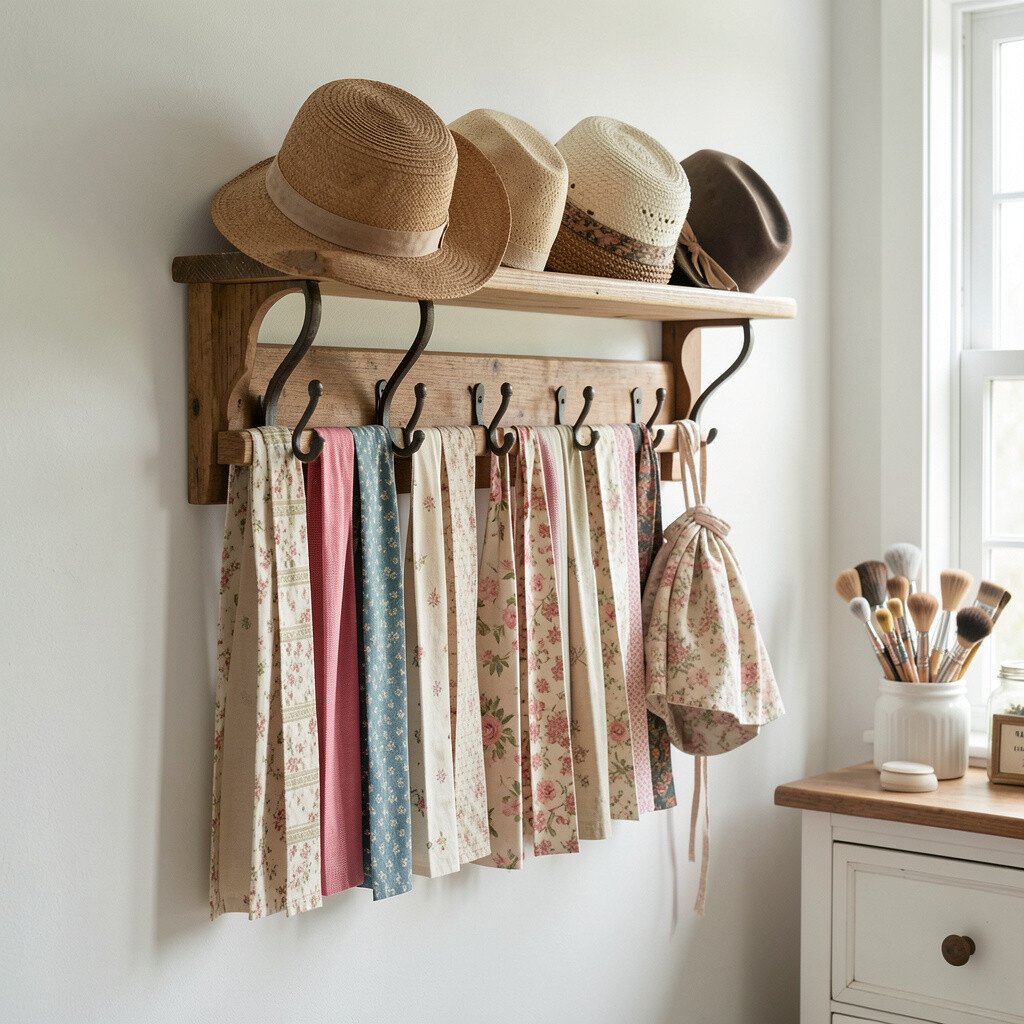
A vintage hat rack is made for hanging, so it works beautifully for fabric strips and ribbon. Hooks and curved bars can hold folded yardage, small bundles, or even quilting clips.
The visual benefit is big: you can see your fabric options at a glance. Keep it practical by using matching cloth ties to wrap each bundle, so edges don’t fray and items stay organized.
Personalize the rack by adding small cloth labels in your favorite handwriting style. This setup also echoes a current trend toward “textile display,” where fabric becomes part of the décor instead of stored out of sight.
12. Antique Metal Sign Inserts for Craft Categories
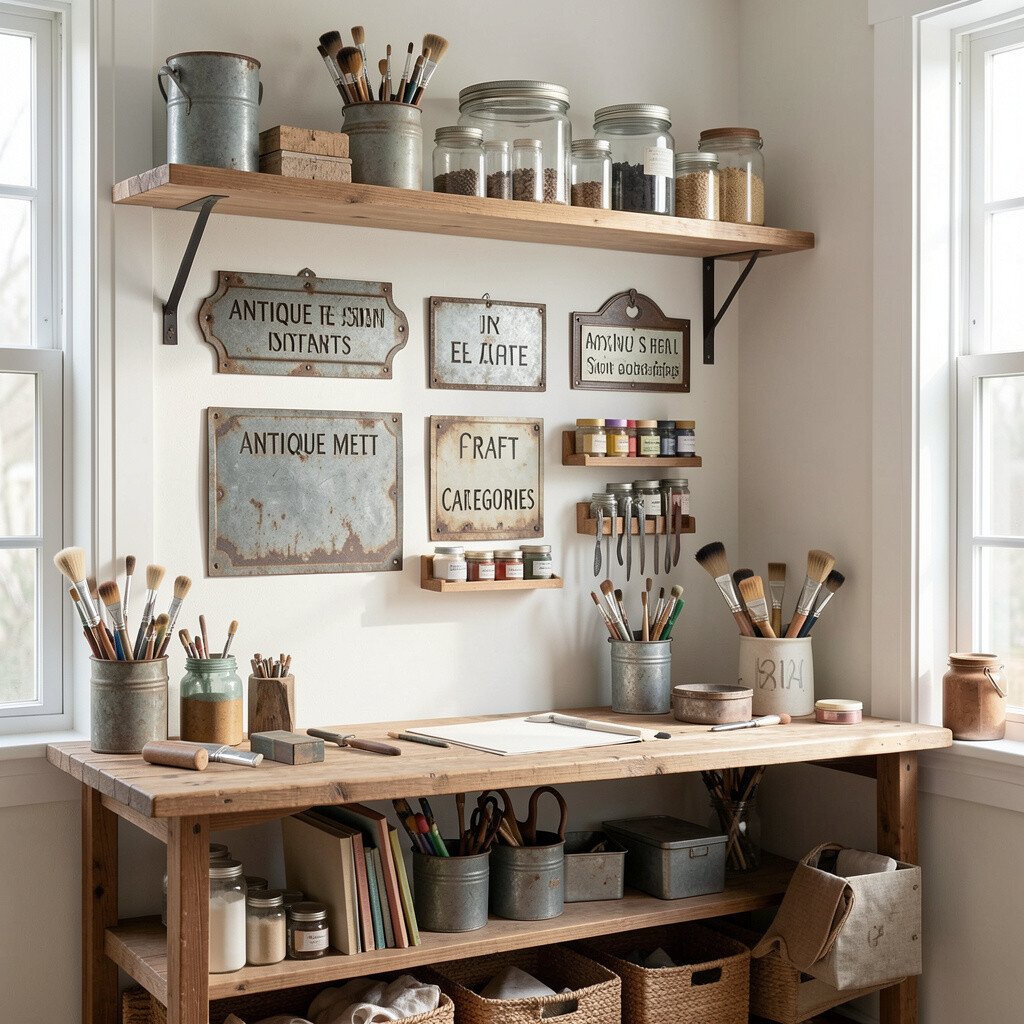
Consider using old metal sign pieces or yard-sale sign frames as shaped sections on your wall. Their graphic look makes even plain storage feel artistic.
Mount multiple frames and slide in cardstock organizers or small bins that match your categories. This is especially helpful for ink pads, markers, chalk, and stamping blocks because metal frames give structure and keep everything aligned.
To personalize, swap in new printed inserts as your projects change, so the wall stays fresh. For cost thoughts, you can often find frames without inserts and add simple organizers made from leftover cardboard or thin wood.
13. Vintage Bookshelf Backboard with Peg Hooks
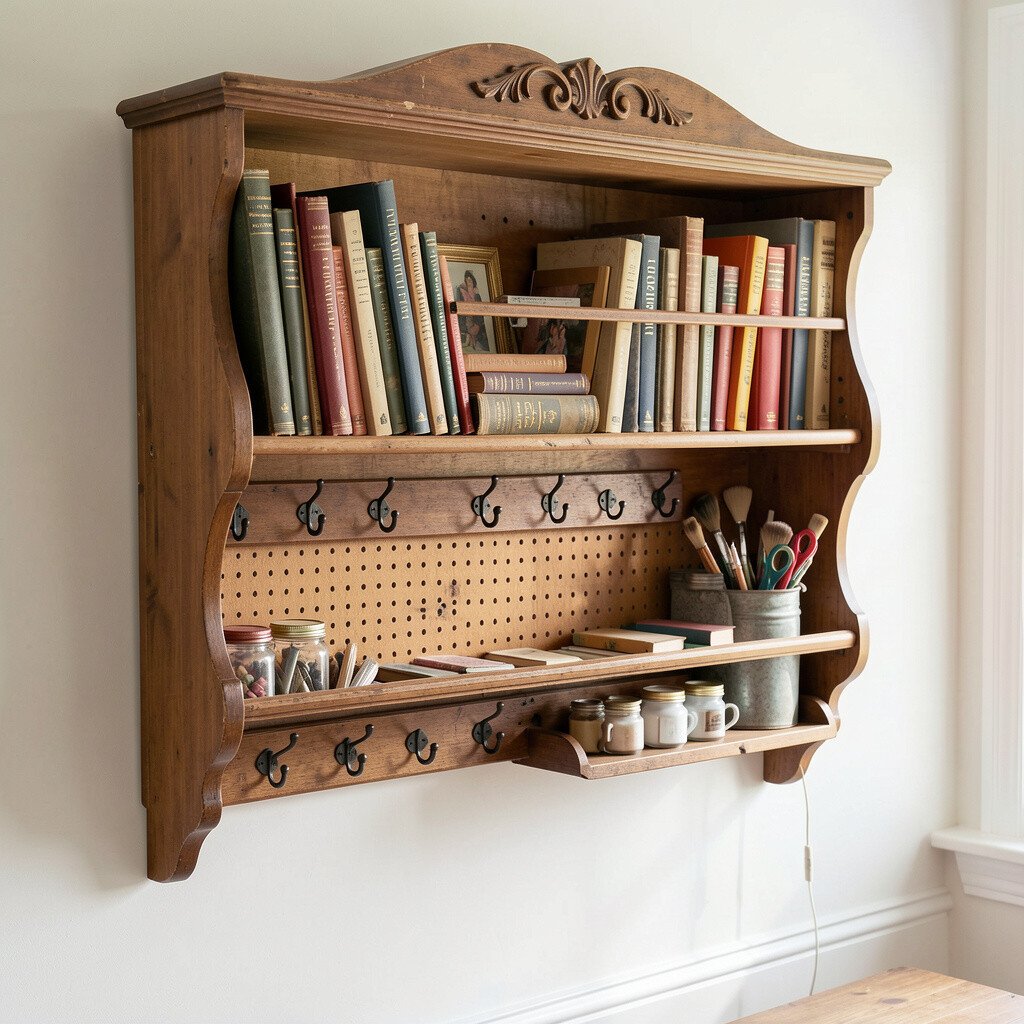
A flat, vintage bookshelf backboard can be turned into a peg-board style wall with hooks. The old wood panel gives warmth, while the hooks make it perfect for hanging small tools and accessories.
Hang items like paintbrushes, tape cutters, key rings for measuring tools, and small scissors. If the board has uneven edges, sand lightly and then seal it so it stays smooth under your hands.
This solution feels unique because it keeps the “bookish” look of vintage furniture while becoming a working storage surface. To personalize, pin small paper patterns or notes to the board with decorative clips.
And if you’re worried about durability, attach a backing support behind the board so the hooks pull firmly into solid wood.
14. Repurposed Curtain Rod with Hanging Craft Baskets
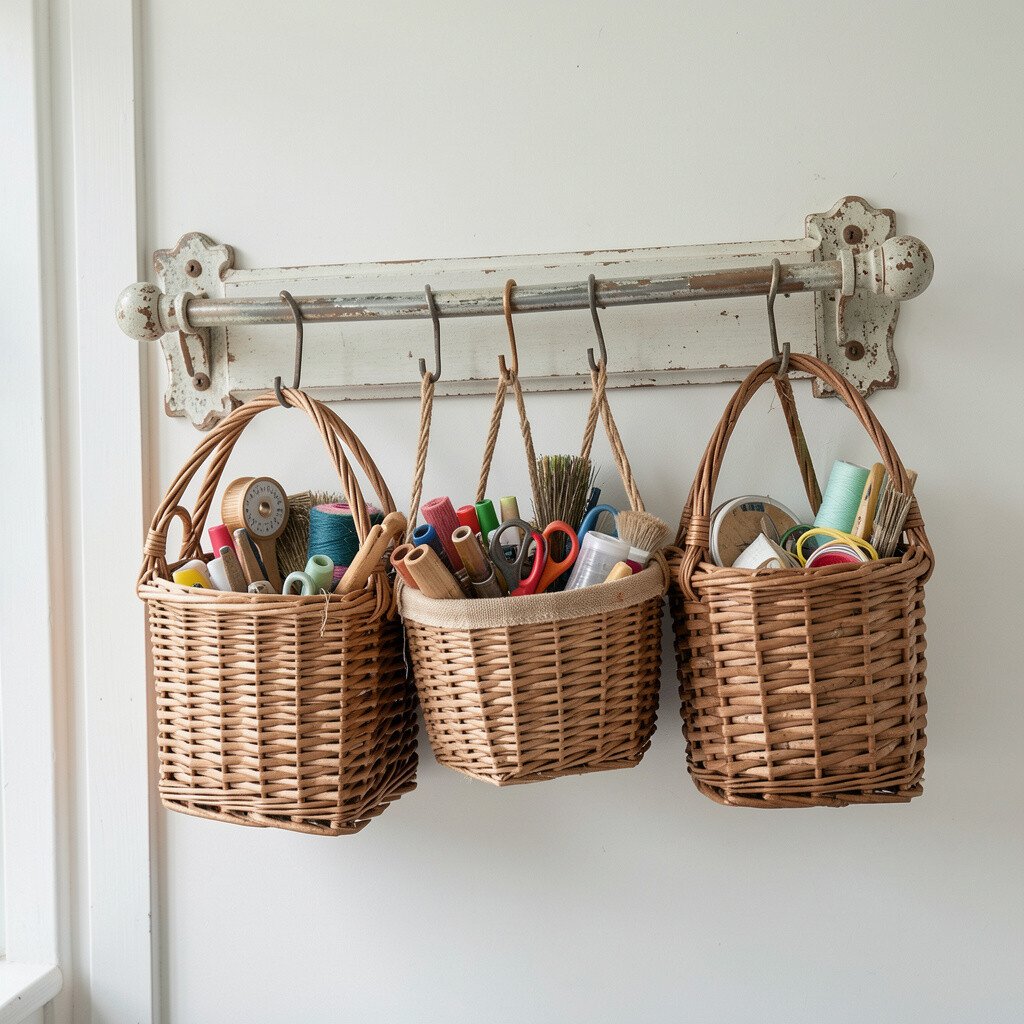
Mount a vintage curtain rod along your craft wall and hang baskets beneath it. The rod feels elegant, and the baskets keep supplies contained without hiding their color.
Use baskets for glue sticks, spools of twine, paper rolls, and small craft bags. If you want an extra tidy look, choose baskets with similar shapes so the wall feels consistent.
This storage trend fits the idea of “vertical organization,” where you use height instead of taking over counters. Personalize by painting the rod brackets, or by tying ribbon around basket handles for a soft, handmade touch.
15. Vintage Wall Clock Shadowbox for Tiny Keepsakes
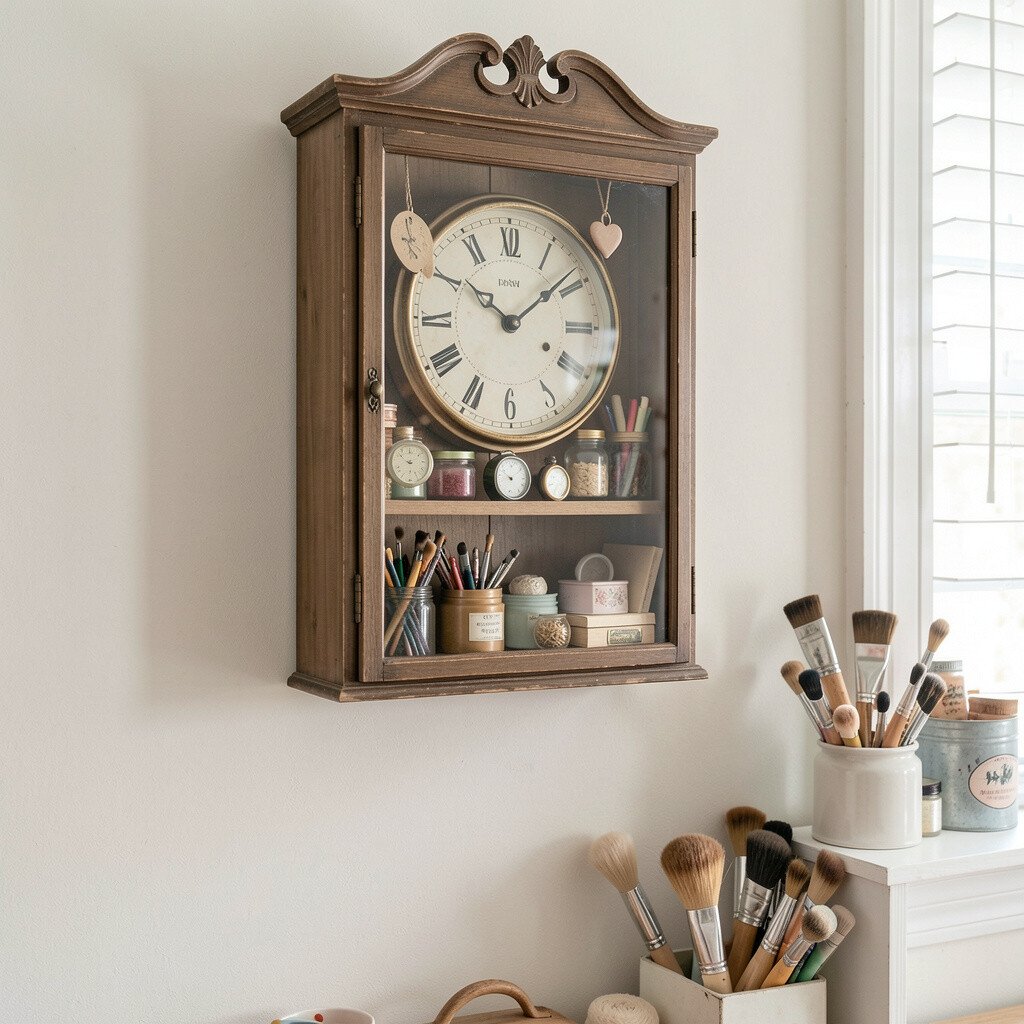
A vintage wall clock can be repurposed into a shadowbox organizer by removing the clock face and adding compartments behind glass. The circular shape makes it feel like décor, while the inside space keeps tiny supplies from going missing.
Store small jewelry findings, micro buttons, craft magnets, or seed beads in labeled sections inside the frame. For practical setup, use clear plastic cups or small trays so you can see what’s inside without opening anything.
This option is wonderfully unique because the clock form naturally frames your most-used minis like a display. If you want to keep costs low, look for broken clocks where only the outer frame is useful, then reuse clean glass if it’s intact.
Personalize it by writing craft labels directly on the back panel in a way that matches your room style, so the wall feels like yours from the first glance.