The road leaves clues in the light. Your camera can turn those clues into a story.
Adventure travel photography is about more than sharp shots. It’s about feelings, weather, and the small decisions that make every scene yours.
1. Follow the Rule of Motion
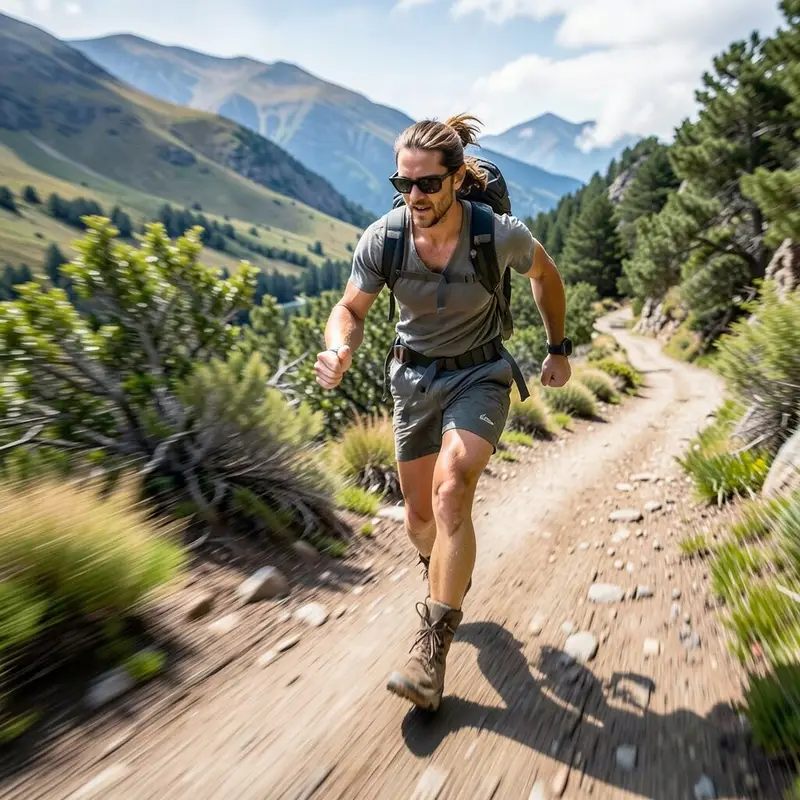
Watch what moves and choose how to blur it. A fast shutter can freeze dust, while a slow one can smear a river’s edge into silk.
Try panning with runners, bikes, or even a waterfall mist. Keep your stance steady and press smoothly, not suddenly, so the subject stays readable against the blur.
2. Photograph Weather Like a Main Character
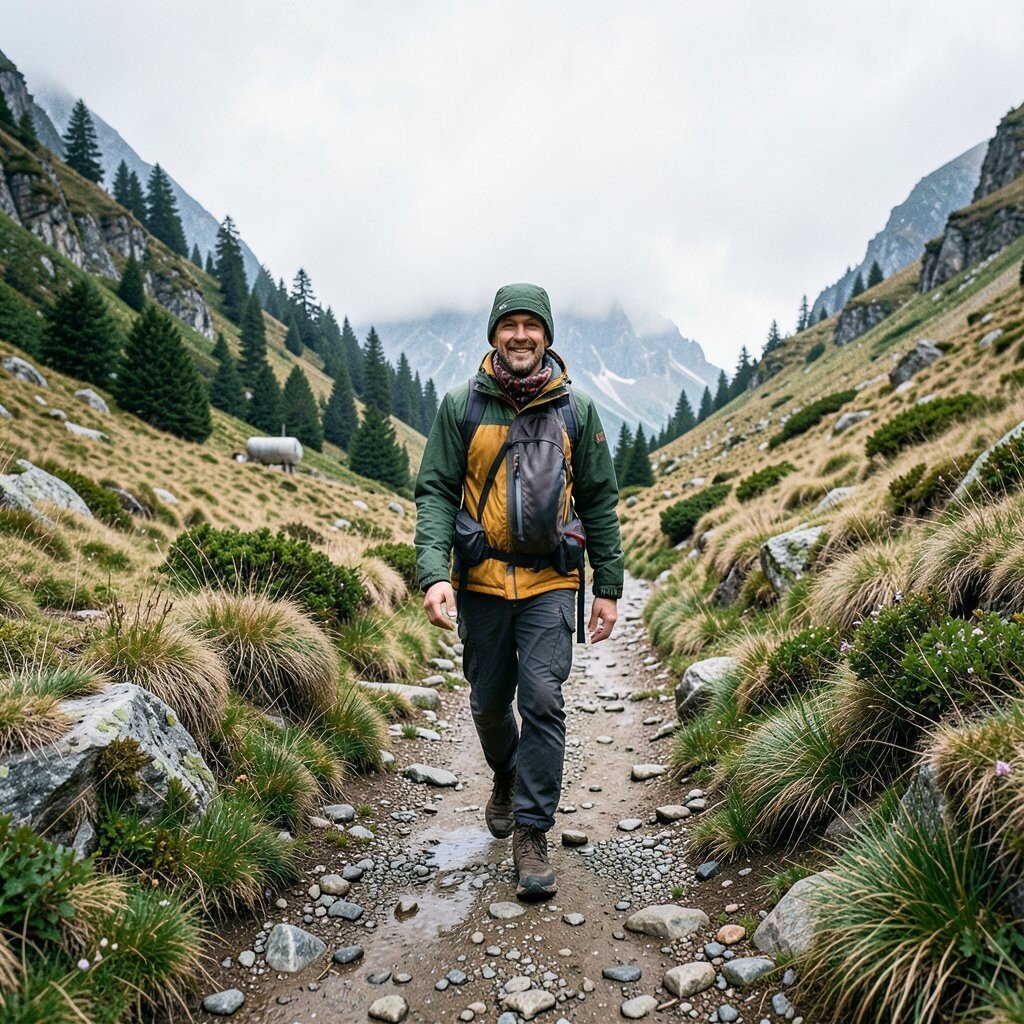
Storm fronts and sunny breaks can carry emotion on their own. A cloud shelf overhead can feel heavy, while sunlight breaking through can feel like permission to keep going.
Expose for the scene you want to remember, not just the sky you fear will blow out. When the wind changes, use that moment to frame tents, ridgelines, and hikers against dramatic color shifts.
Pack a simple rain cover or a plastic bag for quick protection. Cold fronts also tempt lens fog, so breathe away from the glass and wait a moment before you shoot.
3. Capture Hands Doing the Real Work
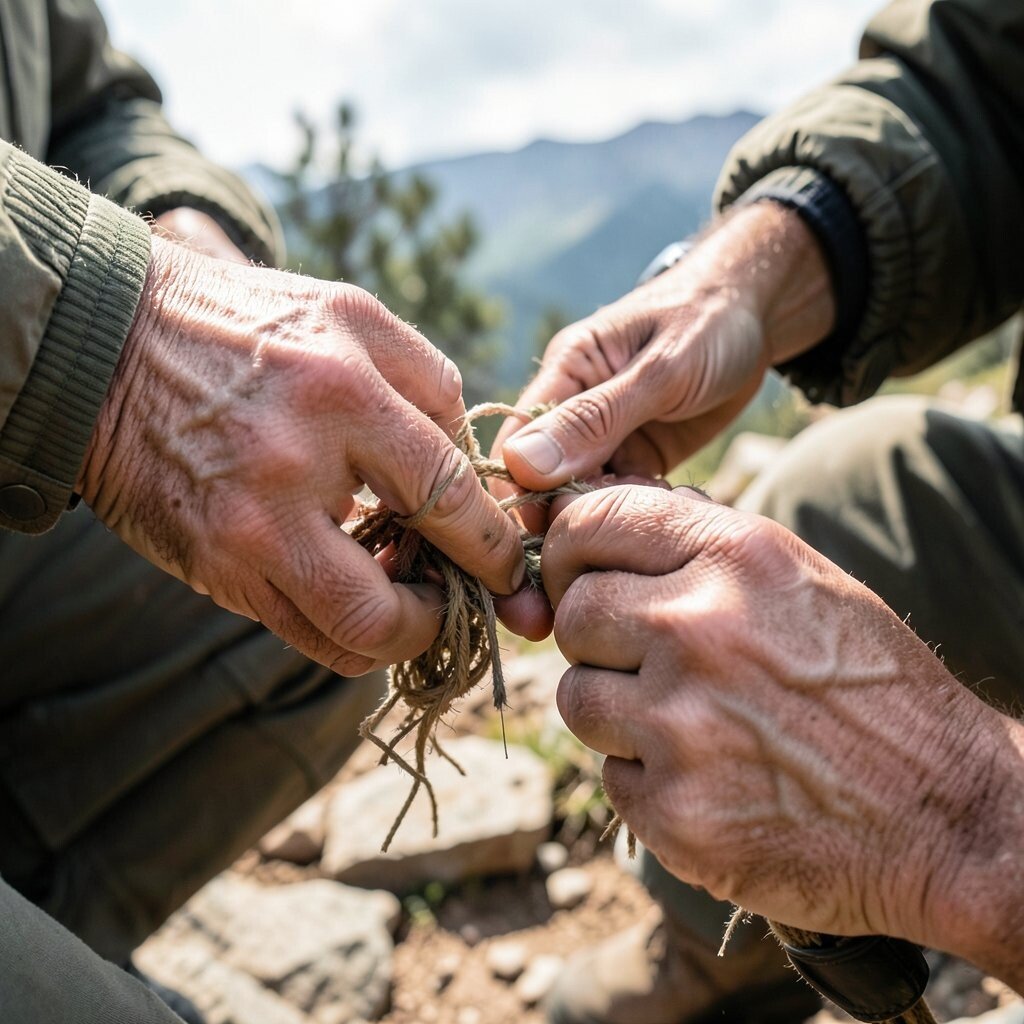
Adventure stories live in the hands. A gloved thumb adjusting a trekking pole looks honest, and it tells viewers what the moment demanded.
Look for small actions like tying a rope knot, pouring stove fuel, or cleaning a pair of goggles after a swim. Move close enough to see texture, but keep enough space to show context like trail dust or mountain rock.
Natural light helps skin and fabric tones without extra gear. If you’re on a tight budget, use your phone’s portrait mode carefully, then back up a step to keep the background believable.
To personalize, photograph your own gear with your own fingerprints and patches. Even one repeated prop, like a favorite lighter or headlamp strap, can become a signature across the trip.
4. Use Foreground Trees to Frame the Journey
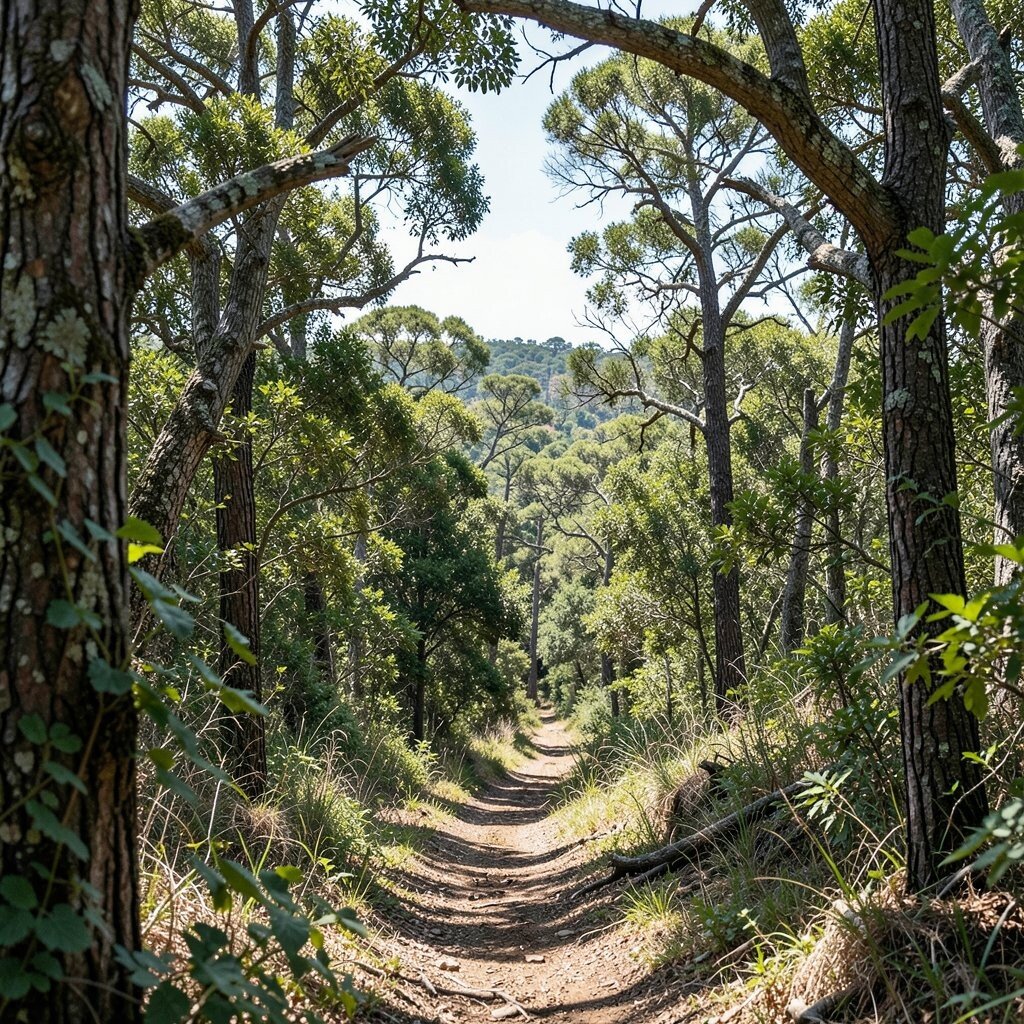
Layered framing makes viewers feel inside the scene. Place a foreground tree branch or rock edge near the lens so the background feels deeper.
Step slightly left or right until the branch curves like a natural border. This works beautifully at sunrise, because highlights on leaves add sparkle without extra editing.
5. Shoot Night Trails With Intentional Light
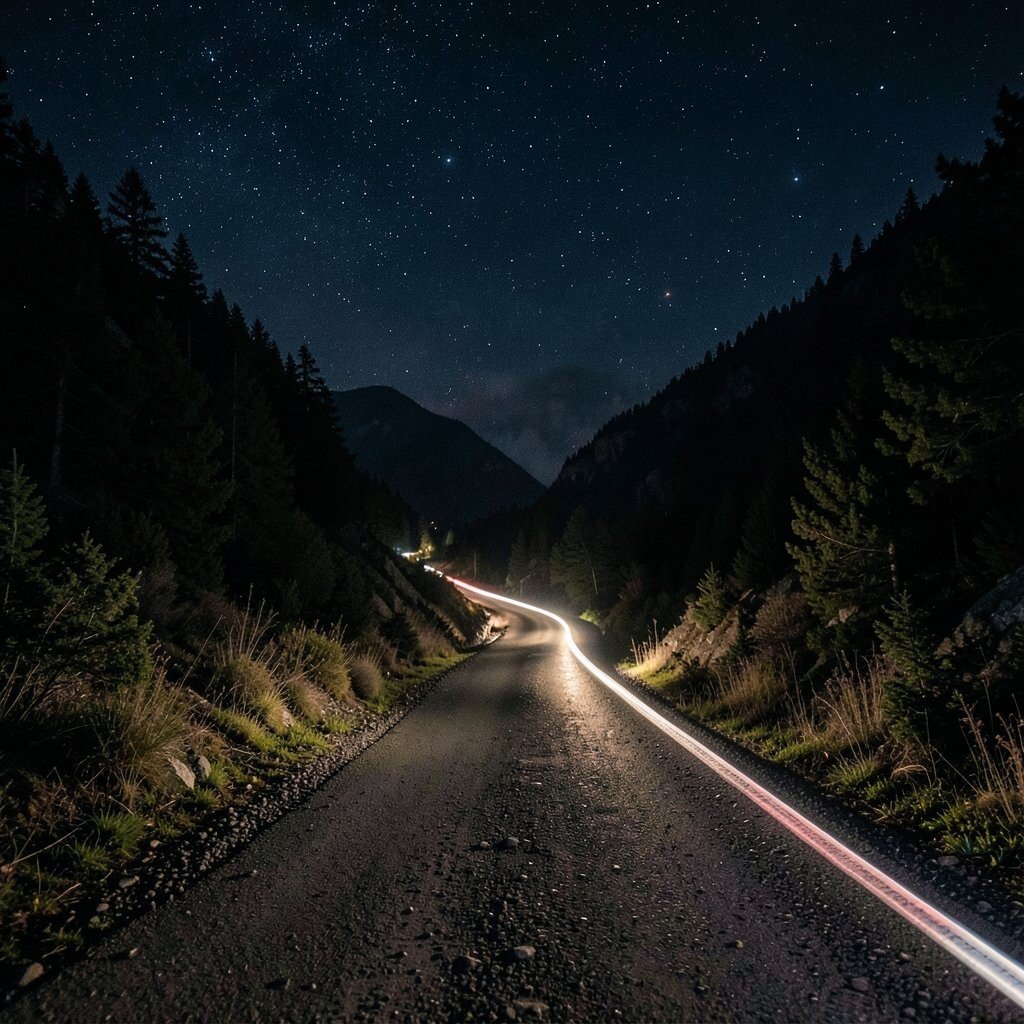
Night changes the rules and gives your photos a new voice. A headlamp beam across a dark path can look magical, but only if you control the exposure.
Use a slower shutter to let light trails gather, then keep your ISO moderate to reduce noise. If you’re using a phone, try night mode but keep the camera steady on a rock or strap it to your bag.
For practical safety and ethics, avoid blinding other travelers and check local rules for night photography. Tell a story by including one human figure and one glowing landmark, like a lantern or a distant cabin.
6. Photograph Your Route Markers and Trail Signs
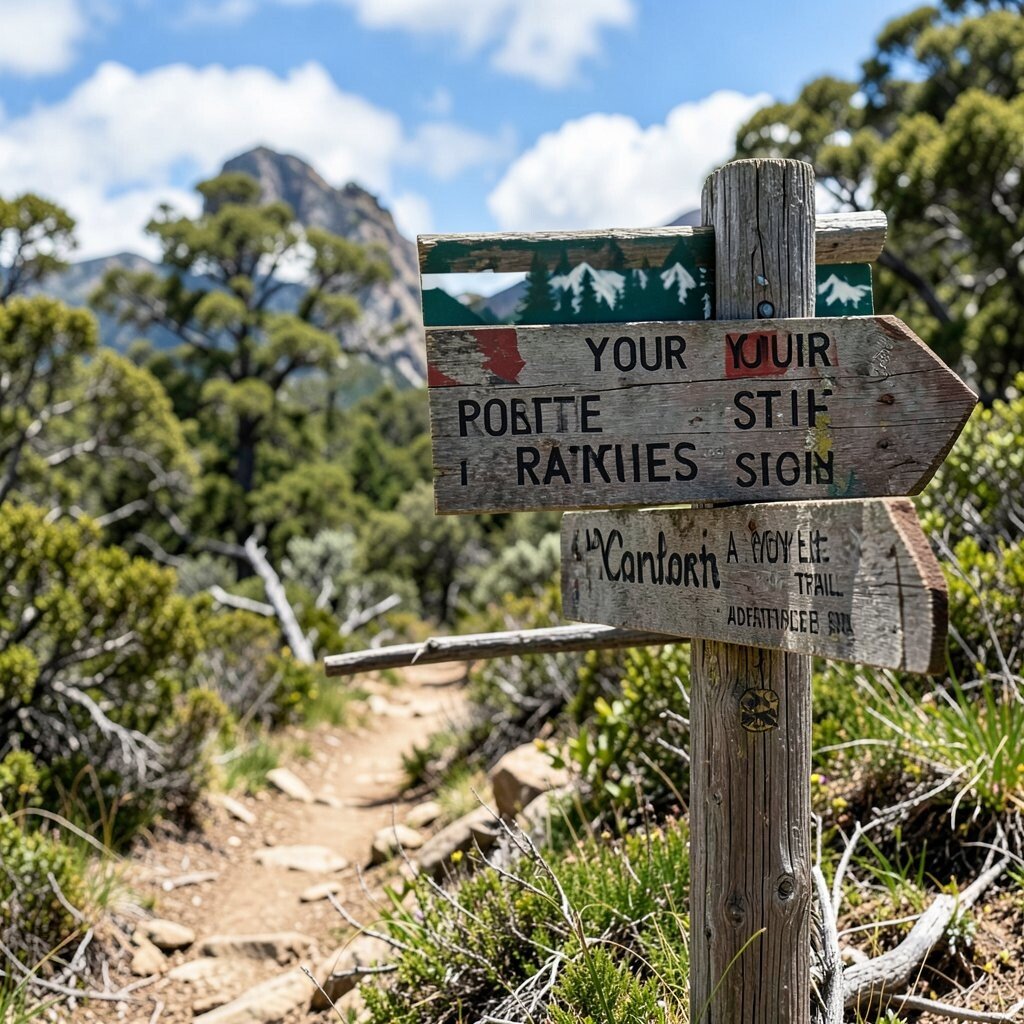
Route markers act like punctuation in a visual journal. A faded sign at a junction, a ribbon tied to a post, or a painted arrow can show progress.
Angle the camera so the marker points into your path rather than toward the viewer. When you include the ground leading away, the image reads like a direction, not just an object.
7. Capture Breath, Steam, and Wind Patterns
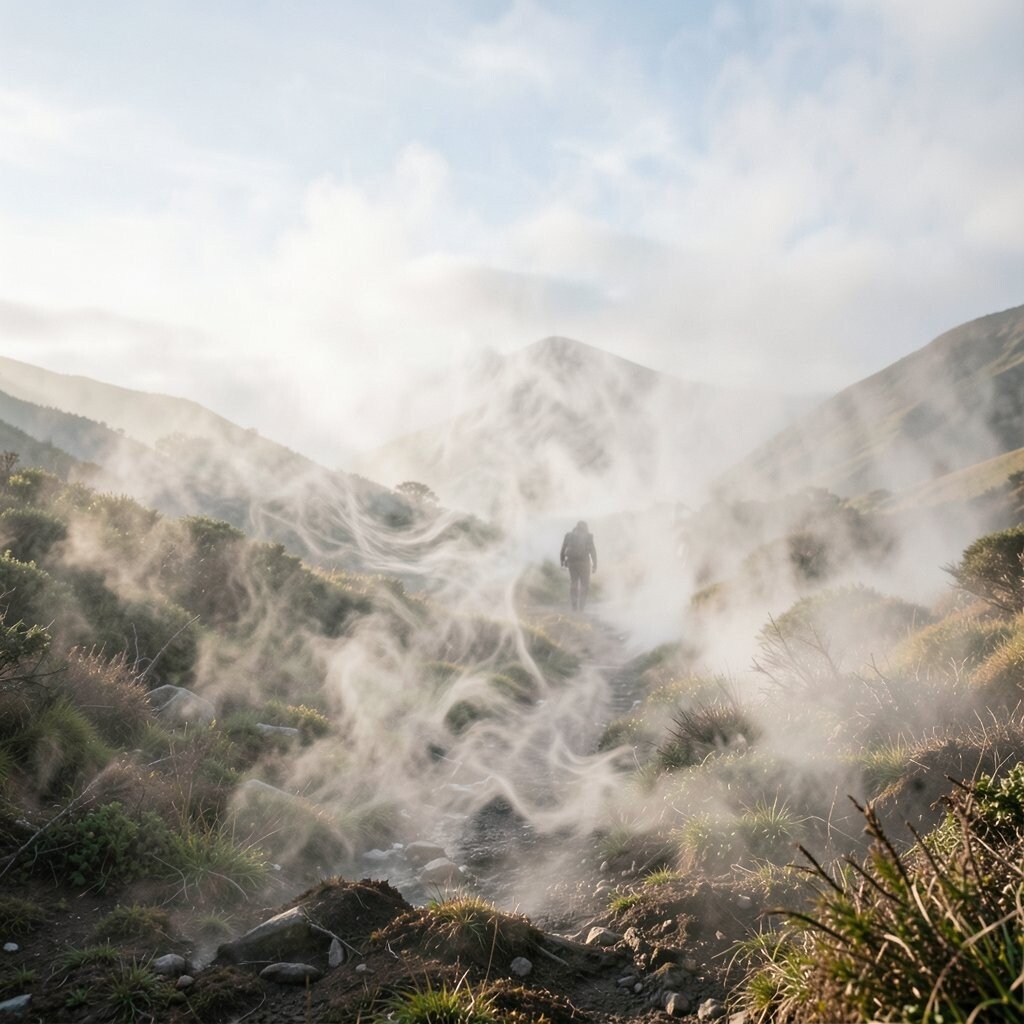
Cold air breath can feel poetic when you time it right. Shoot when people pause or when your own breath catches the light in a headwind.
Wind patterns on hair, clothing, and steam add texture to otherwise plain moments. If the air is foggy, try backlighting for a soft glow around the vapor.
Keep the shutter fast enough to freeze faces, but not so fast that the vapor becomes invisible. A mid-range aperture or your phone’s pro mode can help separate subject from background.
Make it personal by photographing your team’s breath in the same spot across different days. The repetition builds a rhythm viewers can feel.
8. Photograph Elevation With Simple Reference Shots
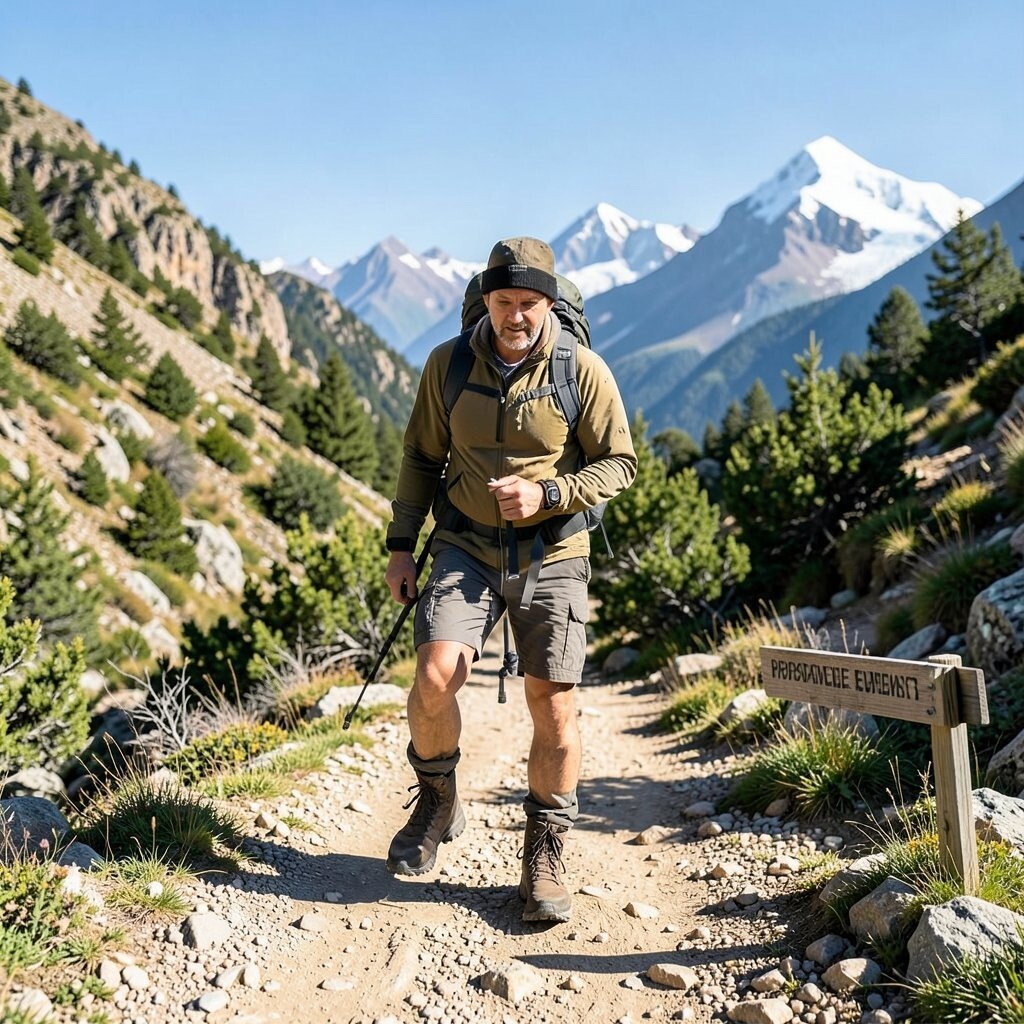
High places can be hard to show without context. Add a reference shot, like your boots on a ledge or a hand on a sign that hints at height.
Keep one viewpoint consistent for a mini photo series during your ascent. Even a basic landscape repeated at different elevations turns your story into a climb you can see.
9. Tell a Story Through Foreground Texture
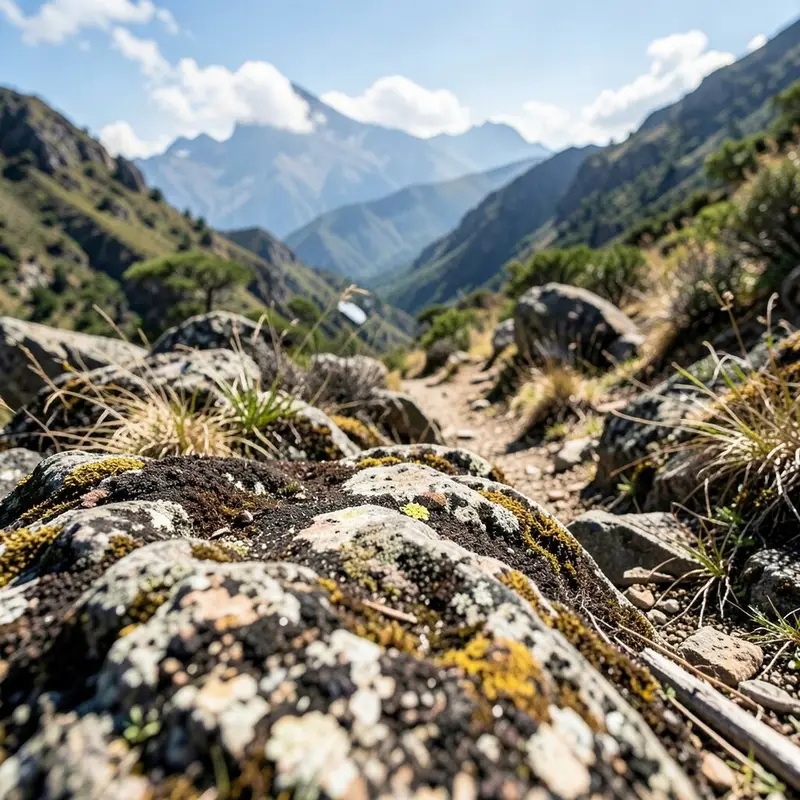
Sometimes the most powerful scene starts close to the ground. A gritty sand pattern, cracked desert clay, or wet stones can carry the “where” in a single frame.
Use raking light near sunrise or late afternoon so texture becomes visible. Move your camera slightly and search for lines, curves, and tiny shapes that feel like clues.
If you want cost savings, a small hand lens can make details look bigger, even on a phone. Just keep the shot natural and include enough of the environment to connect texture to place.
10. Create Portraits by Asking for a Micro-Moment
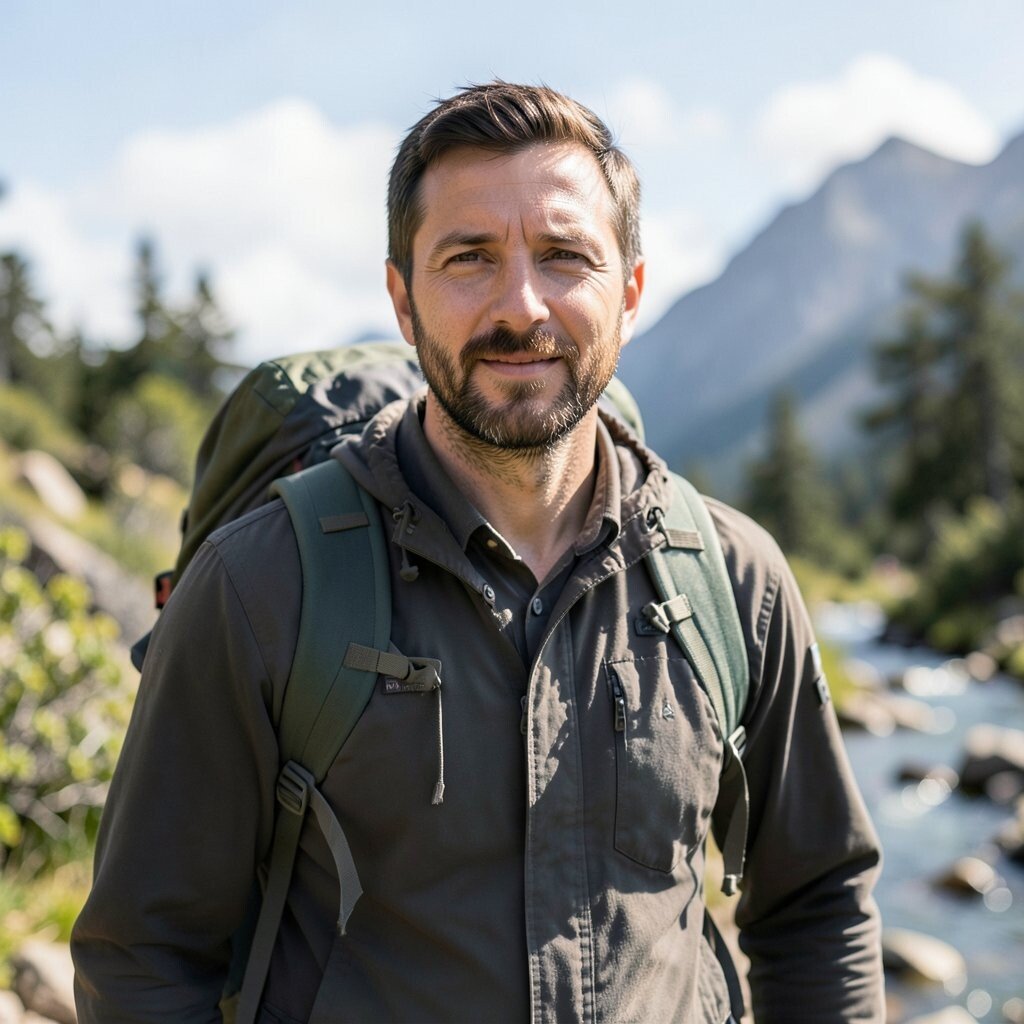
Good adventure portraits often begin with comfort. Instead of long posing, ask for a micro-moment like adjusting a backpack strap or looking down the trail.
Use natural gestures and short prompts so the subject stays relaxed. A 10-second pause can be more authentic than a forced smile, especially in windy conditions.
For practical success, choose a background that matches your story, such as a ridge line or a shelter doorway. Keep your framing simple so faces stay clear and viewers connect quickly.
11. Shoot Water at Different Speeds for a Story Arc
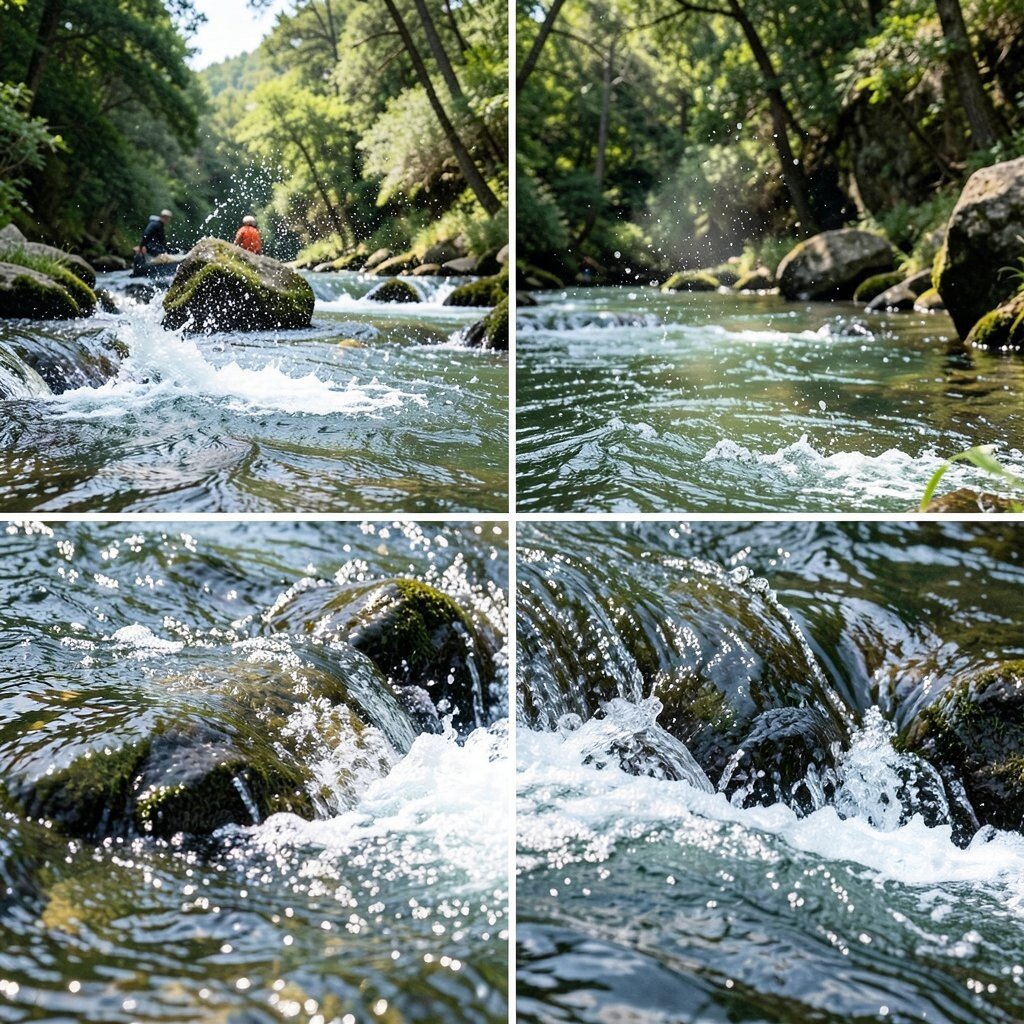
Water can look calm, wild, or magical depending on shutter speed. Photograph the same waterfall or stream multiple times while you change how you shoot.
Try freezing droplets for detail, then slow down for silk-like movement. A small change in distance can also help, since foreground mist can add drama.
Consider gear and cost by using what you already have. A cheap neutral density filter can help slow shutter in bright daylight, but you can also wait for shaded hours or overcast weather.
12. Use Reflections in Puddles, Glass, and Rivers
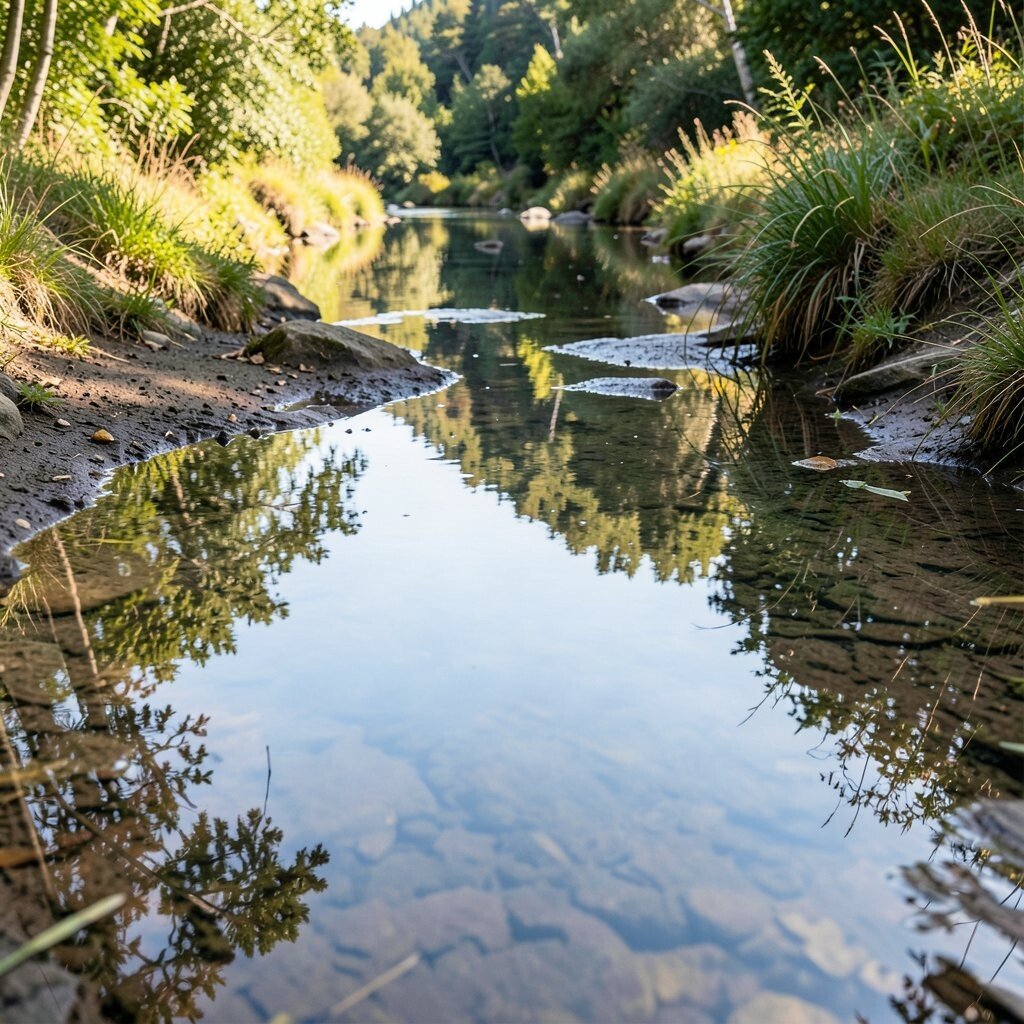
Reflections turn one scene into two. A puddle can mirror mountains, and a car window can hold a runner’s silhouette in motion.
Get low and steady, because reflections are picky. If your phone camera struggles, use tap-to-focus on the reflected area and lock exposure if your app allows it.
13. Photograph Wildlife With Respect and Distance
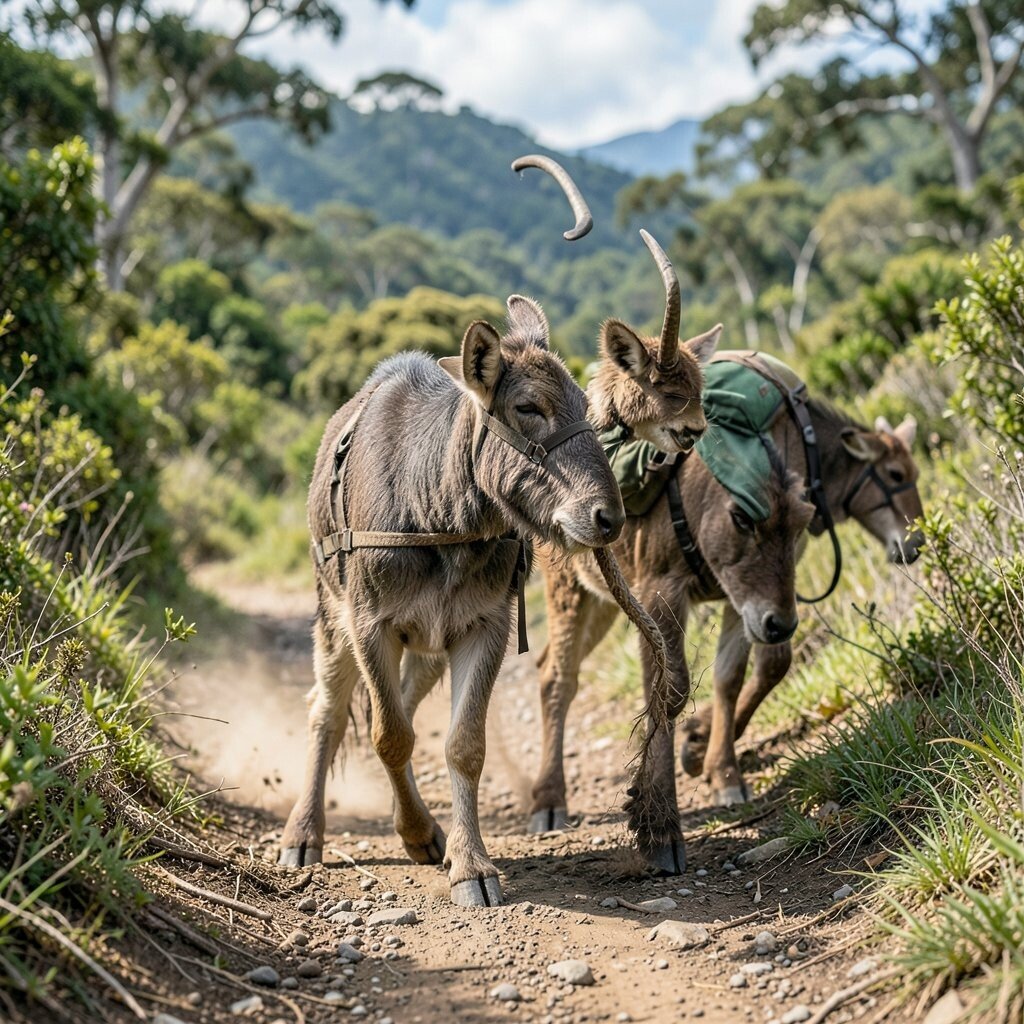
Wild animals make adventure feel alive, but respectful distance keeps everyone safe. Look for signs of presence like tracks, feathers, or a distant silhouette before you chase a subject.
Use a telephoto lens or your phone’s zoom carefully so you don’t invade space. If you can’t get close, photograph habitats like burrows, paw prints, or scat with a wide angle that includes surrounding context.
For practical tips, keep your distance and follow local rules, especially near nests or dens. Your best “wild” photo may show behavior in the environment rather than a close portrait.
14. Document Packing Choices and How They Change
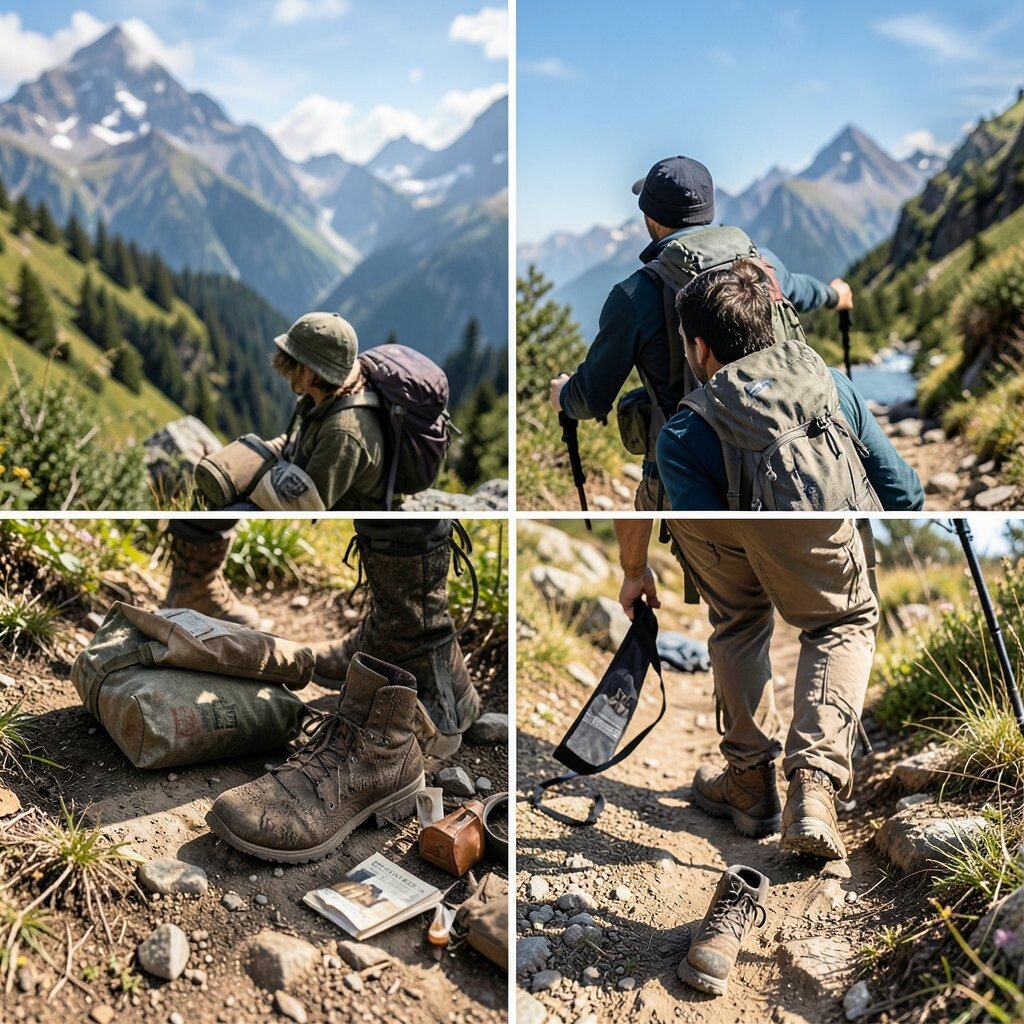
Every trip has gear decisions, and that’s part of your story. Photograph your pack open on a tent floor, your layers on a bench, or your hands checking a map.
When you revisit the same spot on different days, show how your kit changes with weather. It’s a simple way to show growth without needing to explain anything out loud.
To keep costs down, use everyday objects like a carabiner cluster or a dry bag with a bright color. Choose one item to photograph often, like a headlamp, so the viewer recognizes your timeline.
15. Capture Camp Life Through Small Rituals
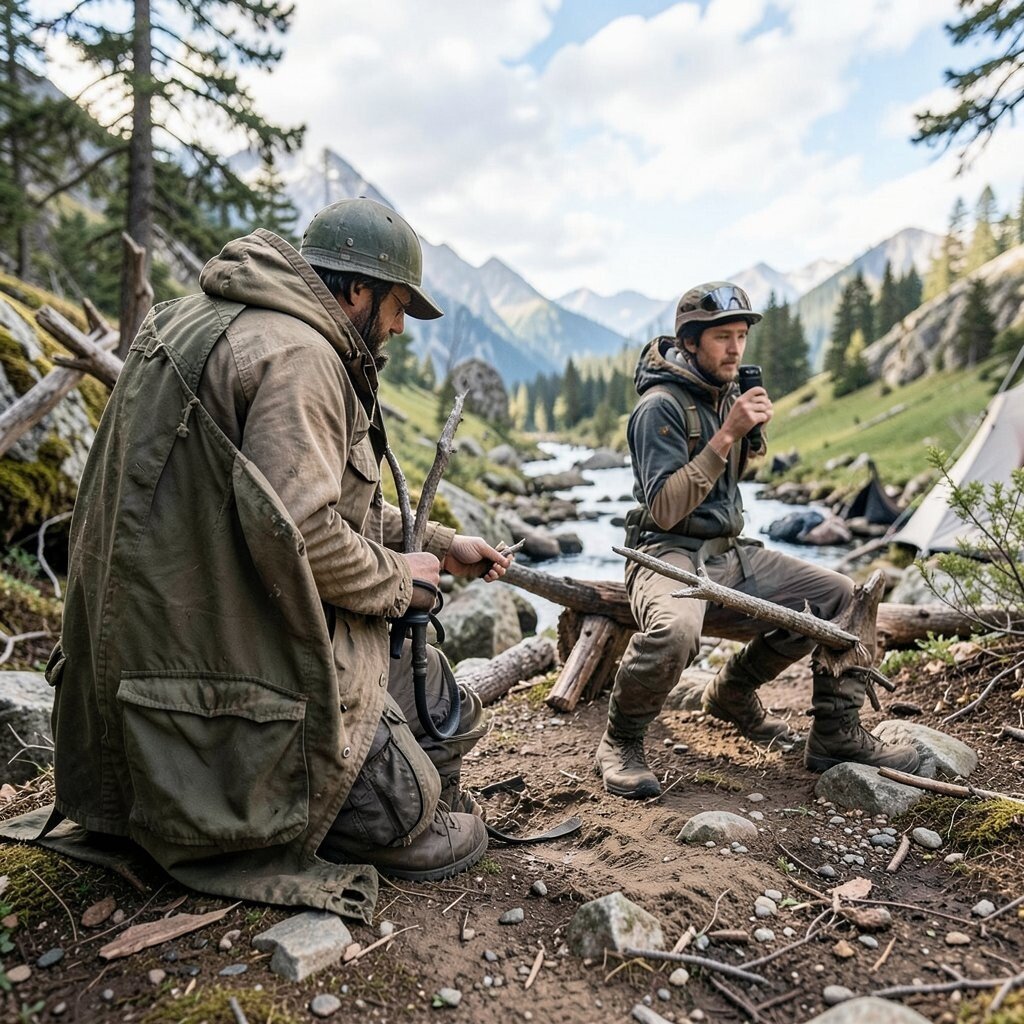
Camp feels real when you focus on tiny routines. A kettle steaming, shoes drying near a fire ring, or a book left open at dusk can carry warmth.
Light matters, so shoot during the golden hour when flames and lanterns glow softly. If you’re using a phone, keep your lens clean and avoid smoke haze by positioning yourself slightly aside.
Unique storytelling happens when you repeat one ritual photograph each night. Maybe it’s the first sip of tea, the last adjustment of a sleeping bag, or your hands closing a zipper.
16. Shoot Landmarks Only From Unusual Angles
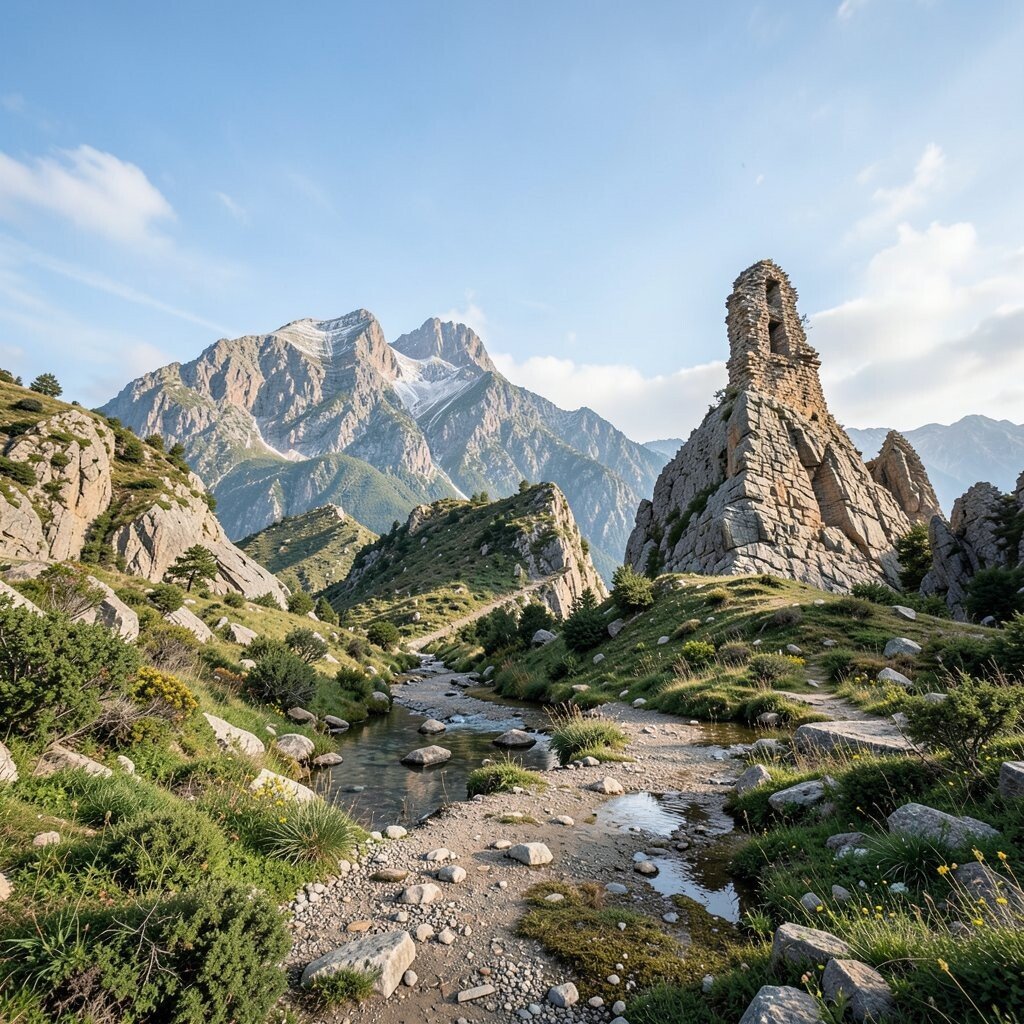
Landmarks can become clichés when you photograph them the same way everyone else does. Change your angle to show how you arrived, like shooting from inside a doorway or from behind tall grass.
Climb to a slightly different height or look for a low perspective that makes the landmark feel imposing. When possible, include a subtle path line that leads into the frame and helps viewers “follow” you.
17. Photograph Maps, But Make Them Personal
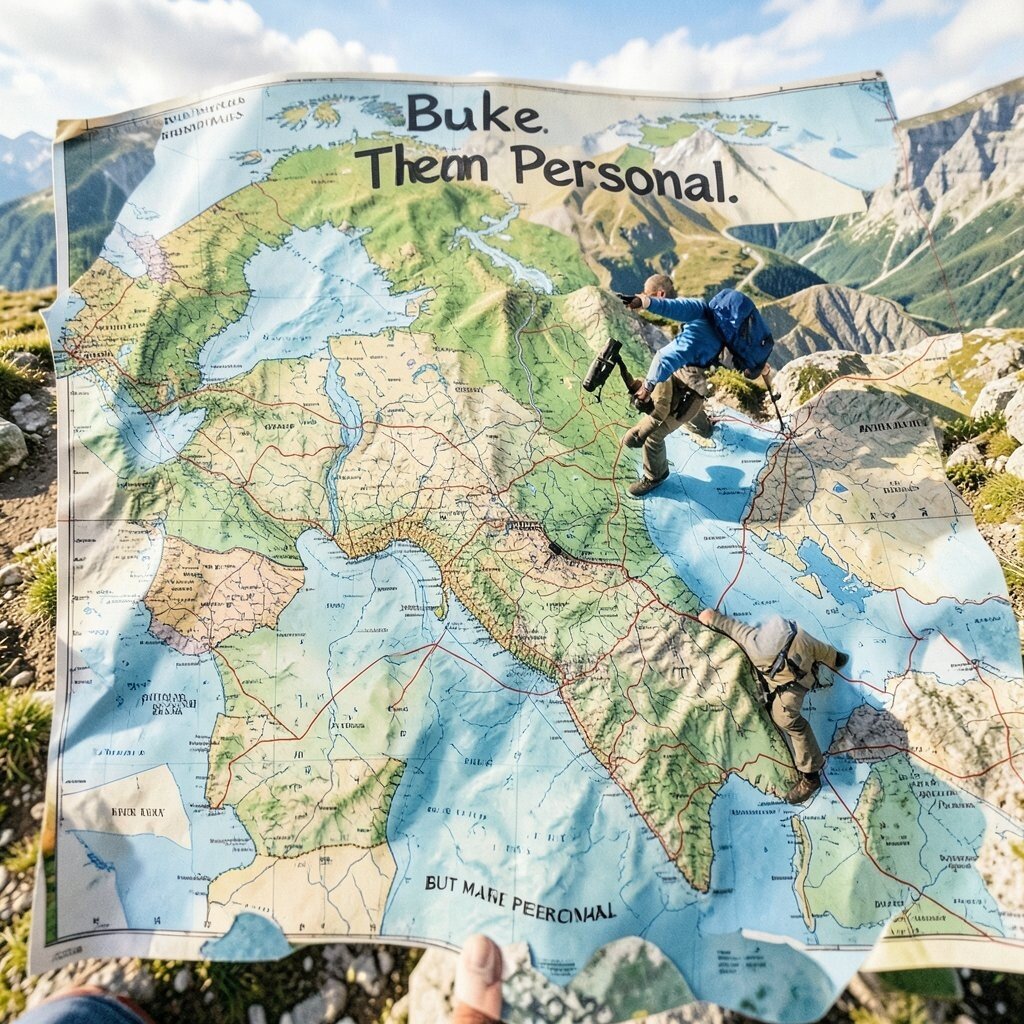
A map can look flat unless you connect it to your moment. Show a folded map on your knees, with your finger pointing to the next turn, or your handwritten notes beside route lines.
Use natural light so the paper texture is visible and the lines feel tactile. If you don’t want to bring paper, screenshot your route on your phone and photograph the screen near a window or camp lantern.
Consider cost by borrowing a simple waterproof map holder or using a zip bag. Then personalize the map with visible wristbands, a transit ticket stub, or a small patch that links to your identity.
18. Create Action Scenes With Safe, Controlled Setups
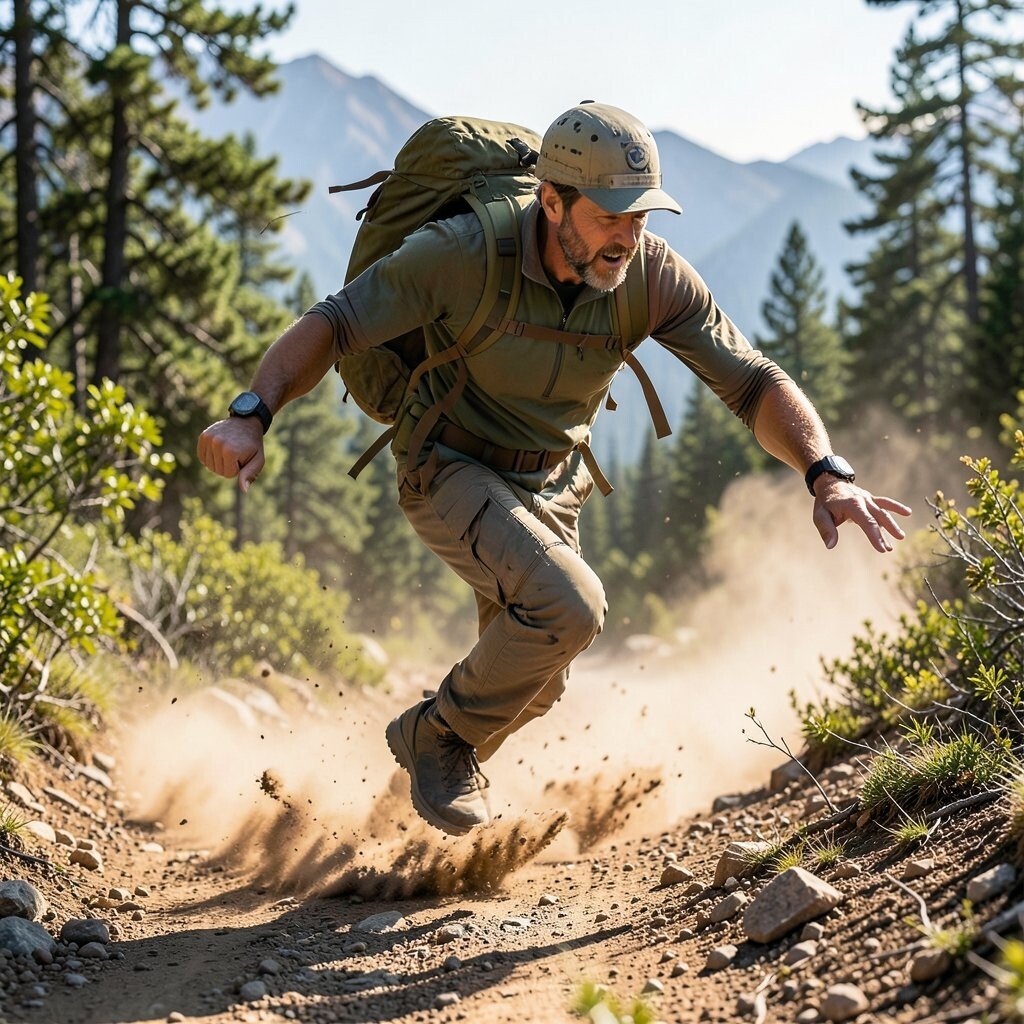
Adventure action is thrilling, but you can still keep it controlled. Photograph jumps off a low rock, climbing footwork, or kayaking strokes from a safe stance with a clear view.
Use burst mode so you catch the peak moment. For consistent results, practice holding your camera steady and watch for your subject’s predictable timing, like the moment a paddle exits the water.
19. Use Silhouettes for High-Impact Minimalism
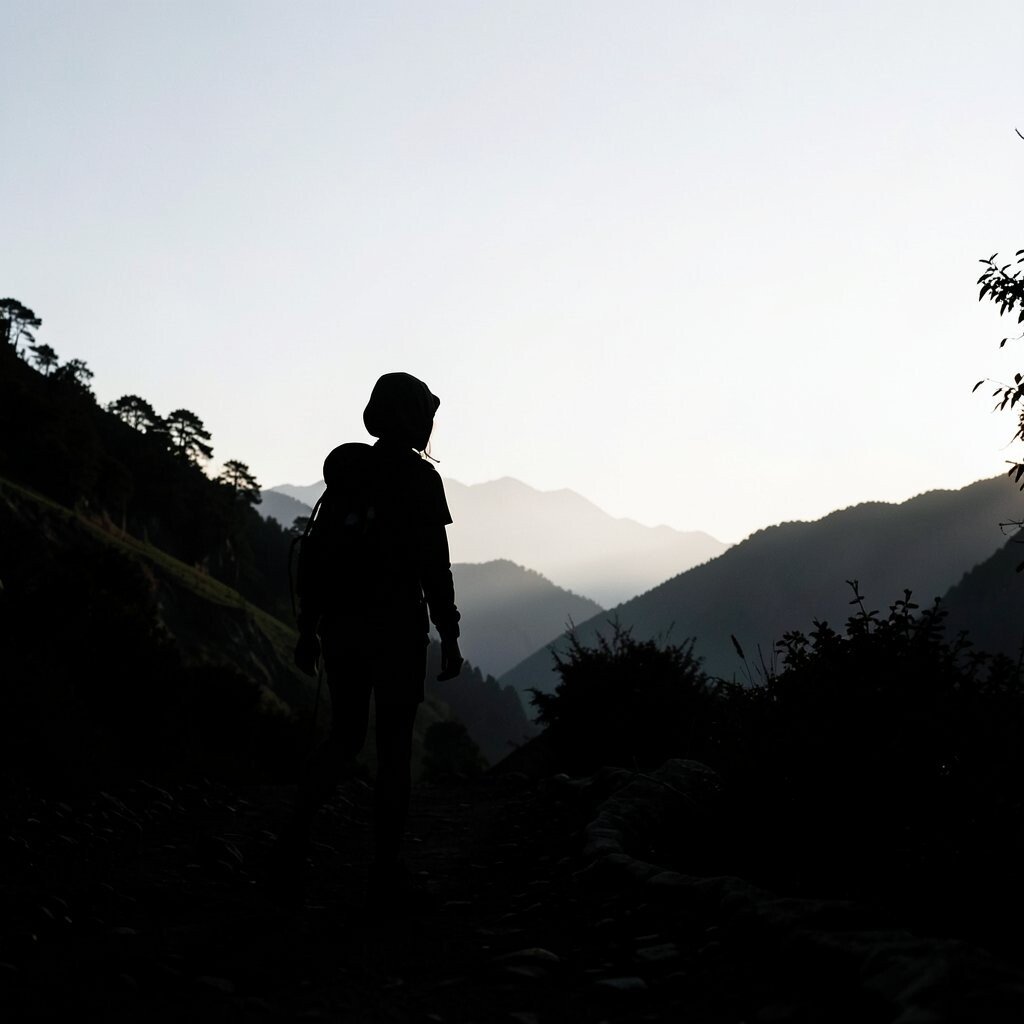
Silhouettes strip the scene down to shape and mood. Backlight your subject at dawn, at dusk, or under a bright doorway so only edges show.
Choose a strong outline like a climber on a ridge, a cyclist against a sunset, or a lone hiker on snow. Your composition can stay simple because the viewer’s brain fills in the story from the mood.
To keep shots from turning into guesswork, expose for the background highlights so silhouettes stay clean. If you’re shooting with a phone, tap the bright sky area and reduce exposure slightly to keep contrast.
20. Photograph Your Footsteps as a Narrative Thread
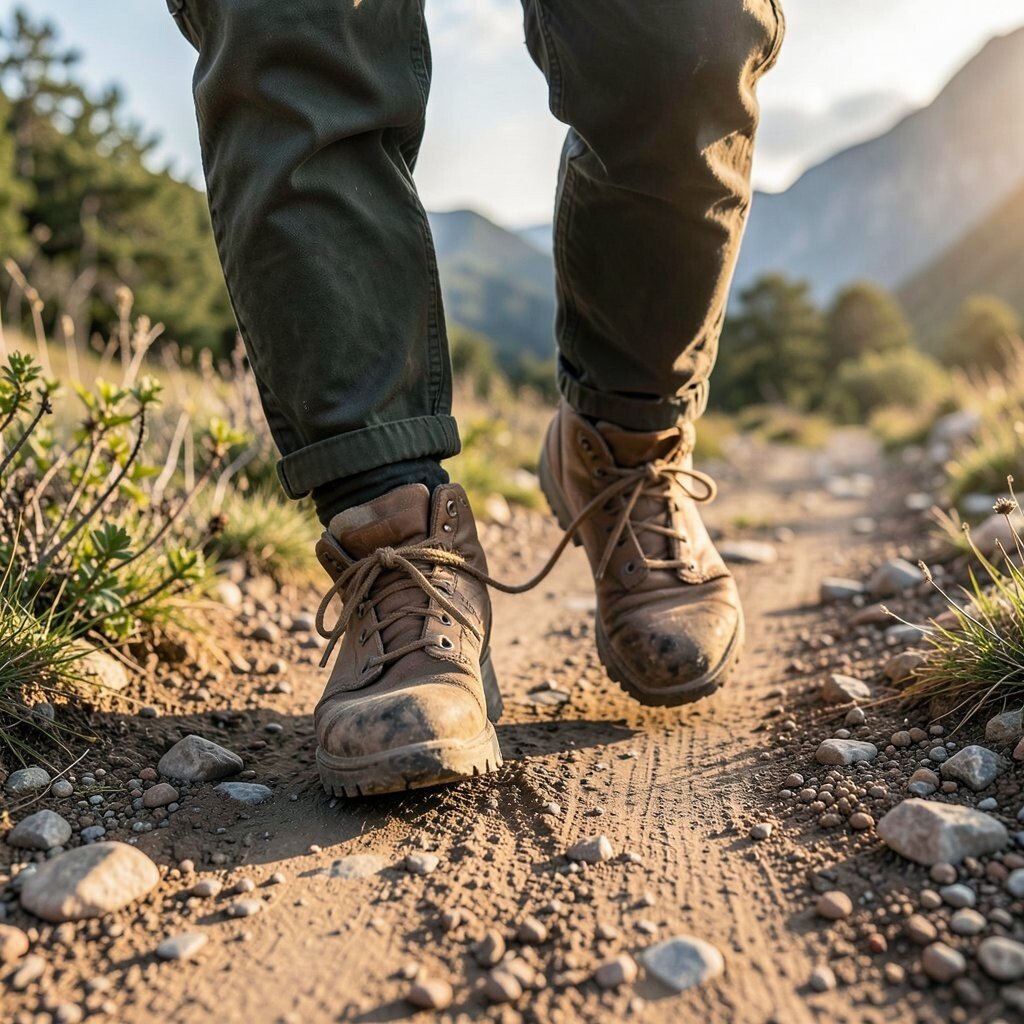
Footprints and ground marks connect images into a single timeline. Capture boot prints in wet sand, crampon marks on ice, or a line of footprints in dust.
Shoot from above when possible, then add one wider frame that shows where the ground begins and where it disappears. This makes the story easy to read even for viewers who didn’t join you.
It can also be low cost because you don’t need special gear. Your best investment is patience, waiting for light and avoiding muddy chaos until the marks look clear.
21. Try Smartphone Macro for Tiny Adventure Worlds
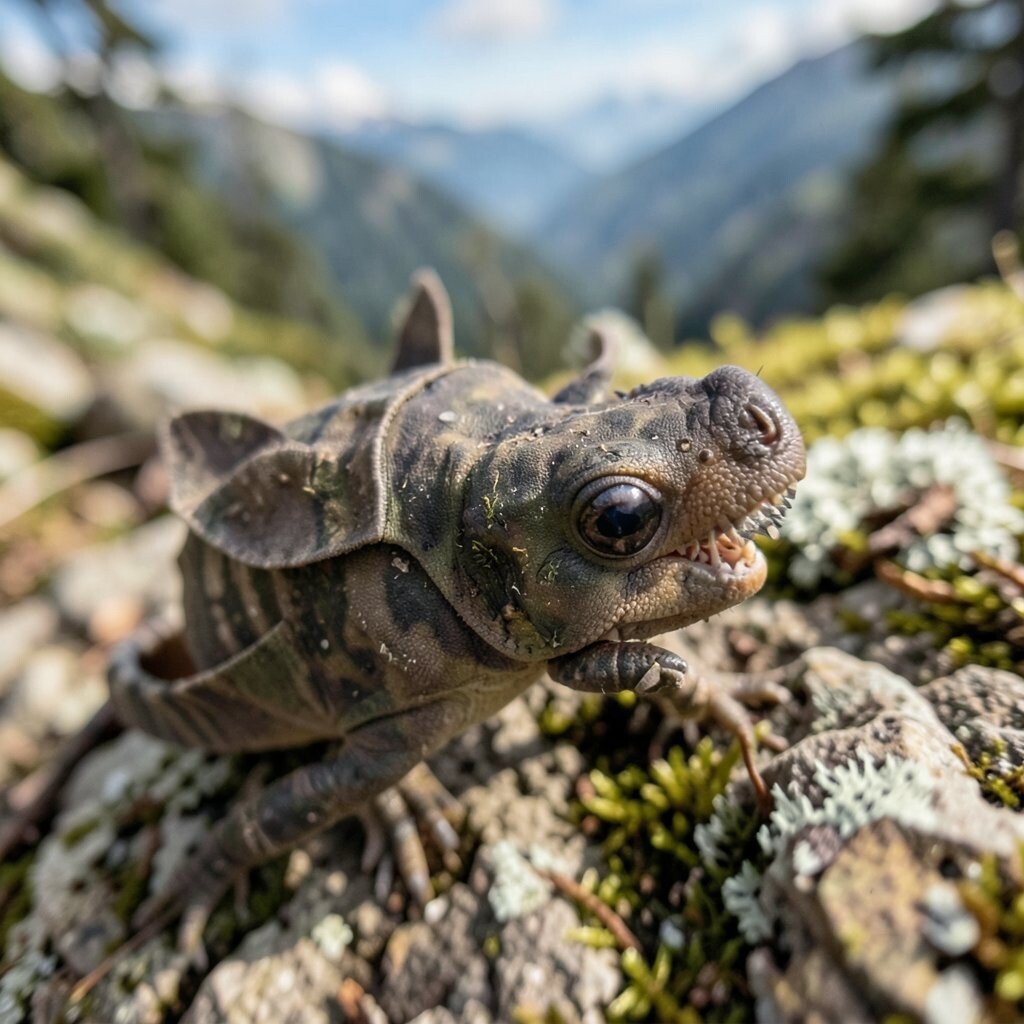
Small details can feel huge when you use macro-style focus. Photograph ice crystals, alpine flowers, rope fibers, or the pattern on a rock edge.
Move your light source closer and shoot near golden hour so details look rich. If your phone supports a macro lens attachment, it can be inexpensive and fun, but you can also get close by using portrait mode with good lighting.
Personalize by choosing one theme across the trip, like “textures from my boots.” When you keep returning to that theme, your tiny-world photos become a signature set.
22. Build a Color Theme Across the Trip
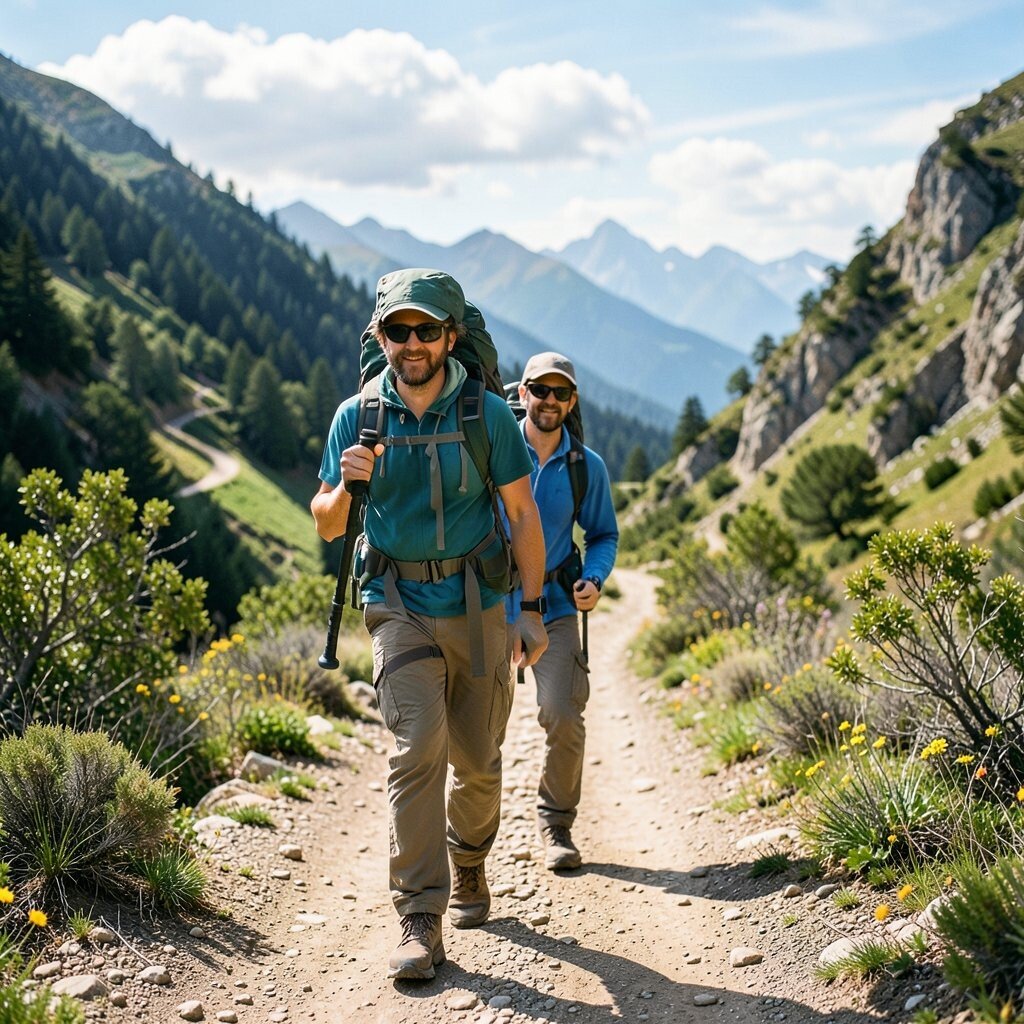
Color is one of the easiest ways to make photos feel connected. Pick a theme like warm oranges from camp flames, cool blues from snow, or deep greens from forests.
As you shoot, try to include that color in many frames, even if the subject changes. A bright jacket, a red headlamp glow, or a blue pack can become your visual thread through the story.
Don’t stress about heavy editing, since trends now favor natural tones and honest contrast. If you do edit, keep your adjustments consistent so the trip feels unified across devices and platforms.