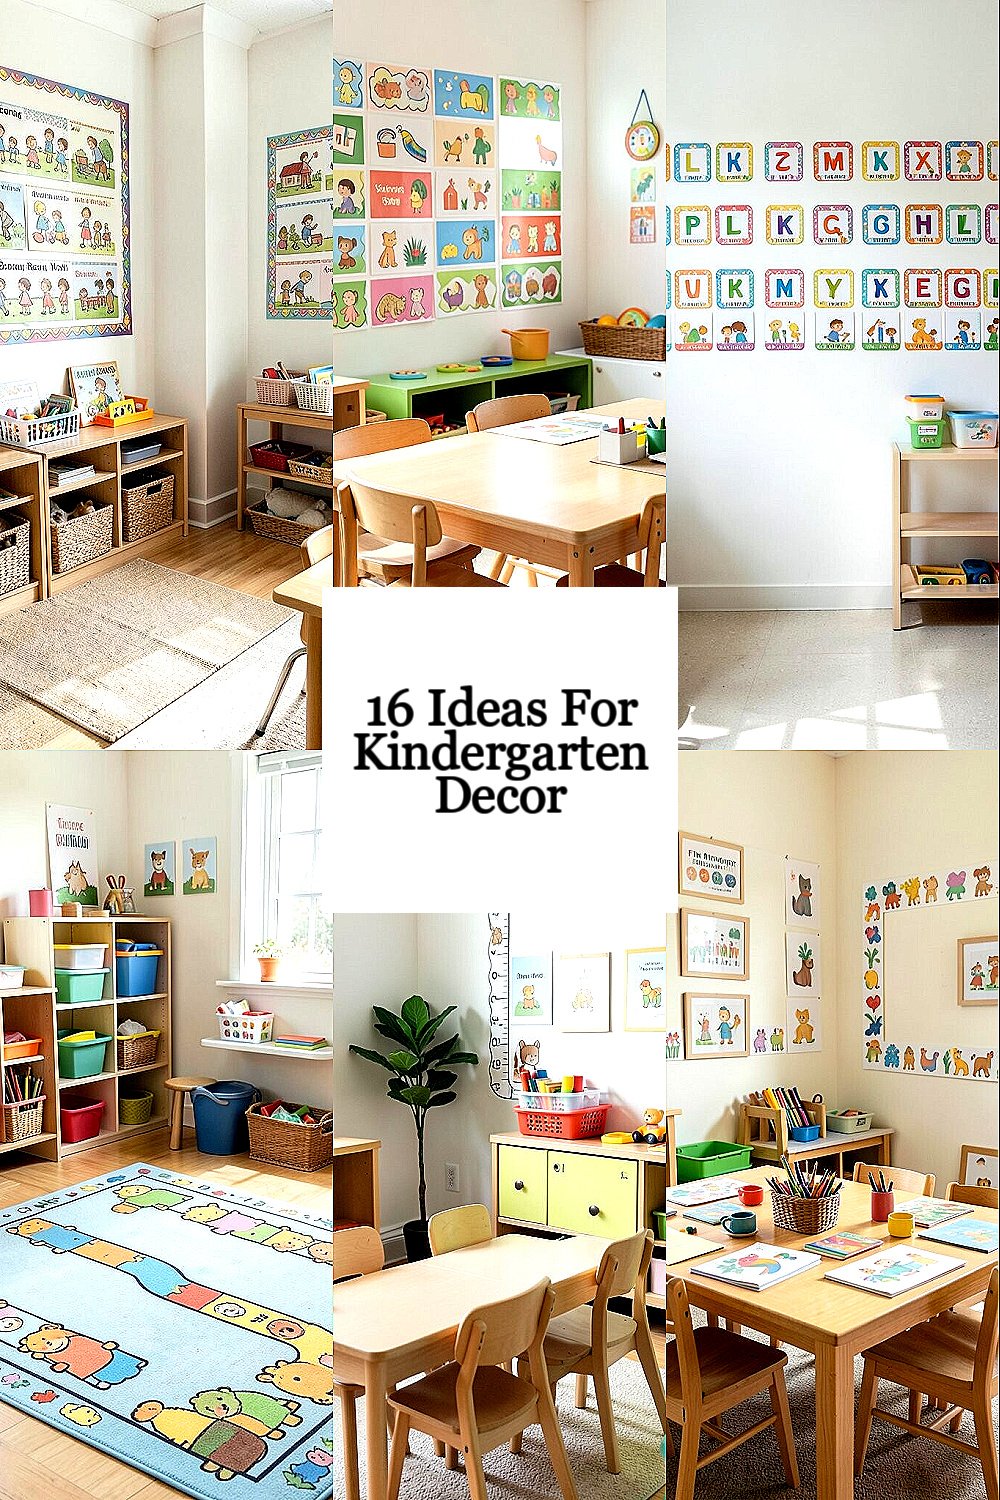
A classroom can feel like a friendly map for young learners. When decor uses borders with intention, creativity shows up everywhere.
From sorting tables to story corners, the right frame helps children notice details and feel proud of their space.
1. Storybook Border Reading Nook
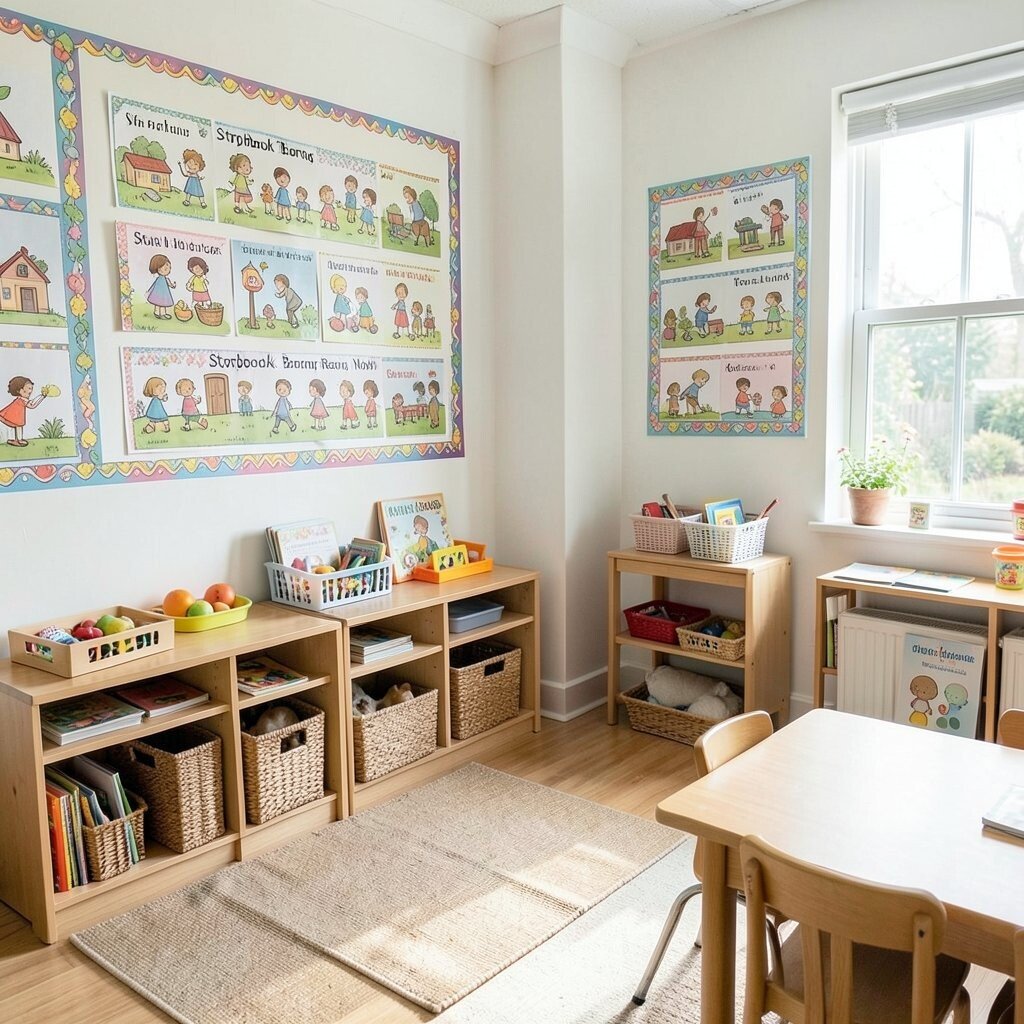
Wrap a low shelf or cozy rug area with a soft border ribbon, like a gentle picture frame. Add small illustrated characters printed on cardstock and place them along the border edges for a steady visual cue.
Choose calm colors for the background and bold outlines for the border so kids can track where to look during read-aloud time. When you change the book theme, update only the border cards, which keeps the setup fresh without buying new furniture. For a practical approach, store spare border pieces in a labeled envelope near the nook so you can swap them in minutes.
2. Color Sorting Border Stations
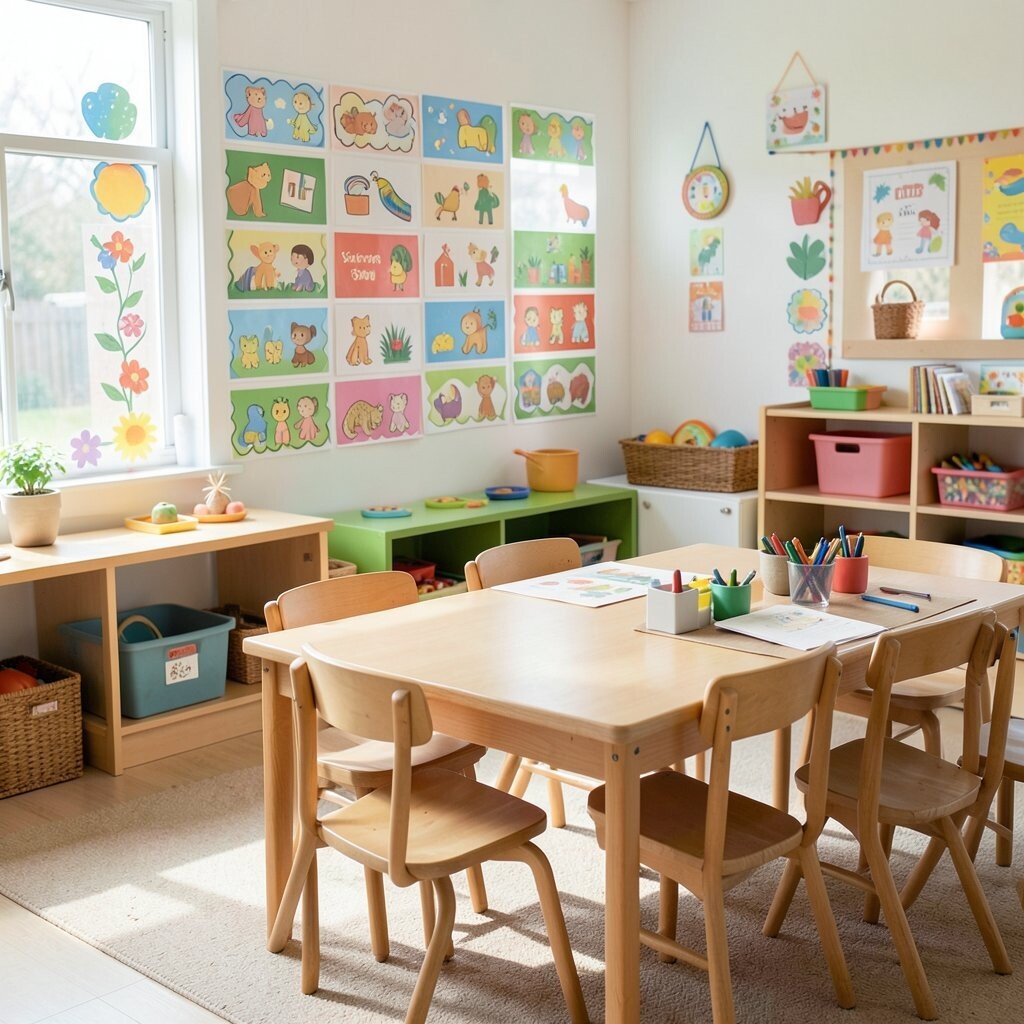
Create a set of sorting stations that each sits inside a bright border square on the floor or on a small table tray. Use thick paper borders with clear color blocks so children can match items by looking first and then sorting with confidence.
Place the matching color words or tiny icon cues near each border corner so children can connect color names with actions. Keep the materials simple by using cardstock frames, washable markers, and bins that can slide in and out easily.
For personalization, let each class group add one sticker border detail they helped choose, like a favorite fruit or star. When costs matter, reuse old folders by cutting them into sturdy strips, then cover them with contact paper for durability.
3. Alphabet Border Wall With Hidden Letters
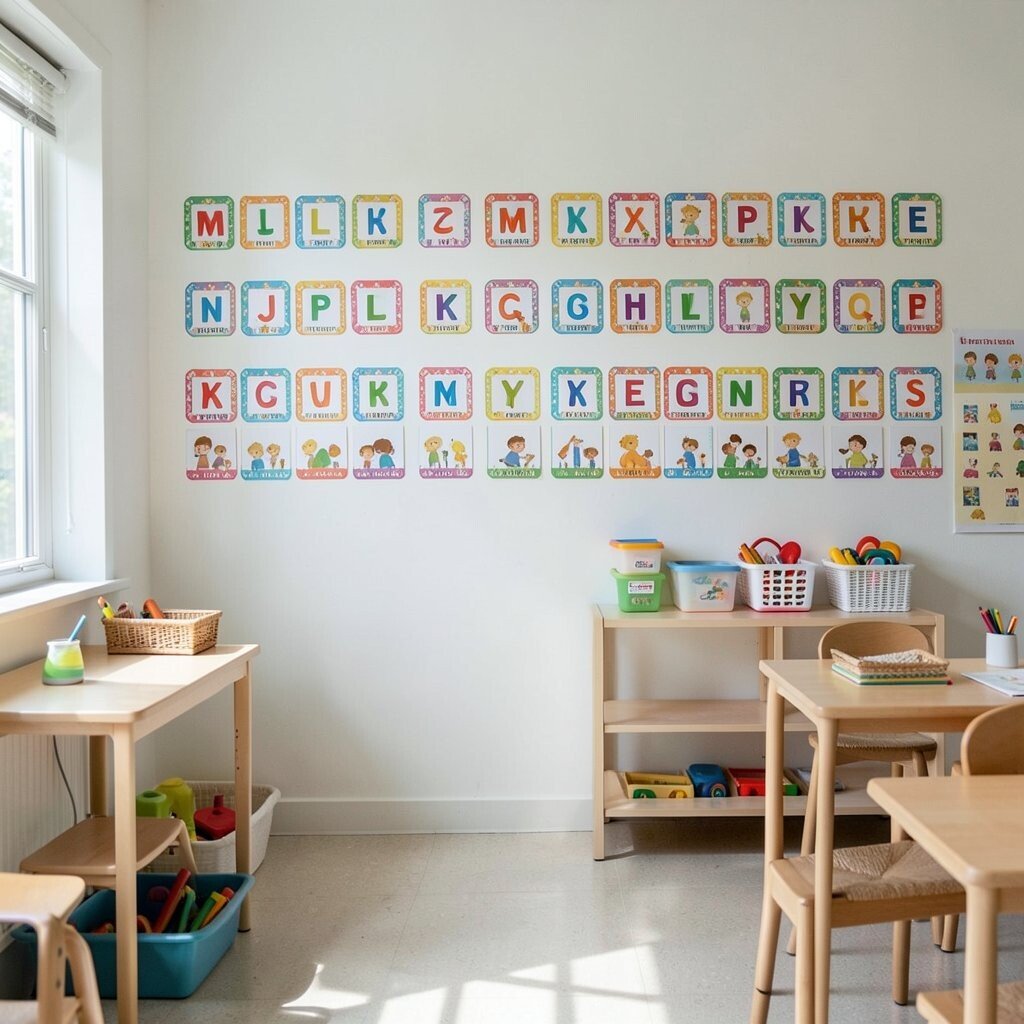
Design an alphabet wall where each letter sits inside its own border like a mini comic panel. Leave a few letter corners slightly “snuck in,” so some are partially hidden behind border flaps made from paper tabs.
During small group time, ask children to find a letter by tracing the border outline, not just by reading. This supports visual attention and builds early letter recognition in a fun way.
Use bold, current trends like bright outlines and playful patterns, including simple doodle borders that look trendy without being expensive. To personalize, invite children to pick border patterns for the first letters they learn, then rotate the patterns after a couple of weeks.
For practical tips, laminate the letter cards so smudges wipe away, and use Velcro dots so pieces can be rearranged without fuss.
4. Shape Path Border On The Carpet
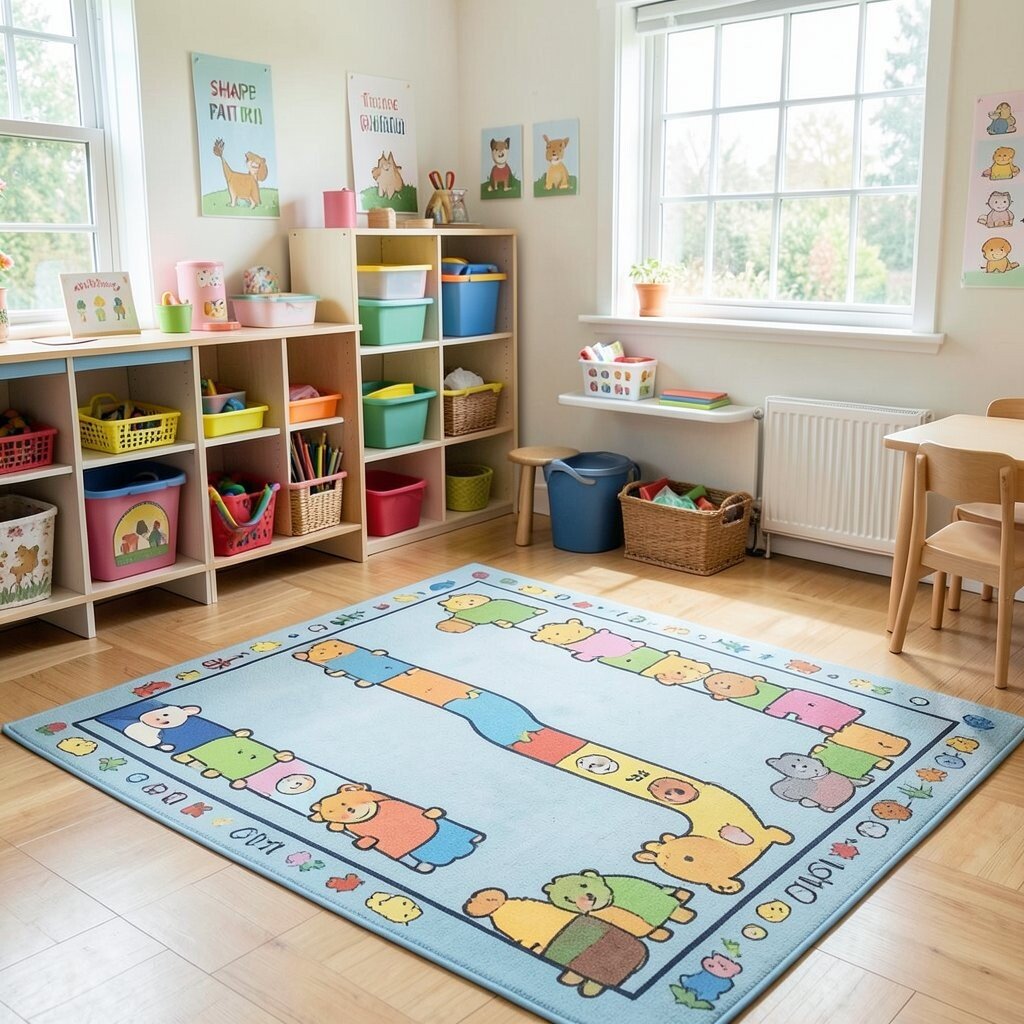
Lay down a shape path using taped borders that guide movement from one learning spot to another. Start with large shapes like circles, squares, and triangles, and make the border lines thick enough to see from across the room.
Children can hop, march, or trace the shapes with crayons on paper placed right at the path markers. The visual pathway helps kids understand directions and timing for center activities, which makes transitions smoother.
Choose tape colors that match your classroom theme and keep it safe with painter’s tape that won’t leave sticky residue. If you want to keep costs low, create paths using reusable foam border strips and store them in a bin between uses.
5. Number Line Border With Picture Stops
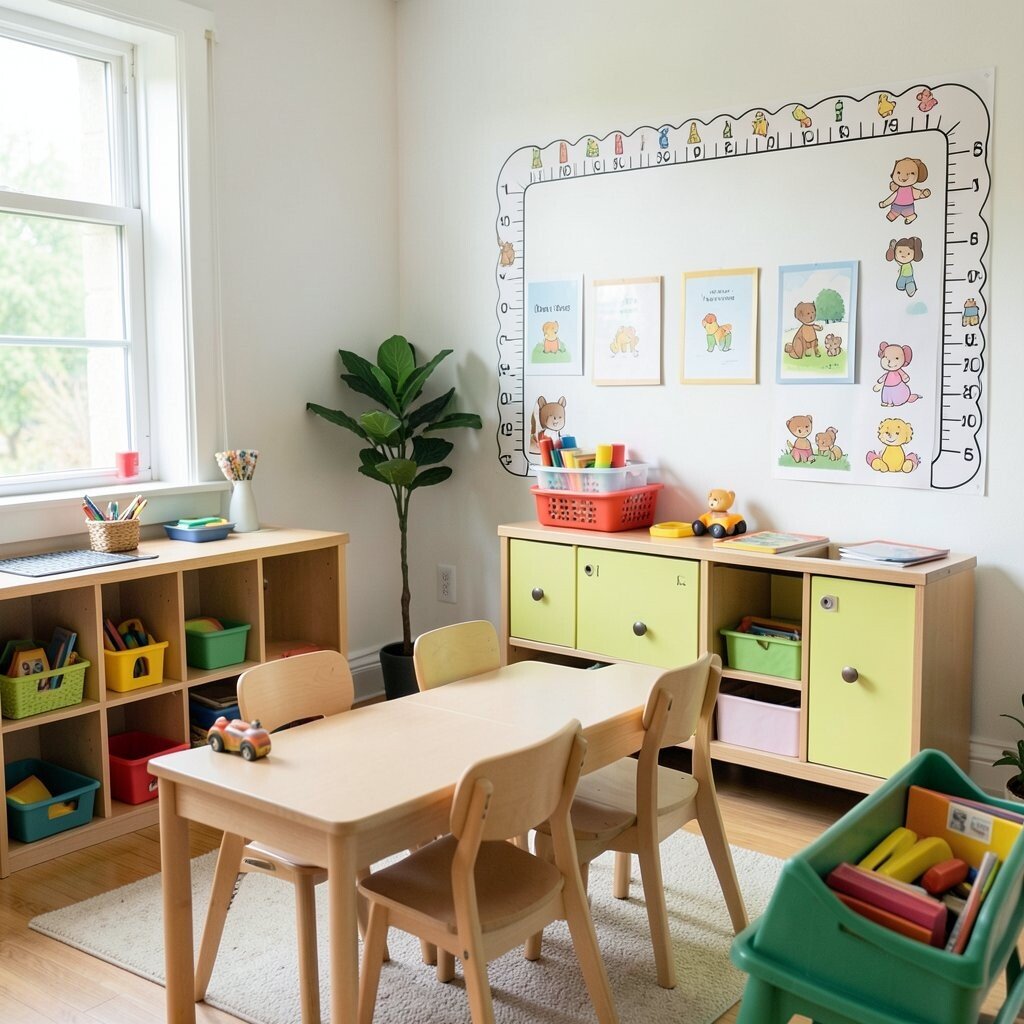
Turn your number line into a framed learning strip, adding a decorative border around the sequence like it’s part of a giant playground sign. At each number stop, place a small picture card inside the border, such as apples for five or cars for three.
As children count, they can point to the picture inside the border, which supports number meaning alongside counting words. Keep it practical by using dry-erase sleeves for the picture cards so you can swap images quickly.
To personalize, ask families to send in one favorite small object picture, then print and slide it into the border stops. For cost considerations, use a mix of printed images and cut-out magazine pictures glued behind clear plastic so you’re not buying everything new.
6. Fine Motor Frame Border Art Center
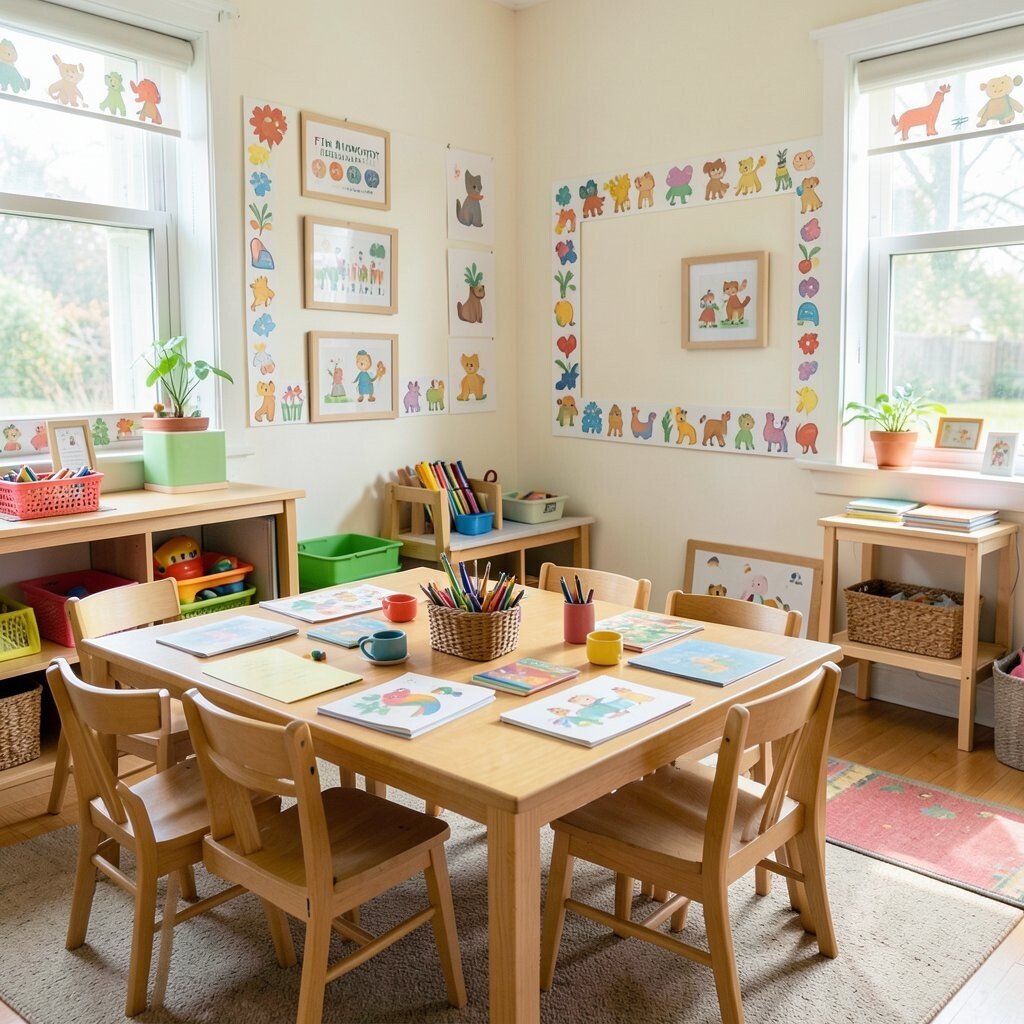
Create a fine motor art area where every activity sits inside a framed border on a clipboard or table placemat. Thick borders around cutting, pinching, and threading trays help children know exactly where to put their hands and tools.
Add border pockets that hold small supplies like tweezers, clothespins, or paper clips, each pocket sized to fit. This reduces messy spills and gives kids a clear visual plan for getting ready.
For uniqueness, use different border styles for different skills, like scalloped edges for gluing and dotted borders for threading. Current trends in kid-friendly design include bright outlines and simple patterns, so try stripes or doodle frames that still feel age-appropriate.
To keep it doable, make the borders from laminated craft paper so they resist spills, then store spare art cards in a rolling organizer.
7. Weather Wheel Border With Daily Choices
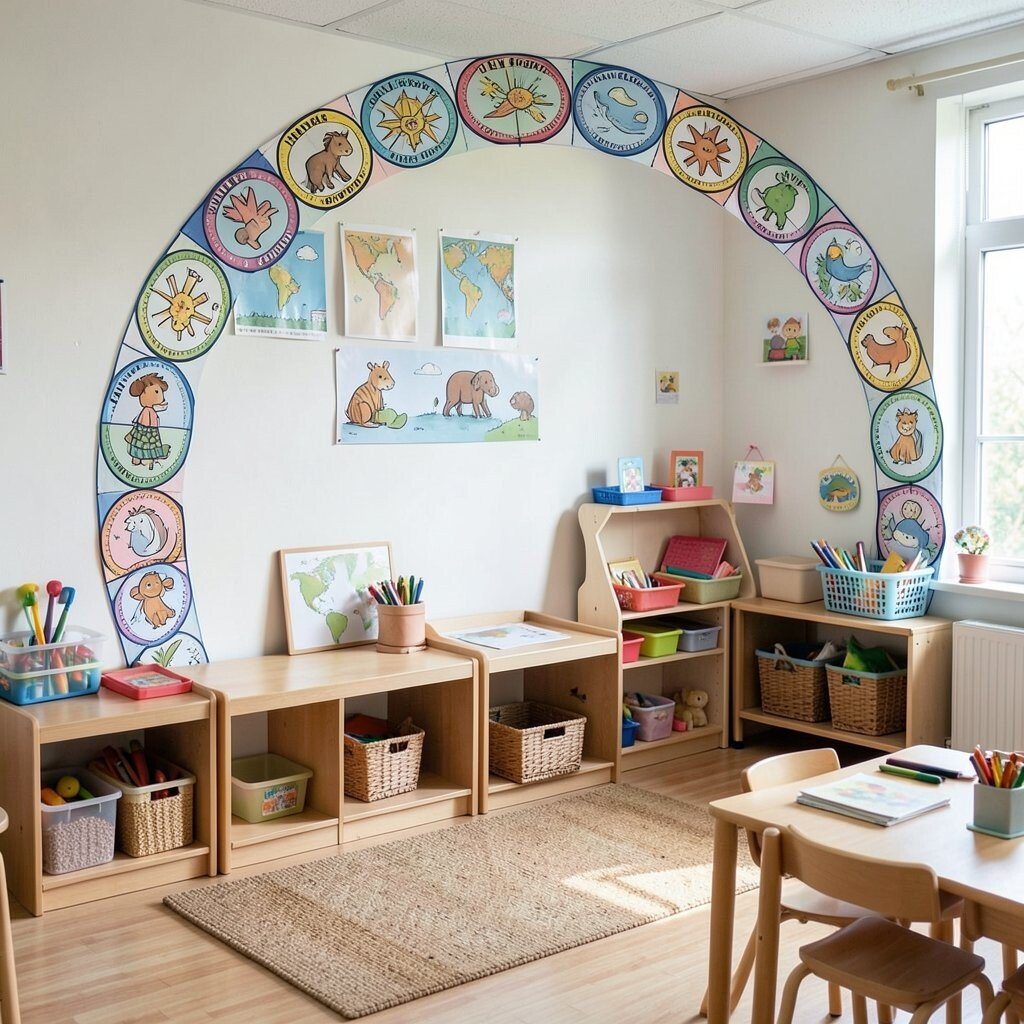
Make a weather wheel display where each weather icon sits inside a circle border with a matching color ring. Add a decorative border strip around the wheel base so the whole area looks like a dashboard.
Children can choose the day’s weather by pointing to the icon that fits the border color, which supports language and daily routines. This also gives a calm, predictable moment that helps kids settle before starting centers.
For personalization, let students help draw one border element, like clouds or raindrops, on a class paper template. Keep costs in check by using simple printouts and adding your hand-drawn touches with washable markers.
Try using trendy minimal line art for the weather icons so the display looks fresh and uncluttered.
8. Painting Station Border Drip Guide
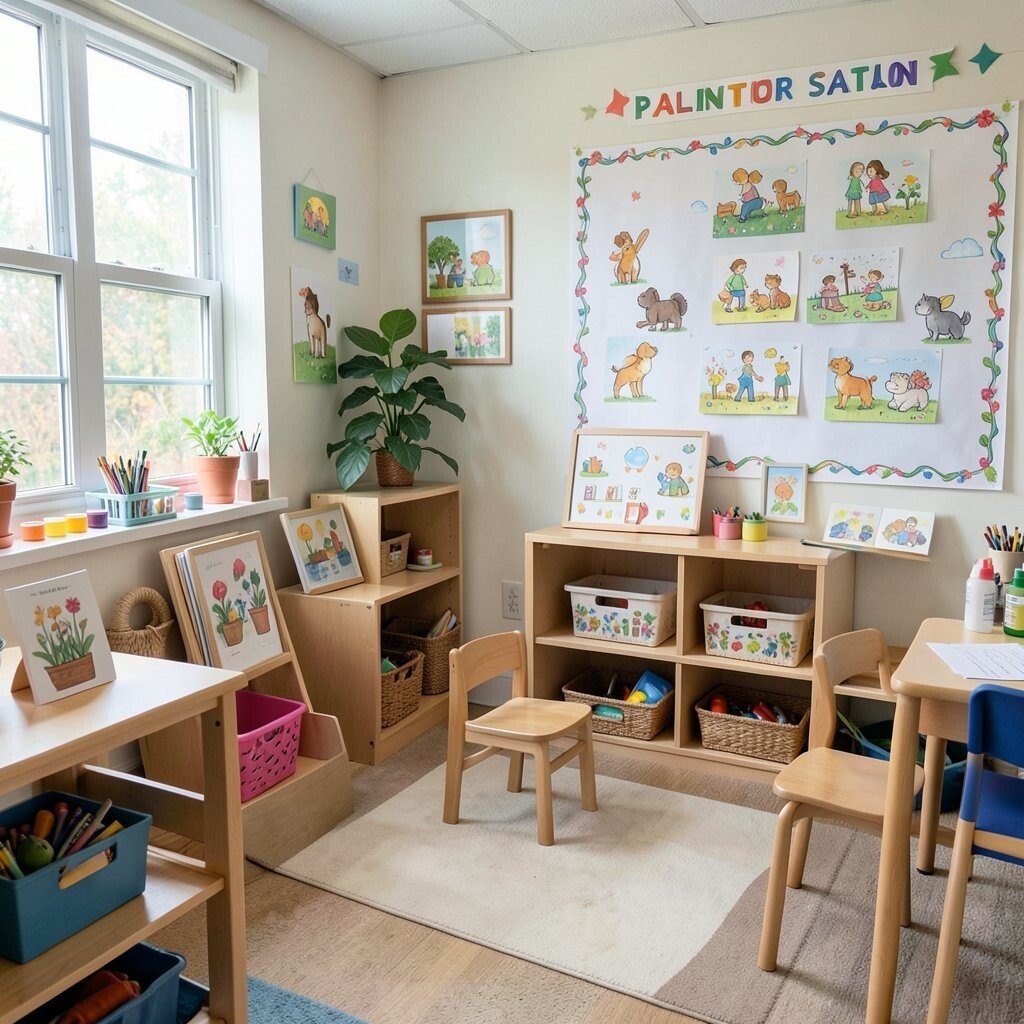
Set up a painting station with a border “drip guide” around each easel base so kids naturally aim their brush strokes. Use border paper strips with faint painted drips, so children see where to dip and where to stop.
The visual boundary helps prevent paint from spreading across the floor and teaches careful control. For practical tips, place border strips on a washable board under the paper so cleanup is quick and predictable.
To make it unique, offer several border themes, like ocean waves or city sidewalks, and let children choose which border frame matches their mood. When you rotate themes, you can reuse the same board and just swap the border strips.
If you want a budget-friendly approach, cut border strips from foam sheets or old poster board, then cover them with clear contact paper.
9. Building Blocks Border Challenge Walls
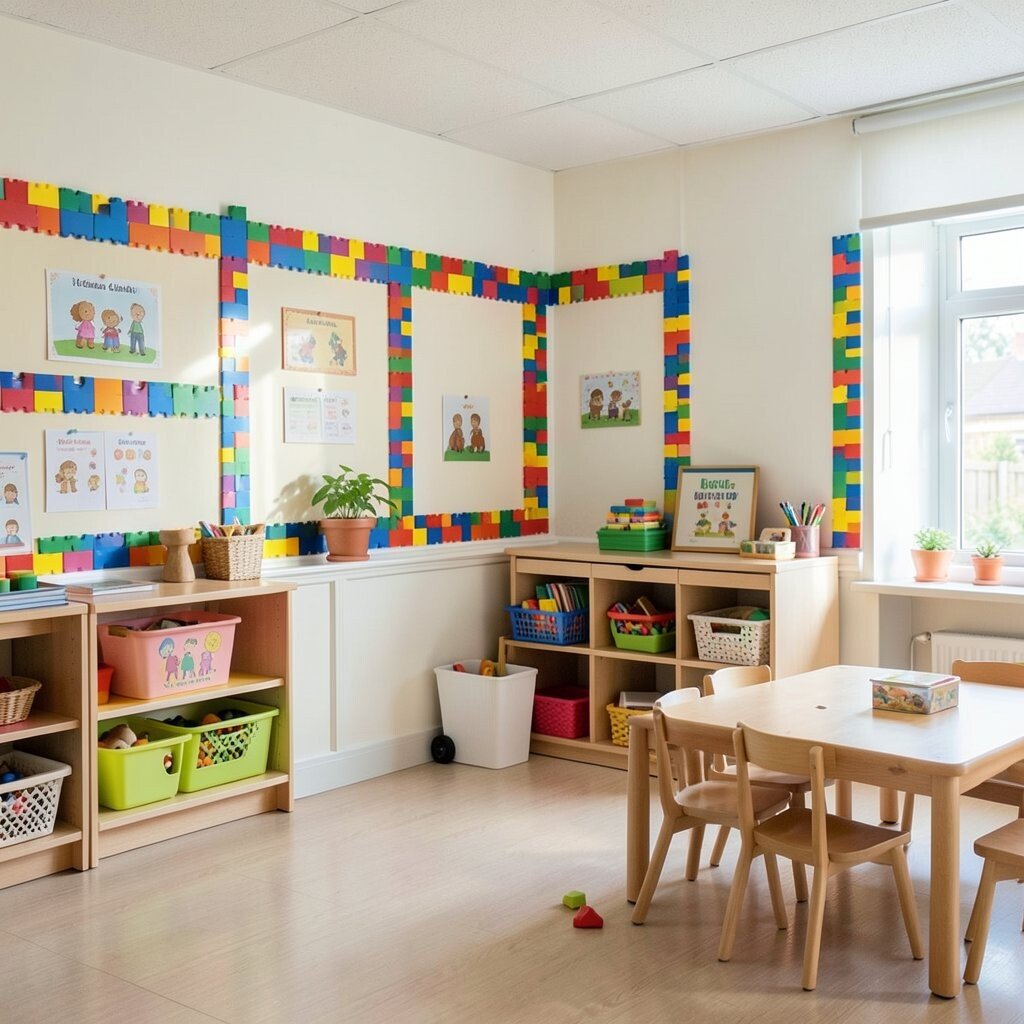
Build a challenge wall by arranging several block “landing zones” inside bordered squares on a shelf or rolling cart. Each bordered zone has a picture of a possible structure, like a bridge or tower, so children can copy or invent.
The border zones reduce drifting pieces across the floor and make shared building feel organized. It also encourages teamwork, because children can see where to place blocks and when to start over.
For personalization, let each child stamp a tiny symbol into the border corner that matches their structure style. Keep costs low by using leftover cardboard, then laminating the top layer for long-term use.
Current design trends favor clean, bold shapes, so try thick borders that look crisp rather than busy.
10. Science Center Border Observation Cards
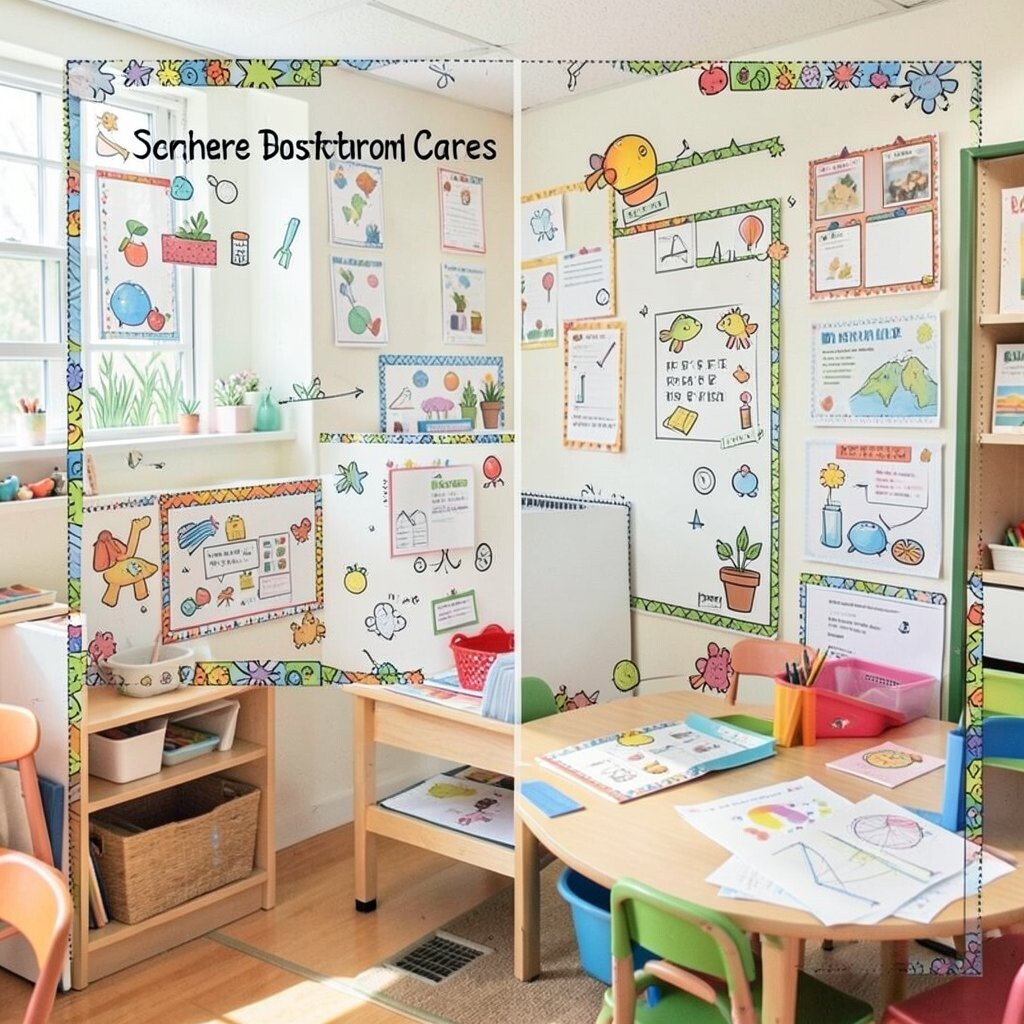
In your science center, attach border frames to observation cards so children log what they see with pictures and simple words. Each border card can hold a small tray area for a leaf, button, or bug jar lid.
Visual frames help kids remember to look carefully first, then record, which builds good scientific habits. You can also use borders to separate different stations, like “watch,” “measure,” and “sort” areas.
To personalize, add child-chosen border stickers that match their interests, such as space, dinosaurs, or seashells. For cost considerations, reuse old greeting cards by cutting out sturdy frames and then adding clear sleeves for writing tools.
Make the border cards wipeable with laminating so they can be reused daily.
11. Writing Center Border Path For Trace and Try

Place a writing center on a table with a border path that guides the hand from left to right. Each row can have a decorative border edge, then a tracing line inside the frame so children know where letters should start.
When children follow a consistent border path, they gain confidence in directionality and spacing. This also makes independent practice calmer because kids can focus on one framed line at a time.
Use playful, modern border patterns like wavy lines and simple geometric shapes to keep the space visually exciting. For personalization, rotate border themes weekly, such as monster month or garden days, and swap only the border strips rather than printing full pages.
To keep supplies organized, add a slim border pocket that holds crayons and a separate pocket for erasers.
12. Music Center Border Rhythm Blocks
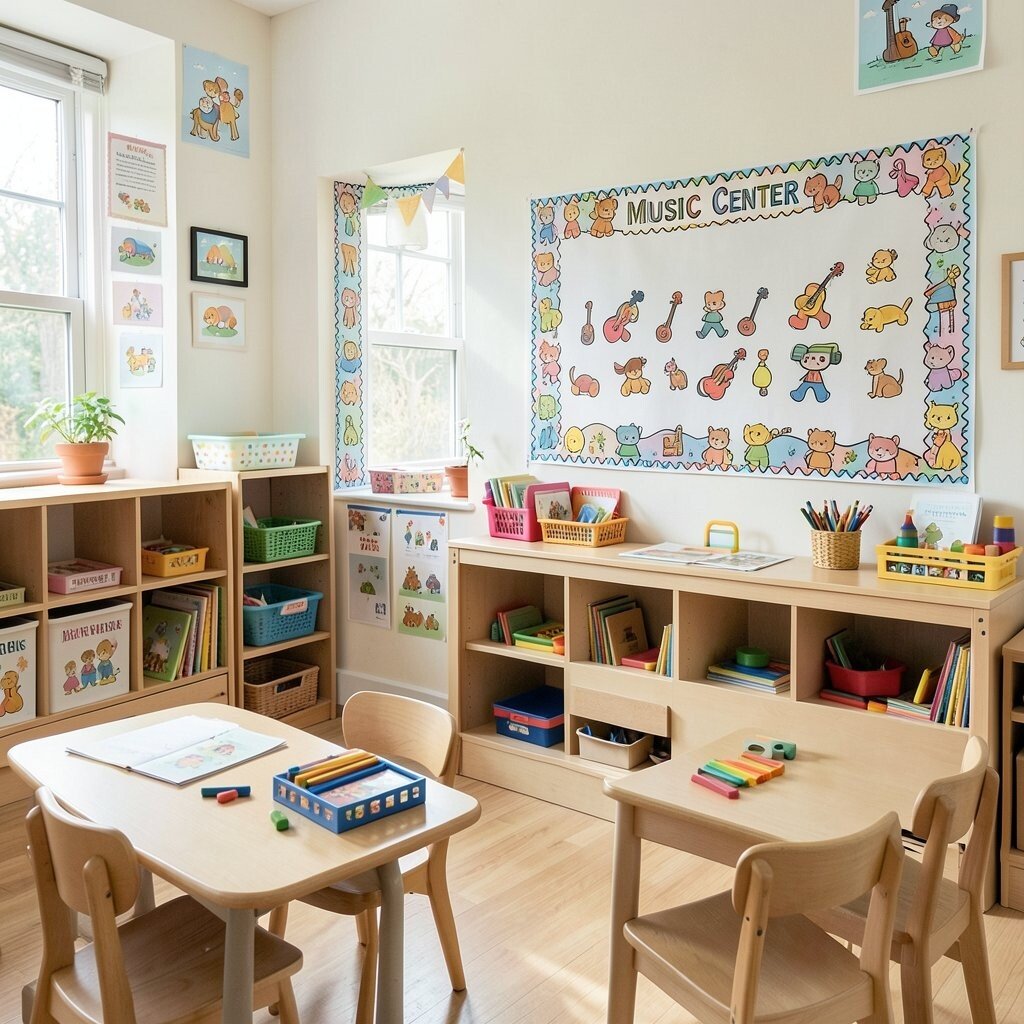
Create rhythm blocks by placing each instrument option inside a border square on a music shelf. Add a border legend of icons, like clapping hands or music notes, so children can pick the right sound for the moment.
Kids benefit because the border helps them identify choices quickly, and it also makes cleanup faster when instruments return to their framed squares. This supports independence during circle time and helps you set routines without lots of reminders.
For uniqueness, paint borders in bright gradients that match a simple color scheme, then outline each square with a contrasting line. If you’re thinking about cost, use inexpensive picture frames from thrift stores by sanding and reusing only the frame pieces for durable borders.
13. Dramatic Play Border Costume Sorting
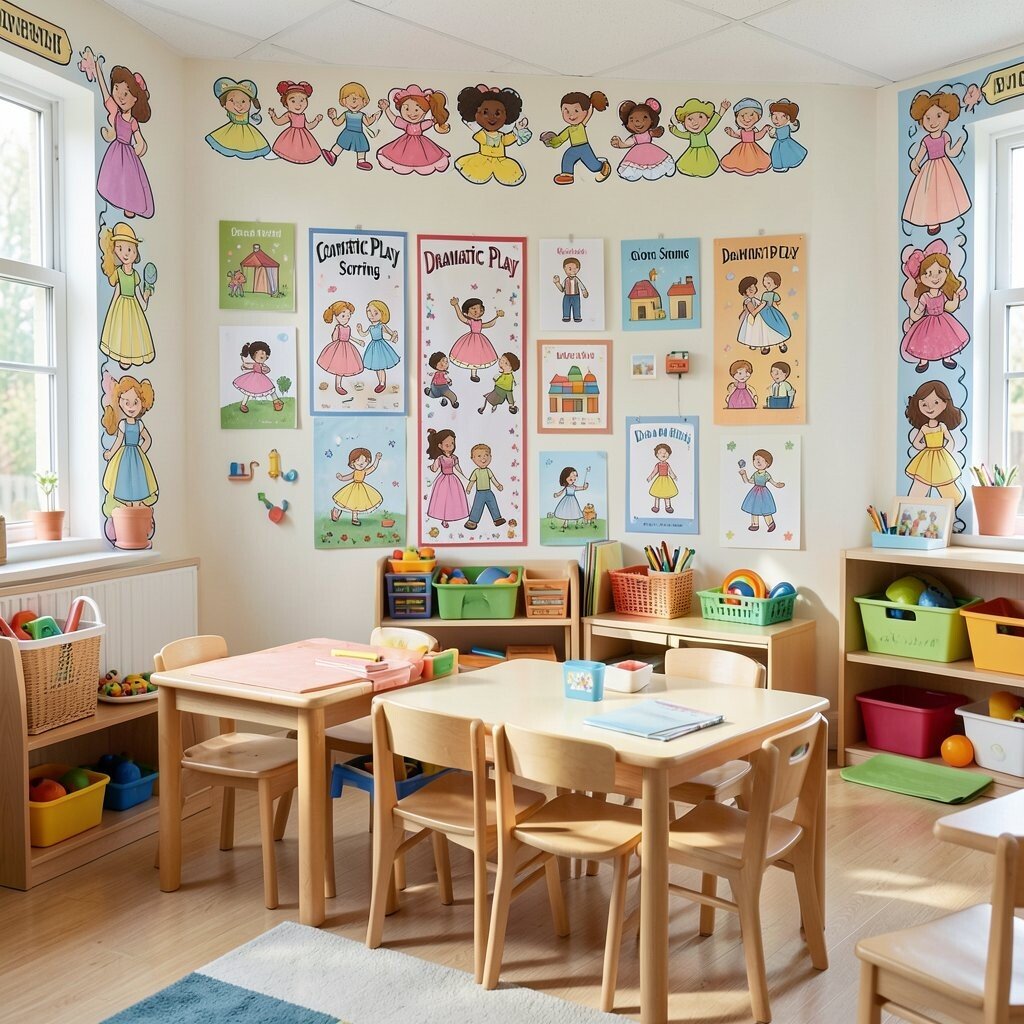
In the dramatic play area, hang costume pieces on a border rack that looks like a colorful theater curtain. Use bordered hooks with small labels made from icons, then frame each costume spot with a matching colored line.
This border system supports visual organization and helps children choose costumes without getting overwhelmed. It also makes the area feel special, because the display looks intentional instead of random.
Personalize the border colors by letting each child pick one color for their “character spot,” then create a rotating weekly feature like “Captain Color” or “Princess Pattern.” For cost, use durable fabric strips and hot glue for attaching borders to a basic clothing rack.
Current trends include story-based decor, so consider themed border patterns tied to community helpers, space adventures, or favorite fairytales.
14. Sensory Bin Border Zones With Color-Coded Lids
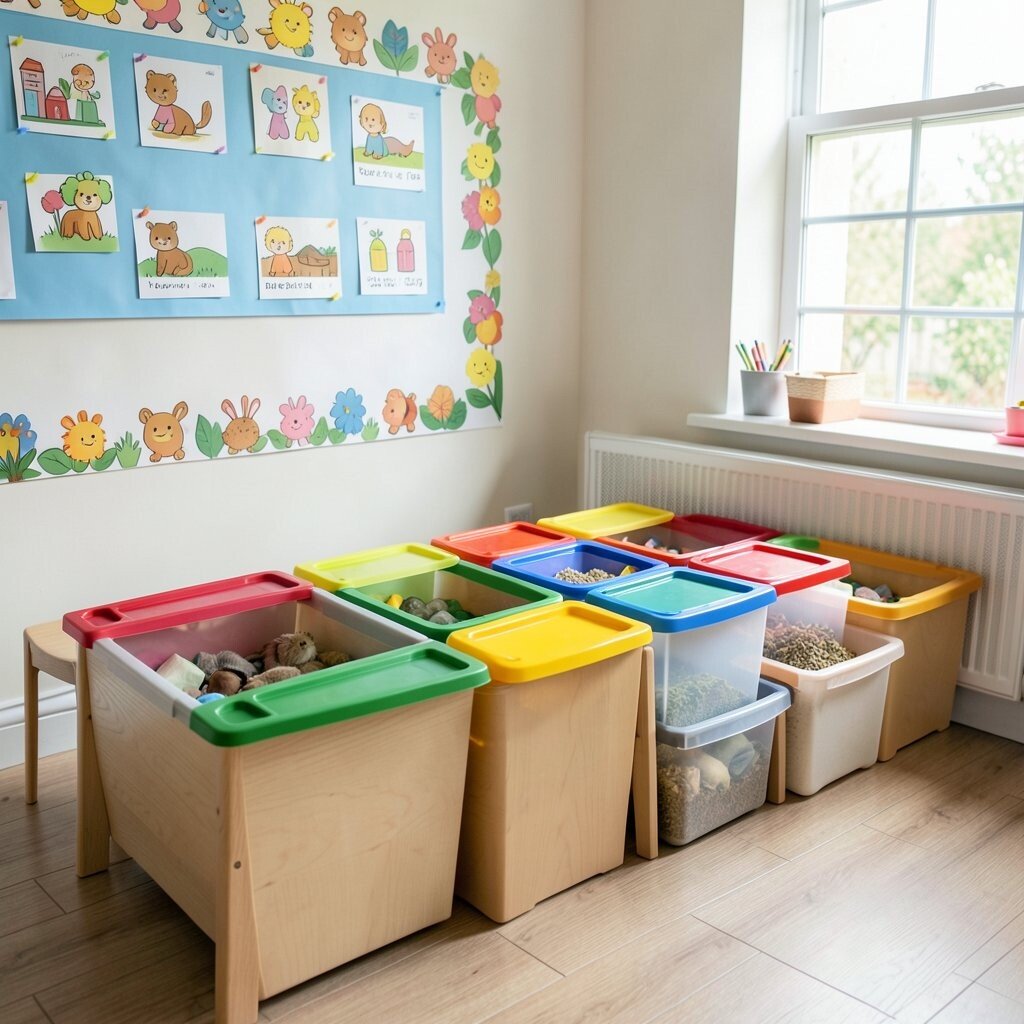
Give sensory bins clear border zones using contrasting rim strips around each bin on a cart or shelf. Add lids or small picture covers with matching border colors so children know which bin belongs where.
Border zones reduce confusion during cleanup and help children anticipate the next step in the center routine. This supports sensory safety because kids can stay within their assigned area while they work.
For uniqueness, make the borders look like different environments, such as “beach” border waves or “rainforest” border leaves. Personalization is easy when you let children choose the border environment for the week and then add one drawn symbol to the edge.
To manage cost, use shoebox lids covered in laminated paper as your border cues, then swap pictures as themes change.
15. Math Manipulative Border “Show Your Work” Frames

Turn math manipulative trays into framed work zones with borders around each tray insert. When children place counters or match tiles inside the border, they create a visible “work area” that shows progress clearly.
This helps with early problem solving because children can retry by simply reusing the same frame layout. It also supports organization, since each tray has a consistent place to return tools.
Use practical personalization by adding a small visual goal inside the border corner, like a picture of a completed set or a tower shape. For cost considerations, cut borders from poster board and laminate them so they can handle spills and frequent cleaning.
Current trends in classroom design emphasize tidy visual zones, so keep the frames simple and bold to reduce clutter.
16. Handwriting Practice Border With Student Name Frames
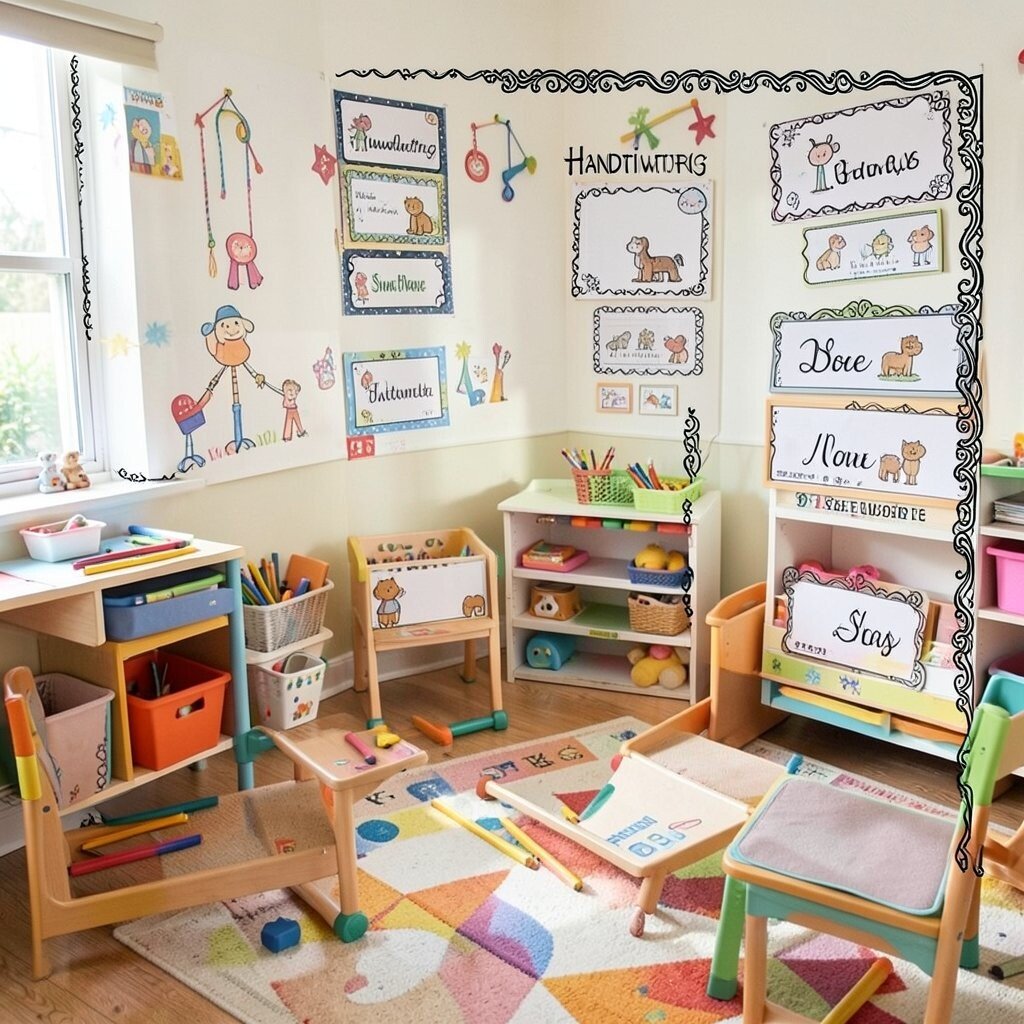
Make a student name wall where each name sits inside a unique border frame that matches each child’s art style. Place the border around the name card like a picture frame, then add a small repeating pattern for consistency.
This kind of border display makes kids feel seen, and it also supports letter recognition through repeated exposure. When names feel personal, children are more willing to practice writing during center time.
For personalization, invite families or students to help choose border themes, such as sports, animals, or favorite colors. Keep costs low by printing names once and reusing the frame borders with different sticker layers that can be replaced each season.
Try trending minimalist borders, such as thin double lines, for a clean look that still feels playful.
17. Classroom Map Border Community Helpers Learning
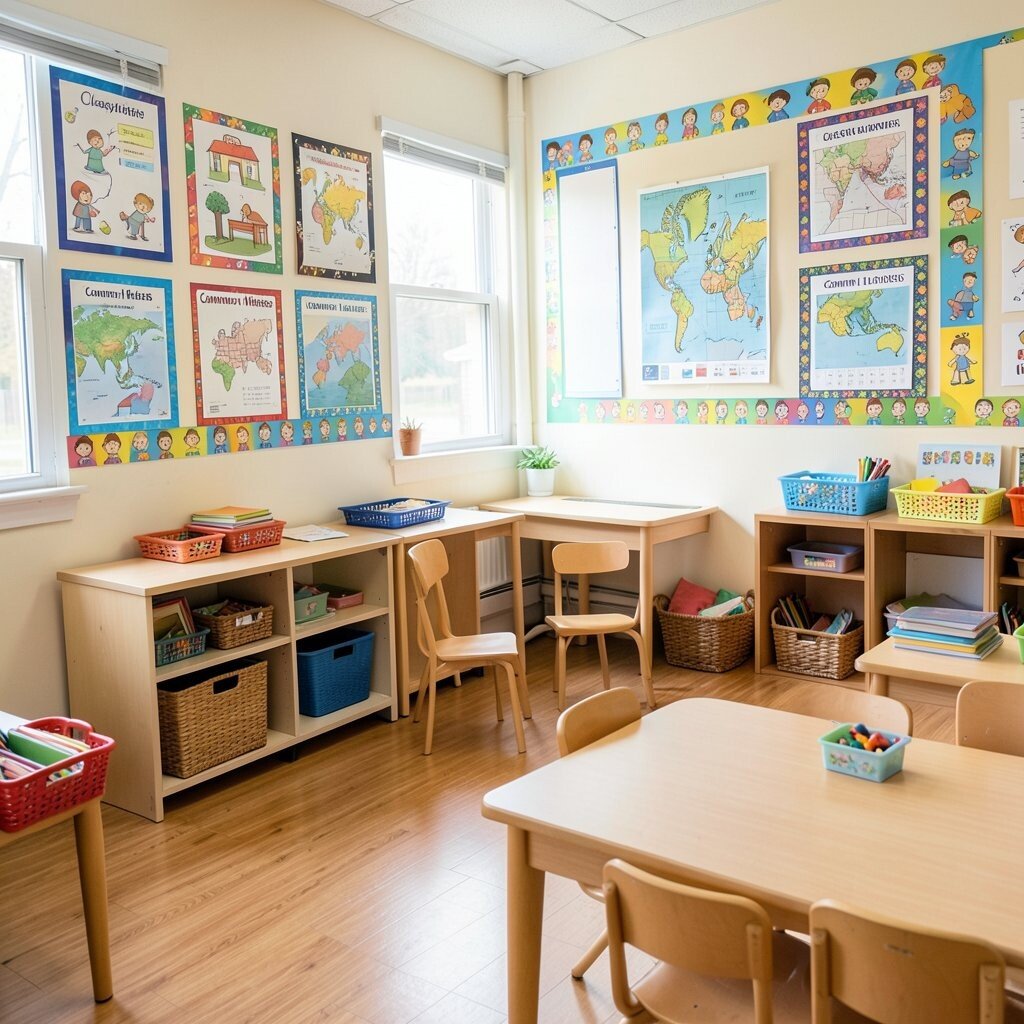
Design a classroom community helpers map where each area connects to a learning center through a border path. Use bordered arrows and small icon signs that show where children go for book time, art, science, and movement.
Children benefit because the border map acts like a guide during rotation, so transitions feel smoother and less stressful. It also builds vocabulary as kids talk about helper roles and where they belong.
For uniqueness, make the border icons look like they’re drawn by the classroom, using marker outlines and simple shapes. Personalization can happen when kids add one helper card sticker to their favorite part of the map.
To keep it affordable, build the map on foam board, use laminated border strips for durability, and store removable icon cards in a folder between uses.
As a current trend, try adding subtle theme consistency across borders, using matching colors for each learning zone so the whole room feels coordinated.