The kitchen can look messy in seconds, but it never has to stay that way. When the last guest leaves, your counter can become calm again fast.
With the right plan, you can clean efficiently, keep surfaces safe, and even make everything prettier for the next gathering.
1. Set Up a Quick “Before You Start” Basket
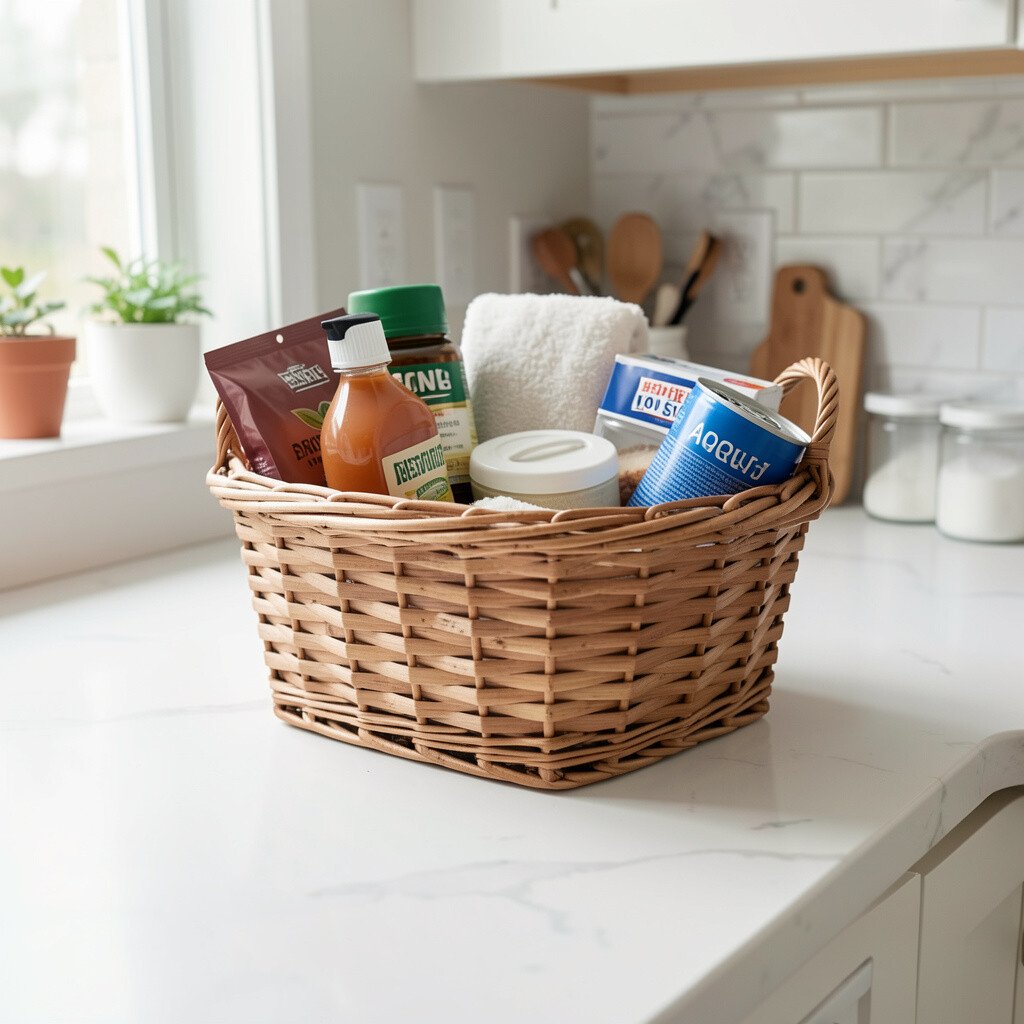
Start by grabbing a small basket and putting everything in it that you will likely need. Seeing the supplies together helps you move without running back and forth.
Choose a microfiber cloth, a gentle cleaner, dish gloves, and a trash bag. When you work in one smooth flow, you spend less time staring at sticky spots and more time getting a fresh-looking shine.
2. Use Two Cloths for Separate Messes
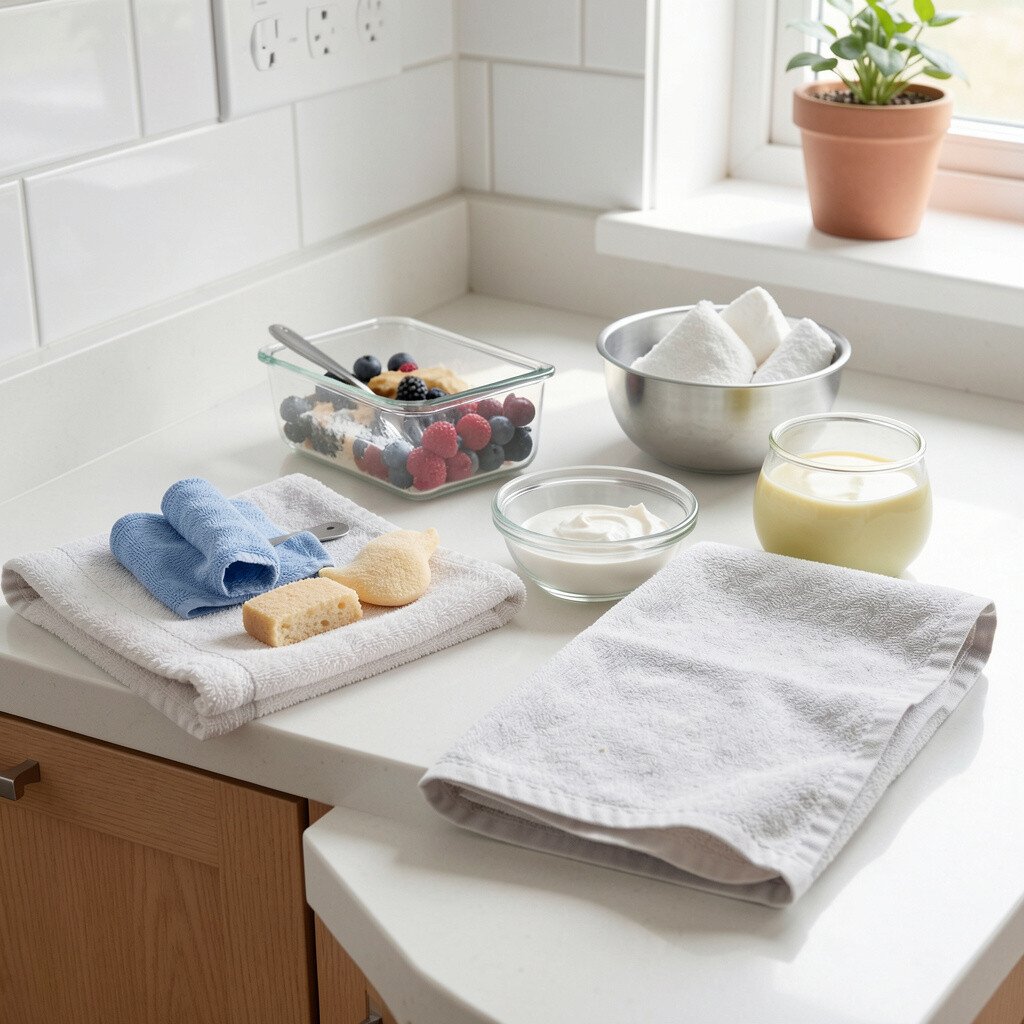
Keep one cloth just for wiping food and crumbs, and use the other for the final clean. This simple swap helps prevent spreading grease around the counter.
After a wipe, look at the cloth color and smell it in your head. If it starts to look dull or feels tacky, switch to the cleaner cloth and finish strong.
For personalization, pick cloths in your favorite color so the cleaning routine feels less boring. You can even match them to seasonal decor so the kitchen looks cared for every day.
3. Freshen with a Gentle, Citrus-Forward Spray

Once the big mess is gone, add a light spray that smells clean and not harsh. A citrus scent can make even a tired countertop feel newly polished.
Wipe in small circles so you lift residue instead of smearing it. If you notice streaks, finish with a dry corner of the microfiber cloth.
For cost control, use a small bottle and refill it from concentrate when you can. Many people prefer this approach because it cuts waste and still delivers that “just cleaned” look.
4. Target Grease First with Warm Water and a Soft Scrub
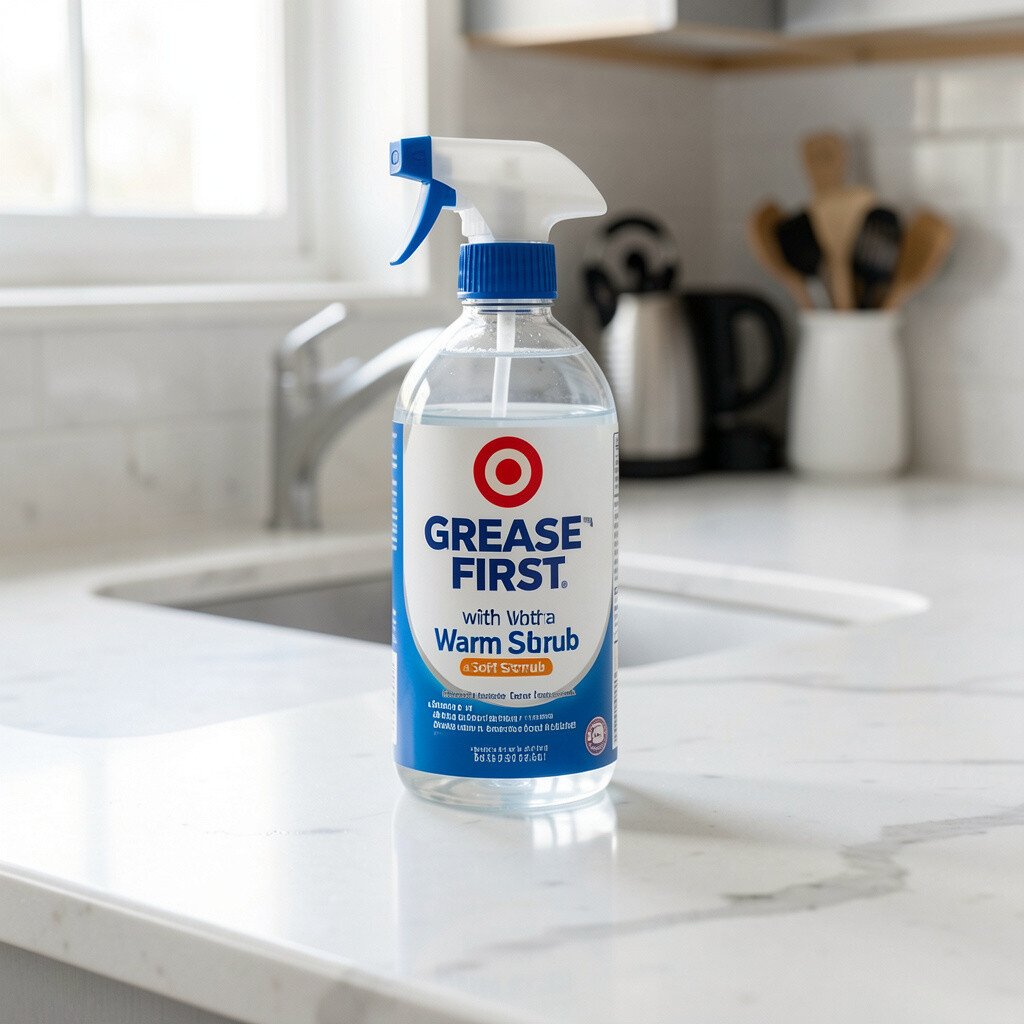
If people grilled, toasted, or splashed sauces, grease is often the real culprit. Warm water loosens it, and a soft scrubbing motion helps it release.
Focus on the areas near the stove, toaster, and where drinks were mixed. When grease lifts cleanly, the rest of the wipe-down becomes easier and faster.
5. Put Down a Temporary Catch Layer for Next Time
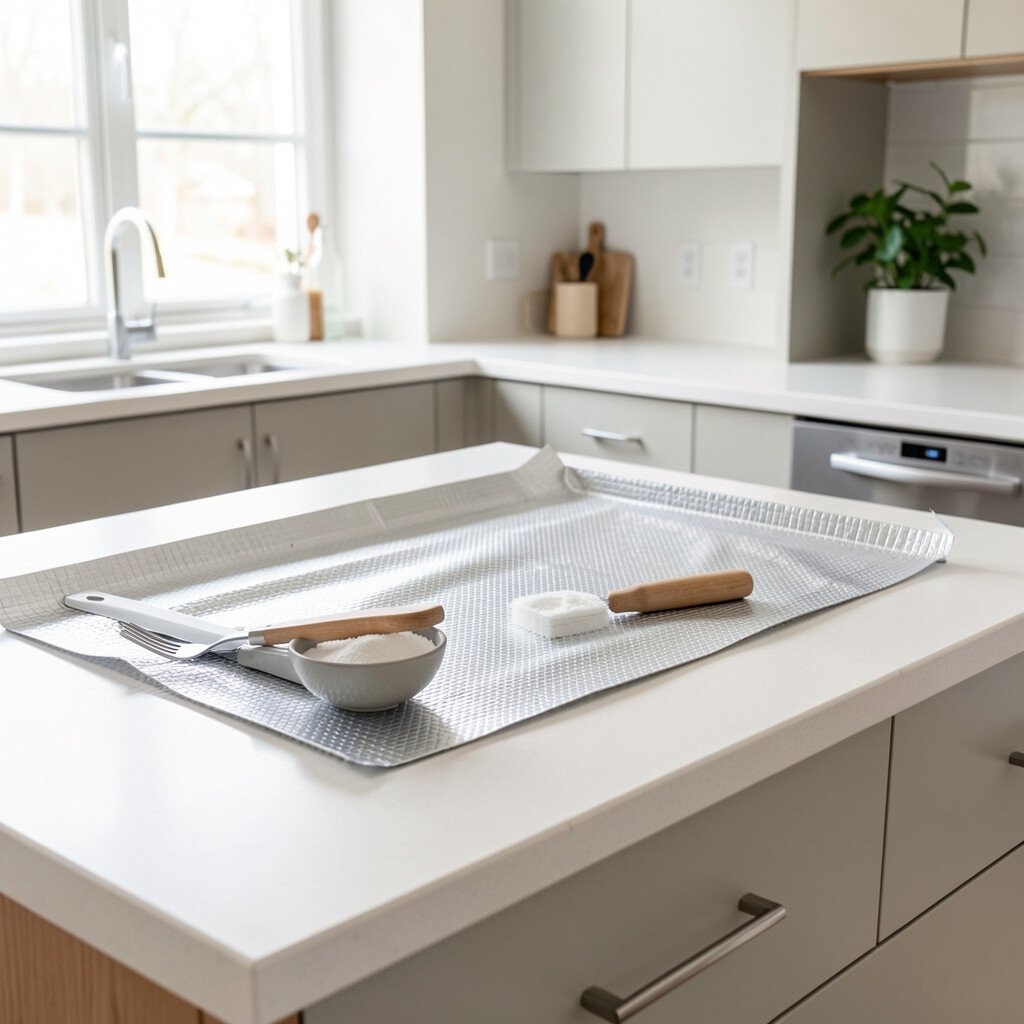
Before you host again, place a washable mat or tray in your most used countertop zones. A catch layer can hold crumbs, spills, and messes before they reach the surface.
Pick a material that fits your countertop style, like a sleek silicone mat or a simple linen-look protector. You get the benefit of easier cleanup and you still keep the area looking neat.
For a unique touch, choose a patterned tray that matches your holiday theme. That way, the “protective” item looks like part of the decor, not an afterthought.
6. Dry Immediately to Prevent Water Marks
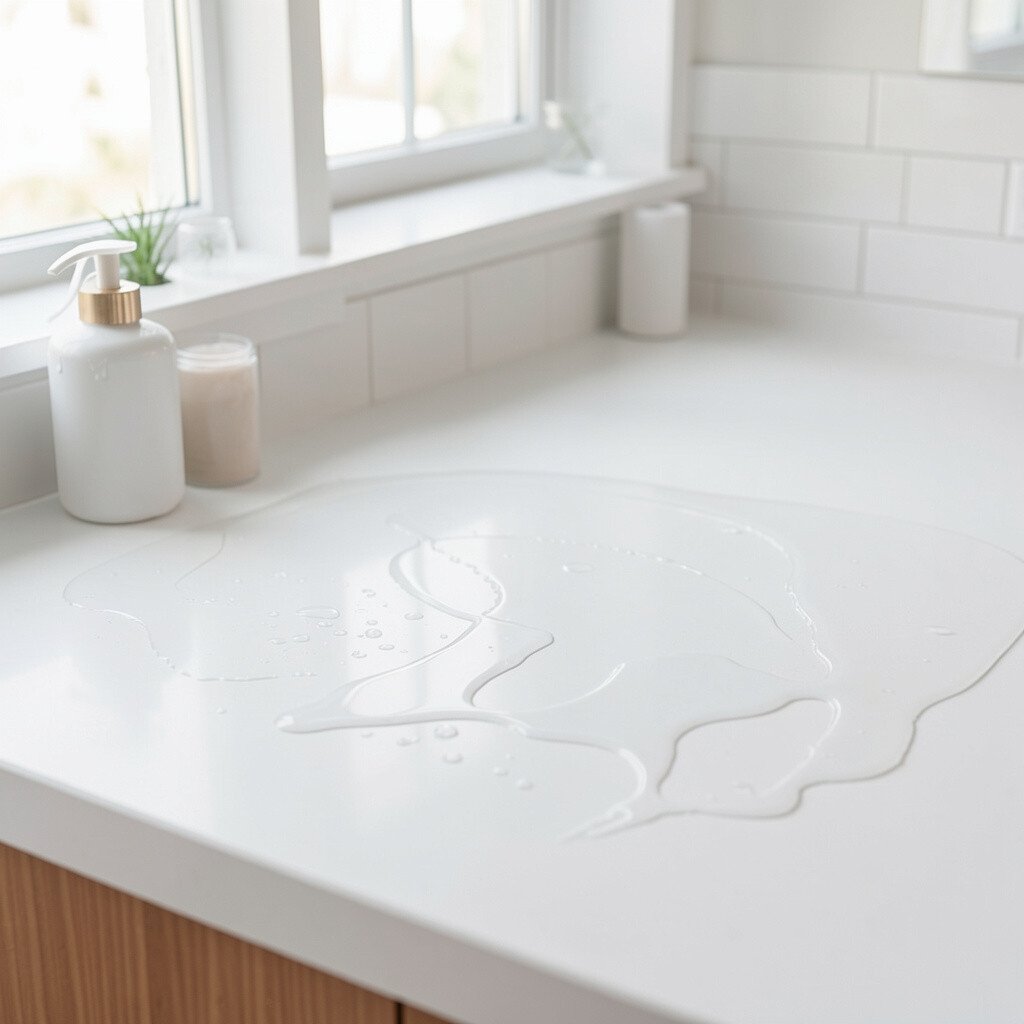
After wiping, dry the surface right away with a clean cloth or paper towel. Leaving water to air-dry can leave dull spots that look worse than the original mess.
Notice how some counters change color in daylight after cleaning. Quick drying keeps your finish looking smooth and helps you avoid extra elbow work later.
7. Sanitize High-Touch Spots Without Overdoing It
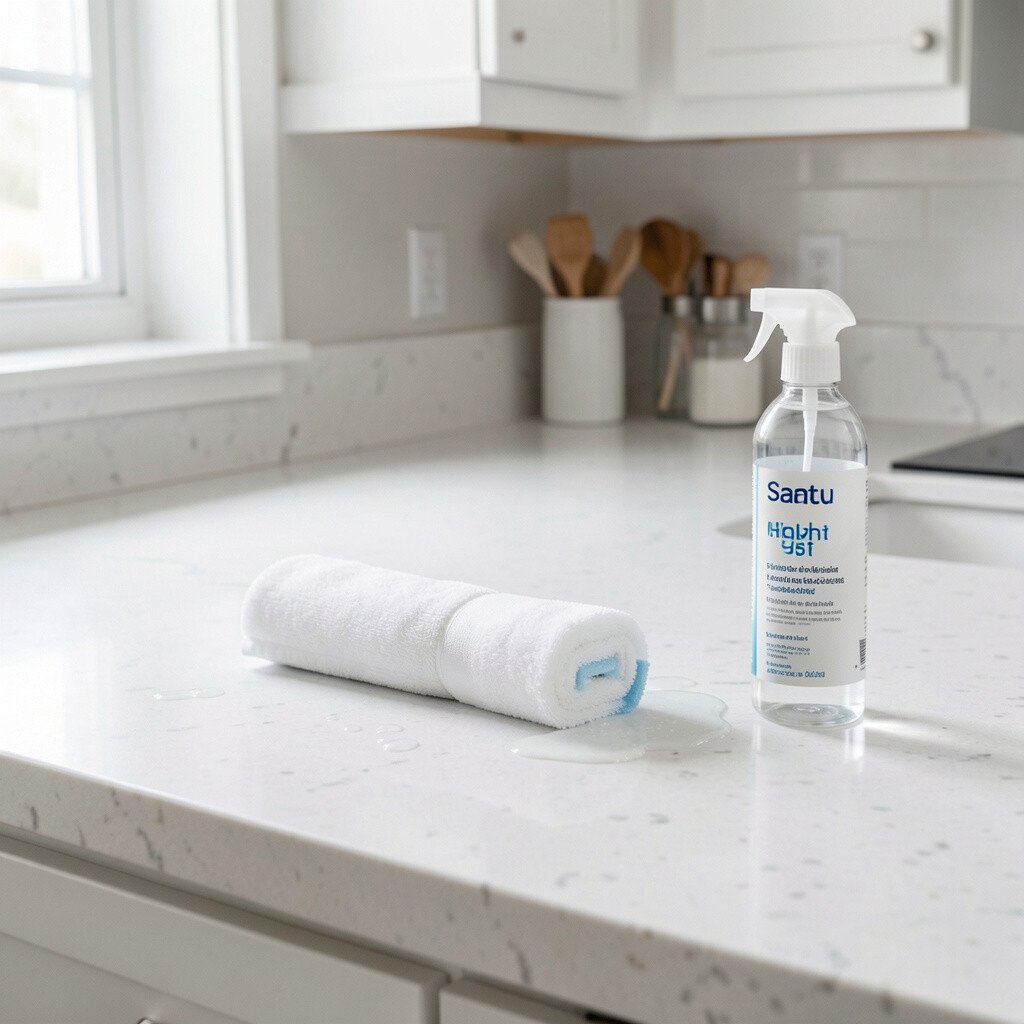
Tables get attention, but countertops also collect fingerprints from cups, plates, and hands. A quick sanitizing wipe on high-touch spots helps you feel more confident after the party.
Stay gentle and follow the cleaner directions so you do not harm the finish. Most people find that light, even coverage works better than soaking.
If you have kids in the home, choose a food-safe product and let it fully dry. That keeps the kitchen safe while still giving you a polished, fresh appearance.
8. Reline the Fridge Side with a Clean, Matching Tray
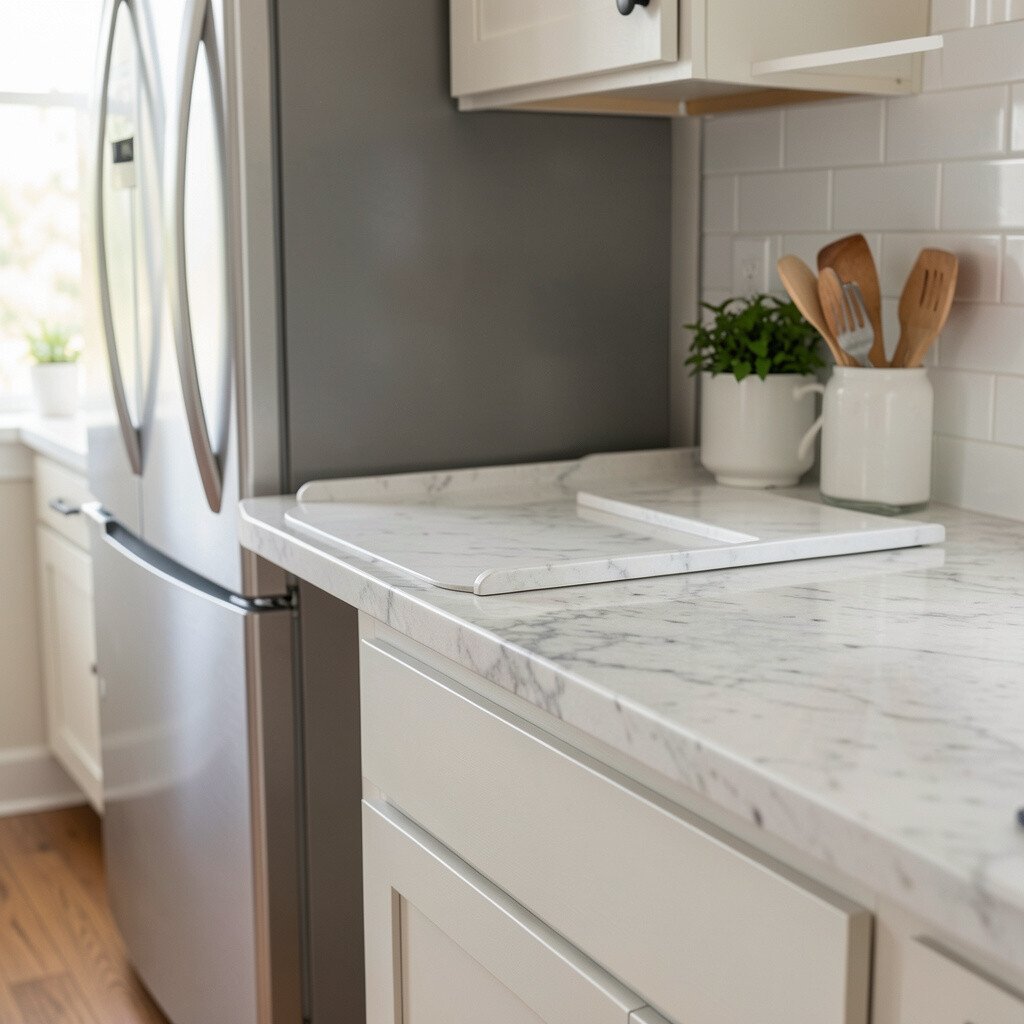
Sometimes after a party, the counter is not the only place that looks chaotic. A clean tray near the fridge can store leftovers containers neatly while you wipe the main surface.
Use it like a staging station for things that need a second chance, like unopened snacks or sealed drinks. When items are grouped, the countertop looks organized while you clean.
9. Refresh with Baking Soda for Tough Sticky Spots

For stubborn stickiness, a small sprinkle of baking soda can act like a gentle scrub. Add a tiny bit of water to form a paste and rub softly with a cloth.
Watch the sticky layer loosen and lift, like it is giving up. This is one reason many homeowners keep baking soda on hand for after-party messes.
Keep it cost-friendly by using only a little paste and letting it do the work. You can also personalize the scent by adding a few drops of essential oil to a cleaner bottle for later use.
10. Make Crumbs Disappear with a Rubber Squeegee
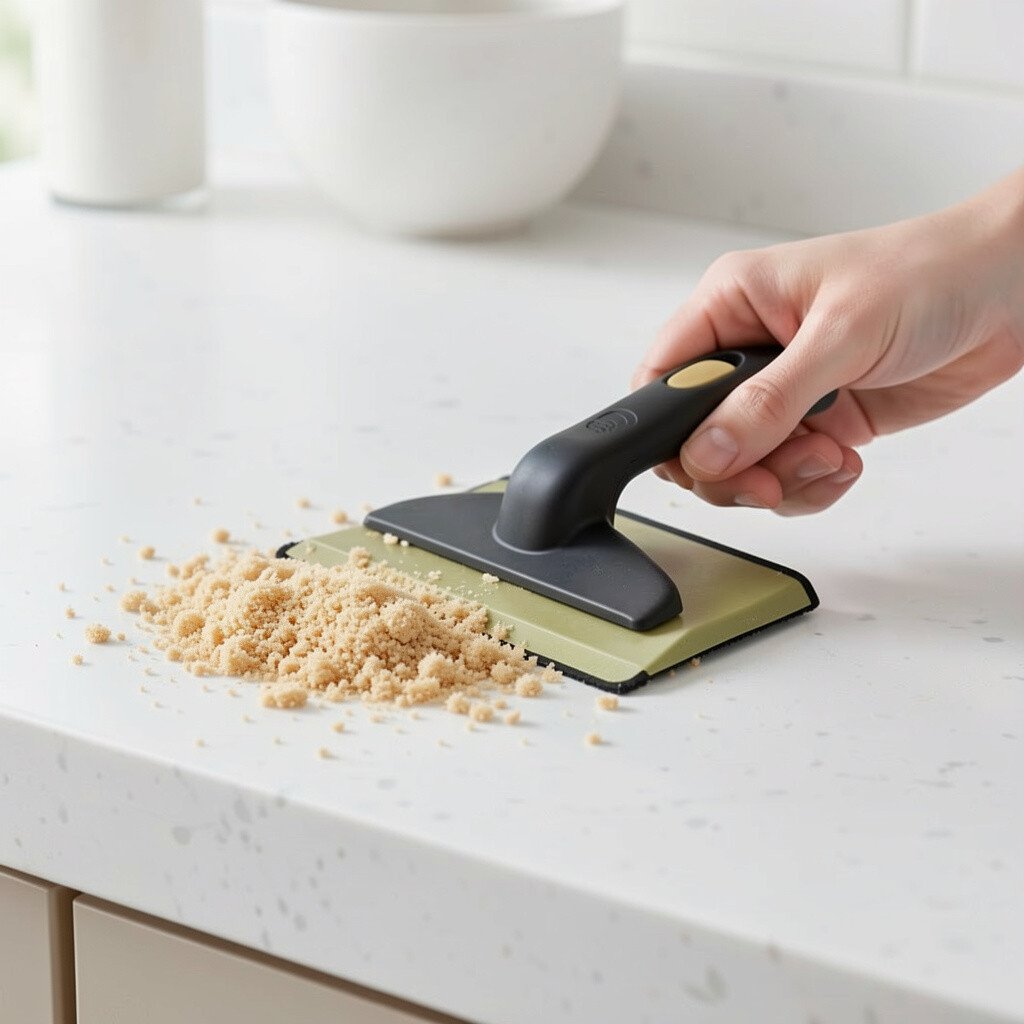
Crumbs can be stubborn, especially near the sink and corners. A rubber squeegee can help push bits into a trash path without scattering them.
Use short strokes and hold the squeegee close to the counter for better control. This can be quicker than chasing crumbs with a dry paper towel.
11. Cover Micro Scratches by Polishing Lightly
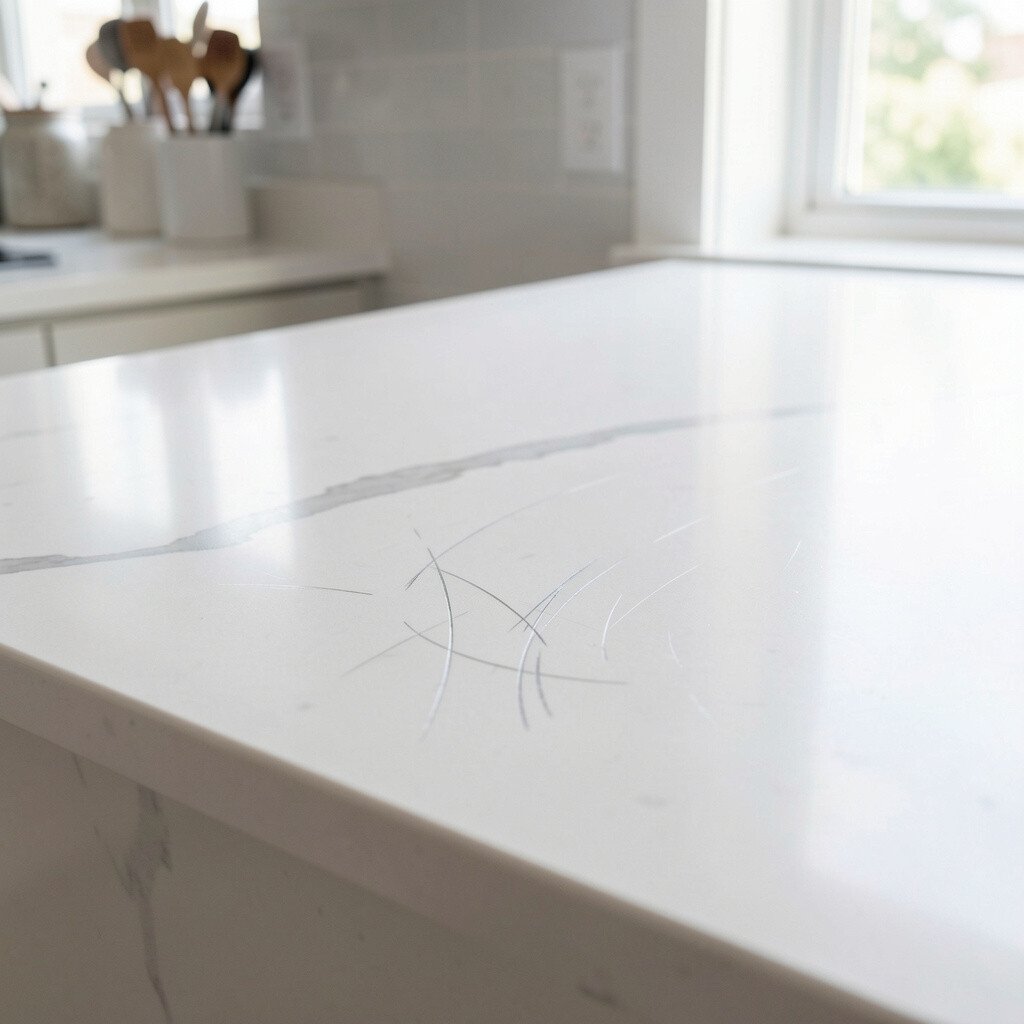
After lots of traffic, countertops can show fine marks that catch the light. A light polish after cleaning helps bring back a smoother look.
Choose a product made for your countertop type so you do not cause damage. When the surface glows again, it feels like the whole room has reset.
12. Rebuild the Flow with a “Landing Zone” for Drinks
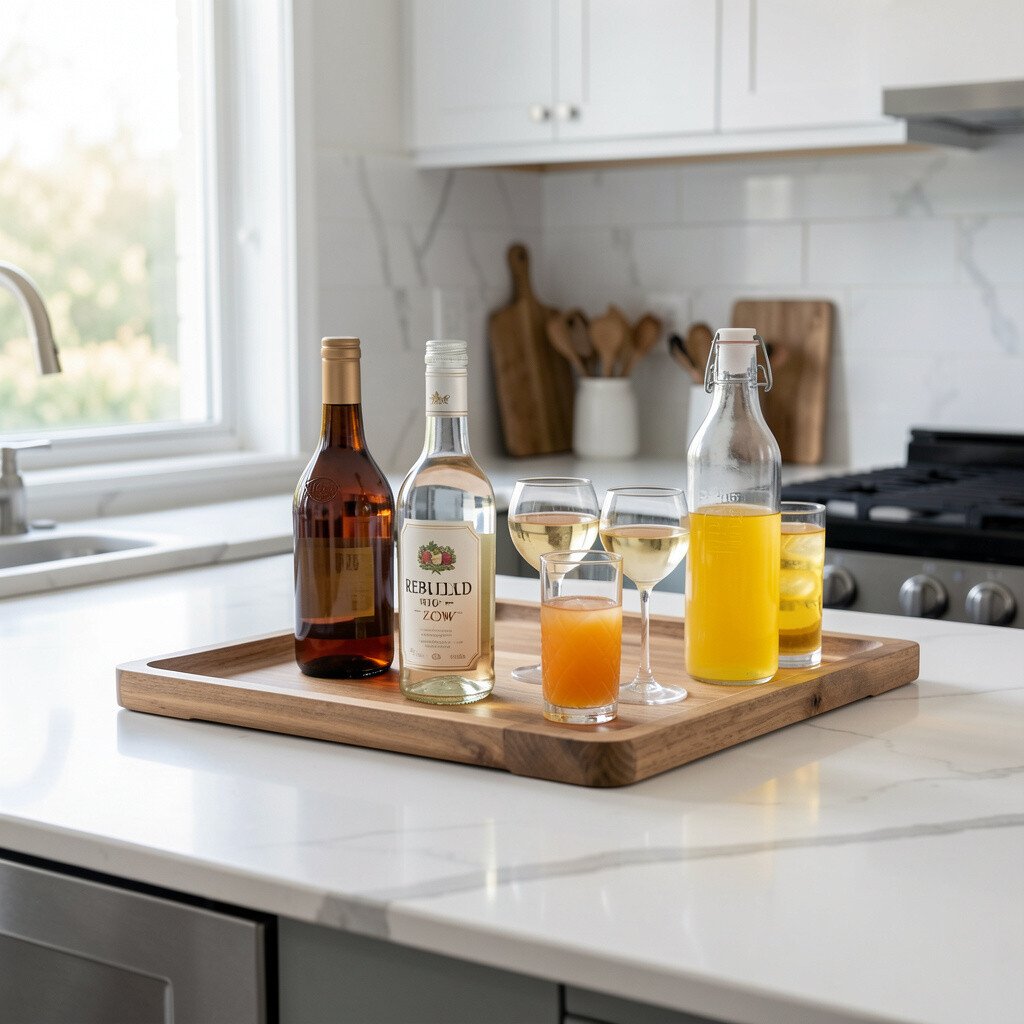
If you set down drinks on the same spot all night, residue can build up fast. Creating a landing zone makes cleanup easier because you know where the mess will land.
Use a simple coaster rack or a tray where guests can place cups. You get the benefit of less spill spread while keeping the setup friendly and attractive.
For personalization, paint the tray handle in your favorite color or add a small seasonal decal. Even small changes make the space feel intentional instead of rushed.
13. Tidy Edges and Grooves with a Soft Brush
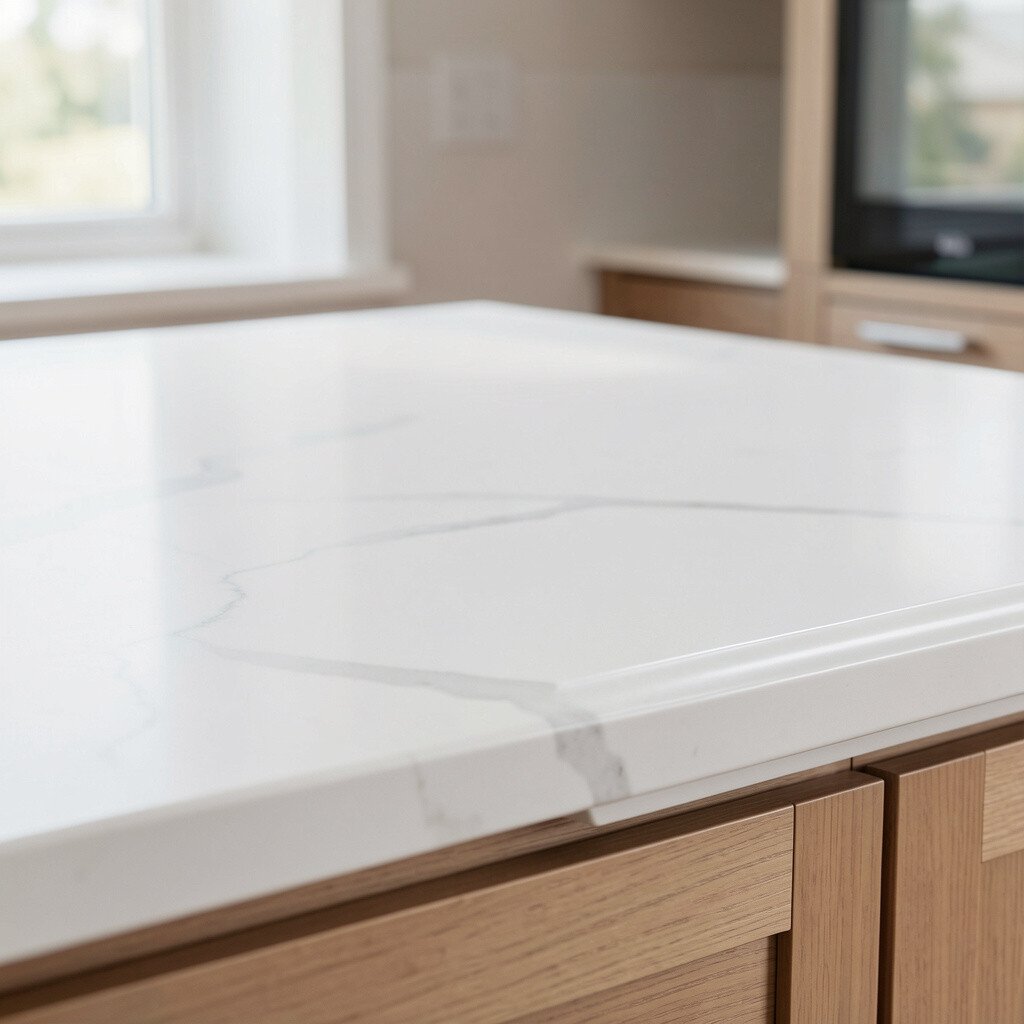
Countertop edges collect crumbs and tiny drips that a cloth cannot reach. A soft brush can lift the hidden mess and improve the overall look.
Work gently around seams, corners, and under-side edges where hands bump. When those areas look clean, the whole countertop appears cleaner too.
14. Use Steam from a Kettle to Loosen Layered Grime
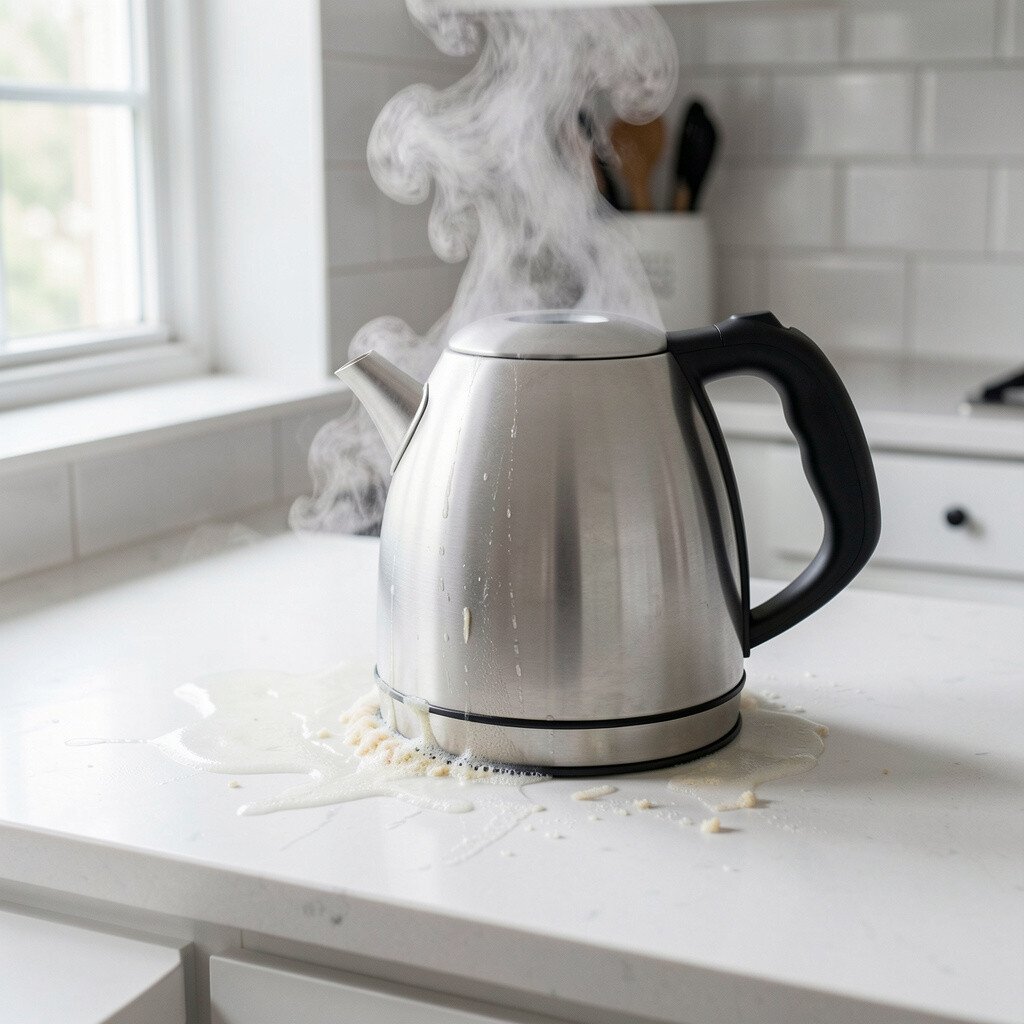
Steam can help loosen grime without heavy scrubbing. After you have removed most food, hold the kettle steam at a safe distance and let it soften residue.
Then wipe right away with a microfiber cloth to catch what lifts. Many people like this method because it helps remove dull buildup that makes counters look old.
15. Add a Thin Layer of Protective Finish for the Next Round
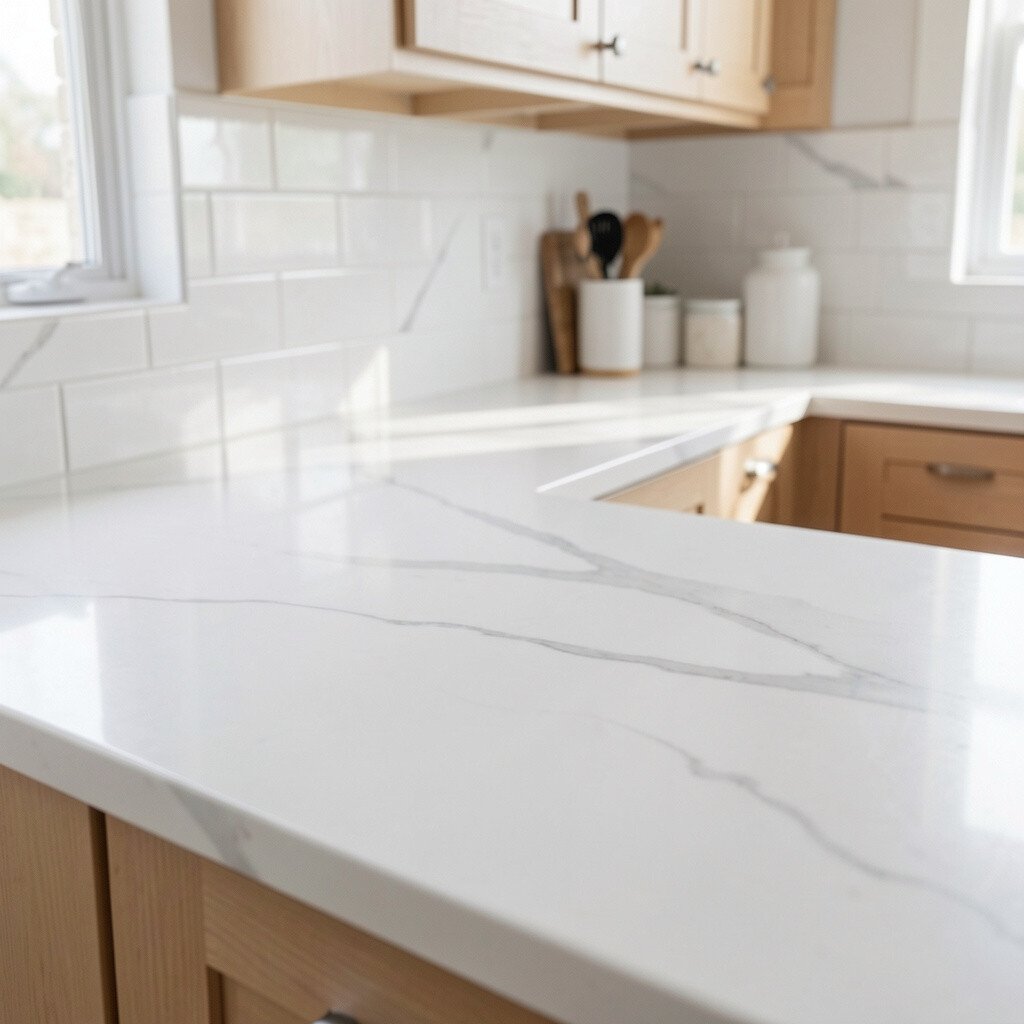
For materials that allow it, a protective finish can make future cleanup smoother. A light protective step helps spills wipe away more easily the next time.
Follow the product instructions carefully and test a small hidden area first. This keeps the finish looking natural and prevents surprises.
Cost-wise, protective products are often more affordable when you use them sparingly. You can treat your countertop like a long-term project instead of a daily battle.
16. Turn Used Items into a Temporary “Clean Up Timeline”
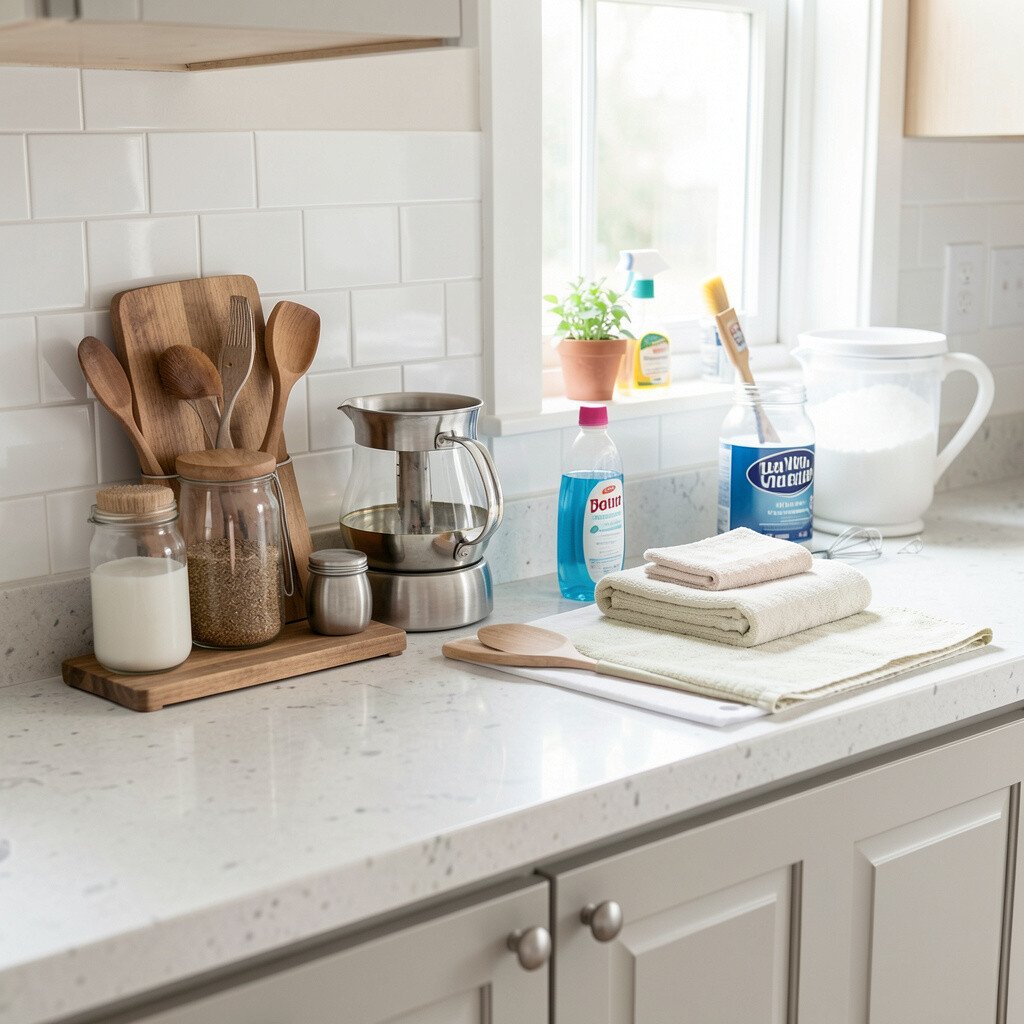
You do not need to clean everything at once, but you do need a steady rhythm. Gather used plates, cups, and bowls into one zone so you can wipe the counter while you prep the next load.
As you reset each section, you can wipe that area and move to the next spot. This makes the countertop look better in stages, which feels motivating.
To personalize the vibe, play a favorite playlist and clean along with the beat. That small atmosphere boost can make cleanup feel less like a chore.
17. End with a Dry, Polished Wipe That Looks Like a Fresh Photo
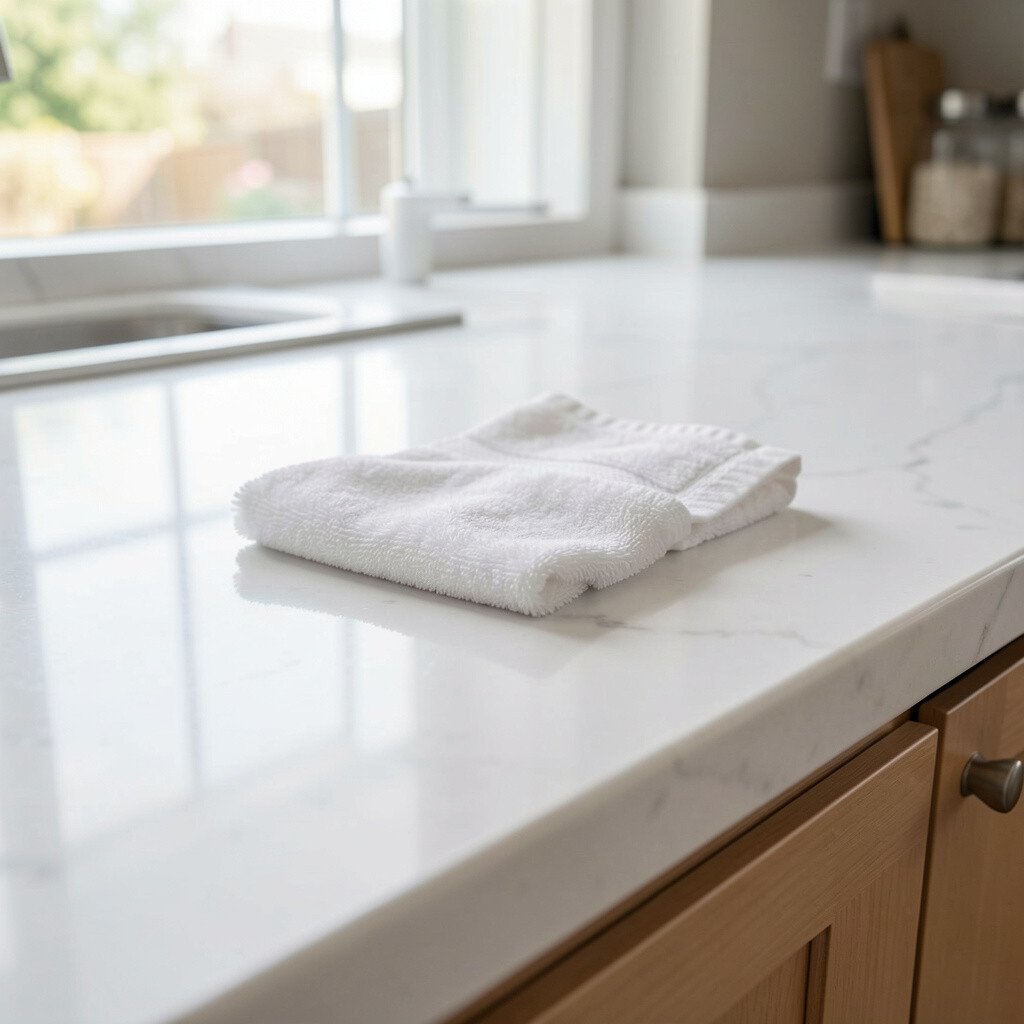
Finish by wiping the entire countertop dry with a clean microfiber cloth. A final dry pass removes leftover haze and helps the surface reflect light.
Stand back and check how it looks from different angles, especially near windows. When it shines evenly, it signals that the kitchen is ready for the next day, not stuck in party mode.
If you want extra uniqueness, add a simple accent bowl for fruit or a small plant near the corner. Just keep it minimal so the countertop stays easy to wipe and still feels inviting.