
Art class can feel magical when students have permission to try new things. Small changes in how you run the room can make big sparks in their ideas.
These classroom activities are designed to be practical, budget-friendly, and easy to personalize. Each one brings a fresh look to the same familiar art tables, paper stacks, and paint trays.
1. Warm-Up With “Mystery Shapes”
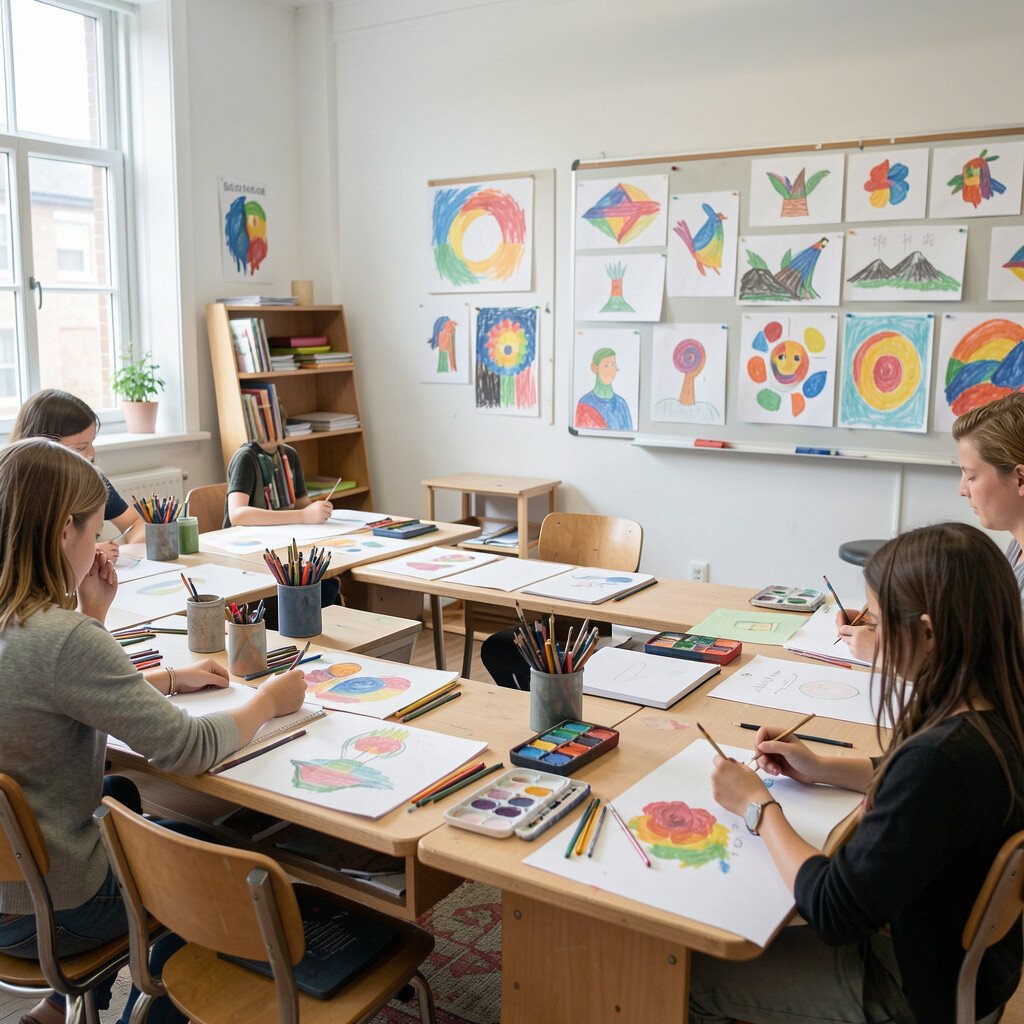
Put a handful of random shapes on the board, like spirals, triangles, and blobs. Students pick two shapes and start a drawing that connects them in a surprising way.
You will see creativity bloom as they turn simple marks into characters, buildings, or creatures. This warm-up helps everyone begin quickly, especially students who worry their first attempt will be wrong. Try quick rules like using only one color first, then adding more after ten minutes.
2. Create a Class “Texture Map”
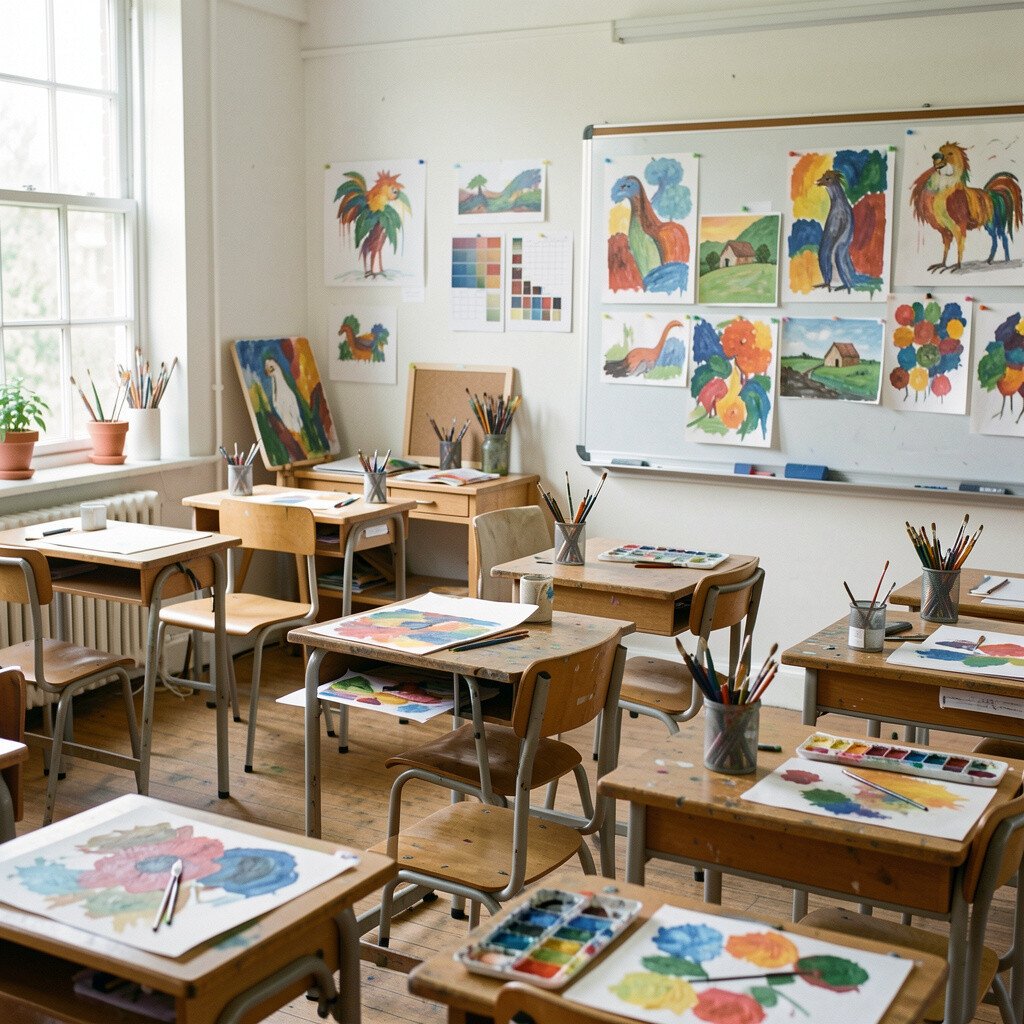
Bring in scraps and everyday items such as bubble wrap, string, cardboard, and fabric. Students rub, press, or stamp with them to make a big shared texture poster.
The visual results can look like landscapes, sandy worlds, or stormy skies. Students gain confidence because they can see real progress without needing perfect drawing skills. For personalization, let each student write one texture name beside their section using simple words or symbols.
This activity fits current trends toward hands-on making and sensory learning. For cost, use what you already have and ask families for clean take-home items, like old buttons or sleeve remnants.
3. Letter-Alive Collages From Doodles
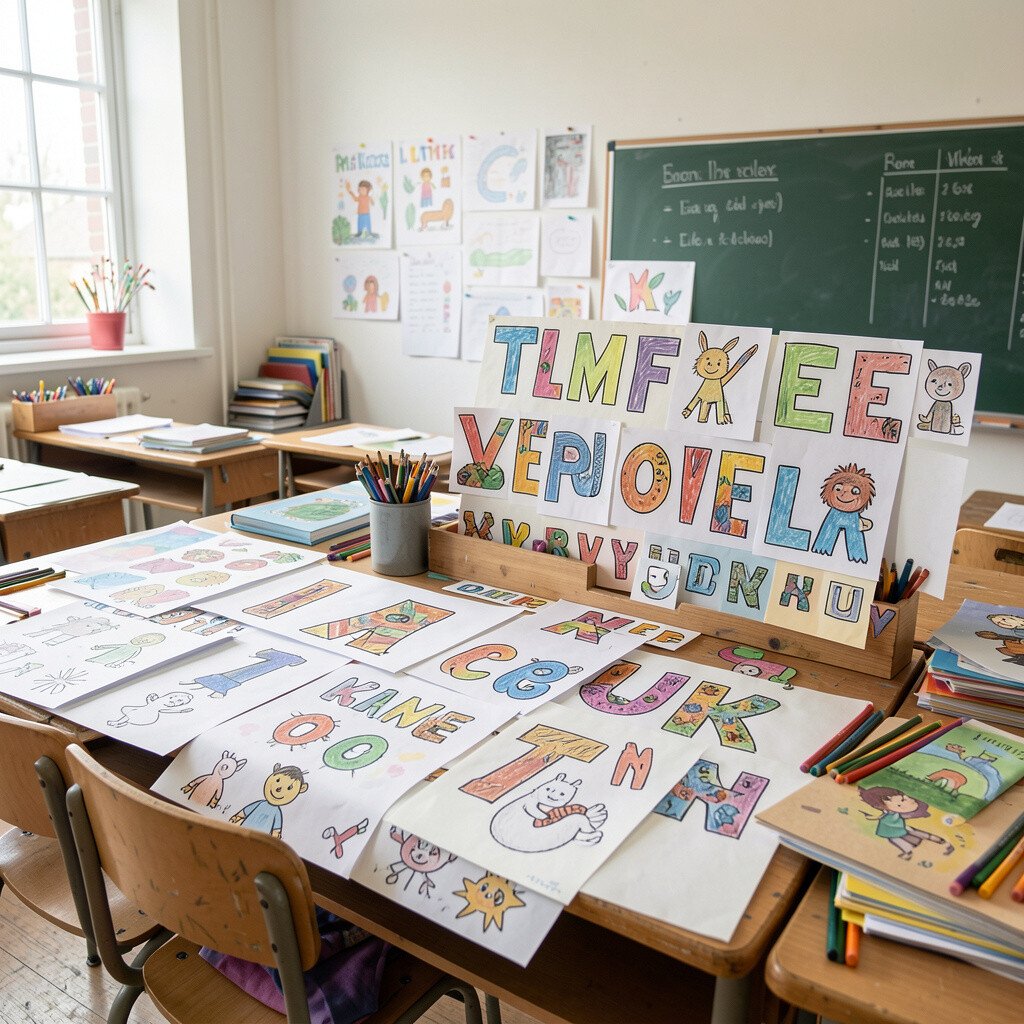
Ask students to doodle letters in their sketchbooks for a few minutes. Then they cut out the best letters and build a collage around them.
As the shapes overlap, their artwork starts to feel like a poster, a secret code, or a band logo. The benefit is that even shy artists can work from something they already made. Encourage them to add small details with markers, like dots, arrows, or tiny patterns.
To keep it unique, offer a theme such as “city energy” or “ocean whispers,” and let students match letter styles to the mood. For budget, old magazines, junk mail, and scrap paper work great, and glue sticks make clean results fast.
4. One-Photo Story Scenes
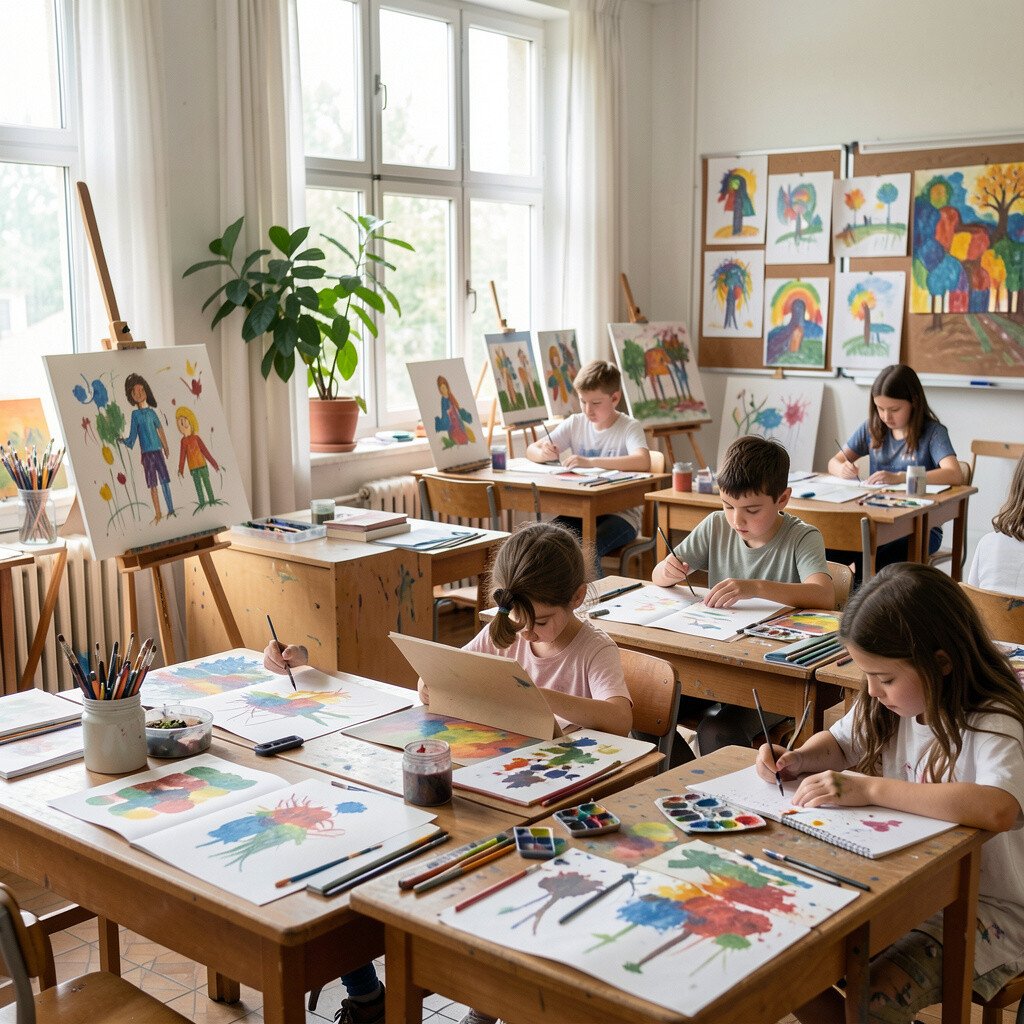
Choose a single photograph and display it for the class. Students sketch what they think happened before and after the moment in the photo.
This gives them a clear visual starting point and a reason to add details. You can support different levels by letting some students focus on background shapes while others add character expressions and motion lines. Consider using photos with strong light, like street scenes or window reflections, so the artwork looks dramatic.
5. Palette Prompts With Limited Colors
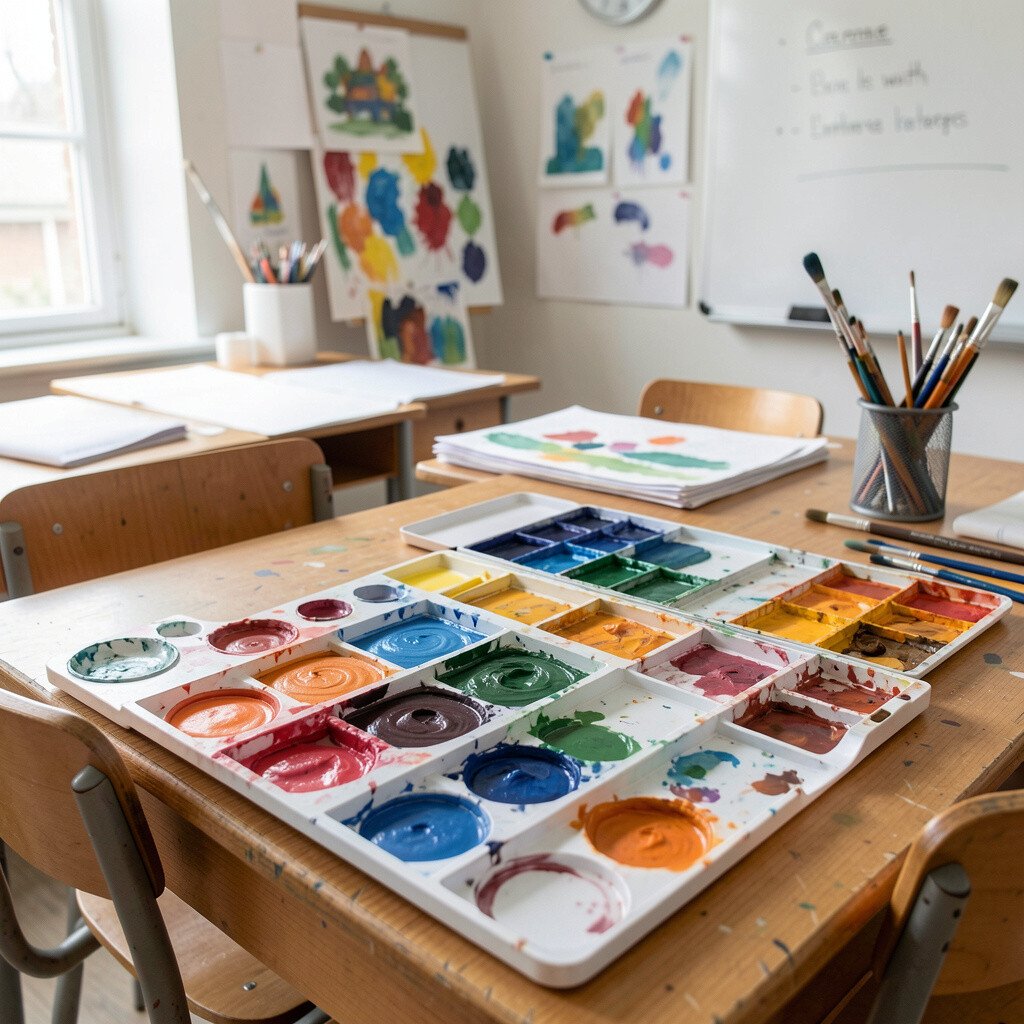
Give students a small set of colors, such as three paint colors plus white, and set a prompt like “morning mood” or “robot garden.” They plan their drawing first, then paint with the limited selection.
When students cannot rely on unlimited choices, they start noticing value and mixing in a smarter way. This builds a strong skill while still feeling playful and personal. Invite them to personalize by choosing the prompt that matches their own life, like “home comfort” or “playground power.”
Limited palettes are also a popular current trend because they make artwork look cohesive. For cost, use inexpensive tempera or liquid watercolors, and keep color jars labeled for quick cleanup.
6. Make a “Moving Art” Flipbook
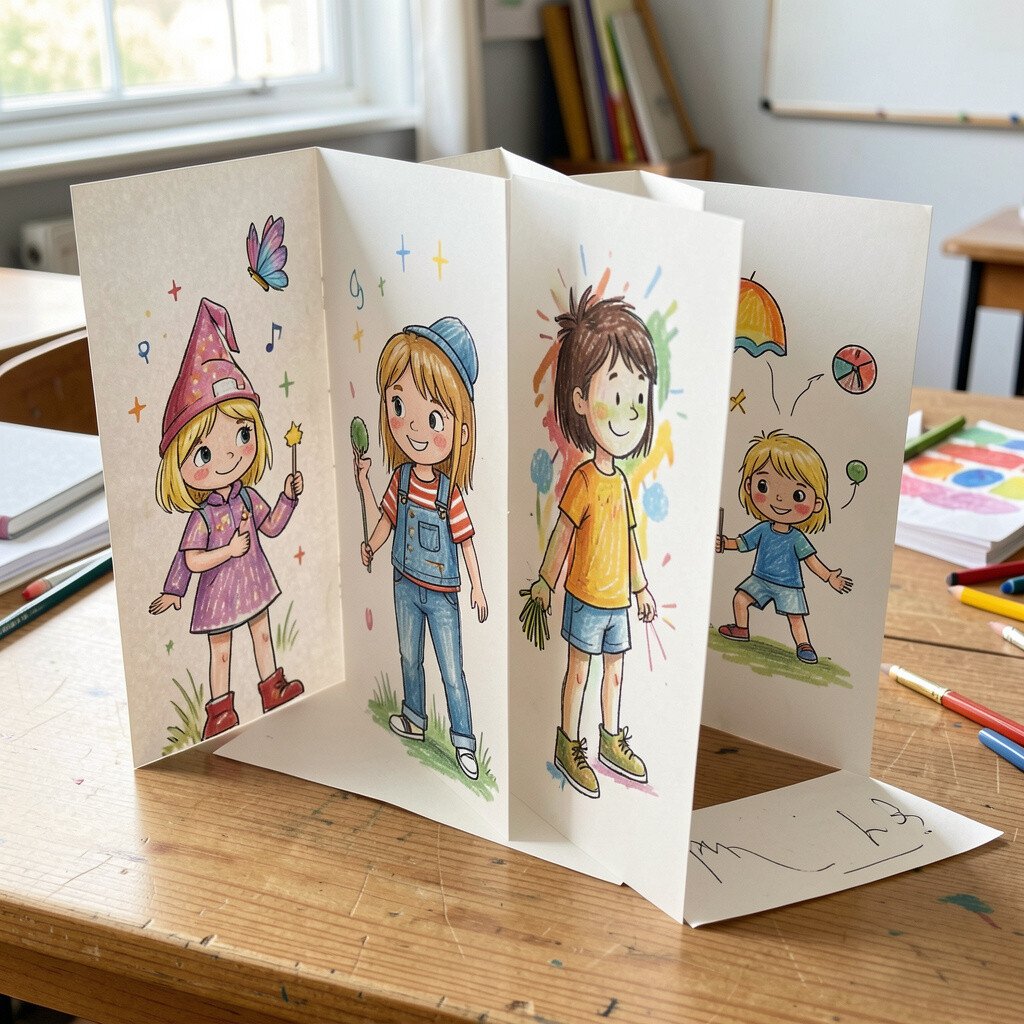
Teach students to draw a simple scene, then change one small element in each page. A bird can flap, a character can wave, or a cloud can drift across the sky.
The flipping motion creates an instant visual wow, like magic happening on paper. Students benefit because it connects art to motion, storytelling, and careful observation. For practical tips, use plain index cards and a binder ring so pages flip smoothly.
To keep the activity unique, let students set their own movement rule, such as “only one thing changes each page.” Personalization can be as simple as choosing a favorite animal or favorite place and building their motion around it.
7. Build Clay Relief Patterns
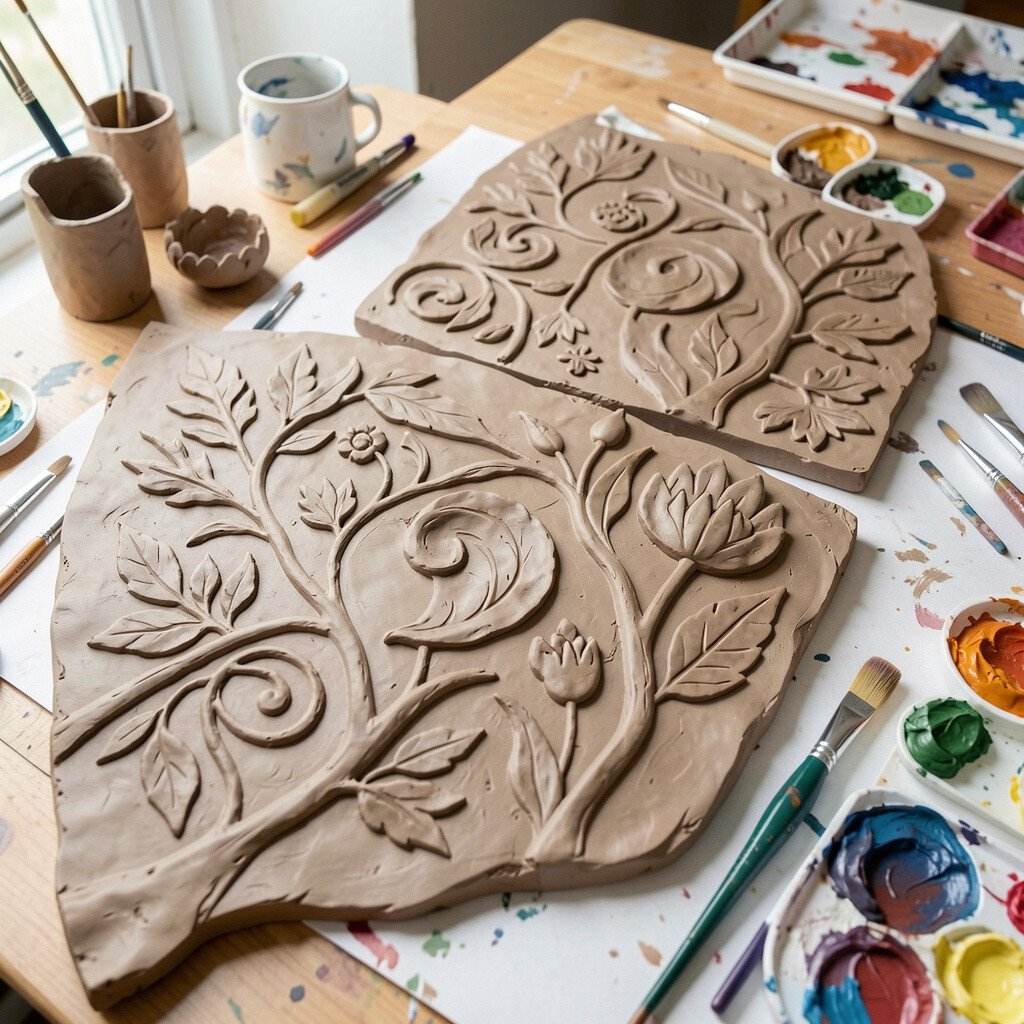
Use air-dry clay or salt dough to create raised patterns on small boards. Students press textures into the clay with tools, bottle caps, or even the ends of paintbrush handles.
Relief art looks dimensional and tactile, and it catches light in a way flat drawings cannot. This helps students practice planning because they must think about depth, not just lines. For budget considerations, salt dough is cheap, and air-dry clay is easy if you want less mess.
Encourage students to personalize their relief by turning one texture into a symbol, like a crown pattern for confidence or a wave pattern for calm. If you want a current trend, connect it to “texture art” and handmade surfaces that many makers share online.
8. Paint Resist With Everyday Materials
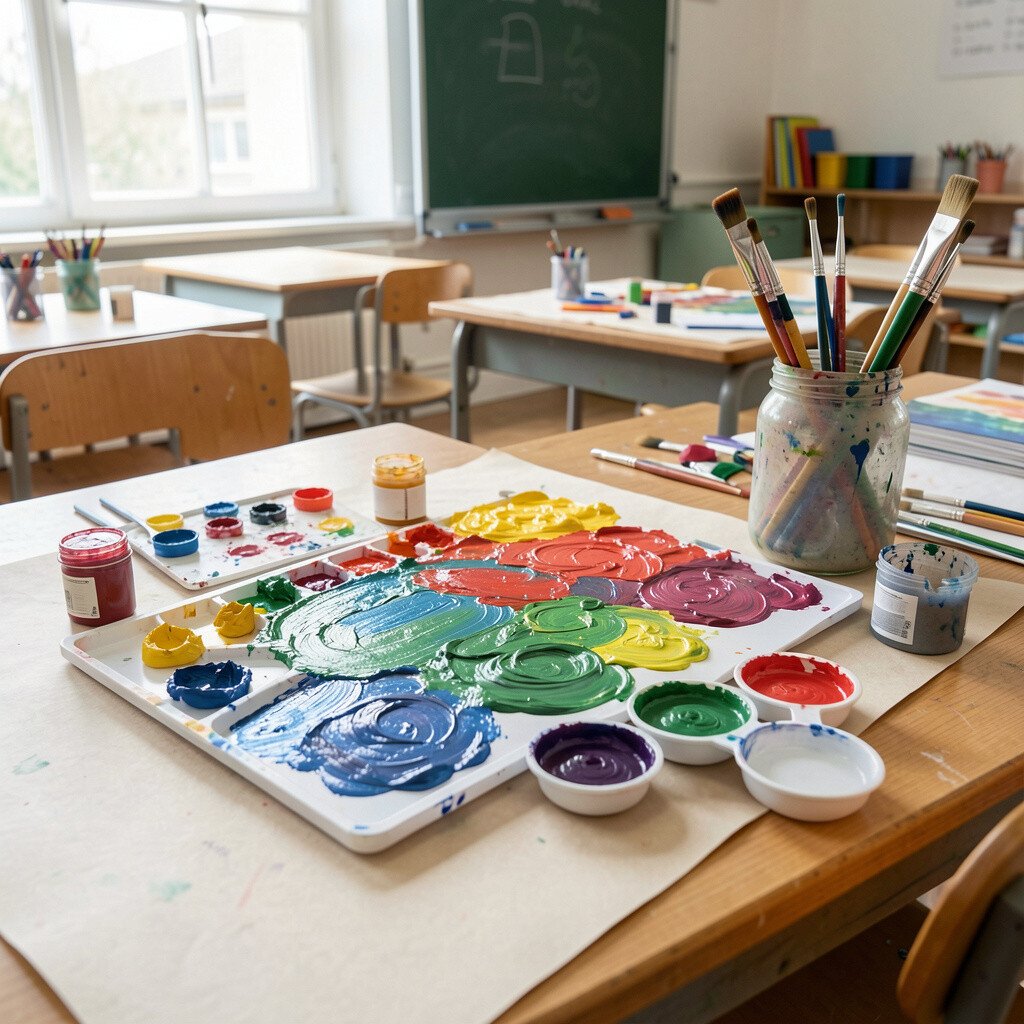
Students draw an image using wax crayons, white glue, or a thin layer of soap on paper. After it dries, they paint over it with watercolor or washable paint so the lines resist the color.
When the first layer shows through, the visual effect looks like stained glass or magical map lines. The benefit is that students learn how materials behave, which makes them more confident with future projects. For practical tips, test one scrap piece first so students understand where the resist will show best.
To make it unique, assign prompts like “winter dreams” or “space signals,” and ask students to design symbols that match the theme. Personalization is easy because they can draw anything they want, from their pet to a favorite hobby.
9. Create a “Museum Walk” With Student Labels
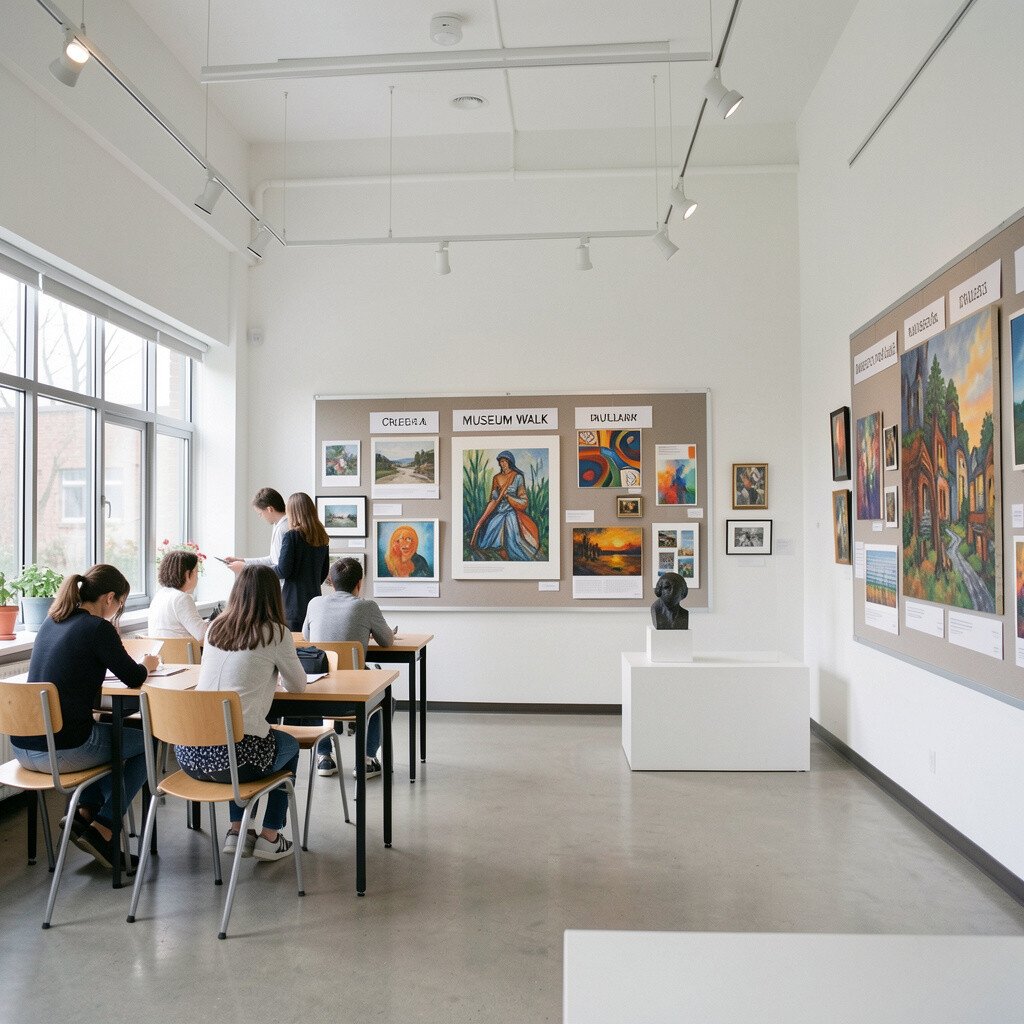
After finishing any artwork, set up a gallery space around the room. Students stand in pairs and walk like visitors, leaving gentle compliments and questions for others.
They then add short labels describing what they used, what they wanted the viewer to feel, and one thing they would improve. This boosts communication and helps students see how their choices affect the final look. Practical tip is to give sentence starters on a handout, like “I used…” and “I wanted it to feel…” so students are not stuck.
This activity also matches a current trend toward student voice in art spaces. For cost, it requires only paper scraps for labels and simple tape or magnets to display them.
10. Vision Board Collages for Personal Themes
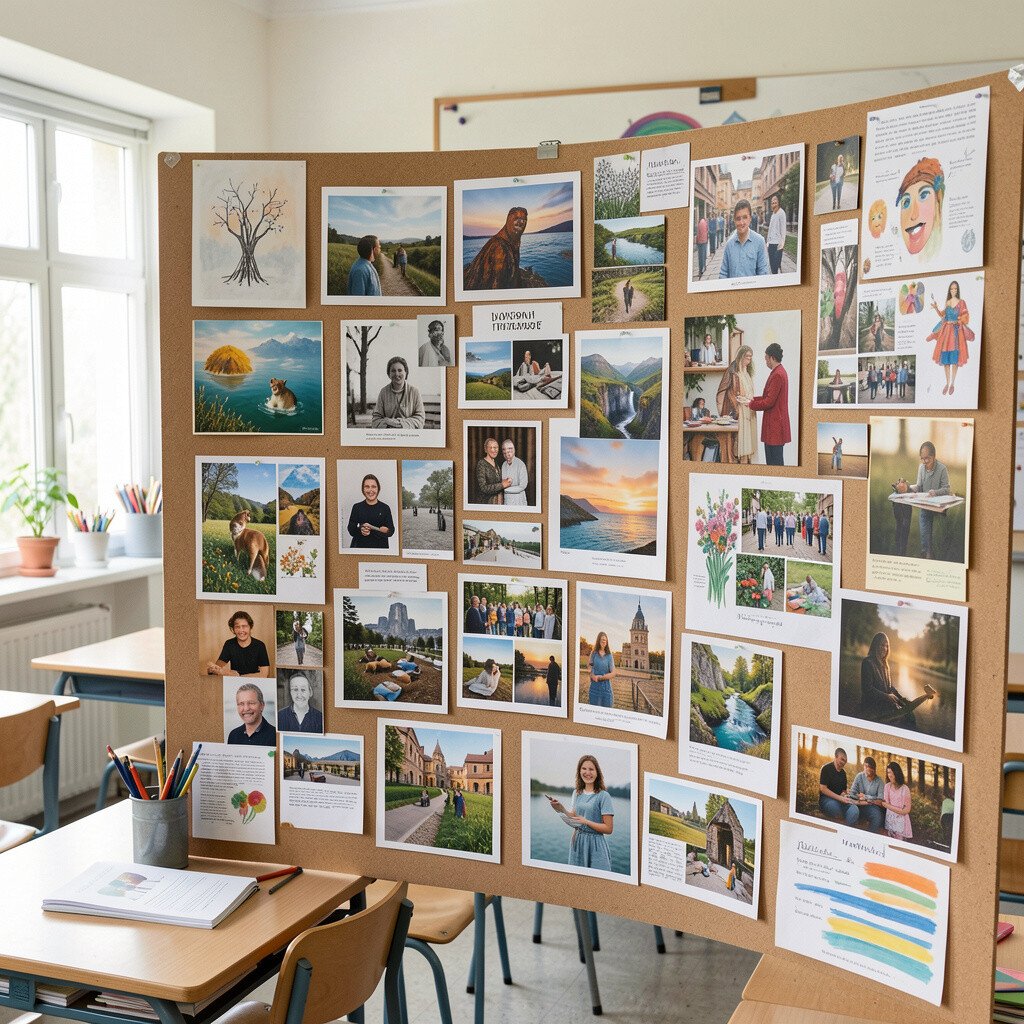
Students pick a theme for their life right now, such as “brave,” “curious,” or “ready for summer.” They cut images, words, and patterns that match and arrange them into a collage.
The visual results can be bright and full of meaning, like a mini story made from colors. Students benefit because art becomes a safe place to express feelings and goals. Personalization is the heart of this project, so let them include their own drawings beside printed images.
For budget considerations, use free magazine pages and recycled packaging, then add a thin layer of matte medium if you have it. If you want to align with current trends, encourage “self-branding” in a kind way, where students design who they want to be through visual choices.
11. Collaborative Mural With Choice Paths
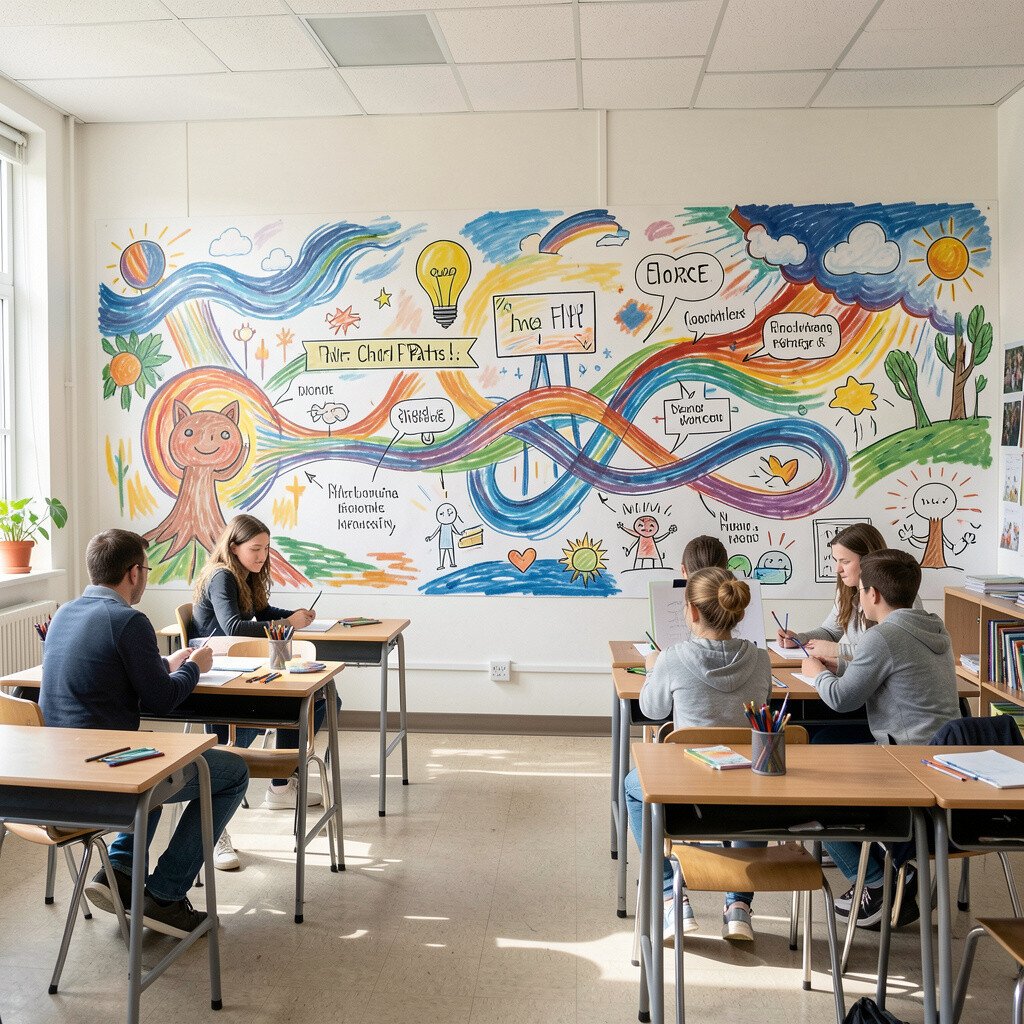
Start a class mural on butcher paper taped to the wall. Students choose a “choice path,” like drawing a skyline, designing a border, or painting a background texture.
The mural becomes a big visual conversation, with each student adding something distinct. This helps students learn teamwork while still keeping ownership of their portion. For practical tips, use painter’s tape to mark sections so the wall stays neat and students know their boundaries.
To keep it unique, add a repeating motif such as stars, leaves, or waves that connects every section. Personalization can happen through color, pattern density, and personal symbols, like music notes for musicians or simple icons for favorite sports.
12. Inspired by Artists, Made From Scratch
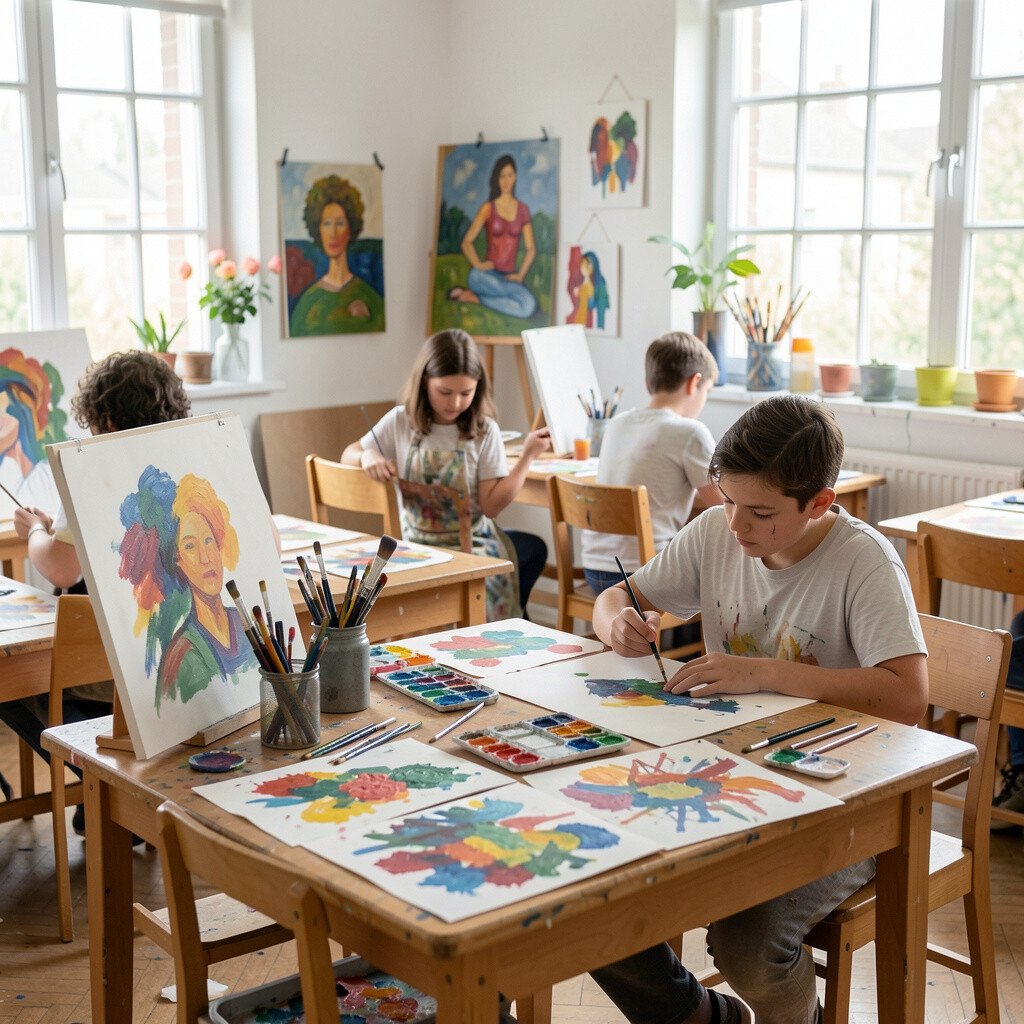
Share a short artist example, then ask students to create work that uses one technique but changes the subject completely. They might use bold shapes from one artist and turn them into their own family scene.
This approach builds skill without copying, and students learn that art can be respectful and original. The benefit is that students understand technique like composition, rhythm, and contrast. Practical tip is to give them a one-page “technique checklist” with simple words like “shapes,” “lines,” and “value,” so they focus on real choices.
For cost considerations, use whatever materials you already have and keep the technique consistent, like using one kind of paper or one brush style. When you connect it to current trends, mention how many creators remix styles online while adding personal meaning.
13. The “Error Gallery” Turn Mistakes Into Art
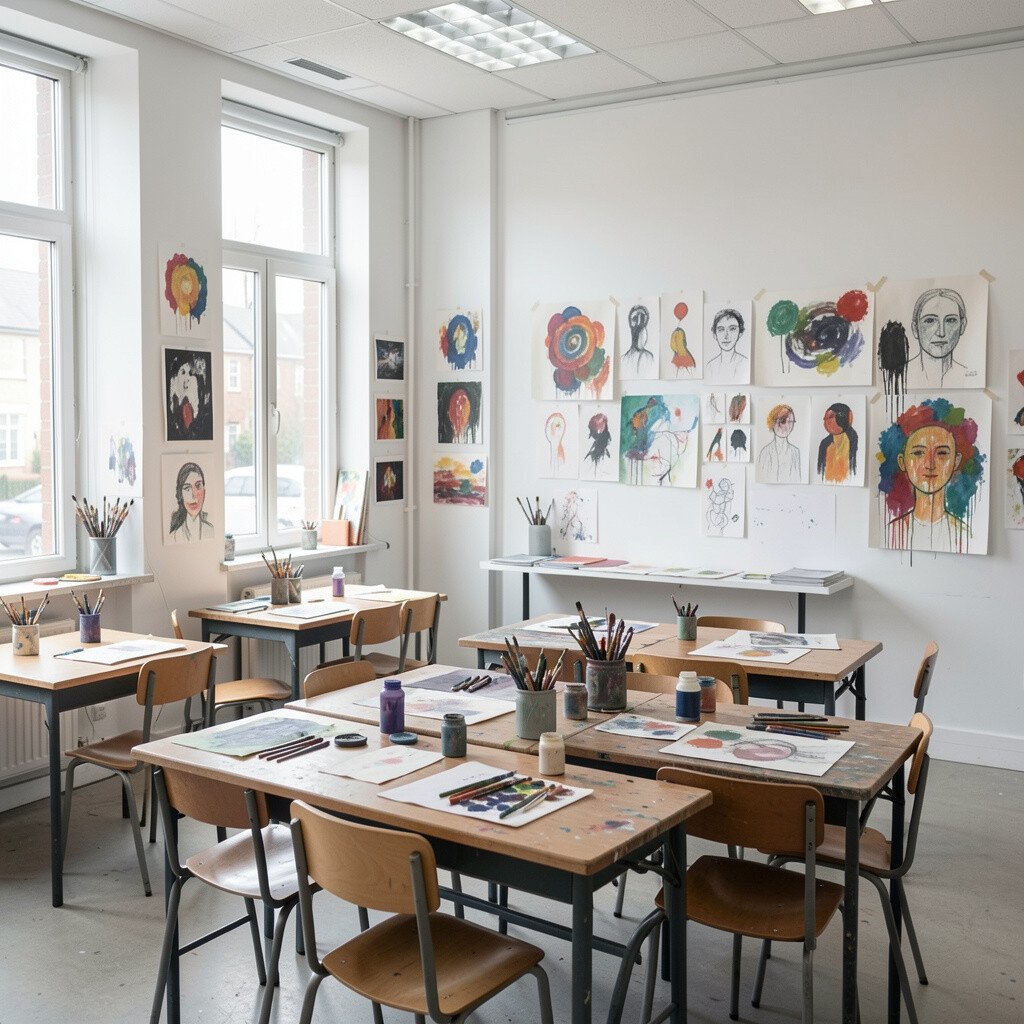
Invite students to intentionally make one mistake, like a smudge, a drip, or a line that goes too far. Then they must turn that error into a planned part of their final artwork.
This shifts the mindset of the whole room and turns perfection pressure into problem-solving. Students benefit because they learn that unexpected marks can become texture, shading, or story details. For practical tips, keep a trash paper pile for test marks and allow quick drying time so errors are usable fast.
To make it unique, tell students the error must lead to a new feature, such as adding a character, building a background, or creating a pattern. Personalization can be as simple as naming the mistake, like “the dragon splash,” so it feels playful instead of stressful.