Light can be more playful than you think. One small technique can make your pictures feel like a story.
1. Capture Golden Hour With Intent
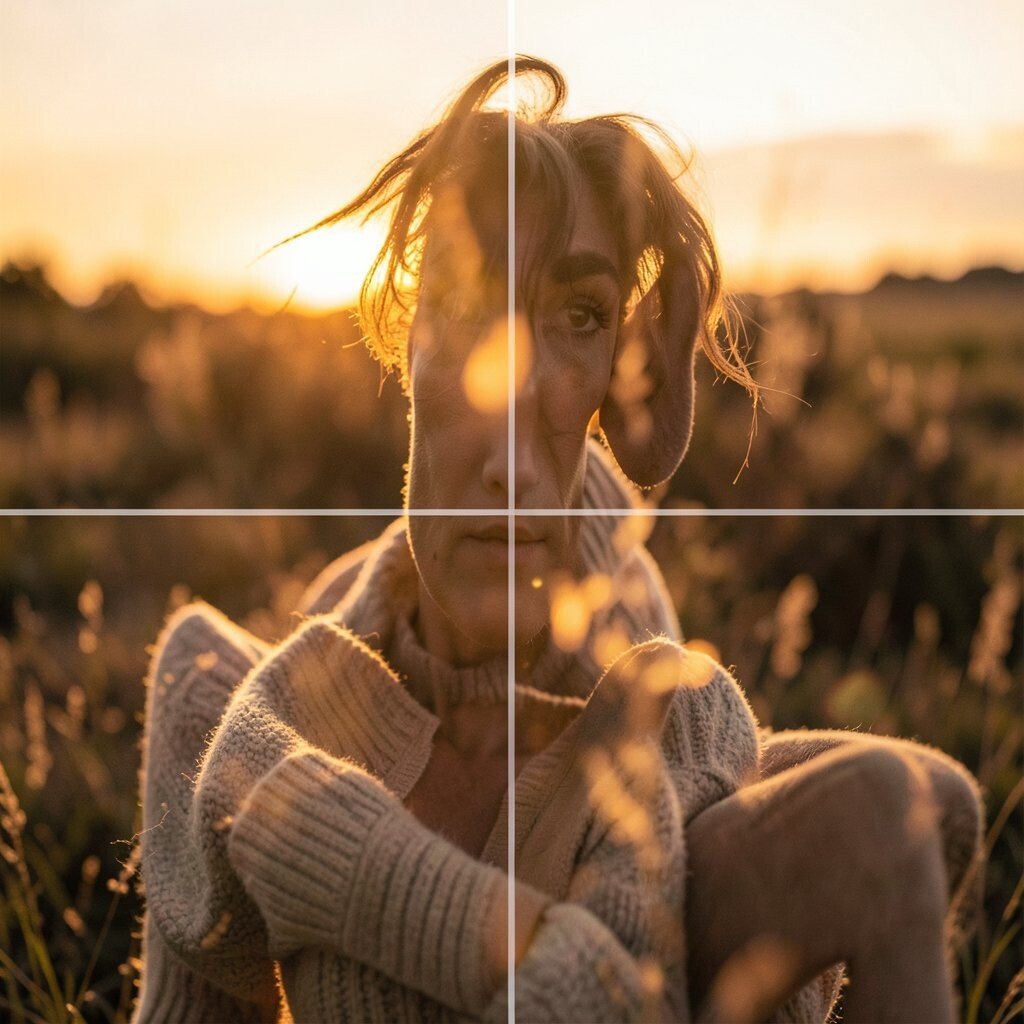
When the sun gets low, your photos glow like warm honey. Try standing in one spot and watching how shadows stretch across the scene.
Pick a subject first, then wait for the light to land on it. Shoot at different angles because the same tree or person can look totally different as the sun slides. Keep an eye on the sky, since soft clouds can turn bright areas into gentle gradients.
2. Use Leading Lines to Pull Viewers In
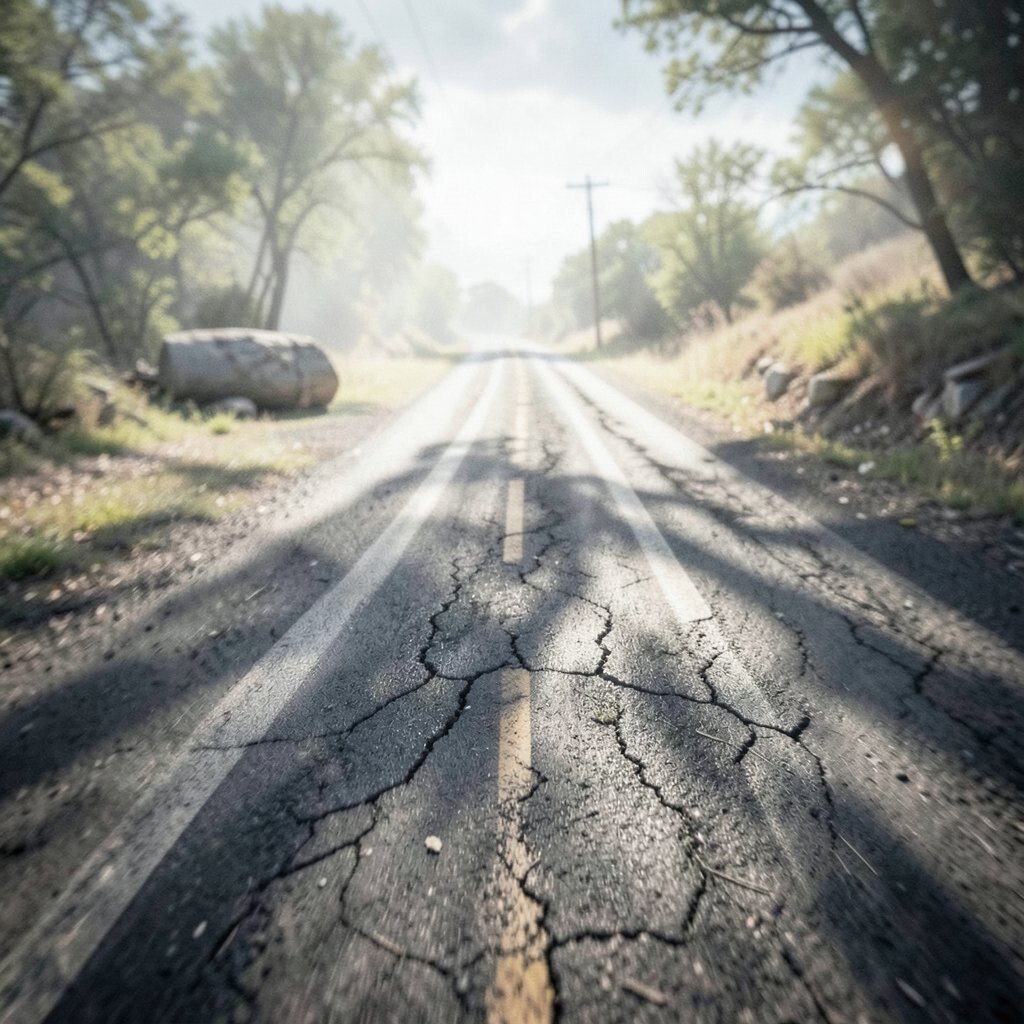
A road, a fence, or even a row of books can guide the eye. Look for lines that point toward your main subject like they are pointing a friendly finger.
Frame the shot so the lines start near the bottom of the image and run toward the horizon. Move your feet until the perspective feels strong, because a small shift can make the lines look dramatic.
For extra style, use lines that curve, like a winding path or a staircase rail. This technique works well for street scenes, beaches, and city architecture without costing anything extra.
3. Try Long Exposures for Dreamy Motion
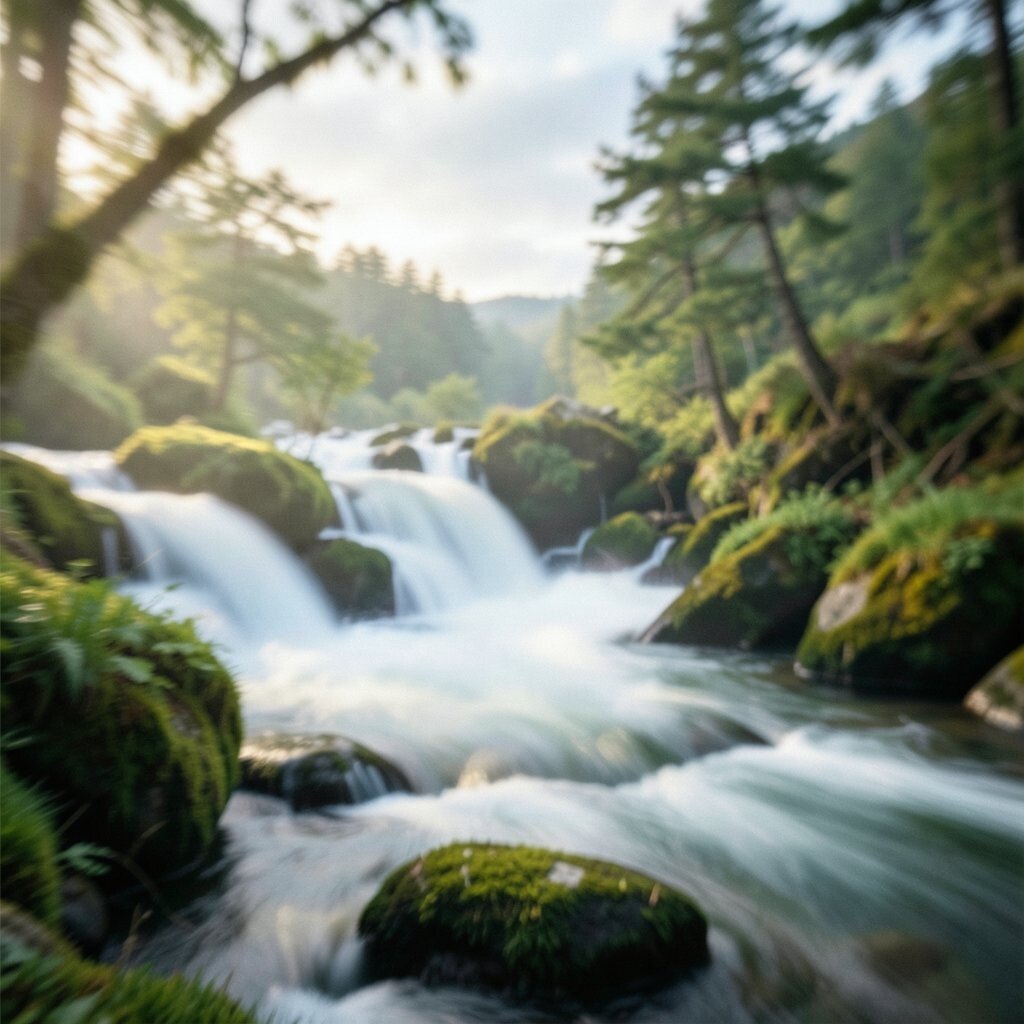
Water, clouds, and city lights can look magical when you slow the shutter speed. A river turns silky, and passing cars become glowing streaks.
Use a tripod and a timer so the camera stays steady. Start with a medium slow shutter speed, then adjust based on brightness and your local conditions.
On windy days, this method still works, but you may want to brace the camera higher or pick a calmer time. If your camera has an easy long-exposure mode, use it, and remember that a neutral density filter can help when the scene is too bright.
For uniqueness, mix stillness with motion by placing one sharp subject in the foreground, like a person standing still near a moving background. That contrast often makes viewers pause longer to study the image.
4. Shoot Through Everyday Objects for Texture
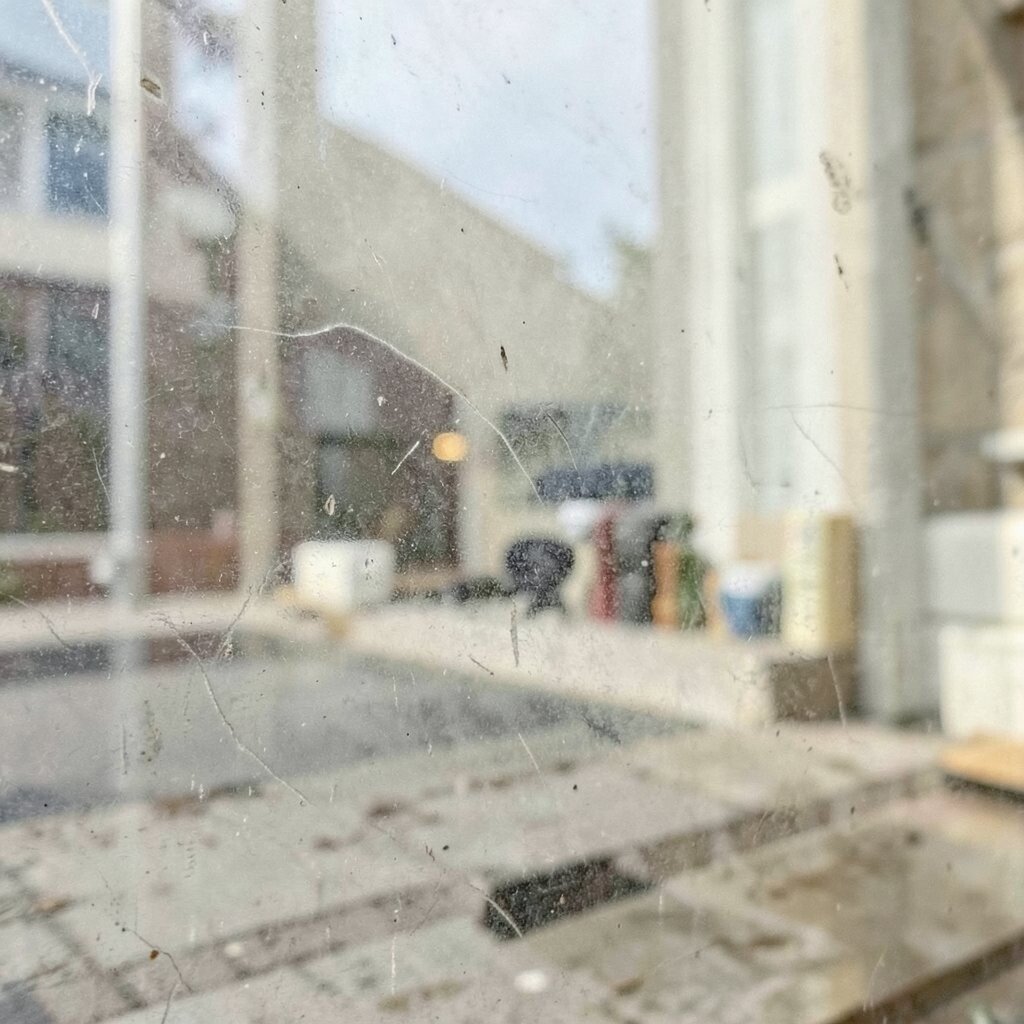
Glass, leaves, window frames, and even a sheer curtain can add texture and depth. When you place something between the lens and the scene, the foreground can feel like a soft curtain.
Try shooting through raindrops on a window or through tiny holes in a mesh. Keep the object in focus if you want a crisp patterned look, or soften it if you want dreamy bokeh.
5. Make Strong Portraits With Simple Lighting

Portraits can look amazing even with basic light. Face your subject near a window and watch the shadow shape on their face.
Use a white wall or a sheet of paper to bounce light back into the darker side. If the room is bright, try softer angles by turning them slightly away from the window.
For practical personalization, ask your subject to wear colors that match the mood you want, like warm tones for cozy vibes or cooler tones for calm energy. This approach is budget-friendly because you can start with natural light and a few household tools.
6. Create Depth With Foreground, Midground, Background
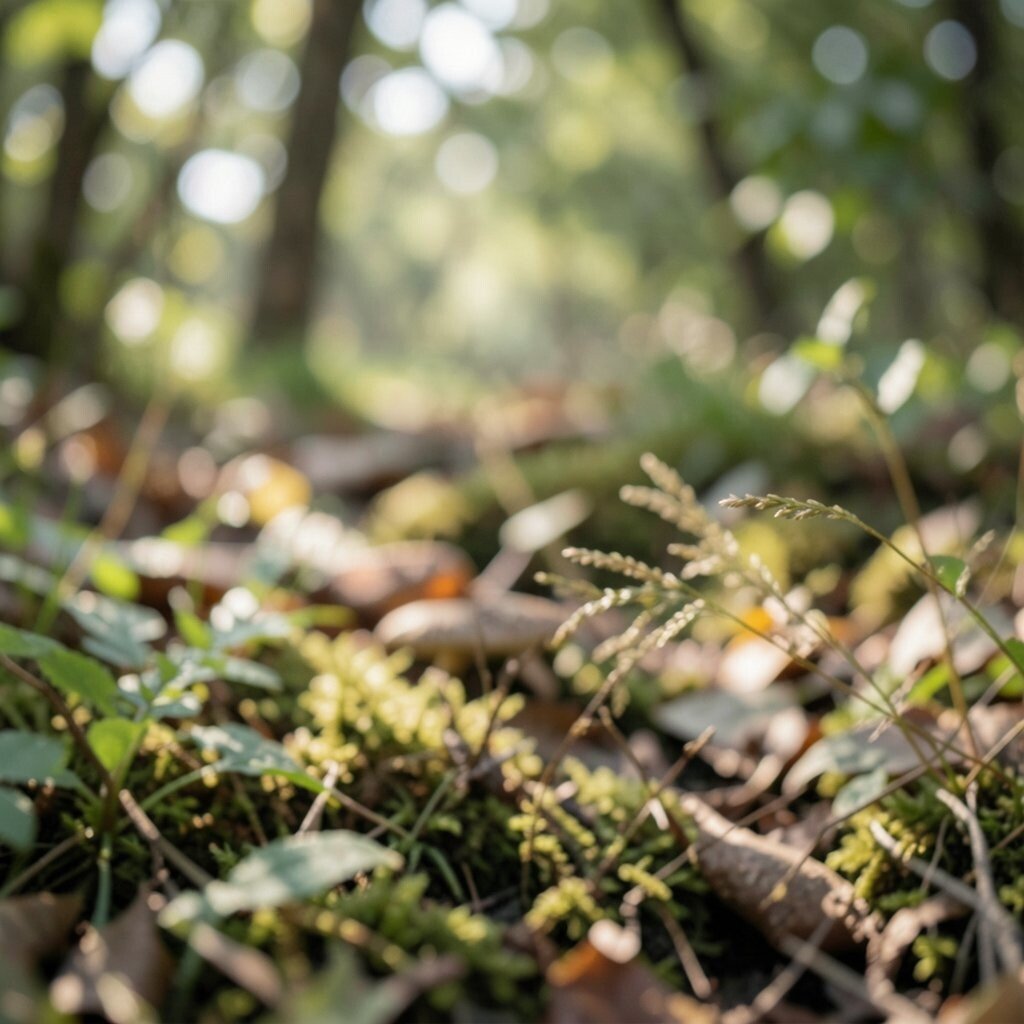
Layering adds depth and helps your photo feel like you can step inside it. Put something close to the camera in the foreground, like grass or a railing.
Then place your main subject in the middle and fill the distance with another element, such as trees, buildings, or hills. When you compose this way, the viewer’s eyes naturally travel from near to far.
7. Use Reflection Shots for Double Stories
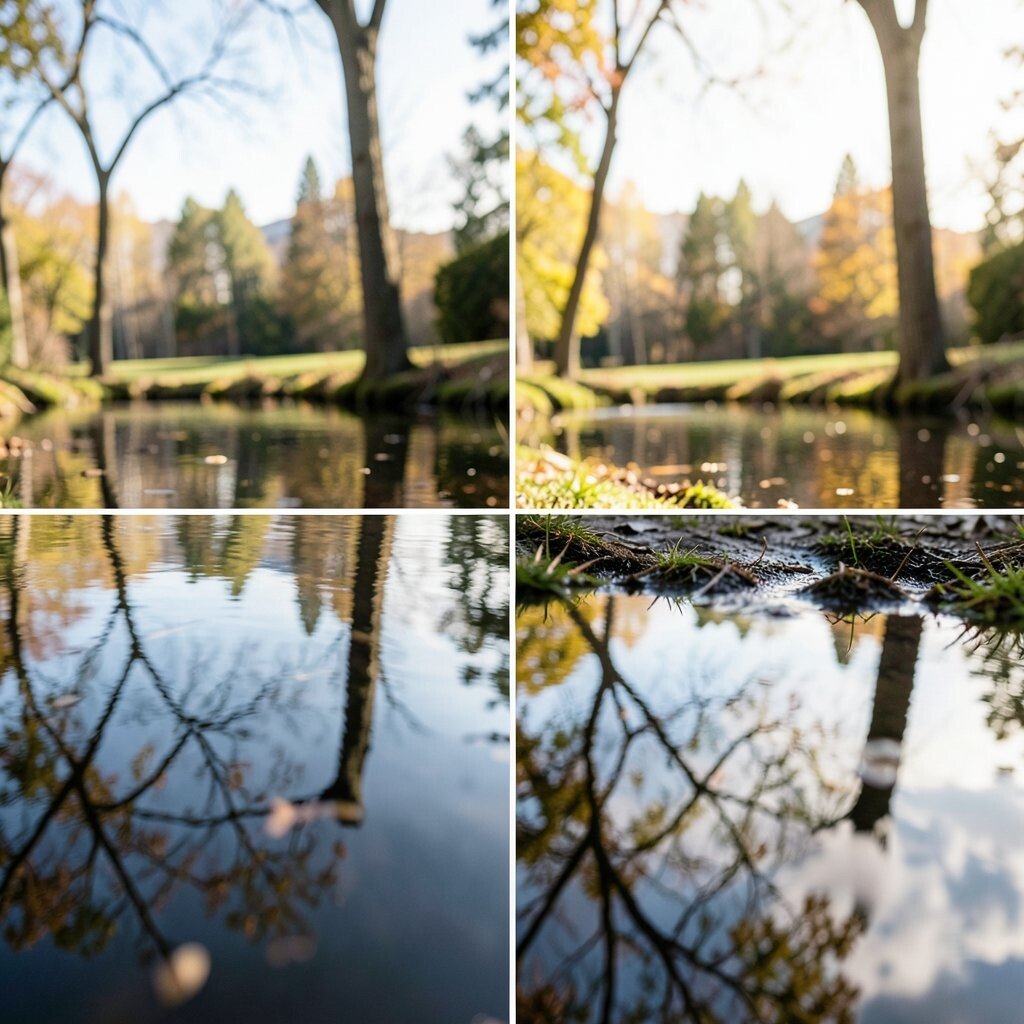
Puddles, mirrors, car windows, and calm water can give you a built-in second image. Reflections can make a scene feel symmetrical, calm, or slightly mysterious.
Get low to the ground so the reflection fills more of the frame. If the surface is shaky, wait for a quiet moment or switch to a smoother angle where ripples are less obvious.
For uniqueness, choose reflections that cut across the frame, like a bridge line mirrored in a river. This can create a cool, graphic look even without fancy gear.
8. Photograph Shadows for Bold Graphic Shapes
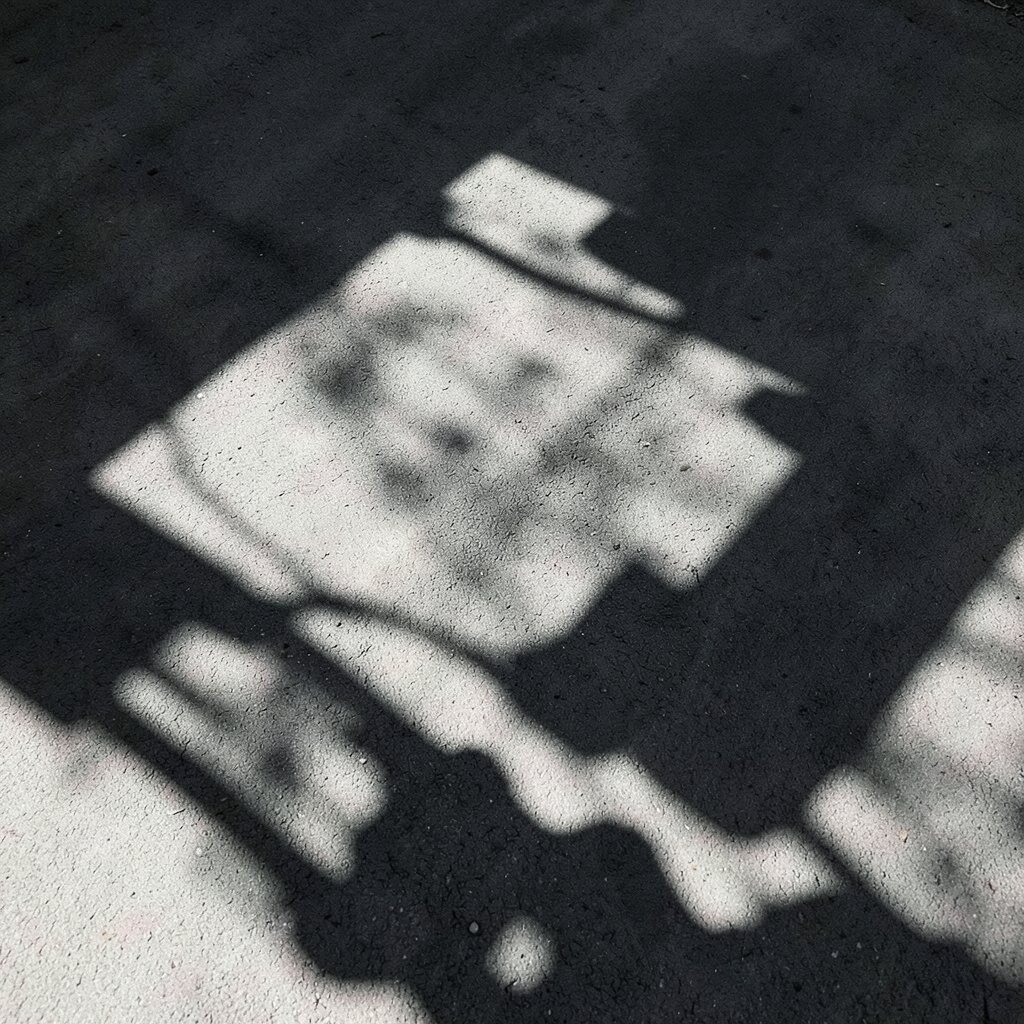
Shadows can look like art when you treat them as the main subject. Look for high-contrast light, such as midday sun or a bright streetlamp at night.
Move around and watch how the shape changes on walls, sidewalks, and curtains. A shadow of a person, a plant, or a simple object can become a powerful silhouette that feels very personal.
9. Shoot in Black and White for Timeless Mood
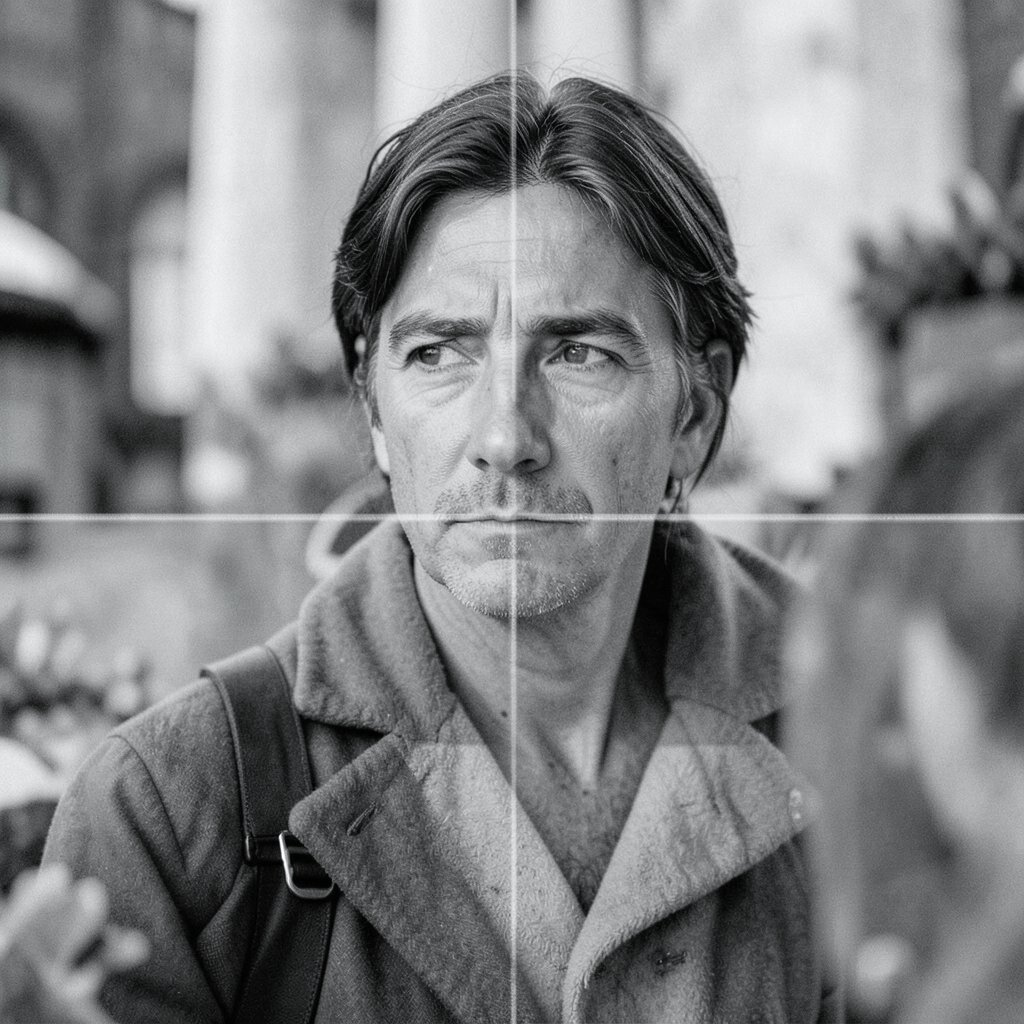
Black and white can make everyday scenes feel timeless. It also helps viewers focus on shape, light, and texture instead of color.
Look for contrast, such as bright highlights against darker areas, and frame your subject so the tonal range is strong. If your camera allows it, shoot raw so you can adjust later and keep more control.
For a modern trend, consider high-contrast street portraits or architectural photos where patterns stand out. This is easy to do anywhere and cost nothing extra beyond your camera and time.
10. Freeze Action With Fast Shutter Speed
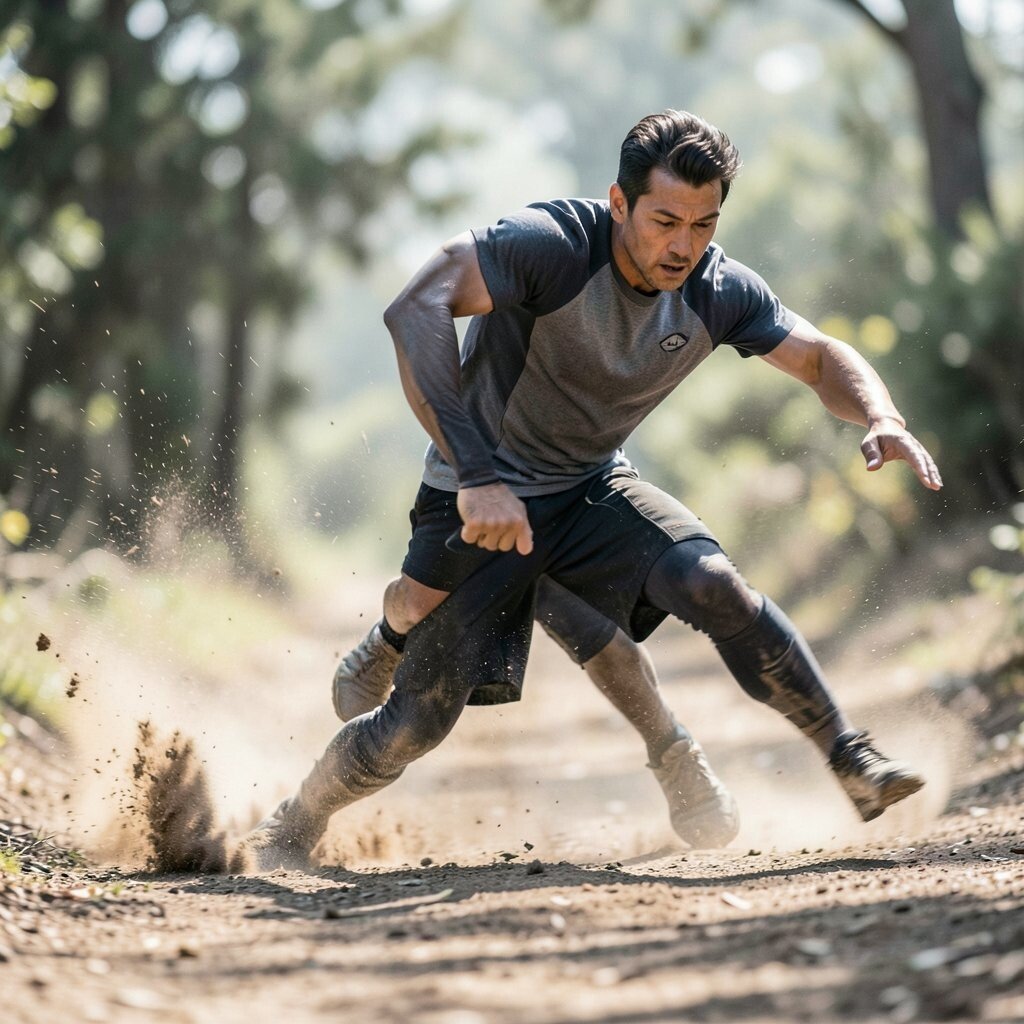
When a subject moves quickly, a fast shutter speed can freeze every detail. Think of splashing water, cyclists, dancing feet, or a pet running toward you.
Use burst mode if your camera has it so you catch the peak moment. Also focus on the most important part, like the face, the hands, or the ball, so motion blur doesn’t steal attention.
For personalization, match the background to the action by choosing a clean space behind your subject. If you want a lively look, try tracking your subject smoothly while shooting, even if you keep most motion sharp.
11. Build a Mini Scene With Props and Direction
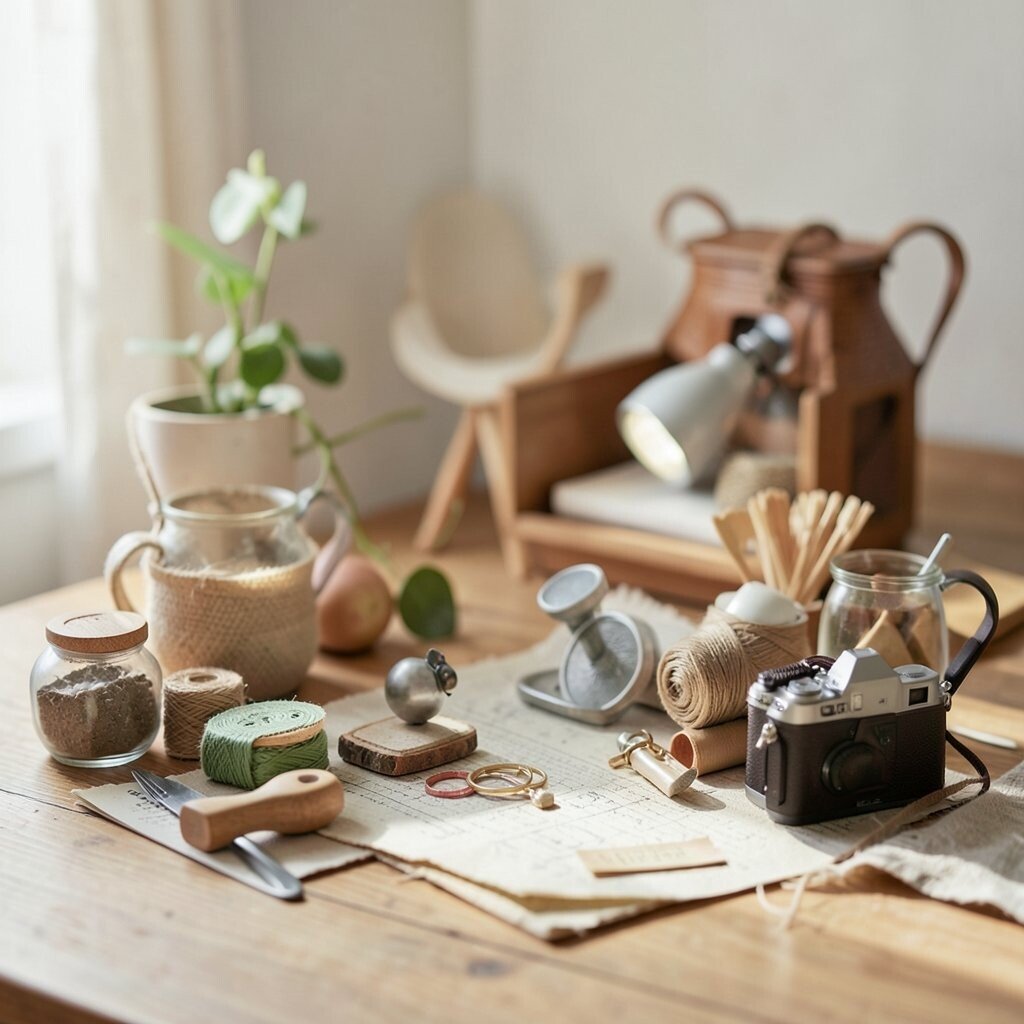
You don’t need a huge location to make a photo feel special. A small desk setup, a corner of your kitchen, or a picnic table can become a full world with the right props.
Choose one theme, like a cozy morning or a rainy-day mood, then arrange items that match the story. Add a simple light source, such as a lamp or window light, and keep the background clean so the scene looks intentional.
12. Try Panoramas for Wide, Cinematic Views
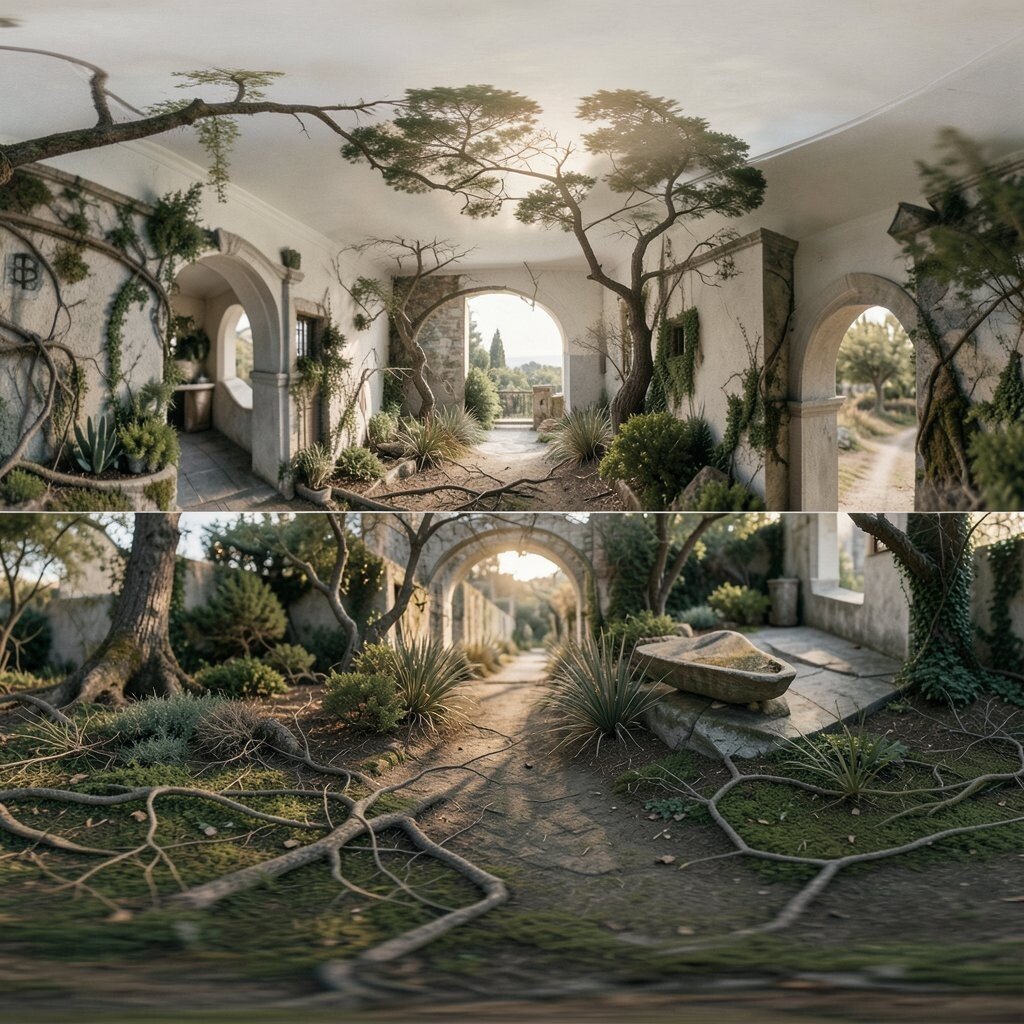
Panoramas can help you show the scale of a landscape or skyline. They often make viewers feel like they are standing in the center of the action.
Keep your camera level and rotate smoothly from one side to the other. Overlap the view slightly so the image stitches cleanly, especially when the scene includes buildings or tree branches.
To keep your panorama from feeling flat, include a strong foreground element like a path or a lone tree. Modern smartphone cameras make this easier now, but a practiced technique still improves sharpness and alignment.
13. Plan Your Color Palette for Instant Style
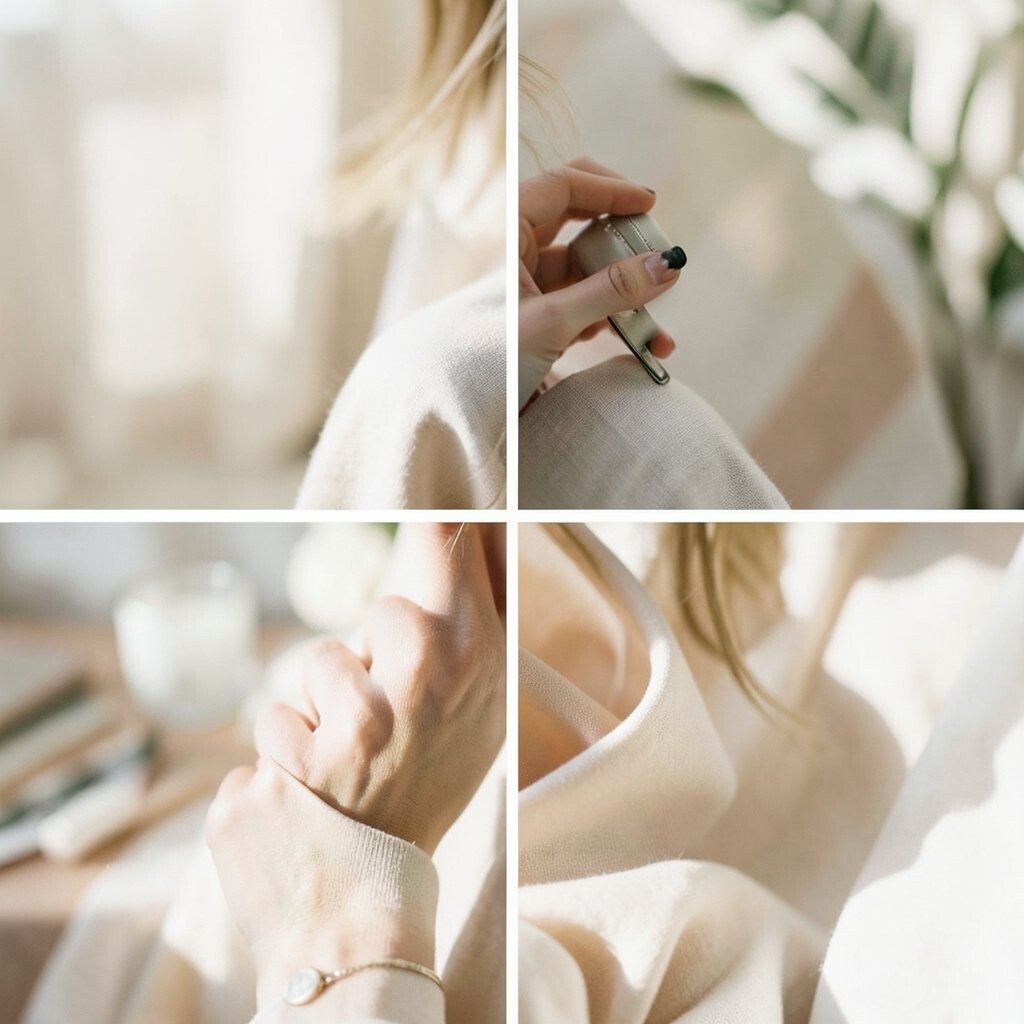
Color planning turns random images into a set with a shared mood. Pick a few colors you want to see in the final photo, like teal and orange or green and cream.
Before you shoot, scan the scene and decide what will carry your palette. You can move your subject, change your angle, or wait until matching colors line up naturally.
For cost considerations, color work often depends more on choices than gear. Editing can also help, but getting the right palette while shooting makes the results look cleaner and more professional.
14. Use Cinematic Framing With the Rule of Thirds
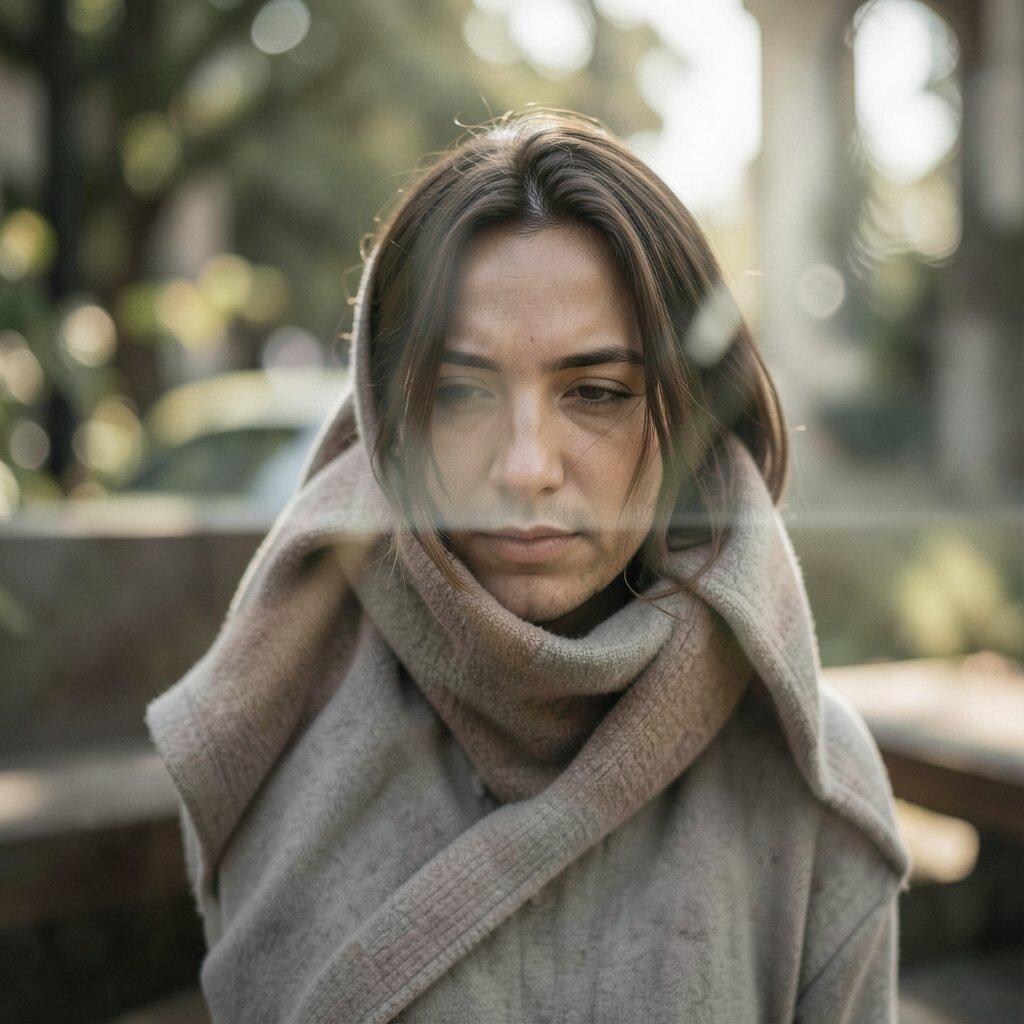
The rule of thirds helps your photos feel balanced and easy to look at. Imagine two vertical and two horizontal lines across your frame, then place your subject near the intersections.
Leave breathing space where your subject looks or moves, so the image feels like it has direction. Try switching between tighter crops and wider compositions to see how the mood changes.
For uniqueness, combine thirds with negative space by keeping the background simple and letting one subject stand out. This technique works for portraits, street scenes, and nature shots, and it usually costs nothing besides your attention.