Sunlit rooms make learning feel lighter and happier. When the walls glow with bright color, students notice possibilities everywhere.
Let the windows lead the design, and let color do the cheering. You’ll build spaces that look welcoming, work better day to day, and still feel like your own.
1. Window-First Layout for Maximum Daylight
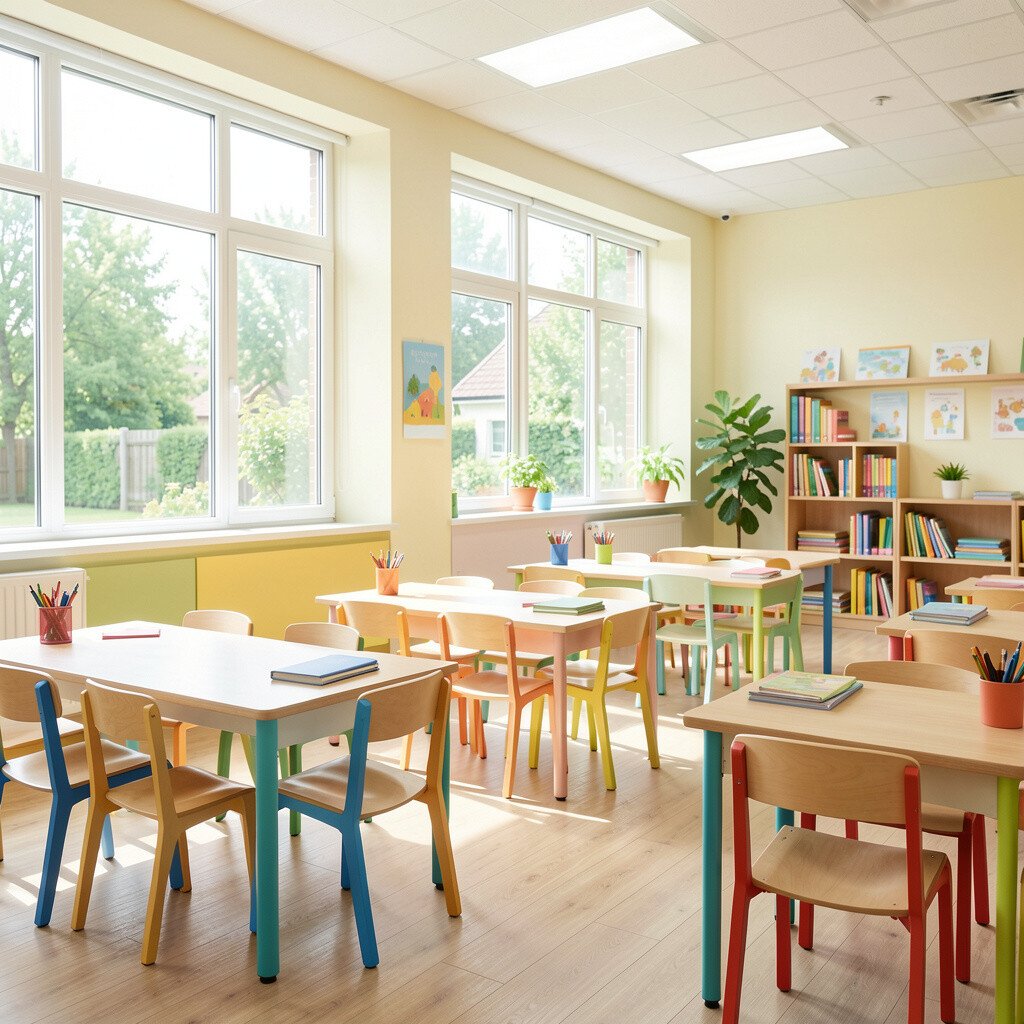
Start by thinking about how the light moves through the room. Place desks so students face the brightest side without glare in their eyes.
Use light-colored floor or rug accents to bounce sunlight around. Keep tall storage away from the window line so the room stays airy. If you can, choose sheer window treatments that soften brightness instead of blocking it.
2. Soft White Walls With Bold Color Zones
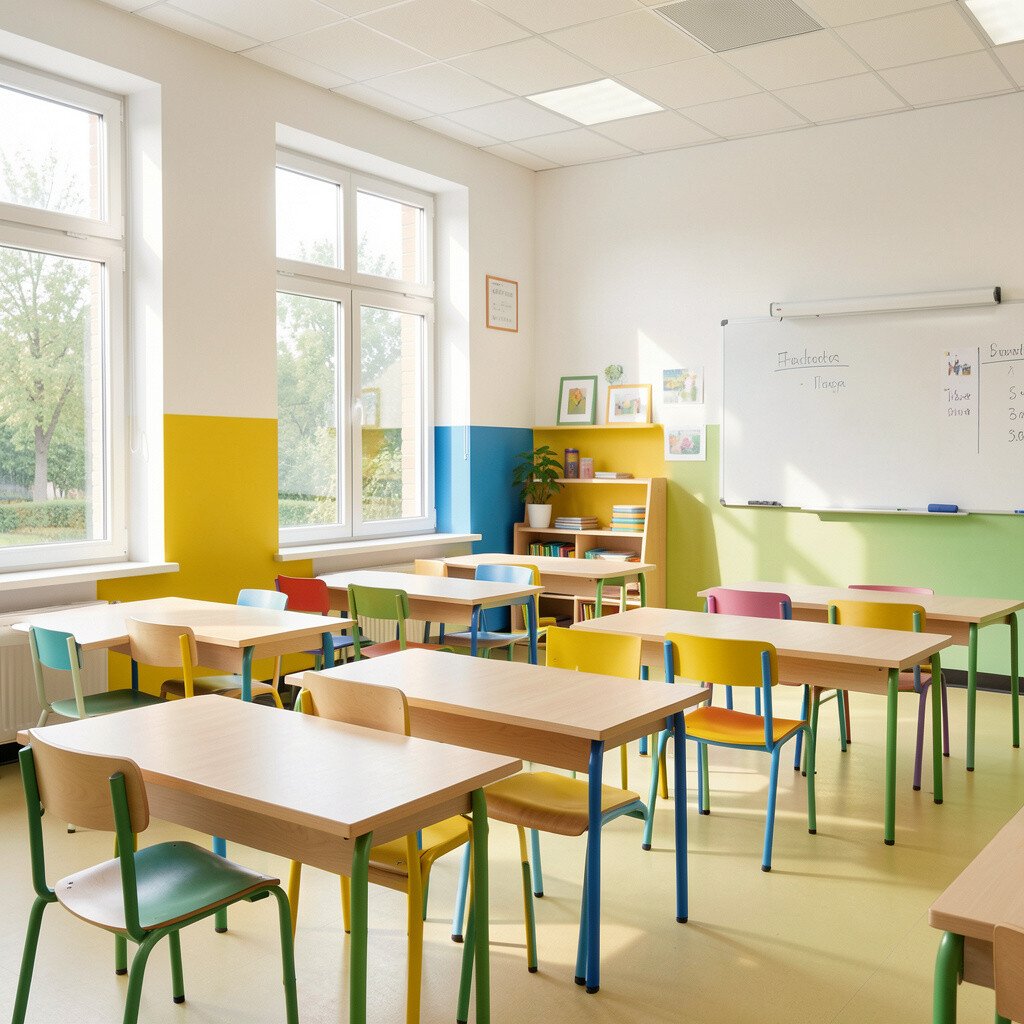
Paint most walls in soft white or warm off-white so the room always feels clean and open. Then pick a few bright zones where energy belongs, like reading corners or project areas.
Try one strong color band behind a display board, and let the rest stay calm. This balance helps students focus while still enjoying cheerful color all day.
For a budget-friendly approach, use removable wall decals or temporary contact paper for the bright sections. You can also rotate the colors by swapping posters and student work.
3. Light Curtains That Reduce Glare Without Dimming Joy
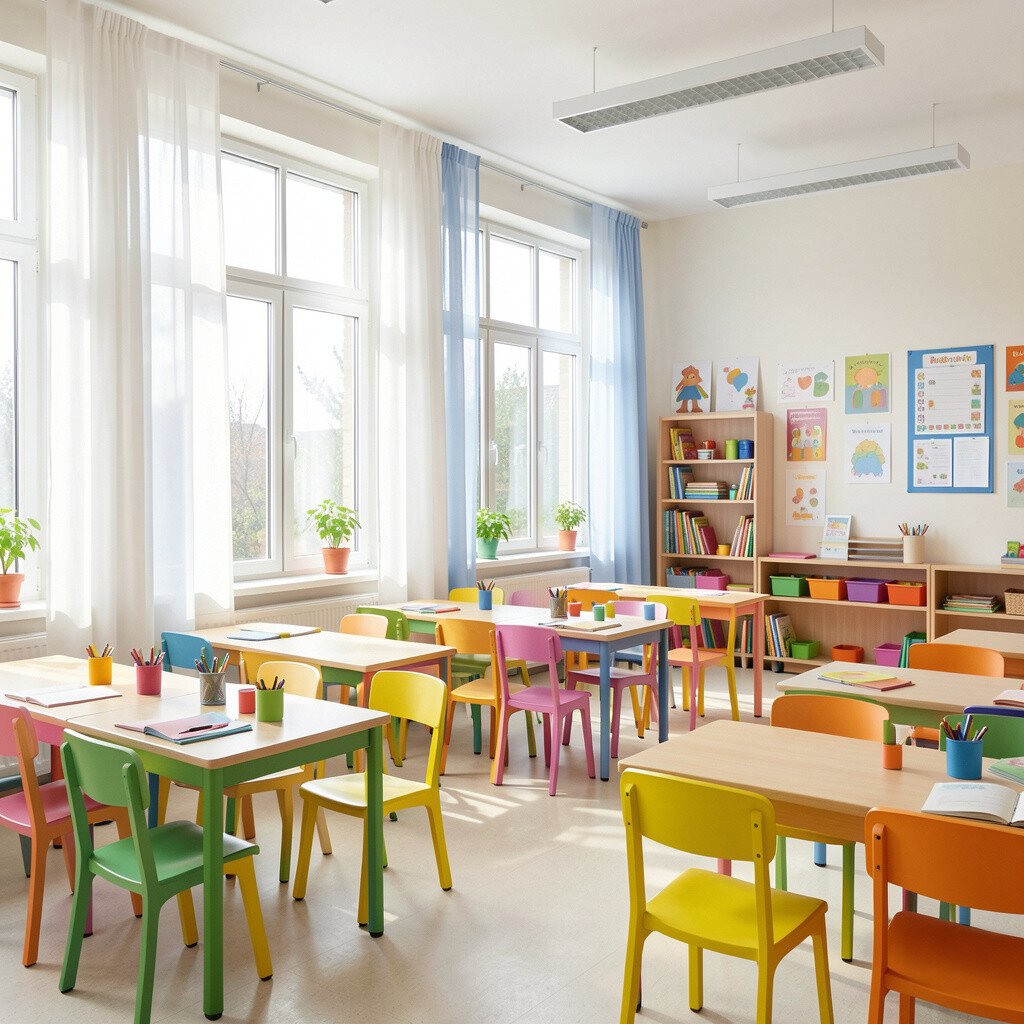
Choose curtains that filter light and keep shadows gentle. Sheer panels with a slightly warm tone can make windows feel like a natural spotlight.
Layering works well if you also want privacy, since you can pull thicker curtains only when needed. Keep curtain rods high so fabric hangs closer to the ceiling and the room looks taller.
For practicality, use washable fabric and simple tie-backs. Students benefit when glare is reduced, because it makes reading and writing easier.
4. Bright Classroom Color Palette With Easy Matching
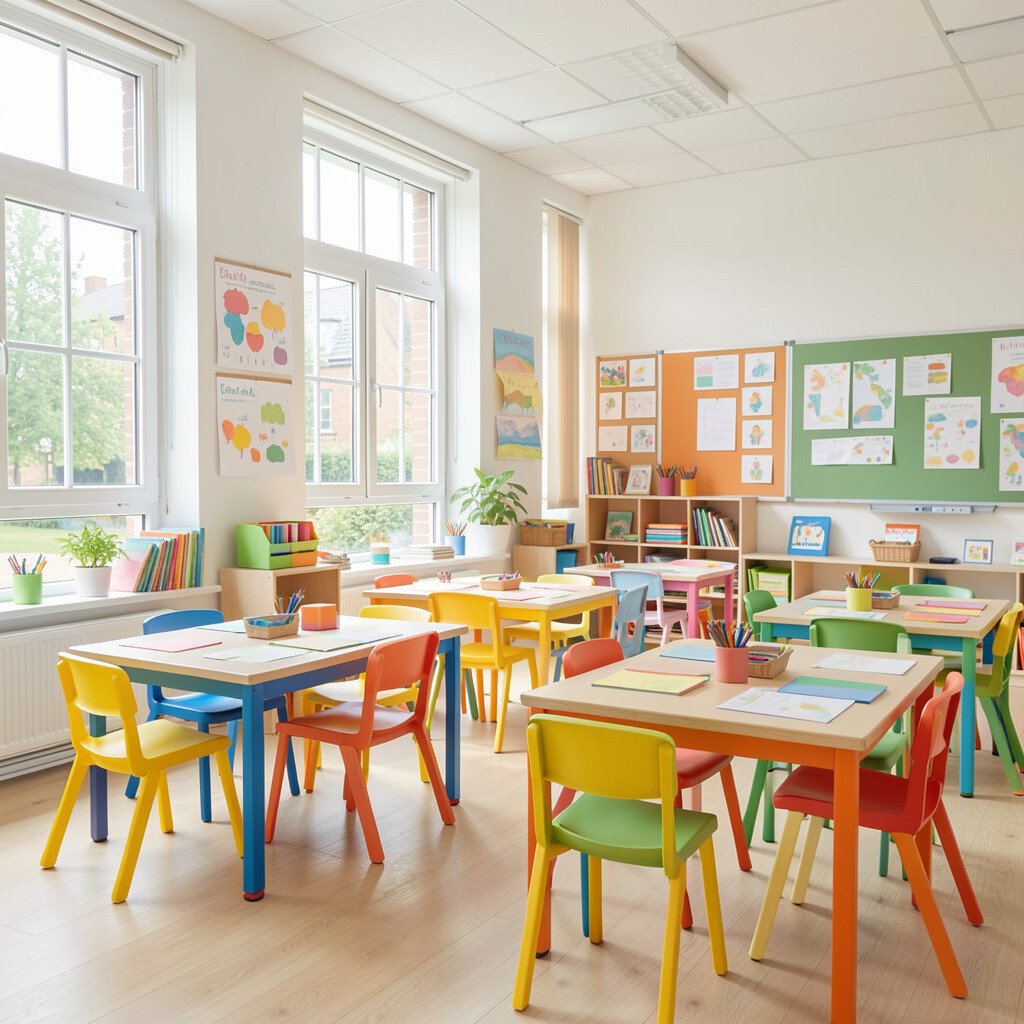
Pick a small palette you can repeat across supplies, bins, and posters. When colors match, the room looks tidy and students can find things faster.
Try a cheerful mix like sunny yellow, cool aqua, and a calm coral accent. Use those colors on labels, book baskets, and border strips so the look stays consistent.
5. Cheerful Storage That Stays Out of the Way
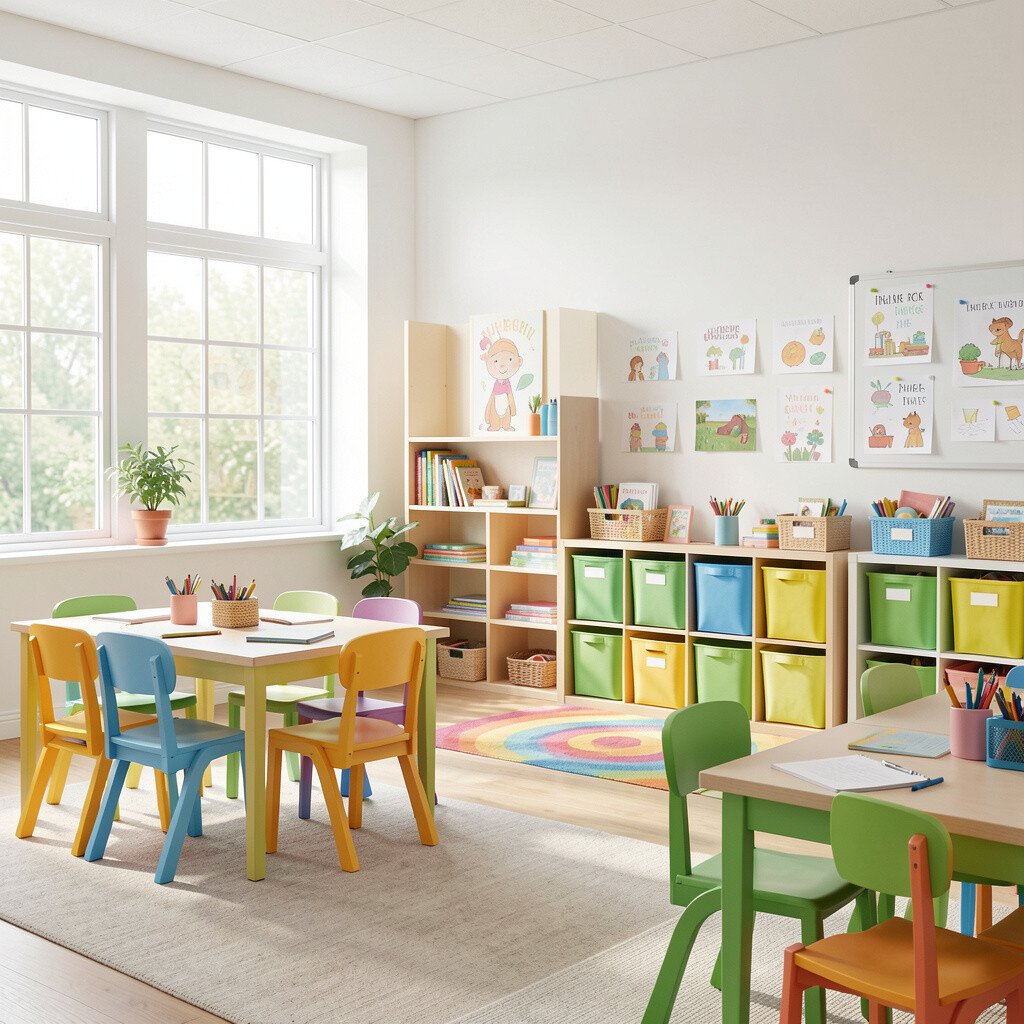
Use storage that keeps the floor clear, like low cubbies and wall-mounted shelves. A clutter-free path near the windows helps the room feel breezy.
Choose bins in bright colors so students can sort items without extra instructions. Clear labels and matching colors also cut down on lost supplies.
To save money, paint plain plastic bins in your chosen hues. You can also search for affordable bins at discount stores and upgrade them with contact paper labels.
6. Flexible Seating for Different Learning Styles
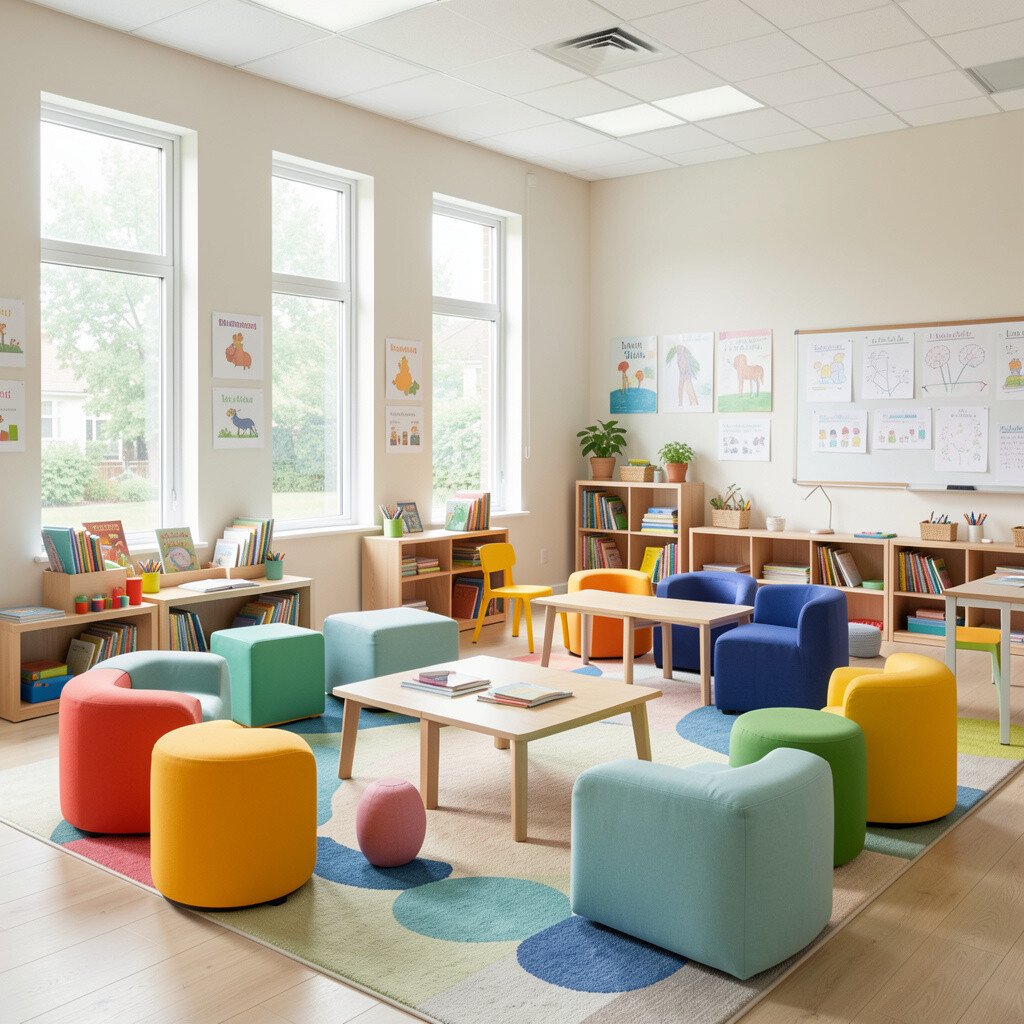
Arrange seats in small clusters so students can talk and work together. When learning changes, seating should change too.
Mix desk chairs with a few comfortable options like floor cushions or sturdy stools. Students who need movement can work at standing-height surfaces or activity tables.
Use large window light to your advantage by creating “quiet zones” near the brightest spots. Keep brighter seating areas for group work so energy stays where it helps.
7. Sunlit Reading Nook With Cozy Color Pops
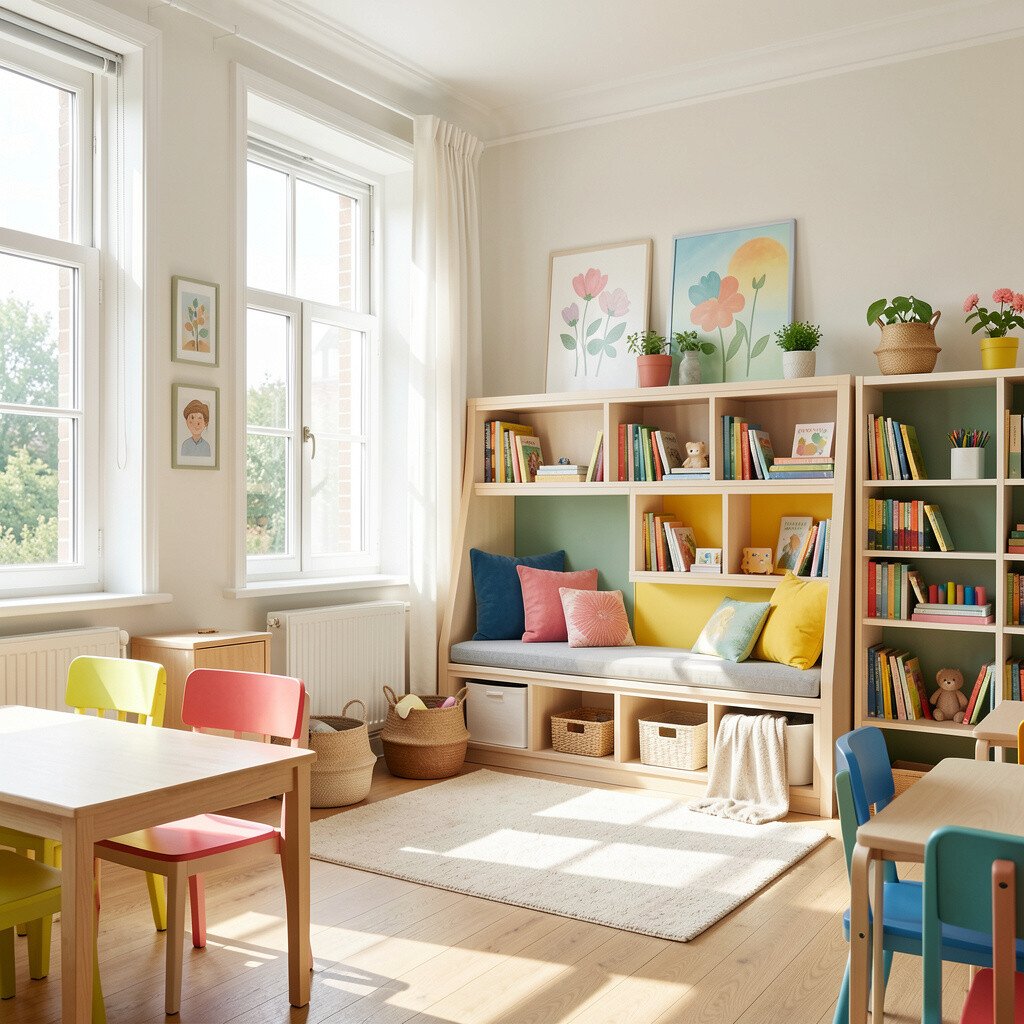
Create a reading space near the largest window so kids can enjoy natural light. Add a soft rug, chunky cushions, and a small bookshelf with visible book covers.
Use bright throw pillows and a light-colored blanket to add color without making the nook feel busy. Students tend to settle faster when the space looks inviting and calm.
For personalization, let students design bookmarks with markers that match your classroom palette. You can also rotate themed pillows for seasons and special events.
8. Display Walls at Eye Level for Student Pride
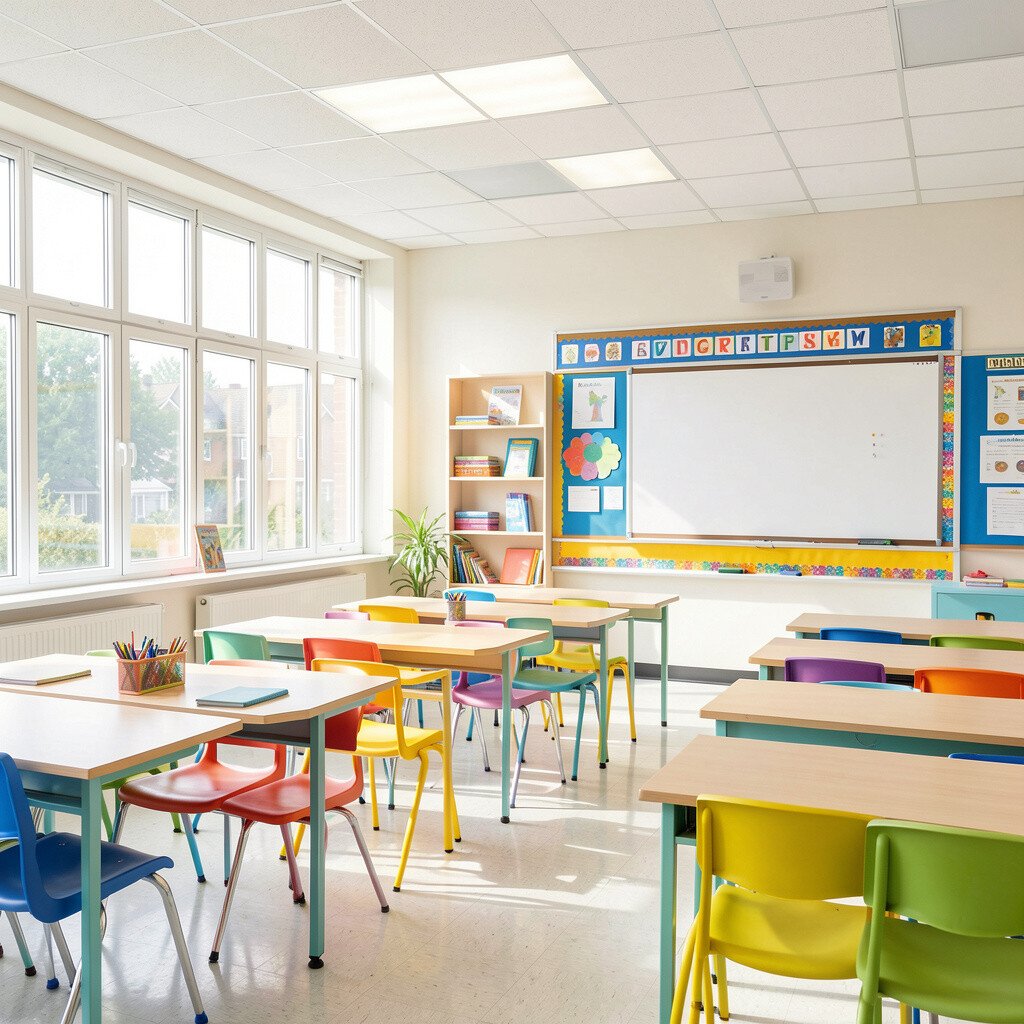
Place student artwork and learning goals at eye level so everyone feels included. When work is easy to see, students stay motivated and proud of progress.
Use colorful frames or foam board mats to separate categories like writing, math, and science. Bright borders help the displays stand out while staying neat.
9. Interactive Learning Corners With Posters and Props
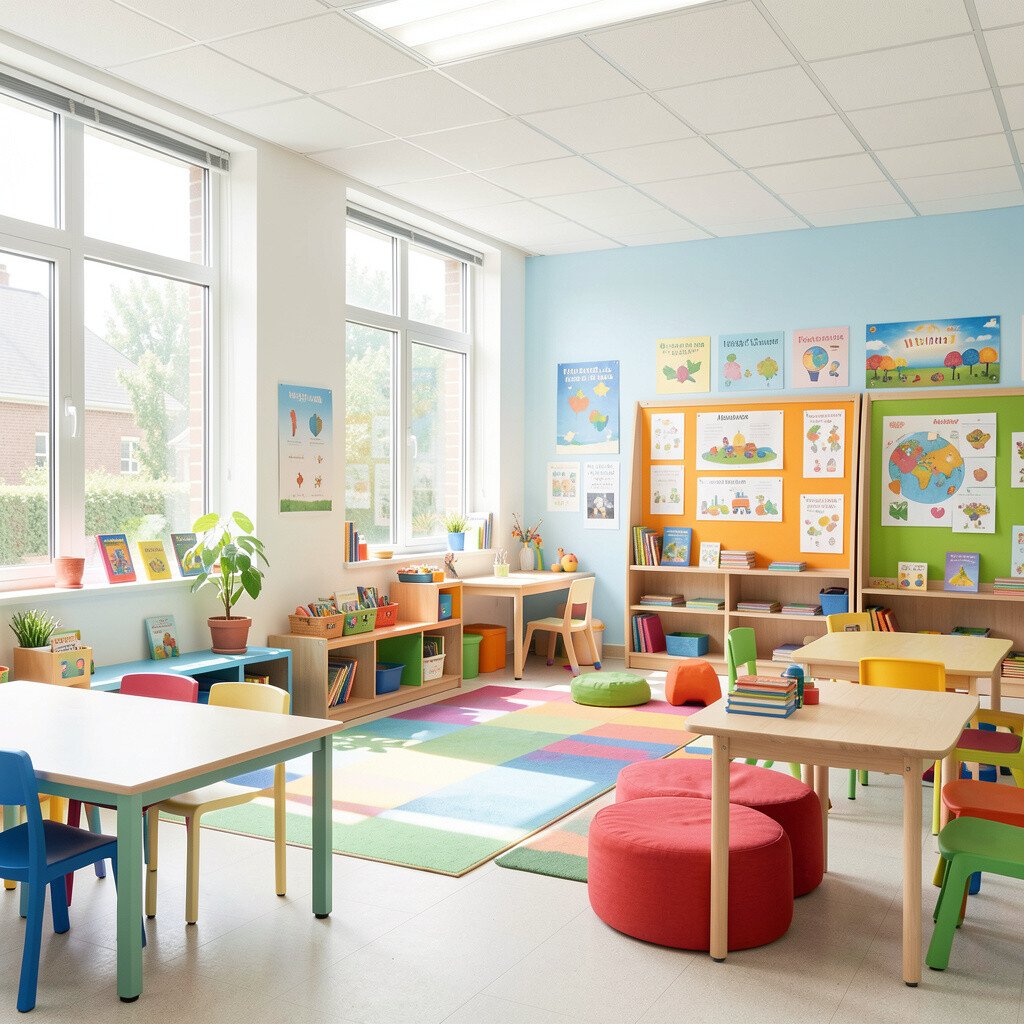
Turn the room into a set of mini zones that support lessons all day. Add posters with big visuals, real photos, and simple steps students can follow.
In each corner, include a few hands-on props like number cards, sentence starters, or small science tools. When the materials are within reach, students spend less time waiting.
Keep the corners airy by limiting shelves to two or three levels. This helps airflow and makes the large window area feel open.
10. Color-Coded Zones for Smoother Transitions
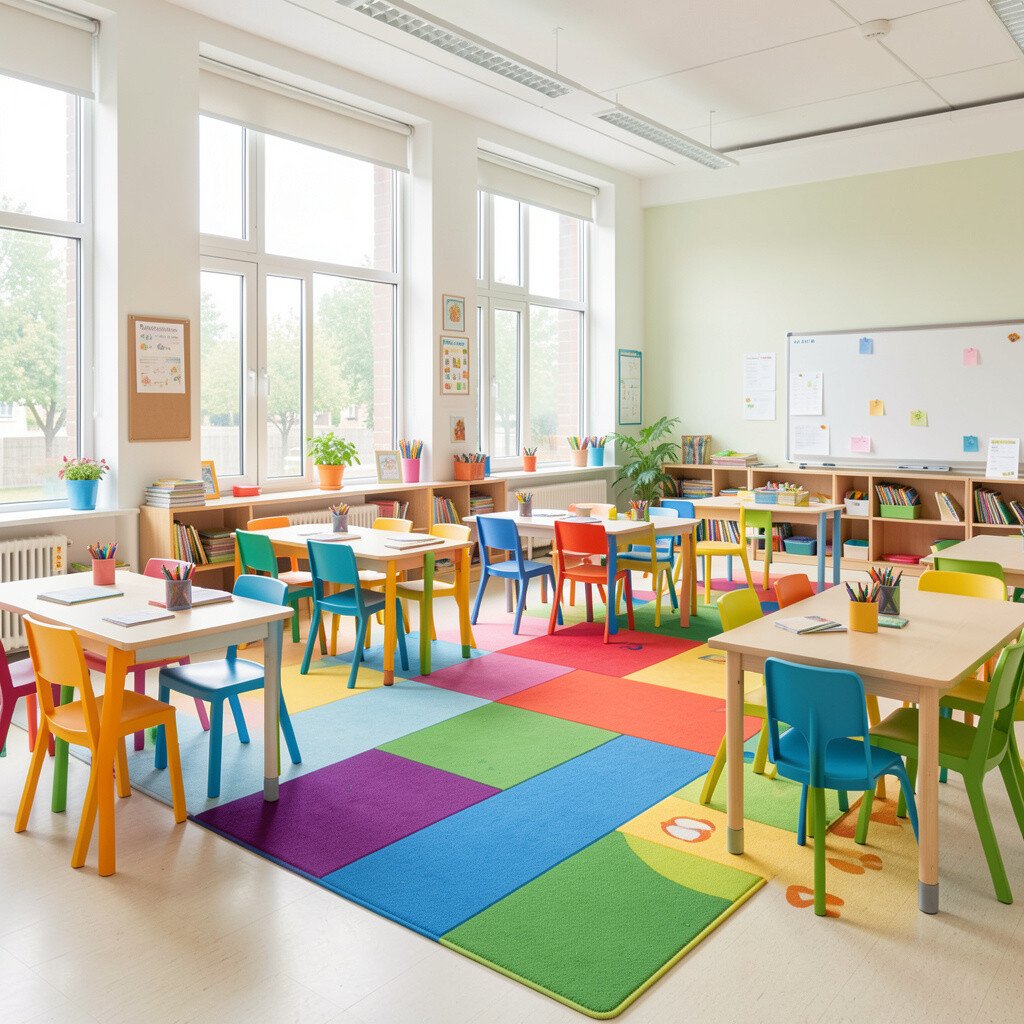
Use bright tape lines or floor markers to show where students gather, line up, or move during class. Visual cues make transitions calmer, especially during busy moments.
Pick one color for “group time,” another for “work time,” and a third for “quiet time.” Students learn faster when they can spot the right place without listening for long directions.
If you rent or can’t paint, use removable vinyl decals or rug strips. They’re easy to place and easy to remove when you change the layout.
11. Window-Led Shelves for Plants and Learning Displays
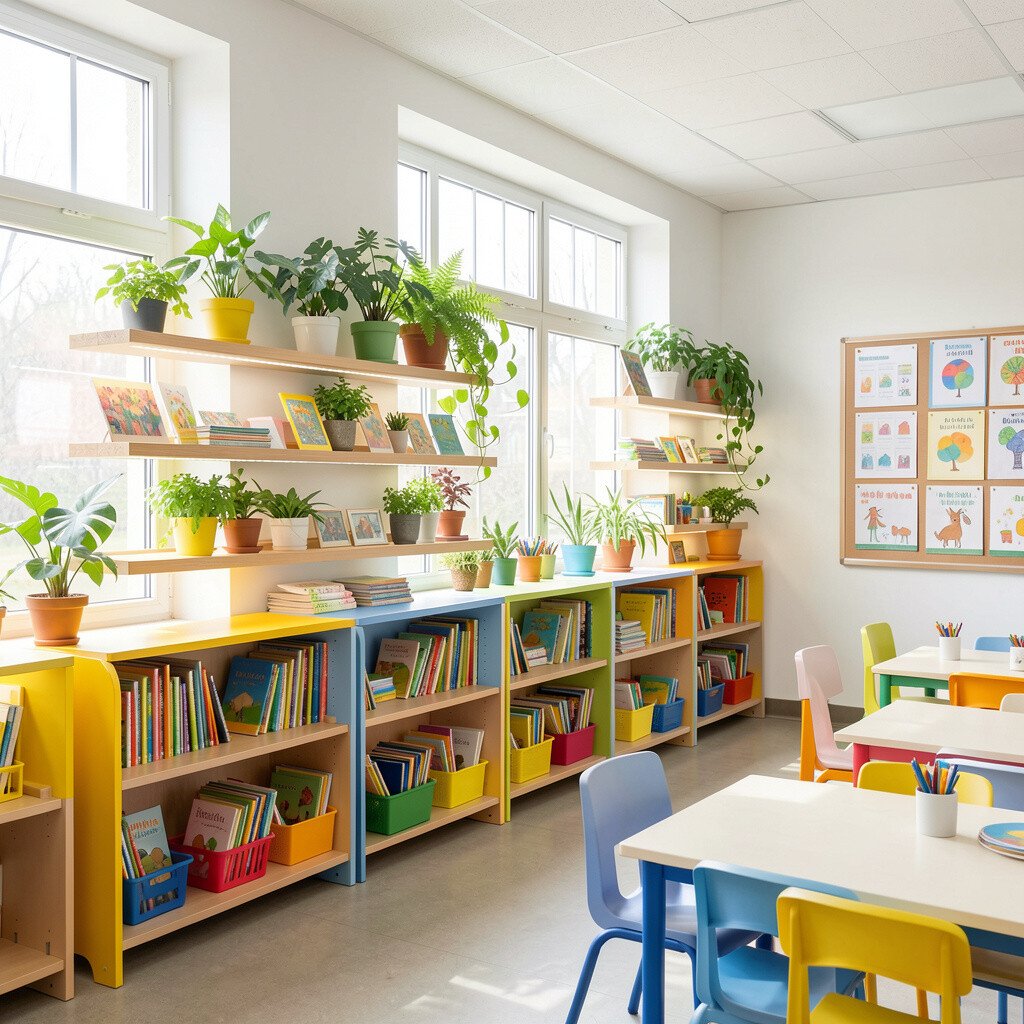
Use the space near windows for living décor like small plants or classroom-friendly herbs. Green tones look natural next to bright light, and plants can support curiosity.
Set up a shallow shelf or a ledge display for science projects, weather charts, and seasonal items. When learning connects to what students can see outside, it feels more real.
Choose hardy plants and simple watering routines so maintenance stays easy. You can even let students help rotate the display, which adds ownership.
12. Bright Teaching Surfaces That Reduce Eye Strain
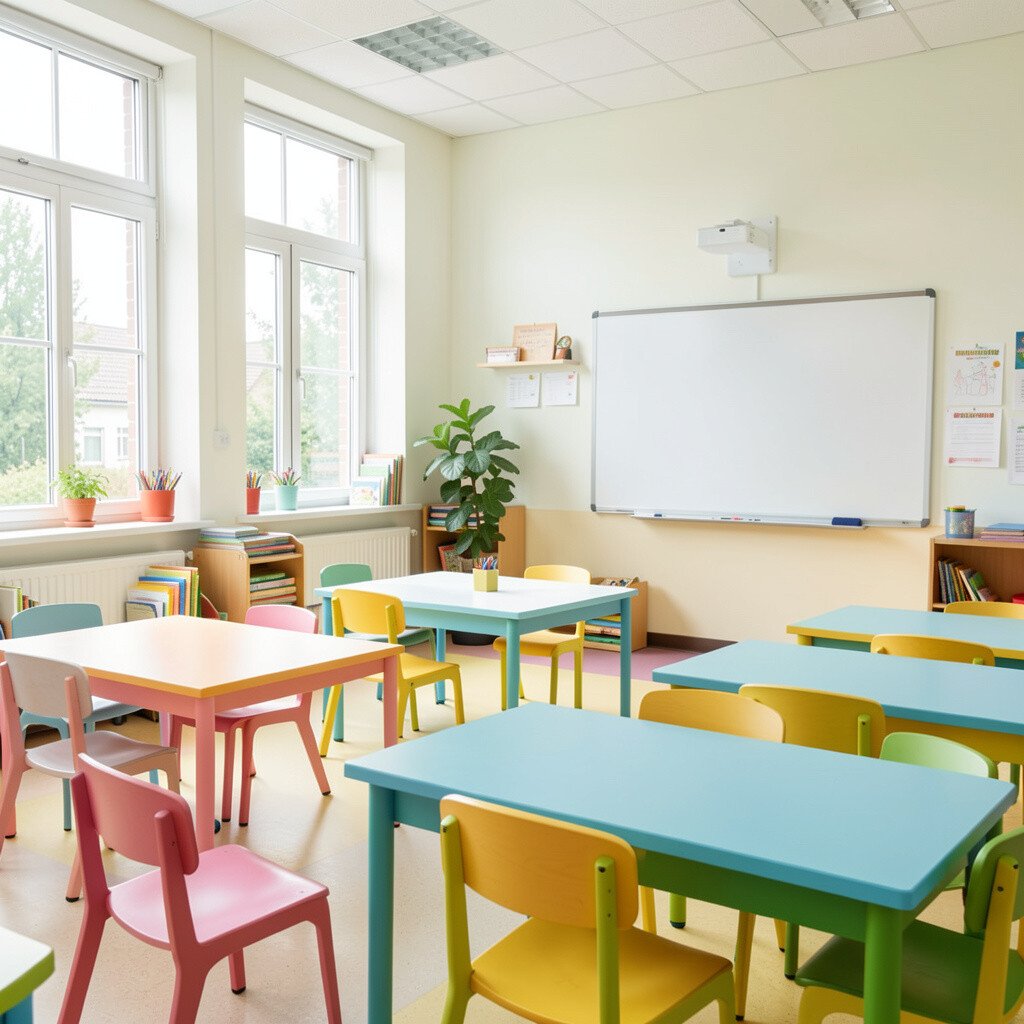
Pick a whiteboard or bright marker-friendly surface that stands out against the wall. If possible, face it toward the side with less direct glare so writing stays crisp.
Use markers that are clear and visible, and keep the board organized with magnets or tray dividers. Students do better when they can read instructions quickly.
For a practical upgrade, add a rolling cart for supplies near the board. This keeps the teaching area tidy and prevents last-minute searching.
13. Art Supplies in Reach With Clear Lids and Labels
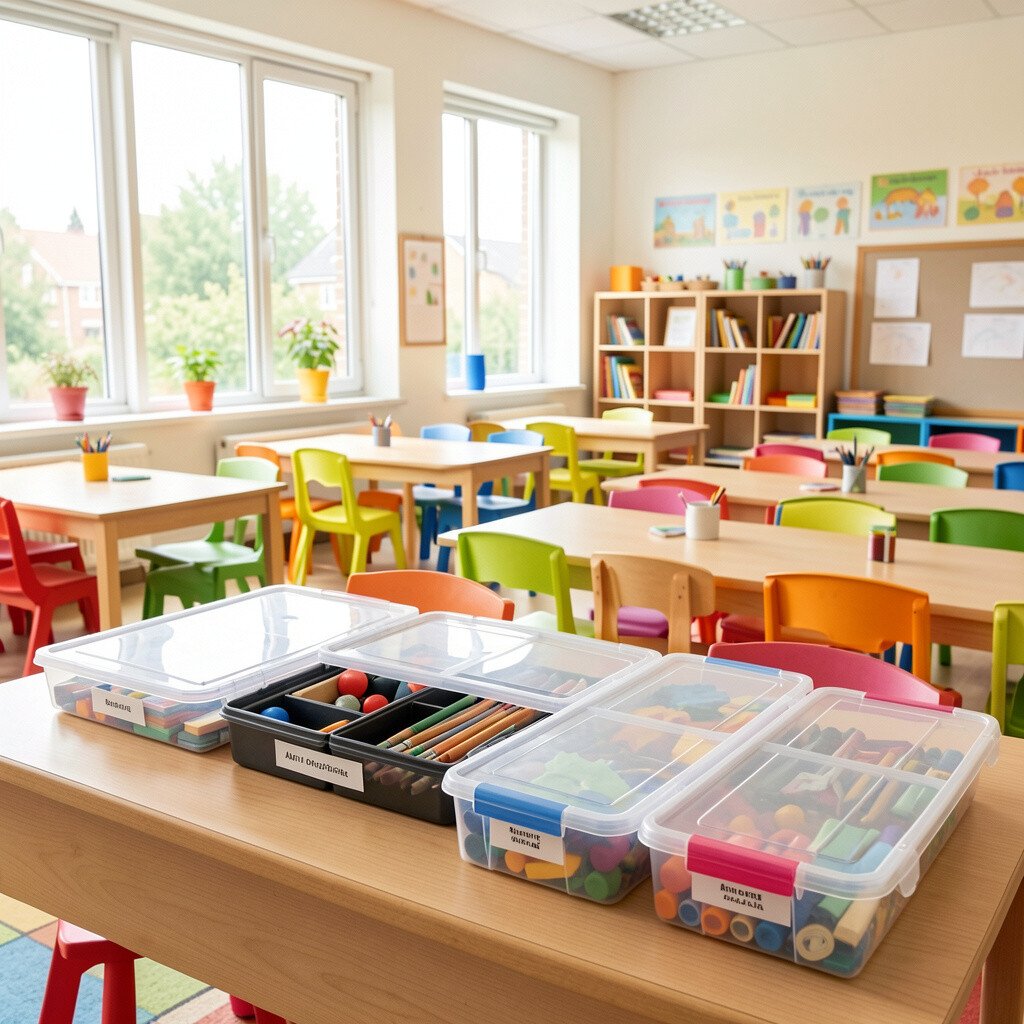
Set up art storage so students can grab materials without dumping everything at once. Lidded containers help keep colors neat and make cleanup faster.
Arrange supplies by type and shade, like crayons by color family or paper stacks by size. When students can see options, they choose with confidence.
To personalize, add student initials on a few containers or create color-themed sets. That small touch makes students feel the space is theirs.
14. Flexible Wall Hanging Systems for Easy Updates
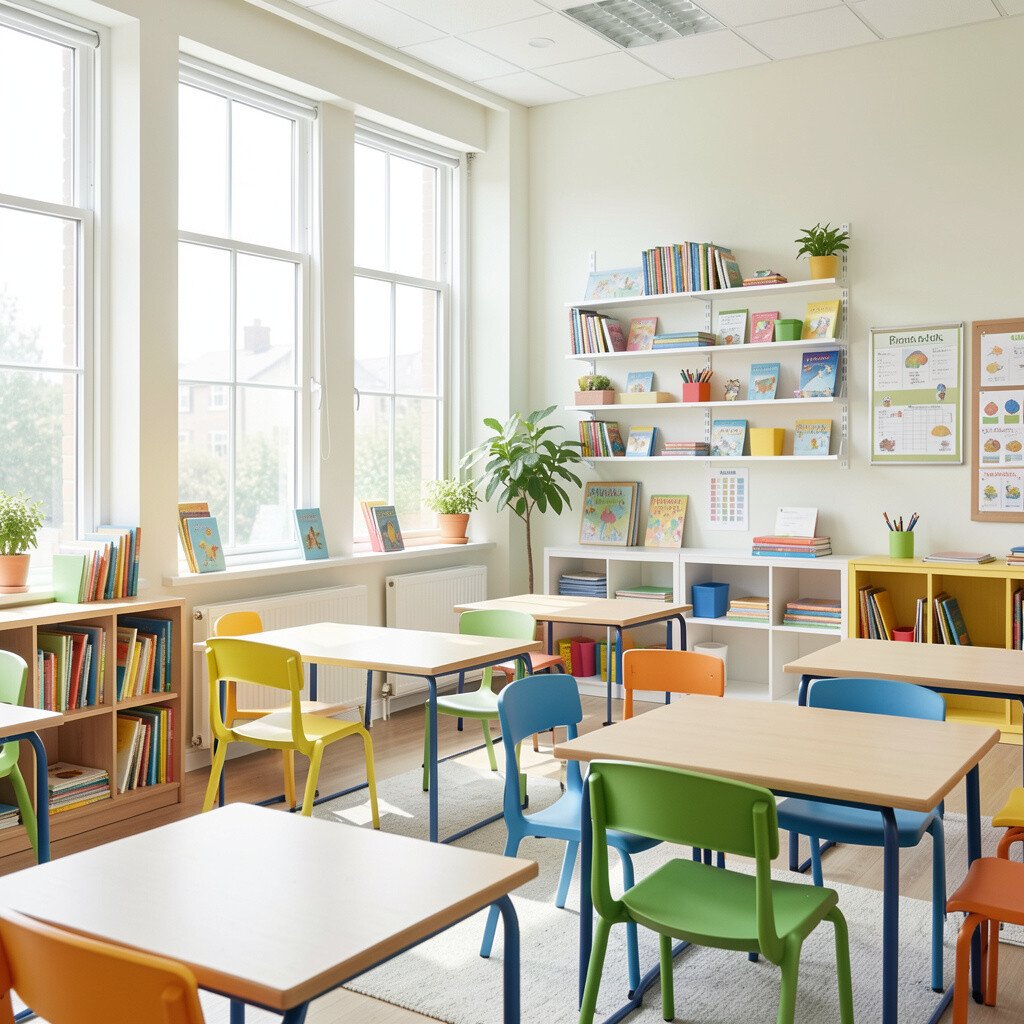
Use clip rails, pegboards, or simple hanging systems to swap materials quickly. Bright rooms feel alive when displays change regularly without messy tape.
Rotate learning posters, seasonal banners, and student work so the classroom never looks stuck. Fresh visuals support different themes and help students stay engaged.
Look for affordable clip strips and mounting options that work on painted walls. If you’re budget-conscious, use lightweight frames and reuse them across units.
15. Personal Touches With Bright Themes That Still Feel Calm
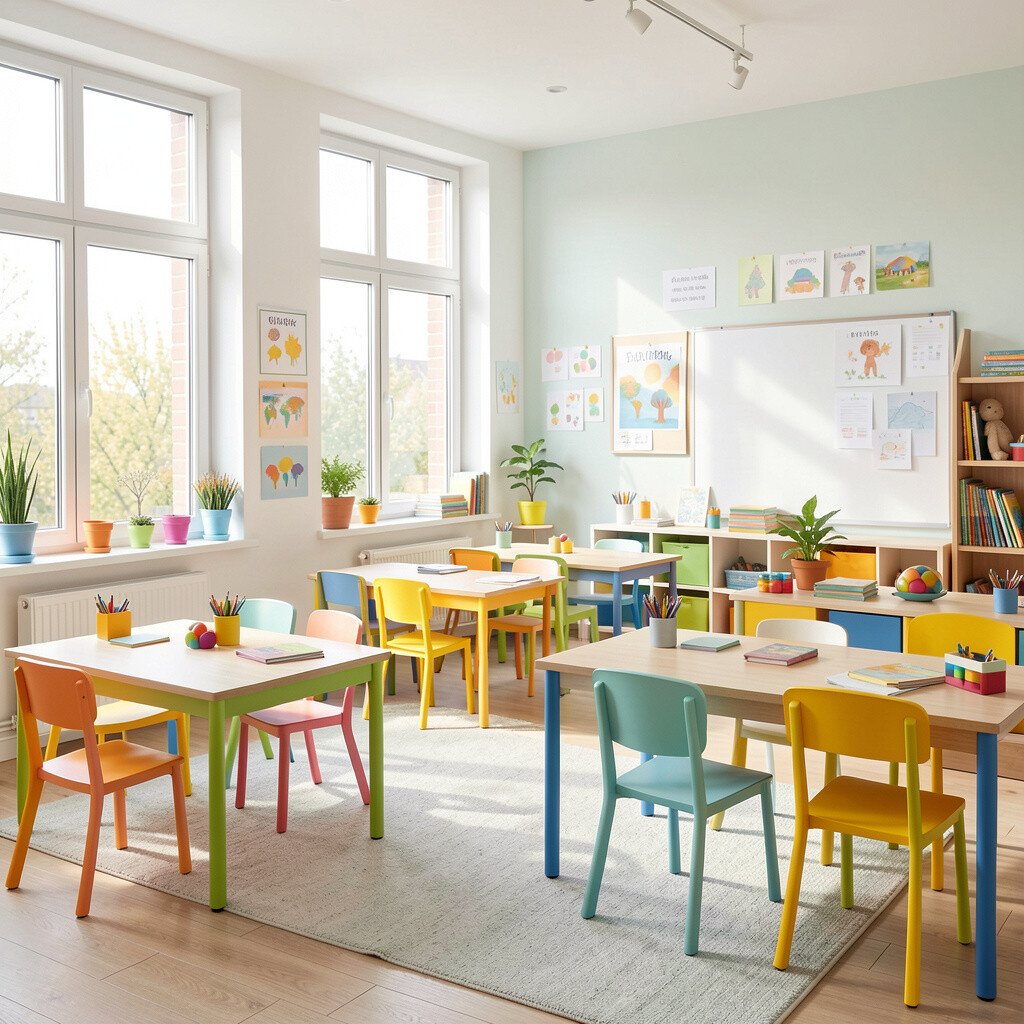
Add personal touches that match the room’s brightness, like a wall banner with student photos or a class mascot display. Choose cheerful colors, but keep the number of big items low.
Use one or two signature decorations, like a bold border near the entrance and a matching rug pattern. This creates a cohesive look that feels special without overwhelming the space.
For comfort, remember that bright can still be calm when surfaces are organized and lighting is balanced. Students learn best when the room feels welcoming and easy to move through.