Small changes can make a room feel brand new. With a few smart ideas, your space can glow without glowing your budget.
1. Peel-and-Stick Patterned Accent Wall
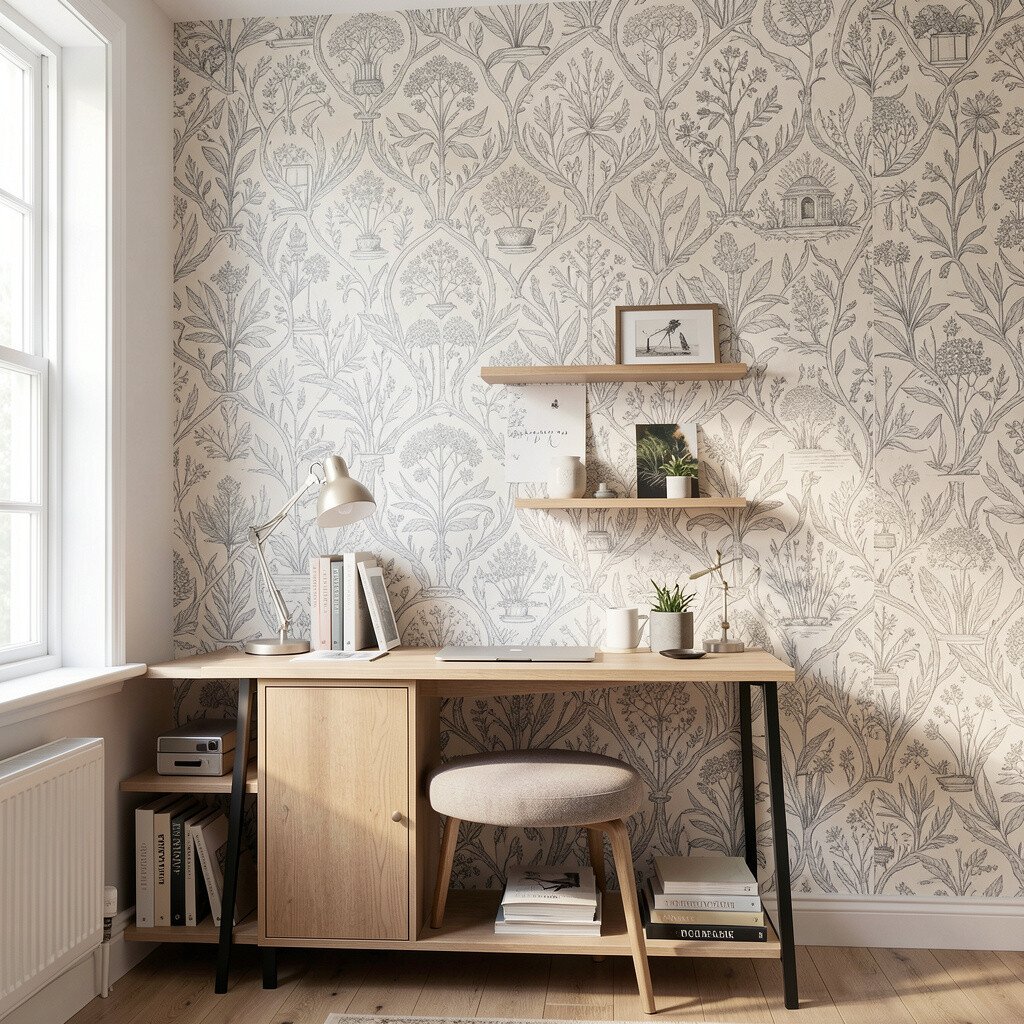
Choose a peel-and-stick wallpaper in a bold pattern, like tiny florals, modern dots, or subtle geometric shapes. The moment you press it onto one wall, the whole corner looks sharper and more intentional.
Start by cleaning the wall so the surface is smooth and dry. Measure carefully where the first strip goes, then work slowly to keep lines neat. If you want extra polish, add simple trim or a narrow ledge to frame the design.
2. Framed Fabric Panel Art From a Store Roll
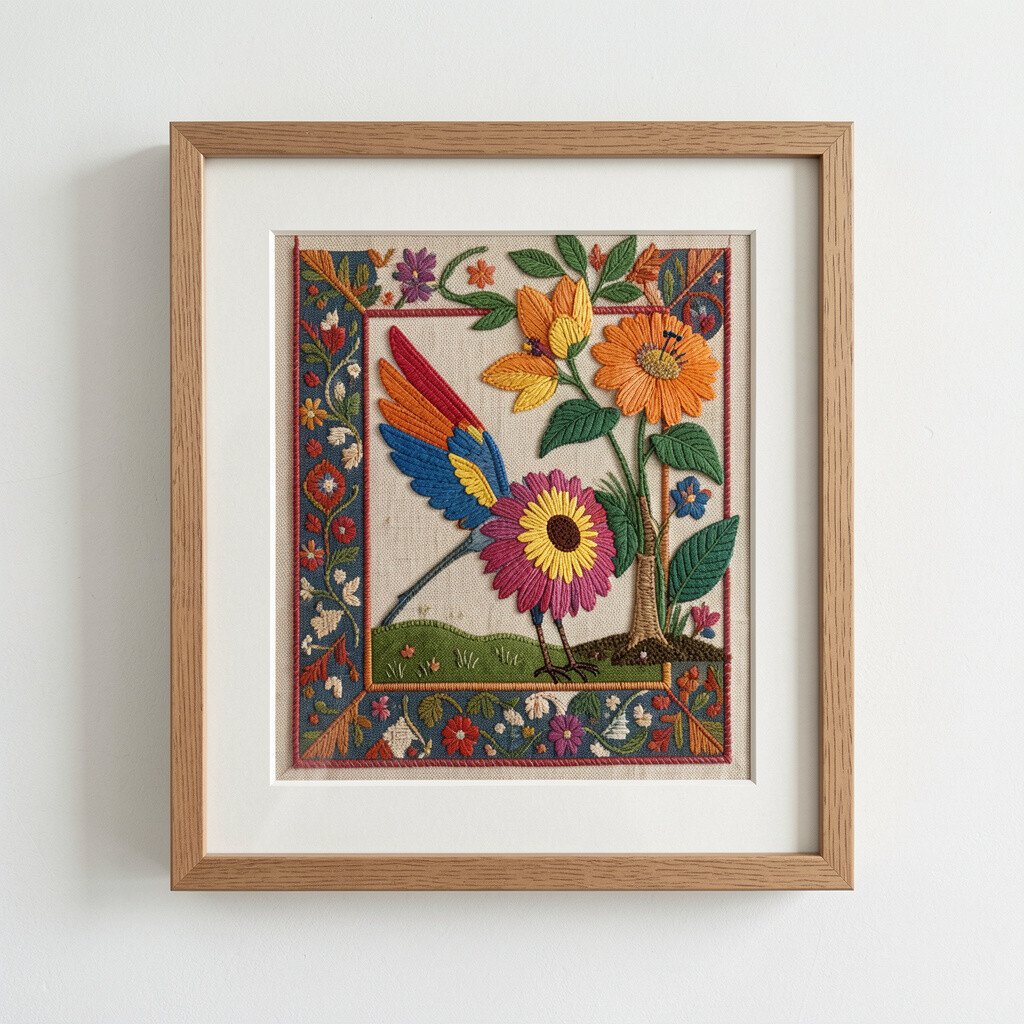
Pick a colorful fabric remnant and stretch it over a cheap frame or canvas stretcher. The texture looks cozy, and it adds warmth that paint alone can’t give.
To keep it budget-friendly, search for off-cuts, discounted rolls, or clearance fabric ends. Use spray adhesive or staple it at the back, then add a simple mat board if you like a clean look.
For personalization, match the fabric to your favorite throw pillow or curtain color. This project fits right into current trends like soft, tactile wall decor and layered styling.
3. Gallery Shelf With Tiny Plants and Family Photos
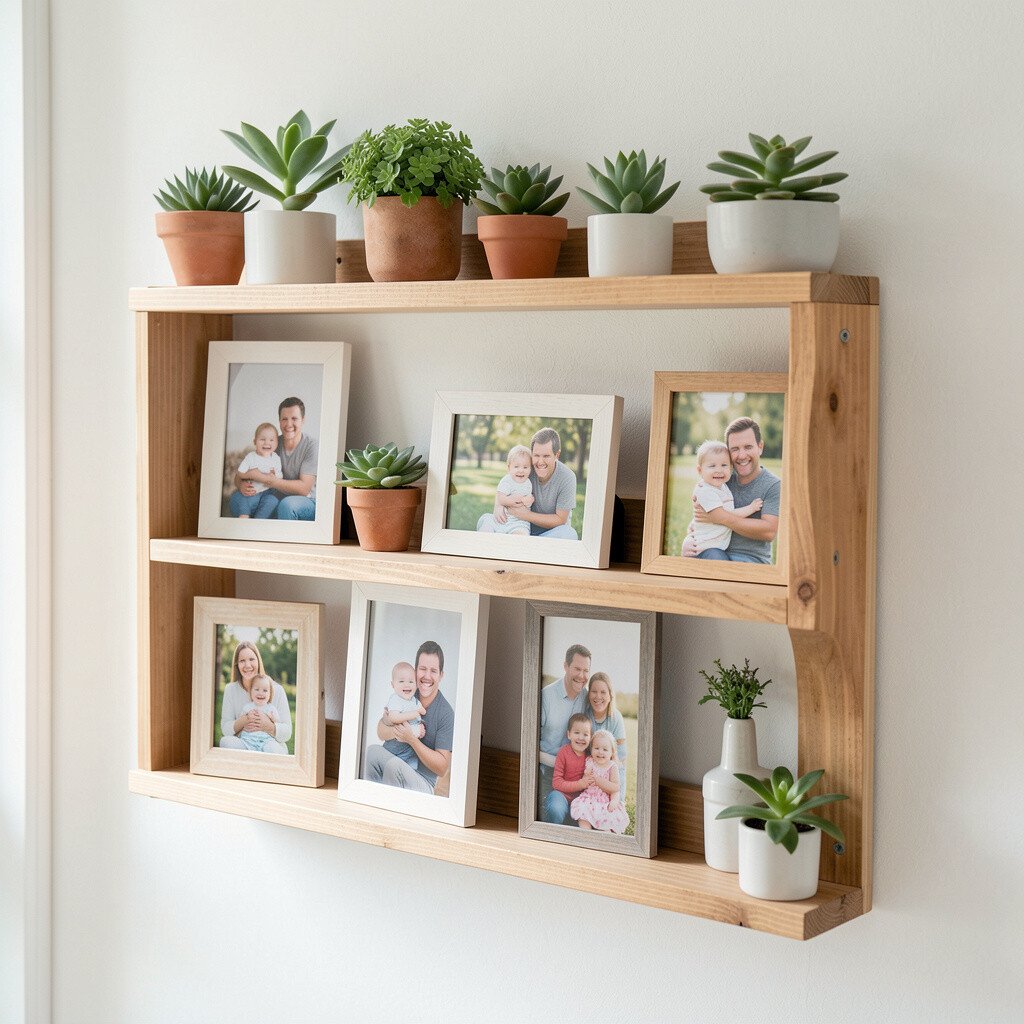
Find a small floating shelf, then mix it with framed photos and one living plant. A little greenery makes the nook feel fresh, and the personal photos keep it from looking cold.
Use a varied mix of sizes so the shelf feels curated rather than random. Try balancing a tall plant, a small picture frame, and a short candle holder for a balanced rhythm.
To make it feel unique, add a handwritten caption on a mini card tucked behind glass or taped neatly to the back. Current styling favors lived-in shelves, so don’t worry if items overlap a little.
Budget-wise, thrift frames and use cuttings from a friend’s plant if you can. Even one shelf can bring a big glow to a quiet corner.
4. Brighten With a DIY Washi Tape Light Switch Makeover
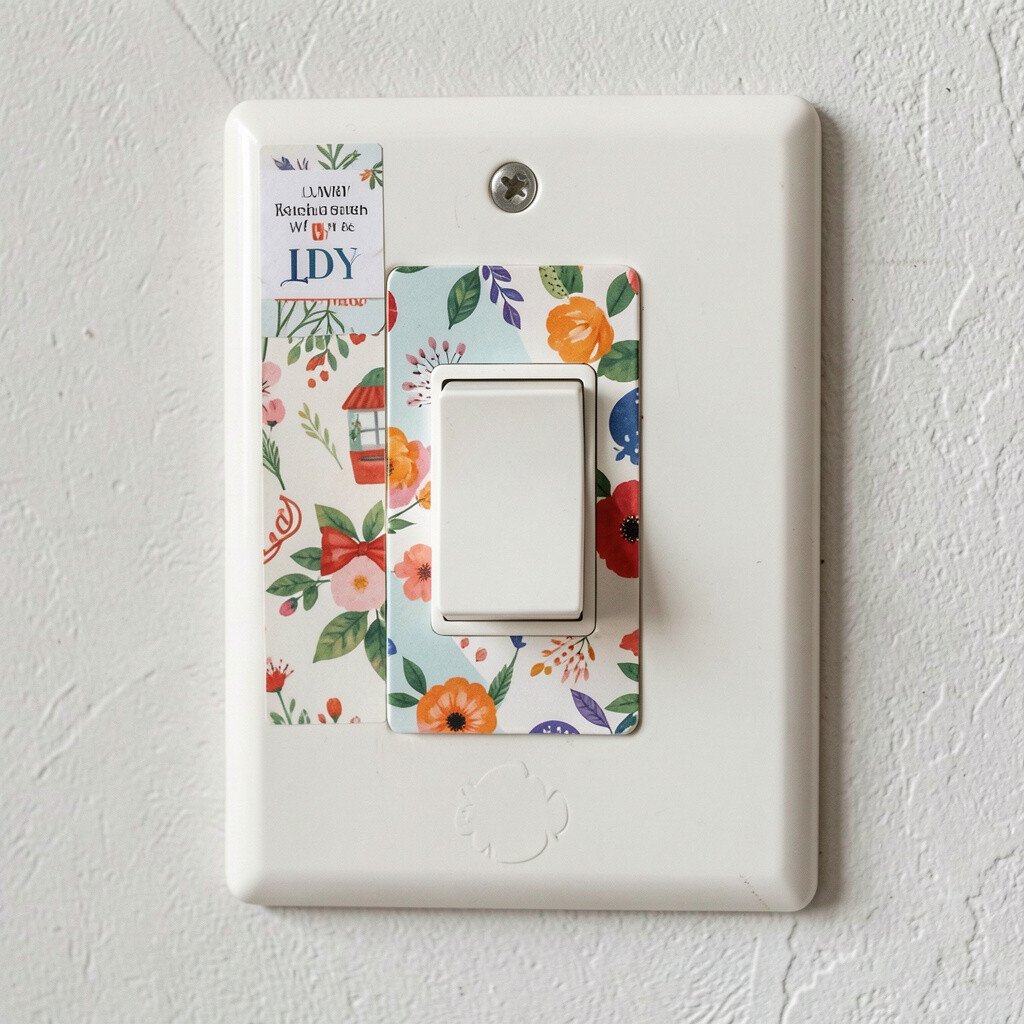
Your light switch cover is small, but it shows up every day. Give it a cheerful look by wrapping it with coordinating washi tape patterns.
Turn off power first, then remove the cover carefully and clean it so tape sticks well. Finish by sealing the edges gently with a clear tape layer so it stays smooth and tidy.
5. Thrifted Mirror Refresh With New Paint or Gold Tape
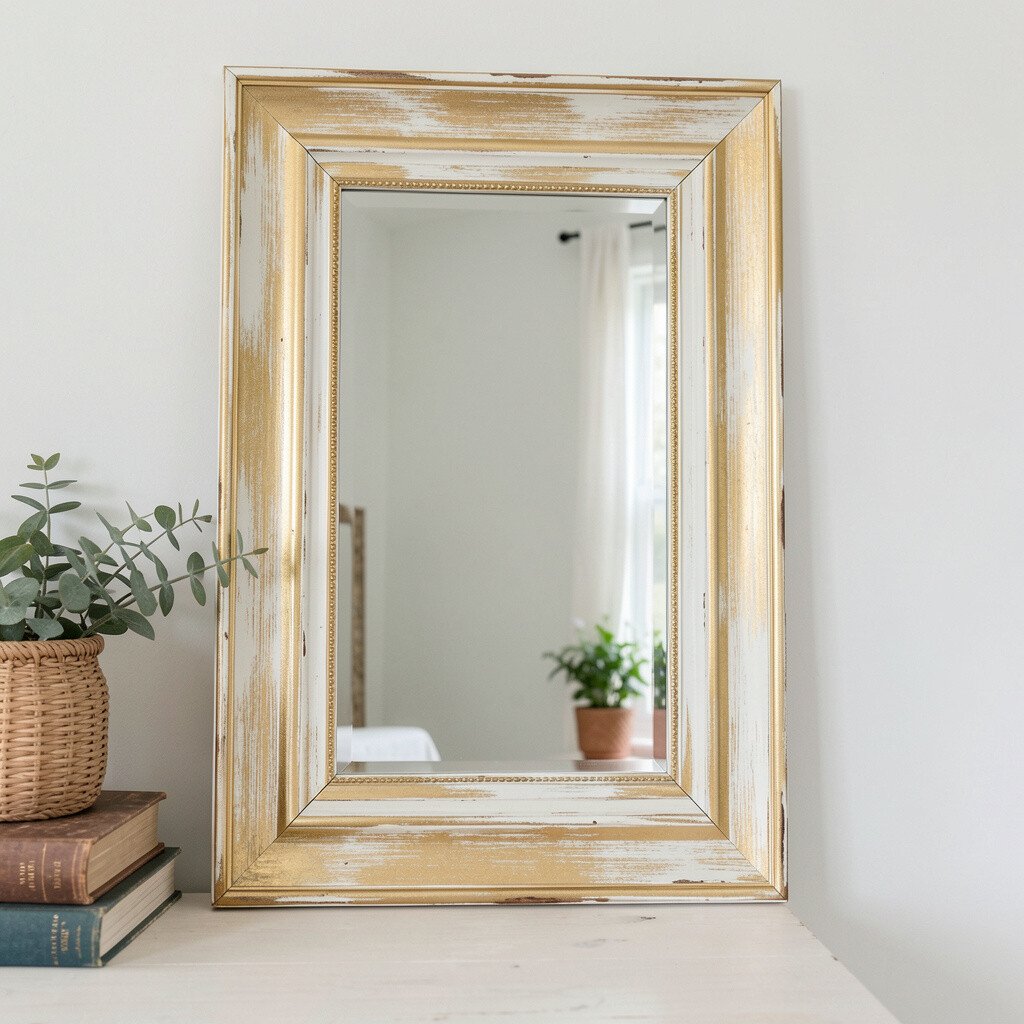
A mirror can make any nook feel bigger, brighter, and more open. Look for a thrifted frame with character, then refresh it with paint or glossy tape.
Sand lightly if needed, wipe the dust away, and coat with a color that matches your room. For a trendy vibe, try a gold or brass-look finish using metallic tape along the edges.
For personalization, paint one tiny symbol or stripe on the frame that matches your style. If you want a clean budget win, keep the mirror glass untouched and focus on the frame only.
To keep it lasting, let paint cure fully before hanging. When the light hits it, the whole nook brightens instantly.
6. Create a Cozy Corner Reading Mat With Scrap Fabric
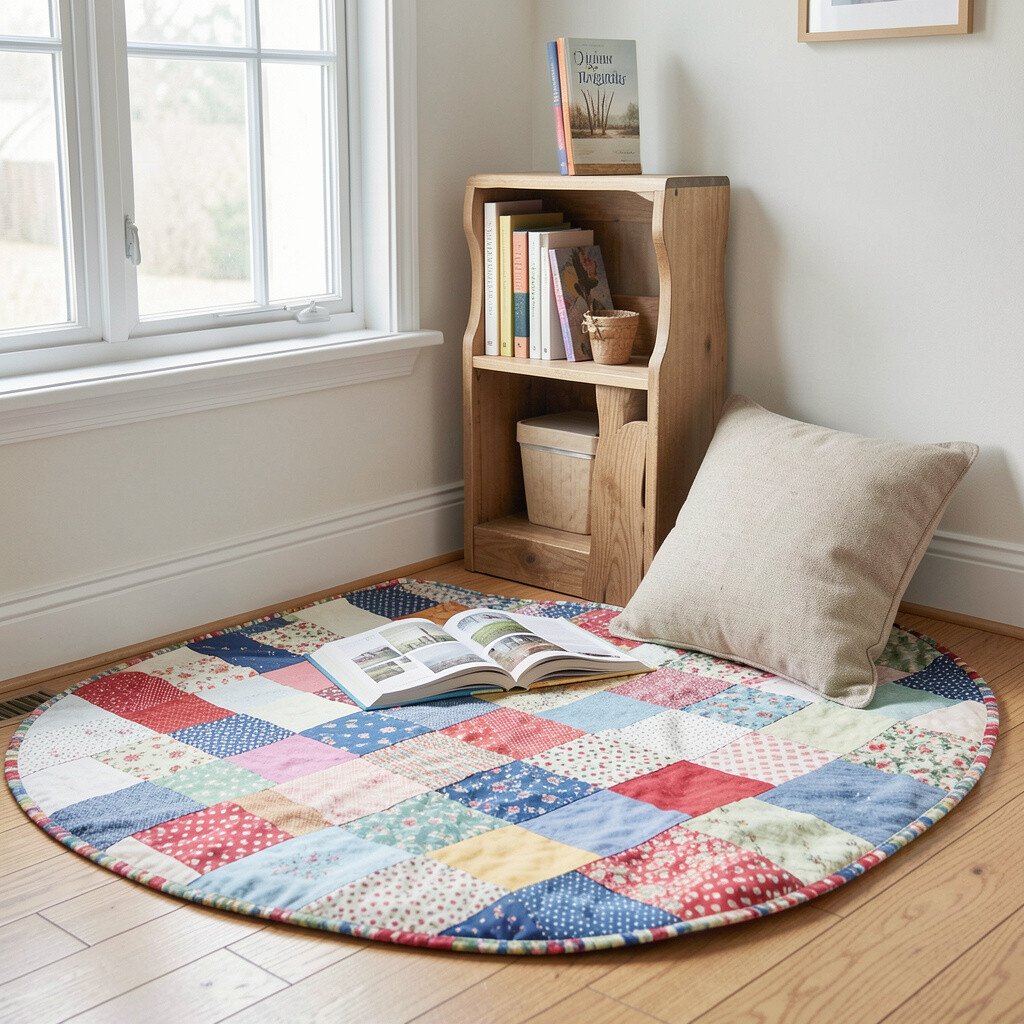
Instead of buying a new rug, stitch a patchwork mat using scrap fabric and batting. Lay it by a chair or under a small table to create a clear spot for reading.
Cut squares in a few matching colors, then sew them into rows so the pattern looks intentional. Add a simple border in a solid shade to make the edges look neat.
Keep it practical by choosing fabrics that are easy to clean, like cotton blends. Personalize it with a fabric panel that echoes your window curtains or bedding.
7. Upgrade Drawer Pulls With Painted Knobs
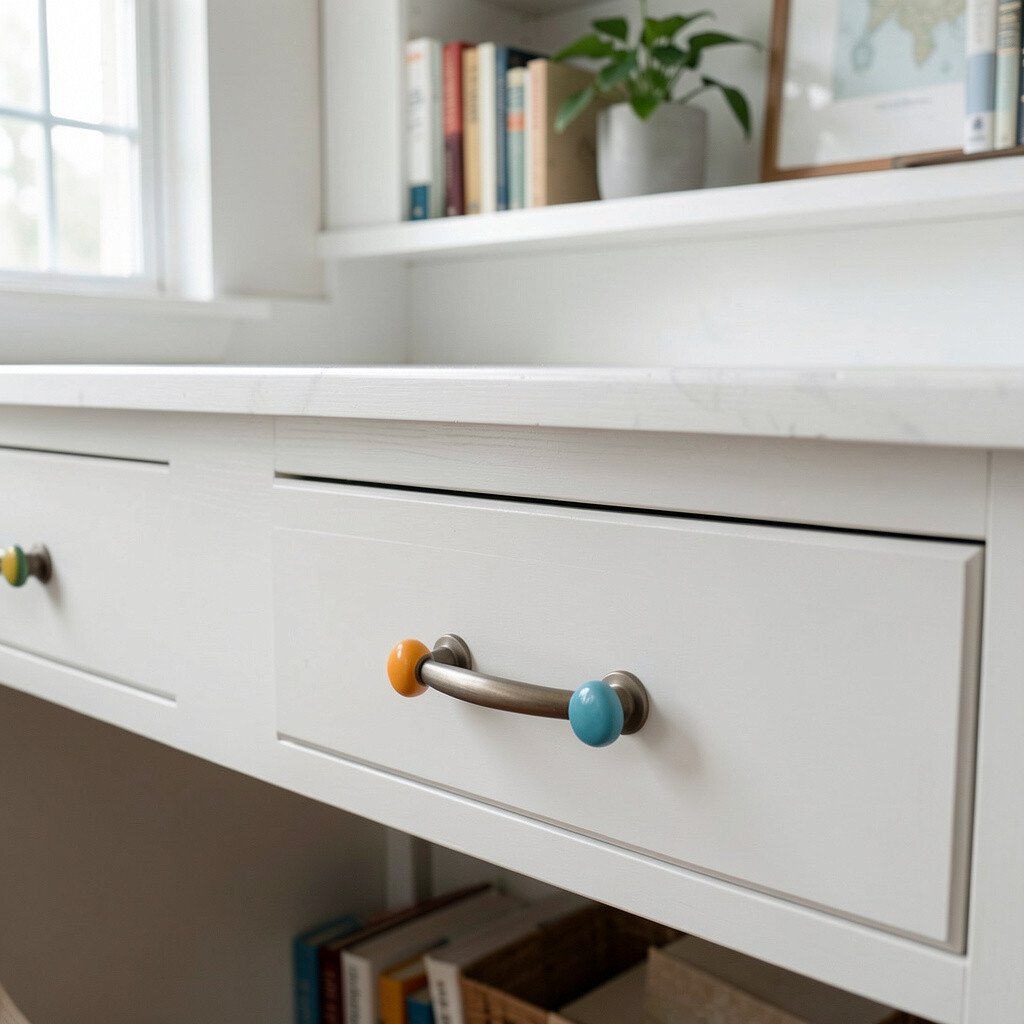
Old hardware can drag down the look of a whole piece of furniture. Swap it for painted knobs or handles to bring instant freshness.
Look for plain brass, wooden, or ceramic knobs at thrift stores or discount shops. Clean them well, then use spray paint or acrylic paint and finish with a protective clear coat.
For personalization, choose a finish that matches your metal accents, like matte black, warm brass, or soft pastel. This small change lines up with the trend of mixing hardware tones on a budget.
When you do it yourself, you also control the color story. That makes the furniture feel truly yours.
8. DIY Corner Curtain Tiebacks With Ribbon and Clips
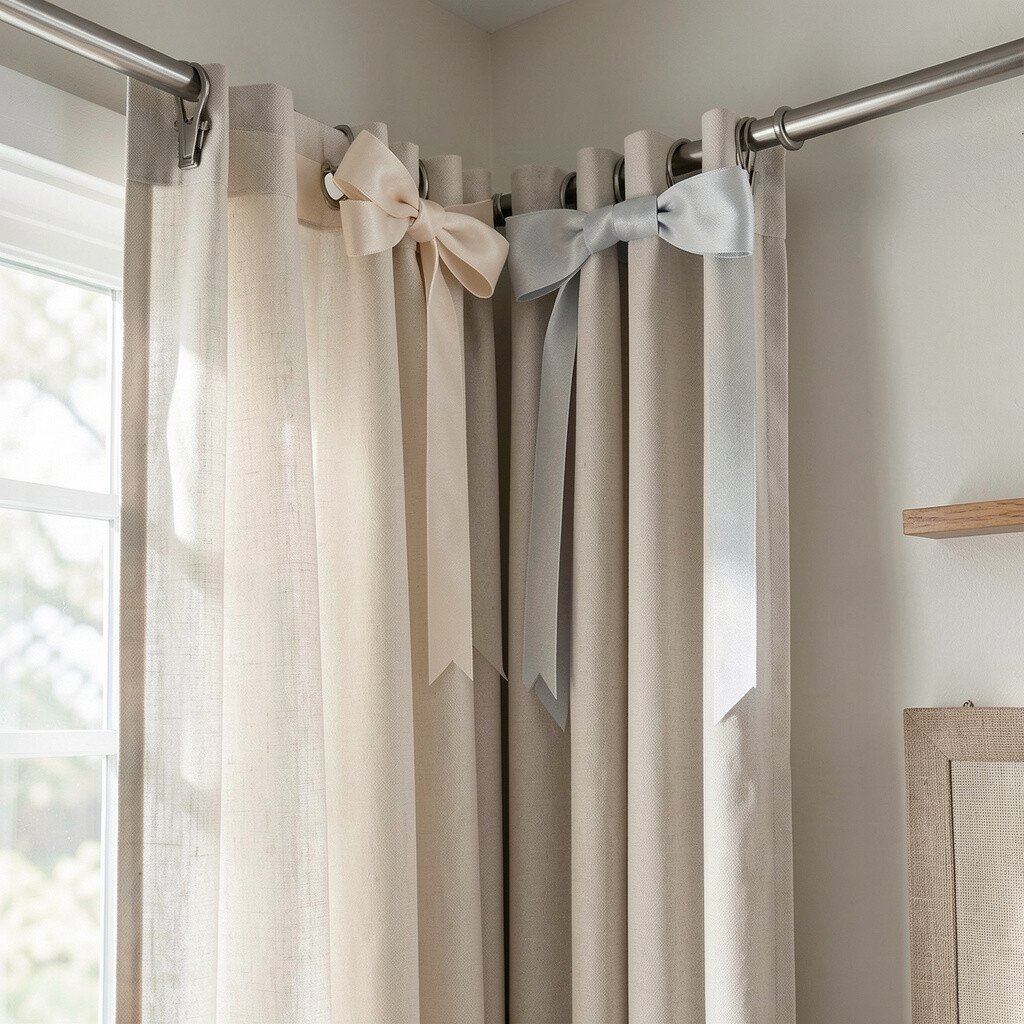
Plain curtains can look flat, but easy tiebacks add shape. Use ribbon, cord, or fabric strips with small clips to pull the curtains to one side.
Pick colors that repeat around the room, like in throw pillows or wall art. Keep it practical by using clips you can remove quickly when you want the curtains fully open.
9. Lighting Glow Hack With Paper Shade and LED Bulb
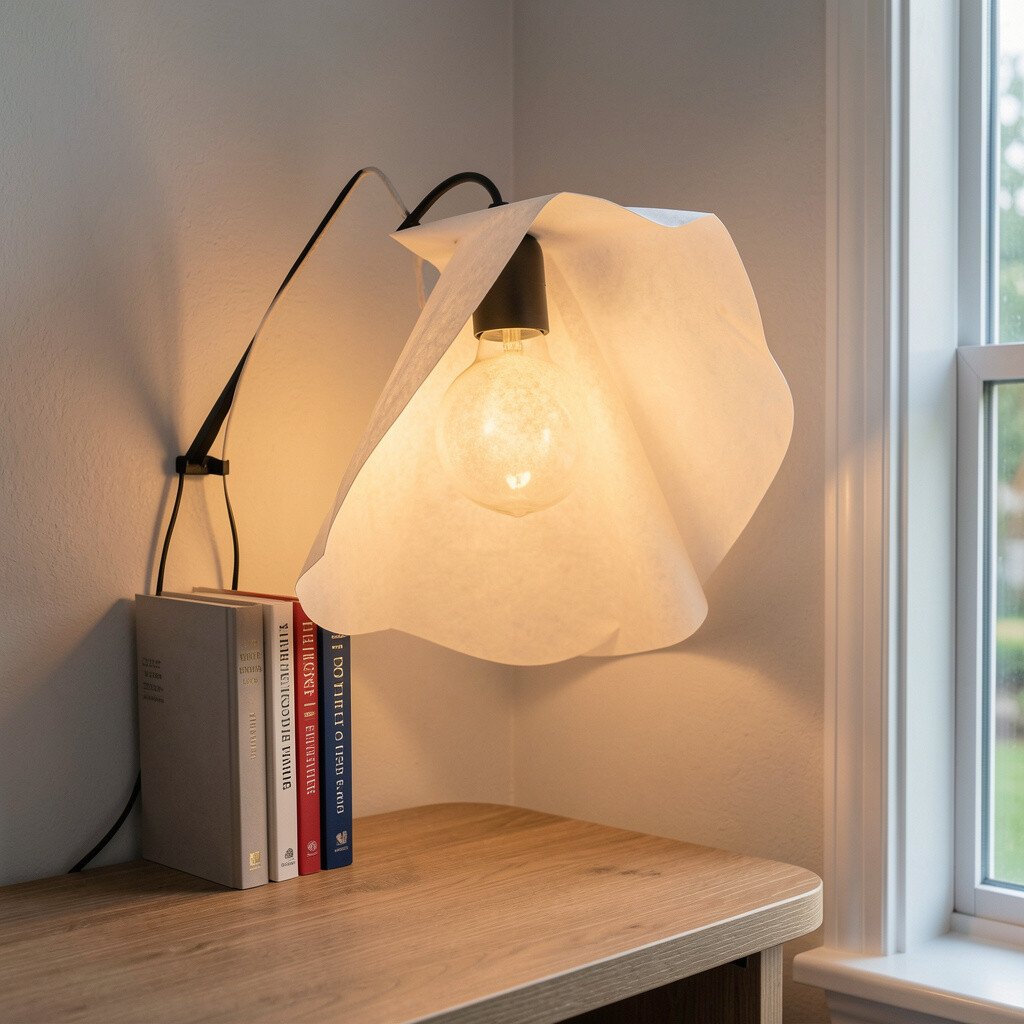
Soft lighting can change moods faster than any other decor. Make a gentle glow by covering a simple lamp shade with patterned paper or fabric.
Choose paper that lets light pass through, like rice paper, thin parchment style sheets, or translucent scrapbook paper. Use a low-heat LED bulb so the materials stay safe.
For uniqueness, add small cutouts or a subtle gradient by layering different paper tones. This fits the current love for warm, cozy ambient lighting and craft-forward details.
10. Make a Budget Pegboard Organizer for the Nook
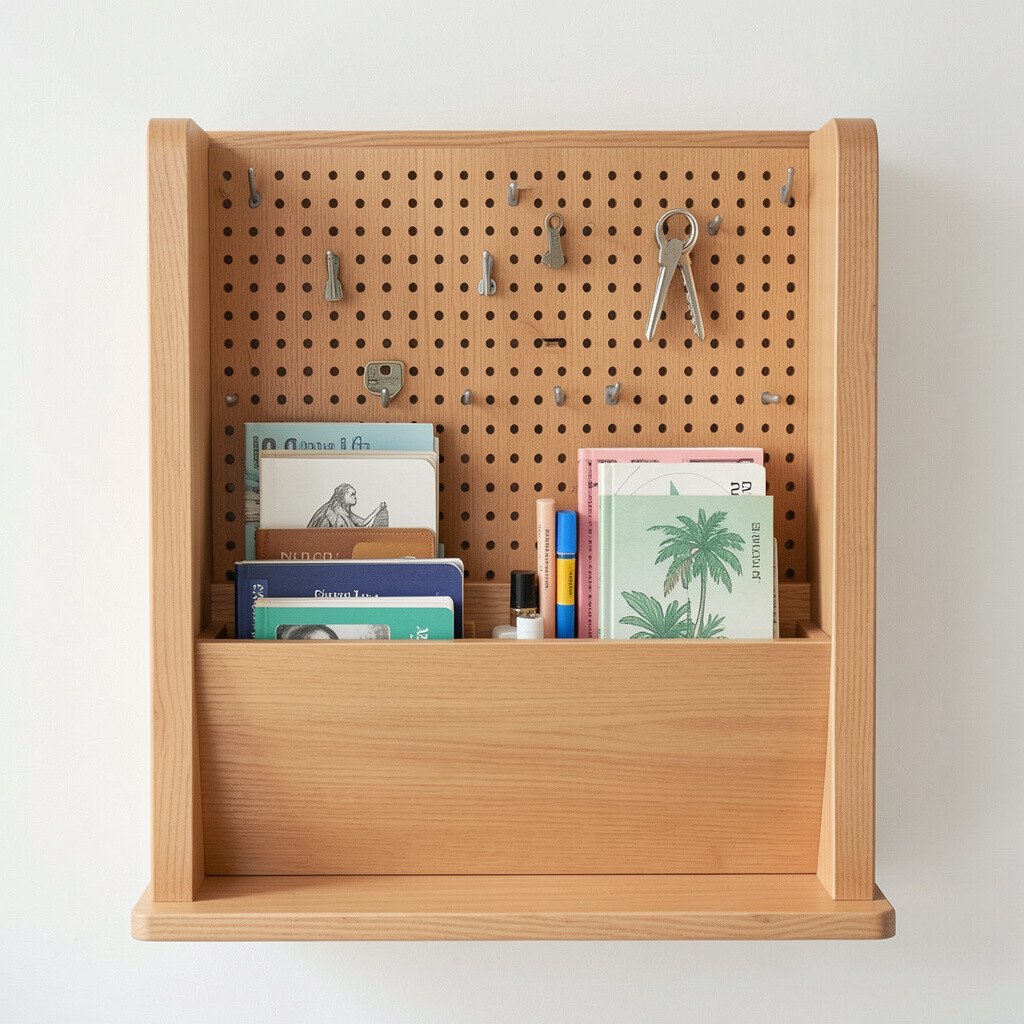
When small items feel scattered, the nook feels messy even when it’s clean. A pegboard setup brings order and makes everyday tools look stylish.
Use a pre-made pegboard, then add hooks, small shelves, and baskets for things like pens, chargers, scissors, or craft supplies. Paint the board in a bright color or keep it neutral and let the organizers add the fun.
To personalize, label spots with neat handwriting or tiny icons using removable vinyl. Cost stays friendly because pegboards can be found used, and you can start with just a few hooks.
Try grouping items by color to keep it visually calm and trending toward tidy minimalism.
11. Stencil a Plain Side Table Top With Chalk Paint
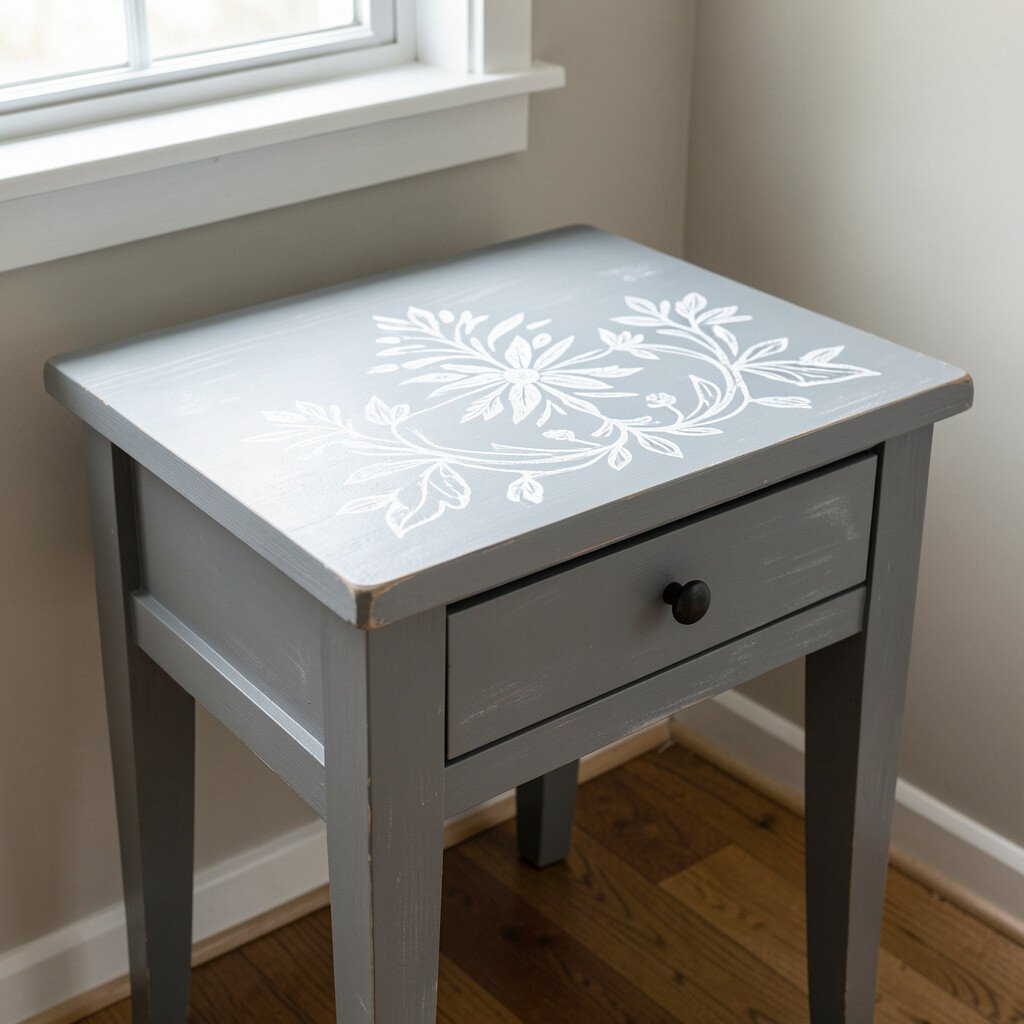
A plain table top can become a focal point with a stencil. Choose a simple pattern like stars, leaves, or subtle stripes for an eye-catching look.
Clean the surface, tape off the edges, then apply chalk paint with a dry brush technique so the stencil stays sharp. Seal it with a wax or clear protective layer so it handles daily use.
For personalization, pick a color that matches your accent wall or your favorite mug set. This project feels current because many people now mix handmade patterns with simple furniture.
12. DIY Floating Photo Ledge With Twine and Clips
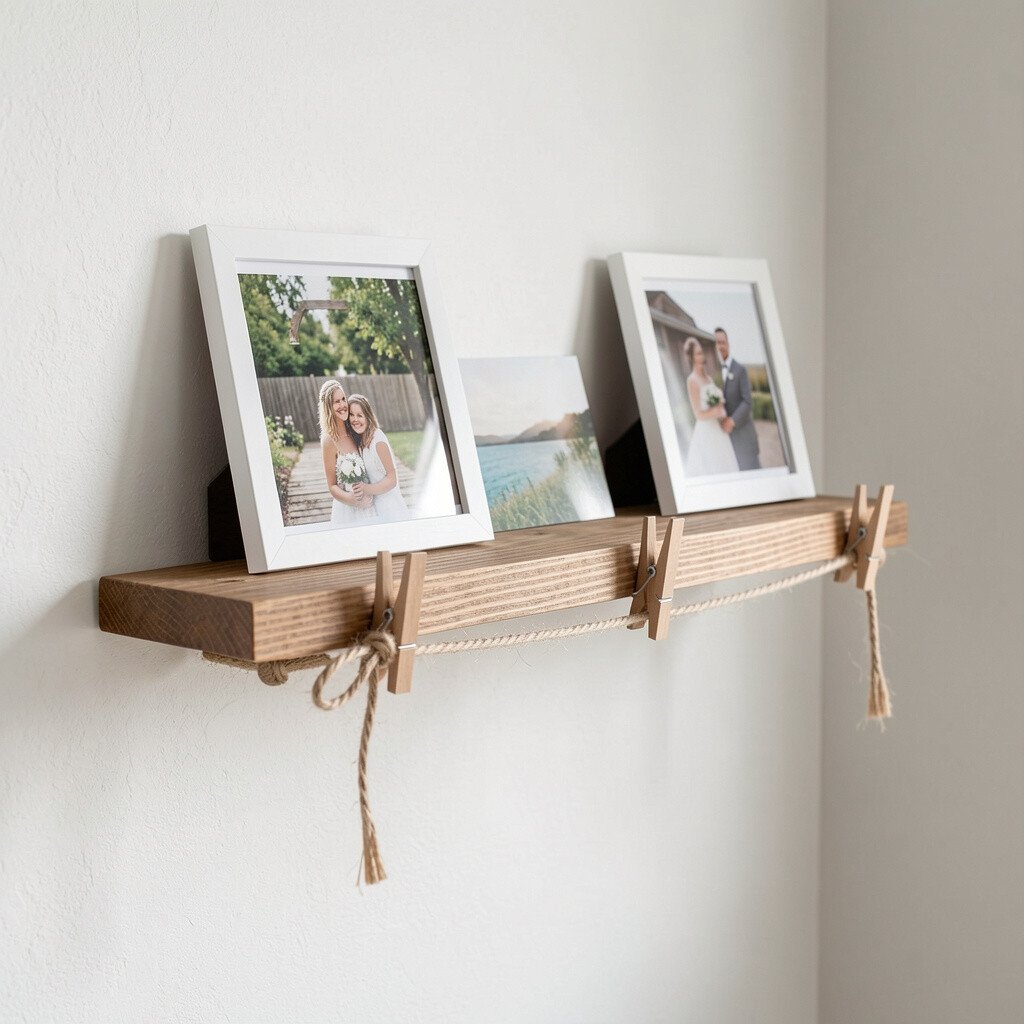
If you want photos to feel playful, try a twine and clip photo display. Hang the twine across a small ledge, then use mini clothespins to attach pictures.
This gives you an easy way to switch out seasonal photos without buying new frames. Use binder clips or small wooden clips for a tidy look that matches your room style.
For uniqueness, attach a short strand of fairy lights behind the photos for soft sparkle. Keep cost low by using leftover twine, thrifted clips, and simple picture cards.
13. Paint a Plant Stand or Pot With a Two-Tone Look
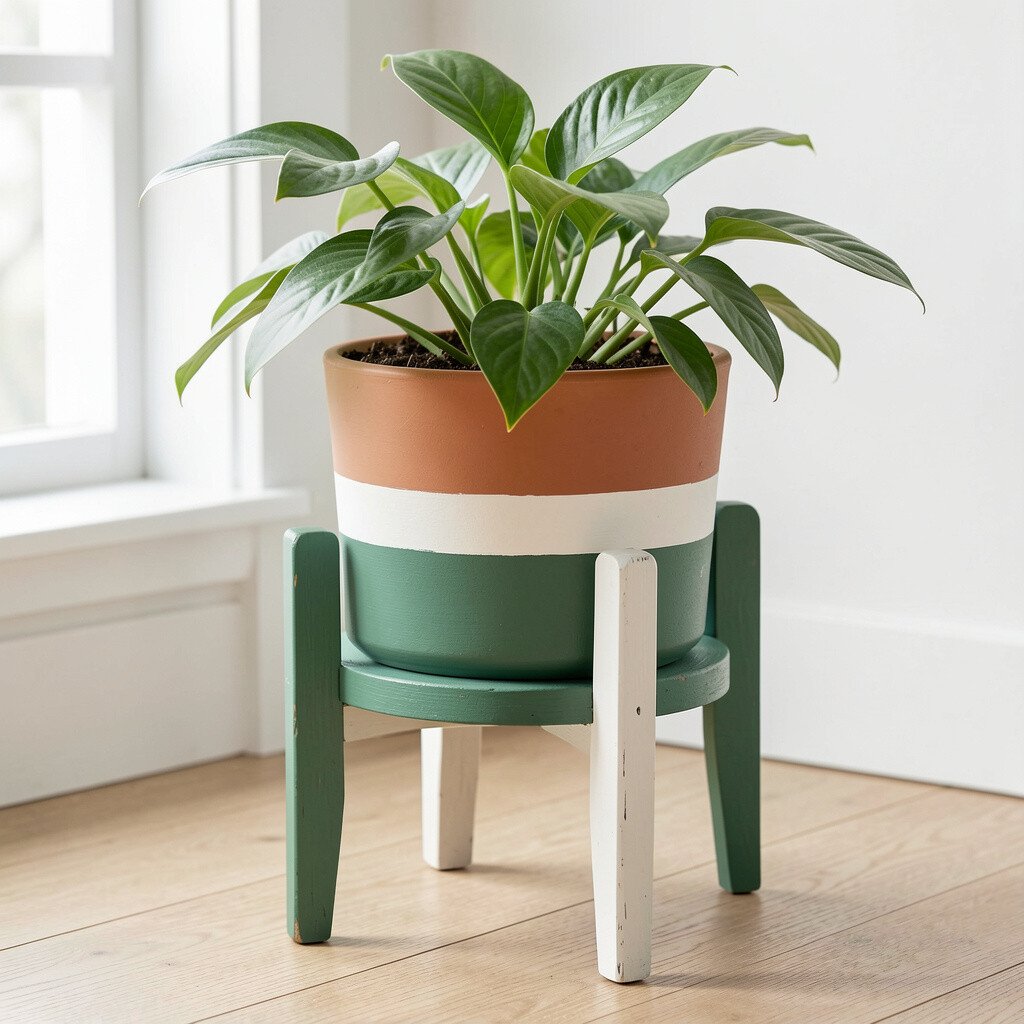
A plant corner looks more finished when containers match the vibe. Paint a cheap pot or plant stand with a two-tone color plan for a clean modern look.
Start by cleaning the pot, then base-coat it in one color and add the second color as a band near the top or bottom. Seal it well so it can handle light moisture.
To personalize, paint tiny dots or a thin stripe that matches your art or pillow pattern. This kind of container styling keeps up with the trend of intentional greenery styling.
Budget-wise, you can even reuse old containers that you already have. The payoff is a nook that looks cared for and bright.
14. Patchwork Coaster Set Using Old Fabric Scraps
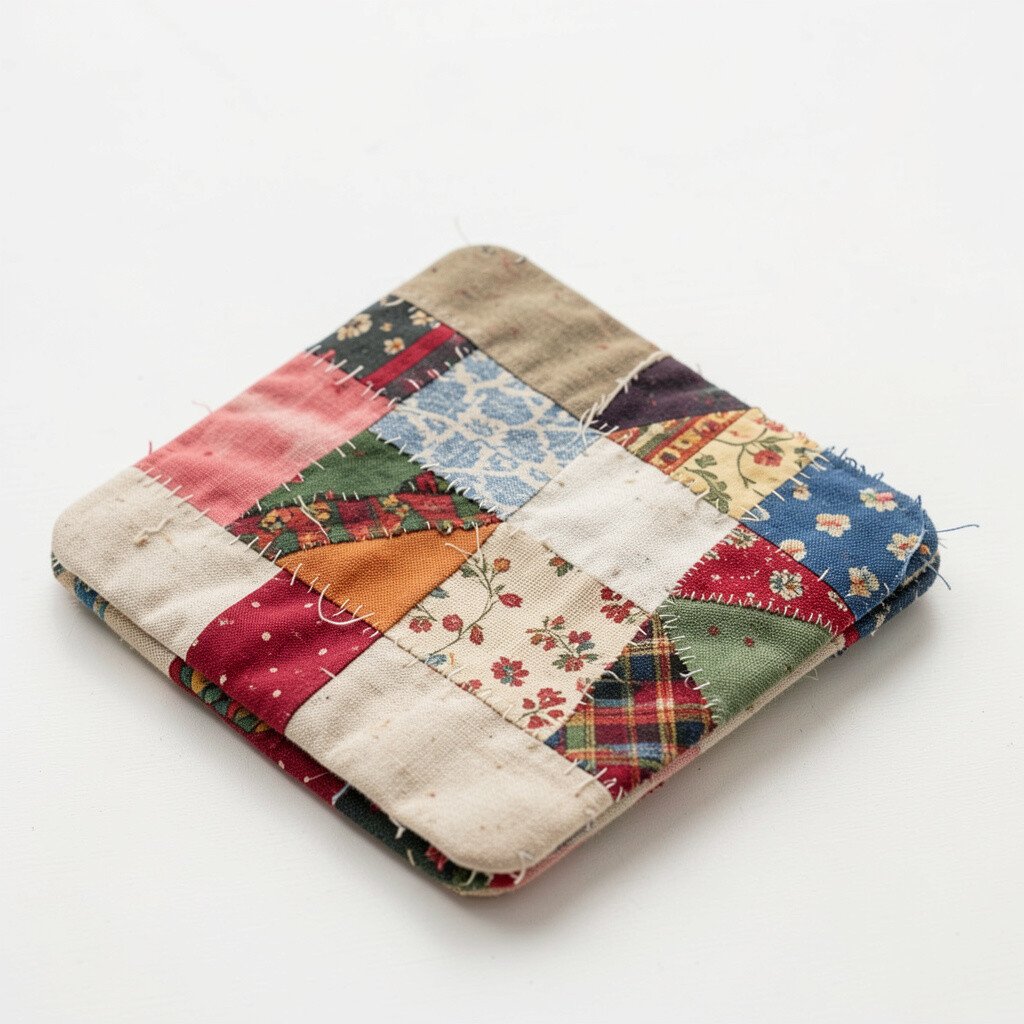
Coasters protect surfaces, but they can also look cute. Make a set from fabric scraps and a thin backing so your table stays safe and stylish.
Cut circles or squares from fabric, then layer them with felt or batting. Stitch around the edges or use fabric glue for a quick finish.
Personalize with patterns you love, like gingham, stripes, or small prints. This project feels uniquely “you” because the fabric history shows through, and it matches the trend of upcycled home items.
15. Colorful Book Spine Labels With Removable Tape
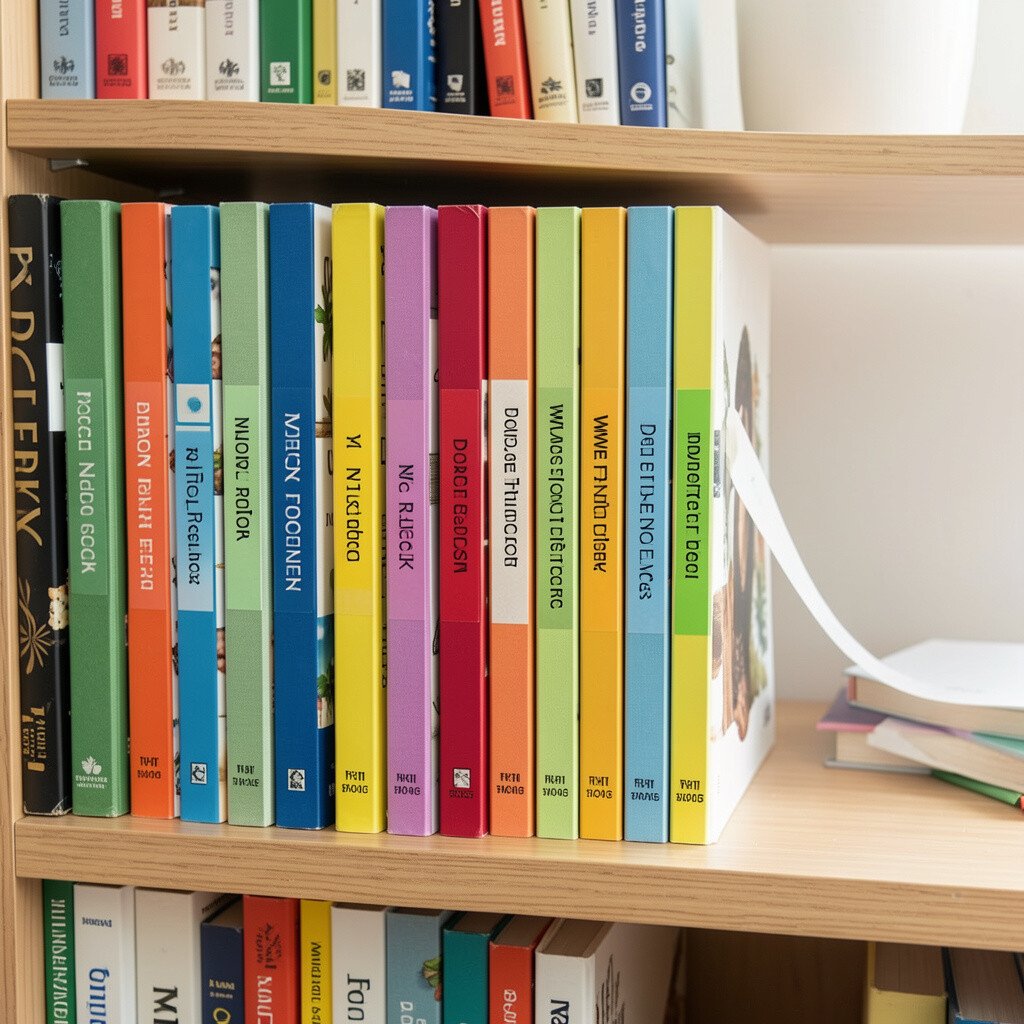
Books can look messy when their covers all compete, especially in a small nook. Label spines with removable tape so your shelf looks organized and bright.
Use tape in coordinating colors and write short categories like “stories,” “cozy,” or “weekend reads.” Even if you use simple marker, the pop of color will stand out.
For personalization, choose label colors that match your room accents or the pages of your wall art. This approach fits the current trend of visual organization and playful typography.
Cost stays low because tape and markers are cheap. Plus, you can update labels anytime your interests shift.
16. DIY Desk Organizer With a Shoebox and Contact Paper
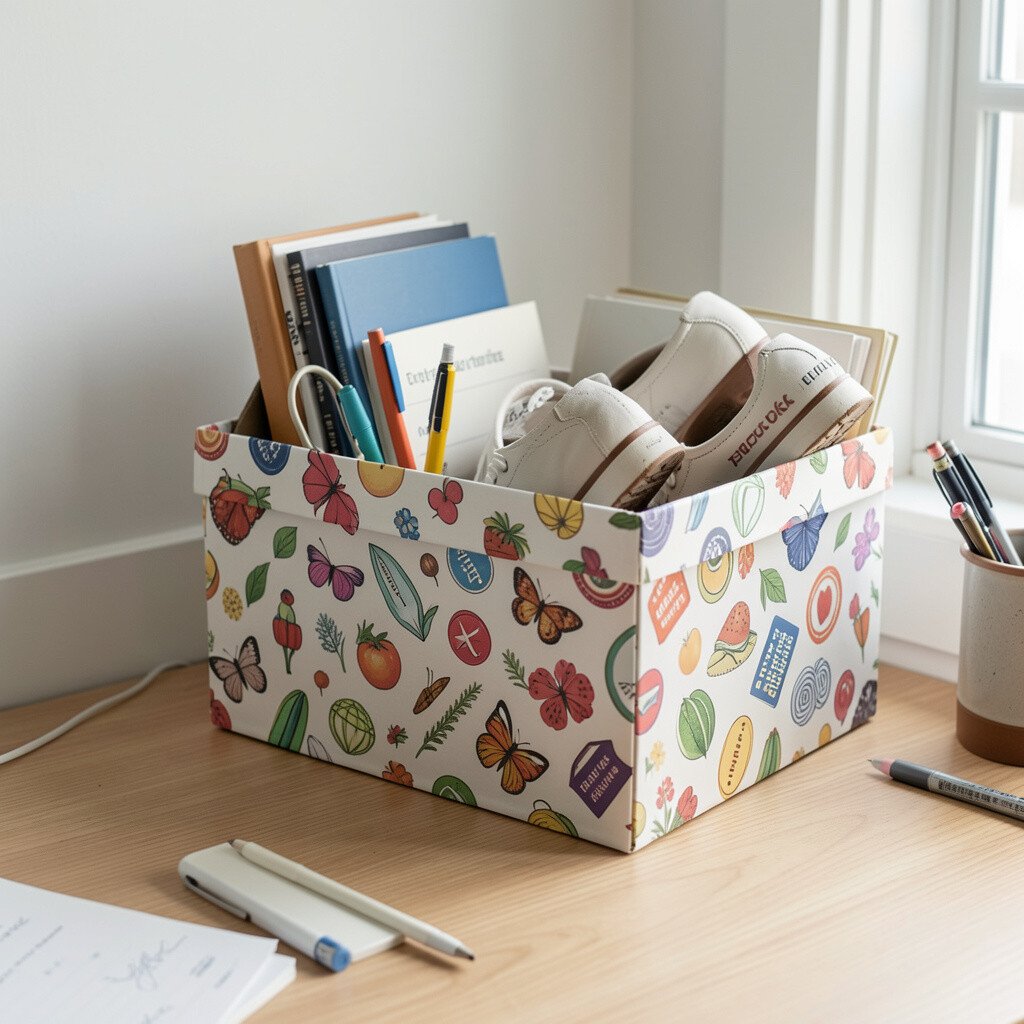
A cluttered nook steals attention from everything you want to enjoy. Turn a shoebox into a desk organizer and cover it with contact paper or peel-and-stick vinyl.
Cut dividers from cardboard, then tape them in place so you can sort pens, notepads, and small tools. Add different compartments to match your daily routine, like a spot for cables or a mini snack tray.
For personalization, choose contact paper with a fun pattern like tiny tiles or soft marble swirls. Current trends favor textured surfaces, so a faux stone look can feel high-end for very little money.
Budget tips include reusing what you already have and picking discount contact paper. When everything has a home, the whole nook feels calmer and brighter.
17. Create a Simple Wall Trellis With Wooden Dowels
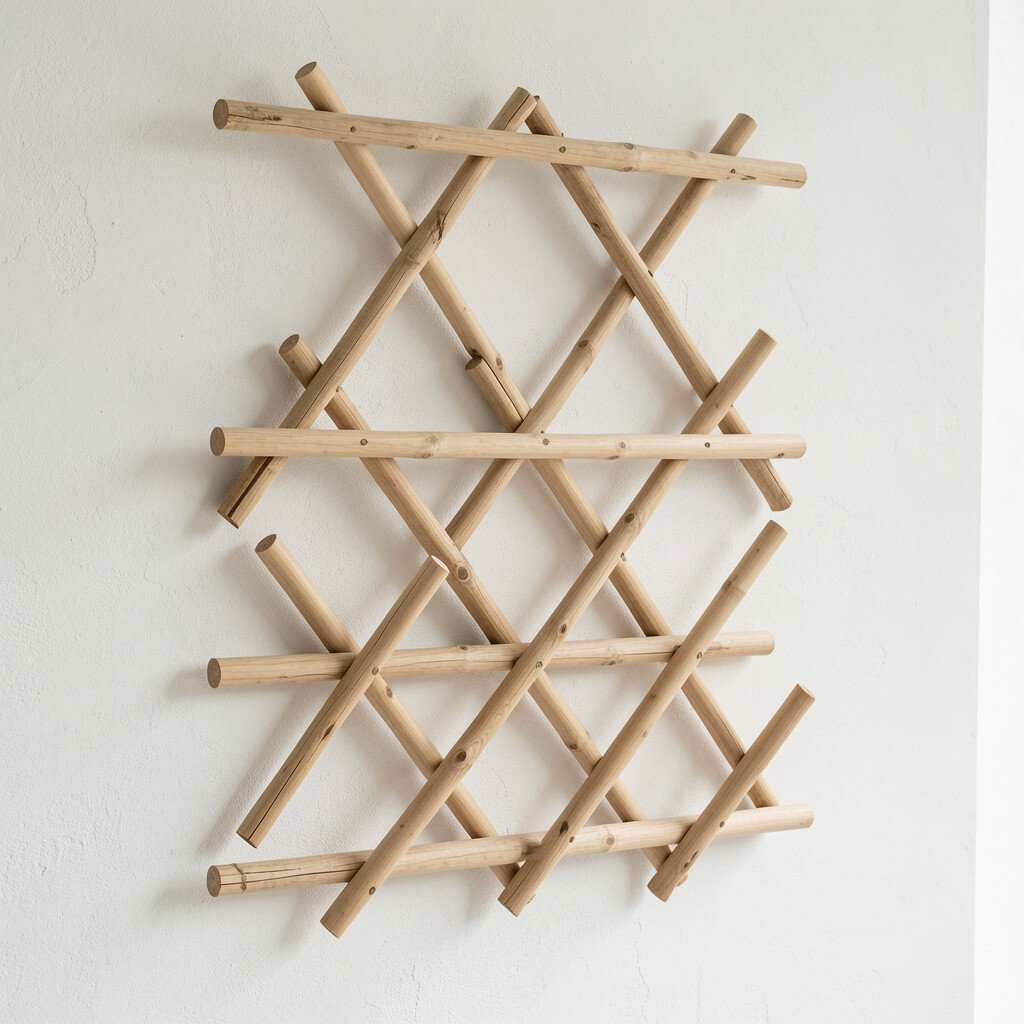
A wall trellis adds structure, and structure makes a room feel styled. Use light wooden dowels or chopsticks to form a grid behind a small corner plant or hanging vines.
Measure the space, mark holes carefully, then mount the dowels with wall-safe anchors. Paint the grid in a warm neutral so it blends with your decor instead of fighting it.
To personalize, hang lightweight string lights or a ribbon along the grid. This gives you a unique look that feels both cozy and on-trend with vertical decor.
18. Swap to Bright Linen-Look Sheets for a Nook Chair
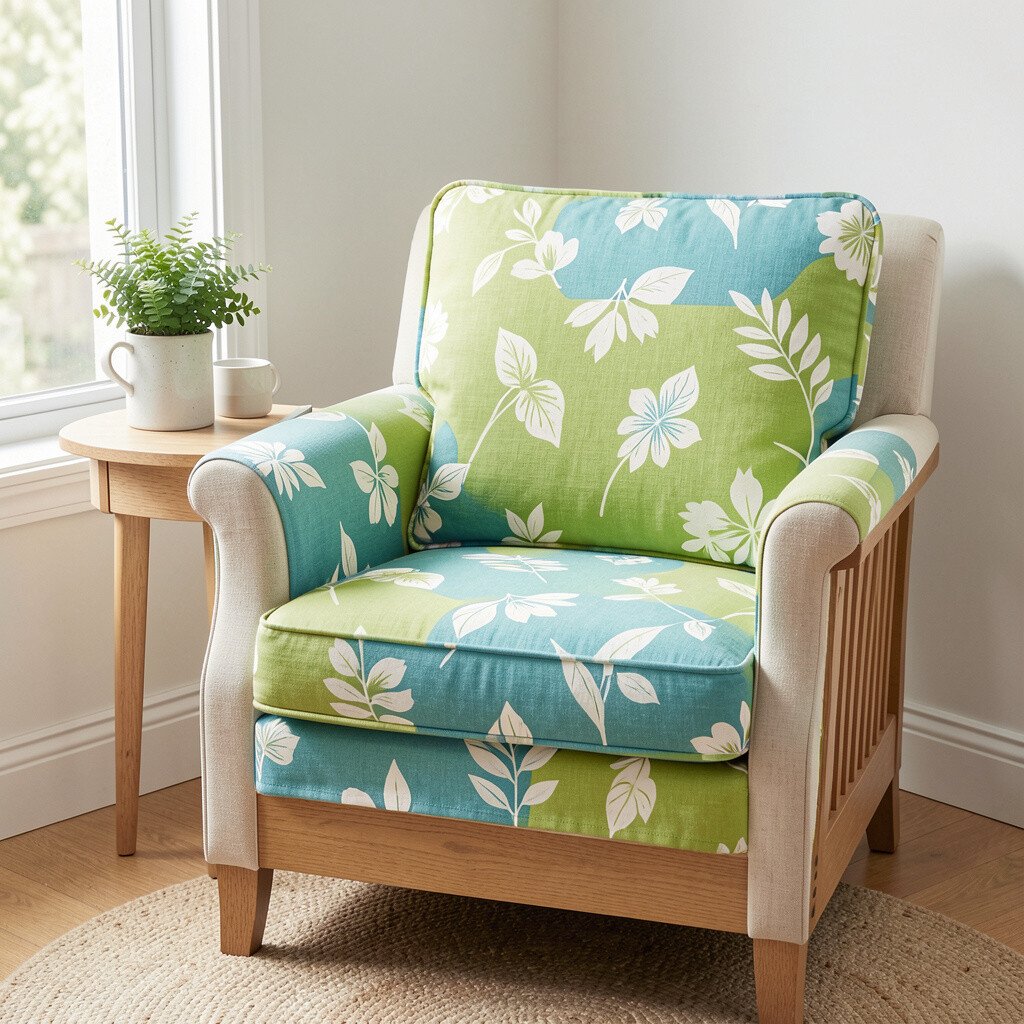
If your nook has a chair, the fabric matters more than you think. Cover the seat with linen-look fabric, a cushion cover, or a slipcover made from an inexpensive sheet.
Choose a bright neutral or a gentle pastel, then secure it with ties or elastic so it stays put. The visual softness makes the whole corner feel inviting.
For personalization, add a contrasting throw pillow on top and match the color to your wall art. Cost considerations are simple here because sheets are often cheaper than fabric yards, especially when you find a deal.
This project matches current trends toward relaxed, comfortable spaces and layered textures. Your nook will look ready for reading, relaxing, and afternoon naps.
19. DIY Floating Candle Shelf With Upcycled Wood
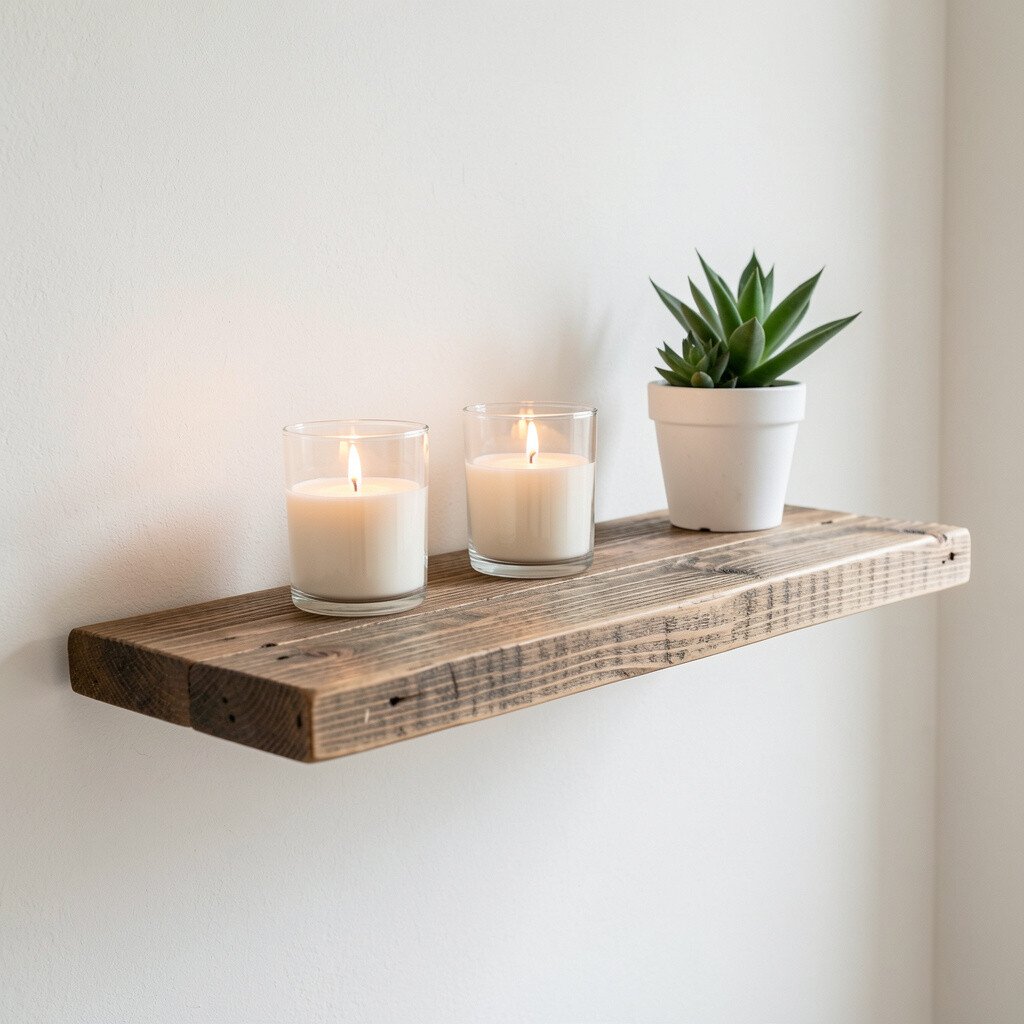
Candles create instant warmth, but you need a safe place to put them. Build a floating shelf using upcycled wood and mount it securely above a low table.
Sand the wood smooth, stain or paint it, and add a thin ledge so candle jars sit stable. Keep it practical by using a level during installation and choosing the right mounting hardware for your wall.
For uniqueness, carve a small shape in the center, like a star or heart, and let the rest stay simple. This ties into the trend of handmade accents that feel personal rather than mass-produced.
Cost stays friendly because you can use scrap wood and buy only the brackets. When the candlelight flickers, your nook looks softly dressed up.
20. Build a Seasonal Color Tray for Small Surfaces
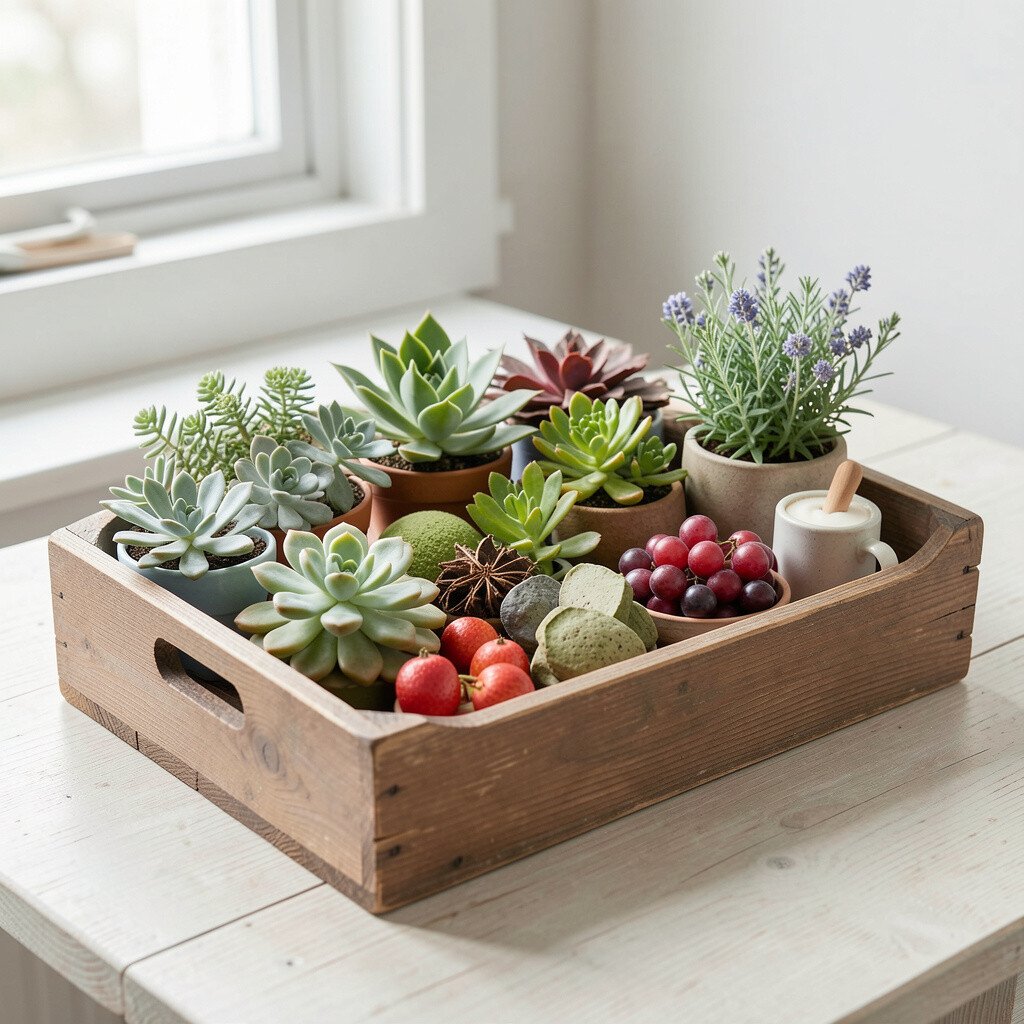
Sometimes the easiest way to brighten a nook is to change what sits on display. Create a tray you can decorate seasonally with objects you already own or can find cheaply.
Use a thrifted tray or a simple wooden board, then paint it to match your palette. Add items that feel current, like natural textures, fresh-inspired colors, or tiny decorative accents.
For personalization, rotate pieces based on your mood, such as using seashells in warmer months or pinecones for cooler ones. Keep cost low by shopping your home first and using discount stores only when you need one or two extras.
This kind of styling looks unique because it’s never exactly the same twice. And each time you change it, the nook feels like a fresh highlight.