
The right music room can feel like a bright pocket of joy in your home. When sound is handled well, practicing gets easier and calmer.
Good acoustics and cheerful details can go together, even in a small space. With smart choices, you can create a room that invites you to play and keeps neighbors and family happier.
1. Sunny Wall Color and Soft Absorbing Fabrics
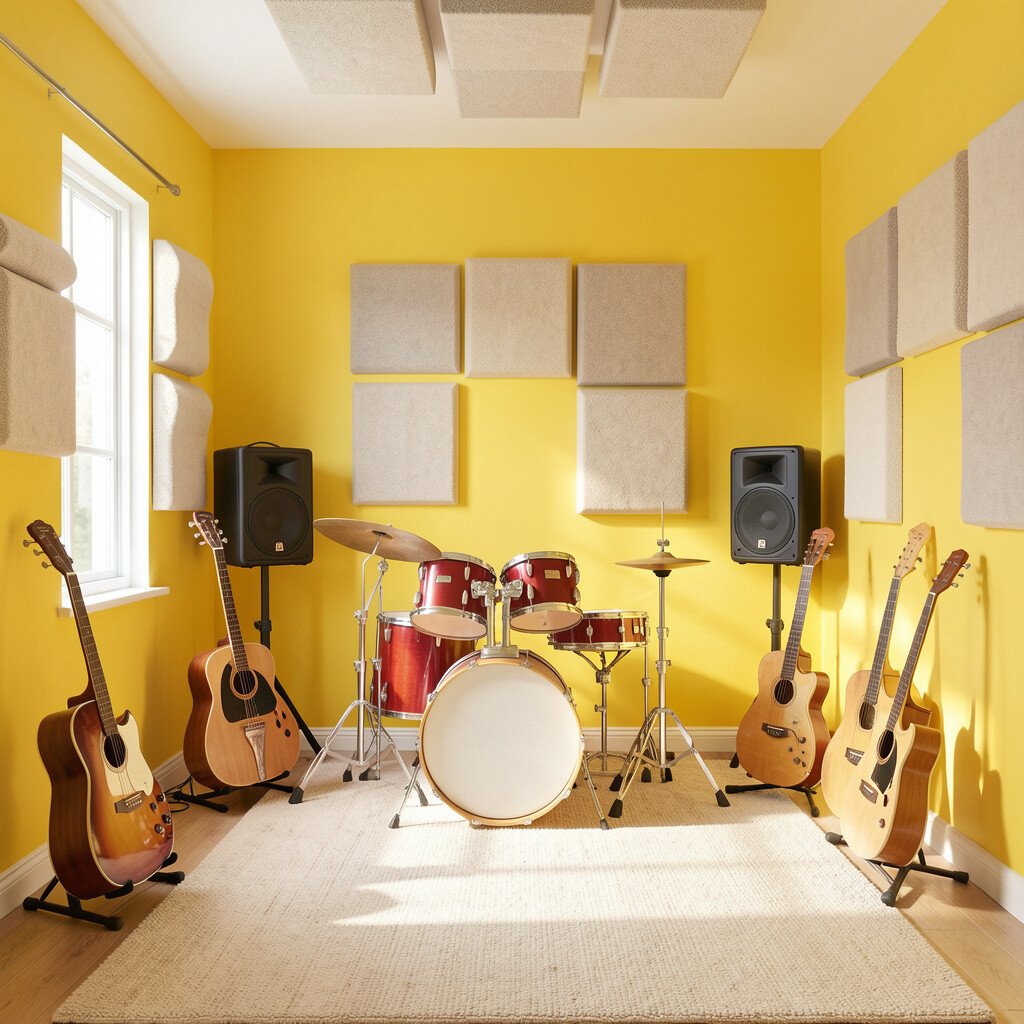
Pick a cheerful wall color like warm yellow, mint, or sky blue so the room looks friendly the moment you walk in. Add curtains or fabric panels in thick weaves to soften echoes and make voices and instruments sound smoother.
Choose curtains that reach close to the floor, and consider adding a second layer for better sound control. You will notice that fast passages feel clearer because the room stops bouncing sound around. For a practical budget approach, start with one wall and one window, then build up as you learn what you need.
2. Floating Shelves for Instruments That Stay Visible
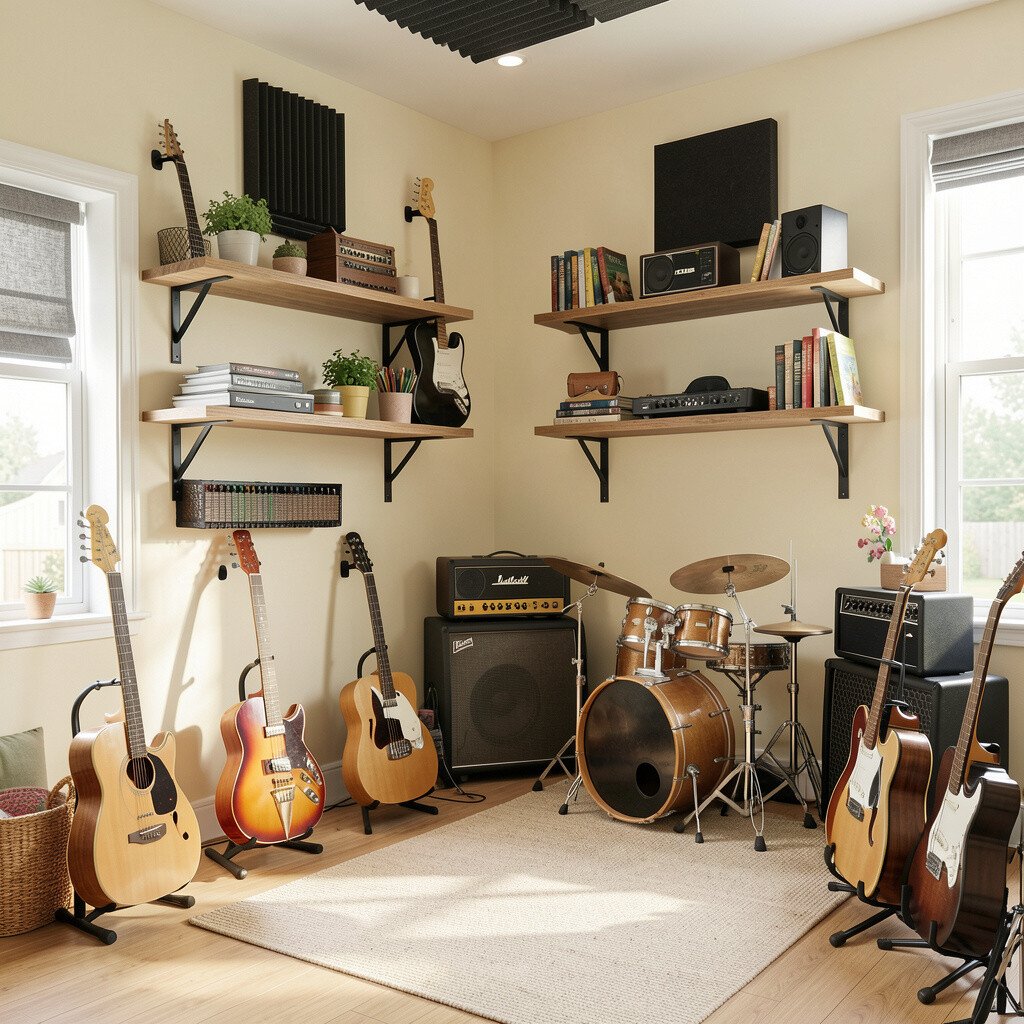
Use floating shelves to display instruments and accessories in a tidy, happy way. Seeing your tools at eye level makes it easier to grab them right away and practice more often.
Mount shelves with sturdy brackets and place soft backing pads behind them to reduce vibration that can travel through the wall. This small change helps keep the sound from turning into a weird buzz. If you have a tight space, narrow shelves and vertical layout keep everything organized without clutter.
For personalization, paint the back panel behind each shelf in a different color or add small decals shaped like musical notes. If you share the home, keep the loudest gear farther from shared walls. When you upgrade later, you can swap shelf positions without redoing your whole room.
3. Soundproof Curtain Track and Gap-Sealing Tricks
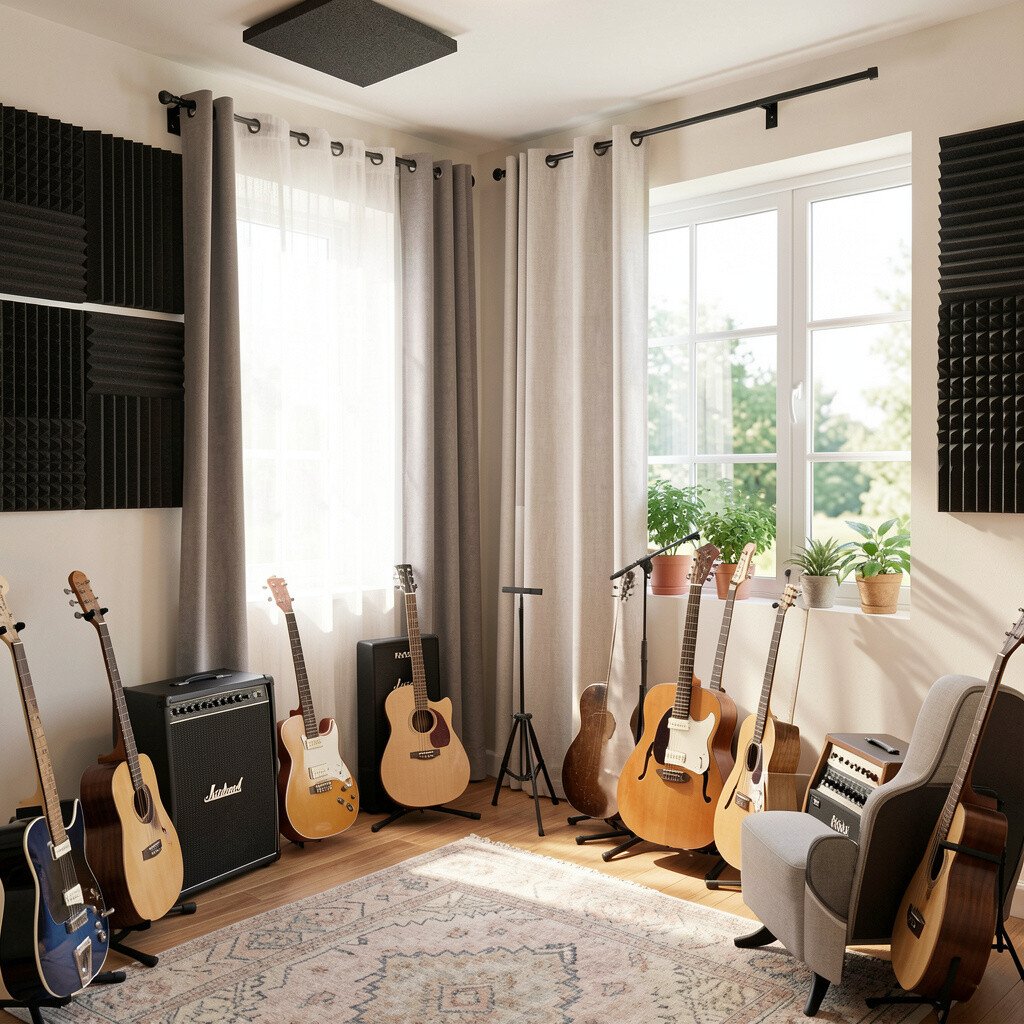
A full-length curtain on a rail can make a big difference for rehearsals and recording sessions. Choose heavier fabric and hang it close to the sides so sound has fewer escape routes.
Pay attention to gaps around the edges because tiny spaces can let noise slip out. Weatherstripping around doors and acoustic door seals are easy wins that cost less than major construction. You might also add draft stoppers at the bottom of a door to stop sound leaks from flanking areas.
For a cheerful look, select curtain colors that match your room theme, like coral with cream trim. The result feels cozy and polished, not like a plain barrier. Start with one door and one wall opening, then judge how much quieter it becomes before buying more materials.
4. Corkboard Backdrops for Drum Sticking Practice

Corkboard is naturally warm and can be a great base layer behind practice setups. It gives visual texture and helps reduce harsh slap sounds from sticks and mallets.
Mount cork in sections so you can rearrange it as your routine changes. For extra help, add a thin foam layer behind it and then cover the whole thing with a fabric that matches your color scheme. This setup is unique because it feels like a craft wall while also improving how the room behaves.
5. A Cozy Rug That Tames Footsteps and Bass Notes
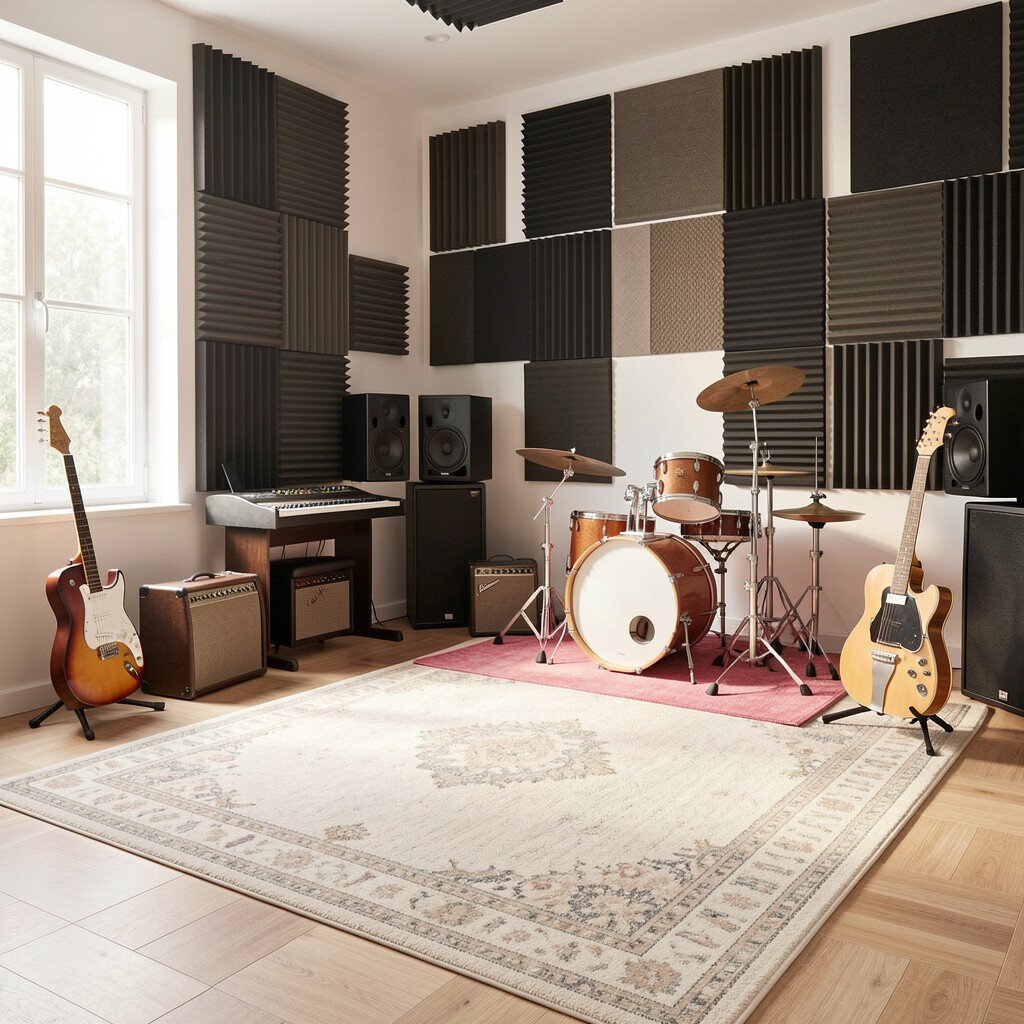
Choose a thick area rug with a comfy pattern so the floor feels inviting. It softens footsteps and reduces the “ping” that can happen when sound bounces off hard surfaces.
Look for rugs with good underlay or add a rug pad to improve sound damping. You’ll likely hear cleaner rhythm practice because the space feels more grounded. Even if you cannot redo the whole room, changing the floor layer is an affordable move with quick results.
If you want it to look cheerful, pick a rug with bright accents that echo your wall colors. Keep rugs away from instrument stands that might shift, and use non-slip mats for safety. Over time, you can rotate rugs seasonally to keep the room feeling fresh.
6. Keyboard and Mixer Zones With Cable-Friendly Layout
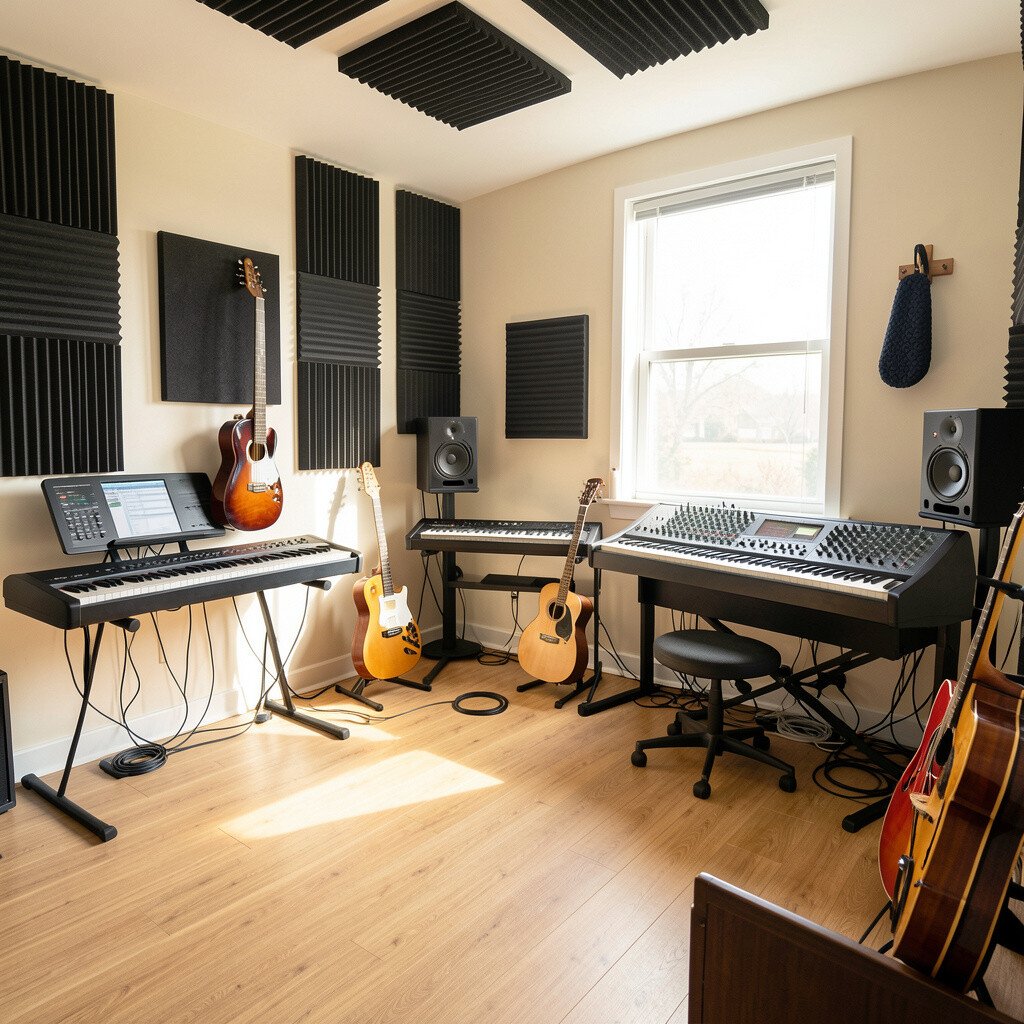
Create a dedicated area for your keyboard, sampler, or mixer with neat cable paths. When everything sits in a planned zone, you spend less time untangling gear and more time making music.
Place soft desk mats and felt under equipment to reduce vibration transfer to the tabletop. Use cable clips to keep cords from touching each other, since contact can cause faint noise when you move. This kind of setup feels modern and tidy, and it can look great with warm wood tones.
7. Upholstered Chair Corner for Long Practice Sessions
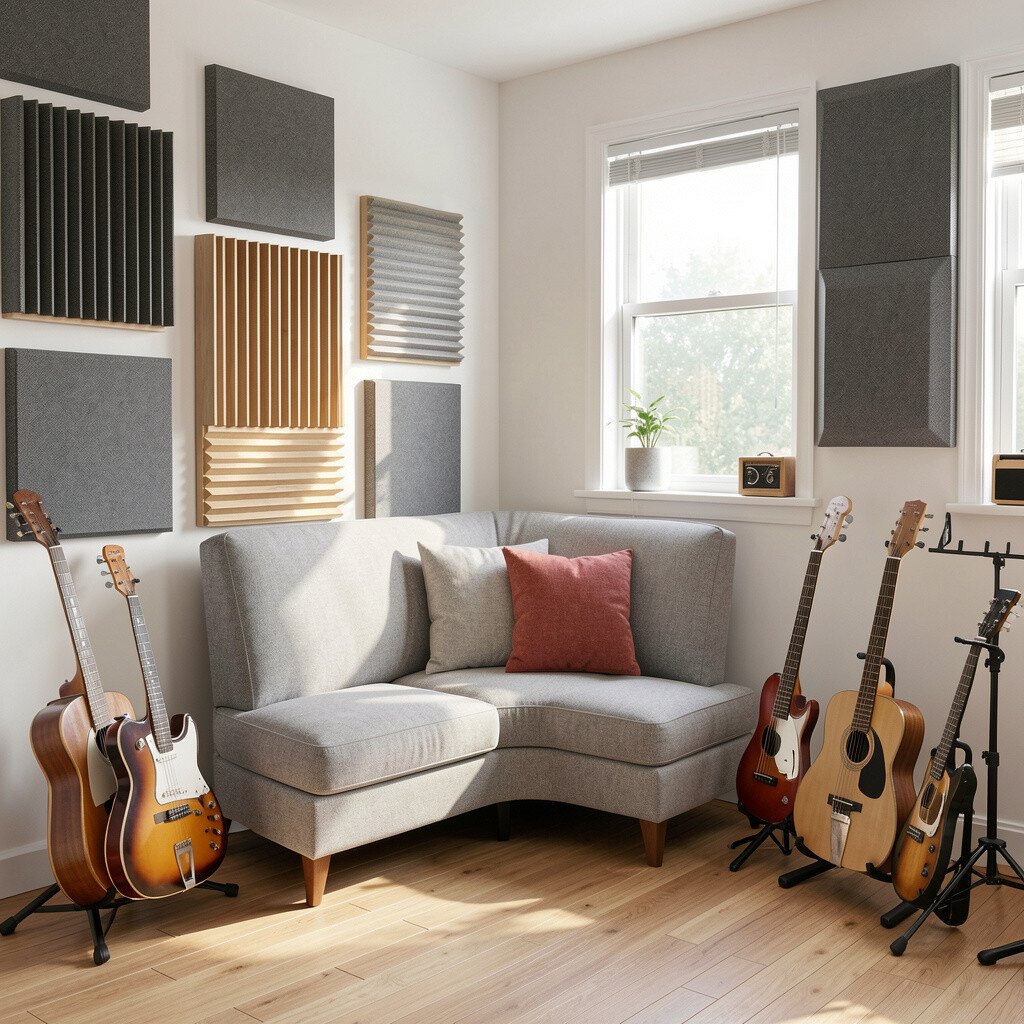
An upholstered chair or small sofa makes your music room feel like a welcoming studio. When you sit comfortably, you practice longer and your focus stays steady.
Pick fabric that is easy to clean, because music rooms often get spills, rosin dust, or snack crumbs. A chair placed near the center of the room can also help break up sound reflections. Add a throw blanket so the corner looks cheerful and becomes your “reset spot” during busy days.
If you share your home, position the chair so it faces toward your instrument area rather than toward a shared wall. This helps your playing feel more private and controlled. Consider a slipcover so you can refresh the look without buying a new chair.
8. Music-Themed Lighting With Warm LEDs
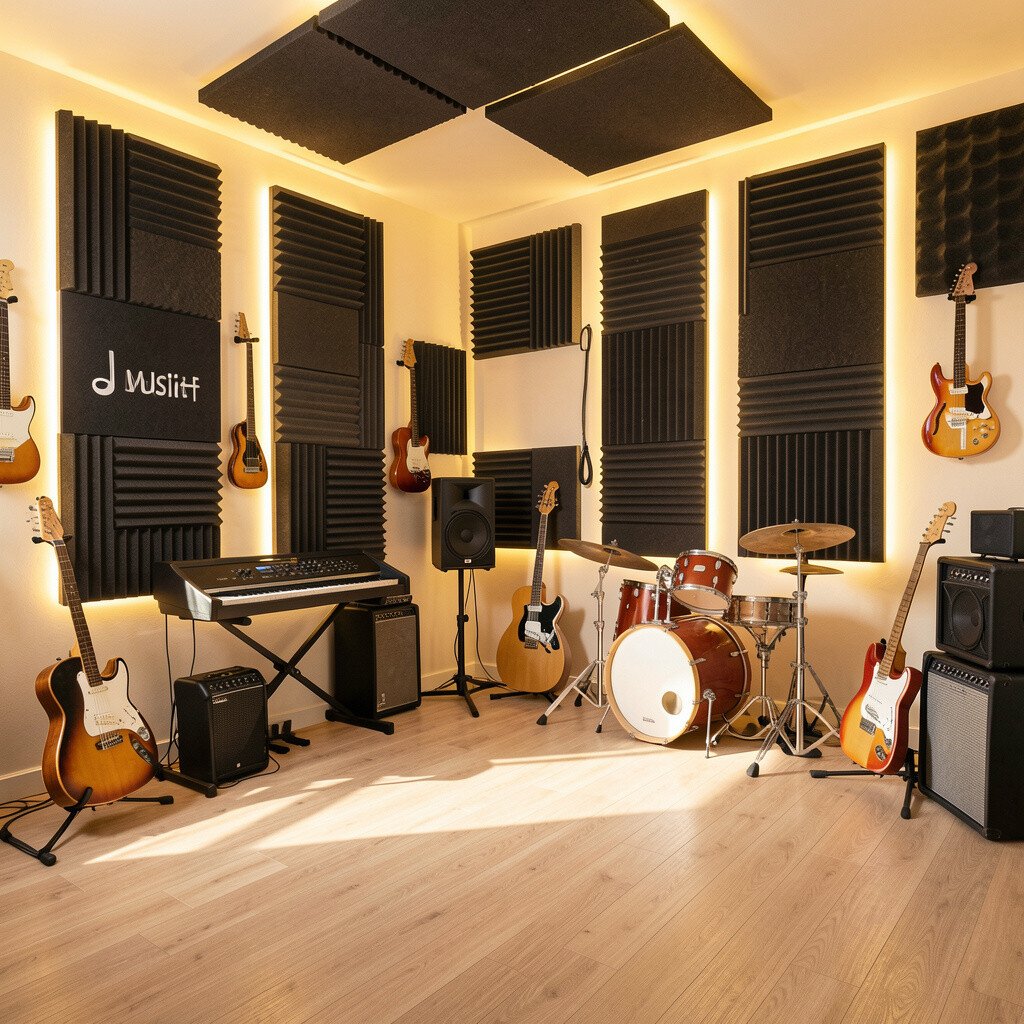
Warm LED lights can turn your music space into a cozy stage. Soft bulbs in lamps or wall sconces reduce harsh glare and help you see sheet music without squinting.
Try string lights around shelves or behind the keyboard setup for a gentle glow. Dimmers are also handy because your room needs change when you practice quietly versus loudly. Choose colors that match your room palette so the lighting feels part of the design, not an afterthought.
9. Drum or Percussion Guard Panels With Lightweight Foam
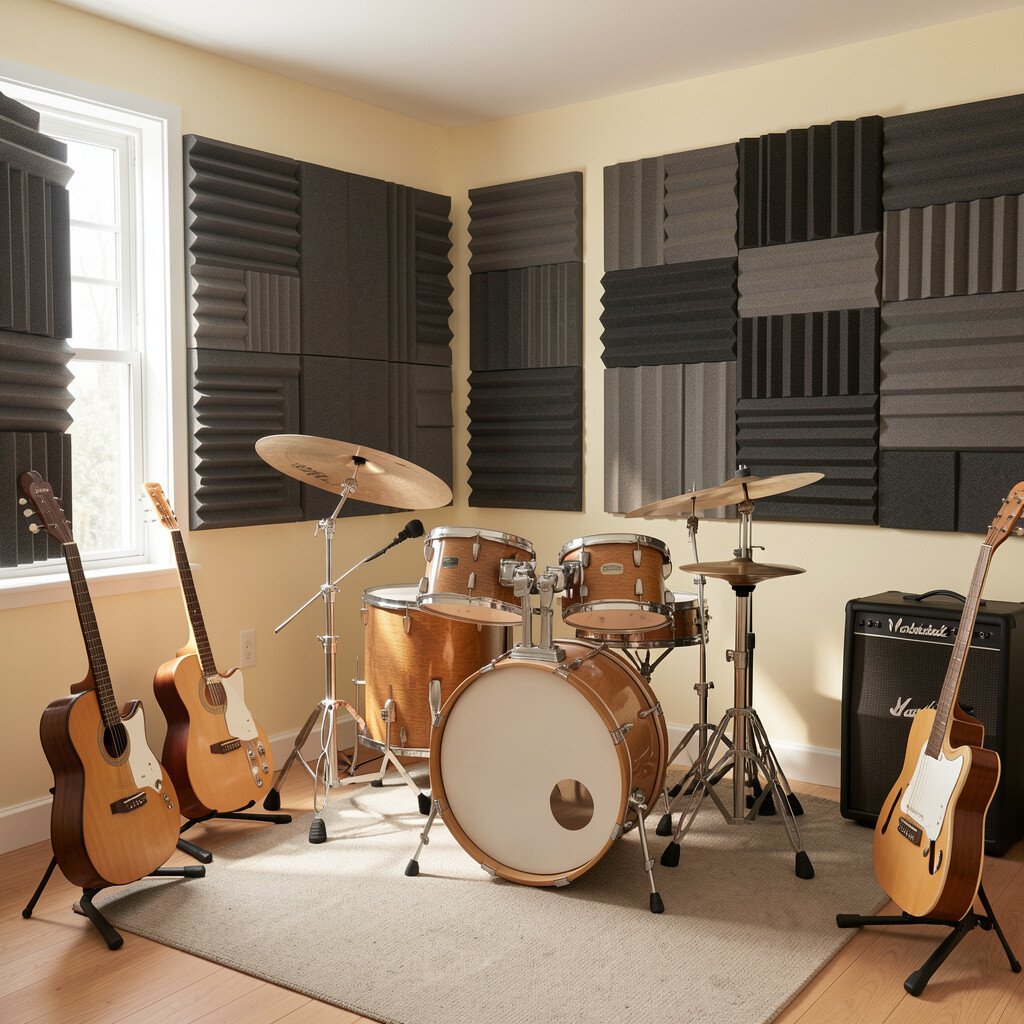
If you play drums, hand percussion, or practice sticks, consider adding guard panels around the loudest angle. Lightweight foam plus a sturdy frame can cut down how far sharp hits travel.
Use panels at a slight angle so sound gets absorbed rather than reflected straight toward the door. You can wrap the frames with colorful fabric to keep the room cheerful. This method is unique because it lets you rearrange where panels go depending on the instrument you use that day.
For practical setup, start with one or two panels and test by playing at your usual volume. After you hear the difference, you can add more panels only where needed. Consider cost by choosing foam kits first, then upgrading outer fabric or frame materials later.
10. Wall Art Galleried Around Microphone Practice

Hang framed prints, album covers, or art with musical shapes near your recording spot. The walls look lively, and the room feels more personal while you practice vocals or instrument lines.
Incorporate sound-friendly materials by using frames with backing that holds a thin absorbent sheet. Even a small amount of absorption near a microphone can reduce harshness. Choose art that matches your mood, like playful patterns for a bright vibe or calm landscapes for a calmer feel.
11. Rearrangeable Partition for Flexible Sound Control
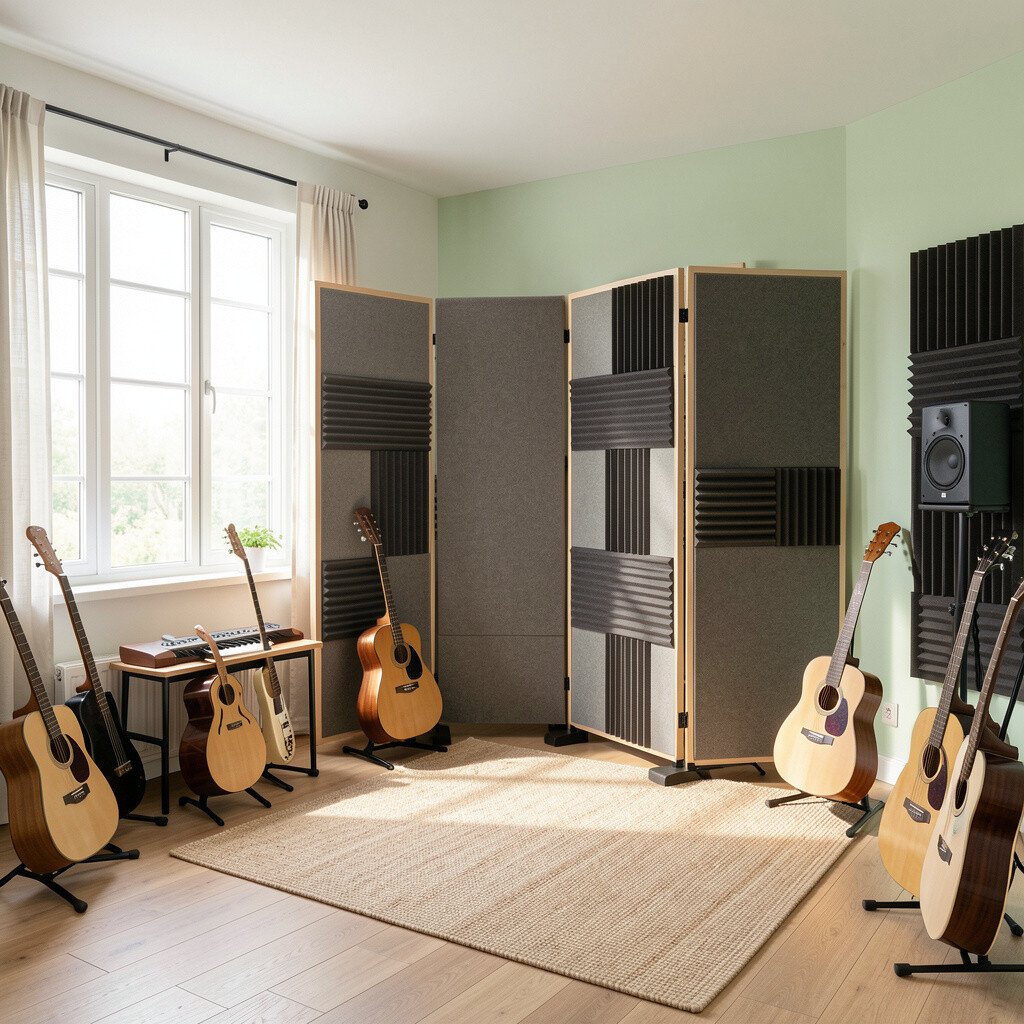
A folding screen or partition lets you change the room layout without permanent construction. It works well when you rehearse different instruments at different times.
Add acoustic curtains or felt panels to the partition for better sound blocking. This gives you a practical way to reduce echo and keep noise from bouncing into other parts of the house. For uniqueness, choose a screen with a fun pattern or paint it to match your room colors.
If you need privacy for a family member, place the partition between your loud setup and shared areas. Test it during a typical practice session and adjust the angle until you like the sound. This approach can fit different budgets because you can build it gradually with extra panels.
12. Instrument Stands With Rubber Feet to Stop Rattle
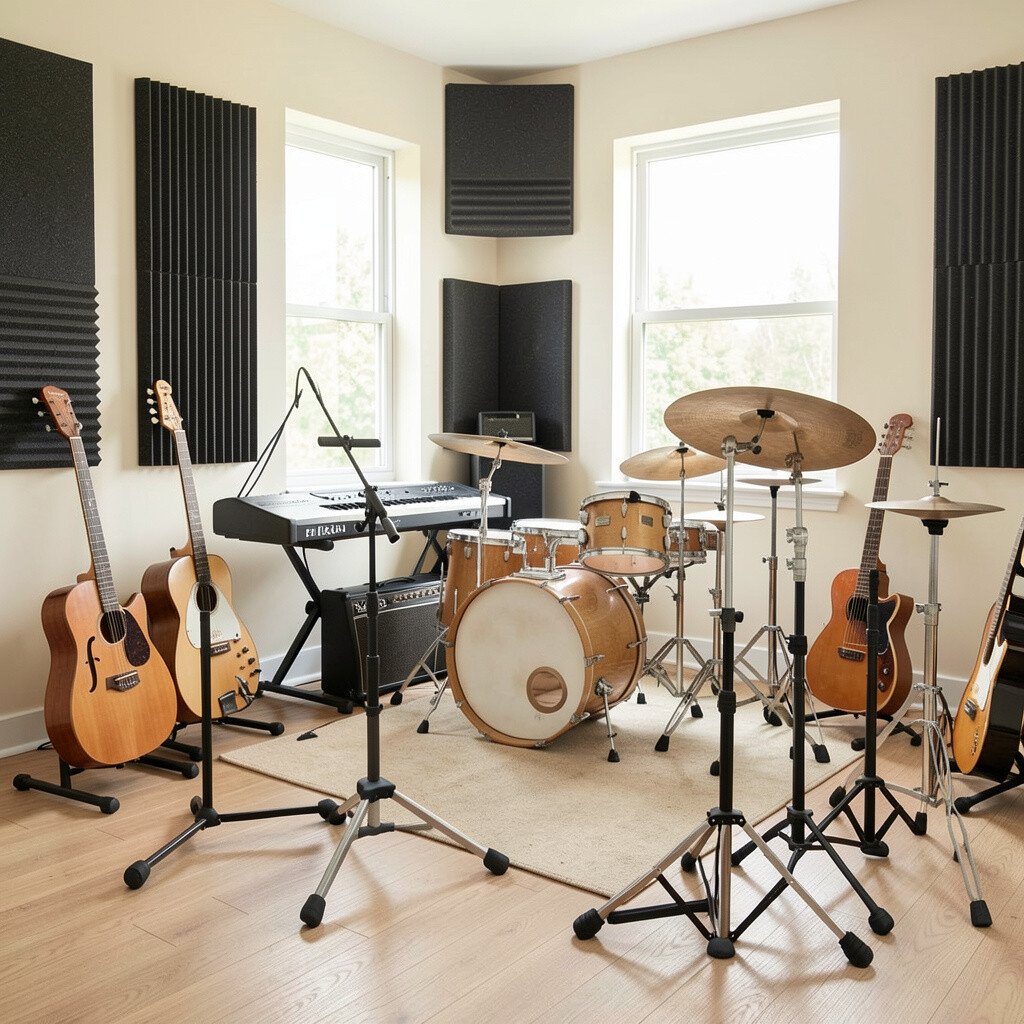
Rubber feet on stands help prevent tiny vibrations that can turn into an annoying rattle. When your gear sits quietly, your overall sound feels cleaner and more focused.
Invest in stands made for stability, and add felt or rubber pads under clamps and brackets. Even small contact points can transmit vibration into the floor and walls, so soft isolation is a smart habit. You will often hear less “metal on metal” noise during performance and recording.
13. Acoustic Bookshelf Backing for Staged Listening
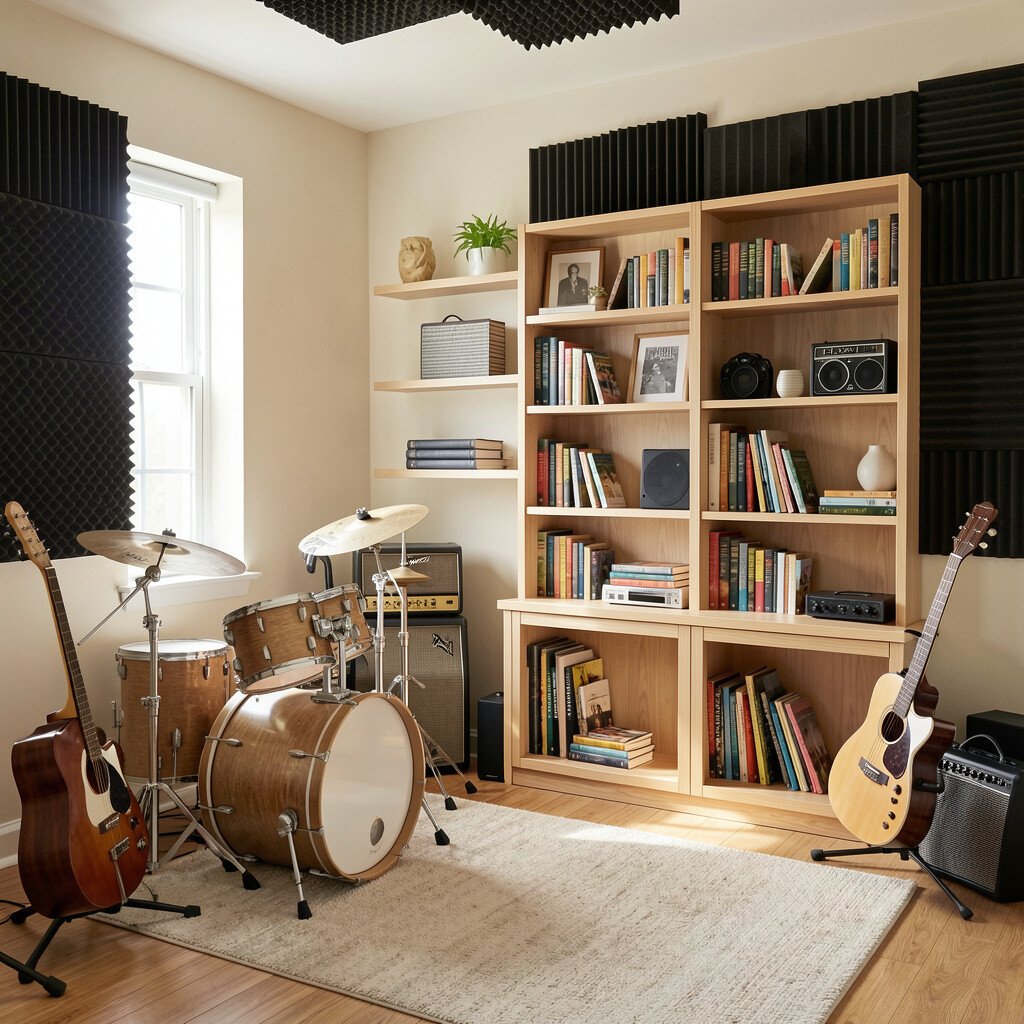
A bookshelf looks great and can also help manage reflections when filled with books. Put the bookshelf near where sound bounces most, usually across from your main instrument position.
To boost sound control, consider placing a breathable acoustic backing behind the shelves or adding thin fabric panels behind the openings. Books create irregular surfaces that scatter sound, which helps vocals feel less tinny. This idea is both practical and cheerful, especially when you mix colorful book spines with music magazines.
For personalization, organize shelves by mood with sections for jazz, pop, classical, or childhood favorites. If you plan recording, place the microphone so it faces toward the most controlled surfaces rather than bare walls. When budgeting, start with rearranging the shelves, then upgrade backing materials if you still hear too much echo.
14. Soundproofing Door Curtains and the “Seal-Then-Play” Routine
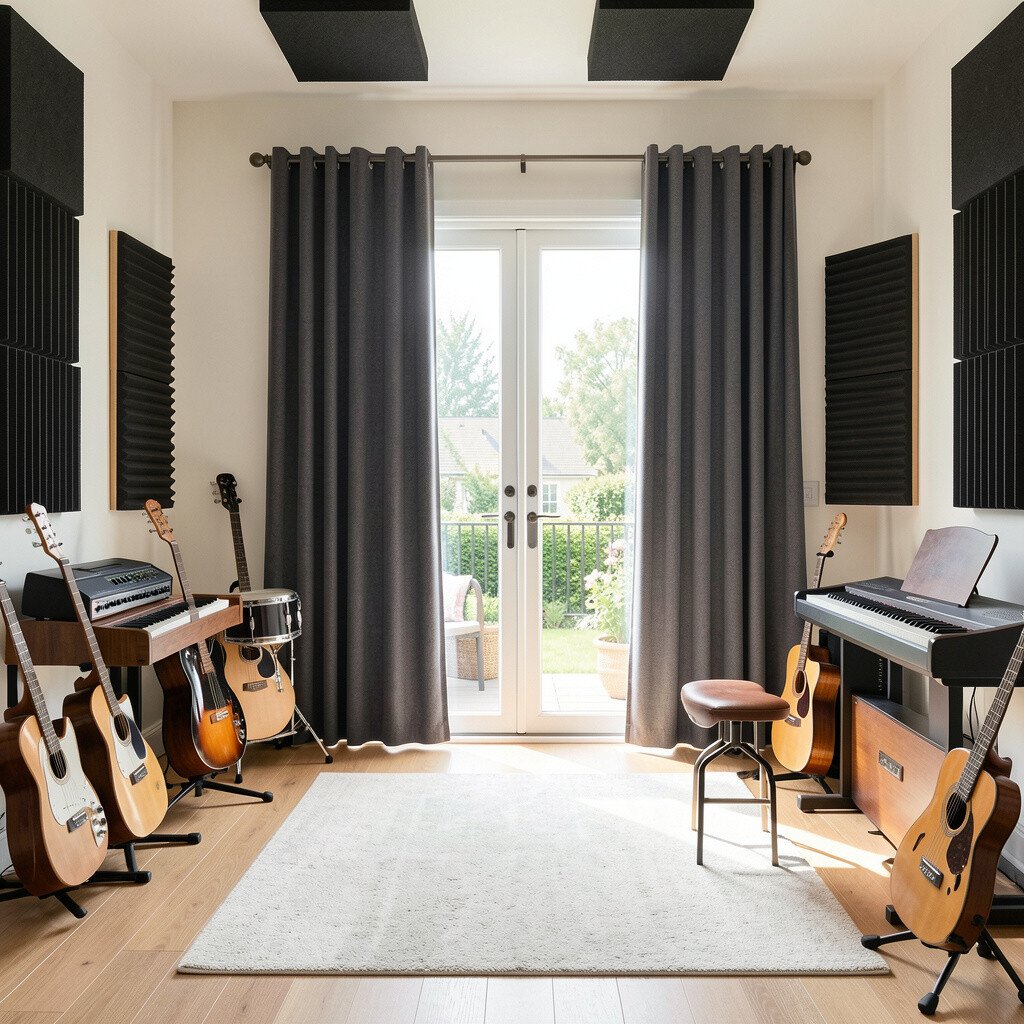
Door curtains can be a surprisingly friendly addition when sound escapes through the doorway. Hang them in a way that covers the full opening and use a rod that holds them tight.
Then set a routine where you check the seal before you play loud. When the door closes and curtains align well, your practice feels more contained. For a cheerful look, pick a fabric pattern with musical shapes or a gentle gradient that matches your room theme.
15. Fun Storage Nooks for Sheet Music and Cables

Storage nooks keep your room calm and prevent clutter from absorbing or scattering sound in unpredictable ways. Use small drawers, labeled bins, and a dedicated folder rack for sheet music.
Choose boxes with soft liners so paper stays protected and gear does not scrape. When cables are stored neatly, you reduce tangles and accidental bumps that can create noise. This approach helps you personalize the room because storage makes your style visible.
For cost considerations, start with inexpensive organizers that you can replace later. Over time, as your collection grows, you can upgrade to sturdier compartments or add a wall rail for quick access. A tidy room encourages daily practice, which is one of the best kinds of motivation.
16. Corner Absorber Triangles With Bright Covers
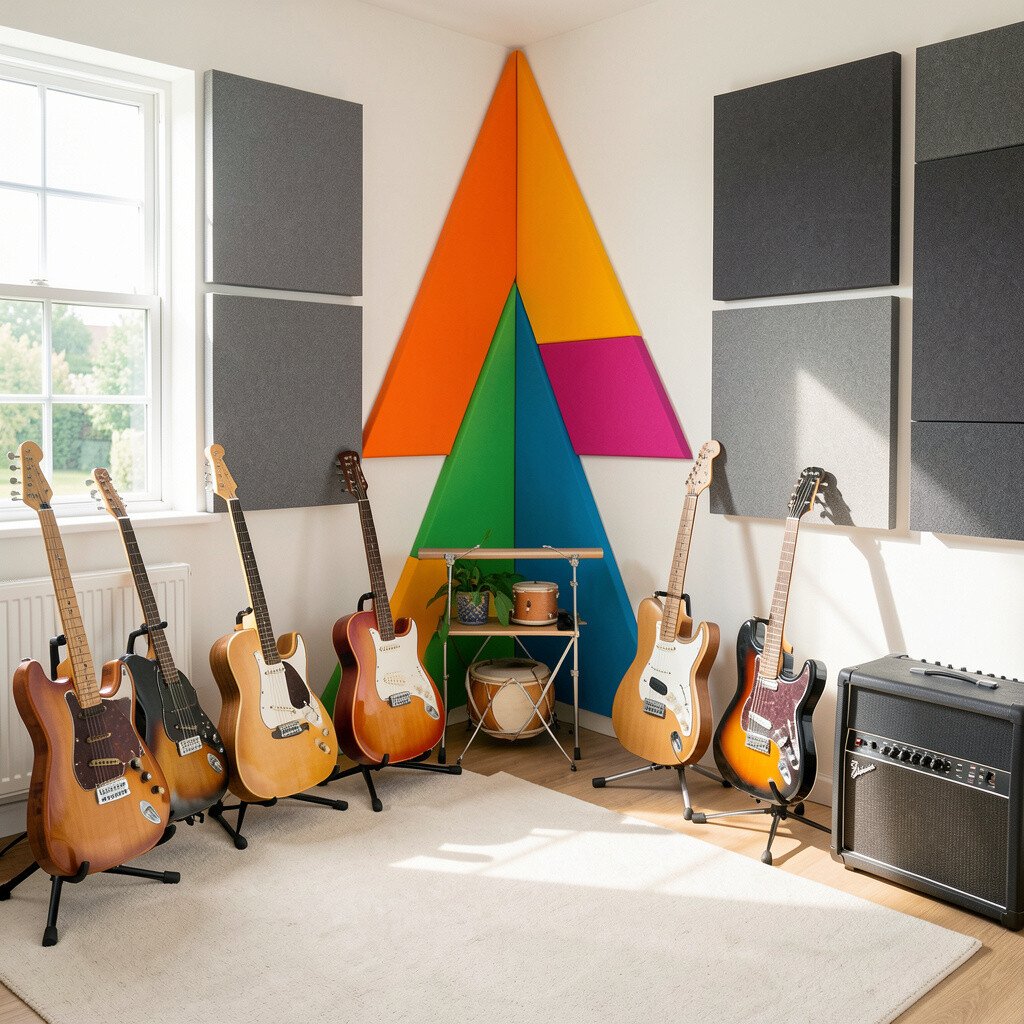
Corner triangles made with absorbing material can reduce low and mid-frequency buildup. They also look like modern decor when covered with colorful fabric.
Pick covers in cheerful shades like teal, sunshine yellow, or coral pink. The room feels lively while the sound becomes smoother, especially for guitars, vocals, and keyboards. If you want a current style, choose geometric patterns that match today’s interior trends while staying kid-friendly and fun.
To keep it practical, measure your corners first and use removable covers so you can wash them. You will likely notice fewer “boomy” moments when you play chords. Start with the two corners farthest from your instrument area, then add more after you test the difference.
17. Under-Desk Isolation for Lighter Equipment and Amps
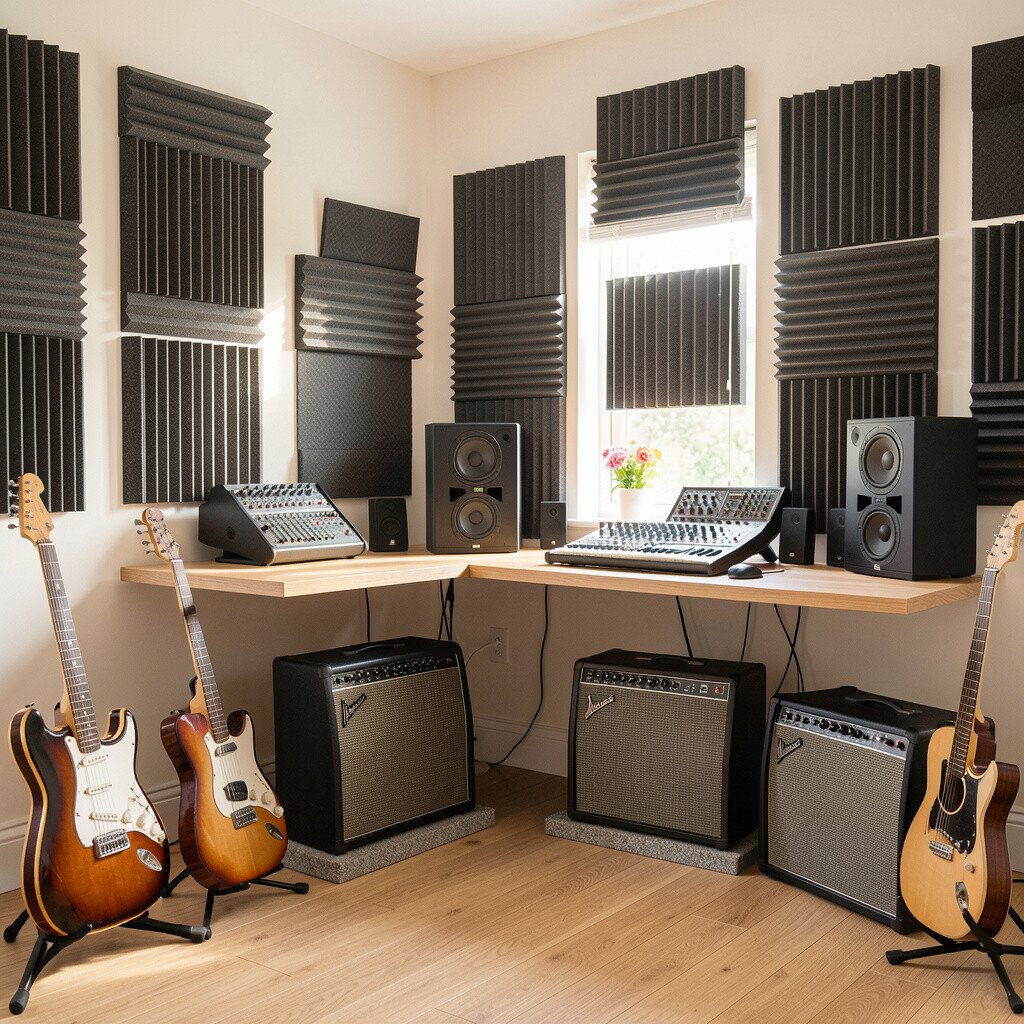
Place a small isolation pad or dense foam under your desk or under an amp stand if space allows. This helps stop vibration from traveling into walls and the floor.
When your equipment sits on soft support, the room sounds cleaner because rattles fade away. It is also a safety win since stable bases reduce wobbling. Pick pads that fit your setup size, and keep airflow in mind for devices that need cooling.
For personalization, use a fabric-wrapped base or decorative tray around the pad so it looks intentional. Many modern setups look sleek with matching textures, and this can fit right in. If you are on a budget, try isolation pads before buying new furniture or redesigning the entire room.
18. Wall-Mounted Pegboards for Metronomes and Small Gear
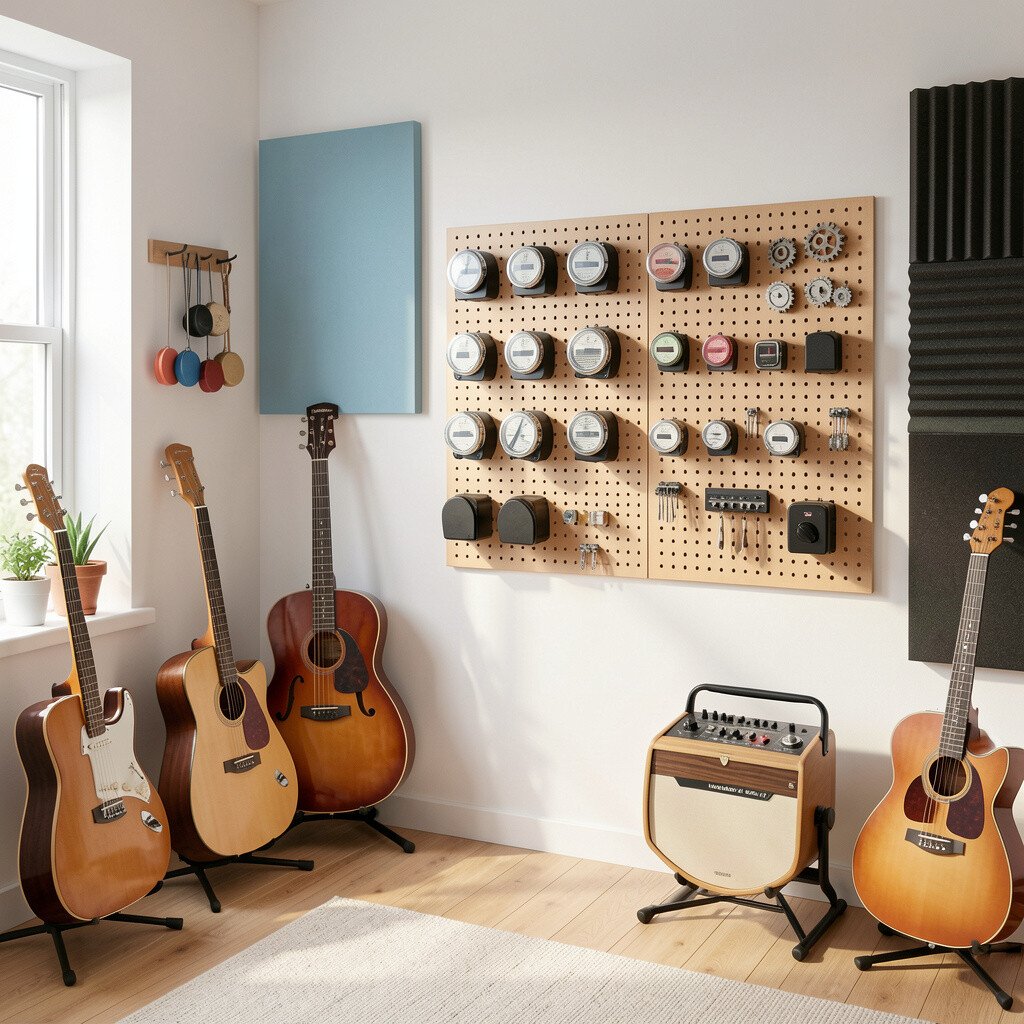
A pegboard turns small items into an easy-to-reach display. You can hang metronomes, tuners, picks, brushes, and even headphones hooks.
For sound control, consider adding thin acoustic backing behind parts of the pegboard if it is mounted on a shared wall. This keeps the board from acting like a hard reflector and helps reduce stray noise. The pegboard also supports personalization, since you can arrange hooks in patterns that match your style.
Keep heavy items closer to the center so the board feels stable. When you practice, having tools within arm’s reach encourages consistency, and that is where real improvement happens. If you want trendy flair, match pegboard accessories with the colors you already use in your lighting and shelves.
19. Layered Window Treatment for Better Quiet Time
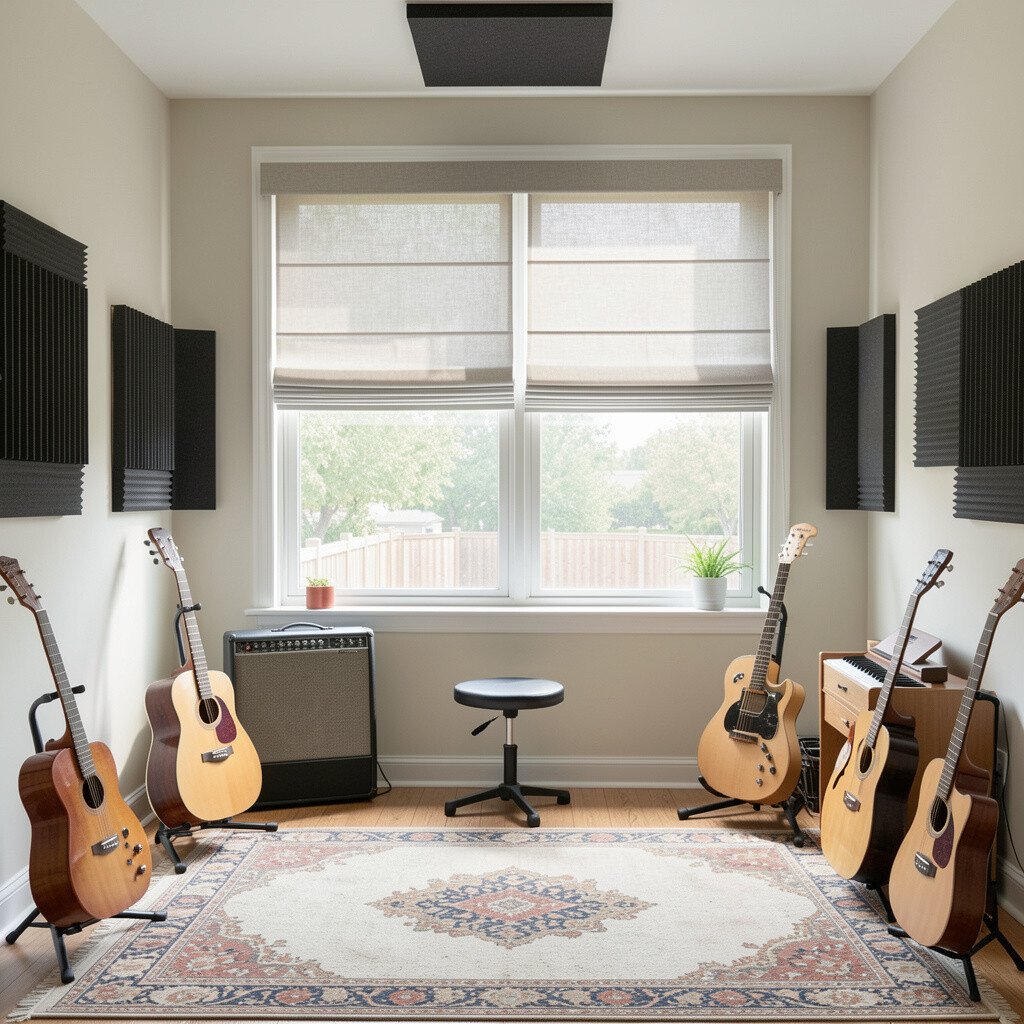
Windows can leak sound, so strong window treatments can help you keep the outside world from hearing your sessions. Use thick blackout curtains or sound-dampening drapes layered over lighter panels.
Make sure the curtain extends beyond the window edges and closes fully, since small uncovered sides can reduce performance. Add a rod that holds the fabric tight so it does not billow when you move. Visually, layered curtains look cheerful and give your room a finished designer feel.
If you are renting, look for non-damaging hardware and focus on coverage rather than permanent changes. You can also add removable side panels that attach with hooks. Start with one window and compare quietness during the times you usually practice.
20. Cheerful Practice Wall With Targets and Goals
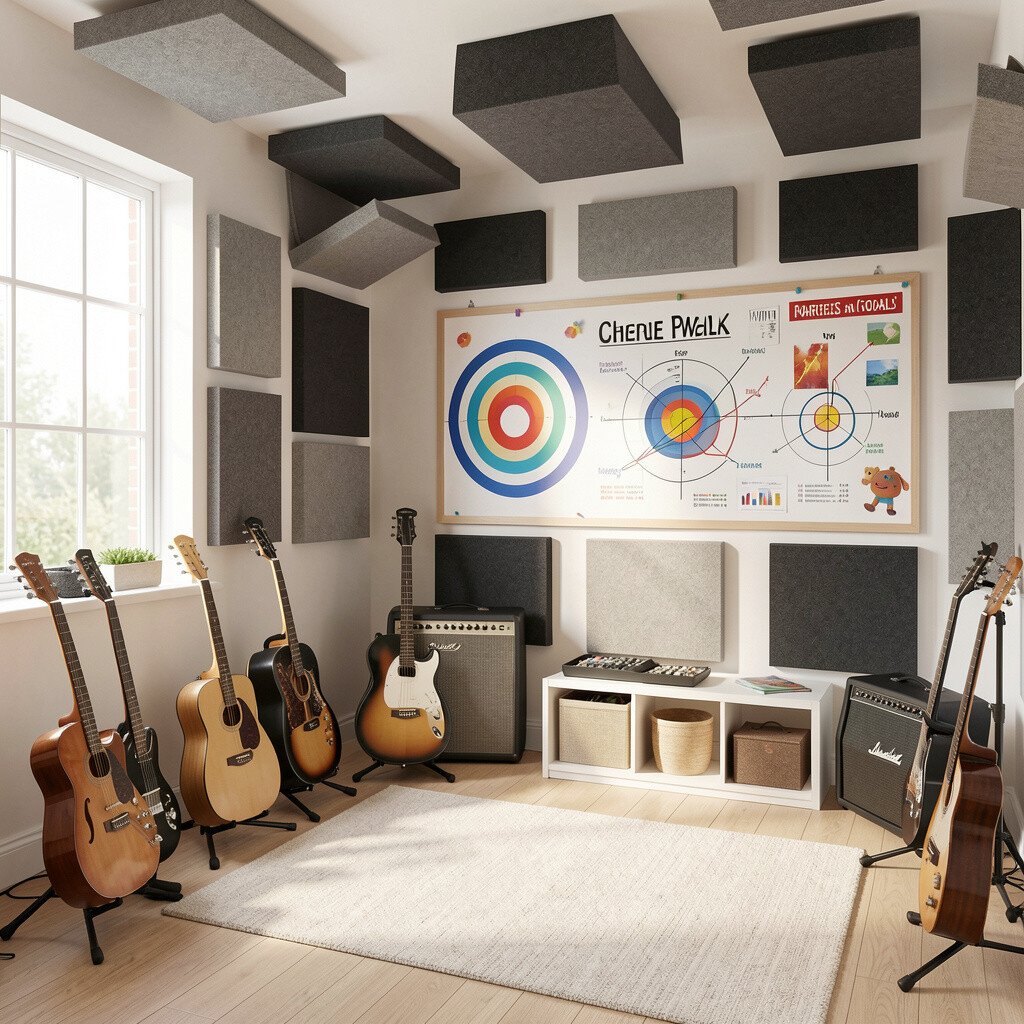
Create a practice wall that makes progress feel visible and joyful. You can pin music pages, chord charts, and small goals on cork or fabric boards.
Pair the board with sound-friendly materials so the wall does not sound too bright when you clap or sing. Arrange items so your eyes land on them easily during practice, which keeps your brain in the groove. For a personal touch, add small stickers, color-coded magnets, or a tiny calendar that matches your room colors.
When thinking about cost, cork tiles, fabric boards, and simple frames are often cheaper than big renovations. You can upgrade later by adding a thicker acoustic layer behind the board if needed. This kind of wall also fits current trends because people love “creative workstations” that look like art but function like tools.