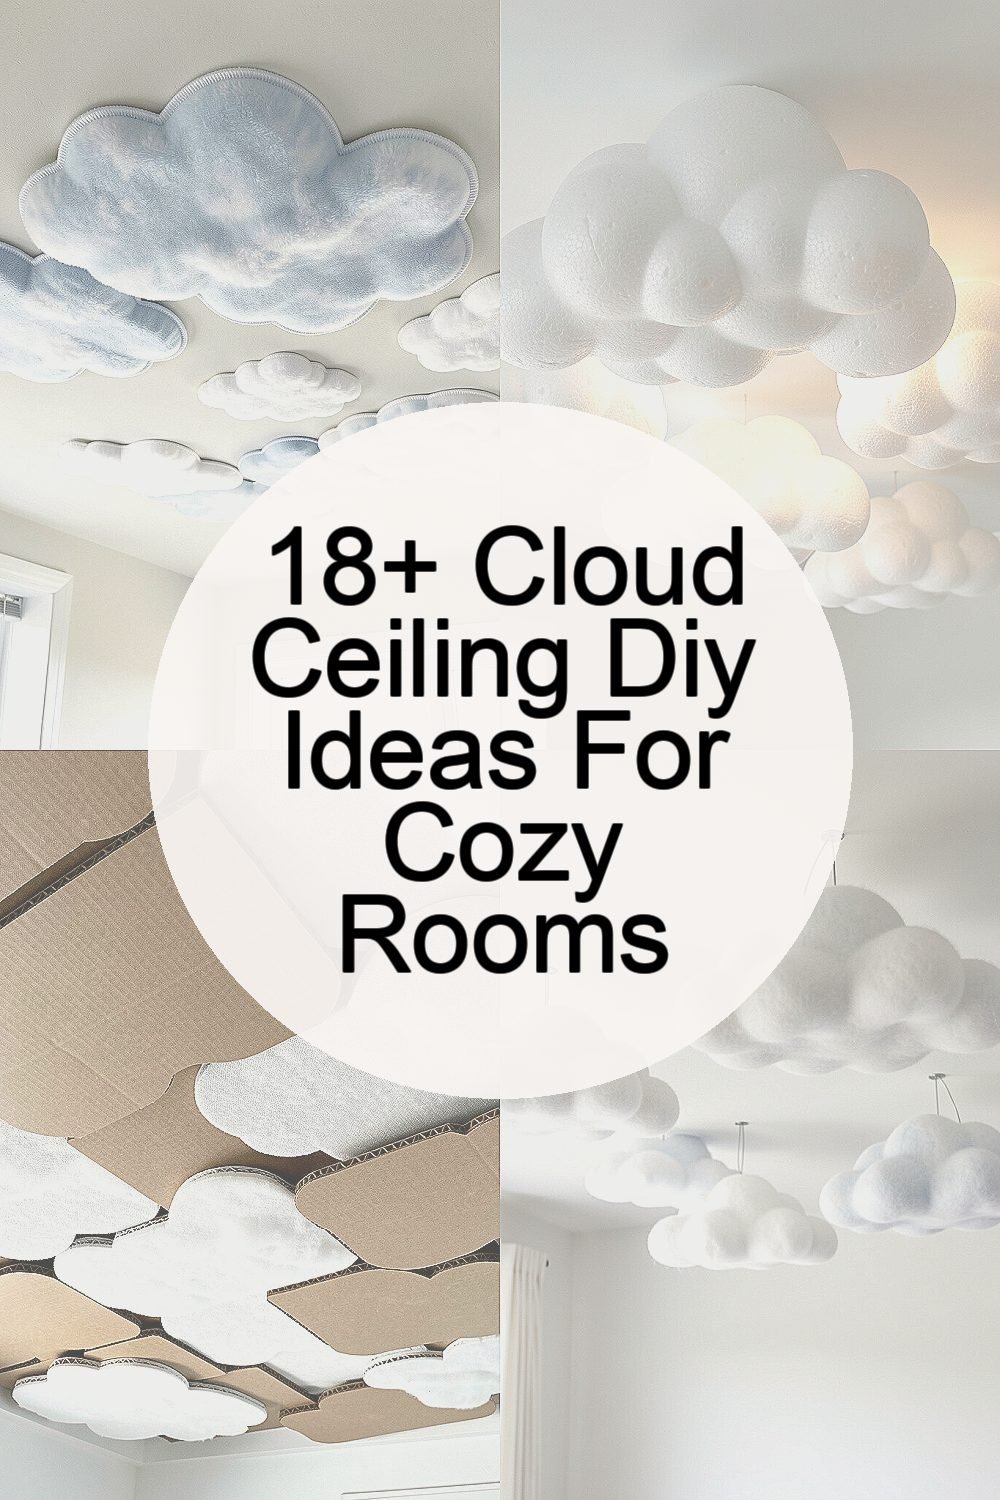
The ceiling can become the softest part of your home. Small DIY changes can make a room feel safer, calmer, and more “you.”
Cloud ceilings add gentle color, dreamy texture, and a cozy sense of everyday wonder without needing a full renovation.
1. Faux Cloud Patches With Fabric Swatches
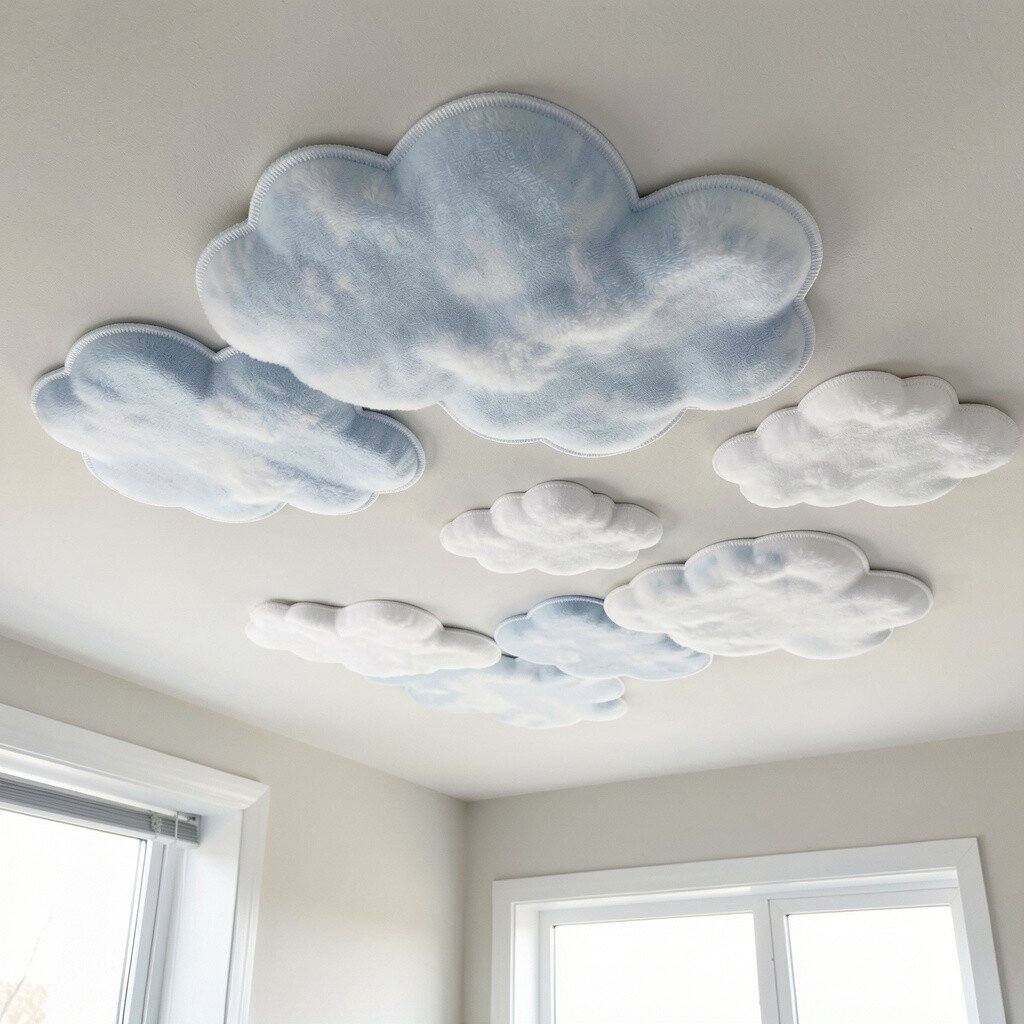
Start by collecting soft fabric scraps like cotton voile, old bedsheet pieces, or lightweight jersey. Cut them into airy cloud shapes and attach them to the ceiling with removable adhesive hooks or fabric-safe dots.
Layer two or three sizes so the “puffs” look realistic from the floor. This idea feels unique because your ceiling becomes a patchwork of memories, travel fabrics, or favorite colors. For best comfort, choose breathable textiles in warm tones, and keep the fabric lightweight so it stays flat.
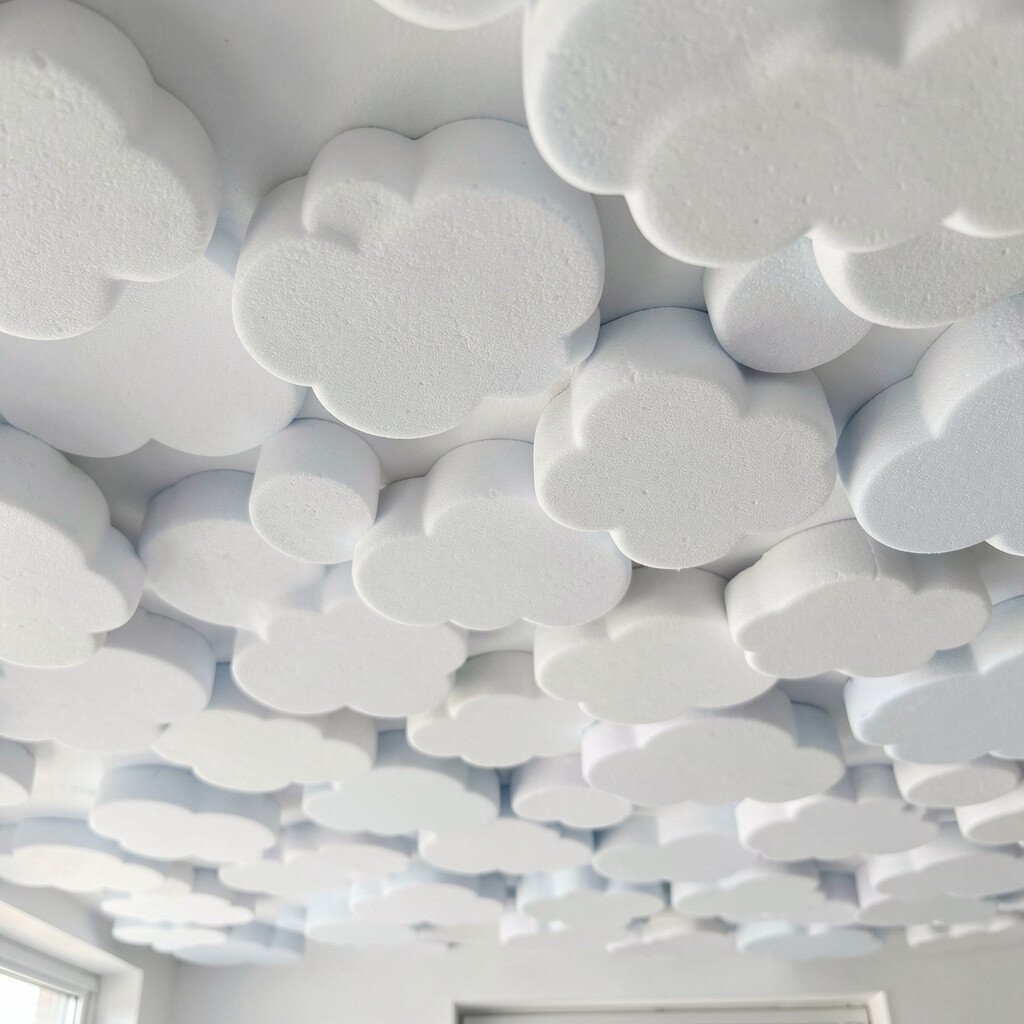
2. Styrofoam Cloud Moons With Paintable Soft Glow
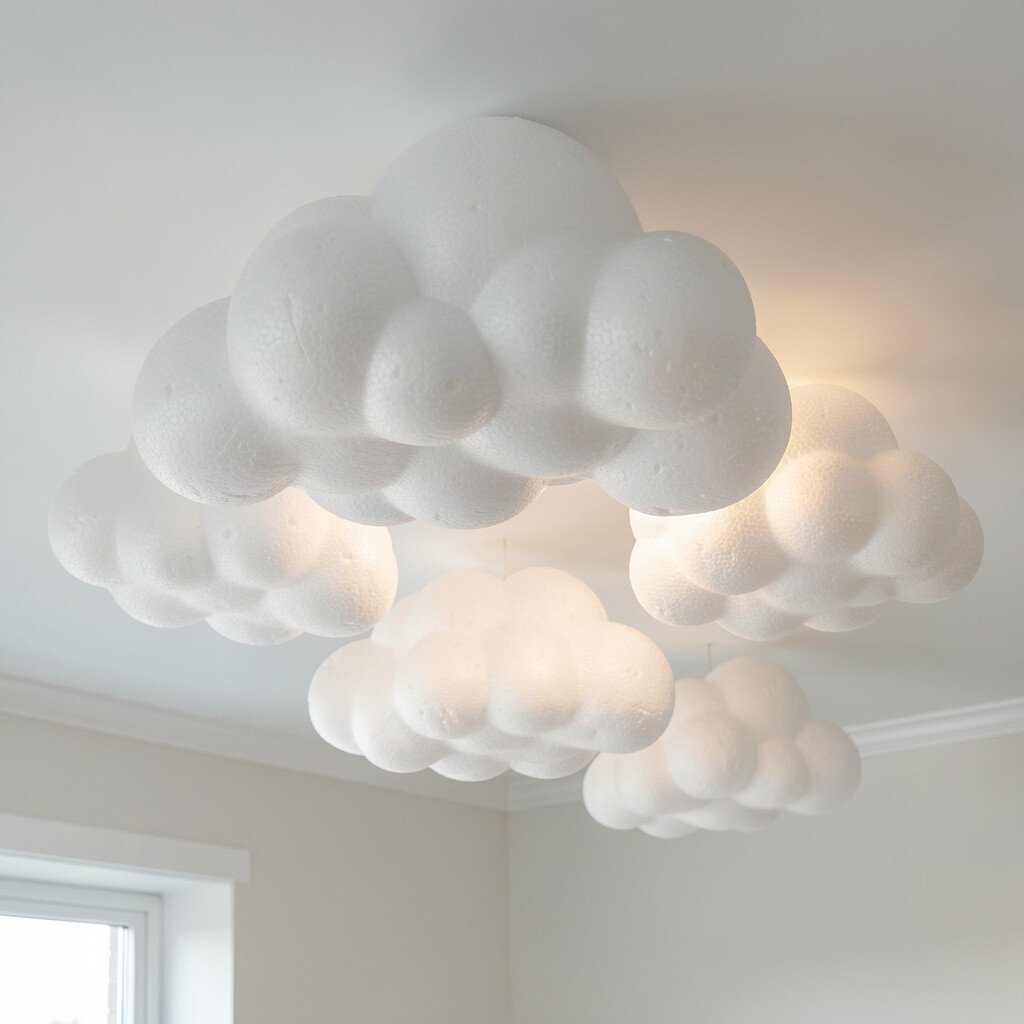
Carve simple cloud silhouettes out of lightweight foam, then smooth the edges with sandpaper. Paint them with matte white or a creamy off-white, and add a faint pastel wash for depth.
Mount them on a thin grid of painter’s tape outlines first, then secure with removable caulk or craft glue meant for surfaces. Many people love this approach because the texture reads “cloudy” even without fancy tools. It also fits current cozy trends that favor soft gradients and gentle lighting effects.
If you want a modern look, add small warm-white LED puck lights behind the foam so the clouds glow softly at night. Keep the wiring tidy with low-profile clips along the ceiling edge, and choose a plug-in timer to reduce daily hassle.
3. Cardboard Cloud Tiles With Fabric-Backed Panels
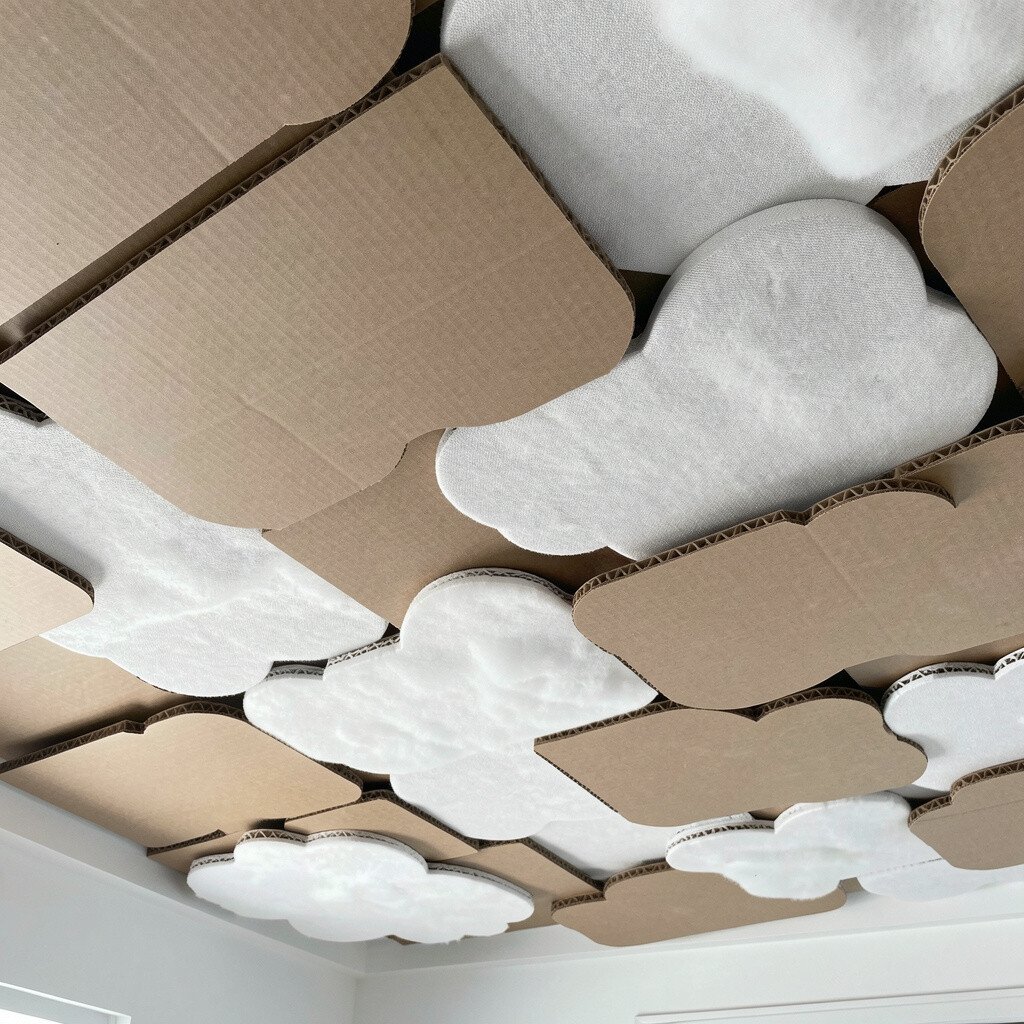
Cut thick cardboard into cloud tiles, then wrap each tile with a fabric layer for a softer look. Use spray adhesive lightly, then smooth the fabric so it doesn’t wrinkle.
Attach the wrapped tiles to the ceiling with double-sided mounting tape rated for light items. This creates a fun, artsy look that feels different from typical wall décor. It also stays budget-friendly, especially if you save packaging boxes and craft leftovers.
For practical results, paint a matching base color on the ceiling first so gaps won’t show. Personalize with scraps that match your bedding or curtains, and finish the edges with a thin trim ribbon for a neat border.
4. Floating Felt Clouds With Ceiling Wire Loops
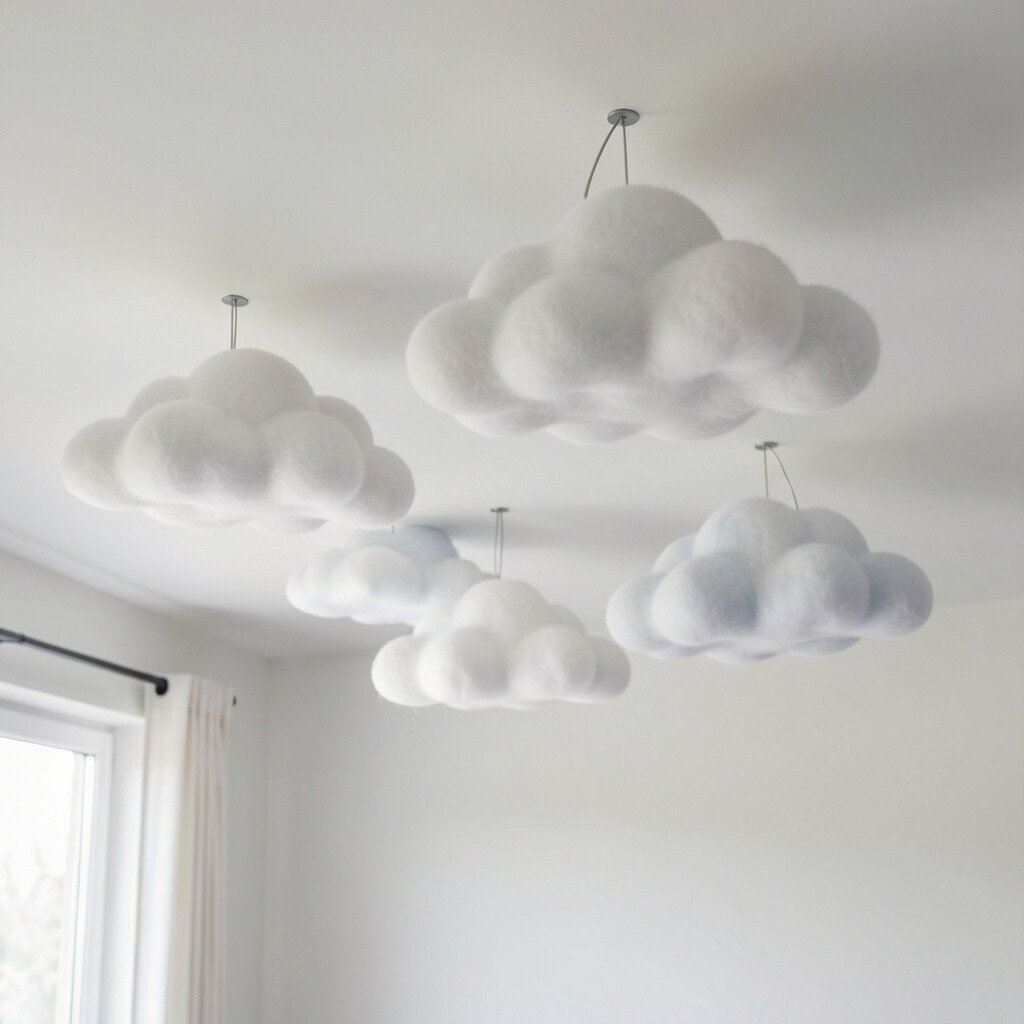
Cut felt into layered cloud pieces, then sew or glue them into puffier stacks. Instead of sticking them flat, hang them using thin clear fishing line or ultra-fine wire loops.
This floating effect feels extra cozy because it creates gentle movement whenever air flows. Choose neutral felt for calming vibes, or blend in one accent color like dusty rose or sage green to match the room’s mood. If you rent or want low commitment, pick removable ceiling hooks and keep attachment points small.
5. Paper Lantern Clouds With Warm Ambient Lighting
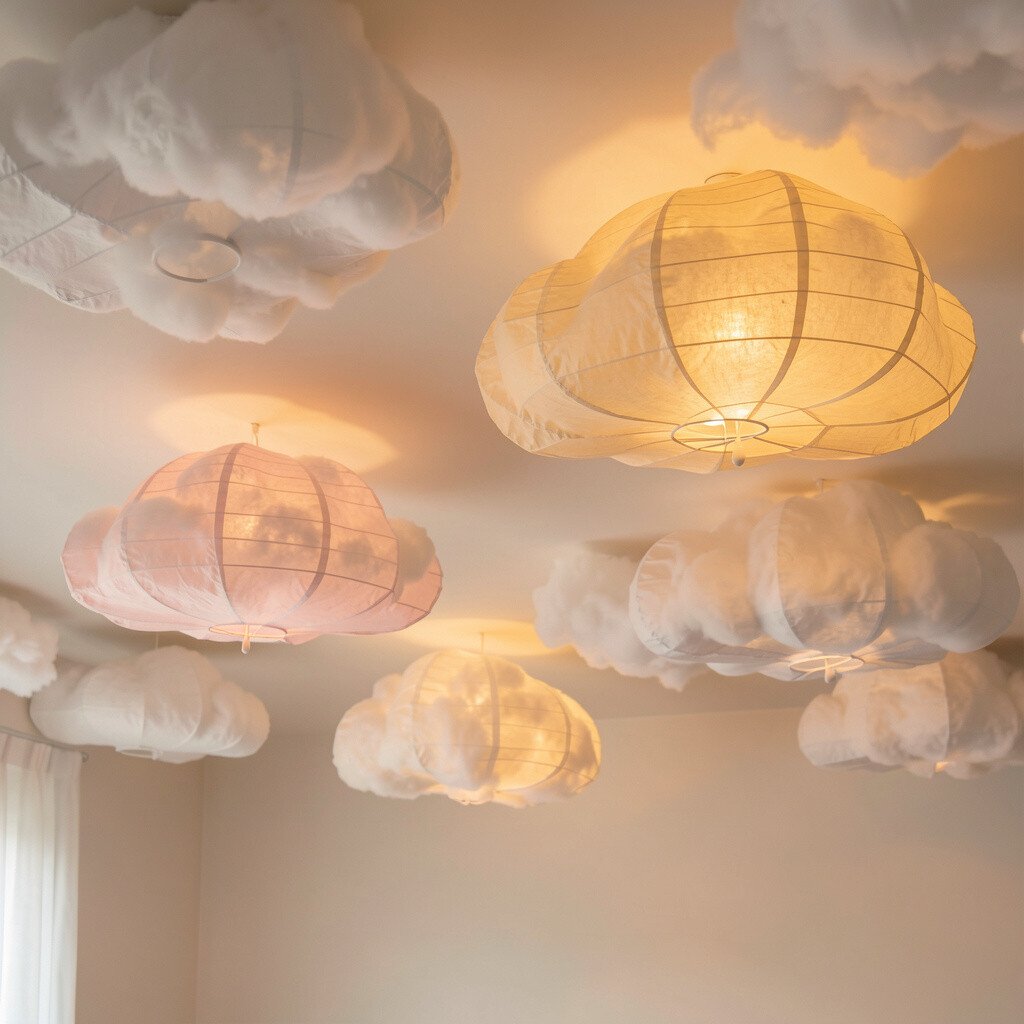
Use tissue paper or lightweight craft paper to build cloud-shaped lanterns. Fold and glue simple panels into rounded forms, then secure a small warm bulb or LED light inside.
Hang them in a loose “sky” pattern so the room feels like it has a soft ceiling glow. The benefit is that light becomes part of the decoration, not an afterthought. It’s also a great way to follow current cozy lighting trends that favor warm, dim, and comforting tones.
For safety, keep real bulbs out and use battery LED candles or LED strips made for crafts. Choose cool-touch lights, and test placement before you fully secure anything overhead.
6. Cloud Cutout Ceiling With Painted Ombre Sky
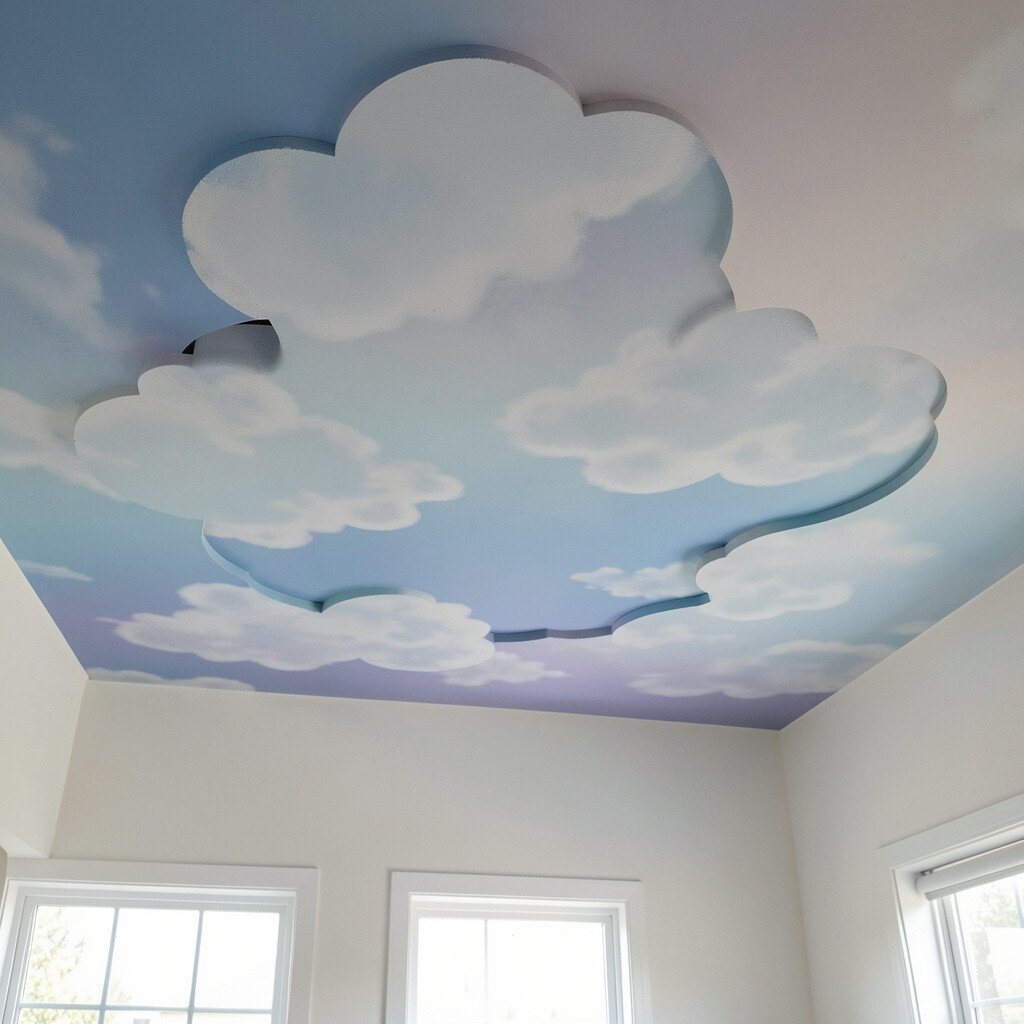
Start with a smooth base, then mask off areas that will become cloud shapes. Paint an ombre sky gradient first, moving from slightly deeper color near the edges to lighter near the center.
After the gradient dries, add cloud cutouts using stencil designs. This method feels visually calming because it looks airy and intentional, not crowded.
To make it more realistic, soften cloud edges with a dry-brush technique and keep highlights subtle. Personalize by using colors that echo your room, like warm gray, butter yellow, or light blue, and consider matching the gradient to your lampshade shade for a cohesive feel.
7. Cotton Batting Clouds With Spray-Textured Finish
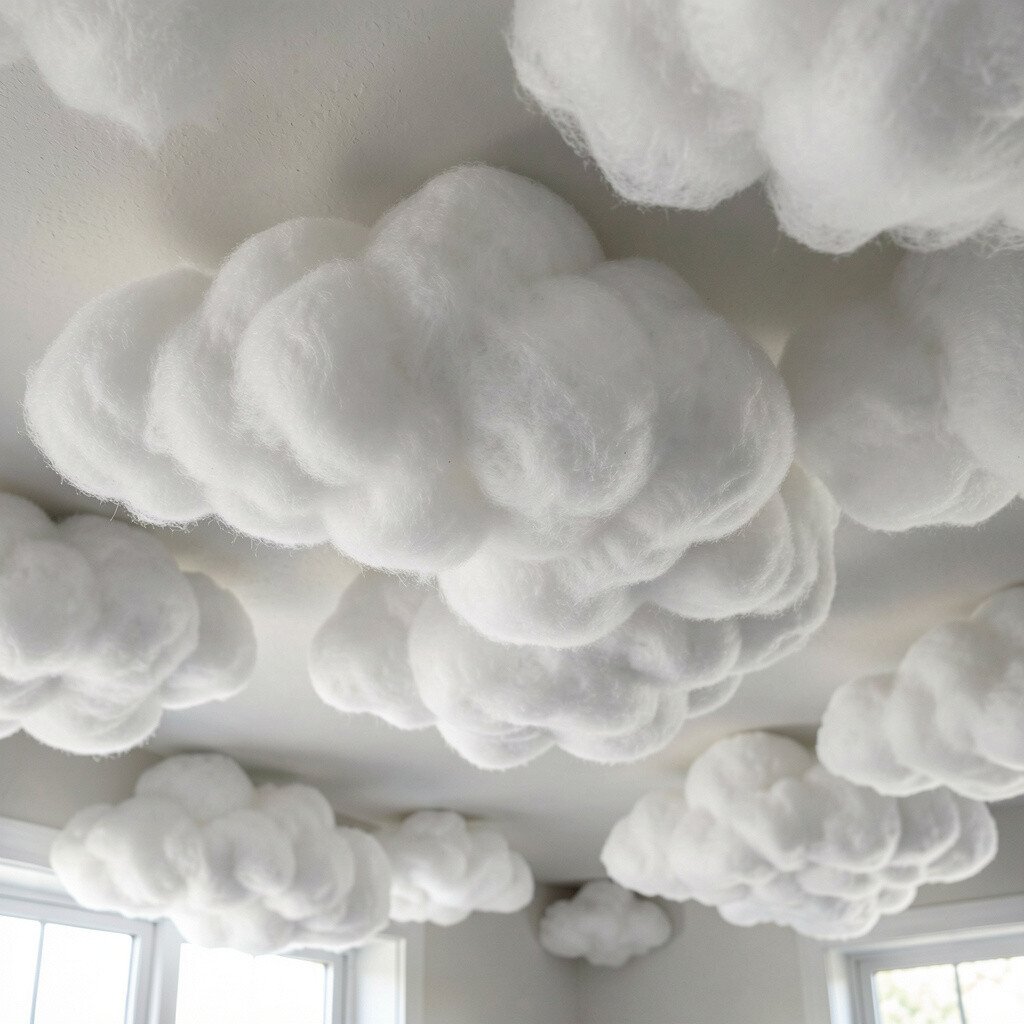
Hang a thin mesh or lightweight net under the ceiling line you want to “cloud.” Pin cotton batting onto the mesh, then lightly spray a fabric-safe adhesive to lock it in.
The result feels cloudlike and plush, and the room instantly gets warmer visually. This is unique because it uses softness as the main material, not paint alone. It can also help hide minor ceiling bumps since the texture pulls the eye away from imperfections.
For practical comfort, keep the batting in small clusters and avoid very heavy builds. Choose a matte finish for the adhesive so the texture stays cozy, and use gentle colors to avoid a “snow globe” vibe unless you love that style.
8. Rope and Cotton Twine Cloud Garlands
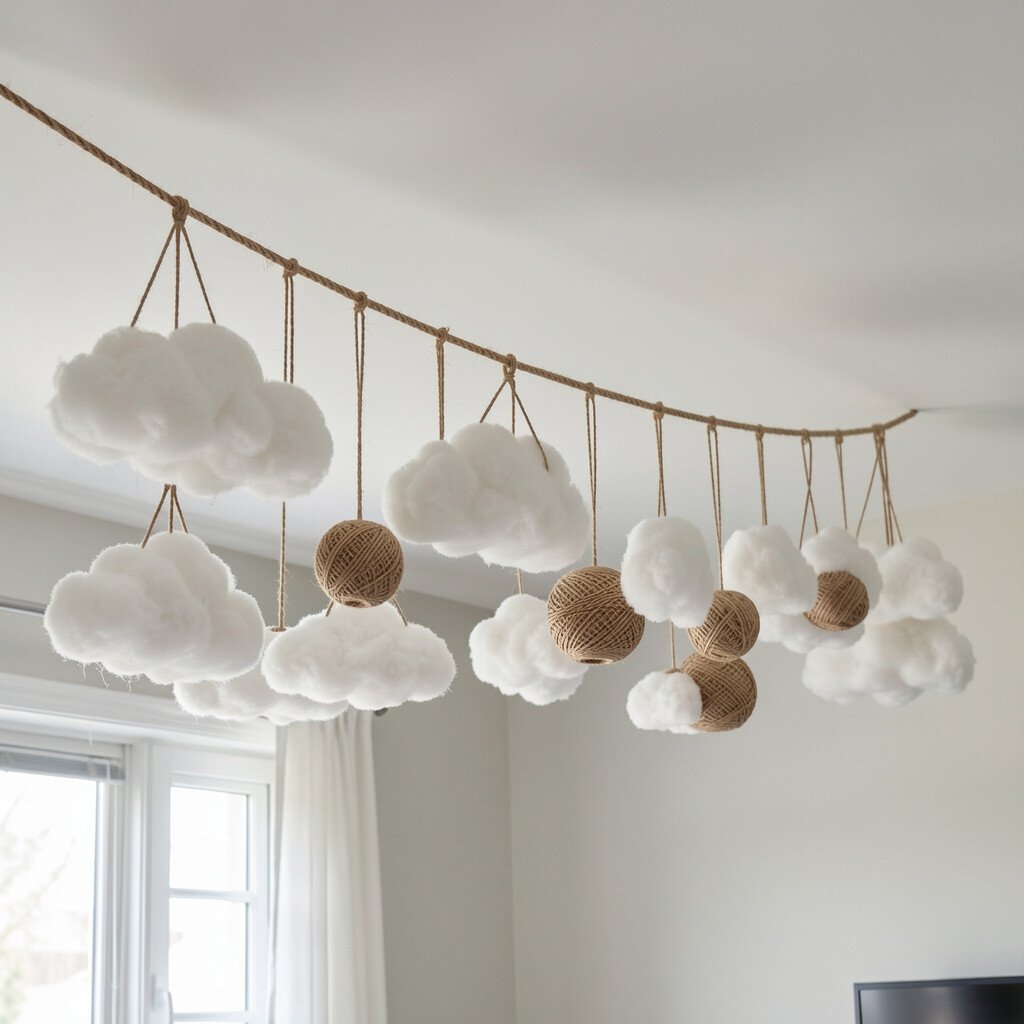
Form cloud shapes by wrapping cotton rope around a flexible frame like foam board or a wire outline. Tie extra tufts of twine ends to create puff points that mimic cloud edges.
Mount the garlands along the ceiling in a gentle arc or across corners. This idea is beneficial because it works in many room shapes and can scale up or down easily. It’s also a great fit for personalization since you can choose twine colors that match your natural décor.
9. Layered Foam Roller Cloud Pattern
Use foam rollers or paint sponges to stamp small cloud textures across the ceiling. Start with a base coat, then dab lighter and darker tones to build depth in gentle layers.
Because the clouds appear like a repeating sky texture, the room feels calm instead of busy. This technique is practical when you want a cohesive look without individually attaching pieces. It also stays budget-friendly because it uses standard paint supplies.
To personalize, pick one accent color for the mid-tones, like pale peach or soft lavender. Keep your stamps consistent in size, and practice on cardboard first so your ceiling rhythm stays smooth.
10. Recycled Book Page Clouds With Sealed Paper Edges
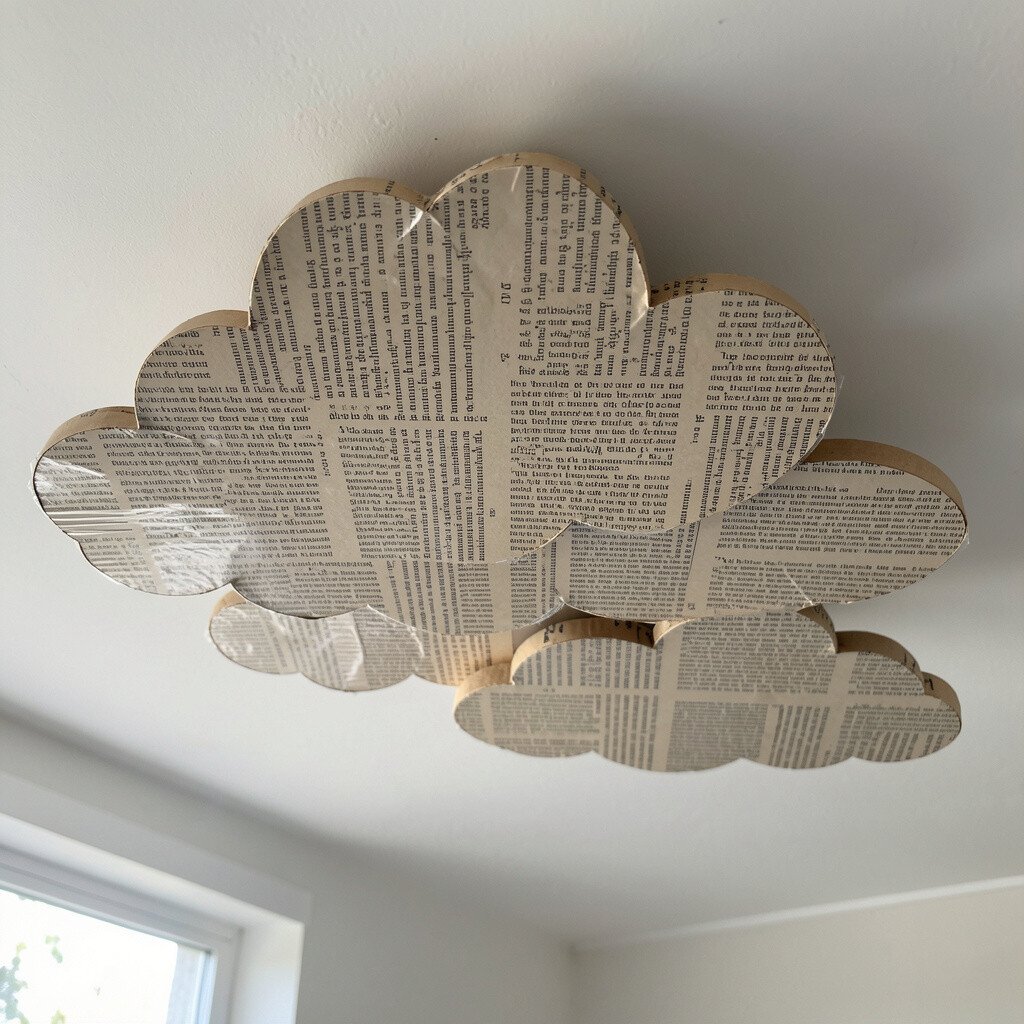
Cut cloud shapes from old book pages or sheet music, then stack layers to create thickness. Mist them with water lightly so they curl, then press them flat to add subtle texture.
Seal the final stacks with a clear matte sealer so the paper doesn’t shed. This is a wonderfully unique idea because the ceiling holds tiny stories, symbols, and history. It also feels personal if you use books that match your interests or your family’s favorite genres.
For practical results, limit the size of each cloud so the ceiling stays light. If you’re worried about moisture, place a small dehumidifier near the room or avoid bathrooms and kitchens for this project.
11. Macramé Cloud Panel With Soft Fringe
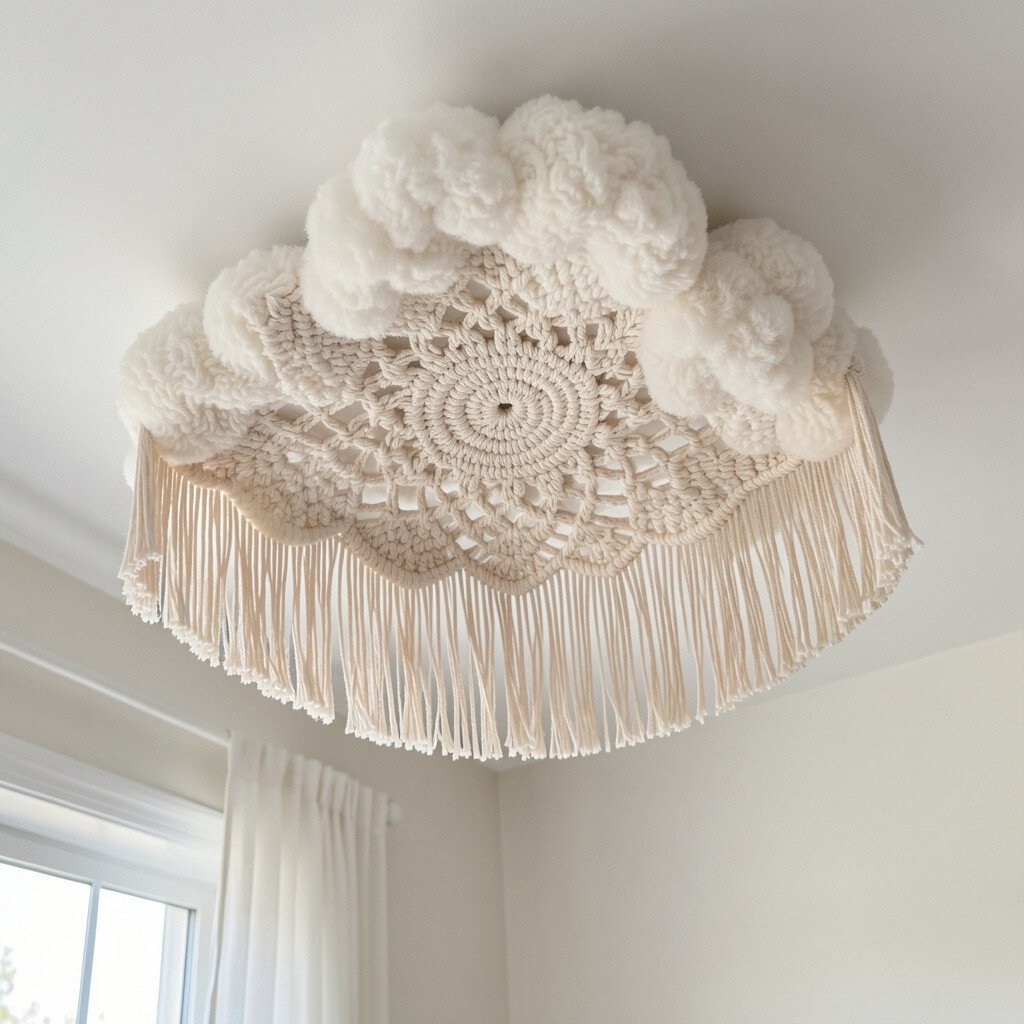
Hang a macramé-inspired cloud panel using a simple knot pattern or a pre-made kit. Choose thick cotton rope for a cozy look, then add soft fringe at the bottom edges.
This works well because the airy knots make light bounce gently across the room. It’s unique in a way that feels handcrafted and modern at the same time. For personalization, dye the rope with gentle natural colors or weave in a single contrasting thread for a “star” effect.
12. Ceiling Clouds Made From Reclaimed Canvas Scraps
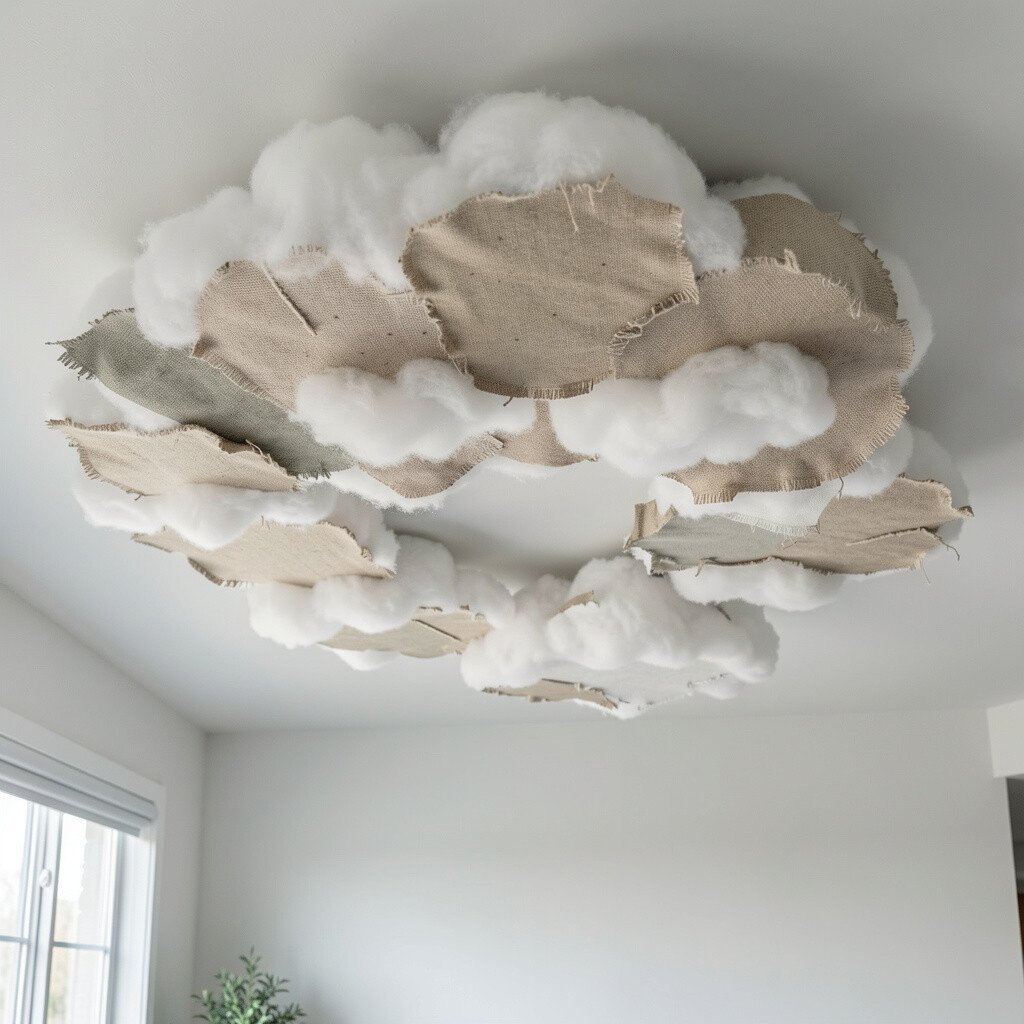
Collect small canvas scraps, old drop cloth pieces, or textured fabric meant for painting. Cut clouds from the fabric and staple or glue them onto a thin backing board strip.
Then mount the backing strips to the ceiling using strong but removable mounts. This approach is beneficial because canvas holds shape well, so the clouds look crisp and cozy for a long time. It’s also a great way to stay eco-friendly, especially if you already have old materials to use up.
For cost considerations, keep cloud sizes moderate so you don’t need a ton of fabric and backing. Match the cloud color to your room’s warm neutrals, and consider adding small hand-painted details like tiny swirls or gentle rain specks if you love whimsical themes.
13. Vinyl Window Film Clouds With Dim-Room Magic
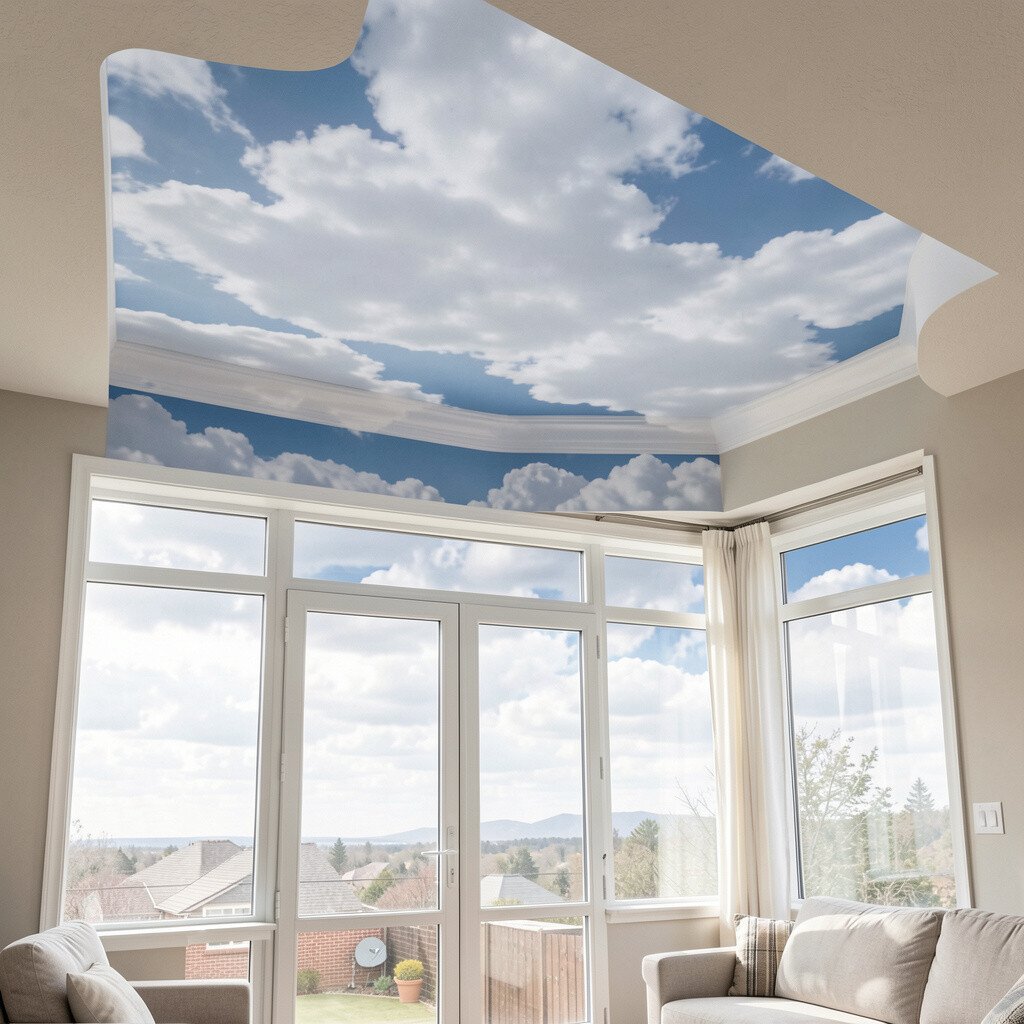
Use cloud-themed vinyl window film on the ceiling to create a dreamy, semi-sheer sky effect. Apply it smoothly with a squeegee so no bubbles show.
This method benefits people who want quick updates without heavy DIY work. It’s also unique because the clouds look slightly translucent, which can make light feel softer throughout the day. For personalization, layer two films with different cloud sizes to make depth without extra building.
If you’re working with renters, check that the adhesive is removable and test a corner first. Choose a warm-friendly palette so the ceiling doesn’t look too cool in evening light.
14. Inflatable-Style Balloon Clouds With Safe LED Night Lights
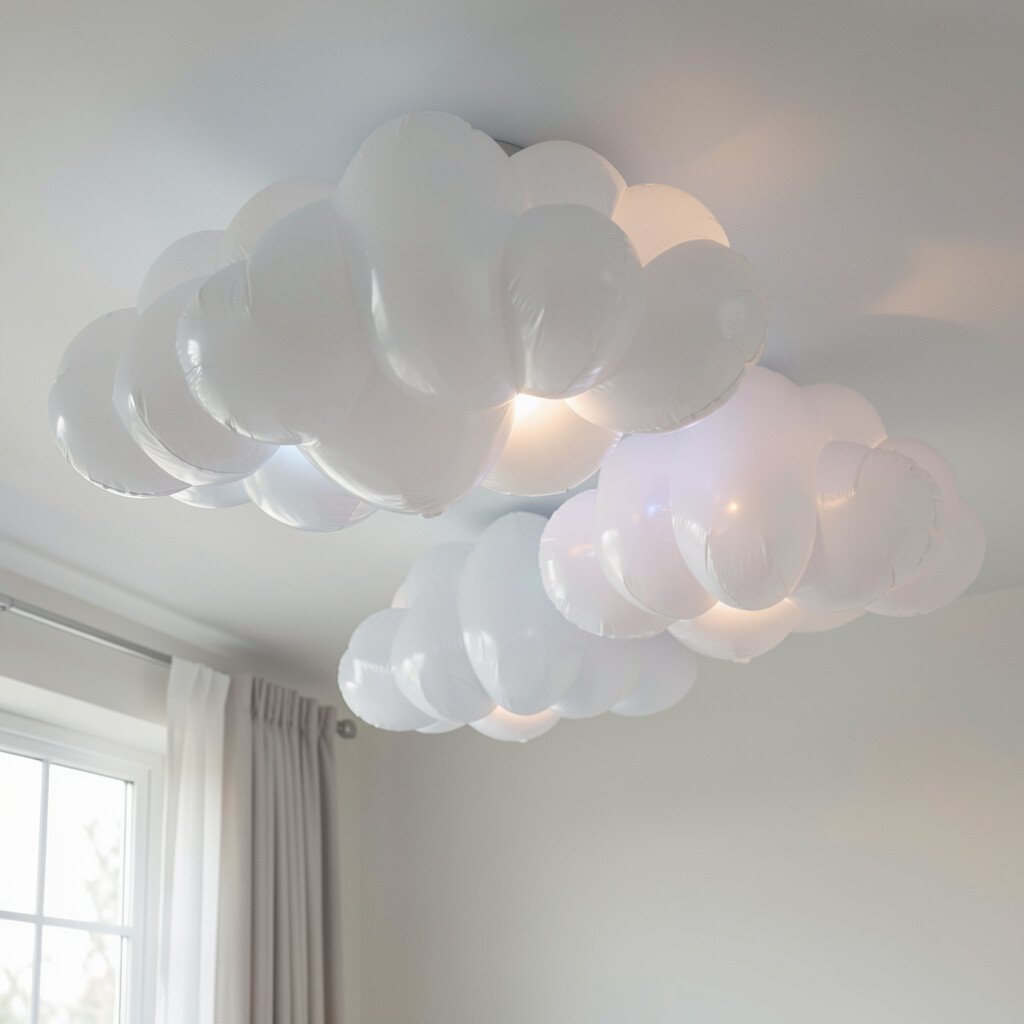
Create cloud clusters by coating small balloon forms with paper mache strips or glue-soaked tissue. Once they dry, pop the balloon inside so you’re left with a lightweight shell.
Then secure the shells to the ceiling and place warm LED night lights inside for a gentle halo. This is a fun, current cozy approach because it feels playful while still looking elegant. It also benefits small rooms because the light-weight shells reduce the heavy look overhead.
For practical tips, keep the LED lights low wattage and tape battery packs safely away from edges. Personalize by painting the inside edge with a soft pastel so the glow looks warmer and more layered.
15. Fabric Rosette Clouds With Hot Glue-Free Fasteners
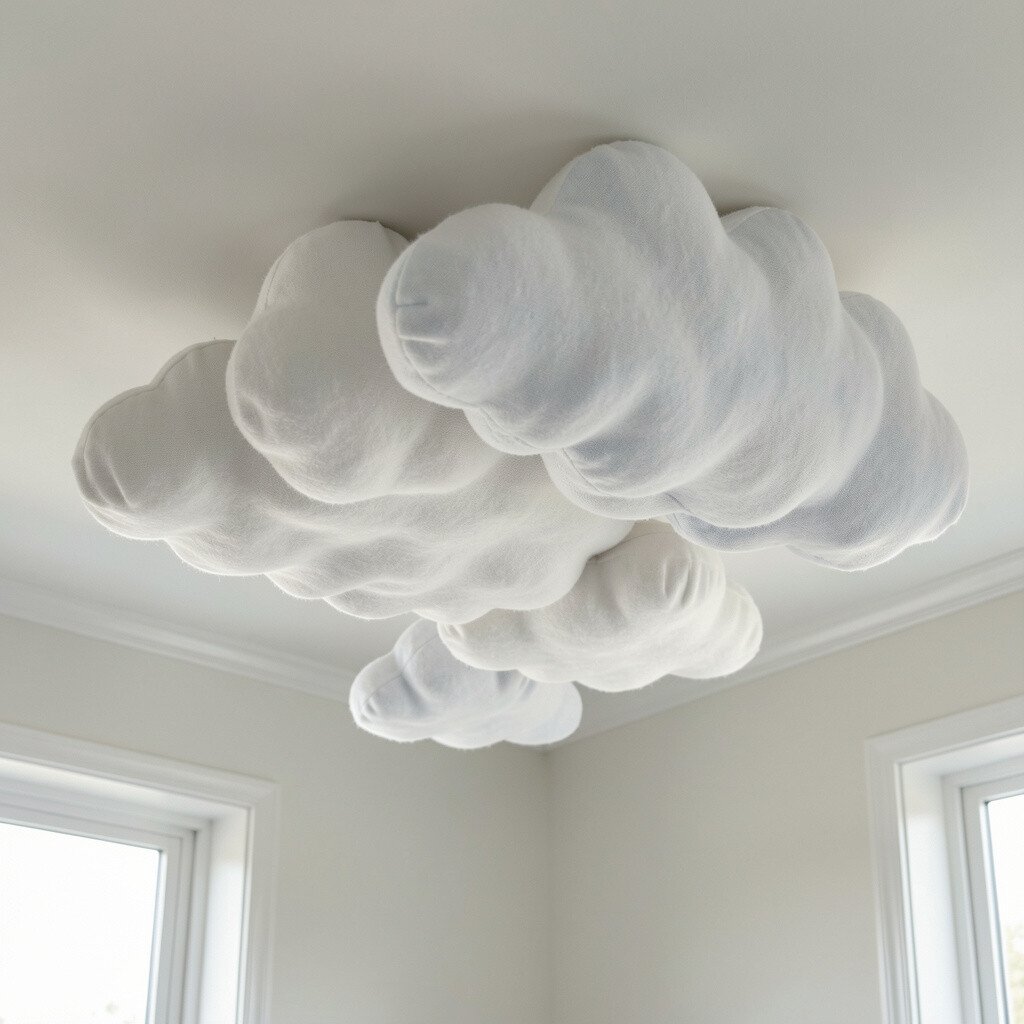
Make rosette clouds from folded fabric strips, then stack the rosettes into cloud clusters. Use fabric-safe ties, snaps, or hook-and-loop fasteners so the project stays easier to adjust later.
This style feels cozy because rosettes create lots of gentle texture that catches light differently across the day. It’s unique because it moves the idea of clouds from flat shapes into dimensional flowers. If you want an up-to-date look, keep the color palette simple and let the texture do the talking.
To personalize, use fabric from old clothing or special gift wraps to embed meaning into the room. Consider spacing rosettes with slightly different sizes so the clouds don’t look too uniform.
16. Seamless Cloud Corner Frames With Stretch Fabric
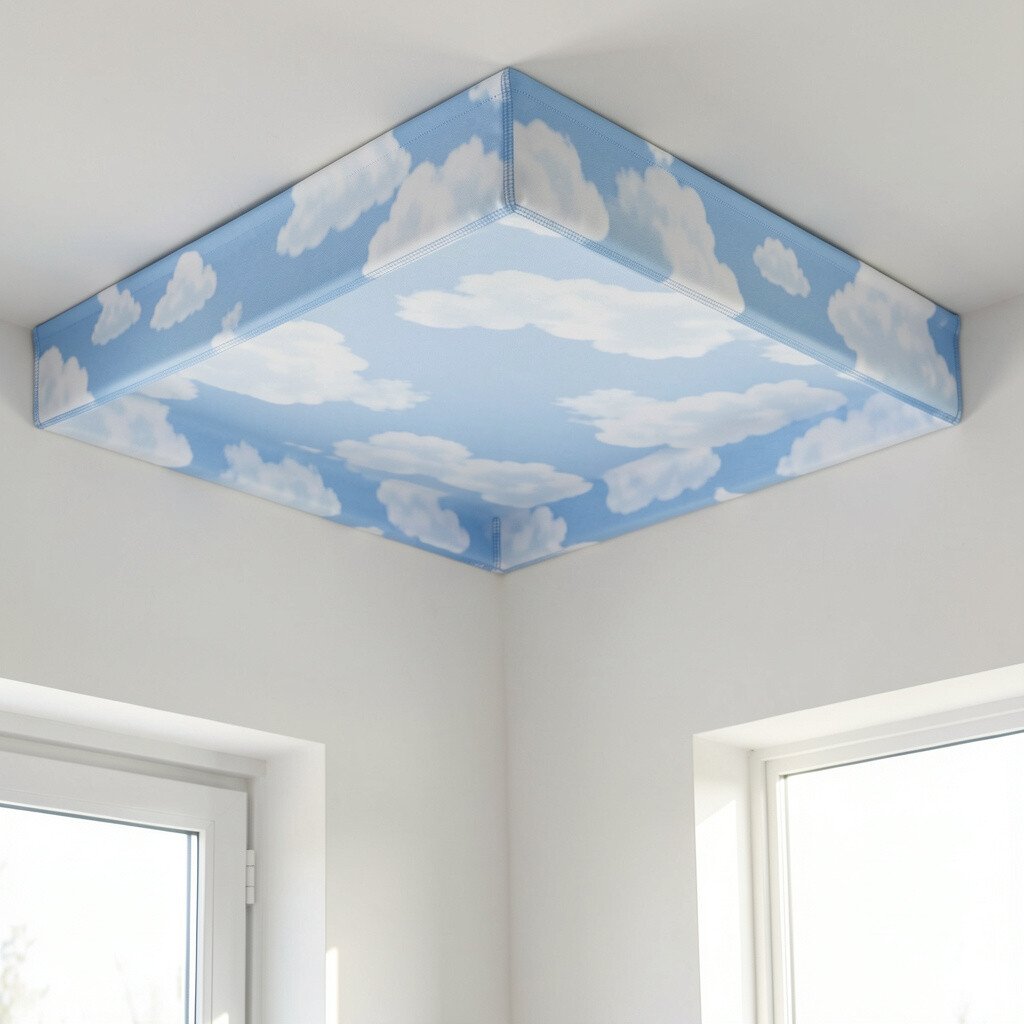
Build small corner frames from thin wood strips or lightweight PVC, then stretch fabric over each frame like a soft canopy. Shape the fabric into cloud-like drifts by pinching it at the edges.
Mount the frames near corners so the ceiling feels like a cozy boundary. This method benefits bedrooms because it can create a gentle “nest” without covering the entire ceiling surface. It’s also unique because it combines structure with softness.
For practical tips, measure your corner dimensions carefully and keep the fabric tension light to avoid wrinkles. Choose satin-matte blends for a smooth, calm look, and match fabric color to your curtains for a clean, finished feel.
17. Cloud Stitched Quilt Panels Over a Ceiling Grid
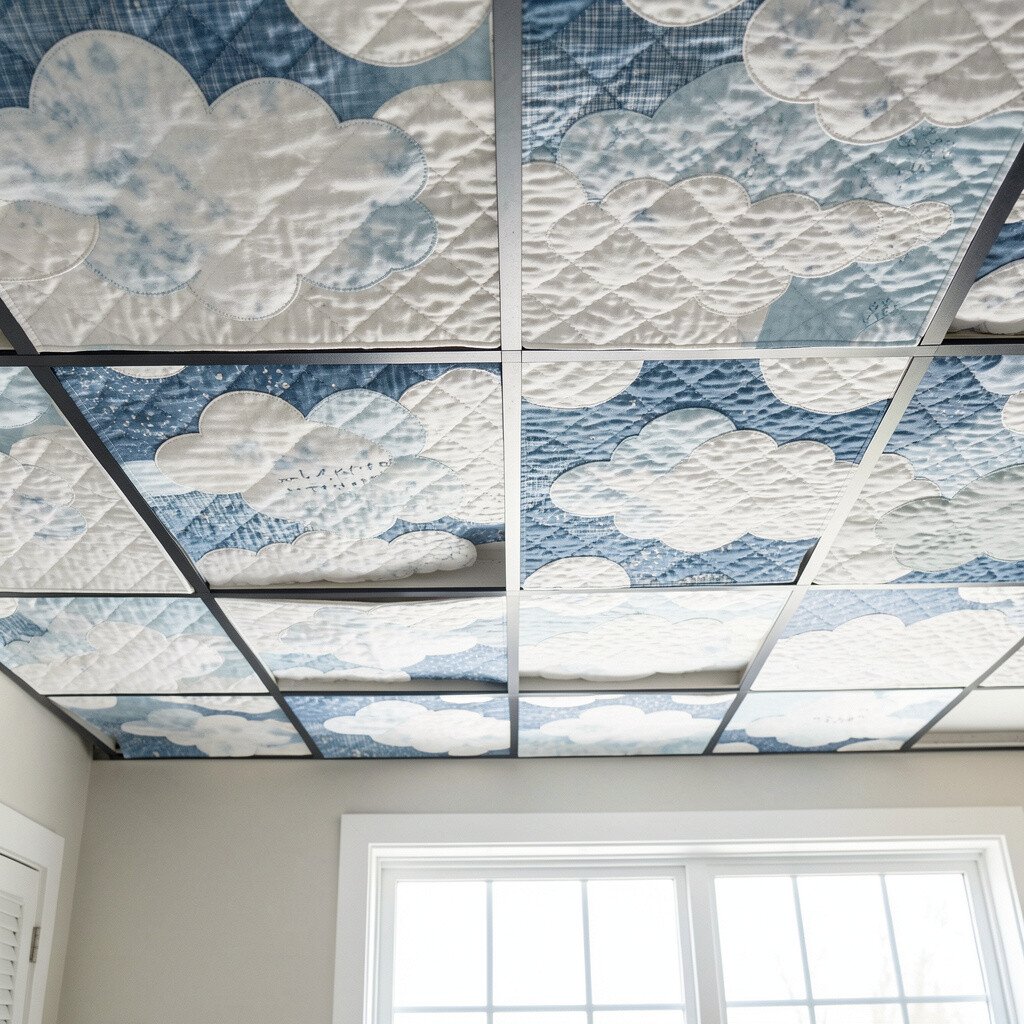
Stitch small quilt panels from scraps, then attach them to a ceiling grid using clips or lightweight fasteners. Build each cloud panel with a slightly raised batting layer for a soft puff effect.
This works well because it turns the ceiling into a functional art quilt that feels warm and lived-in. The benefit is that you can customize each panel to match seasons, bedding sets, or holiday colors. It’s also unique in the way it makes the entire ceiling feel intentional and handcrafted.
18. Spray-Frosted Foam Clouds With Minimalist Shapes
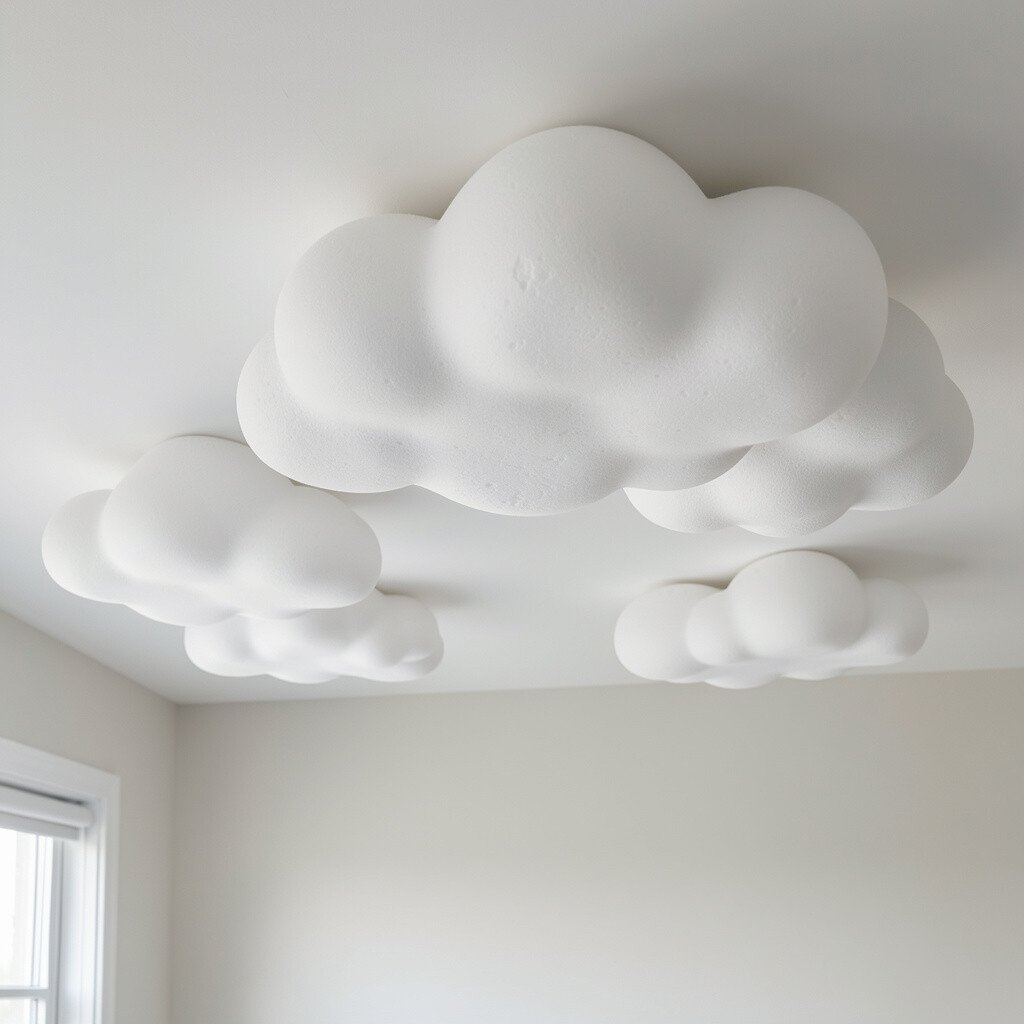
Cut foam sheets into minimalist cloud symbols, then lightly spray them with a frosted finish for a soft, misty look. Keep the shapes simple and clean so the ceiling stays calm.
Attach them with strong removable tape or small hidden screws into ceiling backing. This idea is beneficial for modern rooms because it gives cloud charm without clutter. It also feels unique because the frosted surface creates a gentle diffusion effect under warm lighting.
For personalization, adjust the size based on your room’s scale and repeat the same cloud shape in a pattern. Consider adding one deeper shade cloud near a window to make the room feel extra connected to natural light.
19. Hanging Felt Cloud Medallions With Tassel Edges
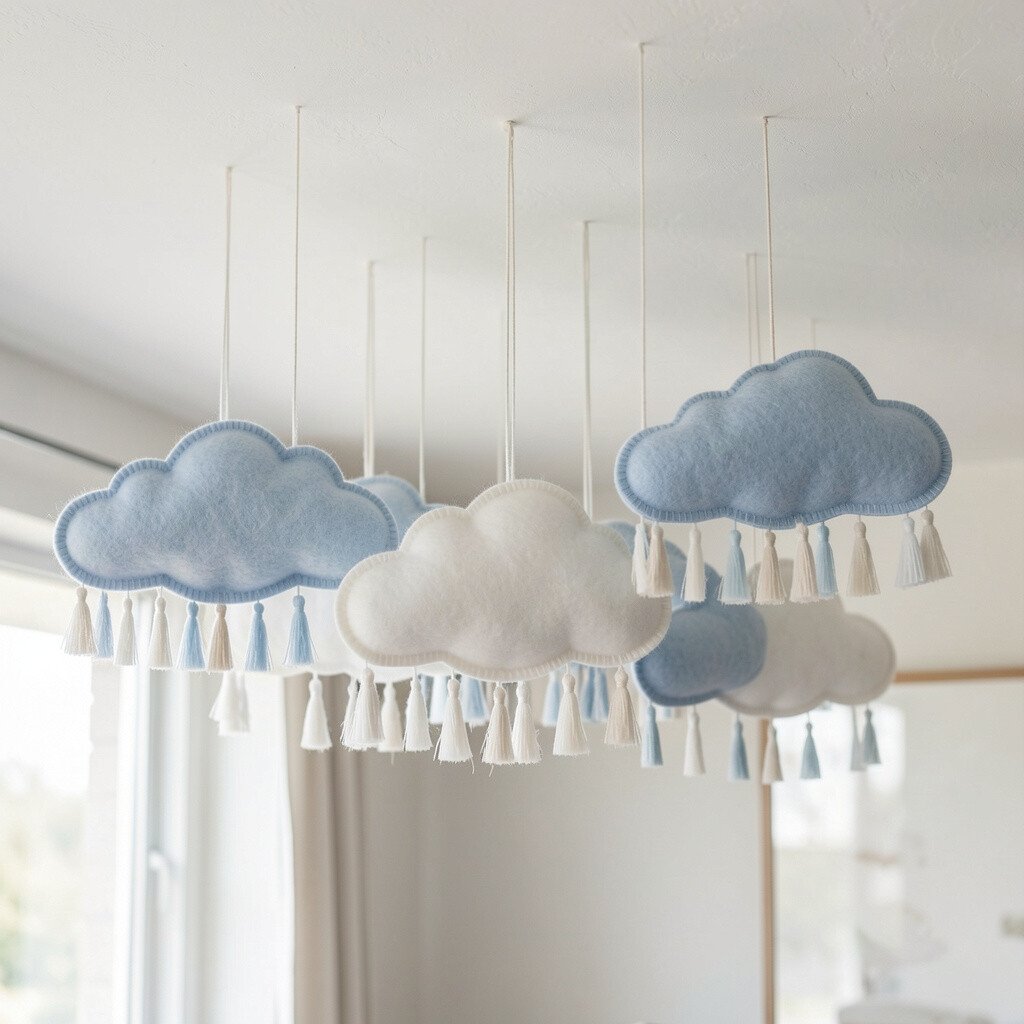
Create felt medallions shaped like clouds by cutting multiple layers and stitching them together at the center. Add tassels at the edges using short strips of matching felt or yarn for a cozy fringe.
Hang the medallions from a discreet ceiling track or small hooks so they float at slightly different heights. This looks visually rich while still staying light and achievable. It’s beneficial because you can rearrange the medallions later if you change your furniture layout or want a new vibe.
For cost considerations, felt scraps and yarn leftovers are often enough to make several medallions. Personalize by choosing tassel colors that echo throw pillows, and keep the overall palette cohesive so the ceiling feels charming rather than chaotic.