
Paper can look brand new in your hands. With a few folds and cuts, you can make things that feel special and useful.
Today’s ideas are friendly, practical, and easy to customize. Each one uses craft paper in a way that fits real life, from desk fun to cozy gifts.
1. Paper Vase With 3D Petal Layers
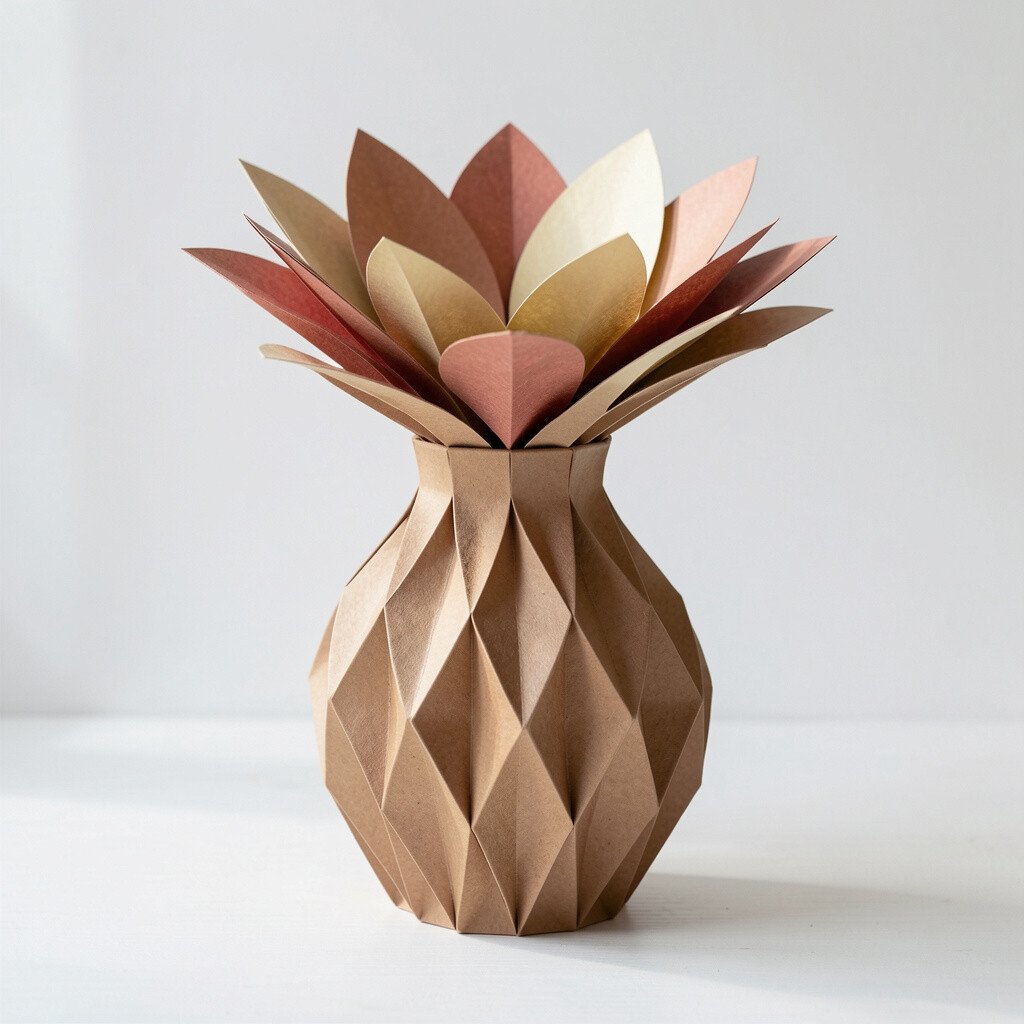
Pick a set of craft papers in soft colors and cut petal shapes. When you curl the edges and stack them, the vase starts to look like real flowers made from paper.
Use a sturdy sheet for the vase body, then layer petals around it like a blooming ring. The result is decorative and lightweight, so it works on shelves or desks without feeling bulky. For best results, keep the cuts smooth and glue one layer at a time so the petals line up nicely.
2. Folded Paper Lanterns for Cozy Evenings
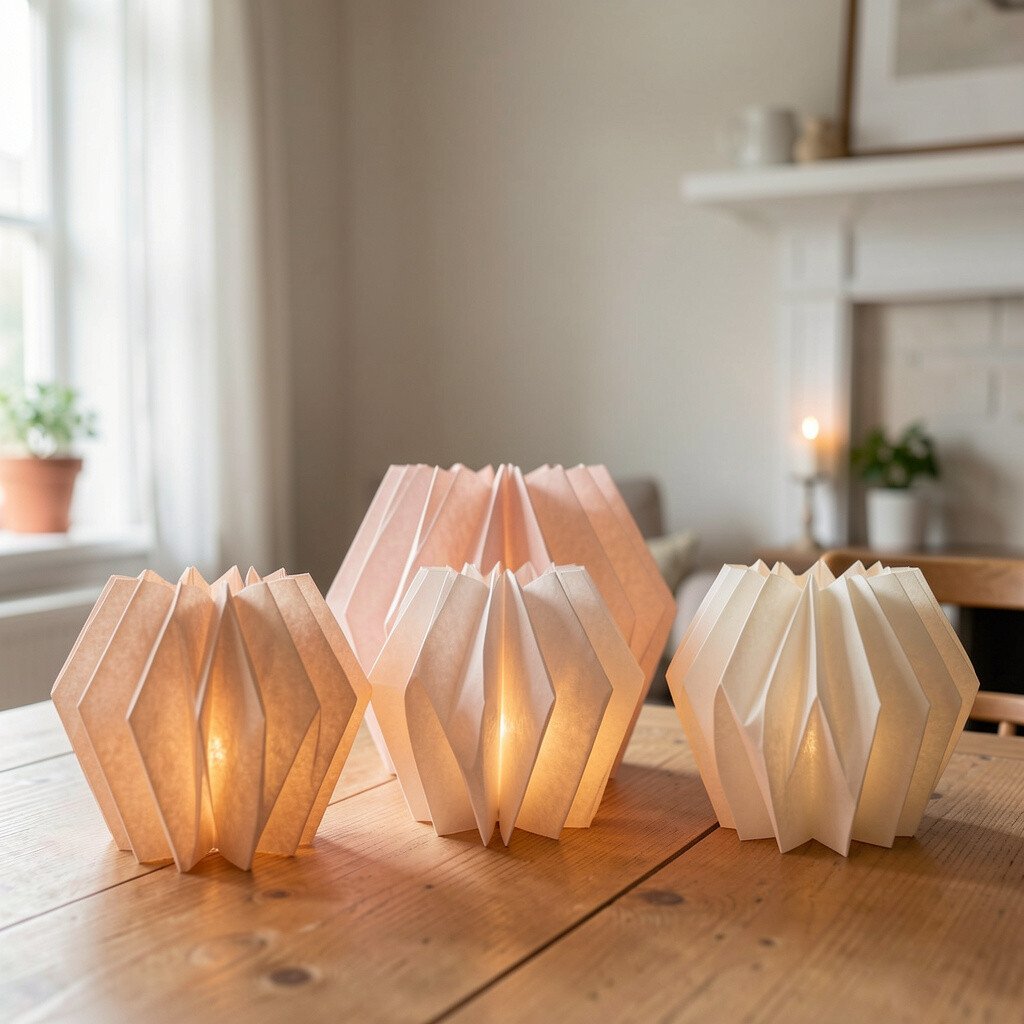
Fold rectangles into accordion stripes, then join the ends to form a lantern sleeve. When you open the shape, it creates a neat pattern of shadows.
Hang them by string or set them on a flat surface for instant mood lighting. This craft is great because it uses inexpensive paper and gives you a clear visual payoff as soon as the folds hold their shape. Try using darker paper for dramatic light effects, and lighter paper for a softer glow.
Personalize each lantern by adding tiny cutouts like stars or hearts. If you want the lantern to last longer, use a thicker craft paper and seal the outside with a light matte finish. Keep glue minimal, since too much can warp the paper when it dries.
3. Layered Paper Butterfly With Raised Wings
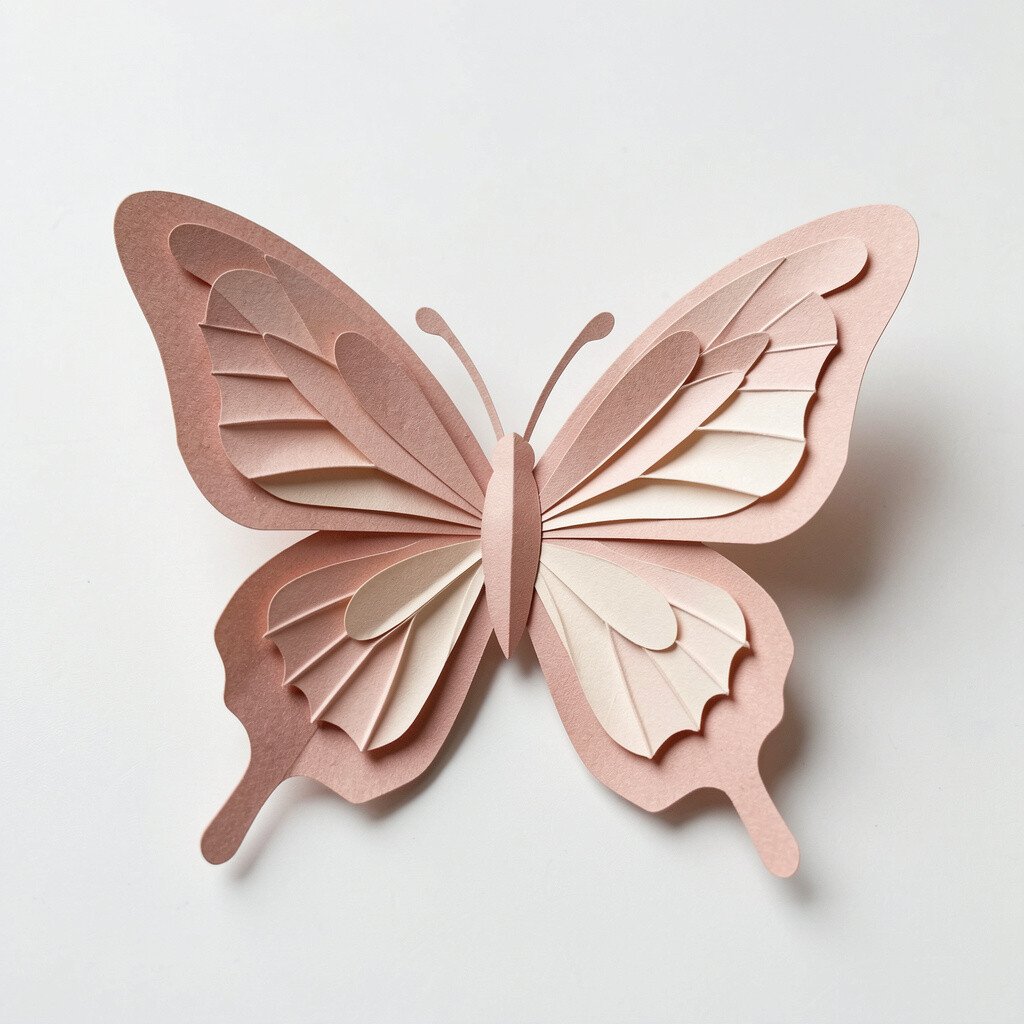
Cut wing shapes from two or three colors of craft paper and keep the biggest wing slightly wider. Layer them so the top wing sits above the bottom, and add small body strips in the center.
Place foam dots under the layered wings to make them pop off the page. This gives a fun 3D look that feels impressive but stays within easy crafting steps. You can personalize the butterfly by matching paper tones to your room decor or by adding a bright stripe for a “wow” moment.
For clean edges, use a sharp blade and cut on a board. If you want extra durability, cover finished parts with a thin clear tape along the back. Craft paper is usually affordable, so you can try different color combos without stressing your budget.
4. Paper Mosaic Coasters With Scrap-Control Style
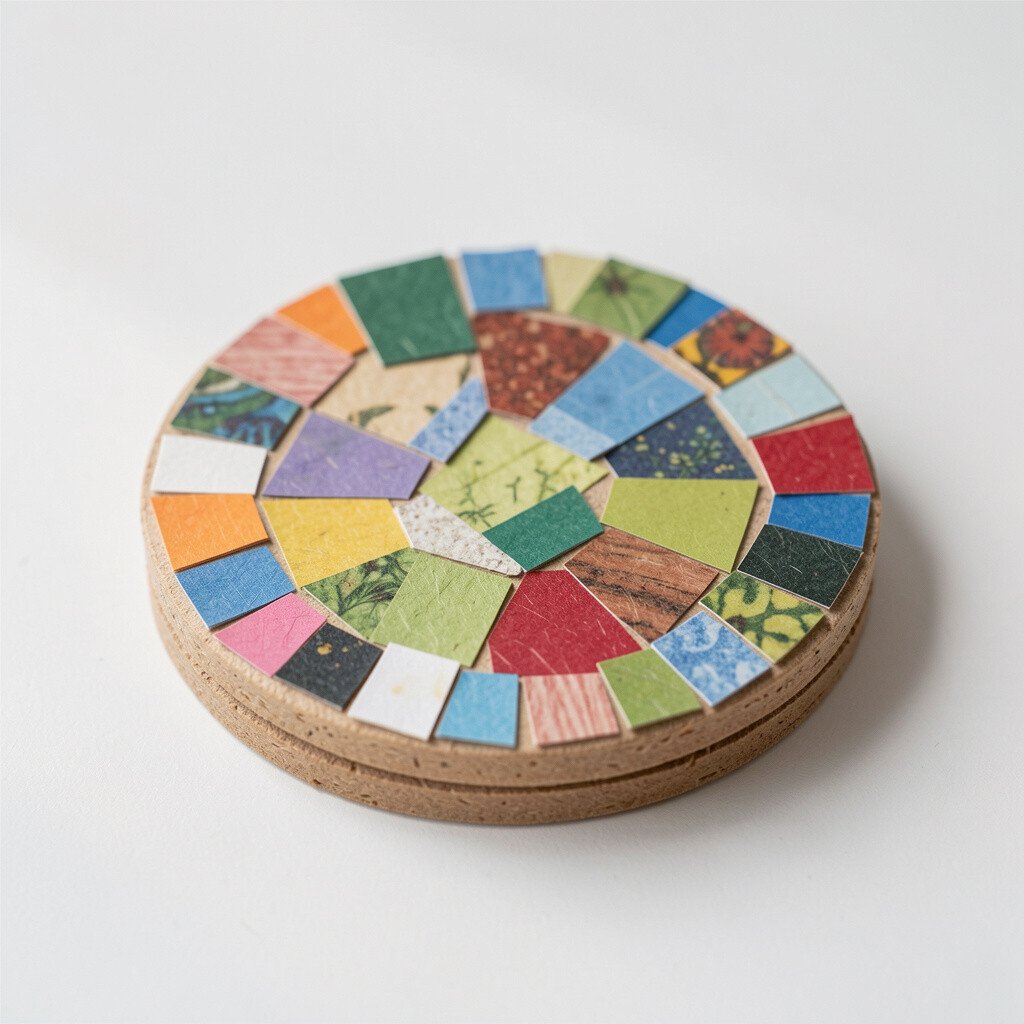
Tear small pieces of craft paper and mix colors like you’re making a tiny rainbow. Press them into a grid pattern on a coaster base so everything looks organized.
Seal the top with a decoupage medium or a clear glue mixed with water so the pieces stay locked down. This is an easy way to reduce leftover scraps while still creating something practical for everyday use. Keep the pieces small and consistent for a smoother finish, and let it dry fully before using it for drinks.
5. Mini Paper Planters for Seed Starters
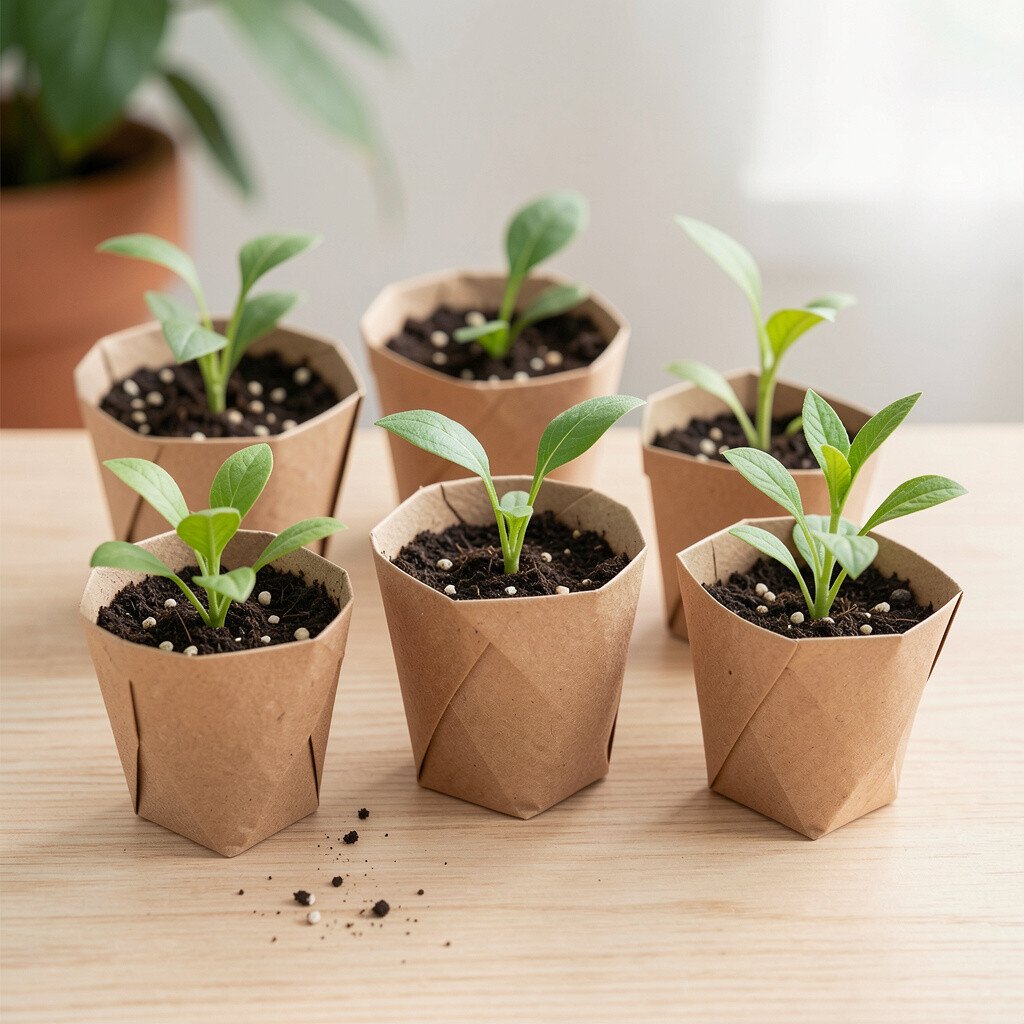
Create a little planter by rolling craft paper into a tight cone and securing it with glue. The shape holds well enough for early seedlings and feels cheerful on a windowsill.
Fold the top edge inward to make a rim that helps soil stay put. Add a few drainage holes with a pin so water can move freely. To personalize, decorate the outside with simple leaf shapes or paint pen dots that look like soil textures.
Use paper that holds up to moisture, like thicker craft paper, and water gently at first. If you have limited supplies, reuse an old plastic tray underneath your planters to catch runoff. The cost stays low because you’re using paper that might otherwise be tossed.
6. Paper Origami Bookmark With a Pocket Top
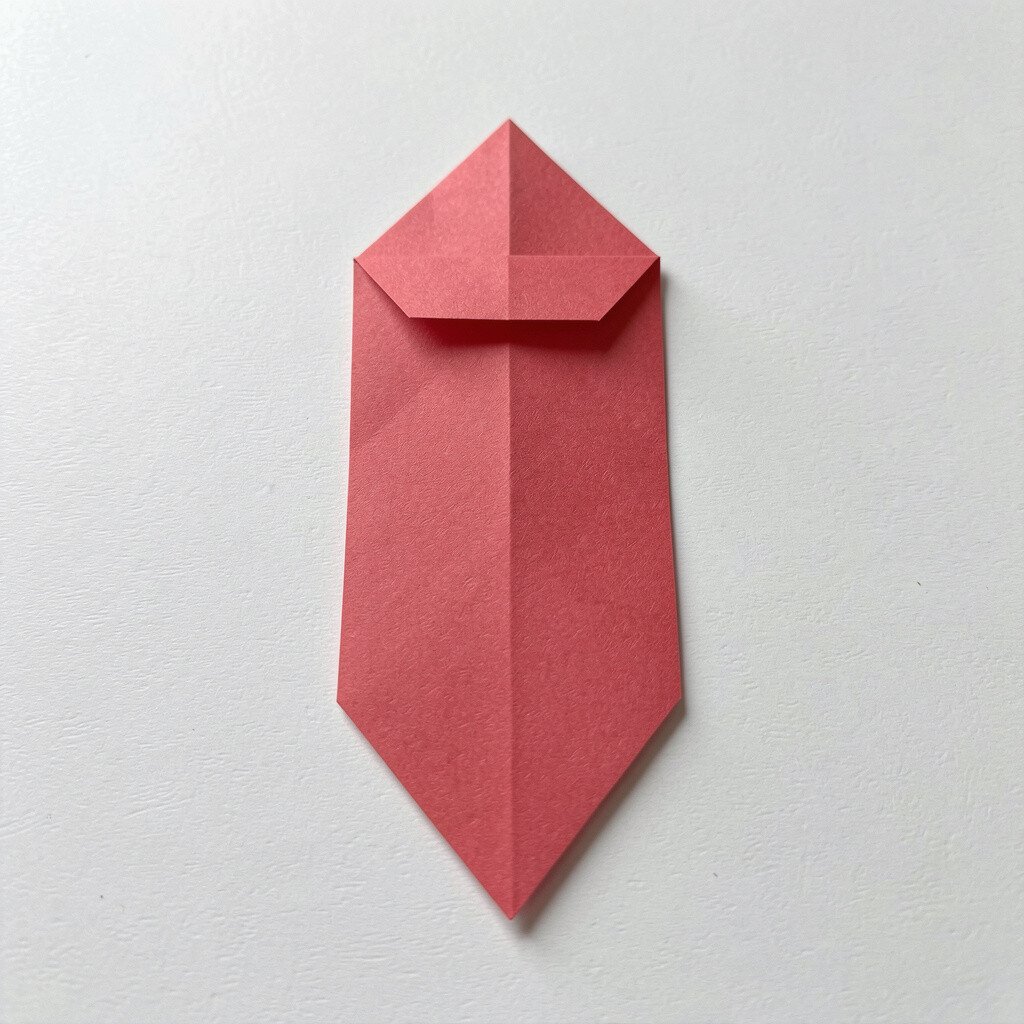
Choose a long craft paper strip and fold it into a neat origami bookmark. Then form a small pocket at one end to grip the page.
It’s a smart reading buddy because it stays put and makes your book feel cared for. Use patterned craft paper for a fun look, or use plain paper and add doodles once the folds are done. Keep your creases crisp by pressing them firmly with a ruler.
7. Rolling Paper Rope for Keychains and Baskets
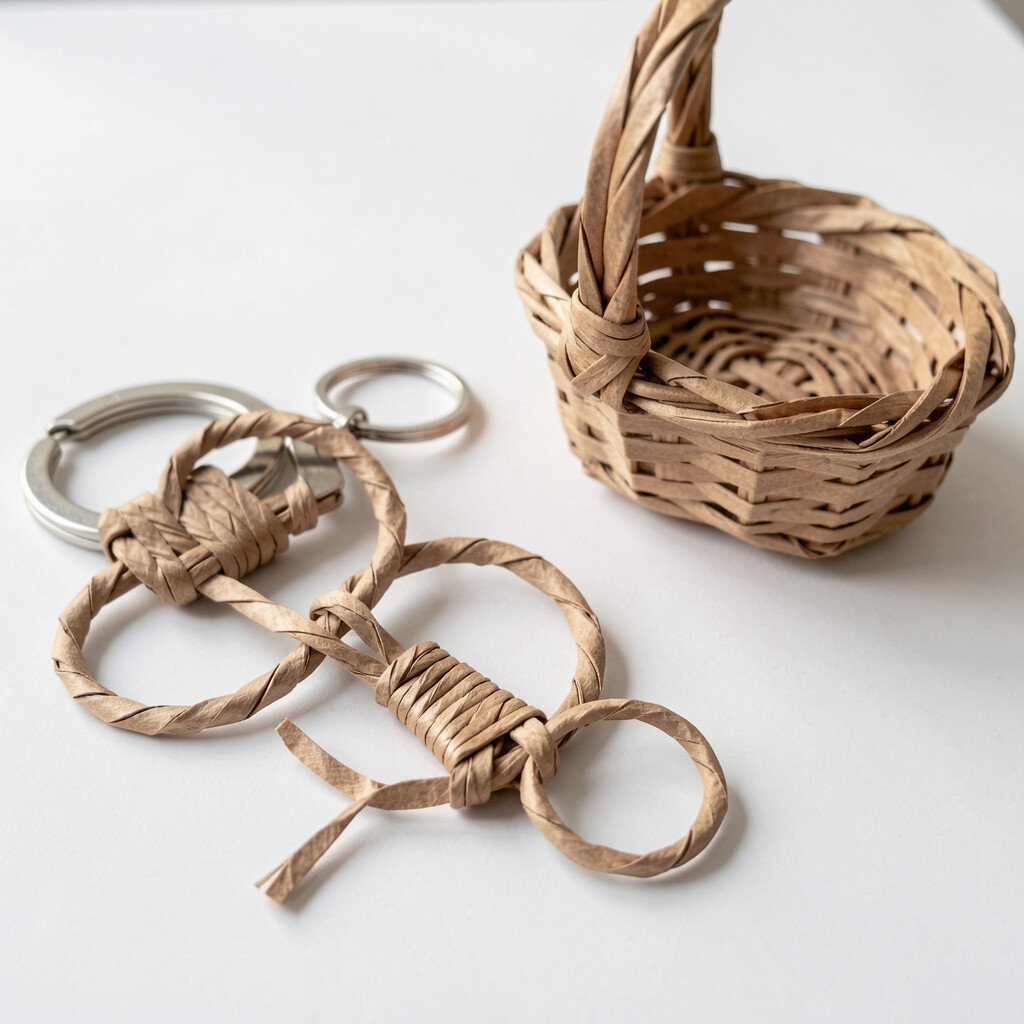
Roll narrow paper strips tightly, then glue the seam as you go. Over time you’ll get a sturdy “rope” that can curl into loops and braids.
Make a keychain by coiling the rope into a circle and covering the ends with a small paper patch. Or braid the rope into a mini basket that can hold paper clips or earbuds. This craft is unique because it turns flat scrap paper into a flexible material that you can shape in many ways.
To keep it strong, use thinner strips and roll evenly, then seal the outside with a thin layer of glue. Personalize by switching colors every few inches or adding a tiny charm you tie on at the end. Craft paper is usually budget-friendly, so you can try new color mixes often.
8. Paper Cut Snowflakes That Feel Modern

Start with folded craft paper squares and sketch simple cut lines before you cut. Even plain shapes can look modern when the pattern is clean and balanced.
Unfold the paper and watch the snowflake open like a delicate sculpture. These are great for holiday decor, but they also work year-round as wall art with the right colors. For personalization, try monochrome black or cool blue paper, and add a light metallic accent with a pen or glitter gel.
9. Scrap Paper Greeting Cards With Window Shapes
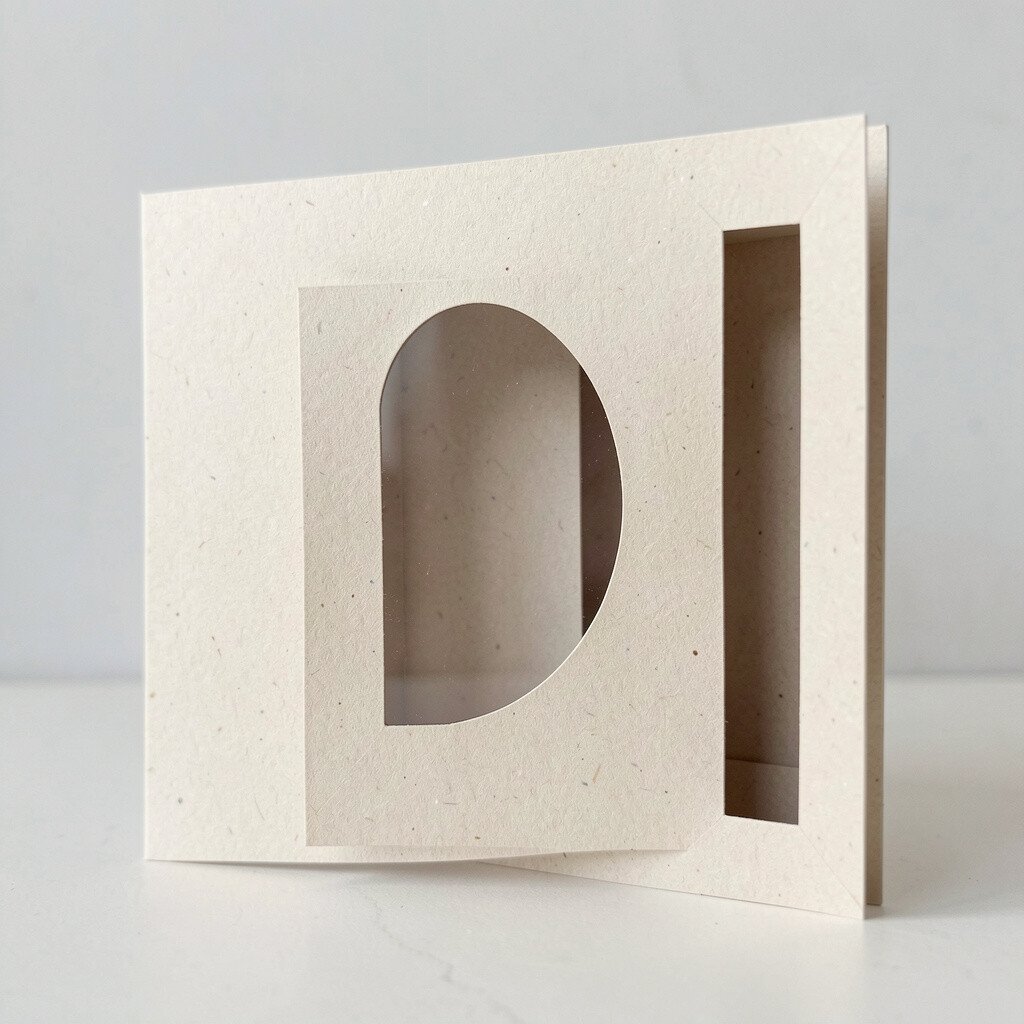
Create a card base from thicker craft paper and cut a window opening on the front. Then layer a second piece behind it so you get a peek of color inside.
Use punch-out shapes like circles, leaves, or tiny hearts to make the window design feel playful. This craft is beneficial because it uses small scraps, so you don’t need a lot of full sheets. It’s also easy to personalize for different people by changing the color palette and adding a message style that matches their vibe.
For clean edges, cut the window with a careful hand and keep the backing piece slightly bigger. If you want a cost-smart approach, use recycled paper for the inner layers and save nicer paper for the top. A current trend is adding layered paper textures, so try mixing matte and slightly glossy craft paper for contrast.
10. Paper Flower Bouquet With Stiff Stems

Cut flower petals from craft paper and layer them around a small center circle. For stiff stems, use rolled paper tubes so your bouquet stands up.
This creation feels beautiful because the petals hold their shape and look crisp from a distance. It also makes a lasting gift since paper flowers don’t fade like real ones do. Personalize by picking colors that match a birthday theme or a home’s color scheme.
11. Paper Tree Wall Art With Silhouette Branches

Cut a tree silhouette from dark craft paper and mount it onto a lighter background sheet. Add small branch details with careful snips so the shape feels full.
Then create “leaves” by punching or tearing tiny paper bits and layering them around the branches. This craft helps you make a big statement without buying expensive canvas art. Use current trend colors like warm earth tones, muted greens, and soft terracotta so it looks modern in any room.
For practicality, use a foam board backing or a thick cardboard sheet to prevent warping. You can also personalize by adding a small paper house near the base or a handful of paper birds across the branches. The cost stays low since most parts can come from leftover craft paper.
12. Paper Photo Frames With Braided Edges
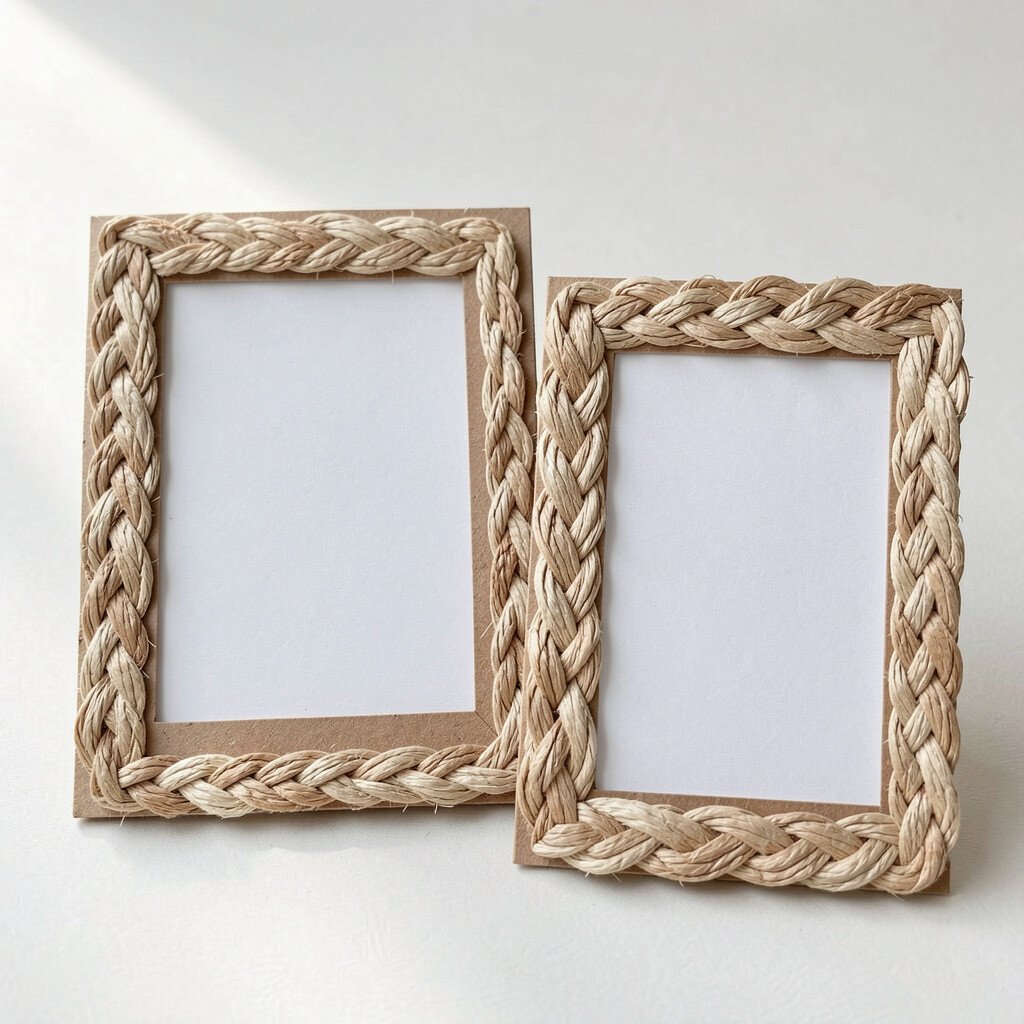
Make a simple frame by cutting a window in craft paper and layering backing pieces. Then braid narrow strips and glue them around the outer edge for a textured border.
The braided edge makes the frame feel unique, like a handmade piece from a craft market. This is a great way to display small photos or favorite artwork without needing heavy supplies. Personalize by choosing braids in two colors, and add a name strip on one side for a labeled memory feel.
13. Paper Envelope Organizers for Desk Clutter

Fold craft paper into small envelopes and glue the sides to create tidy slots. Make different sizes so you can store notes, stickers, or small stationery.
This kind of organizer is beneficial because it turns a messy desk into a simple system you can actually keep. It also lets you match your storage to your style, especially if you use patterned paper. For best results, crease folds sharply and use a thicker paper so the envelope walls hold up to daily use.
14. Paper Marble Maze With Rolling Bead Challenges
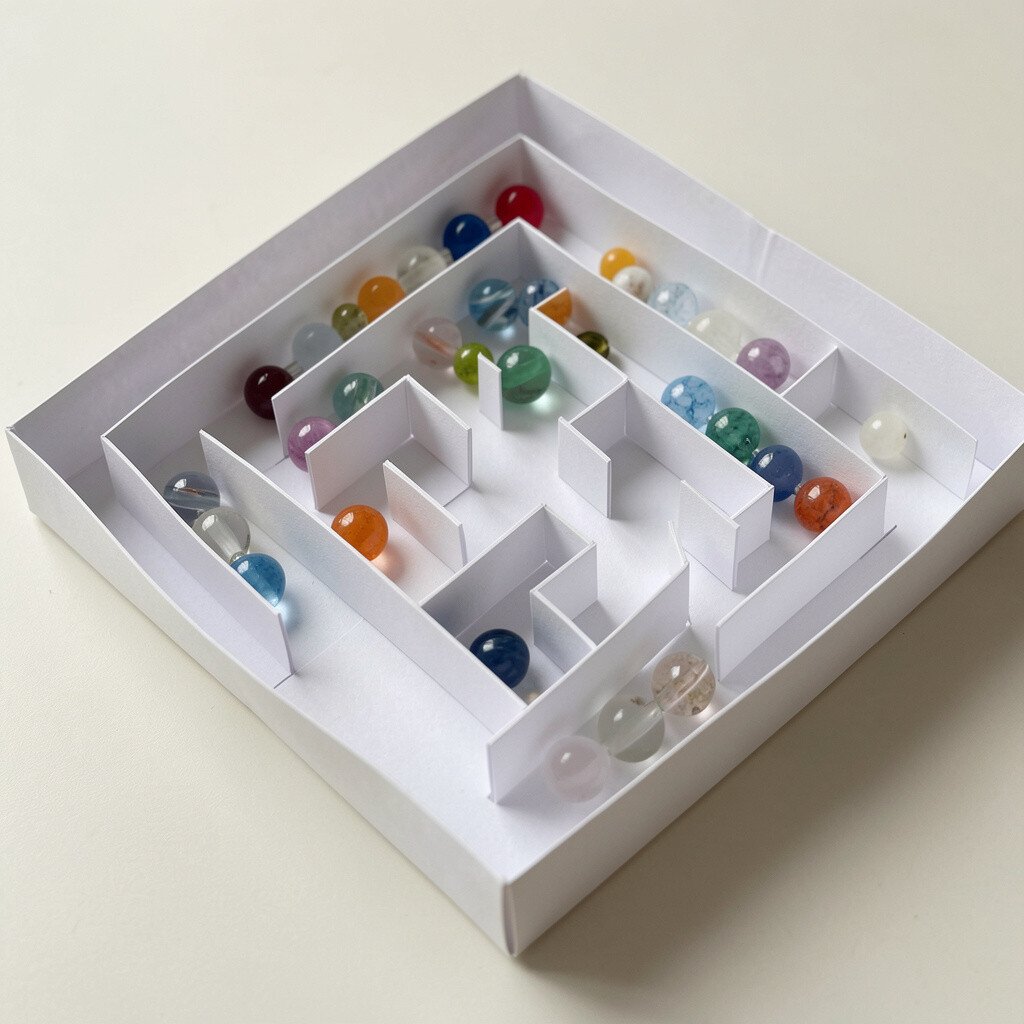
Build a mini marble maze by cutting craft paper strips into walls and gluing them onto a sturdy base. Add curves and turns so the bead takes a fun path instead of a straight line.
This creation is engaging because it turns paper into a small game you can share. You’ll also get lots of personalization options by changing maze layout, color themes, and difficulty level using wider or narrower channels. If you want smoother play, test the groove spacing and use a clear top layer to reduce friction.
For a cost-friendly version, reuse old cardboard for the base and use craft paper only for the walls. Keep glue lines neat so the bead doesn’t catch, and let everything dry flat before you start playing. Current trend craft ideas often include hands-on activities like this, so it fits right in.
15. Paper Lantern Garland With Layered Shapes
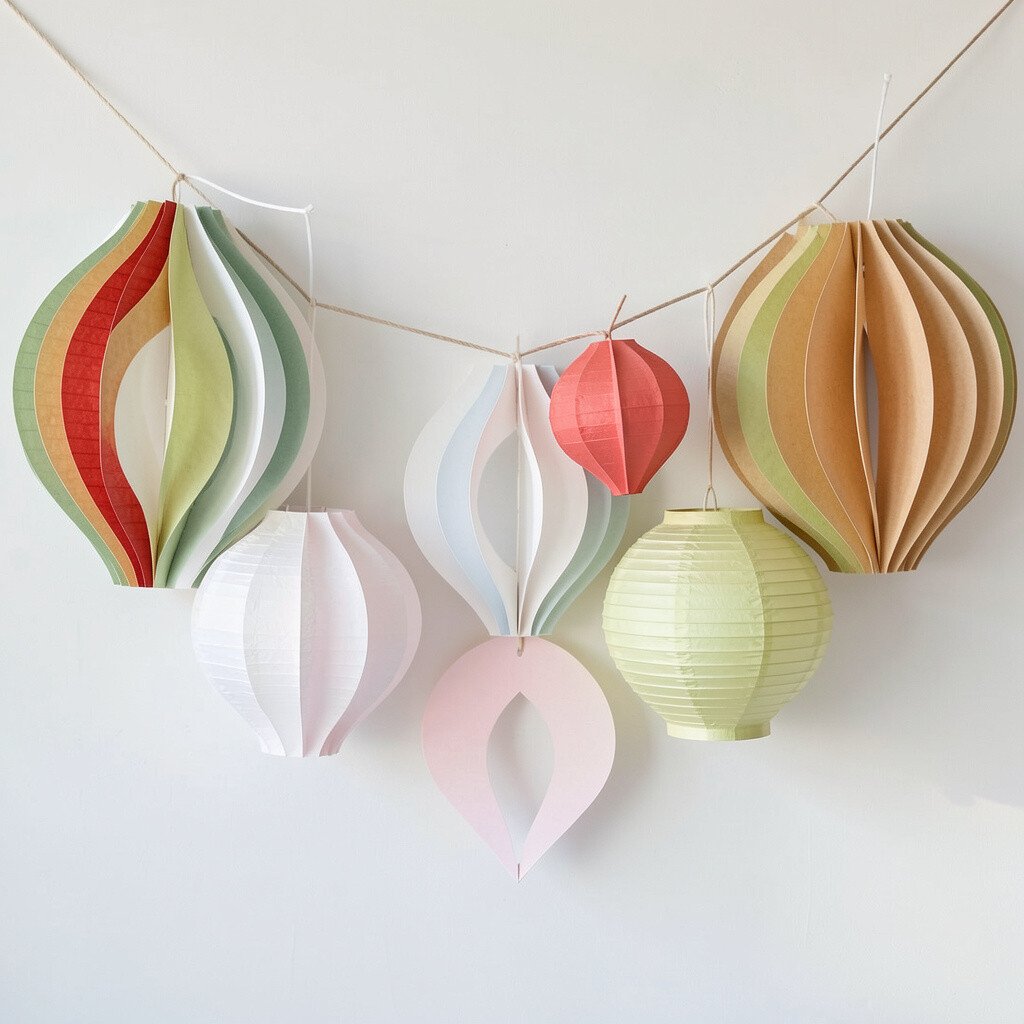
Create a garland by making several small lanterns and attaching them in a gentle line. Use craft paper cut into layered shapes so each lantern has depth.
This is a fun way to decorate parties, reading corners, or even a cozy bedroom wall. It’s unique because the lanterns look different from every angle as the layers cast tiny shadows. Personalize by choosing a theme, like pastel clouds, bold geometric forms, or simple monochrome stars that match your space.
For practical care, use thicker craft paper and avoid soaking it with glue. If you want to stretch supplies, make fewer lanterns and space them farther apart. The overall cost stays reasonable since craft paper is usually easy to find and you can use leftovers to fill out the design.