Good studios feel like a friendly stage for ideas. When the room supports your habits, your work starts to move faster.
The right layout doesn’t just look good; it helps you stay calm, organized, and ready to create. Below are curated setups you can borrow from, tweak, and make your own.
1. The Sunlit Creator’s Corner
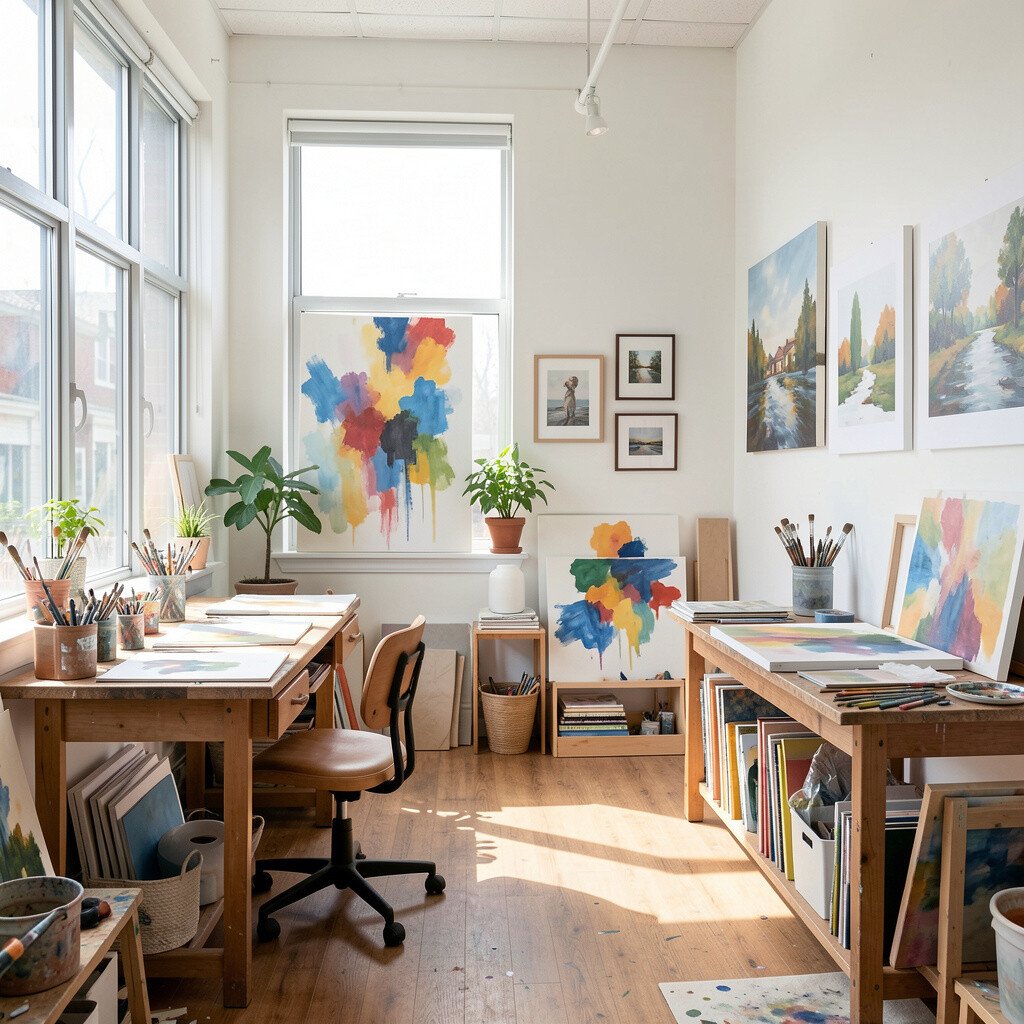
Pick the brightest spot you have and claim it for the main action. Place a sturdy desk near the window so light falls across your work, not your eyes.
Keep your most-used tools within arm’s reach on a simple shelf so you do not waste time hunting. Use a tall plant or a fabric drape to soften glare, which makes long sessions feel easier and more comfortable.
2. The One-Table Multi-Media Station

Set one strong table in the center and let it serve many purposes. A neutral tabletop with a removable mat can handle sketching, small painting, collage, and mixed media.
Arrange your supplies in labeled jars and stackable trays along one wall to keep everything visible. This layout cuts down setup time, which helps you start faster and finish more often.
Choose storage that fits your budget, like clear bins for mixed materials and thrifted drawer units for paper. To personalize it, paint the backdrop behind the table with a calm color that matches your style and mood.
3. The Gallery Wall With Rotating Displays
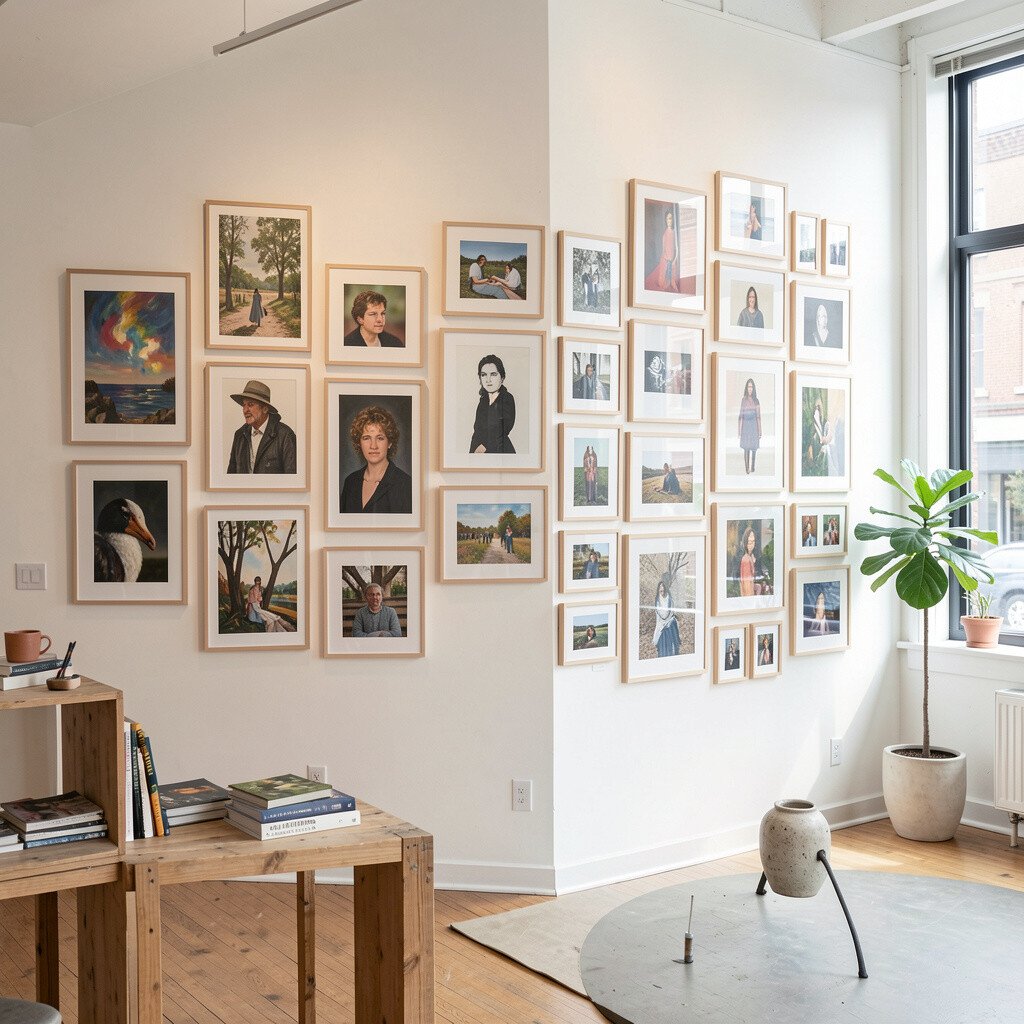
Dedicate one wall to framed works, test pieces, and in-progress work. Hang work at eye level and leave a little breathing space so the wall feels curated, not messy.
Use the space as your motivation by swapping pieces often, even if they are small studies. When you see your progress, you naturally keep moving instead of restarting from zero every time.
For practicality, add narrow ledges or picture rails so pieces can change without new hardware. If you want a current vibe, mix simple frames with one or two bold colors for a modern gallery look.
Budget-friendly options include inexpensive frames from discount stores and print-on-demand mats. Personalize by adding a small sign area for titles or dates, written in your own handwriting.
4. The Vertical Supply Spine
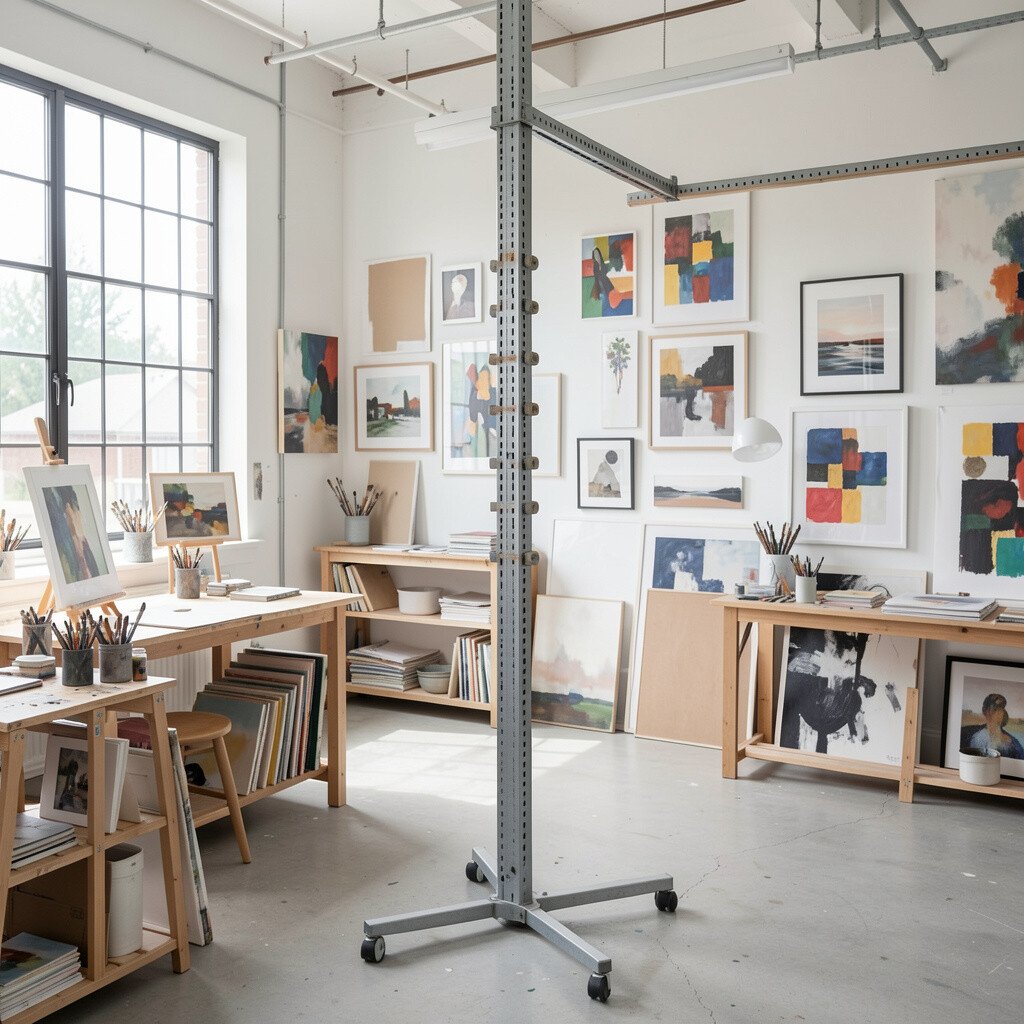
Turn one wall into a vertical system with pegboard, shelves, and hanging rails. When tools line up vertically, you get quick visual order and fewer last-minute scrambles.
Keep heavy items low and lighter items higher so you do not reach awkwardly. This layout also supports safer work because sharp or messy tools can be stored securely.
5. The Quiet Zoning Studio
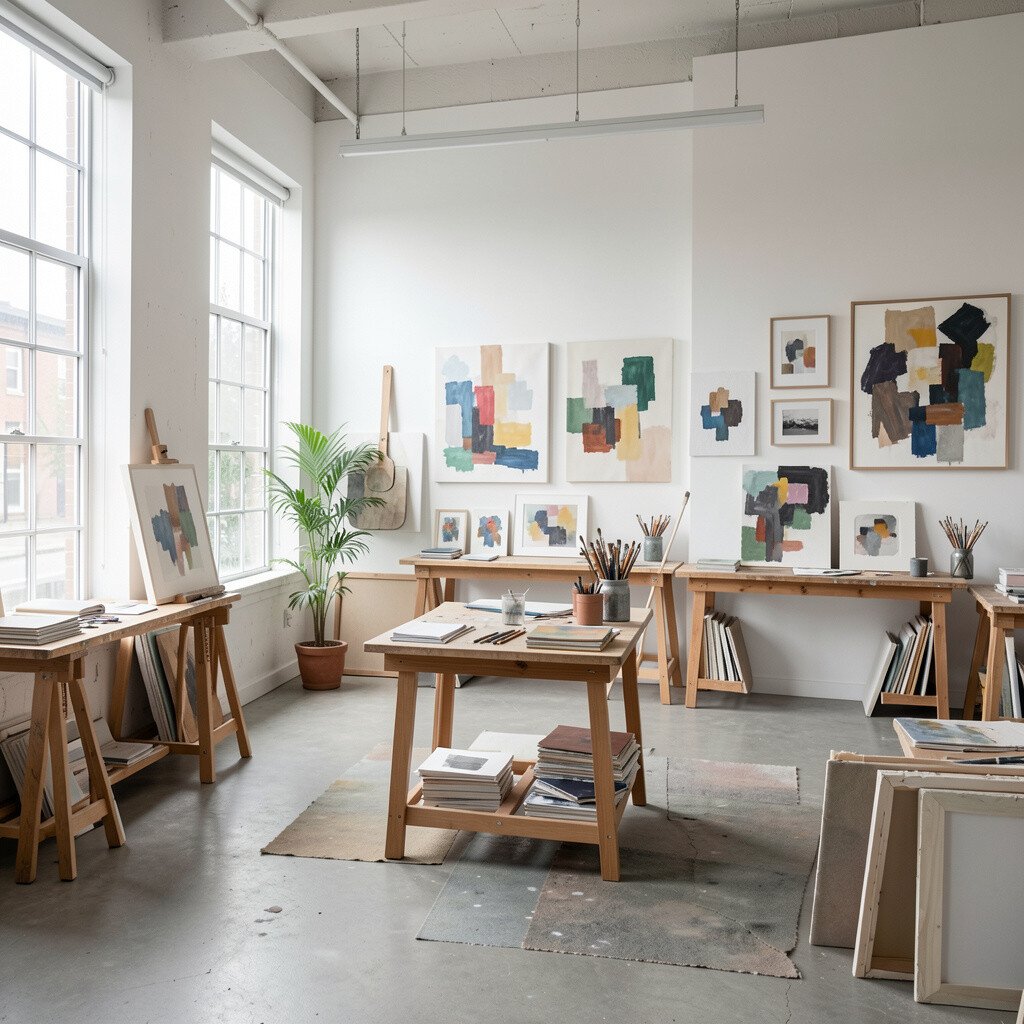
Divide your room into zones using rugs, shelves, or even a curtain track. One zone can be for planning and reading, another for drawing, and another for wet work.
Give each zone a clear job so your mind switches modes smoothly. When the area for cleanup stays separate, stains and spills do less damage to your workspace rhythm.
Choose durable covers and mats for the wet zone, and keep ventilation in mind if you use odor-heavy materials. To personalize, use different storage colors for each zone so your system feels playful instead of strict.
6. The Floor-First Collage Playground
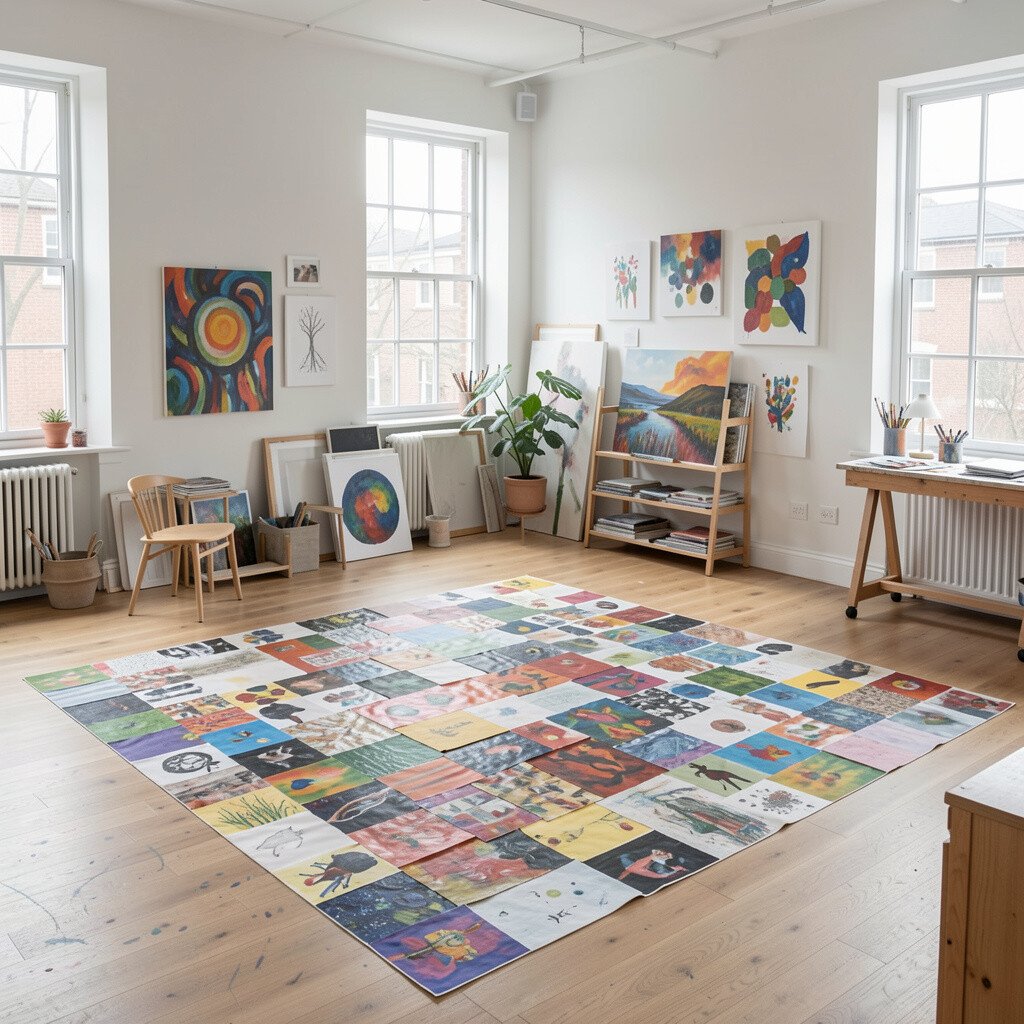
Make the floor part of your creative plan by using a large, wipeable mat or washable cover. Low tables and rolling stools help you work comfortably while keeping paper and fabric flat.
Set a “grab shelf” nearby for scissors, glue sticks, paper scraps, and reference images. This makes it easy to build collage sessions that grow from small decisions into complete pieces.
For benefits, you get more physical freedom, which helps with creative momentum and relaxed posture. If you worry about cost, start with one mat and a small bin of mixed materials, then add more only when you use it.
7. The Maker’s Workbench With Clean Edges
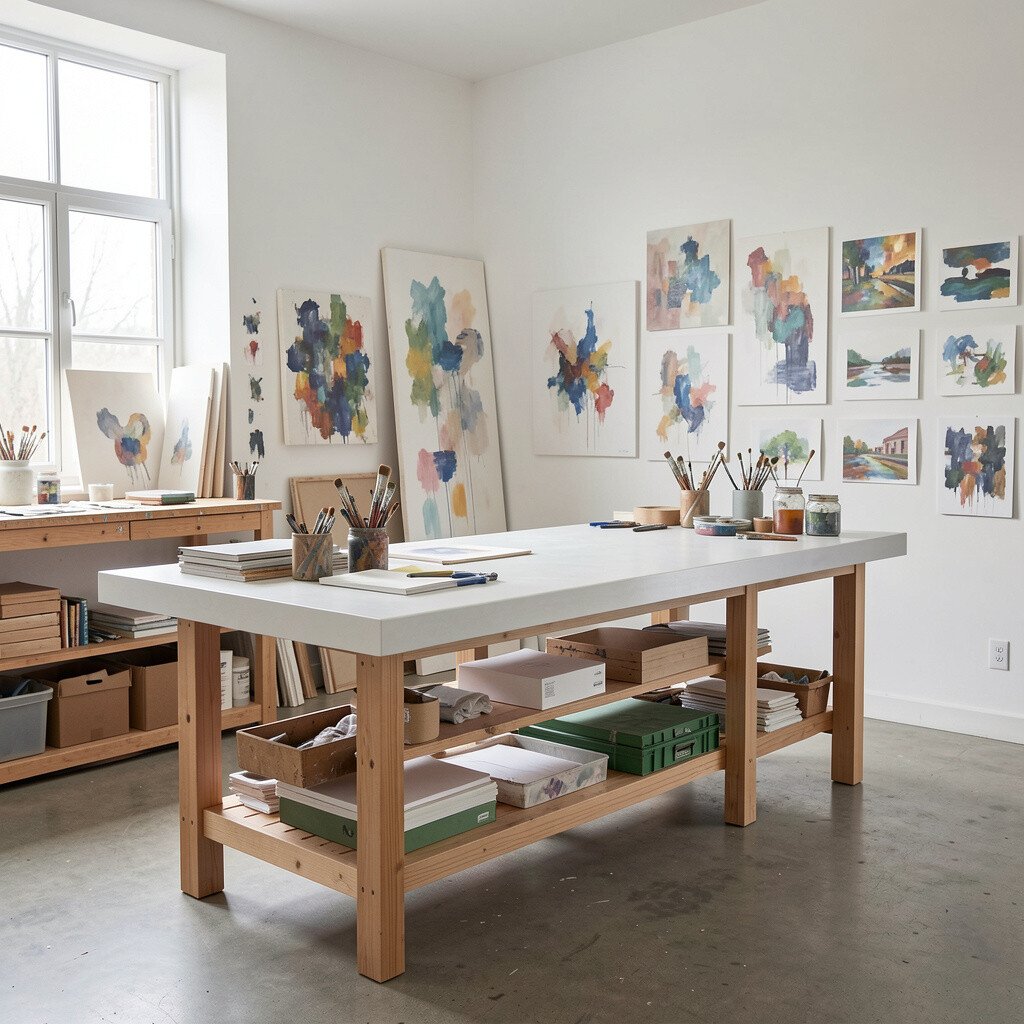
Choose a workbench-style setup with a solid surface and clear boundaries around it. A shallow lip on the table helps catch drips and keeps the area tidy during intense sessions.
Keep a “clean corner” for dry tools and a “mess corner” for paint, paste, and cutting scraps. This design reduces stress because you always know where the mess belongs.
To stay current, look for open shelving and simple metal racks, which give an industrial touch. Personalize with a taped grid or painter’s tape markers so measuring feels quick without buying expensive tools.
8. The Drafting-Table Rhythm Setup
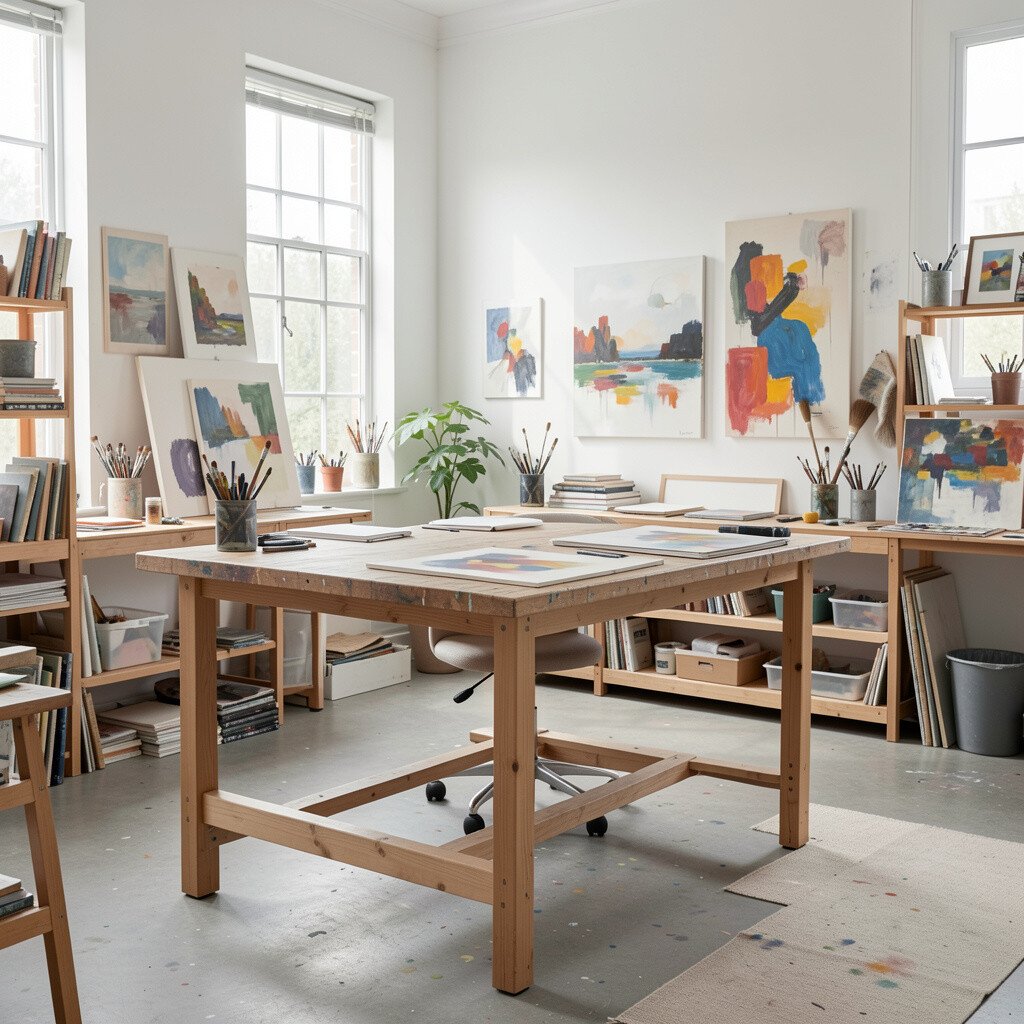
Use a drafting table if you like precision and layered drawings. The angled surface can reduce glare and keep your sketches steady, especially when you work with rulers and templates.
Place reference books and sketch prompts at a height where you do not have to hunt for them. This supports focus because you can move from looking to drawing without losing your place.
9. The Wall-Led Desk With Rolling Storage
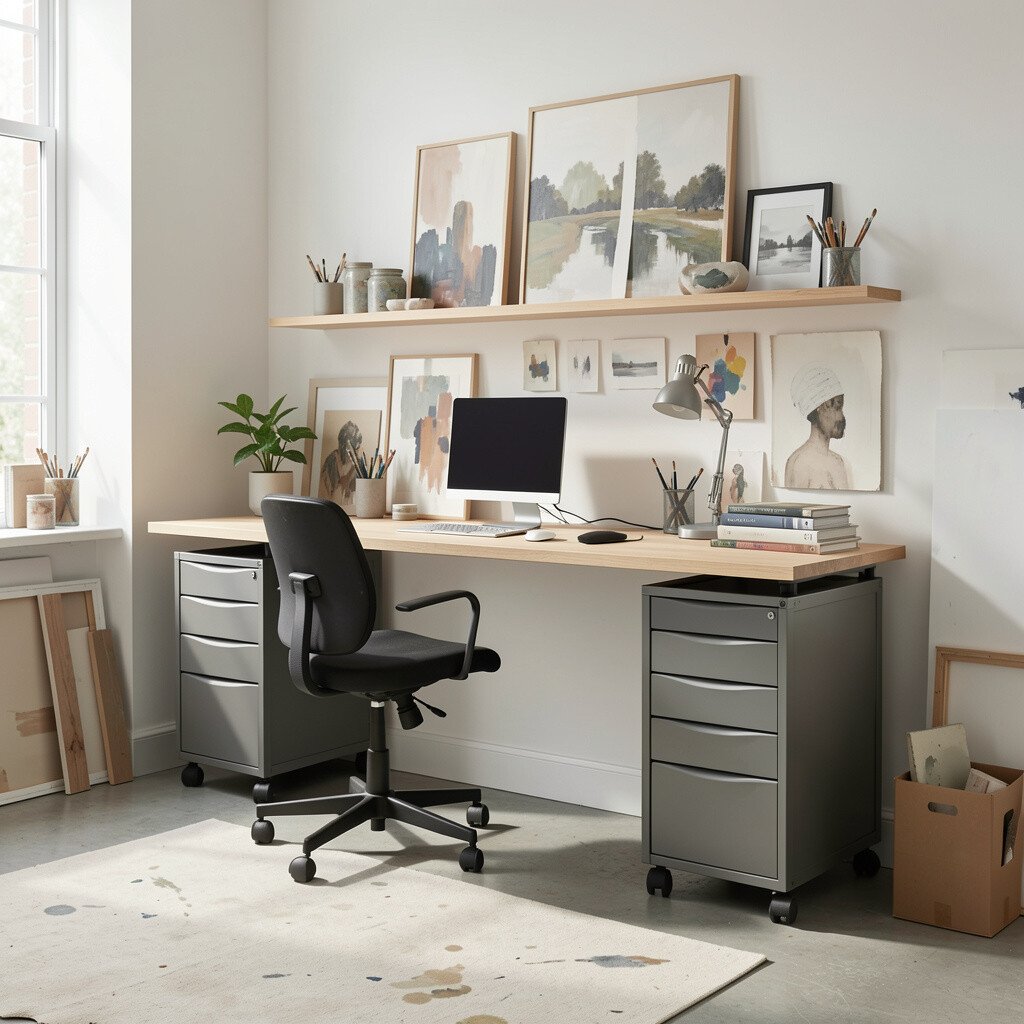
Mount your desk so it saves floor space, then add rolling carts for supplies. Rolling storage helps you keep bulky items out of sight while still making everything easy to reach.
Line up your carts by category, like paper, brushes, and inks, so you can grab what you need fast. This layout benefits your workflow because it keeps your desk surface calm for your best work.
Keep one cart dedicated to cleanup supplies, including wipes, a small trash bin, and a spare rag. For personalization, color-code the cart handles with removable stickers that match your studio palette.
10. The Maker’s Nook With Sound-Friendly Materials
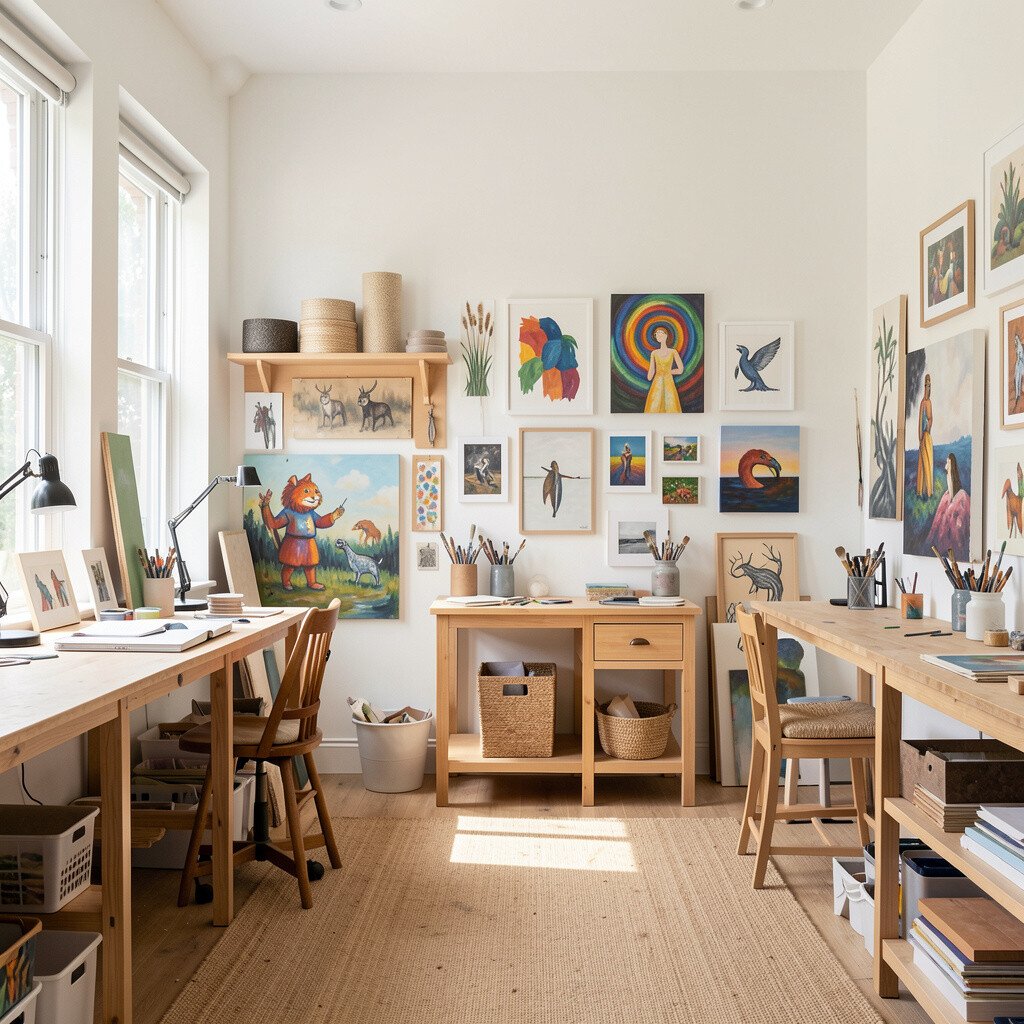
Build a snug corner using curtains, a bookshelf backdrop, or acoustic panels that soften echoes. When a room feels quieter, you can think longer and listen to your creative instincts.
Use soft lighting, like a warm lamp, so the space feels inviting during evening sessions. This kind of comfort helps with staying power, especially when you work on slow details or fine lines.
11. The Outdoor-Feeling Studio Window Row

Create an “outdoor window row” by placing your main tools along the window line. Keep thin shelves and a ledge for inspiration cards, sketches, and small plant pots.
When daylight feeds your work, colors often look truer and your choices feel bolder. Add sheer curtains or a simple roller shade to control brightness so the studio stays flexible.
For budget, use repurposed wood planks as shelves and simple hooks for brushes. Personalize with small seasonal swaps, like dried leaves in a jar or a rotating postcard board.
12. The Community-Ready Creative Hub

If you ever host friends or teach classes, build seating around a central creation space. Choose foldable chairs or a bench with storage so the room can shift from solo work to group making.
Place a wide central table where materials can stay visible, with shared bins and a cleanup area at one edge. This layout benefits you too, because you can reset quickly for your own sessions after a busy day.
Use current trends like modular storage and mix-and-match seating to keep the space looking fresh. For cost considerations, start with a few sturdy shared containers and upgrade to better organizers only when they prove useful.
13. The Monochrome Workspace With Color Accents
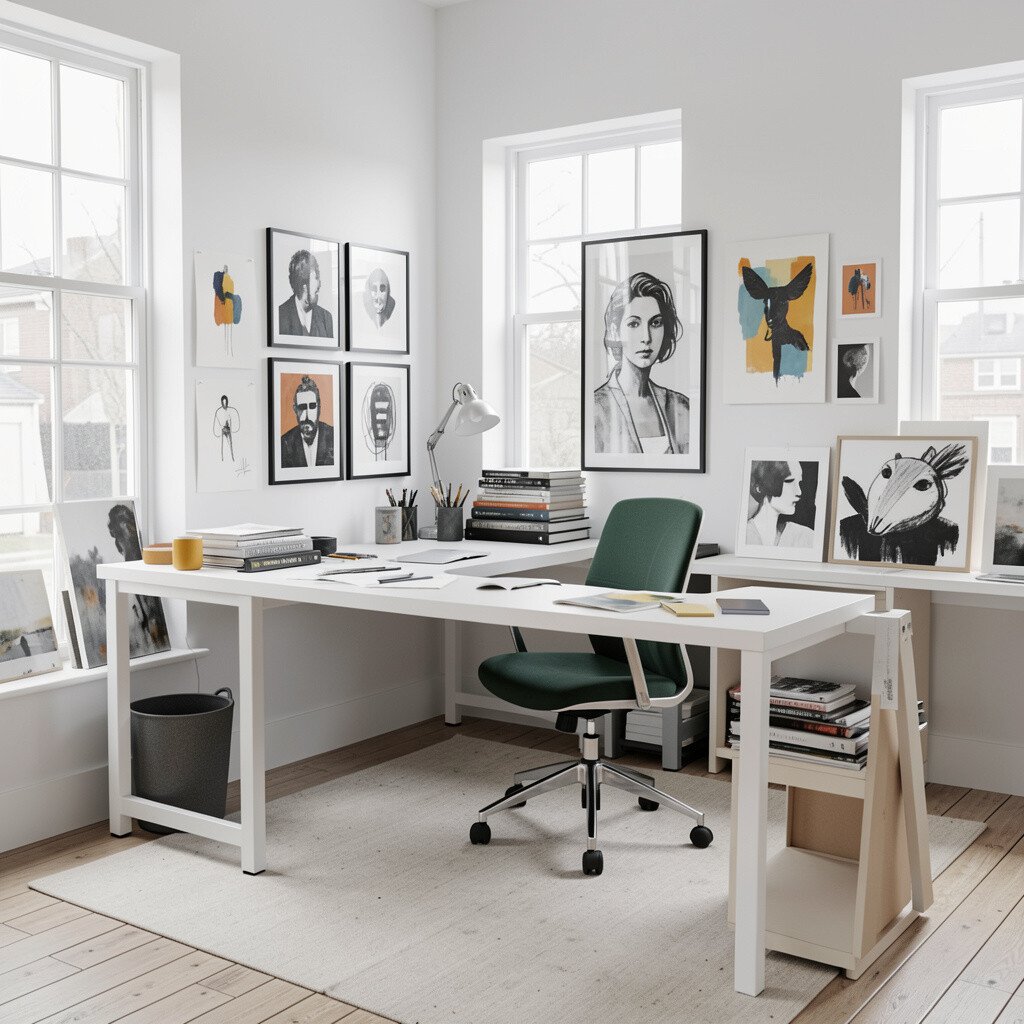
Set the room mostly in one calming color, then use bright accents only where you need them. A monochrome desk, neutral walls, and black or white storage can make your artwork colors pop.
Keep accent zones for your favorite tools, like a red brush cup or a teal cutting mat. This gives visual rhythm and helps you notice what you use most.
For personalization, add a patterned rug or one statement print while keeping the rest simple. This balance supports creativity because it reduces visual noise without feeling boring.
14. The Night-Shift Lighting and Priority Tray Setup
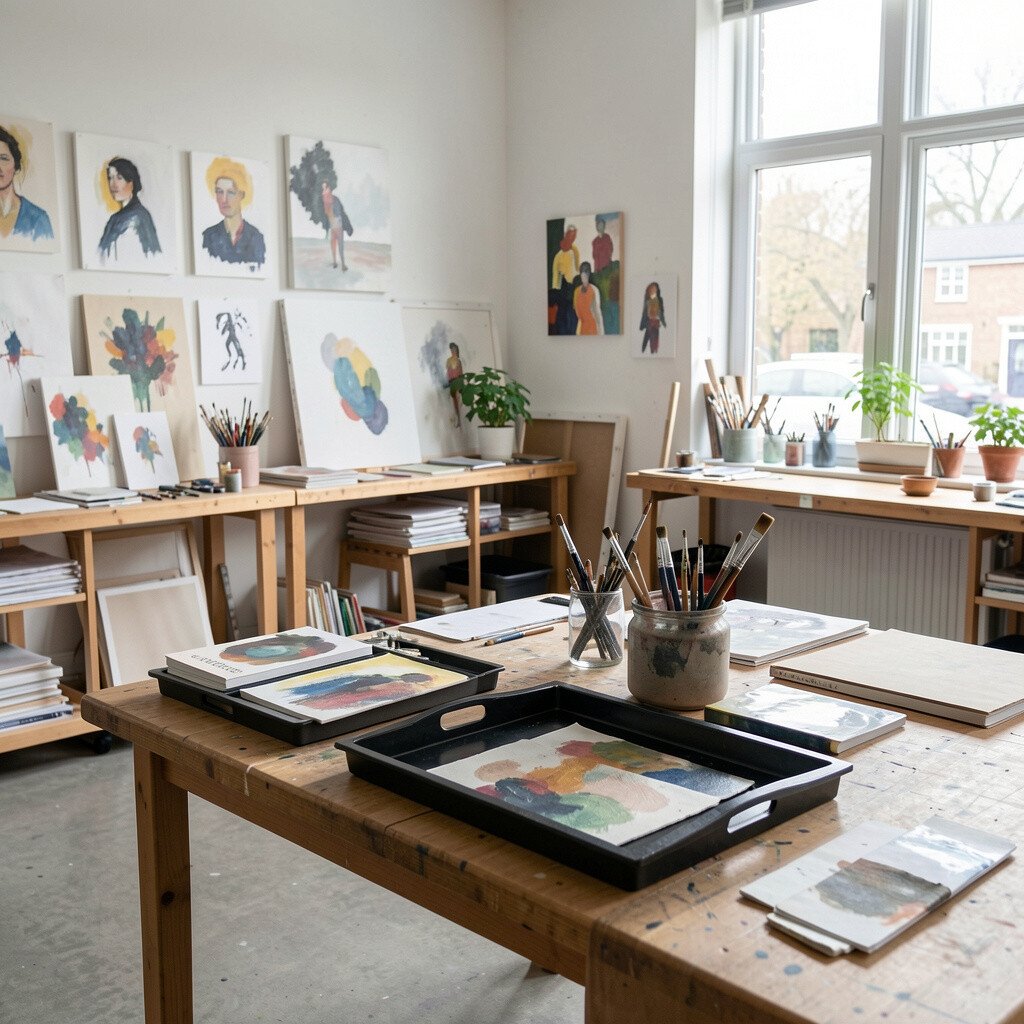
Design for evening creativity with layered lighting, including a task lamp and a softer overhead glow. When light is gentle and focused, it feels easier to work late without straining your eyes.
Set up a priority tray that sits ready on your main surface with your current project materials. This way, you start by finishing small steps first, which keeps momentum high even after a long day.
Choose LED lights and look for adjustable brightness, which is practical and budget-friendly over time. Personalize by adding a tiny “warm reminder” card on the tray, written in your own tone and style.