Bright rooms can make photos look washed out fast. The good news is that you can still show your favorites clearly, day after day.
1. Anti-Reflective Glass Photo Frames With Micro-Coatings
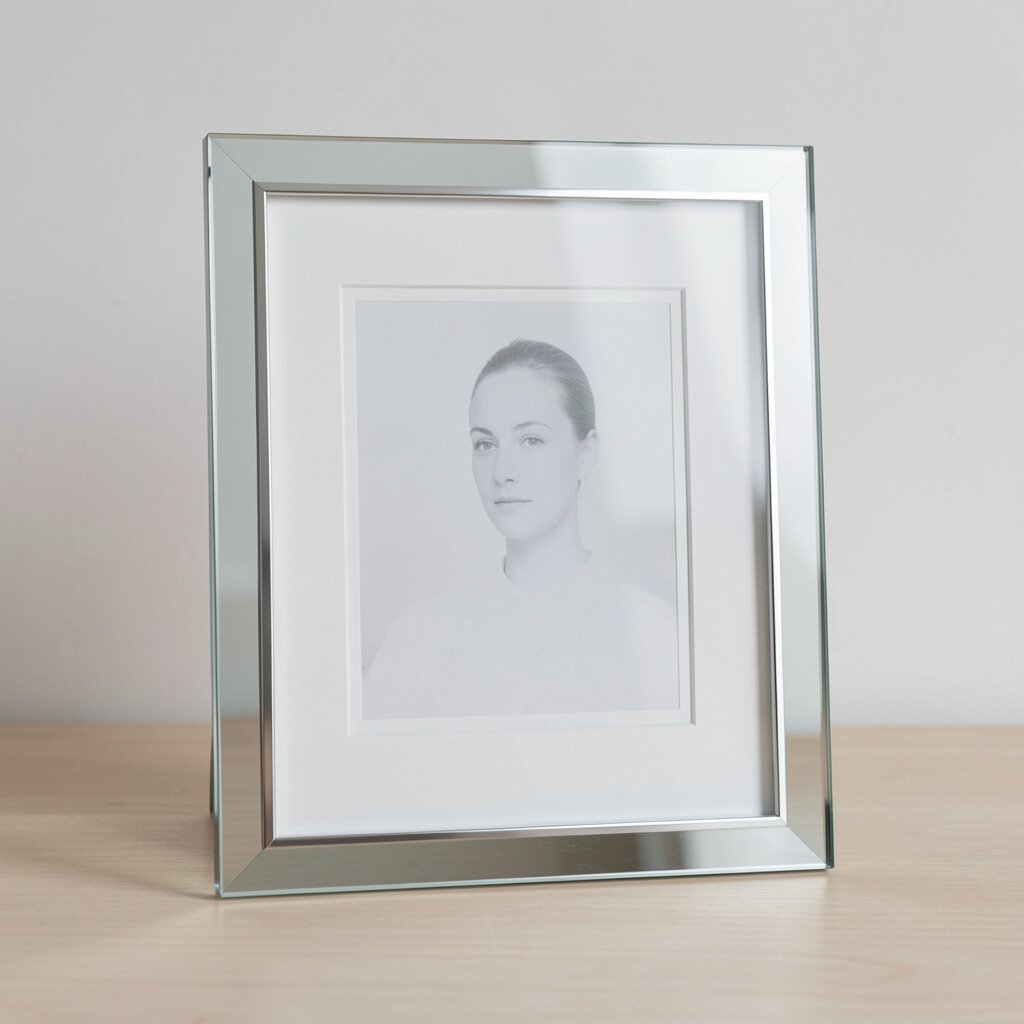
These frames use a special clear layer to cut glare without dulling the image. You’ll see crisp faces and colors even when sunlight hits the window nearby.
Look closely at the finish during the day, because high-quality coatings often feel slightly smoother to the eye. For best results, choose frames with a tight seal that helps reduce smudges. Wipe the glass with a gentle microfiber cloth to keep the surface from turning hazy.
2. Linen-Backed Display Frames That Soften Strong Light
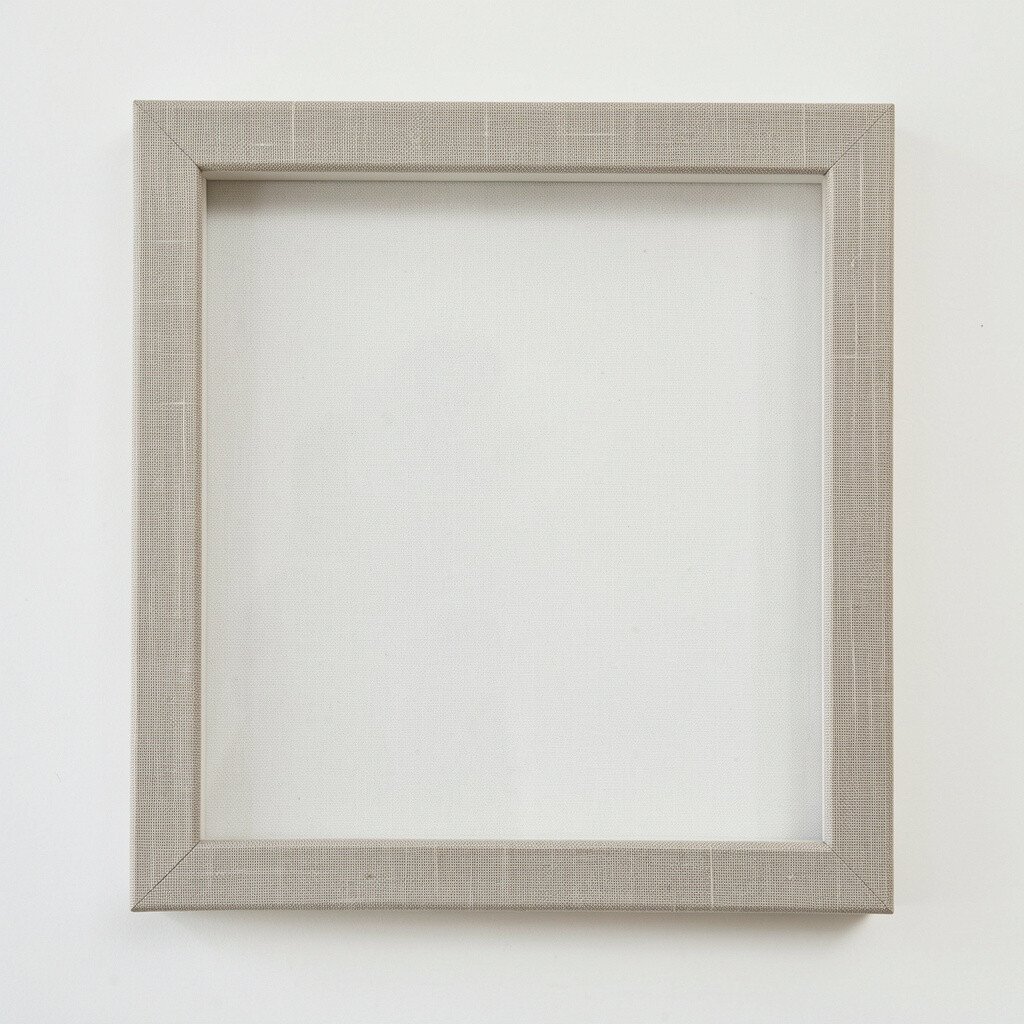
A linen backing makes photos feel cozy and reduces the harsh look that bright rooms can create. The textured material also helps hide tiny reflections that can show up on shiny surfaces.
Pick linen in warm tones like oatmeal, sand, or soft gray to make skin tones look natural. If you hang it opposite a bright window, tilt the frame just a little so light bounces away from the glass. This style feels unique compared with plain flat backs you see everywhere.
3. Curved Acrylic Photo Displays for Glare-Reduced Viewing
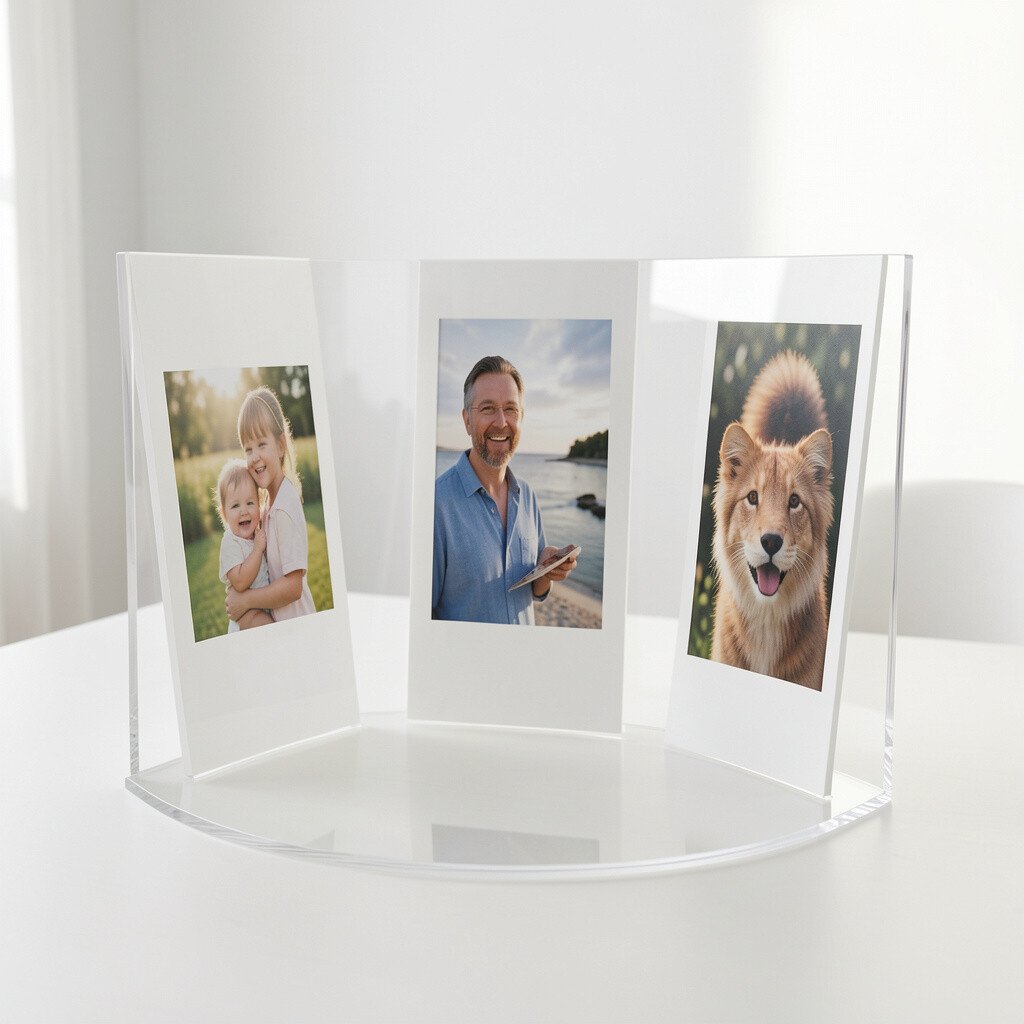
Curved acrylic can help send reflections away from your line of sight. When the light hits at an angle, the photo still looks clear instead of mirror-like.
Choose thicker acrylic for better clarity, and keep the surface clean so small dust spots do not catch the light. You can personalize the vibe by pairing curved acrylic with black or brushed metal edges. It looks modern, and it works great for bright kitchens or sunlit hallways.
For cost planning, acrylic options often cost less than premium anti-reflective glass, though thickness matters. If you’re on a budget, buy one standout piece first and then match the rest to the same look.
4. Matte-Finish Poster Frames With Low-Sheen Films
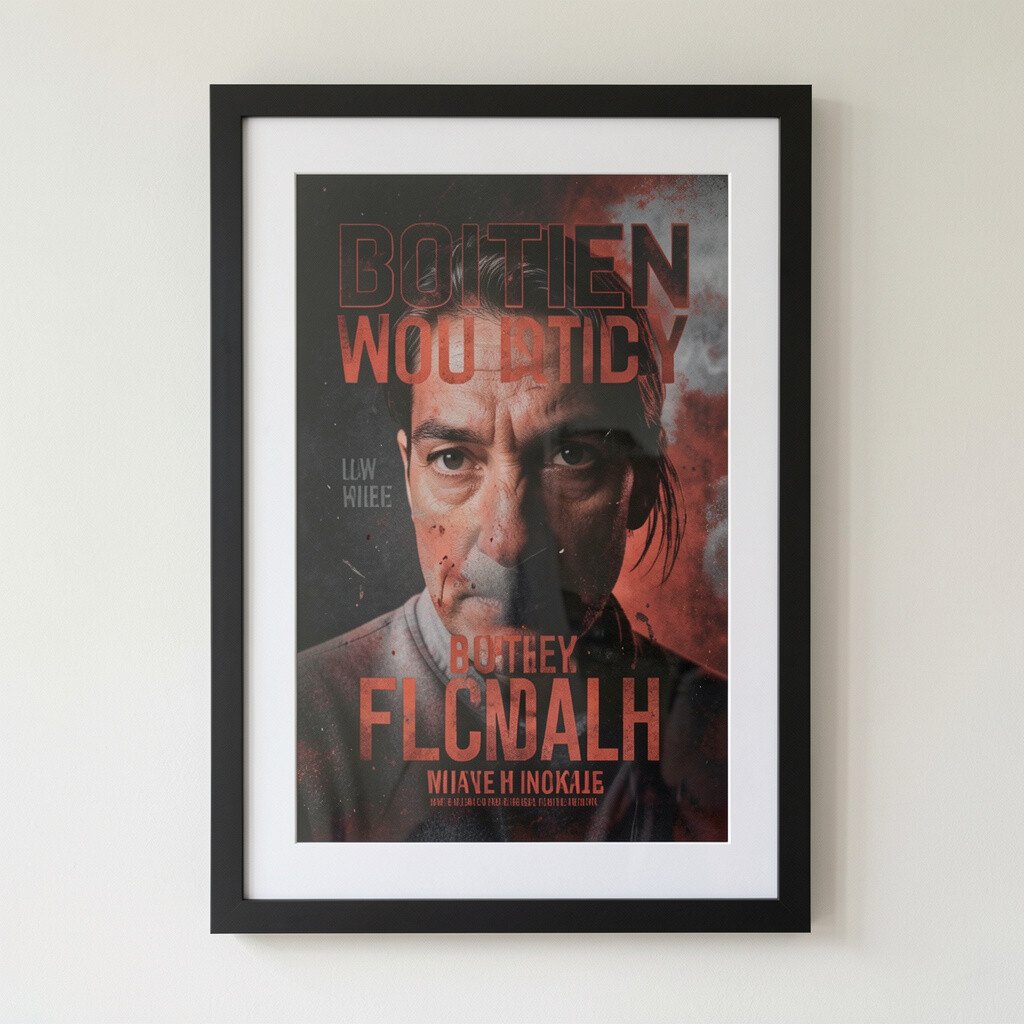
Matte frames and low-sheen viewing films calm bright-room glare right away. Your photos look more like classic prints, with fewer hot spots from overhead lights.
Choose a matte style that still keeps shadows and highlights balanced, so images don’t look flat. A simple black or warm wood frame keeps the focus on the photo. This option is also easy to personalize with different print sizes across the wall.
5. Museum-Style Photo Matting With Anti-Glare Covers
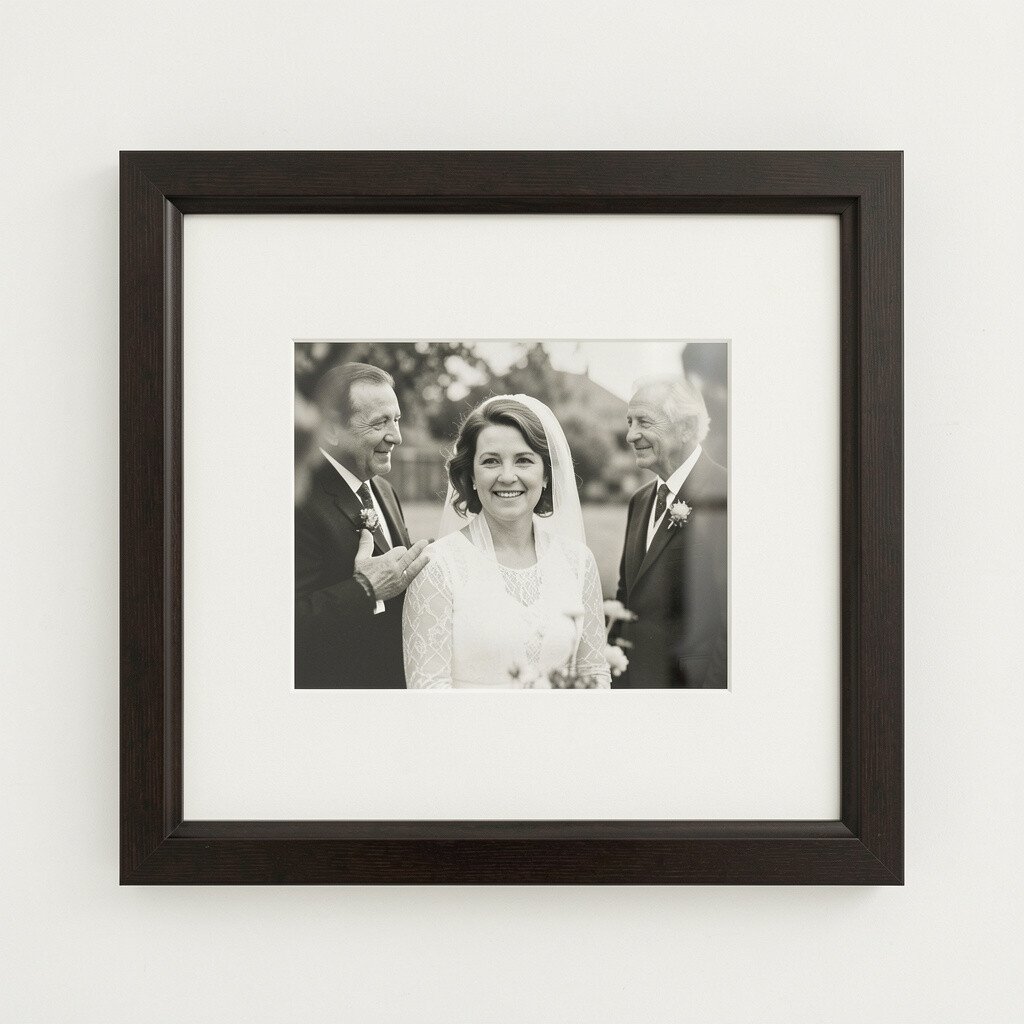
Museum-style setups create a clean, gallery feel while keeping glare under control. The inner mat helps separate the photo from the cover so light behaves better.
Use a double mat in complementary colors to soften the overall contrast for bright rooms. If you love travel photos, choose neutral mat tones that make the images feel timeless. This style feels unique because it looks calm and professional without being too formal.
For practical upkeep, keep the cover protected from dust when not in use. When budgeting, focus on one or two museum-style frames as anchor pieces, then add matching frames around them later.
6. Blackout-Thread Hanging Picture Rails for Controlled Light
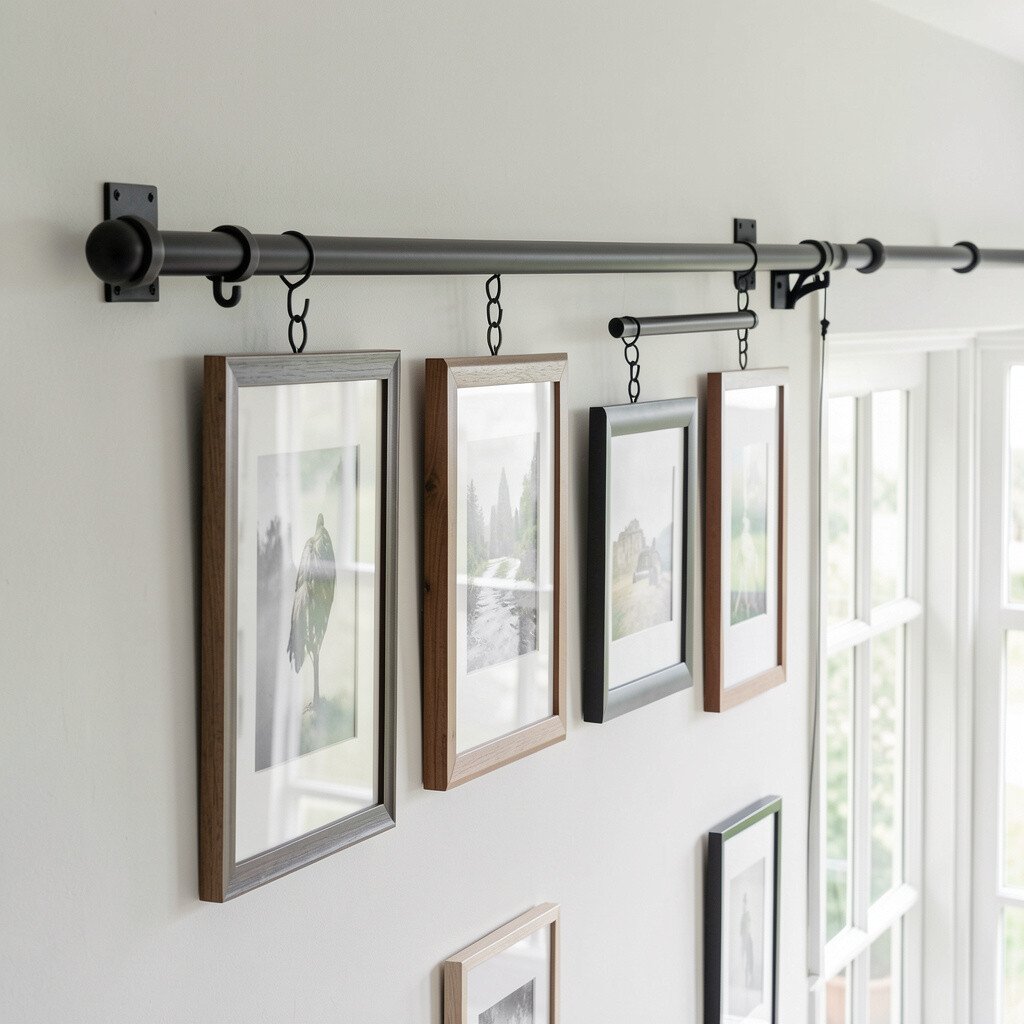
A picture rail system lets you position frames so they avoid the direct path of glare. You can slide the photo slightly up or down to match the sun’s angle across the day.
Pair the rail with glare-reducing glass or matte covers, and you’ll get clear viewing from many angles. This approach is great in very bright living rooms because it supports quick adjustments. Personalize by mixing frame heights for a casual gallery wall look that still stays readable.
7. Deep Box Shadow Displays That Reduce Surface Reflection
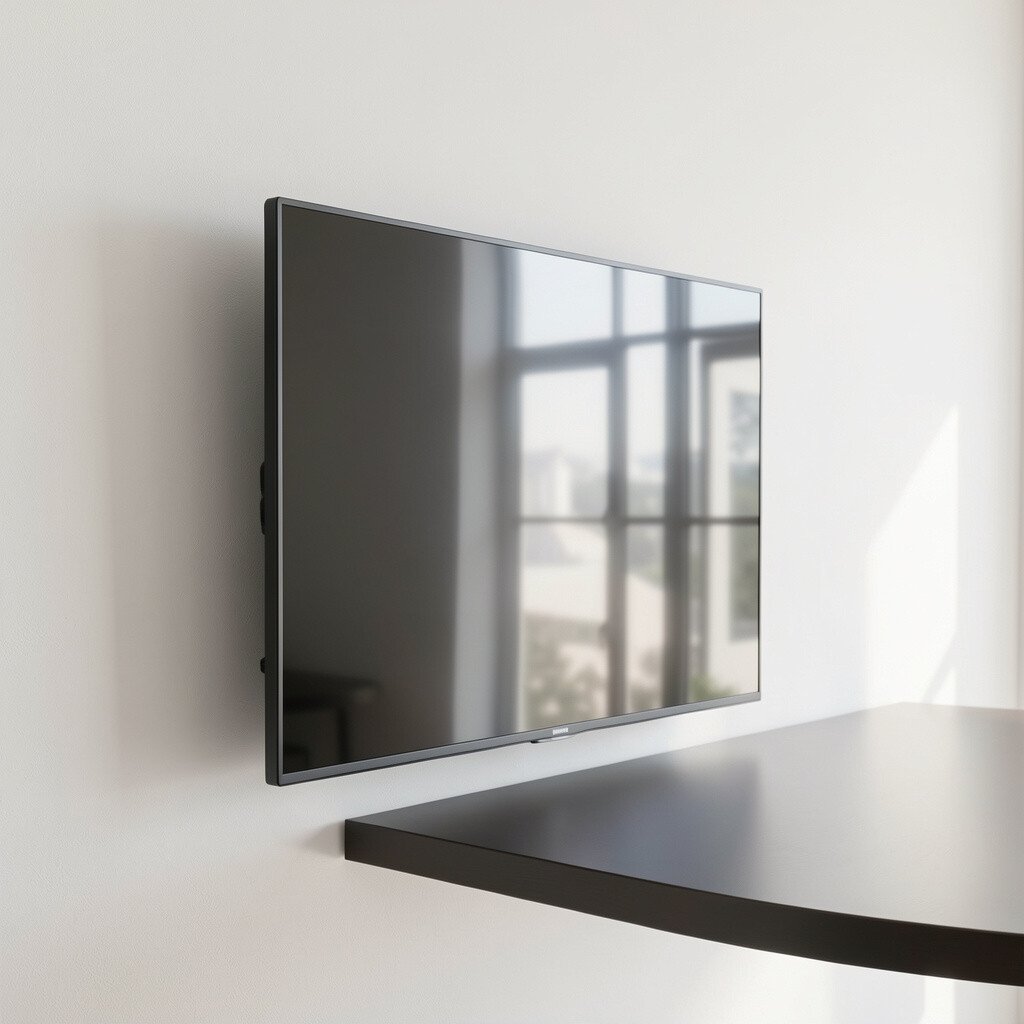
Deep box shadow displays tuck the photo farther back, which can reduce the chance of light bouncing back at you. When the artwork sits in its own little space, glare is less likely to dominate the view.
Choose a display with a strong backing and a clean front opening to keep the viewing area stable. You can add a small label card inside for dates, places, or a short memory, keeping it subtle with a simple font. These displays feel unique because the depth adds drama without needing expensive lighting.
8. Backlit Photo Frames With Diffusers for Soft Shine
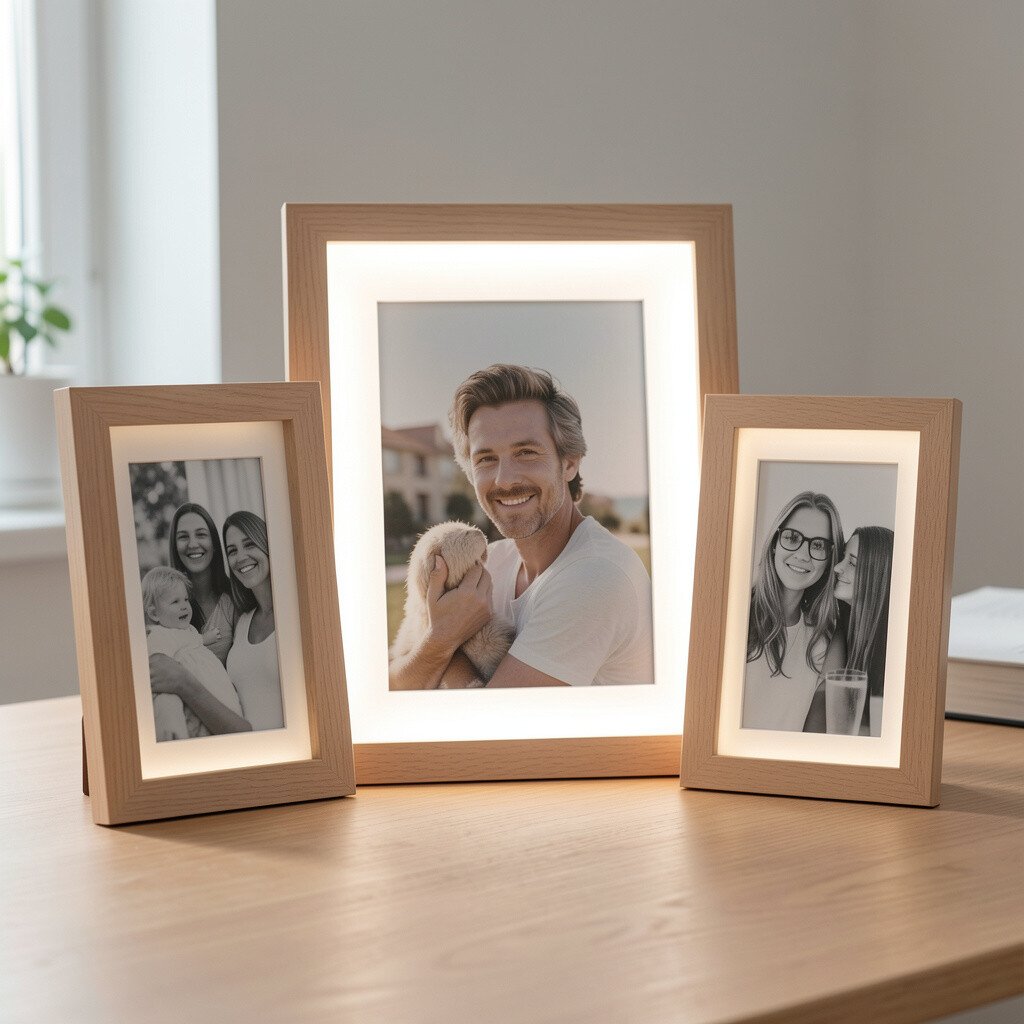
Backlit frames use light from behind and spread it evenly with a diffuser. Instead of reflecting overhead glare, the image glows gently, which looks amazing in bright rooms.
Pick a frame with a high-quality diffuser so the light stays smooth and doesn’t create bright streaks. This is a great trend because more people want photo displays that look like modern art. Personalize with warm or cool light settings to match the mood of your space.
For cost considerations, battery-powered models may cost less up front, while plug-in models can feel easier for daily use. Start with one backlit frame on a main wall, then decide if you want to keep going.
9. Anti-Glare Acrylic “Floating” Frames With Invisible Edges
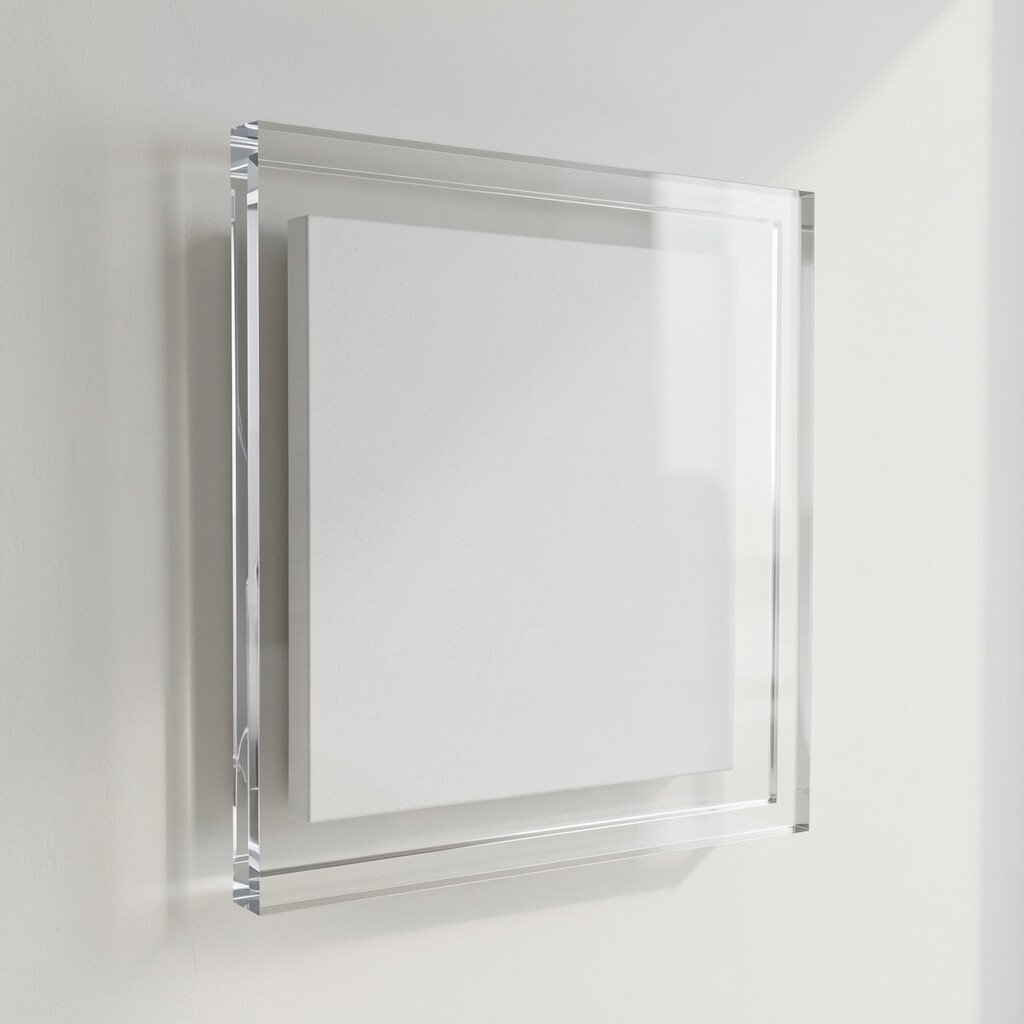
Floating frames hold your photo with minimal visible hardware, which keeps distractions low. Anti-glare materials help prevent reflections from the glassy front.
Choose a model that uses hidden grips or edge mounts so the photo looks like it’s floating. This style looks sleek in bright modern spaces and feels uniquely clean from every angle. For practical use, handle the edges carefully because glare-free fronts still show fingerprints if you touch them too much.
If you’re careful with placement, you may only need one or two floating frames to make the whole wall look upgraded. Consider mixing one floating display with matte frames to create a balanced look.
10. Clear Film Covers Over Prints for Glare Control Without Replacing Frames
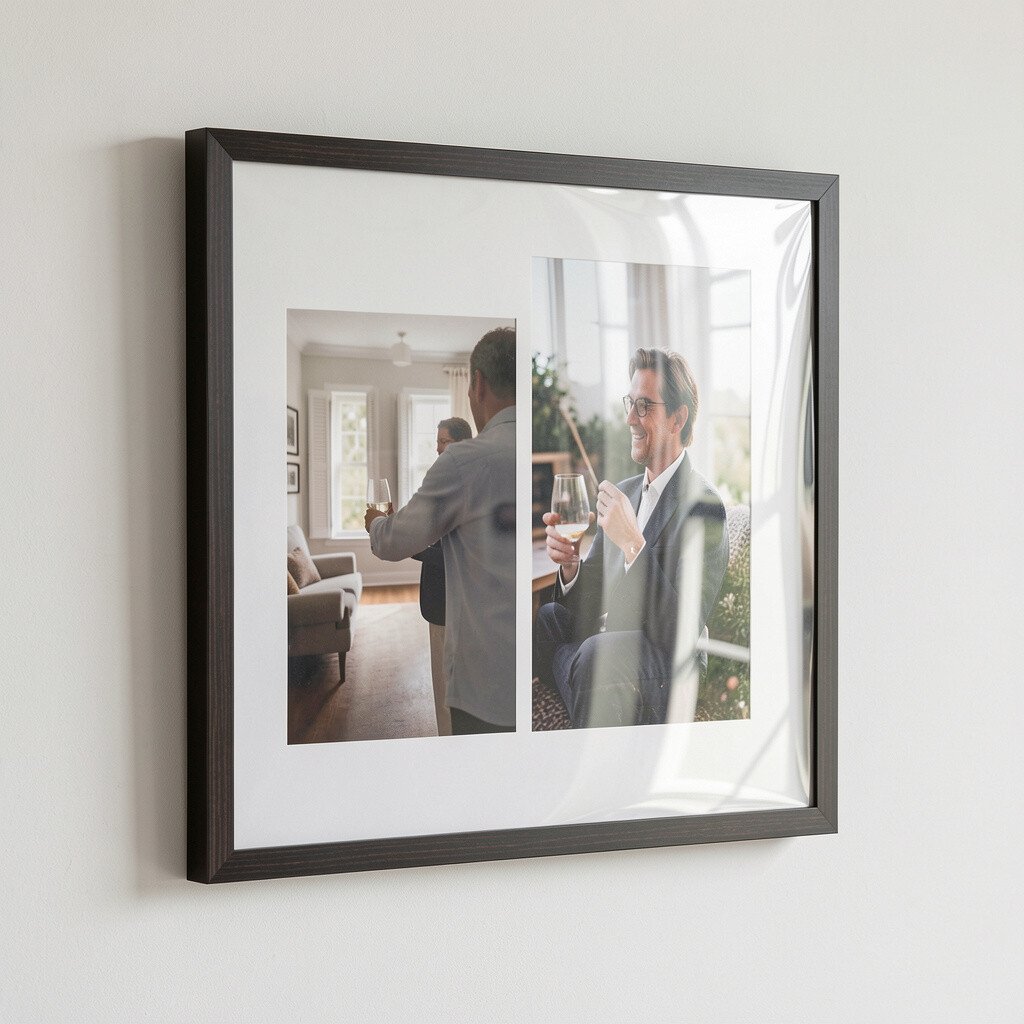
If you already own frames, you can often fix glare by adding a clear anti-reflective film. The photo stays inside its favorite frame, but the viewing surface becomes more readable.
This method is budget-friendly because it reduces the need to buy new frames. Apply the film carefully and smooth out bubbles so light passes cleanly across the surface. It also lets you personalize quickly by swapping prints seasonally while keeping the same display setup.
11. Angled Desktop Photo Stands With Glare-Away Positioning
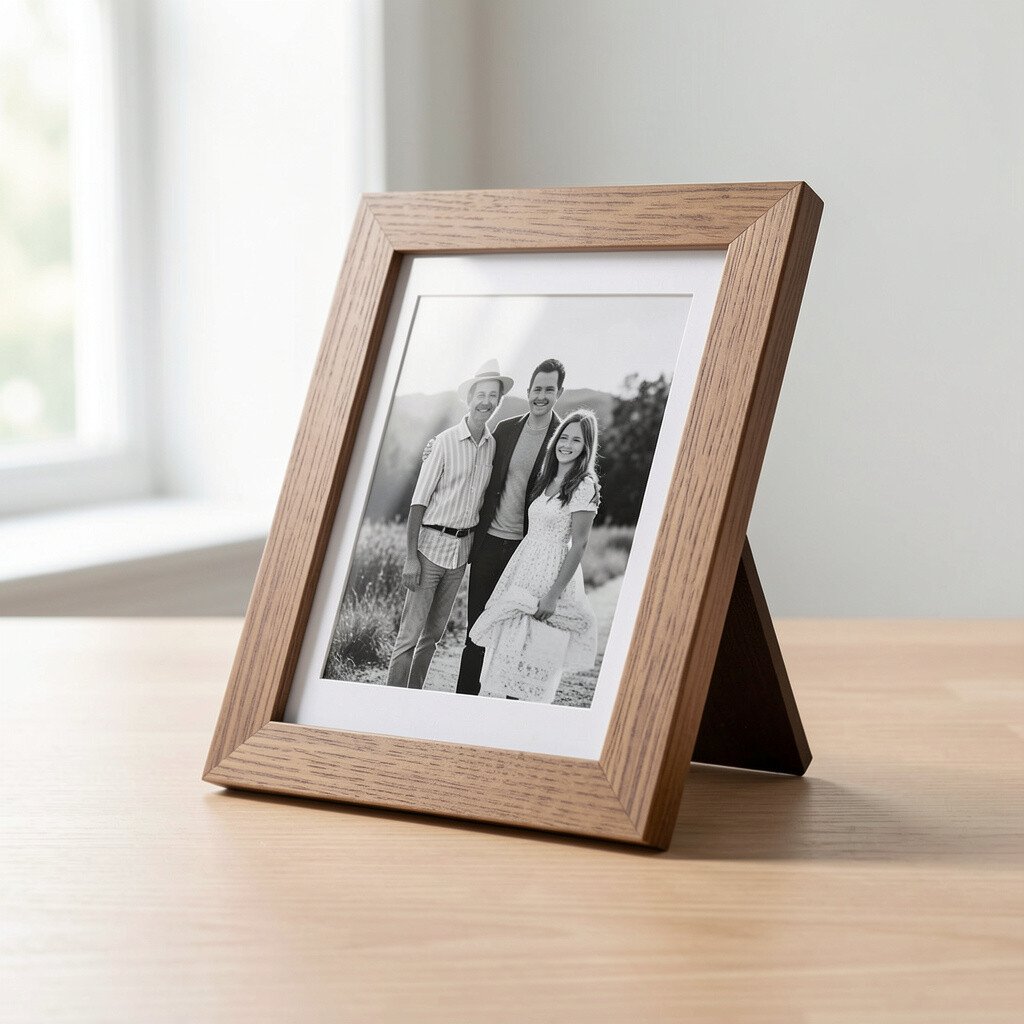
A good angled stand can save you from glare by changing where you naturally look. When the photo tilts slightly, reflections often slide off the surface instead of hitting your eyes.
Choose a sturdy stand with a non-scratch base so your desk stays protected. This is a practical choice for bright shelves and sunny desks because you can move the stand to a better spot as the day changes. Personalize by rotating displays for holidays, birthdays, or travel seasons.
Costs are usually reasonable, especially for simple acrylic or wood stands, so you can buy a few for matching sets. If you want variety, use stands in different heights but keep one color family for a unified style.
12. Slanted Picture Frames for Sunlight-Resistant Viewing
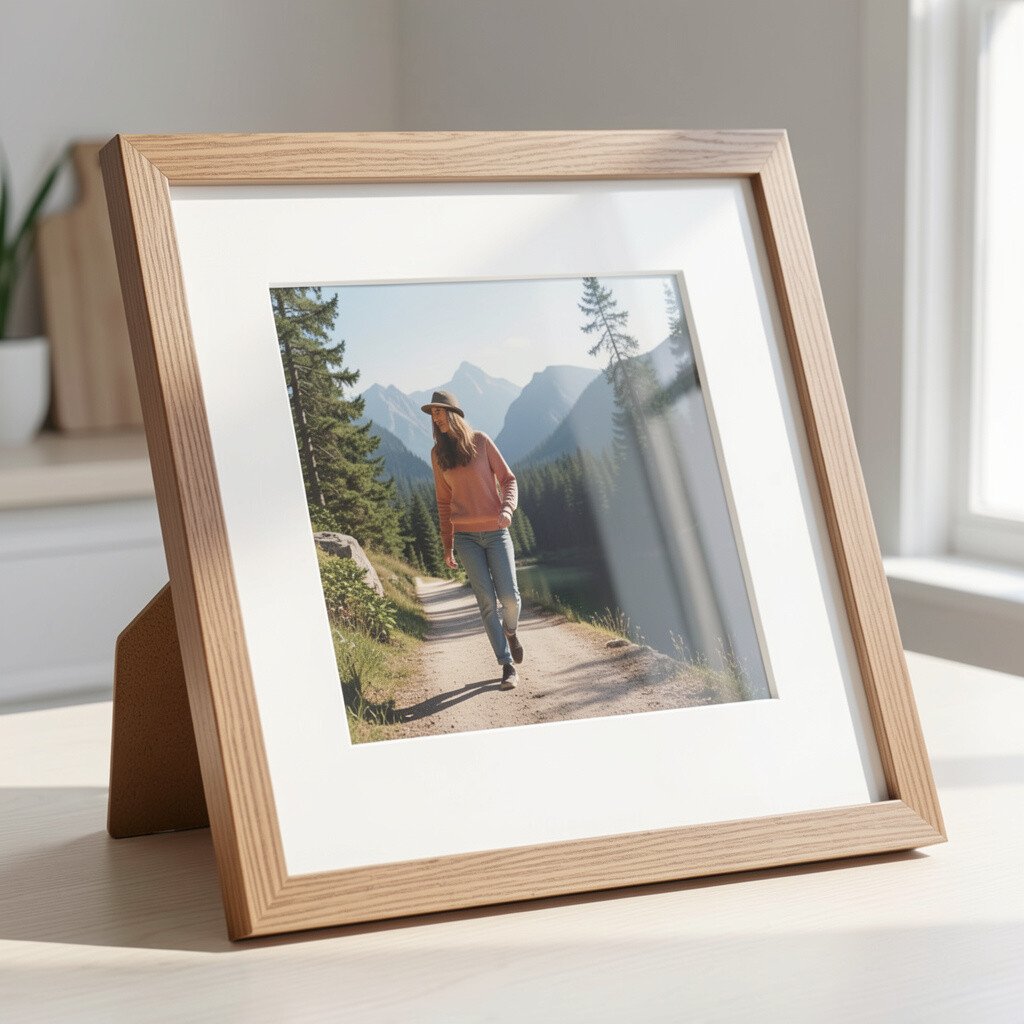
Some frames are designed to sit at a slight slant, which helps steer reflections away. That makes them especially useful near windows, where light comes from above and behind.
Look for a stable back support and a front surface that resists smudging. In bright rooms, a slanted setup can make photos feel sharper because glare has fewer chances to pool on one spot. You can personalize by choosing frames in your favorite color, like soft white, walnut, or matte black.
13. Woven Reed or Bamboo Photo Holders That Cut Reflections
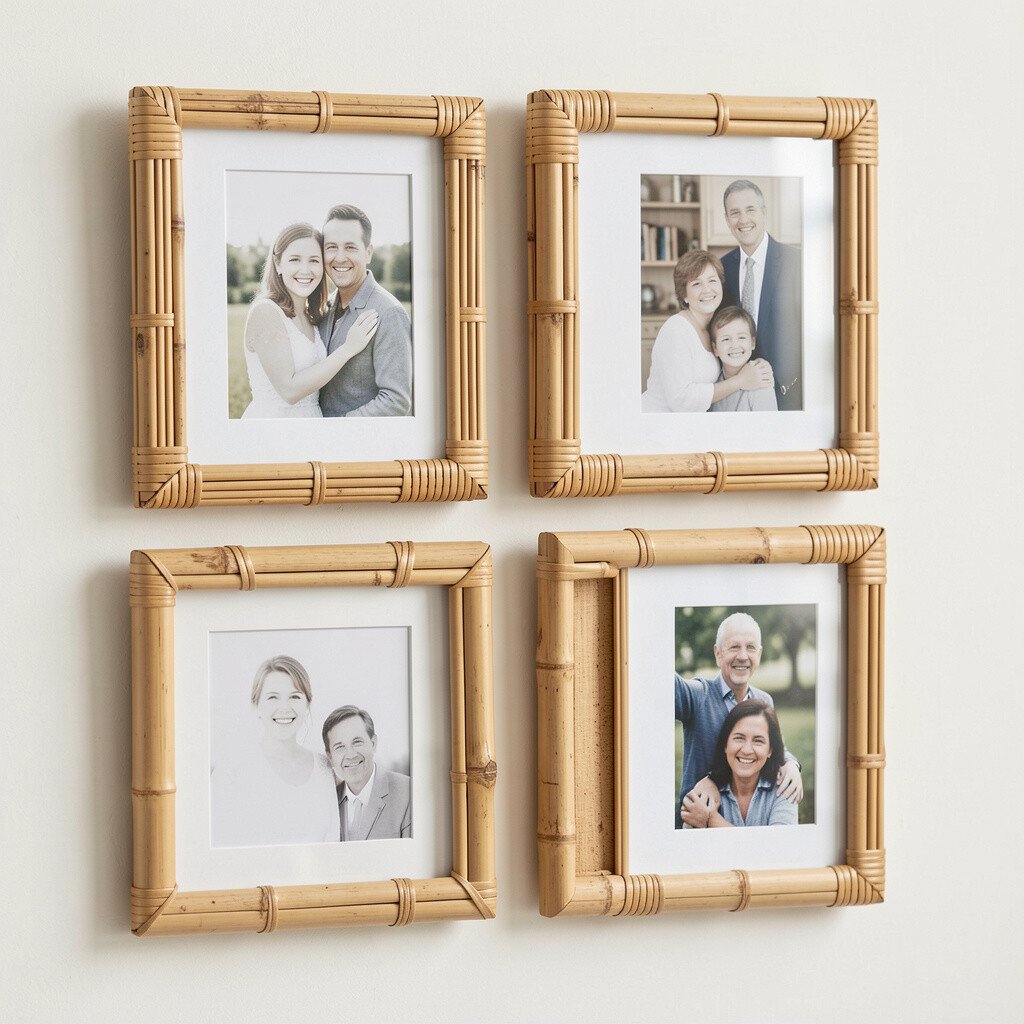
Natural woven holders are a fun option because texture changes how light travels. Instead of a smooth reflective surface, the woven material breaks up glare and creates a gentle, artsy look.
Pair this kind of holder with photo prints that have balanced contrast, so the texture supports the image rather than competing with it. This style feels unique and warm, which works well for bright spaces that already use plants or natural materials. For practical tips, keep dust under control with a soft brush to keep the display looking fresh.
If you’re thinking about cost, woven holders can range widely, so check the size and sturdiness first. A smaller woven holder for one favorite picture can be a smart, low-risk start.
14. Magnetic “Snap-In” Photo Displays With Matte Fronts
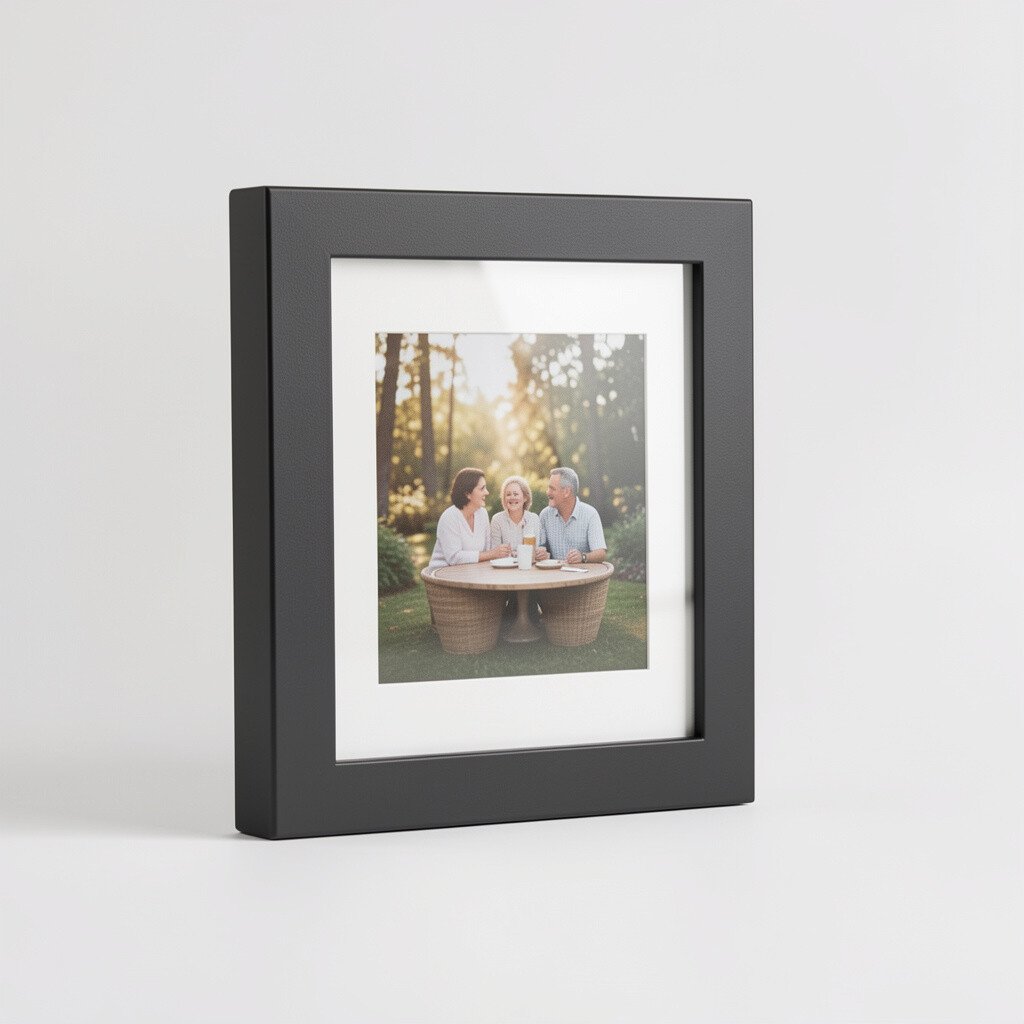
Magnetic displays are convenient because you can swap photos without digging for tools. When you choose a matte front, glare stays low and the image stays readable.
Use magnets that grip firmly so the photo doesn’t shift when you move the frame. This is great for families who update pictures often, like after holidays or school events. Personalize by switching photos by season while keeping a consistent display frame that still looks polished.
Budget-wise, snap-in systems can save money over time because you’re not buying new frames for each change. It also fits the current trend of frequently refreshed gallery walls.
15. Metal Frame Displays With Brushed Finishes to Reduce Sparkle
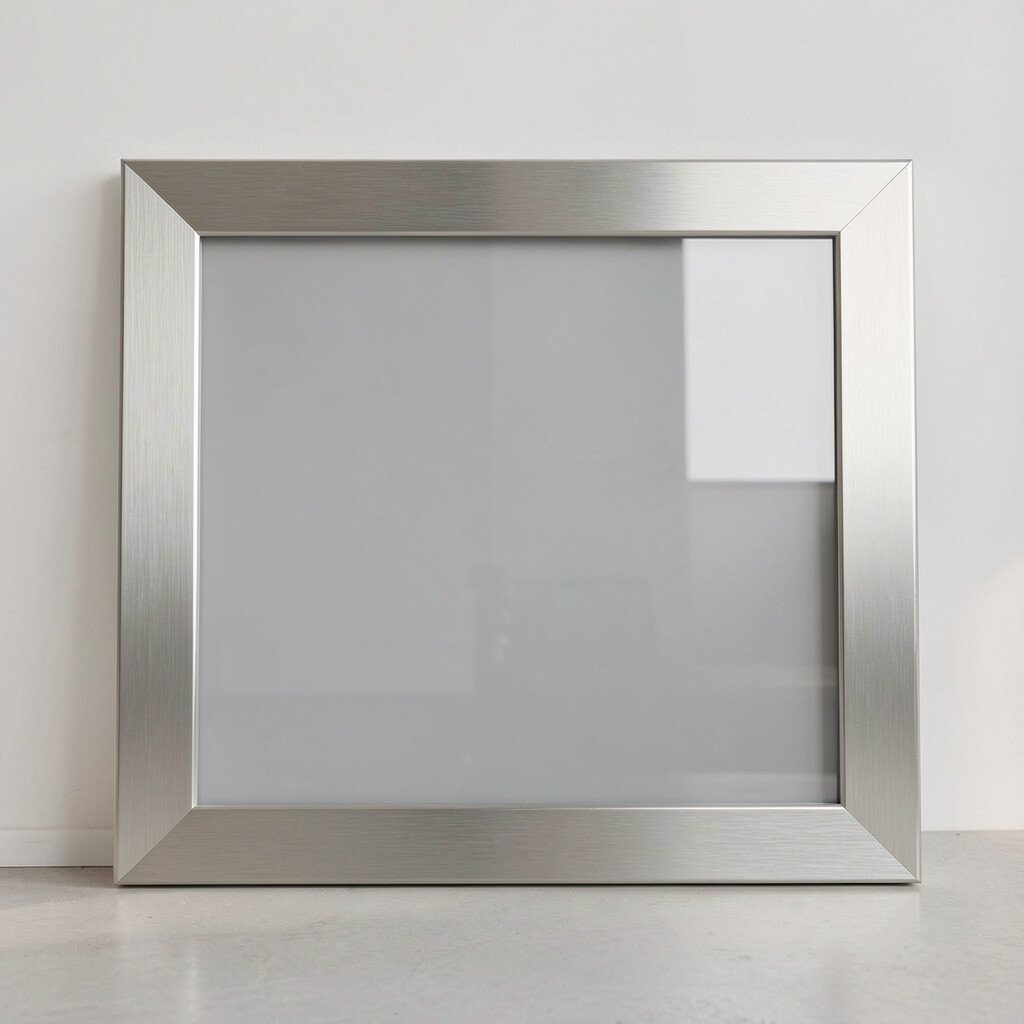
Brushed metal frames don’t throw sharp reflections like shiny chrome can. They help keep attention on the photo, especially under strong overhead lighting.
Choose brushed finishes in silver, bronze, or black so they match your room without looking too loud. For glare control, pair the metal frame with a matte or anti-reflective cover. This combination feels unique because it mixes clean lines with a softer viewing surface.
For cost considerations, metal frames can be mid-range, but you can look for sales or buy fewer statement frames first. If you want a cohesive set, repeat the same frame style across multiple photos so the wall looks intentional.
16. Acrylic Photo Blocks With Non-Glare Edges for Shelf Viewing
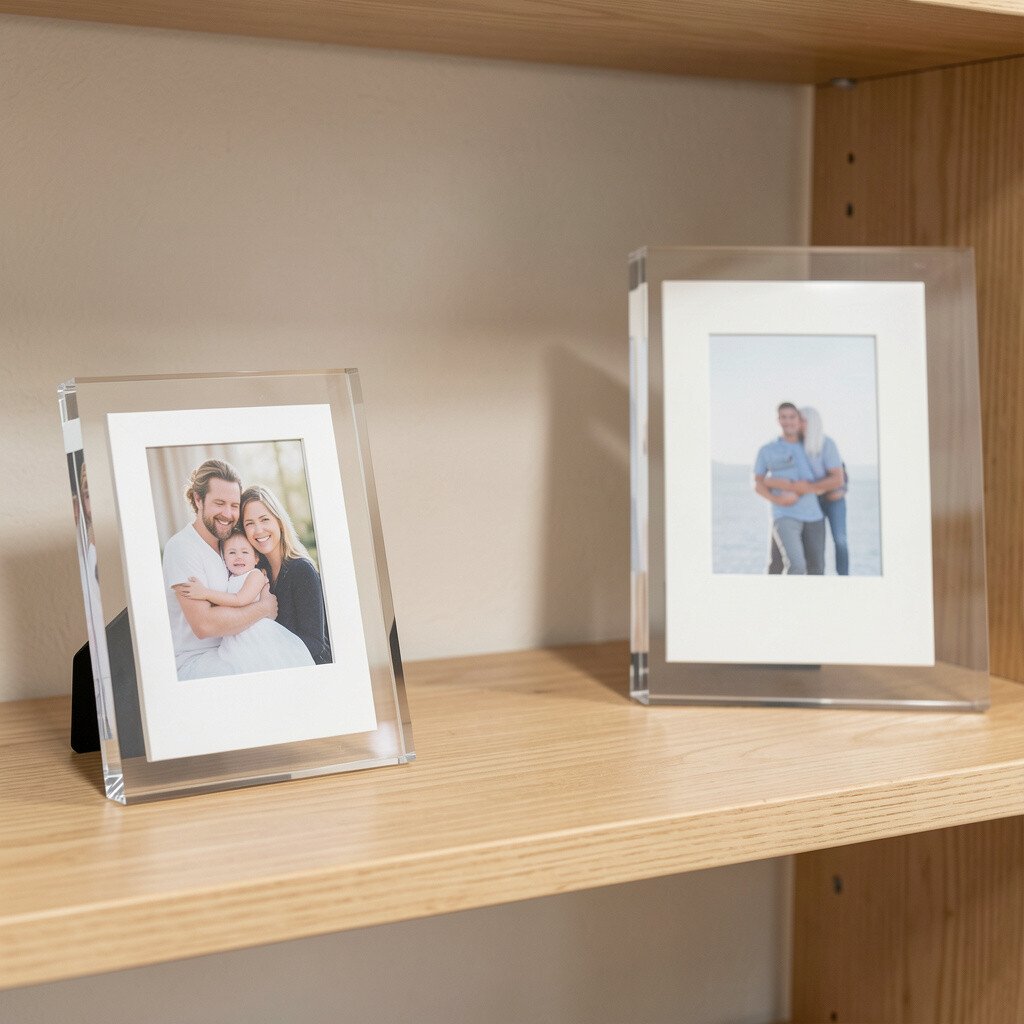
Acrylic photo blocks look like modern pieces of art sitting on shelves. Non-glare surfaces and edges reduce the chance of bright reflections interfering with the image.
Place the block where it gets indirect light, like across from a window but not in direct beam paths. This helps keep the photo clear while still letting your decor stay bright. Personalize by choosing monochrome photos for a sleek look or vibrant color photos for a cheerful pop.
17. Fabric-Covered Photo Panels With Diffusing Texture
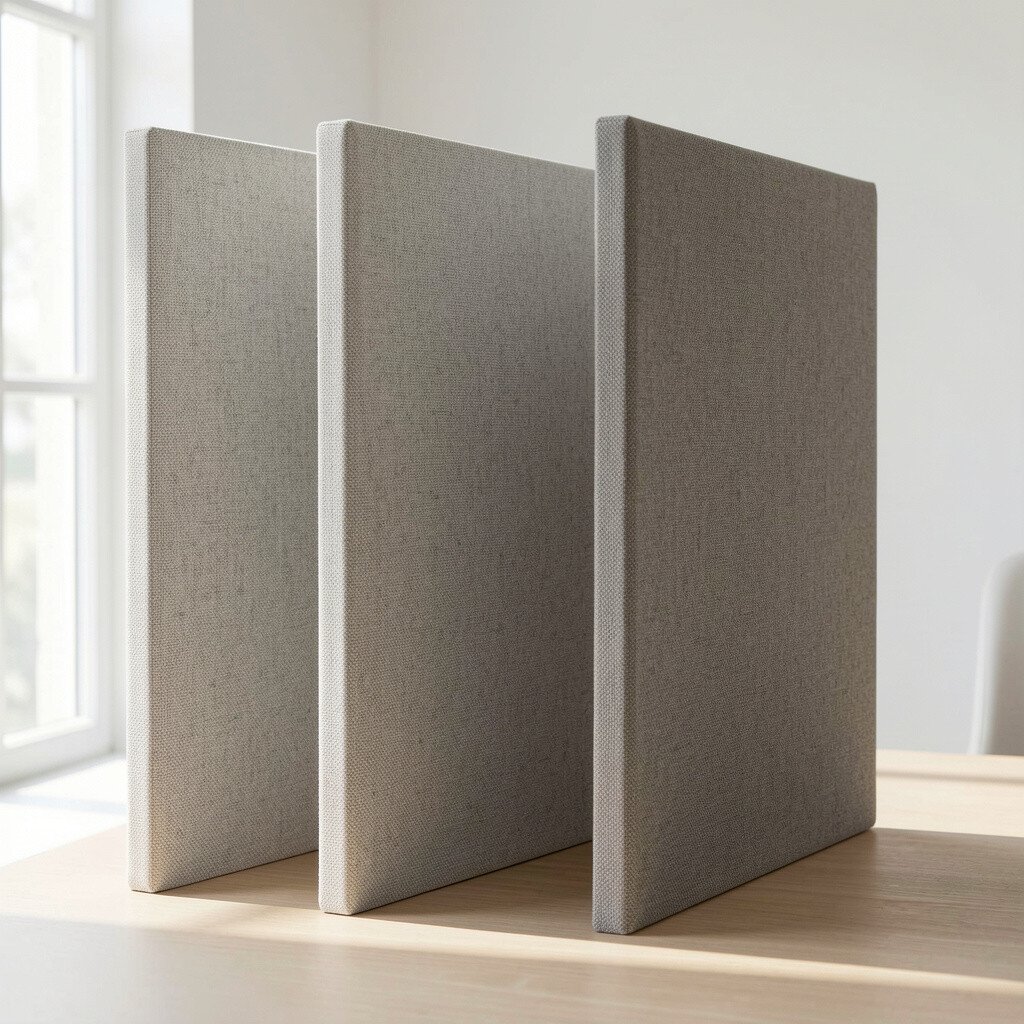
Fabric-covered panels create a soft, forgiving display that doesn’t show harsh glare. The fabric works like a natural diffuser, so your photos remain comfortable to view in sunlit rooms.
Pick a fabric color that matches your space, such as cream, light gray, or soft blue. For a practical approach, secure the photo gently behind the fabric so the image stays flat and doesn’t warp. This option feels uniquely warm and stylish, especially for bedrooms and family rooms.
Cost can vary, but you can often choose smaller panels first to stay within budget. If you’re handy, you can even customize the look by selecting different fabric tones for different photo sets.
18. Rotating 360-Degree Photo Displays With Anti-Glare Covers
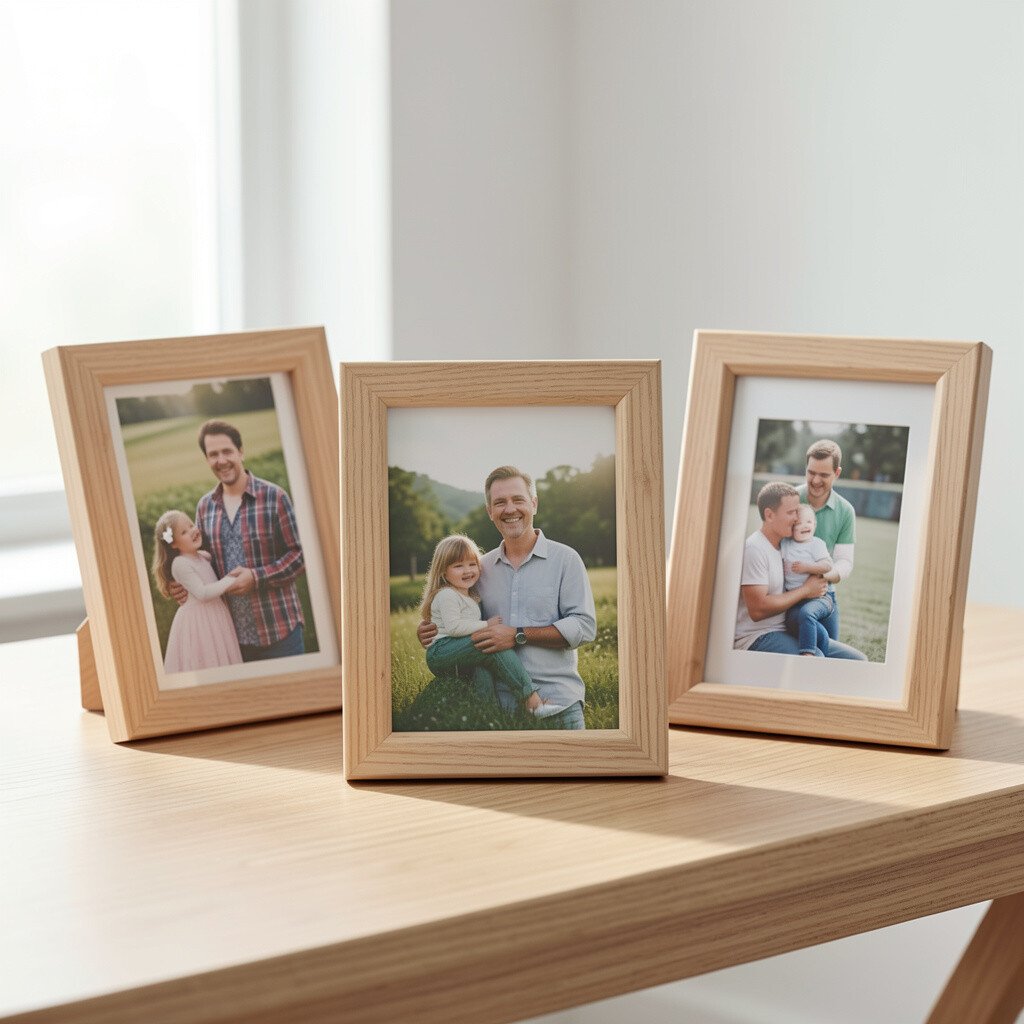
A rotating display makes it easy to view photos without changing your seating position. With an anti-glare cover, you can shift the image and find the clearest angle fast.
This is especially useful in bright open-plan rooms where light changes throughout the day. You can personalize by creating a themed rotation, like birthdays, beach trips, or family milestones, and then update it seasonally. Current trends favor interactive decor, and rotating frames fit that vibe while staying practical.
For cost considerations, these displays may cost more than simple frames, so consider starting with the one spot that gets the most attention. Choose a cover that promises clarity and keep it clean, because even anti-glare surfaces look better when they’re free of smudges.