A good stand can make your space look neat and feel more useful. The best part is that you can build many of them with simple materials you already have.
Keep reading for quick DIY stand ideas that match different styles and everyday needs.
1. Lifted Desk Laptop Stand From Scrap Wood
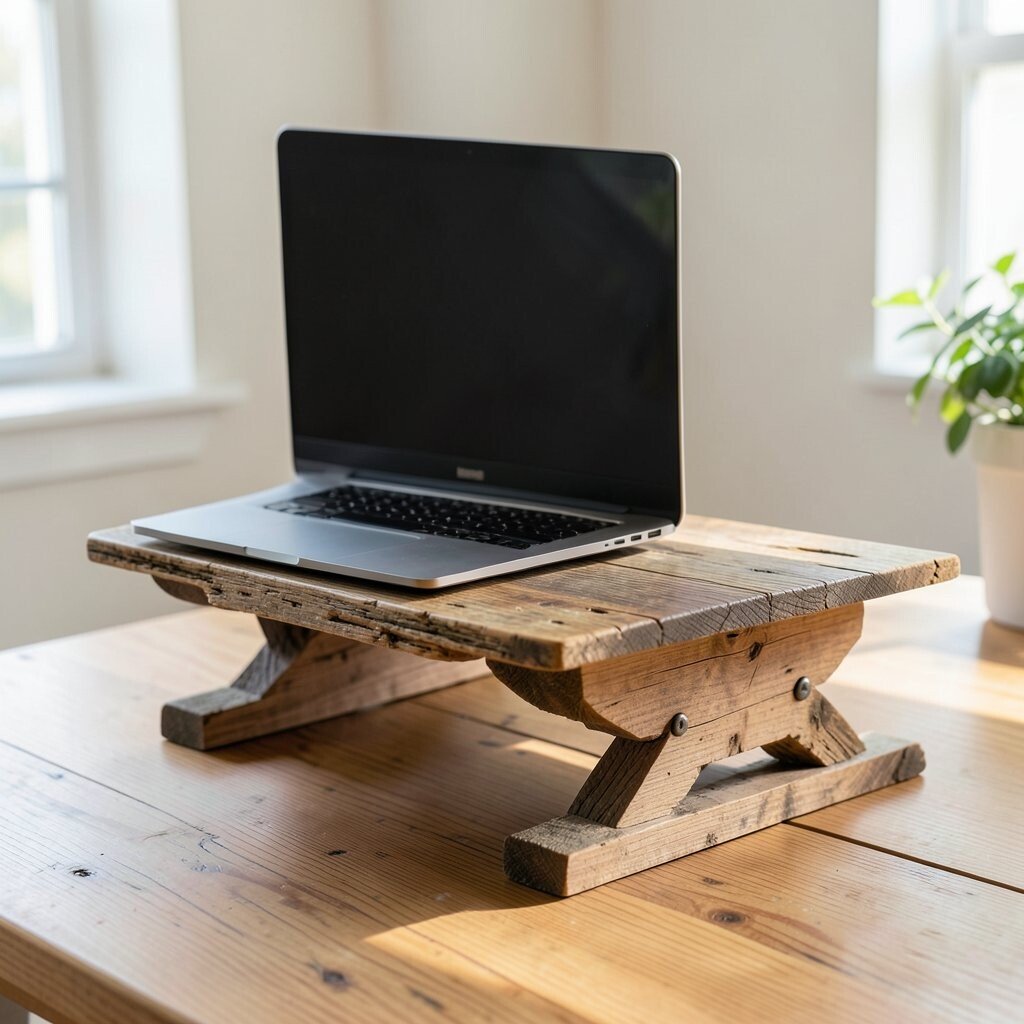
Picture a small wooden platform that tilts your laptop up to eye level. The grain of the wood catches light when you glance from the screen to the room.
Sand one piece smooth and add a simple wedge underneath so the front rises a little. This setup helps your wrists feel better and can keep you from hunching. You can personalize the look by staining the wood, painting it a fun color, or sealing it with a clear top coat. For a low cost build, use leftover boards from a shelf project, then measure so the laptop sits steady without rocking.
2. Foldable Phone Stand Using Binder Clips

Hold a binder clip up and imagine it turning into a tiny, sturdy phone rest. When you snap the clips into place, the metal gleams and the shape feels crisp and intentional.
Open the binder clip, bend it gently, and use the jaws as a cradle for your phone. This stand is handy for video calls, recipes, and watching clips while you cook. For personalization, spray-paint the metal in matte black or a bright accent color. Keep it practical by adding a small strip of foam or fabric where the phone touches, which helps prevent scratches.
Cost stays minimal because binder clips are usually already around the house. A current trend is using desk-friendly minimal gear, and this fits right in without bulky hardware.
3. Upcycled Crate Stand For Plants And Small Pots
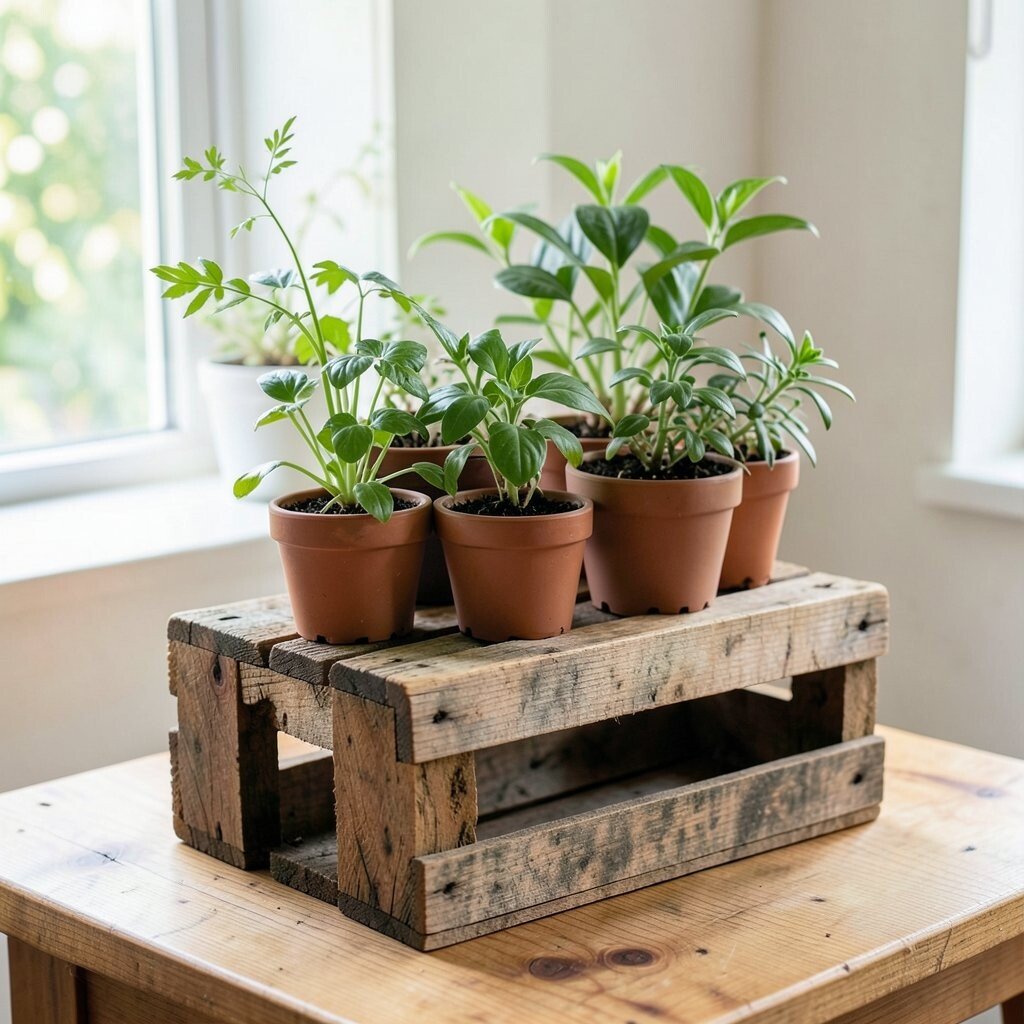
Imagine a weathered mini crate sitting on short legs like a little porch for your greenery. The wood looks full of character, and the gaps let air move around the soil.
Remove one side or cut an opening so pots slide in easily, then line the inside with a thin plastic sheet or landscape fabric to protect the wood. This stand gives better drainage and makes watering simpler. It also keeps plants off damp floors, which can reduce mess. Add a small tray under the crate so extra water stays contained. To personalize, stencil plant names, attach hooks for tools, or paint the crate in a soft neutral that matches your room.
Keeping costs low is easy when you use old shipping crates, flea market finds, or leftover lumber pieces. Right now, many people love natural textures and indoor garden corners that look lived-in, and this design nails that vibe.
4. Mason Jar Charging Station On A Repurposed Board
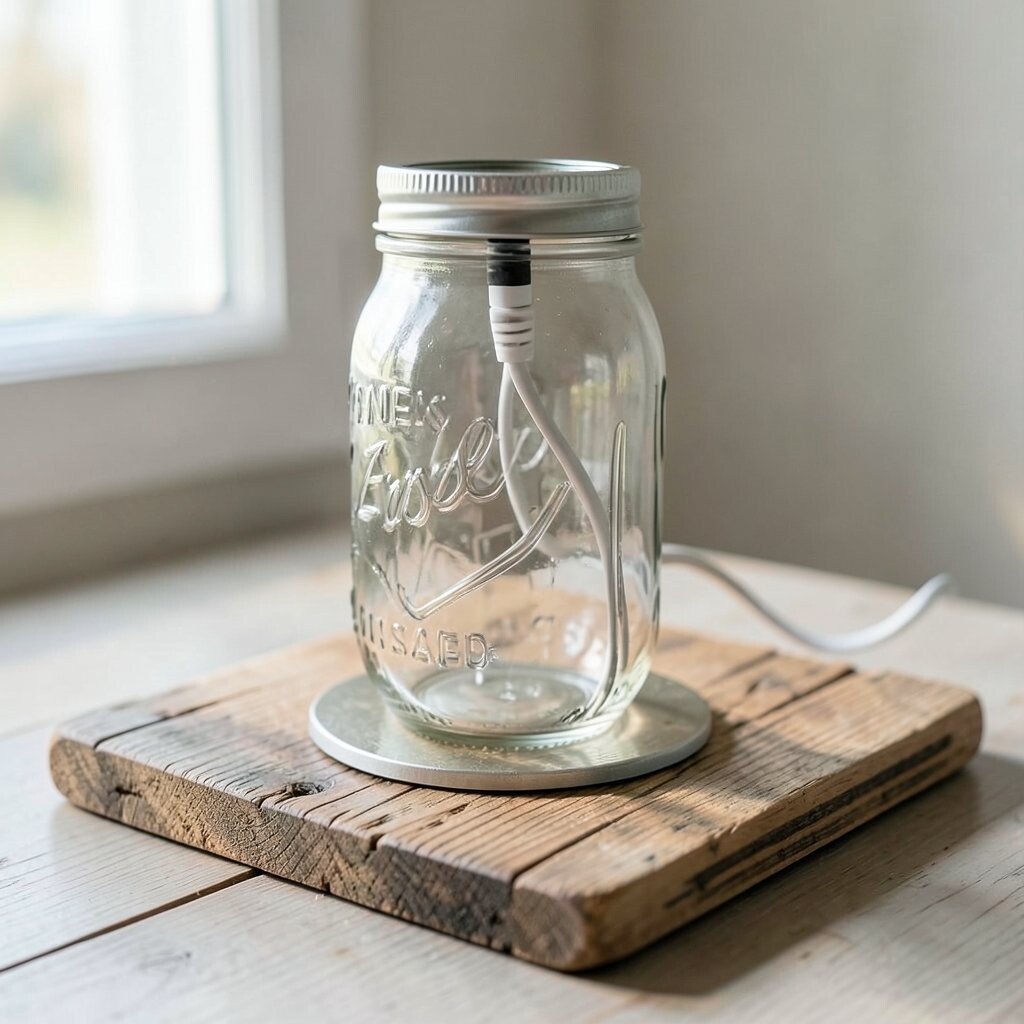
Visualize a wooden board mounted on the wall with several mason jars lined up like little light fixtures. Each jar holds a cable and a phone or earbuds while the setup looks tidy and charming.
Drill holes through the board for cords, then screw the board in place and attach jar lids or use jar rings as mounts. This stand helps you charge without tangled cords, and it keeps small tech items from wandering around the room. Use a fabric ribbon or twine around the jar bases for a warmer look. Personalize by painting the board, labeling jars with simple handwriting, or choosing jars with different sizes so everything matches your storage needs.
5. PVC Pipe Organizer Stand For Tools And Spray Cans
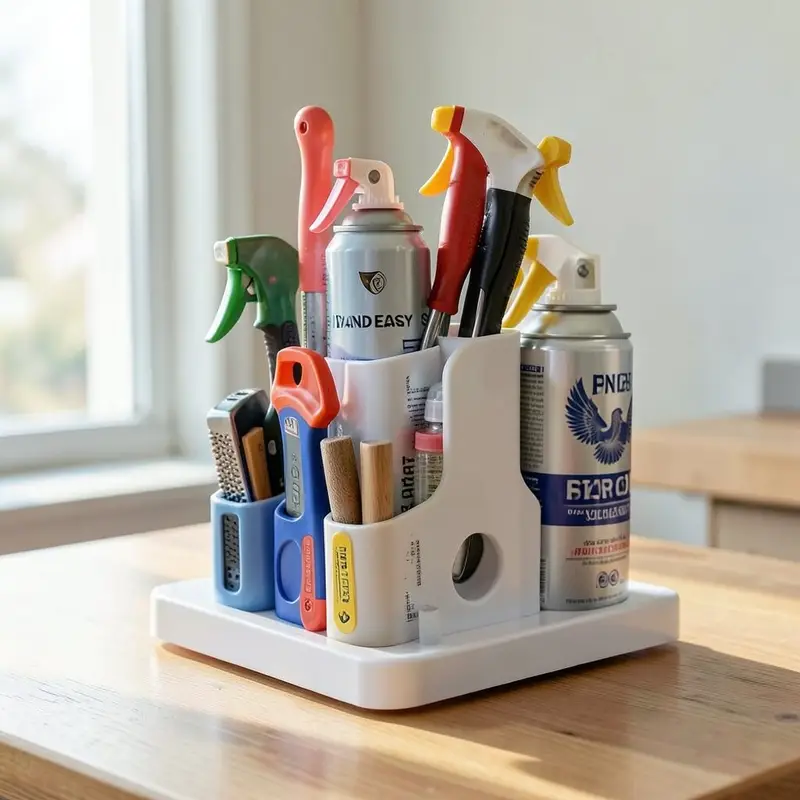
Picture neat rows of tall, capped PVC tubes on a stable base, like a workshop tower. The bright plastic looks clean, and the openings make each item easy to grab.
Cut PVC into equal lengths, glue them into a foam or wood base, and leave spacing for hand access. This stand keeps your spray cans upright and helps prevent clunks on the floor. It is also great for small tools like markers, paint brushes, or even rolled measuring tapes. For personalization, cover the base with vinyl fabric, wrap it with cord, or add a strip of magnetic labels so you can rearrange later.
If you want a budget build, use scrap pipe from a home improvement bin and check for clearance caps. A practical trend lately is organizing in vertical, visible stacks, and this makes your creative supplies feel instantly more organized.
6. Reversible Shoe Rack Stand From Scrap Hangers
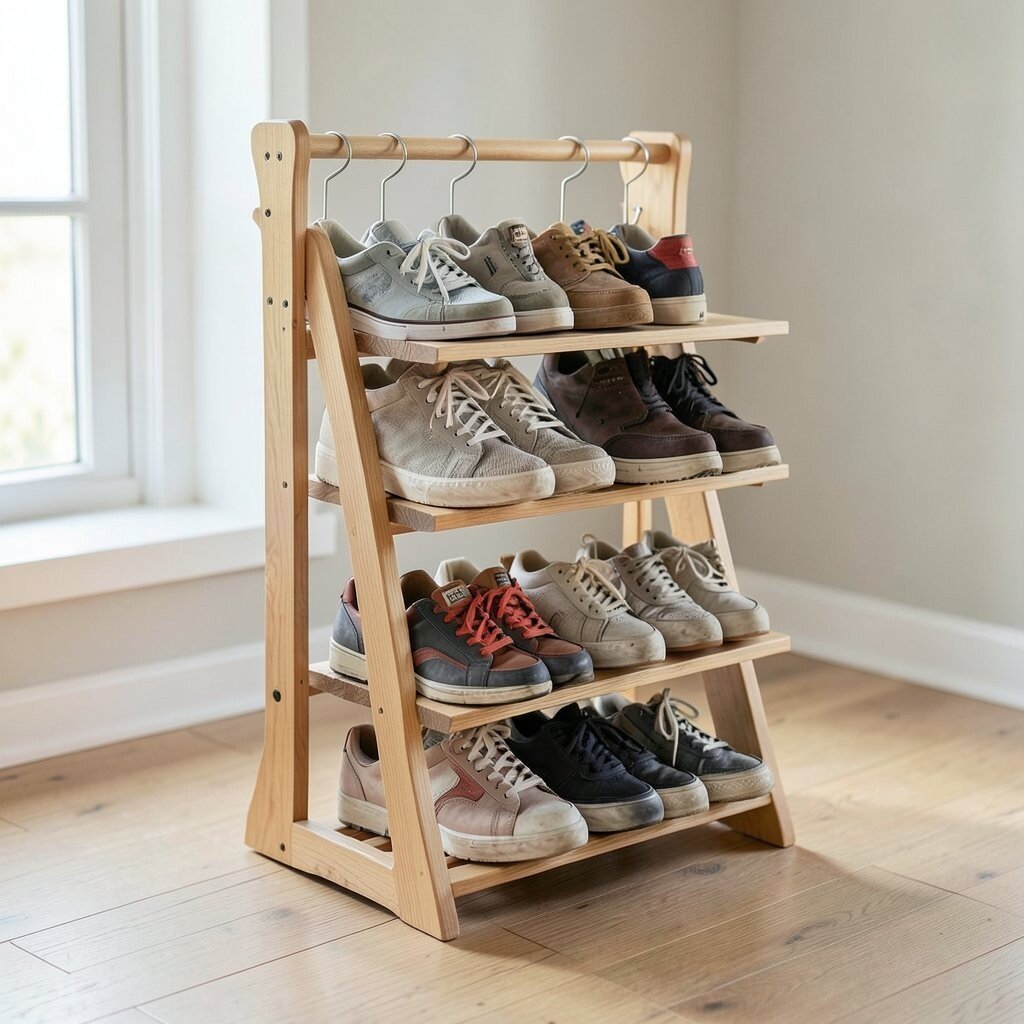
Imagine a stand made from bent hangers that forms a simple U shape for shoes and slippers. The metal curves look airy, and the open design lets shoes dry faster.
Cut and reshape hangers, then attach them to a board with screws or sturdy hooks. This stand is great near doors and helps pairs stay visible instead of hidden in a messy pile. You can personalize by mixing colors if you use coated hangers, or by wrapping parts with twine for a softer look. To keep it safe, smooth any sharp ends and add felt pads where metal touches the floor or shoe.
7. IKEA-Style Cutting Board Stand From Old Books And Fabric
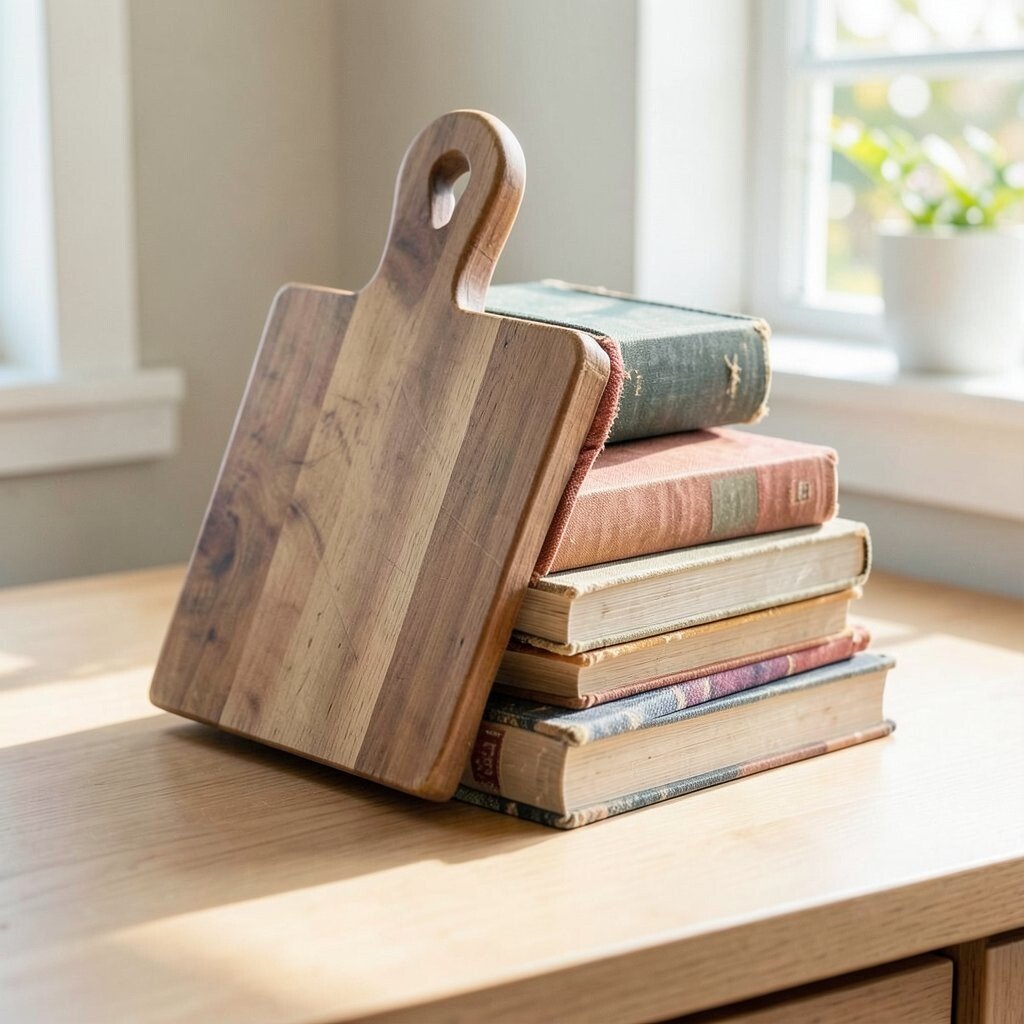
Picture a stack of old books tucked under a cutting board like a clever little riser. A thin fabric strip wraps the edges, giving the stand a calm, handmade feel.
Place folded fabric between the books and the board so the surface grips and doesn’t slide. This stand is perfect for holding a cutting board while you prep, or for propping up a tablet in the kitchen. It also protects your board from scratches and keeps the height comfortable. Personalize by choosing a patterned fabric that matches your kitchen theme, then tie a ribbon at the front so it looks intentional.
Using books you already own keeps costs low, and it’s a nice option if you want a quick, non-permanent solution. Many people are leaning toward clutter-free aesthetics, and this stand looks neat even when it’s just temporary.
8. Wooden Ring Stand For Jewelry Using Offcut Dowels

Visualize a tidy row of small dowels with rounded pegs that hold rings like tiny crowns. The surface looks warm, and each ring sits upright so it’s easy to choose.
Cut dowels into short pieces, drill shallow holes or sand a gentle groove for ring bands, then mount the dowels onto a base board. This stand prevents tangled necklaces and helps you spot your rings at a glance. Personalize by carving a small pattern into the base or adding a base finish like matte varnish. For practical use, space the dowels so rings don’t bump each other, and smooth all edges for comfort.
9. Hanging Tote Stand From A Scrap Door Hinge
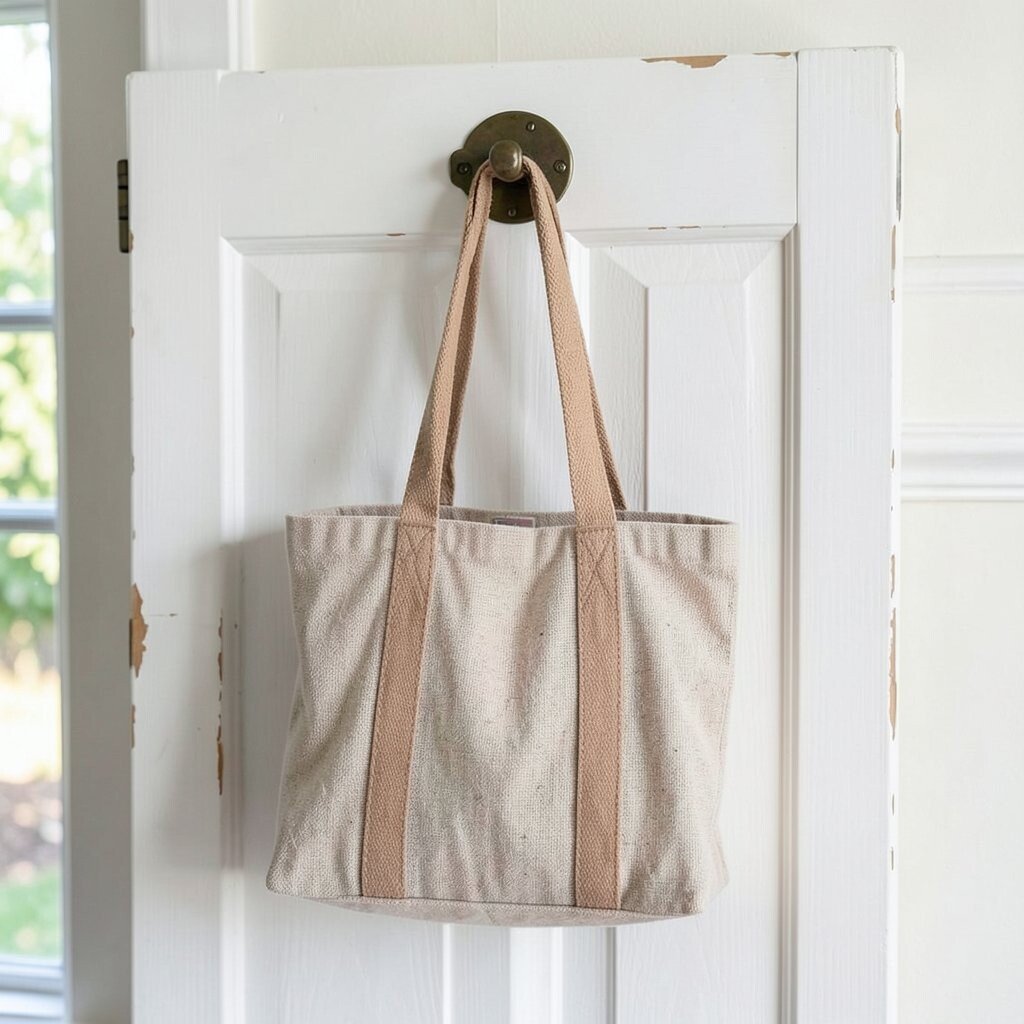
Imagine a single hinge mounted to a wall that acts like a small hook-and-rest for totes. When your bag hangs on it, the hinge looks industrial and stylish.
Use the hinge leaf as a support and attach it securely to a stud or strong wall anchor. This gives you a place for a shopping tote, a reusable bag, or a small clutch without taking up floor space. It also keeps straps off your chairs, which helps your room stay clean. Personalize by painting the hinge to match your hardware, or leave it raw for a trendy metal look.
Cost is low because hinges are often cheap or already in your garage. A popular current style is mixing industrial details with simple home organization, and this hinge stand gives that vibe fast.
10. Cardboard Tablet Stand With A Folded Triangular Design
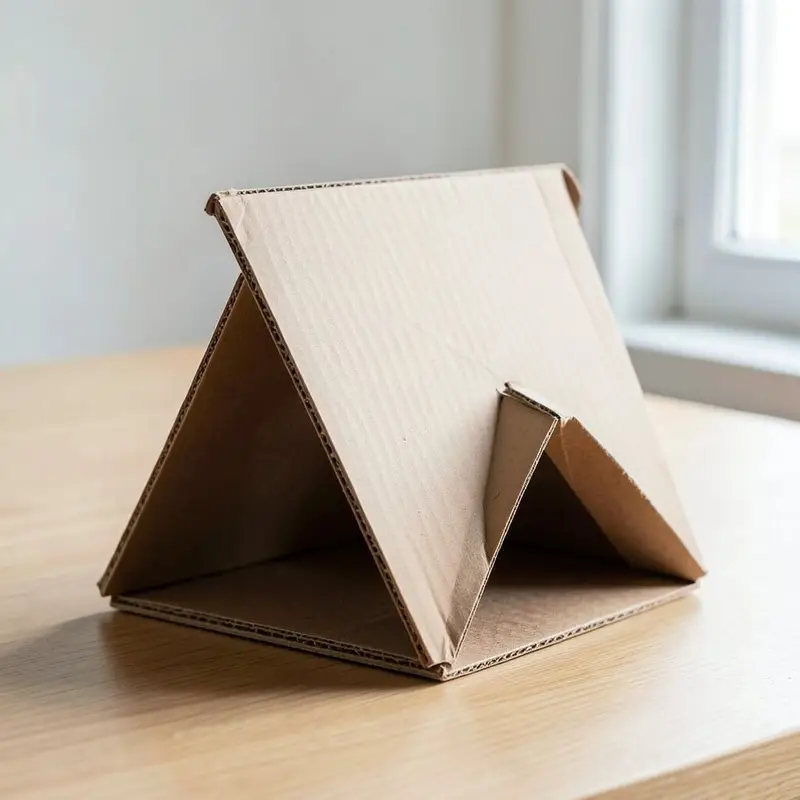
Picture a tablet propped on a sturdy cardboard stand that looks surprisingly polished. The surface can be covered with patterned paper so it feels like a craft project that actually works.
Cut a sturdy cardboard sheet and fold it into a triangle using simple creases, then reinforce the edges with tape or glue. This stand helps you watch videos hands-free and makes recipe scrolling easier. Personalize by wrapping it in contact paper, adding stickers, or painting it in a clean color block style. For best results, use thick cardboard and test the angle so the tablet stays stable.
If you want it to last longer, coat it with a thin layer of clear varnish or add lamination. This is a budget-friendly trend, because many people now prefer quick, paper-based organizers that reduce waste.
11. Lightweight Fabric Storage Stand For Baking Trays And Wraps
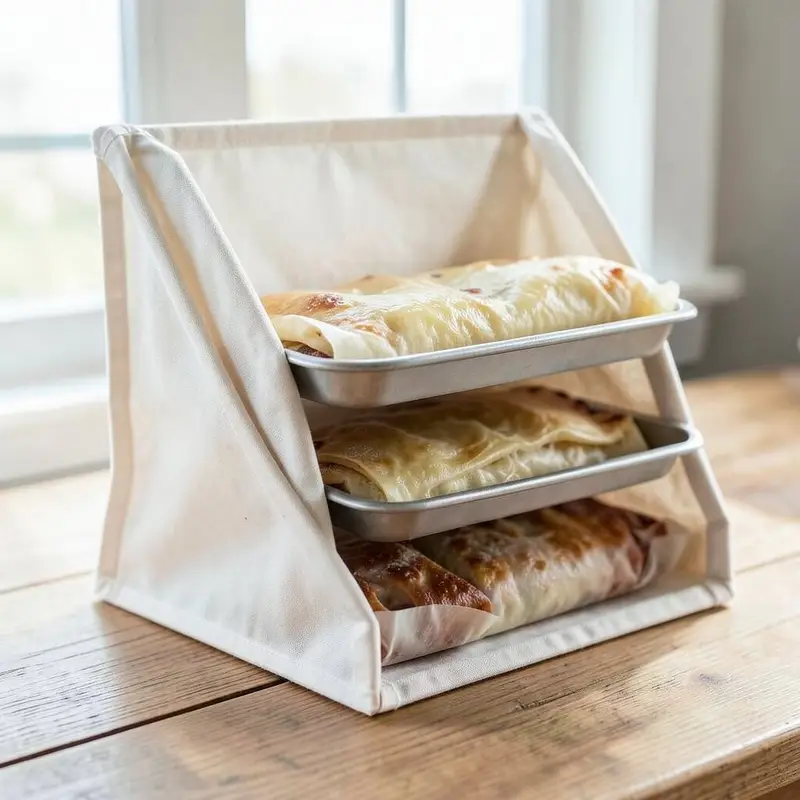
Imagine a fabric stand that holds baking trays upright and keeps wrap and parchment organized. The soft look makes it feel friendly, and it blends into a kitchen shelf instead of shouting for attention.
Use a stiff interfacing or old foam board as the base, then sew or glue fabric pockets at different heights. This stand prevents trays from sliding and keeps plastic wrap from becoming a tangled mess. Personalize by choosing colors that match your dish towels, then add a small pocket for scissors. Keep it practical by using machine-safe fabric that wipes clean, and by reinforcing seams so it can handle daily use.
12. Tire Sidewall Stand For Outdoor Planters
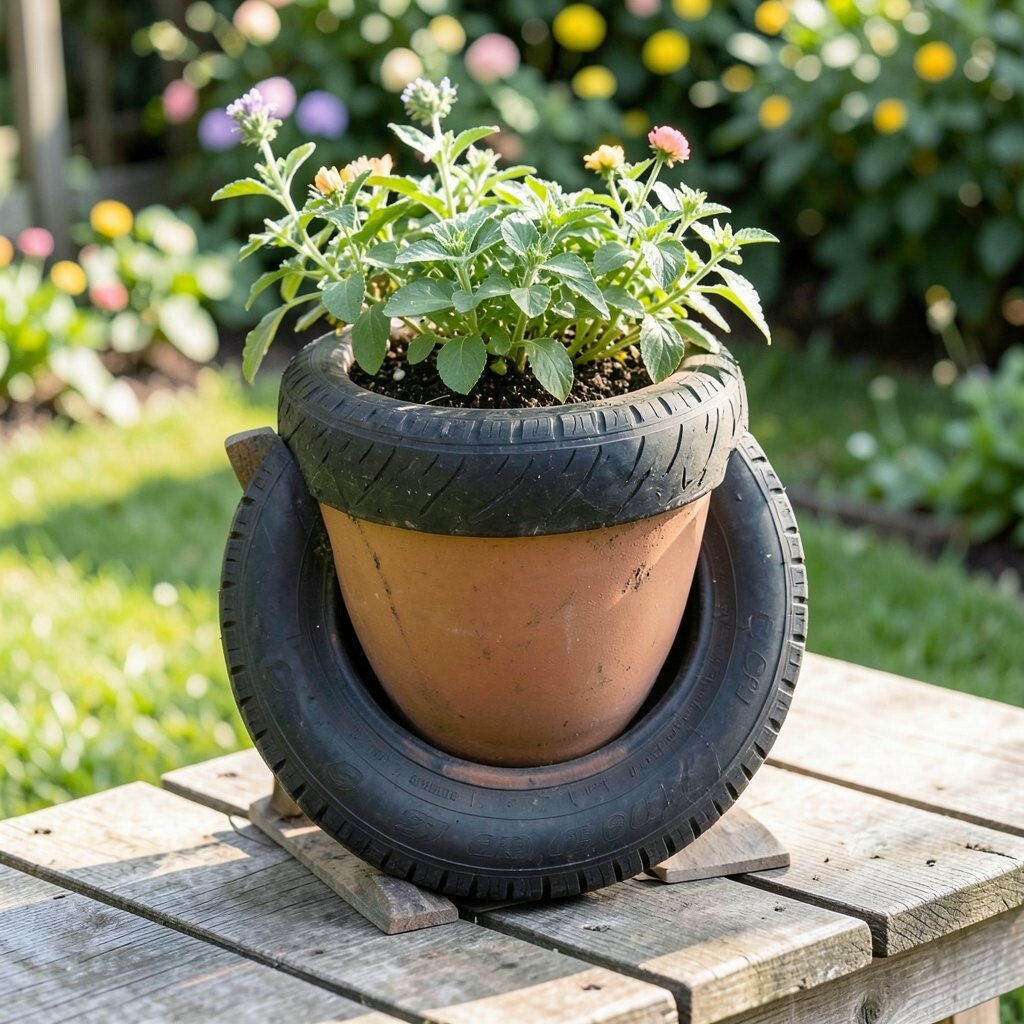
Visualize an outdoor stand made from a repurposed tire sidewall that forms a wide, stable ring. The rubber texture looks bold, and plants sit in the center like a mini patio feature.
Cut the tire sidewall carefully and place it on a level base, then add soil or a liner for planter use. This stand handles outdoor weather better than many wood projects, which means less worry about wear. You can personalize by painting the rubber with outdoor-safe paint or adding decorative mosaic pieces. Practical tip is to keep the planter liner secure so soil stays contained and drainage works well.
Cost considerations are great here because discarded tires are often free, and you only need paint, liner, and soil. Outdoor DIY gardens are trending toward rugged, low-maintenance decor, and this fits right into that style.
13. Wooden Ladder Stand From Skids Or Old Chair Slats
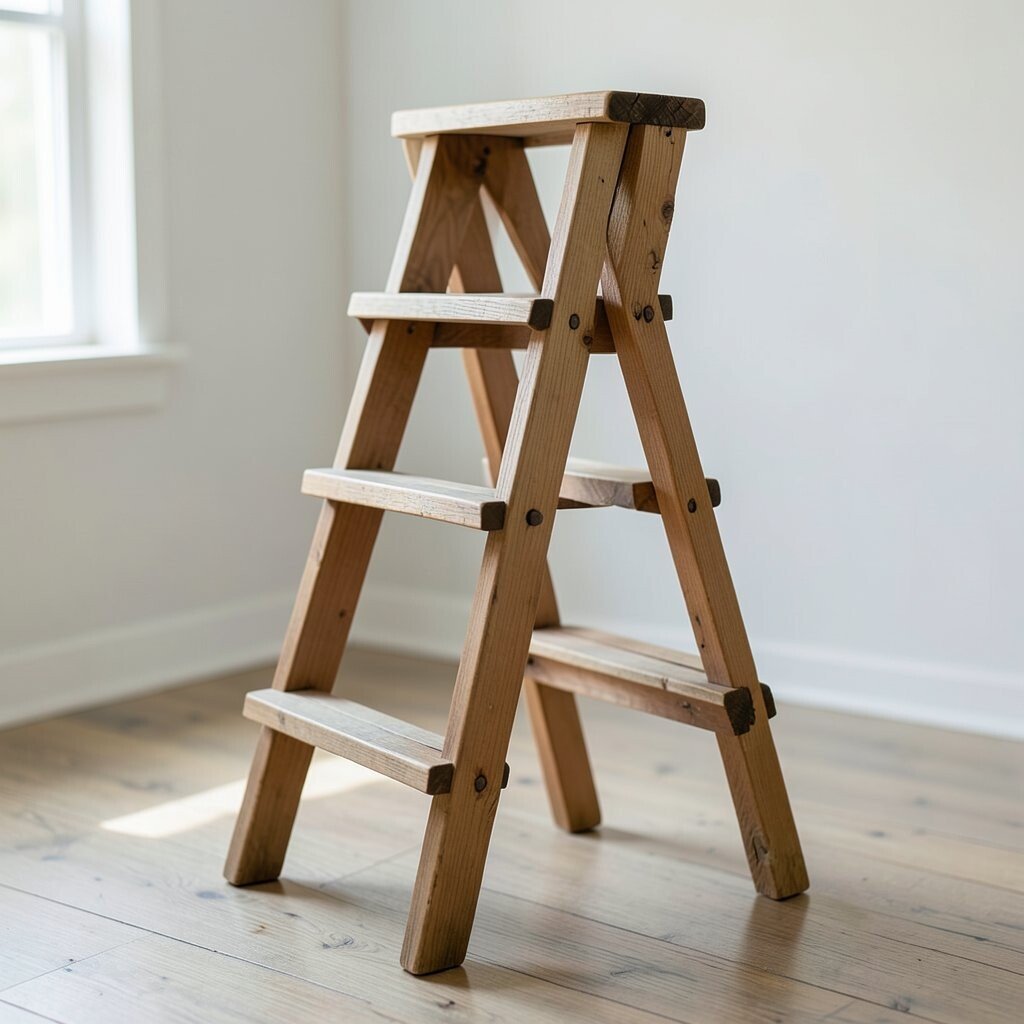
Imagine a small A-frame stand made from old slats that looks like a mini ladder leaning in place. The wood shows marks of past life, which makes it feel real and warm.
Cut or repurpose slats into an A shape, then sand and attach them with simple screws to a stable base. This stand works for books, storage baskets, or holding towels, and it makes vertical space feel organized instead of empty. Personalize by staining the wood darker, adding a light wash, or painting one ladder rung as a bright accent. For practical stability, check the base level and add non-slip pads under the feet.
This type of project is cost-effective when you use reclaimed wood or thrifted chair parts. The current trend toward upcycling and visible texture means this stand will look great even without a perfect finish.
14. Simple Cradle Stand For Gaming Controller Using Foam Blocks

Picture a foam cradle that holds a gaming controller snugly, with smooth edges that feel gentle. The bright foam can be covered with fabric so it looks clean on a shelf or desk.
Cut foam blocks to shape and carve a shallow channel for the controller grips, then cover with stretch fabric or wrap with faux leather. This stand helps controllers stay protected and easy to find, which can reduce clutter during busy gaming nights. Personalize by adding color themes, small stitched details, or a pocket for a cable. Keep it practical by making the cradle shallow enough to avoid heavy pressure on buttons, while still securing the controller.
Cost considerations are easy because foam is usually cheap and you can repurpose leftover craft materials. As a modern trend, people love custom-looking setups that match their gaming room colors, and this stand delivers that without expensive tools.