The right wall can turn blank space into a loud, friendly conversation. When your studio has a graffiti wall, art starts moving the moment people walk in.
It’s a place for bold sketches, quick experiments, and finished pieces that feel alive.
1. Color-Blocked Corner Wall
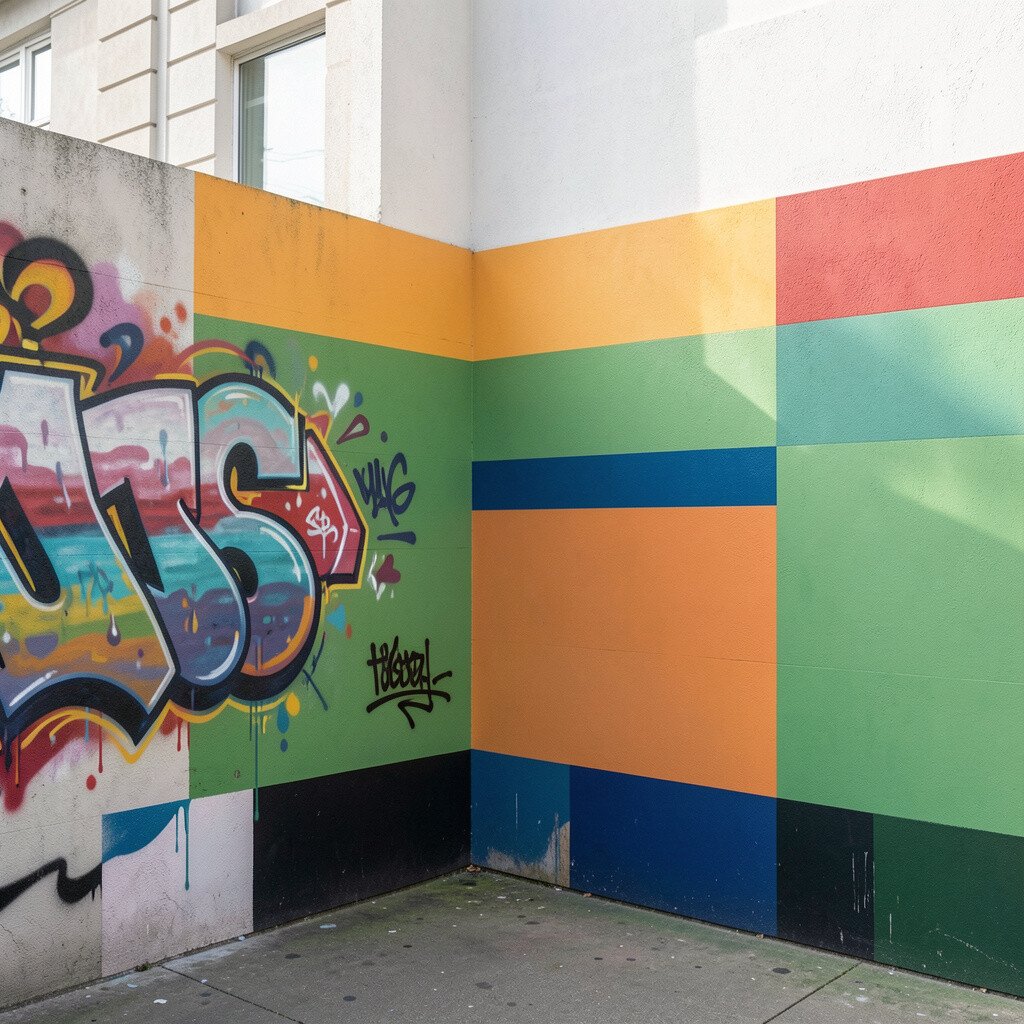
Paint a few thick color blocks on one studio corner, then treat the lines like safe borders for graffiti. Artists can layer tags, drips, and simple characters inside each block to keep the wall looking organized.
Start with wide painter’s tape to create crisp edges, then choose colors that match your studio vibe. This setup helps new artists feel confident because they can pick a block and begin right away. The benefit is that messy drafts still look intentional, and the whole wall stays bright even as styles change.
2. Rotating Panel Wall With Snap Frames
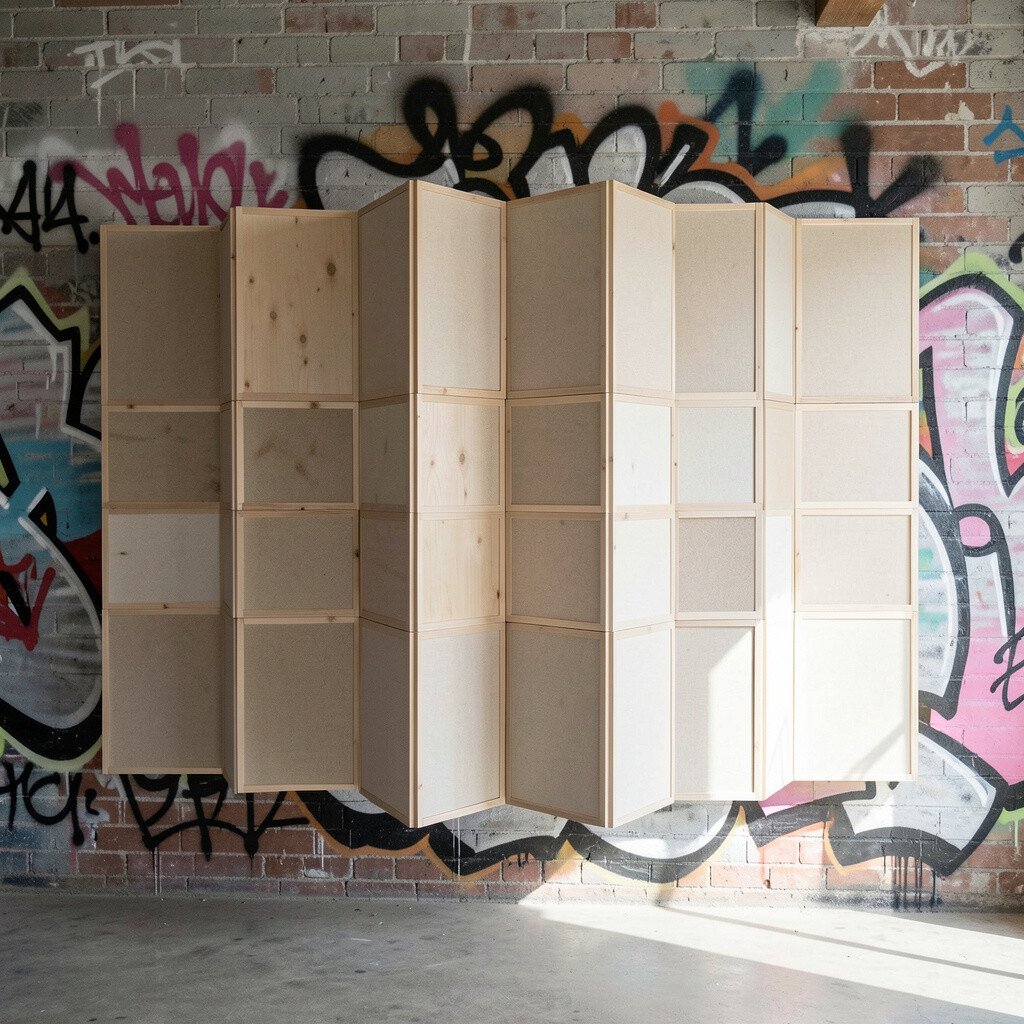
Use small boards inside a simple frame system so each section can be swapped when an artist finishes a piece. A rotating panel wall keeps the graffiti fresh and gives everyone a clear “finish line.”
Opt for inexpensive hardboard or foam board backed with wood strips so mounting is easy. When panels change often, your studio can test new fonts, sticker styles, and paint effects without committing to one layout for years. This is unique because it feels like a gallery, but it still behaves like street art.
To personalize it, label the back of each panel with a color code and the artist’s name so returning artists can match the same palette. Choose budget-friendly frames from craft stores, and upgrade hardware later when your team grows. If you want to follow current trends, mix matte and glossy finishes on different panels for a “new wall, new mood” effect.
3. Chalk-Then-Paint Wall for Practice
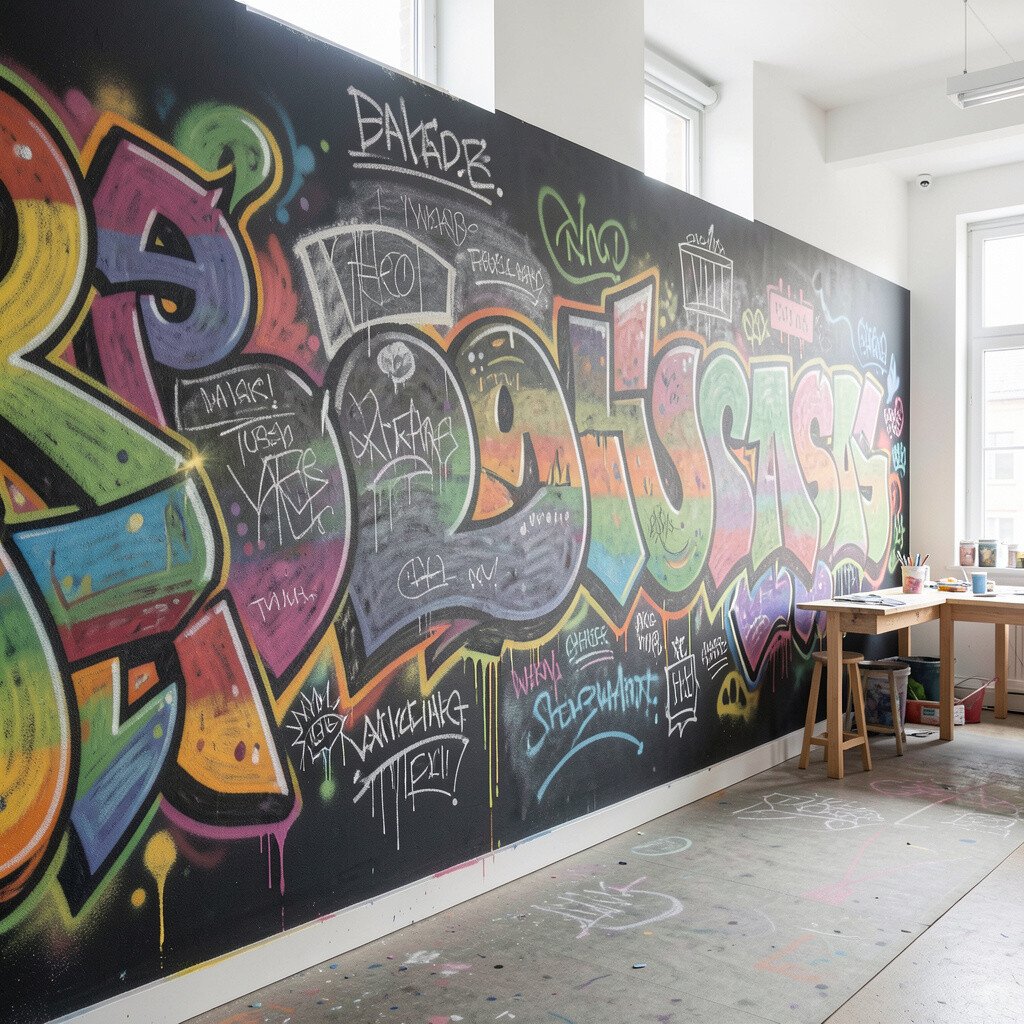
Cover a section with a chalkboard coating so people can sketch fast, then seal the best marks with paint. This makes the wall feel friendly for beginners because they can erase mistakes without stress.
Use bold chalk colors first, like white, neon green, and hot pink, then trace winners with paint markers. The practical benefit is that your studio gets more practice time, and you still end up with real artwork on the wall. It’s also a great way to test letters and characters before using spray paint or heavier supplies.
To personalize, add a weekly theme in your head, like “serious faces” or “tiny monsters,” and let each artist reinterpret it. Keep costs low by buying chalkboard paint and simple markers, and seal finished areas with a clear matte topcoat so the art lasts. A fun trend right now is using “imperfect” chalk textures even when the final layer is cleaner, because it keeps the wall looking human.
4. Stencil Library With Reusable Shapes
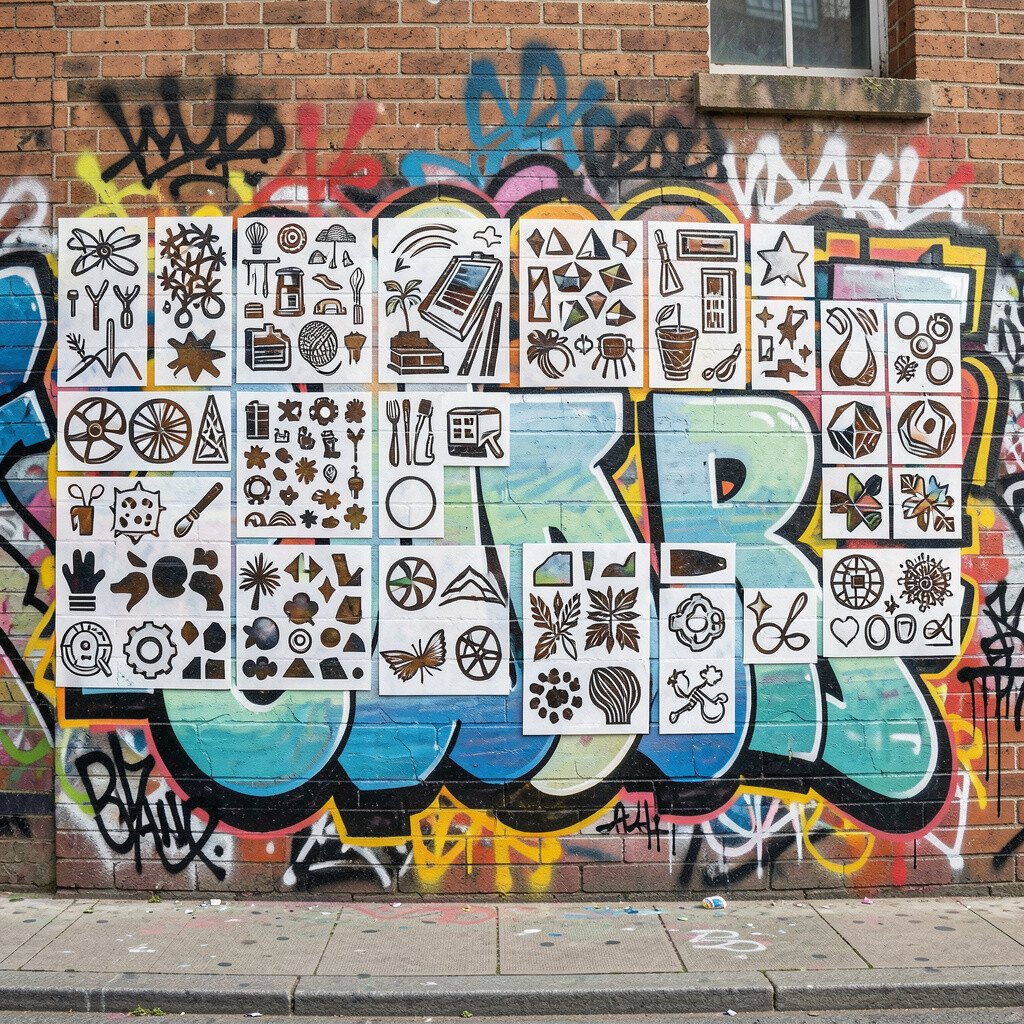
Create a wall that’s built around stencil shapes, like stars, city skylines, leaves, or abstract eyes. When artists use stencils, they can move quickly and still make their work look professional.
Keep stencils in a tidy folder and encourage people to reuse them across the whole wall. The benefit is that your studio gets consistent visual language, which makes the wall feel like one big artwork instead of random pieces. You can also keep costs down by cutting stencils from sturdy plastic folders and replacing them as needed.
5. Paint-Drip Physics Wall With Tape Edges
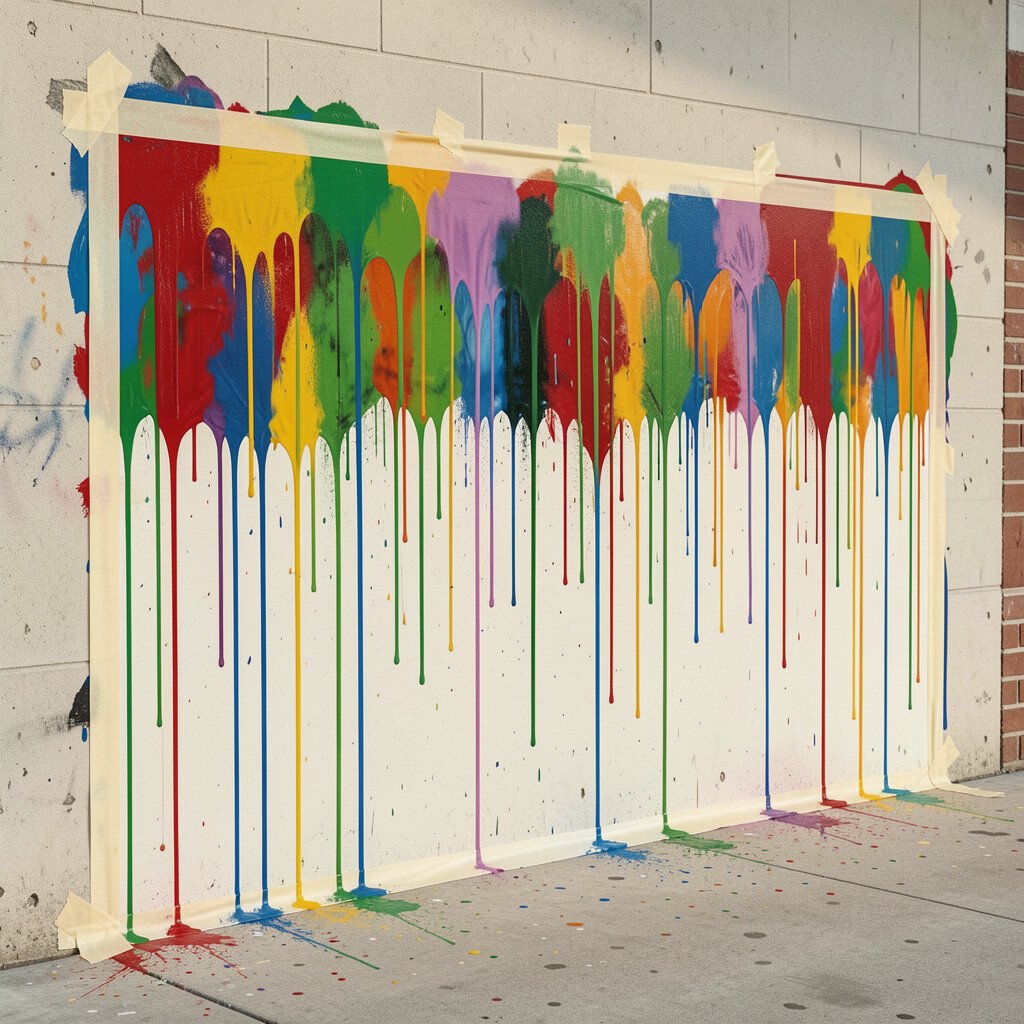
Set up tape edges to guide paint drips downward so the graffiti looks controlled even when it’s messy. You’ll get dramatic motion like gravity is doing the painting, but your wall stays safer and cleaner.
Choose a limited palette for the drips, such as three colors, then let different artists vary the thickness and speed. This makes the wall unique because every piece shares the same “drip rules,” while still showing personal style. A practical tip is to practice on cardboard first so everyone understands how quickly the paint runs.
If you want personalization, add small symbols near the top of each drip lane, like a lightning bolt or a smile. Consider using water-based paint for easy cleanup, especially in studios where multiple people work in a short time. Current trends often mix clean outlines with wild drips, and this wall style nails that look without needing expensive equipment.
6. Lettering Lane Wall With Practice Tags
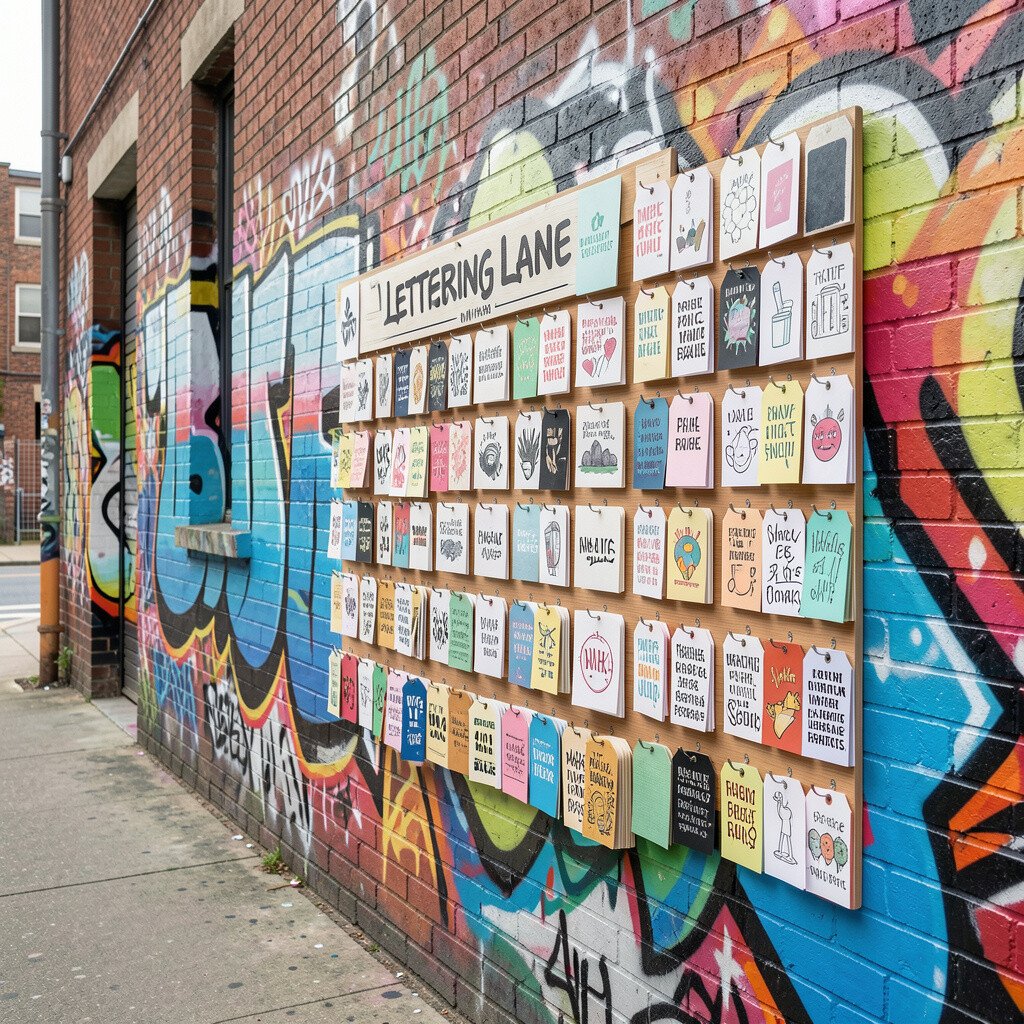
Design the wall with multiple narrow lanes, each one dedicated to a letter style or tag name. Artists can jump in, fill a lane, and keep the rest of the wall from getting overcrowded.
Use painter’s tape to divide lanes, then draw a faint guideline so letter shapes stay readable. The benefit is huge for teams because beginners can practice without ruining someone else’s work. It also stays unique over time since each lane grows like a mini scrapbook of your studio’s lettering journey.
7. Mirror-Mosaic Wall With Reflective Panels
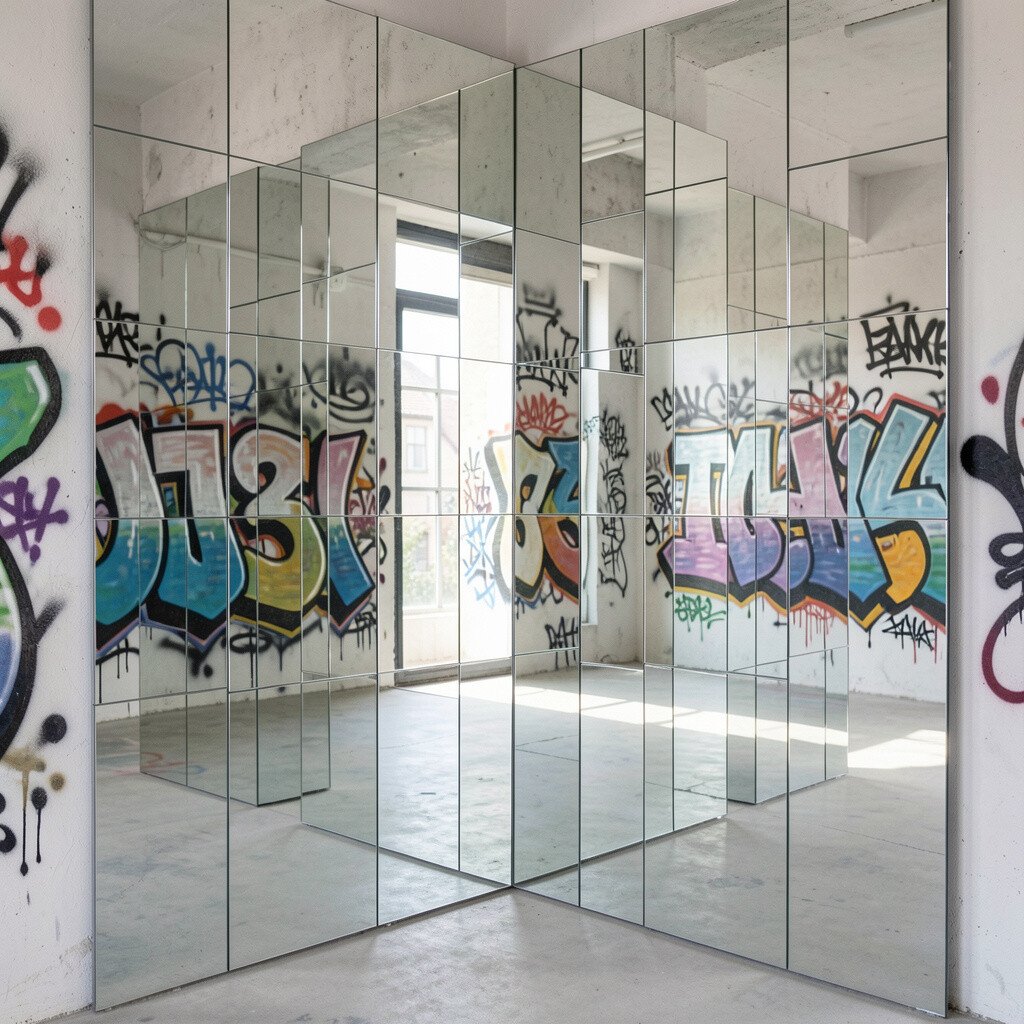
Mix small mirror pieces into a graffiti wall so the art looks brighter when people move around. Reflections turn tags into multiple versions of the same design, and the wall feels more alive.
Place mirrors around a painted background, then let artists draw on the negative spaces so the reflections create extra layers. This is unique because the graffiti doesn’t just sit on the wall, it interacts with the viewer. For practicality, use safe acrylic mirrors or protective film so nothing is too dangerous in a busy studio.
To personalize, encourage artists to sign their work in mirror-safe paint so their names glow when light hits the surface. Costs can be moderate depending on mirror size, but small pieces reduce spending. A current trend is “light play,” and mirror mosaics fit perfectly with that look.
8. Fabric Swatch Wall for Soft Street Style
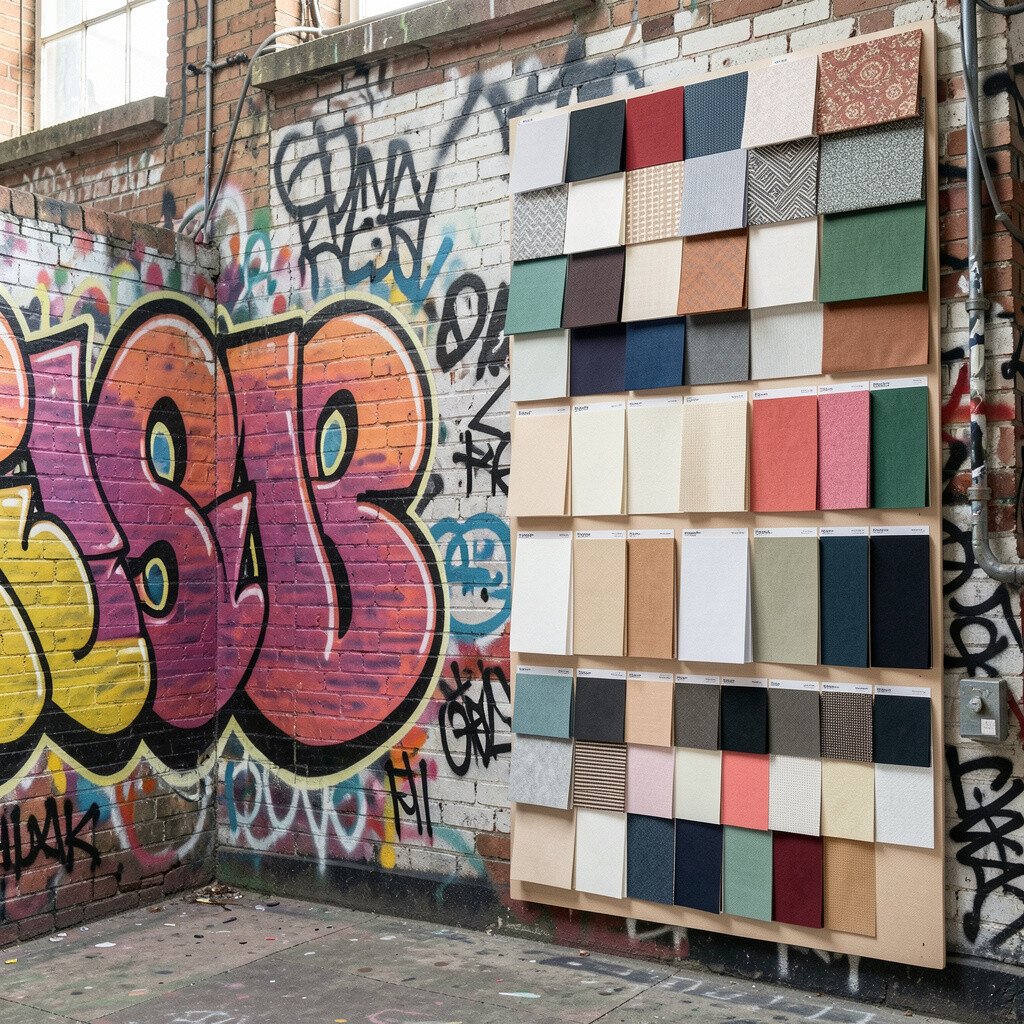
Attach fabric swatches on a wall and let artists spray or paint directly on removable cloth. This creates a softer graffiti vibe, great for studios that want art to feel warm and welcoming.
Use Velcro strips or simple clips so each cloth panel can be taken down and reworked. The benefit is easy personalization because artists can make a cloth piece, swap it, and try new designs without damaging a permanent wall. You’ll also get unique texture since fabric absorbs color differently than paint on plaster.
9. City-Map Wall With Names and Landmarks
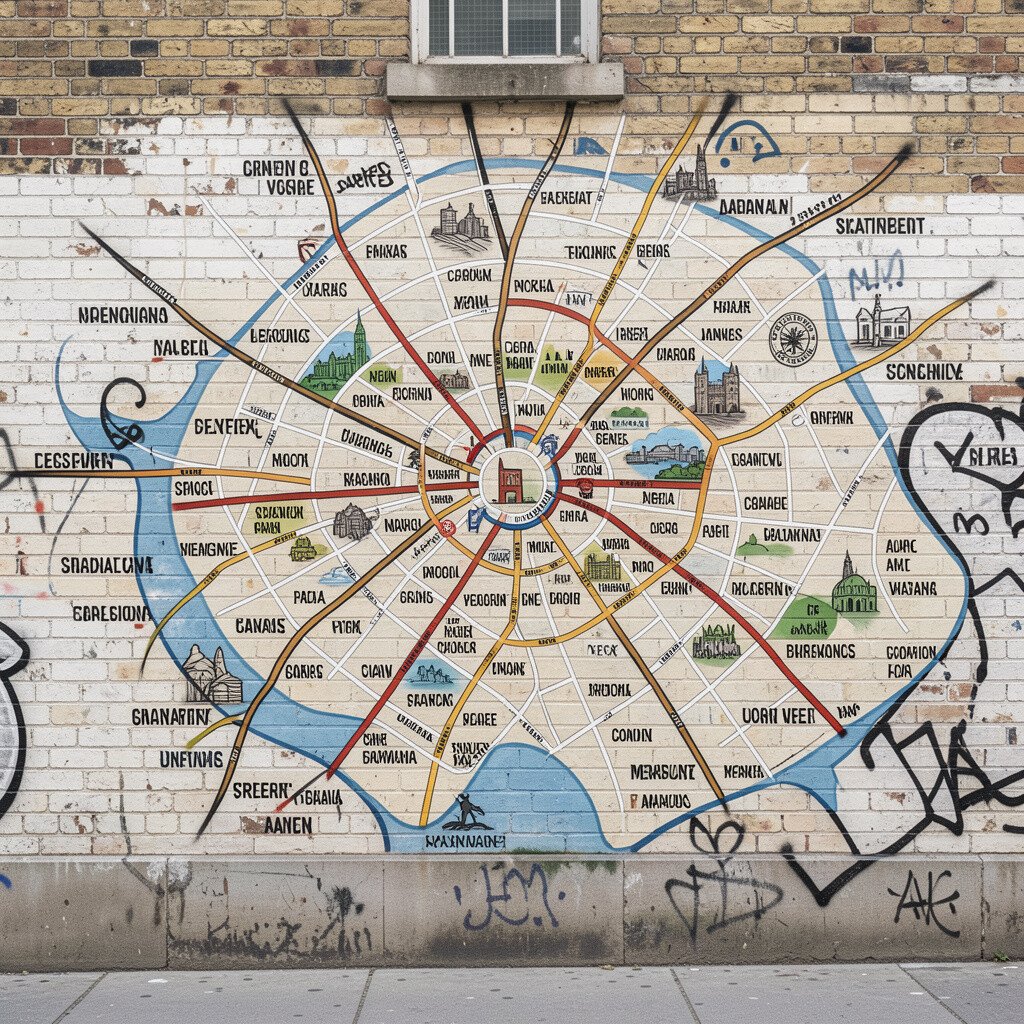
Paint a simplified city map grid and let the graffiti pieces “live” on street blocks. Artists can add tiny landmarks, names, and playful labels so the wall becomes a shared story.
Start by marking streets with light guide lines, then choose a few bigger zones for main pieces. This keeps the wall practical because new art always has a place to fit. The uniqueness comes from connecting graffiti to your studio community, like favorite routes, inside jokes, and local references.
For personalization, add a legend of small icons that represents your team, such as a paintbrush for painters or a camera for photographers. Costs are usually low since most of the work uses acrylic paint and basic brushes. A current trend is using “place-based” art, so a map wall can feel fresh without copying anyone else’s style.
10. Comic Speech-Bubble Wall
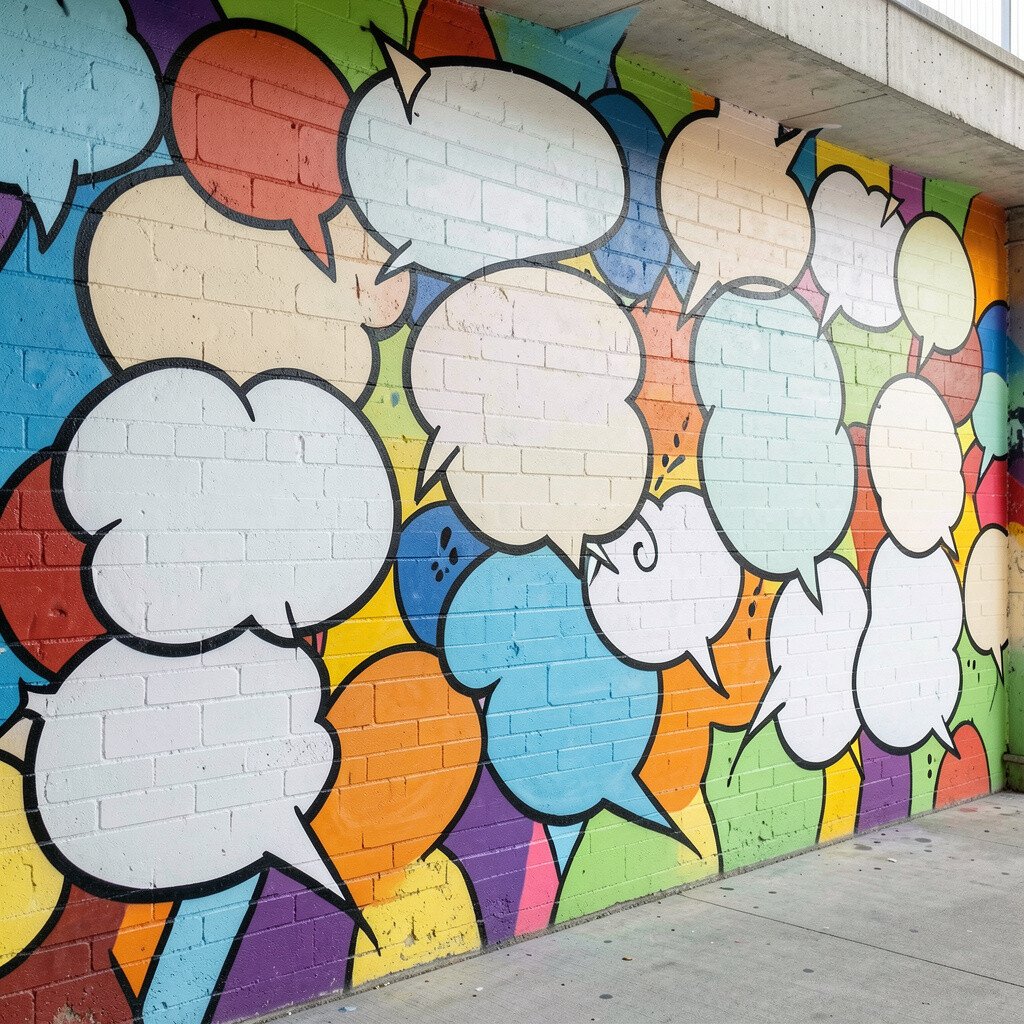
Cover part of the wall with large speech bubbles and comic shapes, then fill them with graffiti text. The playful structure makes even serious tags feel friendly and story-like.
Use thick black outlines first, then let artists fill each bubble with a different letter style. This benefits your studio by creating clear space, which reduces overlap and keeps the wall readable. It’s also unique because the graffiti becomes a conversation, not just a signature.
11. Texture-Rub Wall With Collage Layers
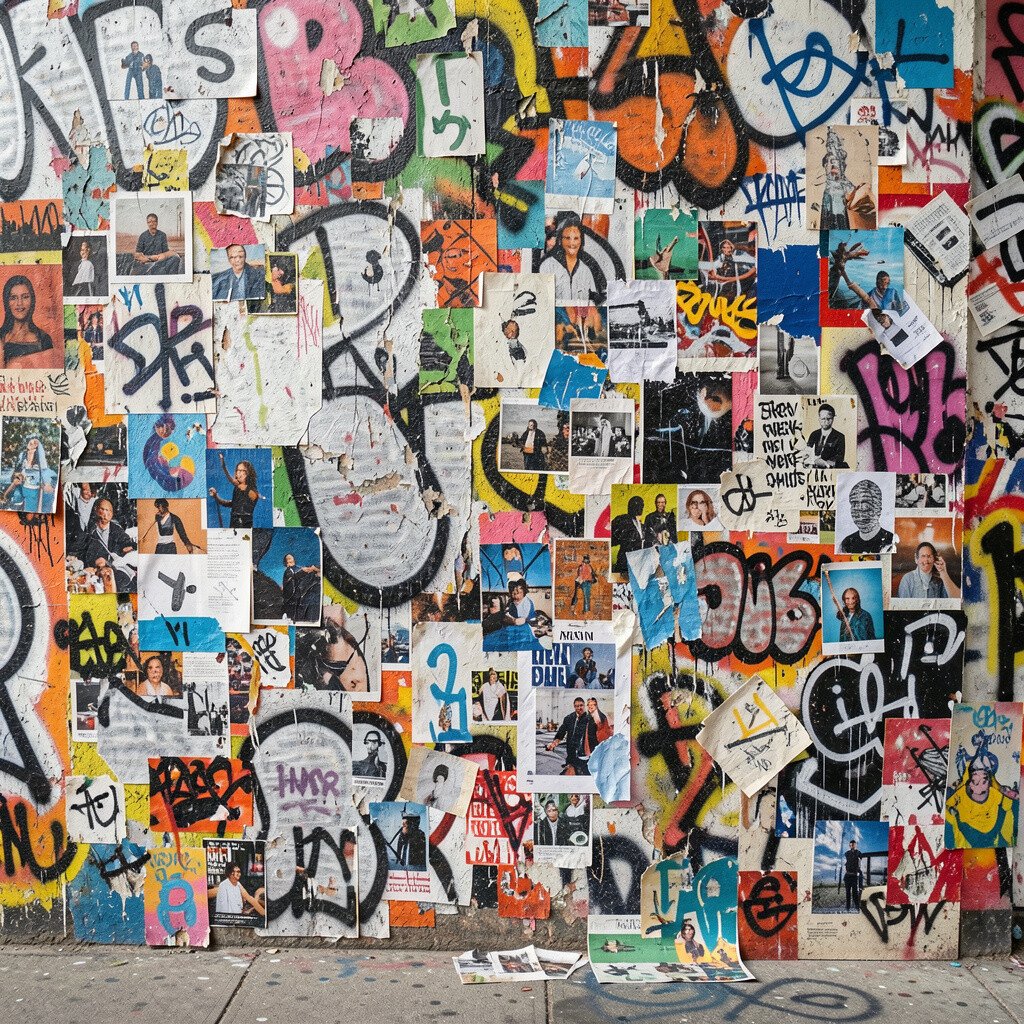
Build a graffiti wall using texture, like sand, torn paper, and fabric scraps, then paint over the collage. When you rub or press paint into raised surfaces, you get rich detail that looks handmade.
Use removable adhesives at first so you can adjust layers later, then seal when you like the results. The practical benefit is that every piece looks different even when artists use the same colors. This wall is unique because texture becomes the “background artist,” while graffiti adds the voice.
To personalize, ask artists to include one personal material, like old concert tickets or handwritten notes, as part of the collage. Keep costs in check by using leftover paper, cheap glue, and small batches of sand. Current trends love mixed media, and texture-rub effects give you that layered look without expensive gear.
12. Badge and Trophy Wall for Studio Icons

Create a wall covered with outline badges, award shapes, and little trophy silhouettes. Artists can decorate each shape like a mini achievement, using graffiti letters, stars, and character faces.
This works well when your studio wants motivation built into the space, because people will notice new designs as soon as they arrive. The benefit is clear organization, since each badge becomes its own small canvas. It’s unique because street art meets playful celebration, which feels different from typical walls.
13. Glow-in-the-Dark Night Wall
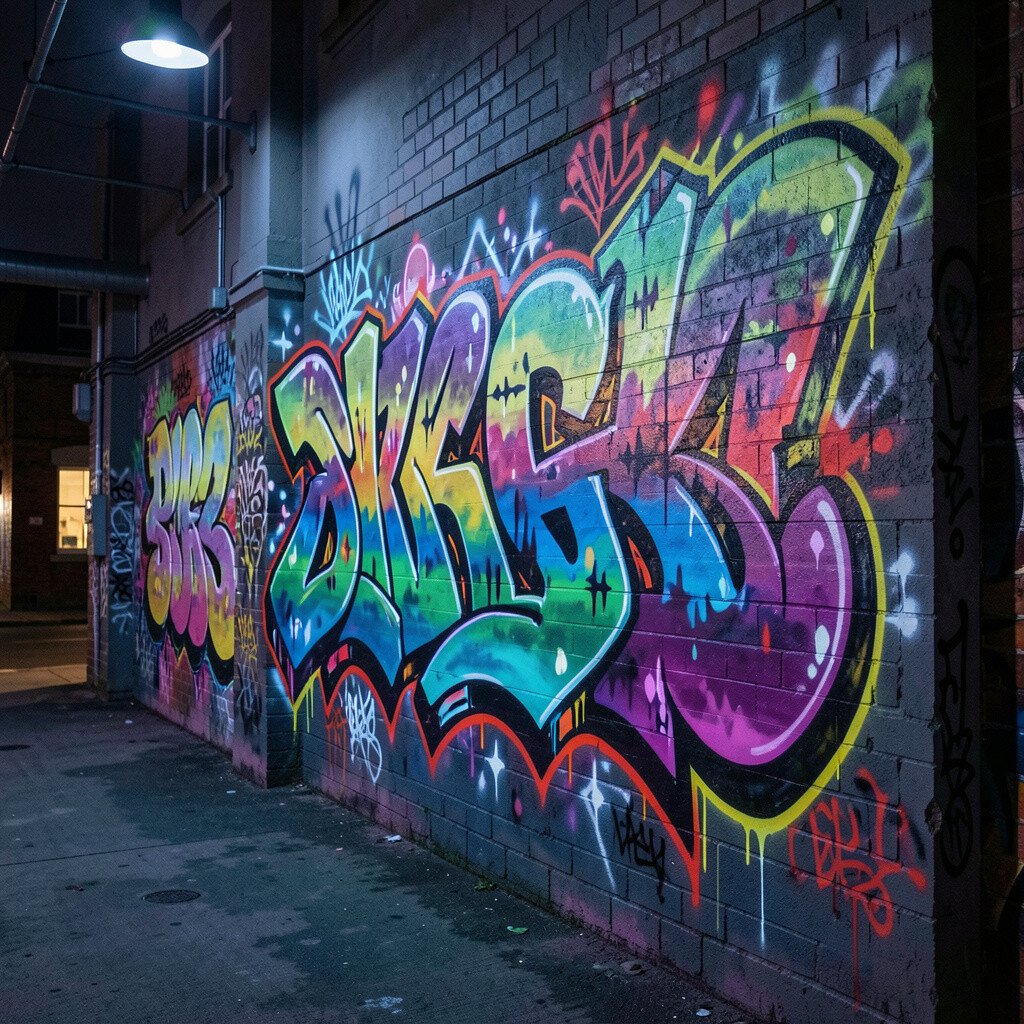
Paint the base design in visible colors, then add glow-in-the-dark accents for night-time scenes. When lights dim, your graffiti becomes a secret show, and people love the surprise.
Use a clean stencil to place glow elements like outlines, eyes, or city lights so the effect stays crisp. This is practical because glow paint can be expensive, so you can apply it strategically instead of covering the whole wall. The uniqueness comes from combining daytime clarity with night mystery.
To personalize, invite artists to draw what “their night self” would look like, and use glow accents only on the most meaningful parts. Consider cost by using glow paint for small highlights and rely on regular paint for backgrounds. If you’re following current trends, mixed lighting effects and “hidden layer” art are very popular, and this wall gives you that instantly.
14. Washi-Tape Border Wall for Clean Creative Control
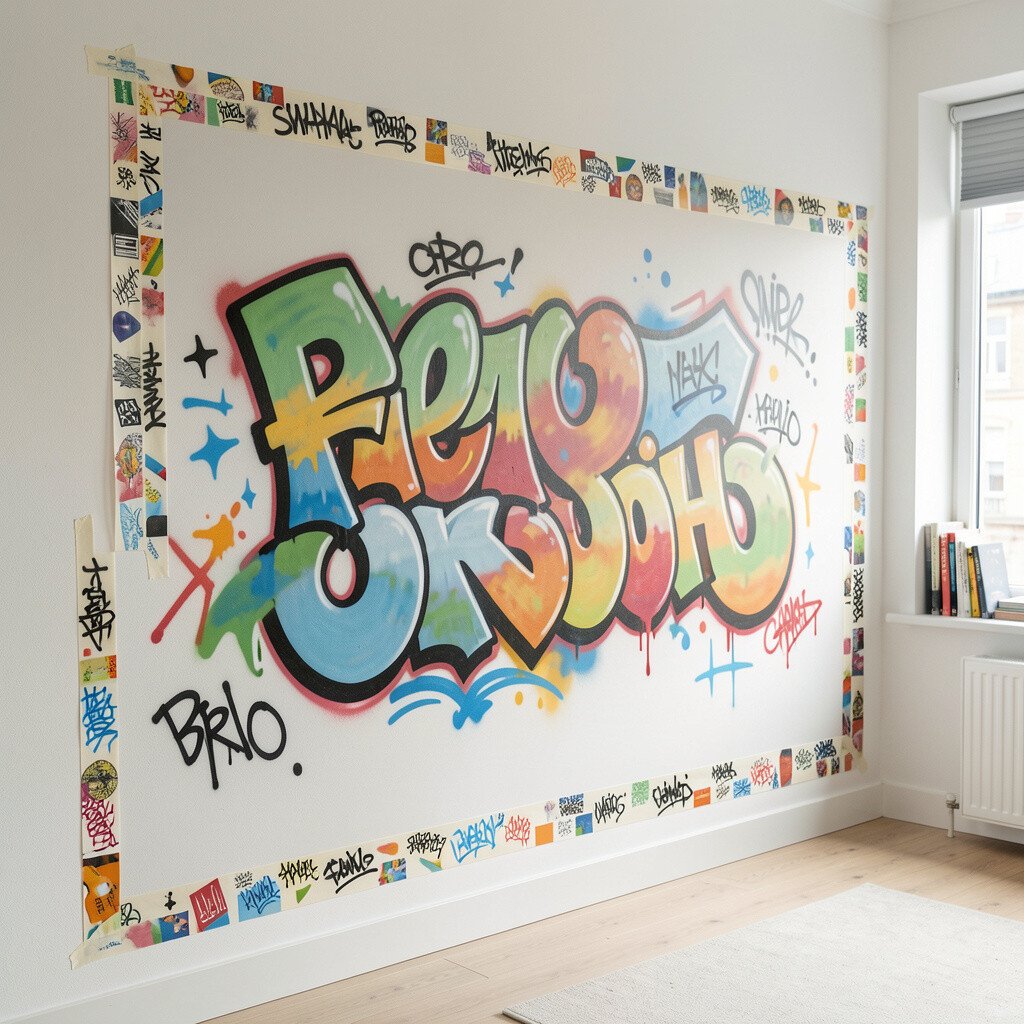
Cover your wall with neat washi-tape borders, then let artists fill each taped section with graffiti. The tape acts like temporary lines, so the wall stays tidy even when many people work at once.
Choose a mix of border widths so some sections feel like panels and others feel like lanes. The benefit is practical: you can remove tape and repaint or rearrange borders without heavy sanding. It’s unique because the tape adds a craft-store charm that blends street style with handmade design.
For personalization, let artists pick one tape color that becomes their signature across sections. Keep costs low by using budget tape and making sections smaller when supplies are limited. A current trend is clean “frame aesthetics,” and taped borders create that gallery feel while staying casual.
15. Graffiti Weather Report Wall
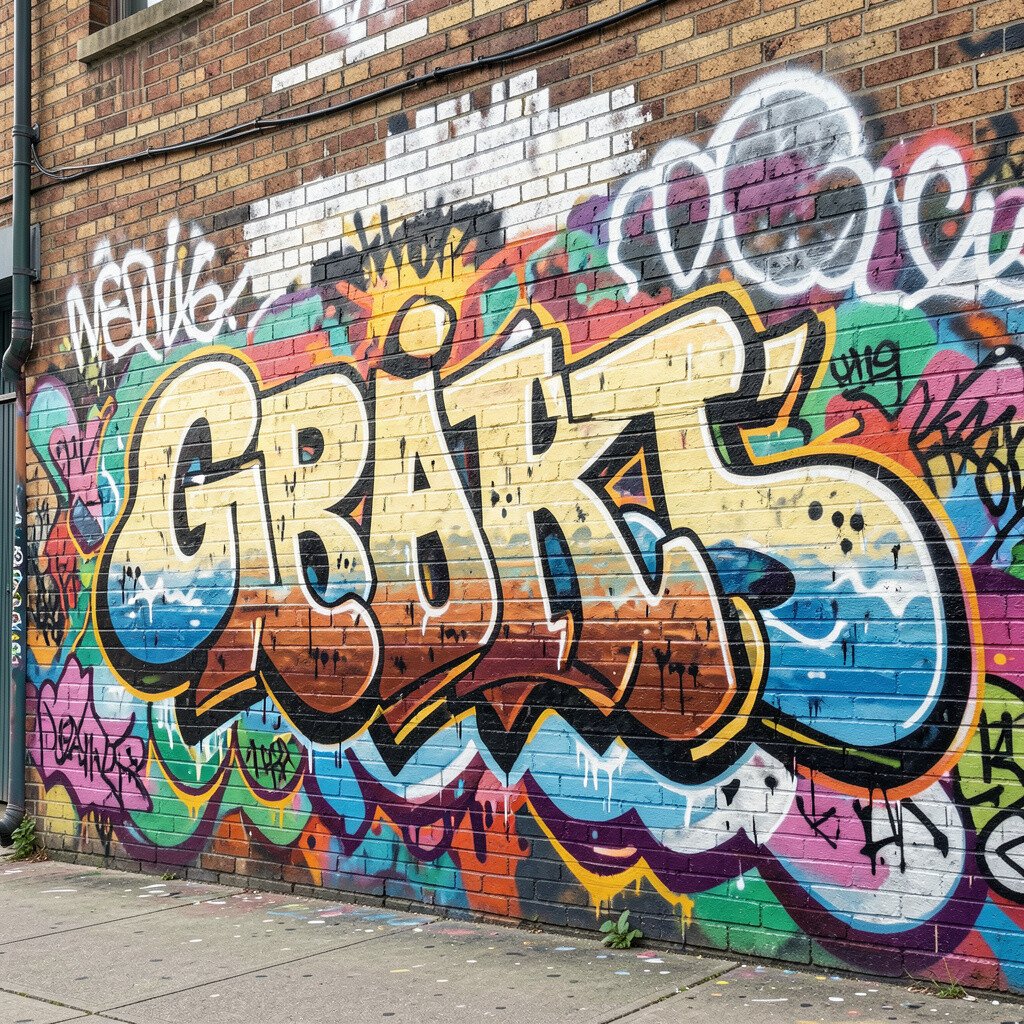
Design the wall like a weather board, with sun, cloud, rain, and wind symbols, then replace the symbol texts with graffiti phrases. Artists can add tags that match the “forecast,” making the wall feel like a living poster.
Use bright outlines and simple shapes first, then let each piece add texture through splatters and drips. This benefits your studio because the wall gives structure, even when styles vary a lot. The uniqueness comes from turning graffiti into daily mood notes that feel relevant to real life.
16. Spray-Can Color Chart Wall With Community Palettes
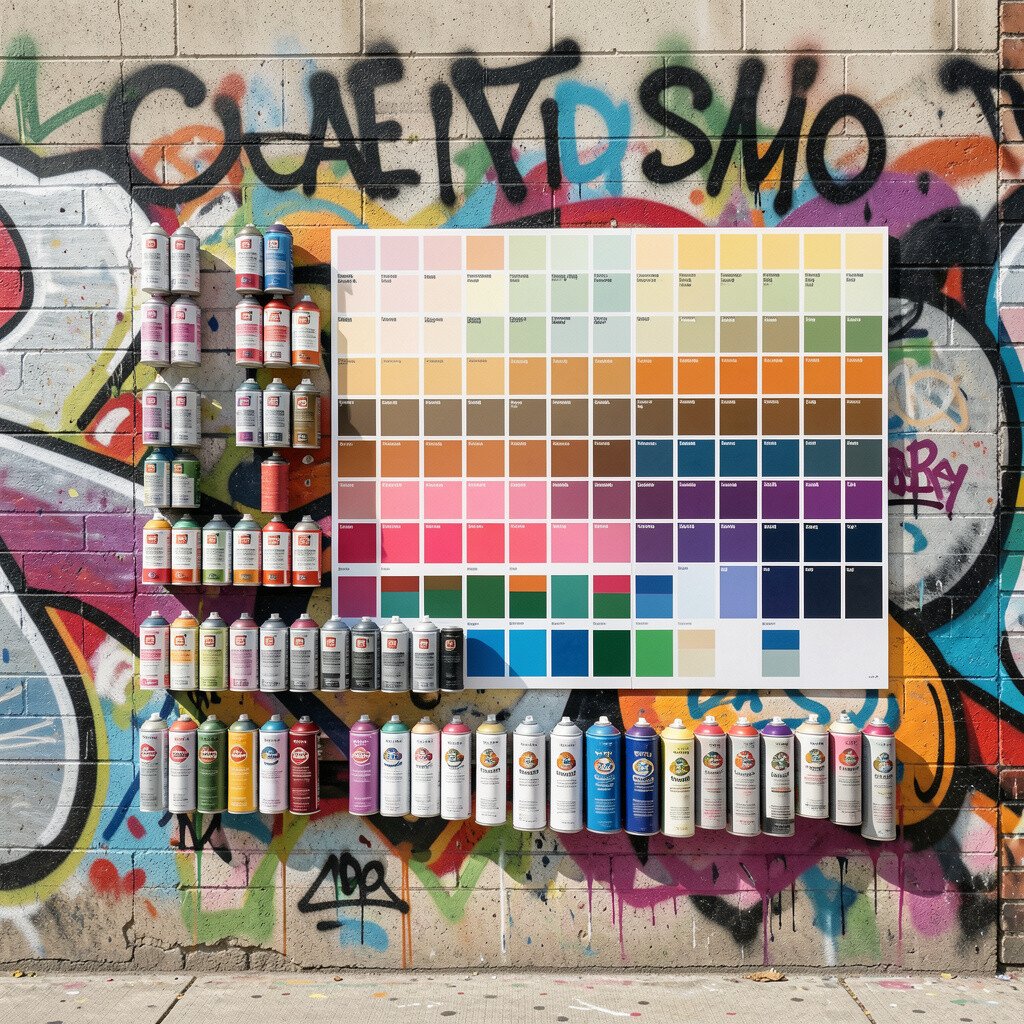
Make a color chart wall where each person contributes a paint swatch next to their favorite graffiti color. Over time, your studio becomes known for its palette, and artists can pick shades fast.
Use thick marker labels or small painted icons near each swatch so people can match colors without guessing. The benefit is practical for planning murals because matching tones becomes easy. It’s unique because the wall turns into a shared resource, not just a display.
To personalize, ask artists to include a meaning for one chosen color, like “energy” or “calm,” and paint a tiny character that represents it. Costs stay manageable because you can use small test amounts instead of full cans. Current trends often highlight intentional palettes, and this wall helps your studio create that polished look from day one.
17. Character Portrait Wall With One Eye Rule
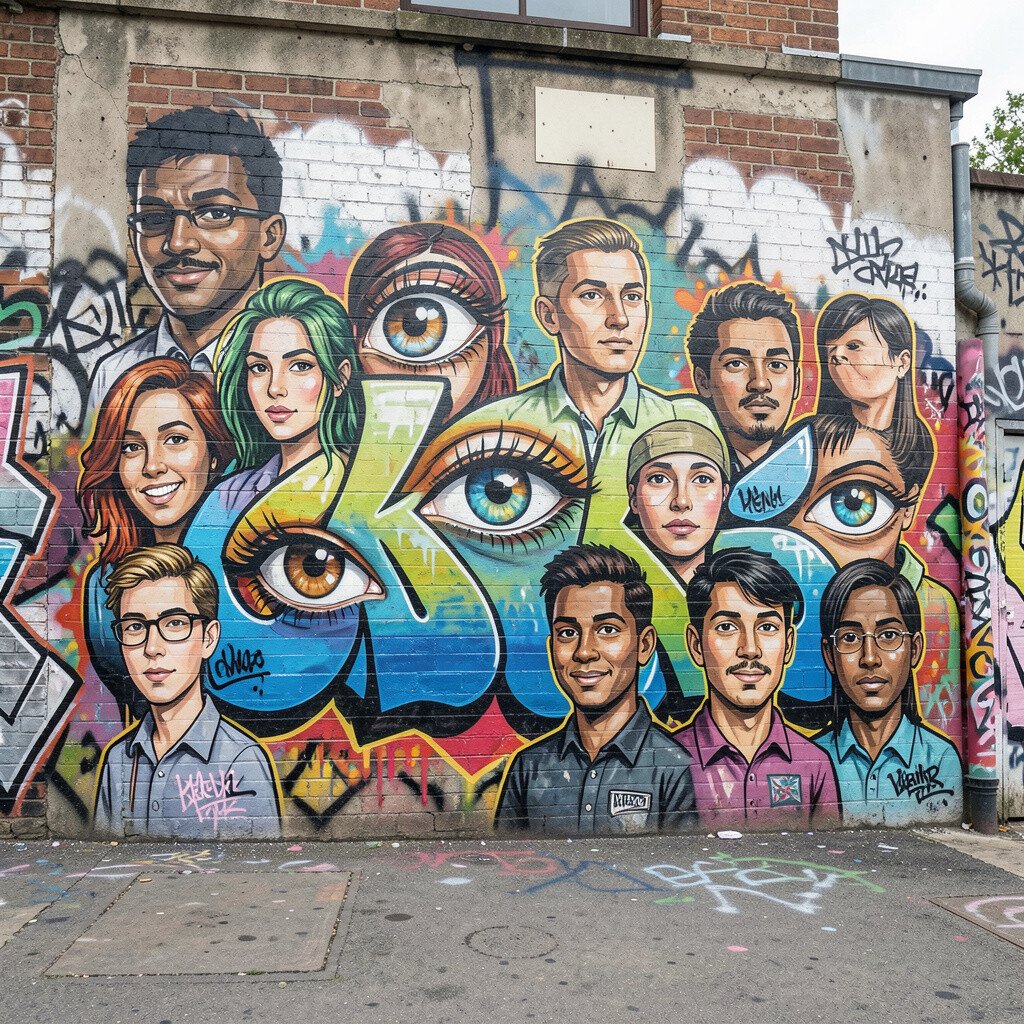
Create a wall with portrait outlines of characters, then set a playful rule that each artist must draw only one eye in detail. Everyone can still add graffiti style around the character, but the single-eye focus makes the results cohesive.
Start with light pencil outlines and bold spray or paint for the surrounding graffiti elements. The benefit is that the wall doesn’t feel chaotic, because the shared rule guides composition. It’s also unique because the artwork looks like a set of connected stories rather than random murals.
For personalization, let each artist choose what the eye represents, like curiosity, humor, or stubbornness, and reflect that mood in the surrounding letters. Consider cost by using paint markers for details and saving spray paint for backgrounds. This idea matches current trends in character-led street art where one strong visual hook carries the whole piece.
18. Sticker-Splash Wall With Removable Layers
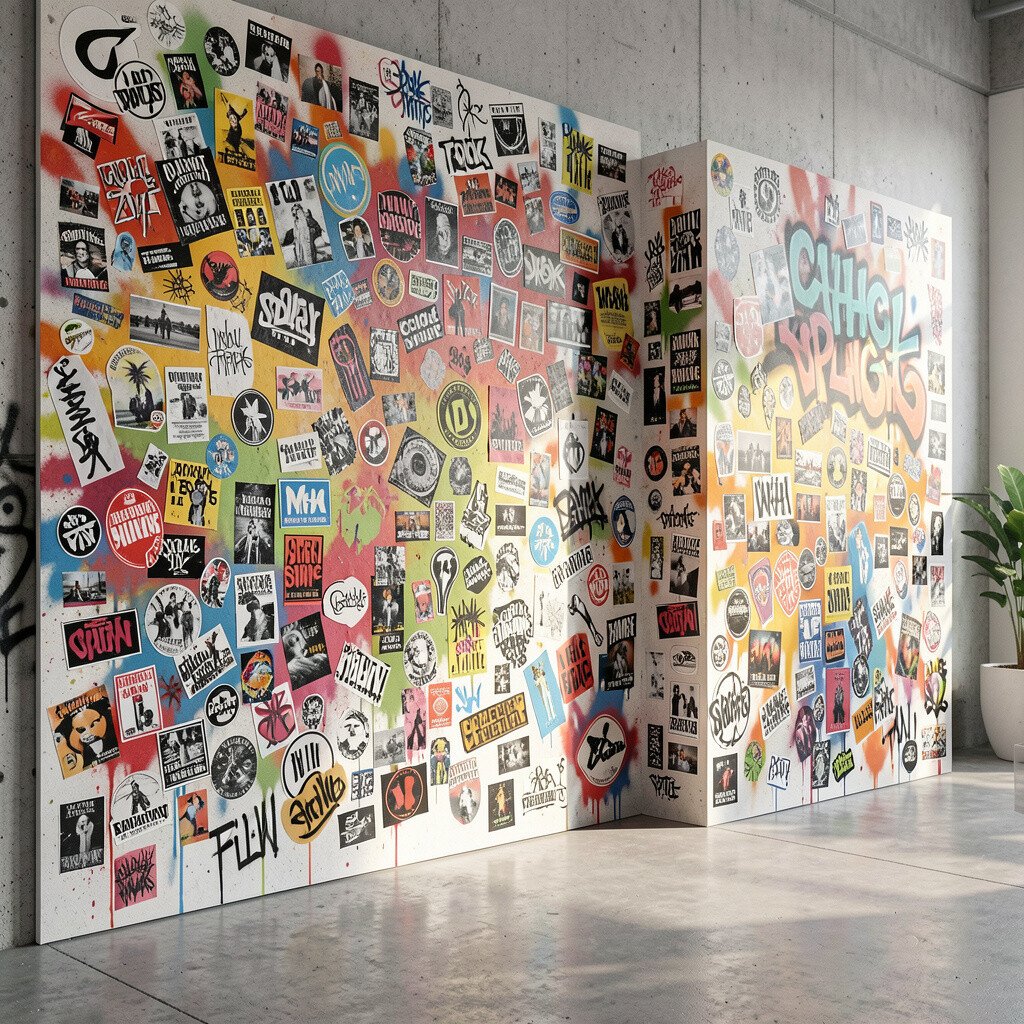
Build a wall that uses stickers as “starting points,” then let artists paint around and over them. The sticker shapes add quick energy, and the paint makes everything look like it belongs together.
Use removable adhesive or sealable surfaces so older stickers can be taken off without damaging the wall. The practical benefit is flexibility, because styles change fast and you can keep updating the wall without repainting the whole thing. It’s unique because it blends modern street visuals with classic graffiti layering.
To personalize, encourage artists to bring one sticker from their own collection, then add a tag signature that connects their sticker to the graffiti theme. Cost considerations are friendly since many stickers are low price or already owned, and paint supplies cover the rest. A current trend is mixing sticker art with painted textures, and this wall style gives you that look naturally.
19. Graffiti Rules Wall for Studio Values
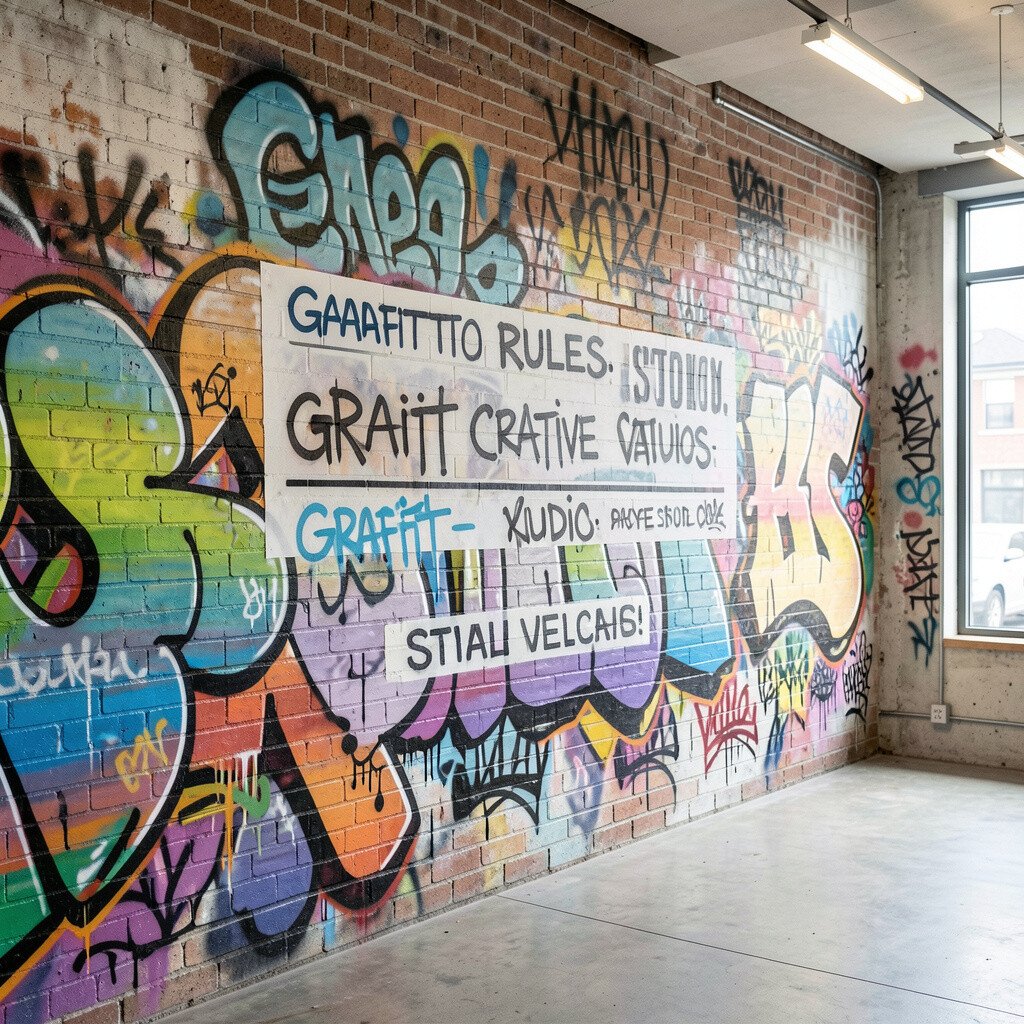
Paint a wall with big graffiti lettering that frames studio values using short phrases and symbols. Instead of dry posters, use the same energetic style as street art so the message feels like part of the artwork.
Keep the layout simple with a few large text zones, then let artists decorate the edges with icons like paint drops, stars, and tiny characters. The benefit is that the wall does more than look cool; it also sets expectations for how people treat each other and the space. It’s unique because the meaning is built into the visuals, so newcomers instantly understand the studio vibe.
To personalize, invite each team member to add one symbol that represents how they help the studio, then connect symbols with gentle lines and throw-up lettering. For cost, use regular paint and marker pens for the message parts, then save specialty supplies for small accents. If you’re watching current trends, value-forward art and community-centered murals are gaining attention, and this wall keeps that energy visible every day.