The past can feel close when you build it with your own hands. Grab simple materials and watch a timeline come alive.
1. Paper Chain Century Timeline
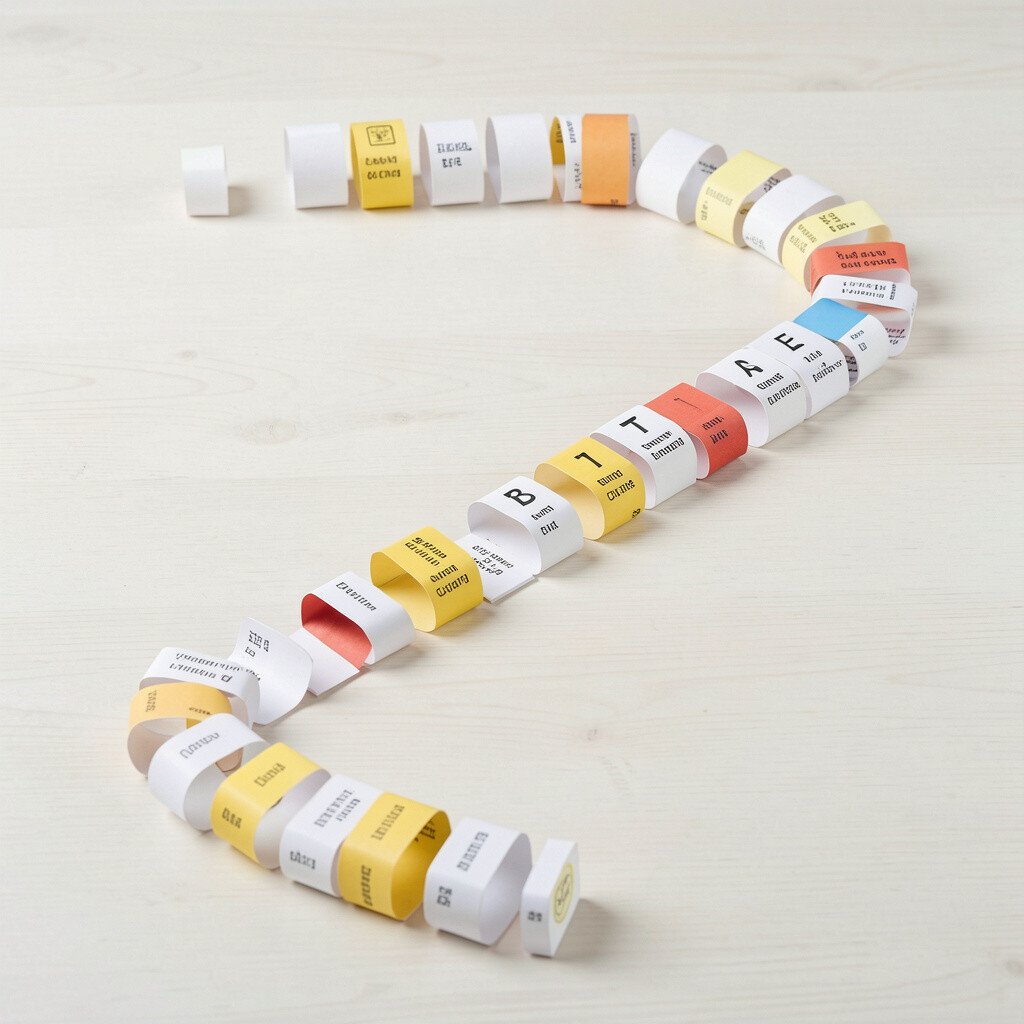
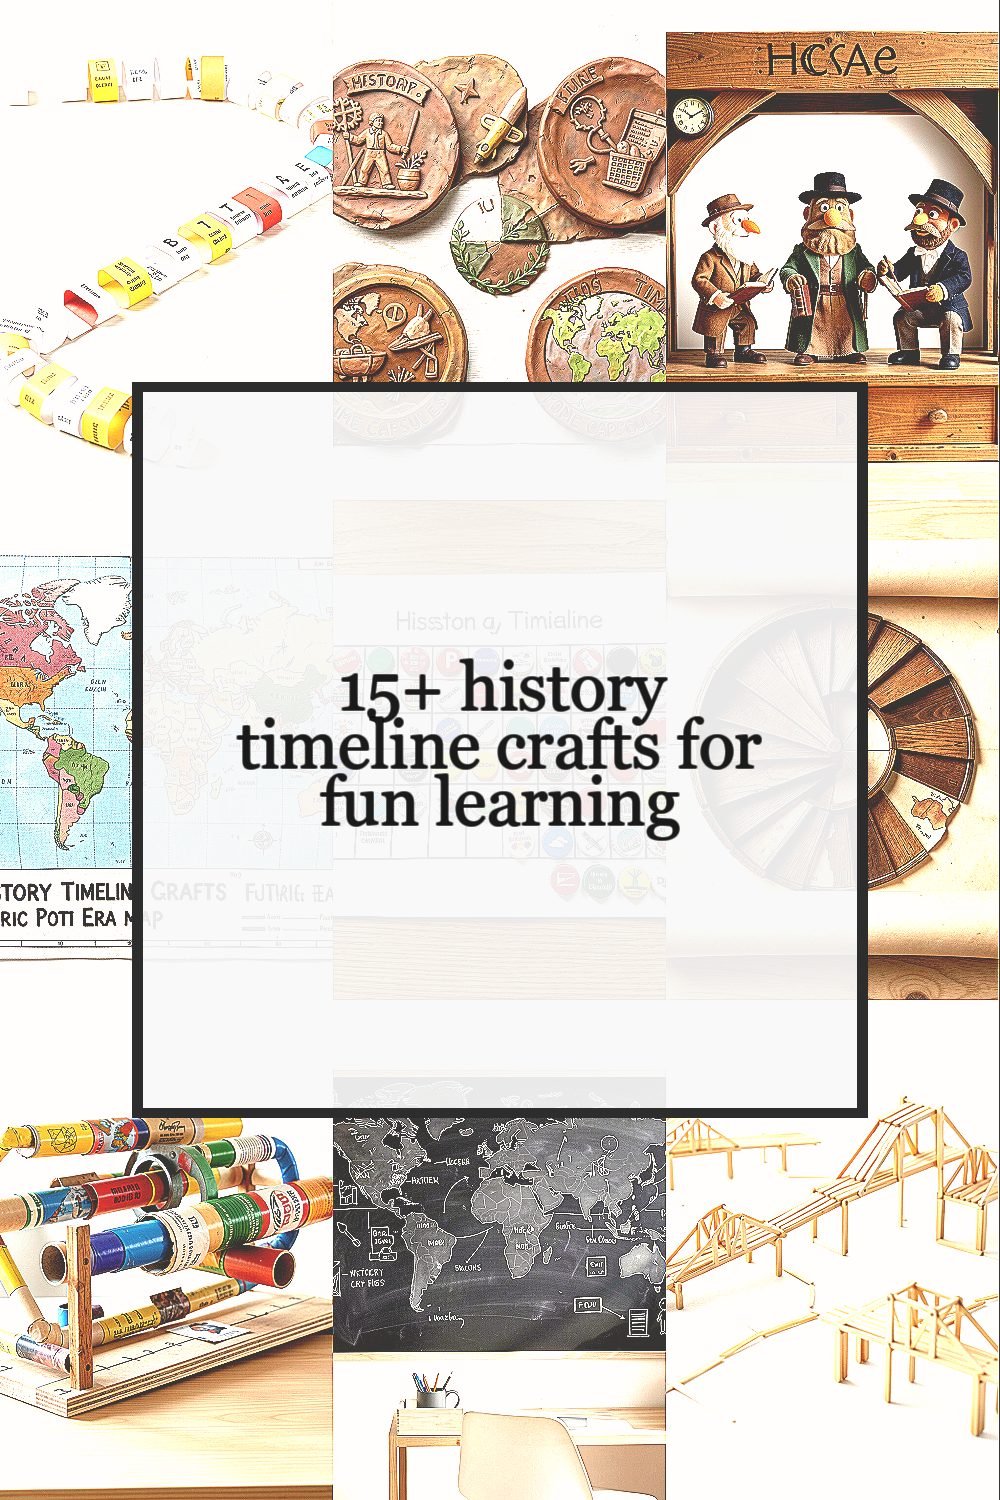
Cut strips of paper and link them into a chain that stretches like a long road through time. Decorate each link with a drawing, a color, and a few key words from a chosen era.
You get a clear visual flow that feels fun to wear or hang on a wall. Start small by doing one era at a time, then add links each day as your knowledge grows. Use thick markers for big eras and lighter pencils for details so the timeline stays easy to read.
2. Clay Relief Time Capsules
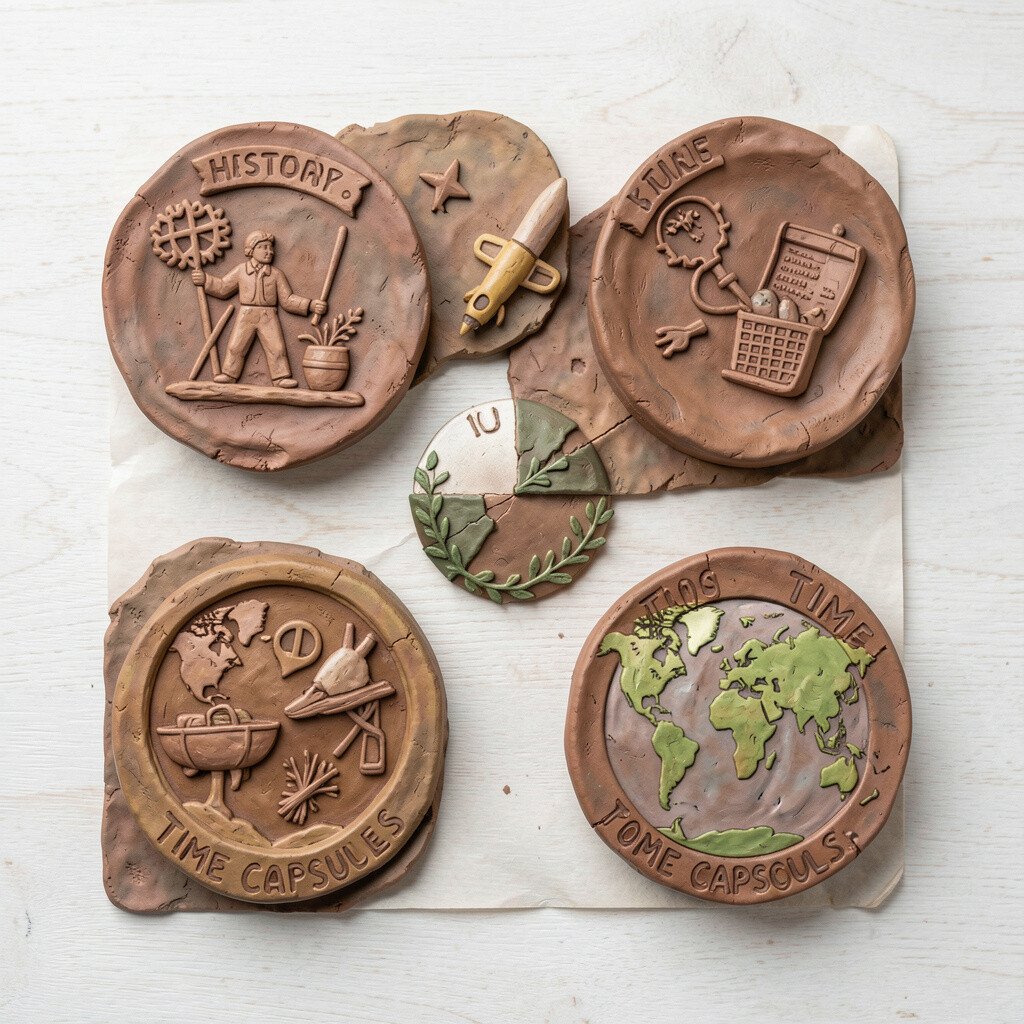
Roll out air-dry clay and press simple shapes into it like tiny monuments. After it dries, paint it and write a year range on the back with a fine pen.
Making small relief pieces helps you remember facts because your brain has to match what you read to what you build. Try making a “scene” for each era, like a ship, a tool, or a palace wall, using scraps of clay for texture. Keep the pieces small enough to store, and photograph them so you can track changes as you improve.
For personalization, pick a theme your family likes, such as travel, farming, or music, and tie every capsule to that theme. This craft also fits different budgets because clay and paint can be reused. If you want a current trend, add QR codes to each piece that link to a short audio story you record on your phone.
3. Shadow Puppet Historian Stage
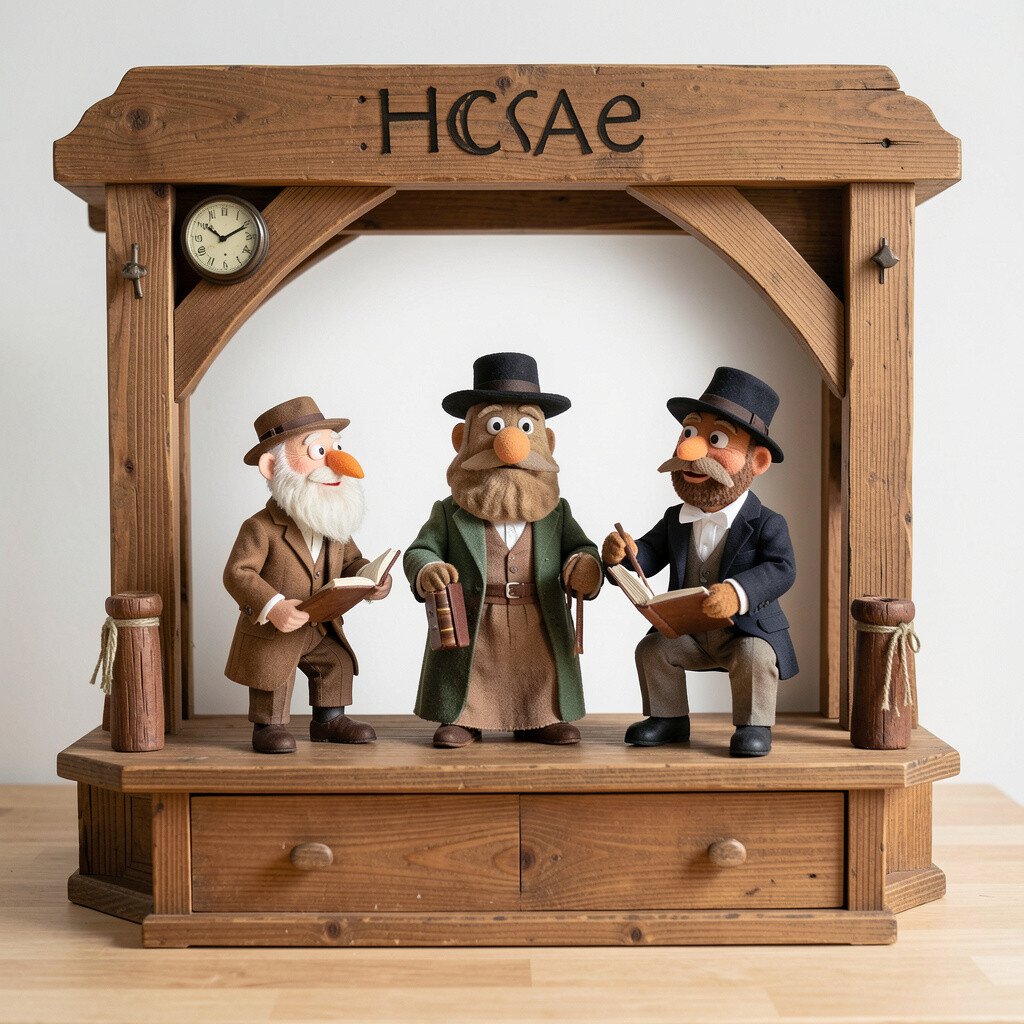
Draw silhouettes on cardboard, then cut out shapes like people, animals, or famous buildings. Place them on a small stick and test them with a lamp so the shadows look crisp.
You’ll build a visual story that feels like a mini play, which makes hard dates easier to hold in your mind. Choose one moment in history per card, and connect the cards in order so your stage becomes a living timeline. Use a cloth backdrop to soften the light, because sharp edges can make the shadows jump around.
If you want variety, swap materials and try tracing onto black craft foam for thicker shapes. This is a low-cost craft since cardboard and simple cutting tools are usually already at home. Personalize the show by giving each era a different soundtrack you hum or tap, so the timeline has a sound you can recall later.
4. Fabric Patch Era Map
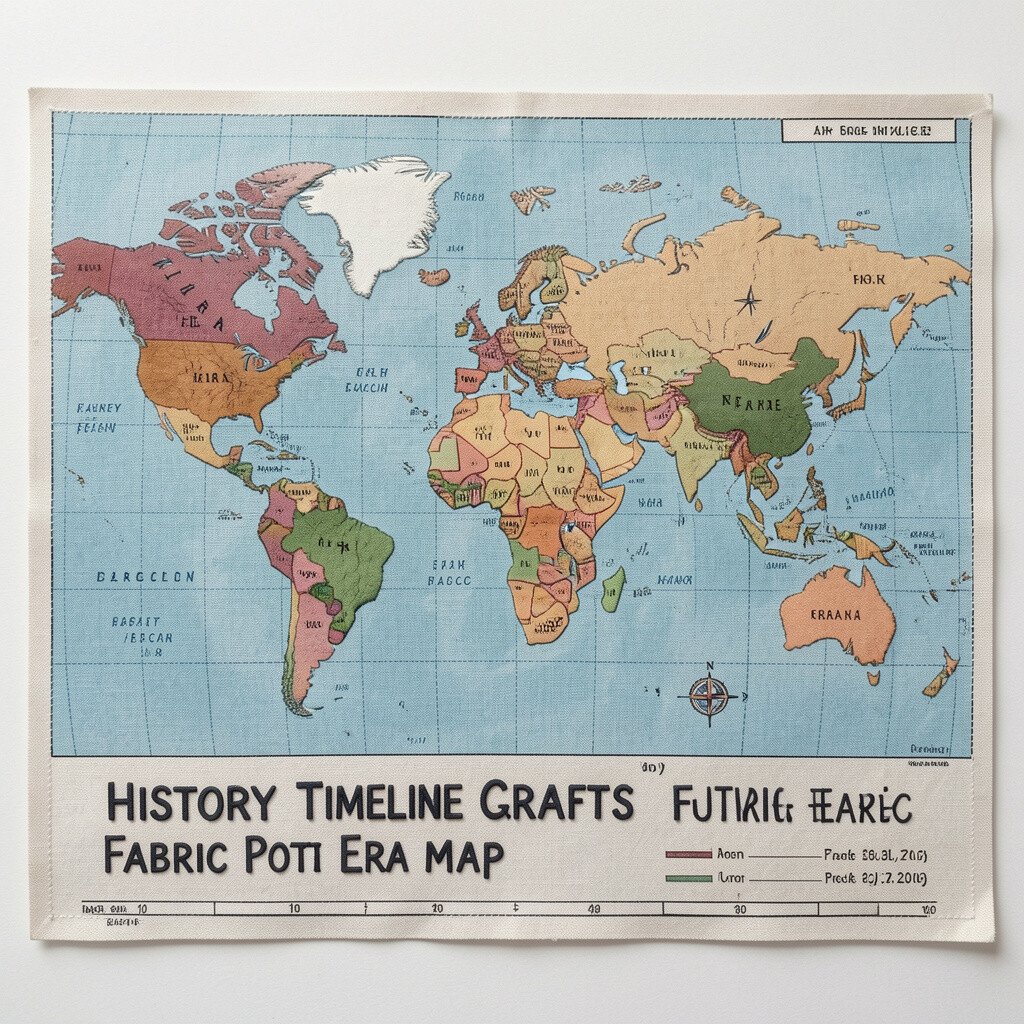
Cut felt or fabric scraps into patch shapes, then stitch or glue them onto a plain cloth strip. Label each patch with an era theme and add a small symbol like a tree, a star, or a wagon.
This creates a wearable map of history that’s easy to add to over time. Keep edges neat with fabric glue, and use a ruler to keep the timeline lines straight. If you’re working with kids, use washable markers and pre-cut shapes so the focus stays on creativity.
5. Bottle-Cap Calendar Timelining
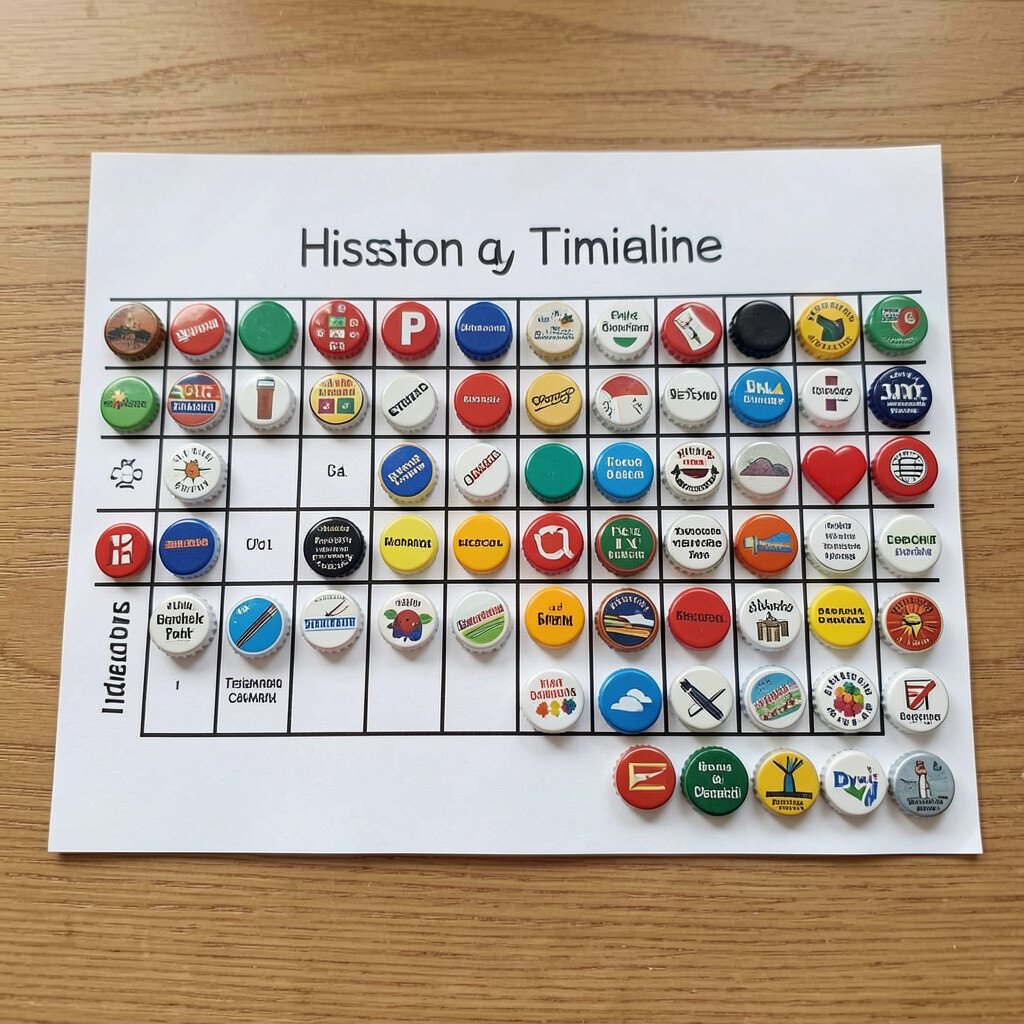
Collect bottle caps and paint them in groups, one group per era. Glue them onto a sturdy board or foam sheet in a line and add tiny drawings on each cap.
Seeing history as a collection of small circles makes the learning feel playful and less overwhelming. Use darker colors for older eras and brighter colors for later ones, so your eyes can follow the order instantly. For practical timing, set one cap per week and keep them in a container until you’re ready to attach them.
This craft works on many budgets because you can save caps from drinks over time. For personalization, include one cap that celebrates your local history or your family’s roots, then match it to a larger world event. A current twist is to add metallic paint and a glossy clear coat, which gives the timeline a shiny “collector” look.
6. Spiral Staircase Story Scroll
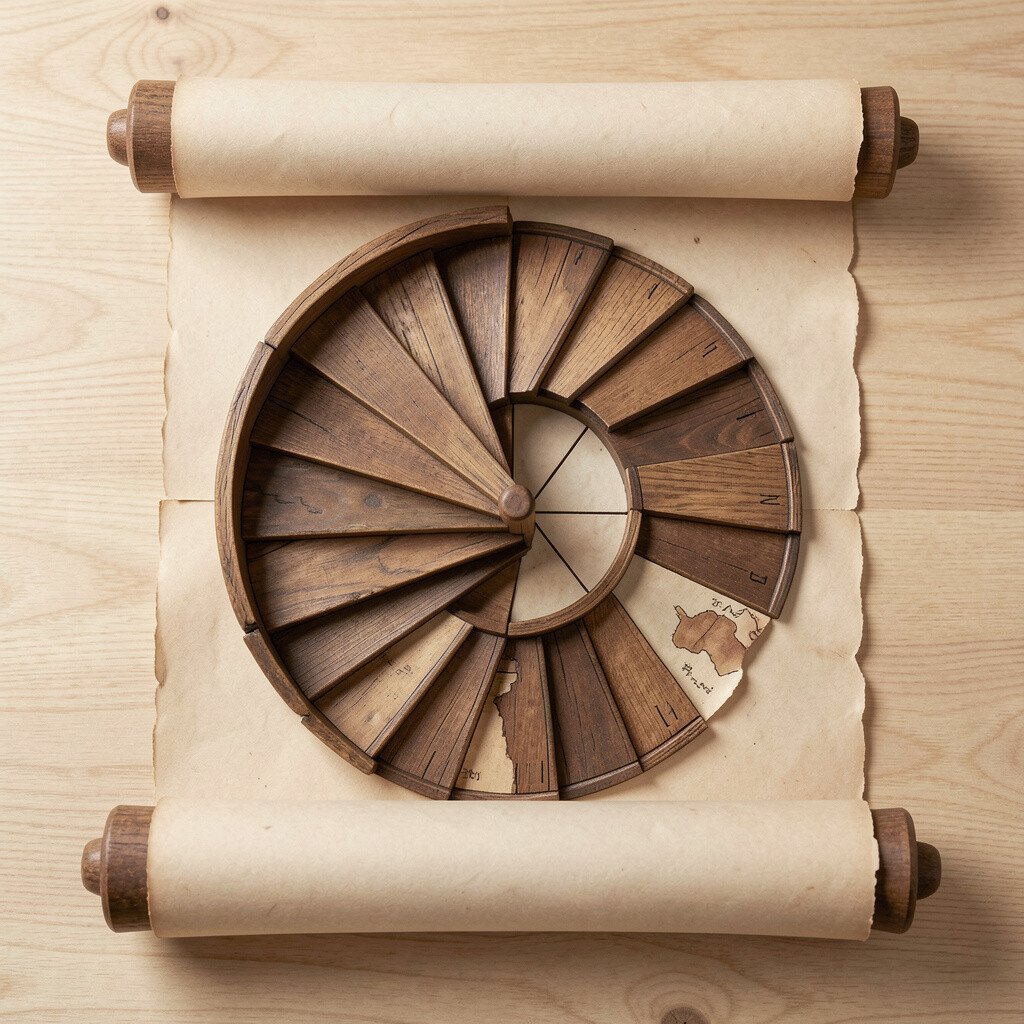
Create a long paper strip, then fold it like an accordion into a spiral staircase. Write one event per step and decorate the edges so the steps look like tiers.
This is great for quick reviews because you can pull the scroll open and instantly see the whole sequence. Try using one color per region, like blue for sea routes or green for agriculture, so you can spot patterns. Keep the writing short and use drawings to carry the details.
7. Recycled-Tube Machine for Ages
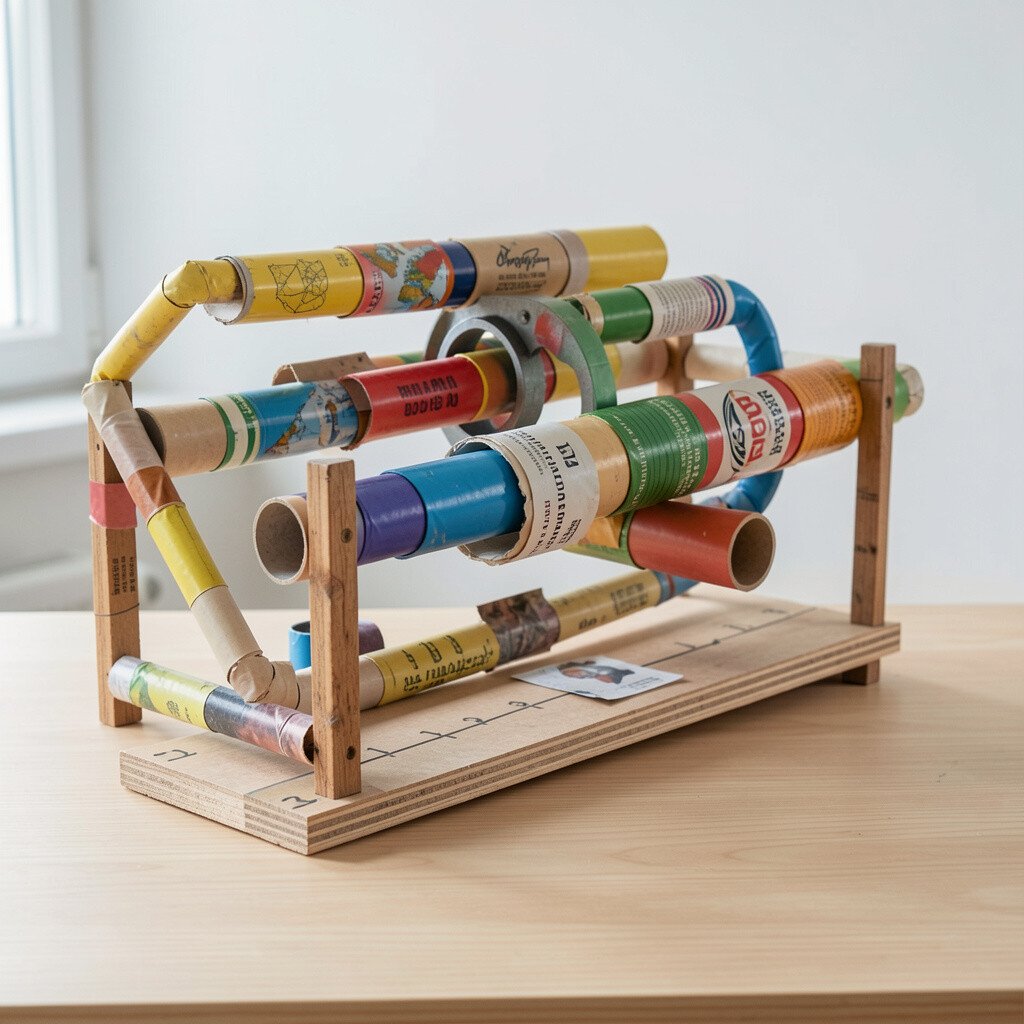
Wrap paper around cardboard tubes and turn them into small “machines” that each represent an era. Add gears, stamps, or paper strips to show what people in that time used.
You get strong visual comparison because each tube shows how tools changed. Make a simple label by writing the era name on a tag and tying it to the tube so you can swap ideas later. For personalization, build one tube about a hobby you like, such as cooking or art, and imagine how people in that era would practice it.
Cost stays low if you use recycled materials and basic glue. If you’re using limited supplies, focus on one craft item and repeat the same shape across tubes for a clean look. A modern touch is to paint tubes with matte spray paint so they look like sleek desk organizers.
8. Chalkboard Sticker Timeline Wall
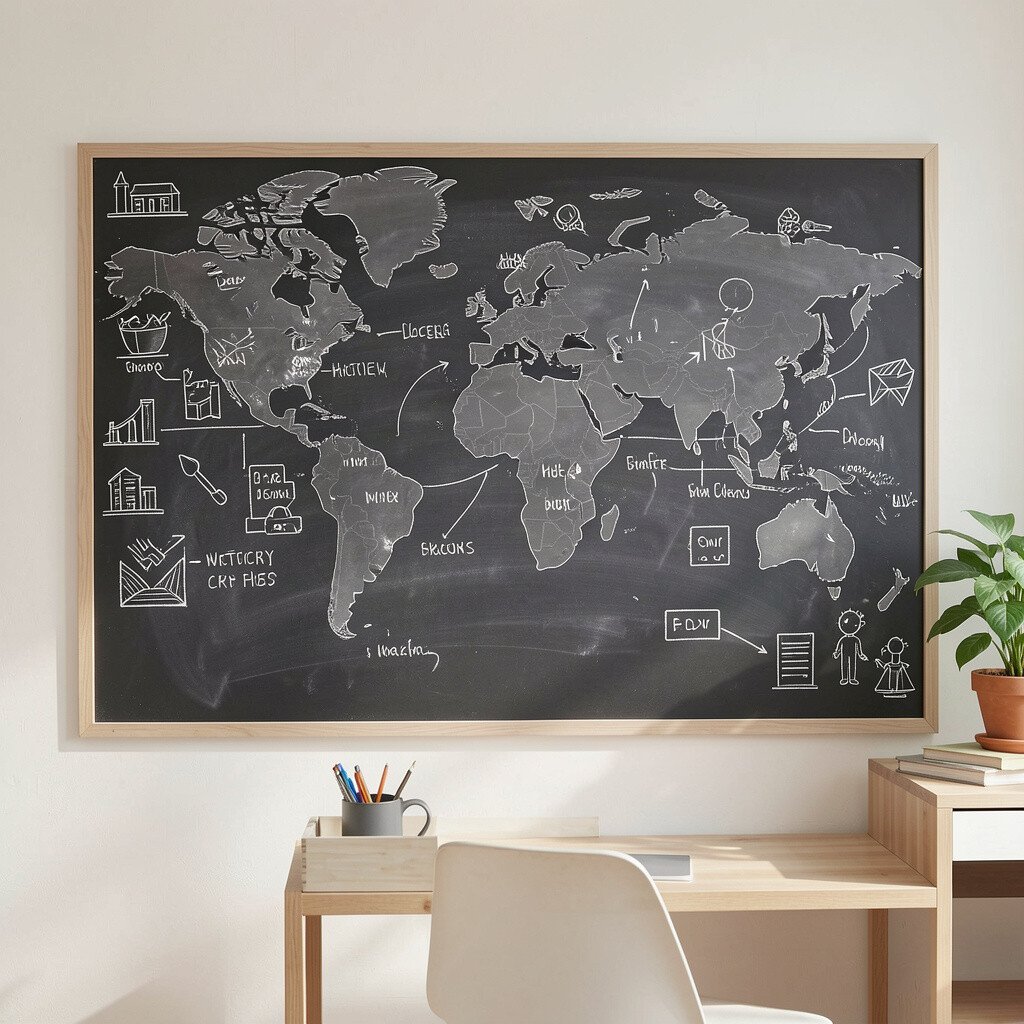
Make a timeline wall by applying a chalkboard sheet or painting a small area with chalkboard paint. Then add removable sticker labels for eras and let your drawings live around them.
This gives you flexibility, because you can erase and rearrange as you learn new details. Use a piece of painter’s tape as a straight guide line and keep the labels evenly spaced. Add small objects around each era, like a paper “coin” or a folded flag, to make the wall feel three-dimensional.
9. Matchstick Cause-and-Effect Bridges
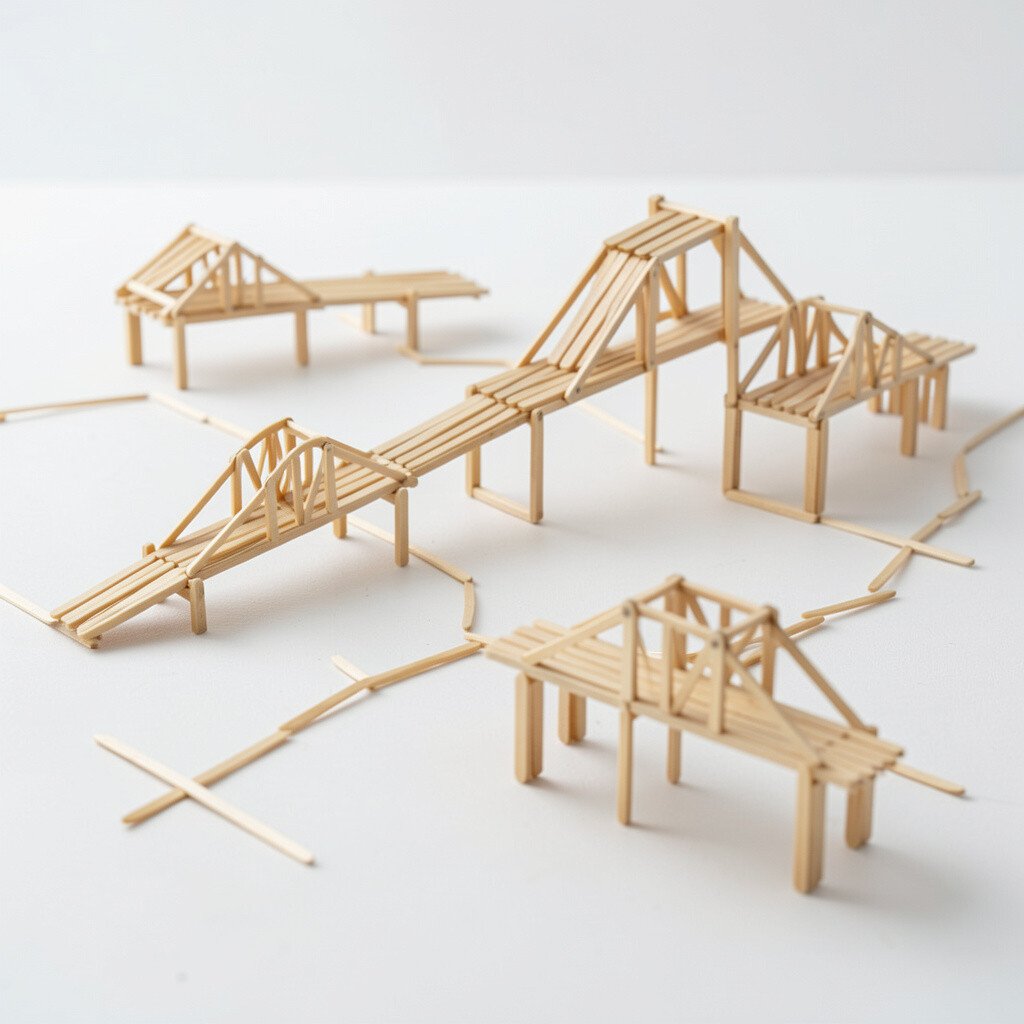
Line matchsticks into bridge shapes between two points on paper, with each bridge representing a change over time. On each side, draw what people had before and what came next.
You’ll remember connections better because the bridges show cause and effect, not just dates. Use non-flammable glue or tape to hold everything together, and keep the match heads toward the bottom for easier handling. Try adding arrows made from colored paper strips so your timeline guides the viewer’s eyes.
For cost and safety, use toothpicks or craft sticks if matchsticks feel risky. Personalize by choosing “bridge topics” that match your interests, like medicine, transportation, or education. A current trend in learning is focusing on systems, and bridges are a simple way to show how one invention leads to another.
10. Historical Photo Booth Timeline Cards
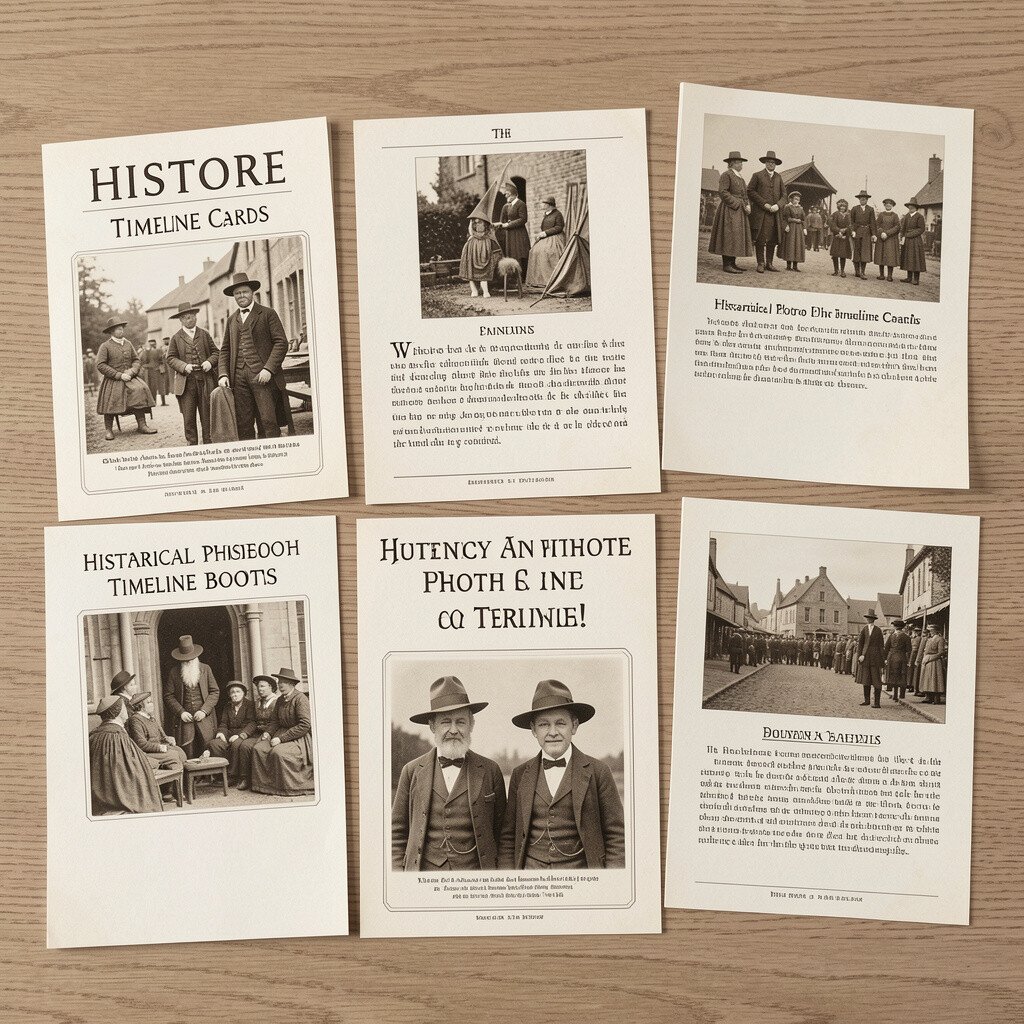
Make thick cards and decorate them like photo backdrops from different eras. Add a place to write a date and a theme, plus a small prop that matches the era.
Taking quick “photo booth” pictures turns your timeline into a personal gallery you’ll want to revisit. Use a simple phone timer and pick a consistent pose so you can compare eras in your photos. Keep your cards durable by laminating them with clear packing tape if you want them to last.
This craft can be very low cost since cardstock, markers, and household paper are enough. Personalization is easy because you can include your own character in each era, like you as a traveler or artist, then keep the style consistent. If you want a modern twist, add a QR link on the back of each card to a short audio clip you record about the scene.
11. Seed-Plant Growth Timeline

Plant seeds in a row of cups and create a timeline that matches how long they take to grow. Decorate each cup with an era picture or tool symbol that fits the story you’re learning.
This approach connects history with real-life change, so you learn that progress takes time. Use a notebook to sketch how the plant looks each day, then match your sketches to the events on your timeline cards. Keep watering simple and consistent, because uneven care can confuse the comparison.
12. Tin-Can Ring Road Timeline
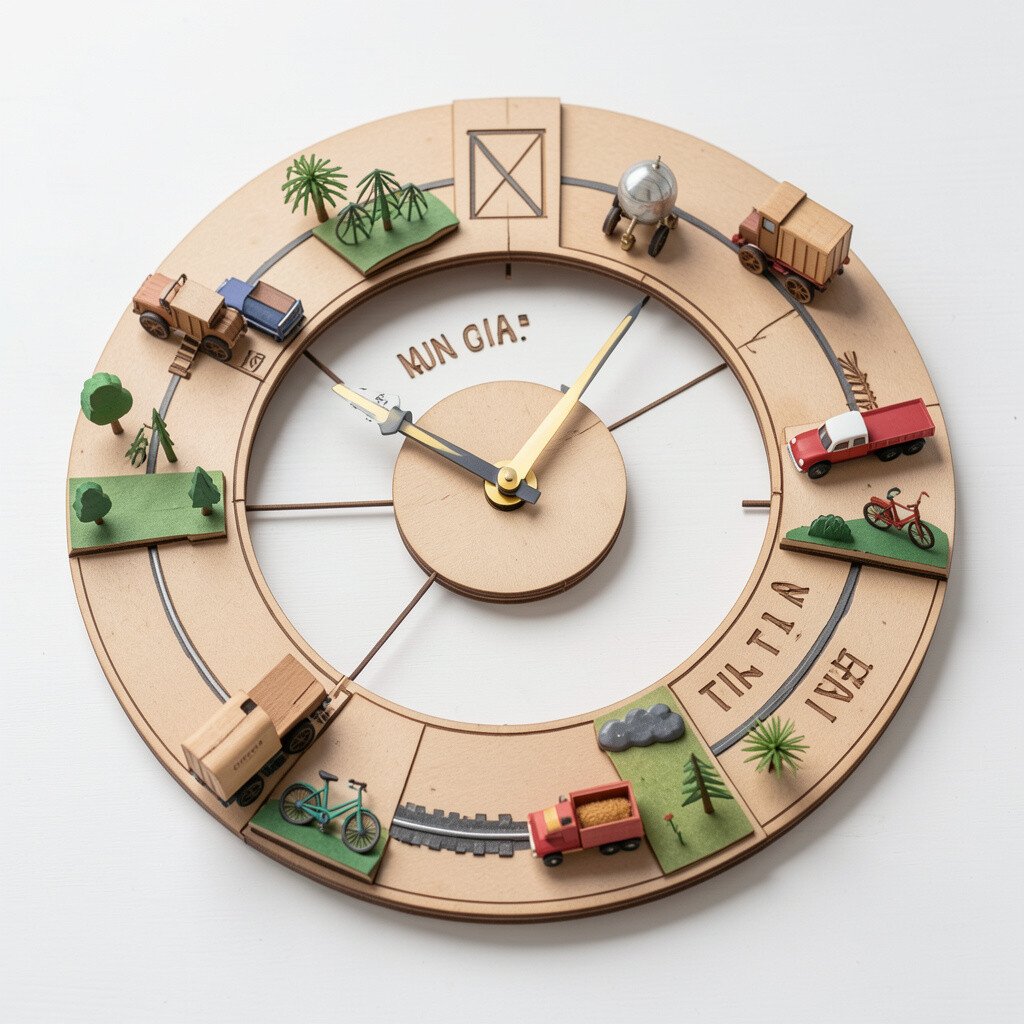
Stack painted tin cans or sturdy cups in a line, then string yarn between them like a road. Each road segment represents an event, and you can add mini labels along the yarn.
You’ll get a bold, three-dimensional look that stands out on a desk or shelf. Secure the yarn with tape so it stays tight, and use small paper flags for labels so you can update them later. For practical learning, build the timeline after you read each short section so your craft follows your understanding.
13. Origami “Era Map” Folders
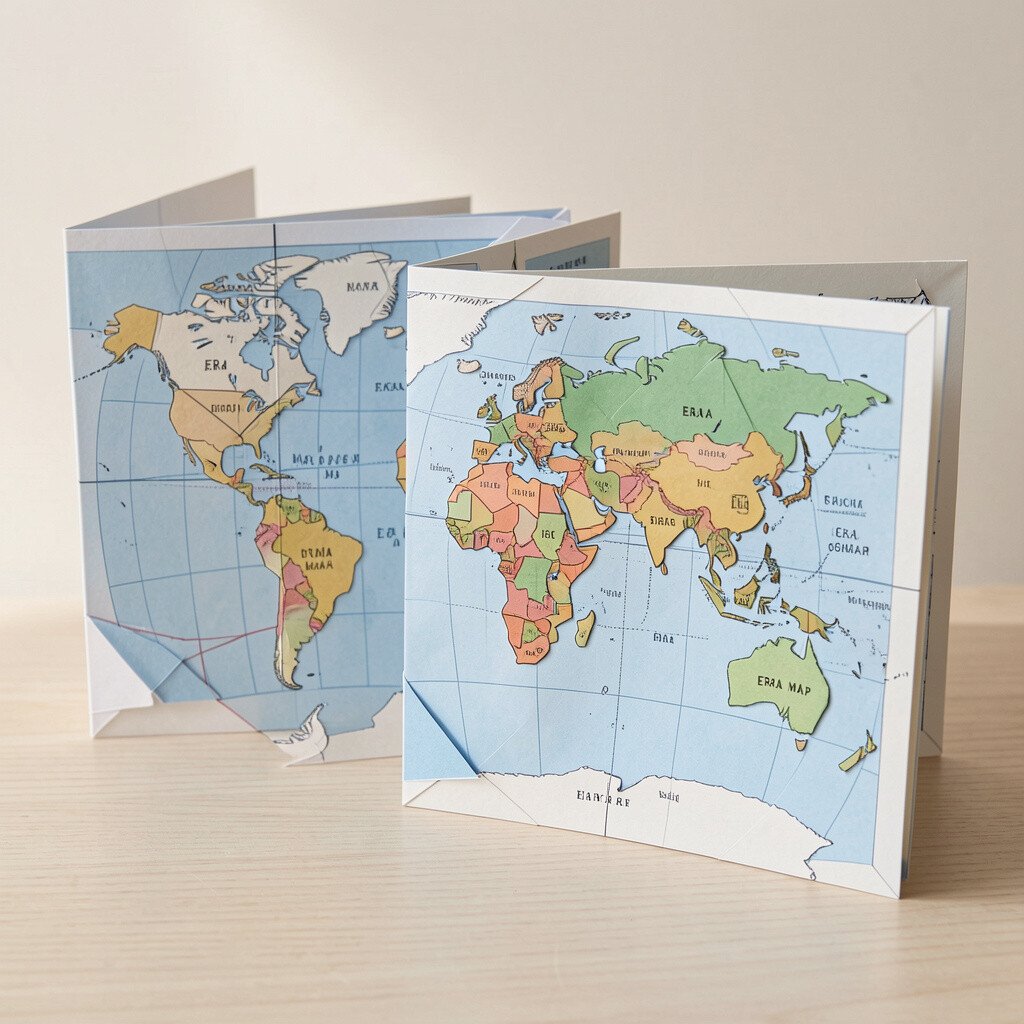
Fold paper into simple maps or envelope folders, then decorate each fold with landmarks from a chosen time period. When you open the folder, reveal an event card that you tuck inside.
Origami helps you slow down, which is perfect for learning facts in order. Use grid paper underneath if you need straight lines, and keep landmarks simple, like one river, one city, and one path. Personalize by adding a tiny symbol that represents your favorite culture or region within each folder.
This craft is usually affordable because paper comes in many sizes and colors. For a current trend, try using patterned washi tape to create borders that look crisp in photos. Keep the folder style consistent across eras so your timeline looks like one themed set.
14. Lanterns of Revolution Light Boxes

Create small light boxes using shoe boxes or sturdy paper, then cut windows that show images for each era. Place a tea light or LED candle inside so the pictures glow when you turn off the room lights.
This makes history feel emotional and vivid, because light turns your timeline into a night story. Decorate each window with simple symbolism, like an open book for education or a raised tool for work. Use LEDs for safety and set a clear rule for supervision if children are working close to power sources.
Cost can stay low since you can reuse boxes and only buy a few LEDs if needed. Personalization ideas include choosing a color palette that matches the mood of each era, like warm oranges for growth and cool blues for hardship. A modern classroom trend is using “slow looking,” and glowing boxes are perfect for that calm attention.
15. River Timeline Paper Boats
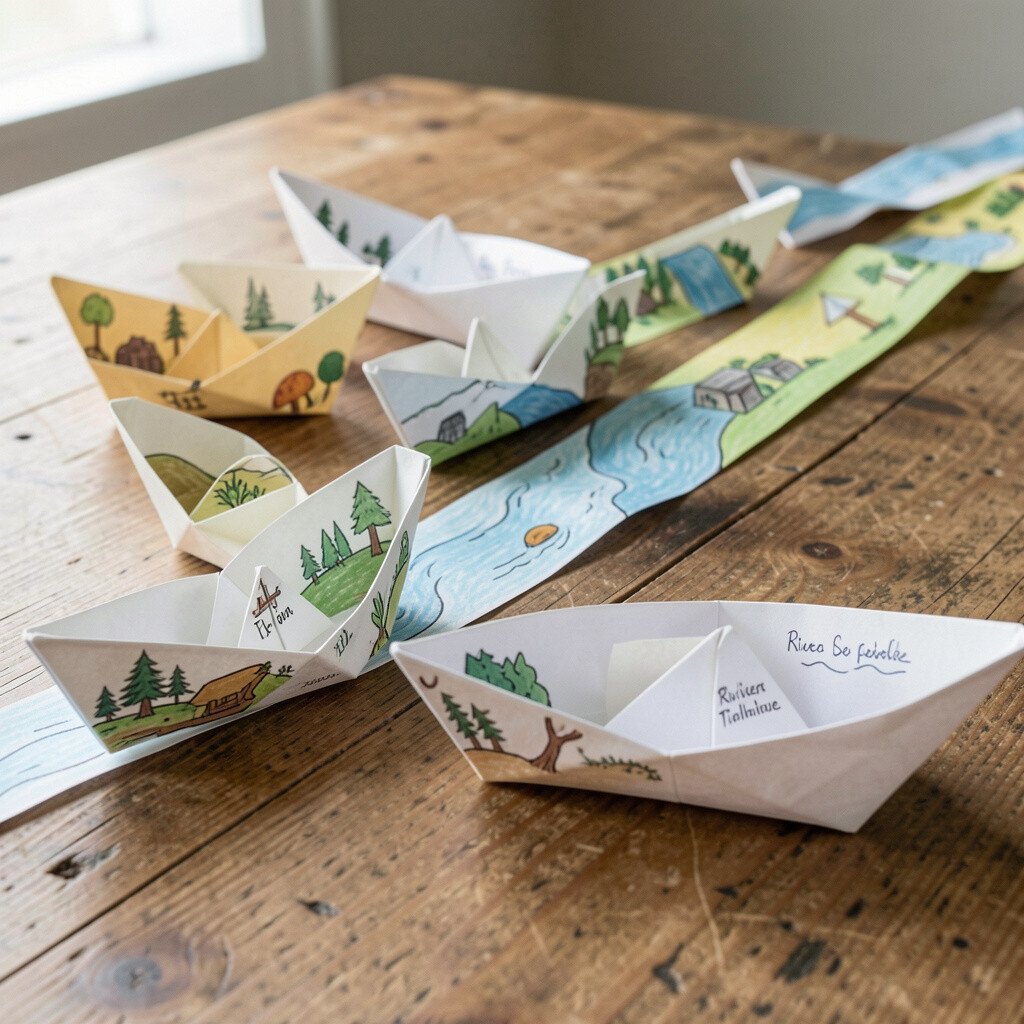
Fold paper boats and decorate each one with an era theme, then place them on a tray of water. Each boat “travels” along a lane, and you can move them in order as you tell the story.
This craft turns sequence into motion, which helps many learners remember steps in order. Keep it practical by using a shallow tray and drying the boats right after so they don’t fall apart. For personalization, pick a single repeating character, like a “navigator” boat, and show how it changes across eras with new sails or flags.
Cost considerations are friendly because paper and marker supplies are usually easy to find. If you want a current trend, try a stop-motion video where you photograph each boat position and make a quick timeline reel. Just remember to keep the paper boat style simple so it holds together long enough for your photo sequence.
16. Weathered Timeline Diary Pages
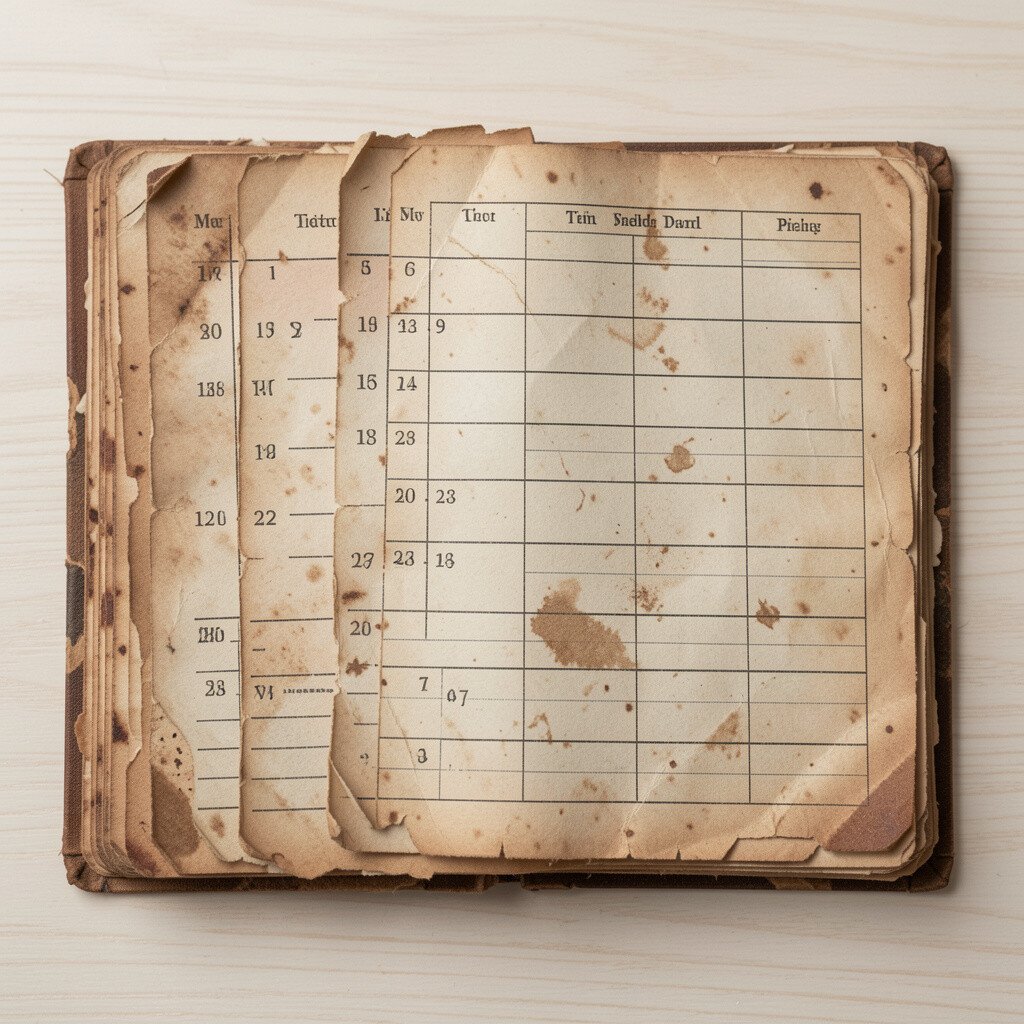
Make a set of diary pages and age them by gently tinting paper with tea or coffee, then letting it dry. Write short scenes from each era as if you’re a traveler writing to a friend.
This craft offers a strong sense of voice, which helps facts stick because you’re imagining lives, not memorizing lines. Add small doodles like maps, tools, and clothing details, then bind the pages with twine so they feel like one book. For practical tips, keep handwriting large and use one color per era so your pages stay readable.
Cost stays low because paper, ink, and simple aging materials are inexpensive, and you can reuse scrap paper. Personalize the diary by connecting each entry to something in your world today, like food, music, or transportation. If you want a modern touch, format a clean copy of your favorite entry with a phone app so you can compare handwritten and typed styles.