Old wallpaper can make a bathroom feel tired fast. With the right plan, the walls can look clean and bright again.
1. Clear the Room and Protect Surfaces
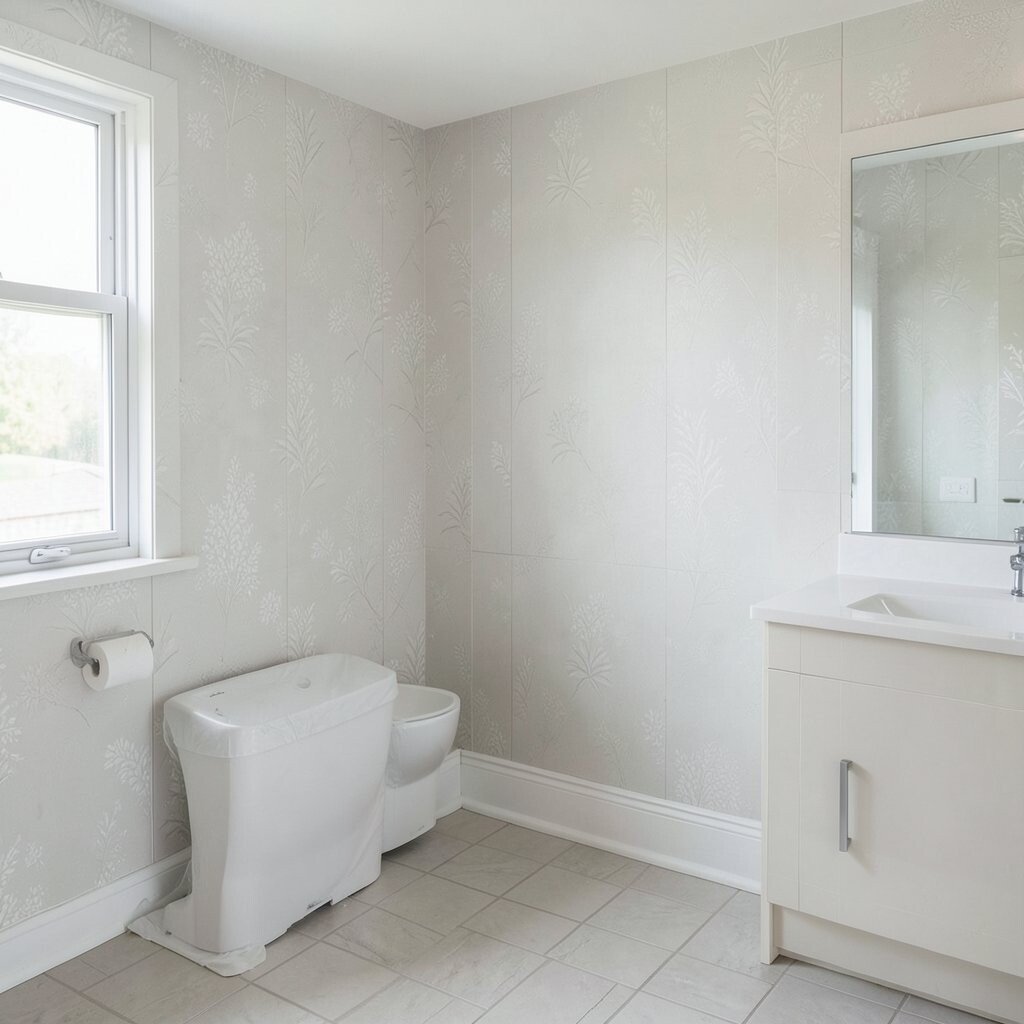
Start by taking out towels, décor, and anything that could get wet or dusty. The empty space makes the bathroom look bigger right away and gives you room to work without bumping into shelves or baskets.
Lay down plastic or old cloths over the floor, sink, and toilet so water and paste do not cause damage. This simple prep saves money because it helps you avoid extra cleanup and protects the parts of the room that already look good, which matters if you want a fresh style without spending on repairs.
2. Check the Wallpaper Type
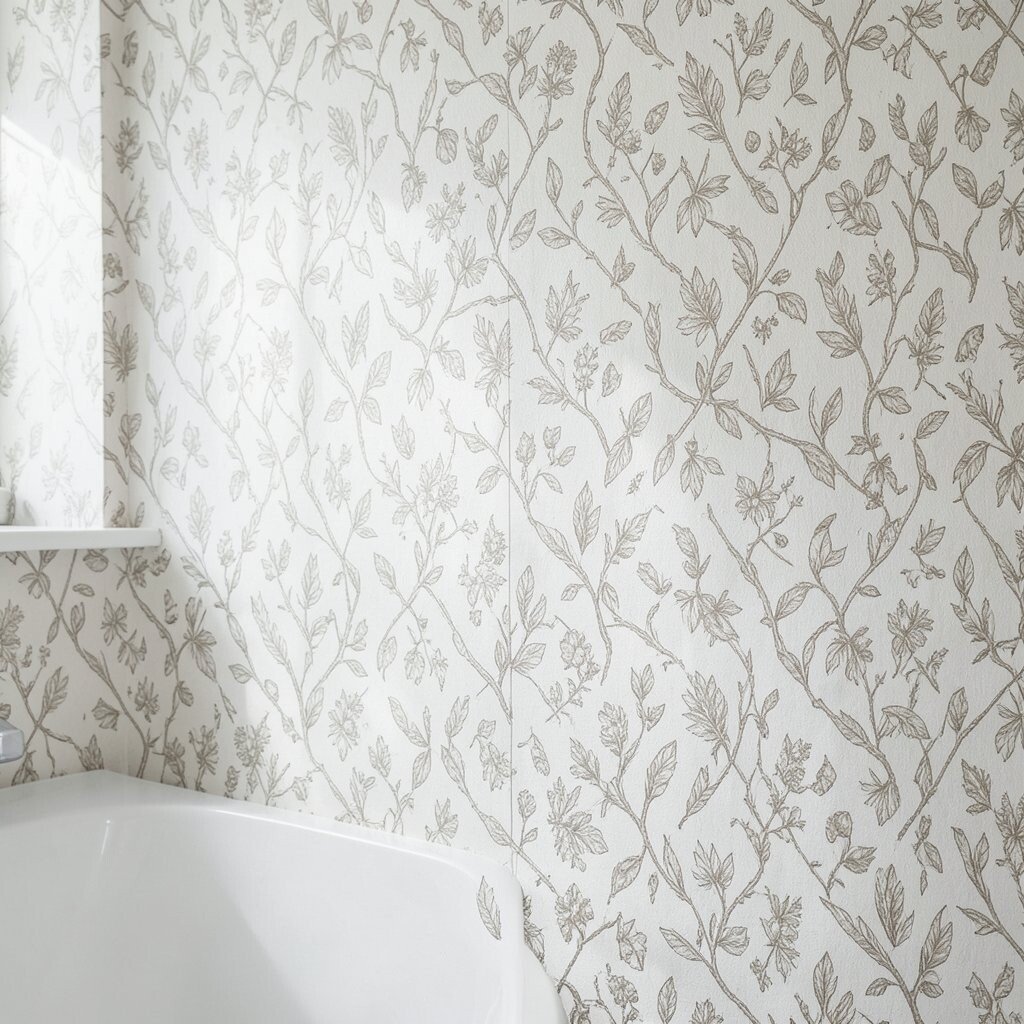
Look closely at the surface before you start pulling. Some wallpaper peels easily, while other kinds cling to the wall and need more care.
Try lifting a corner near a seam with a putty knife or fingernail, and see if the top layer comes off in sheets. Knowing what you have helps you choose the easiest method, and that is a smart way to keep the job affordable and less stressful.
A smooth, shiny finish often means a more modern vinyl style, while a softer, older look may be paper that soaks up water faster. That little bit of checking can make the work feel more personal too, since you can plan the removal based on your room, your tools, and how much time you want to spend.
3. Gather Simple Tools
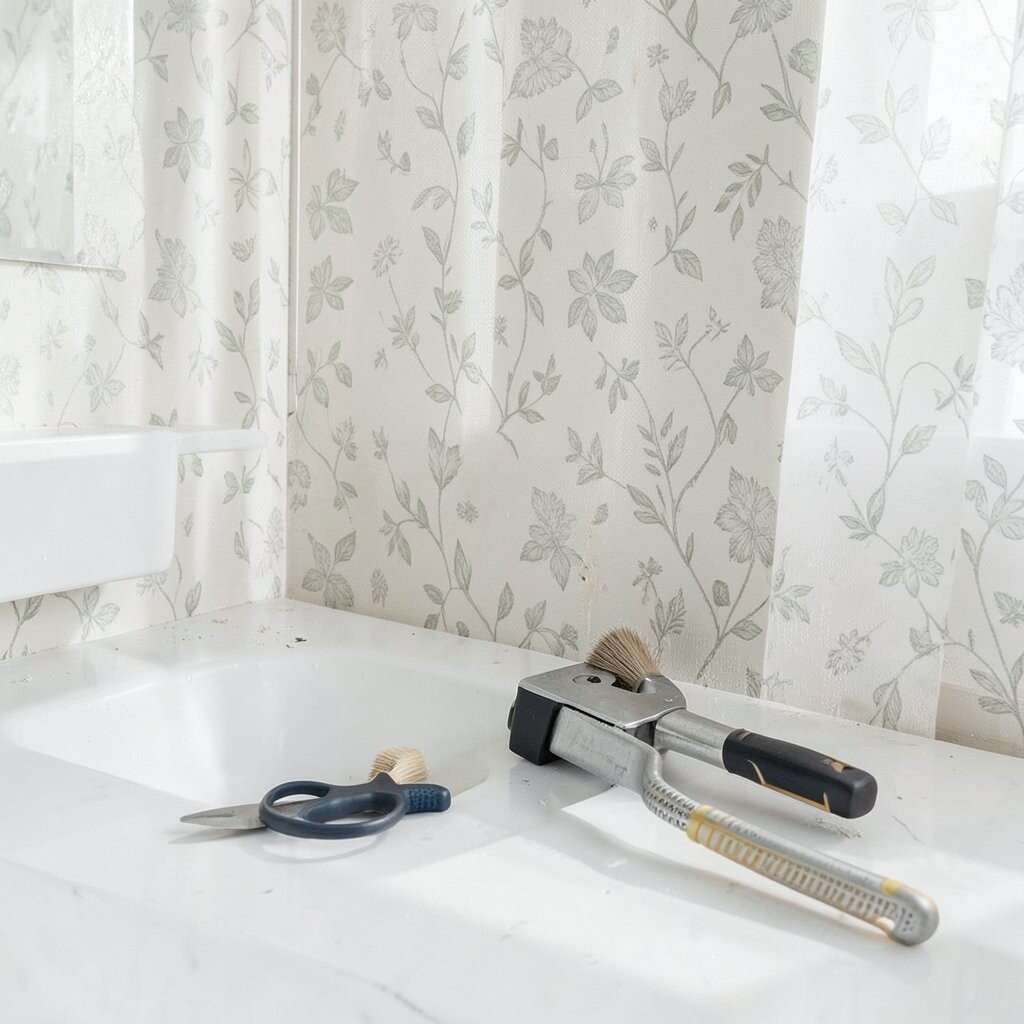
Before you start, place a scraper, sponge, spray bottle, bucket, warm water, and mild soap nearby. Having everything close makes the job feel calm and organized, and the bathroom will look less messy while you work.
You may also want a scoring tool, gloves, and a trash bag for loose strips. Buying only a few basic supplies keeps the cost low, and that fits the current trend of simple home updates that do not need a big budget.
If you like a custom touch, pick tools with bright handles or a favorite color so the project feels more yours. Small choices like that can make even a plain task feel a little more fun and less like a chore.
4. Turn Off Power Near Wet Areas
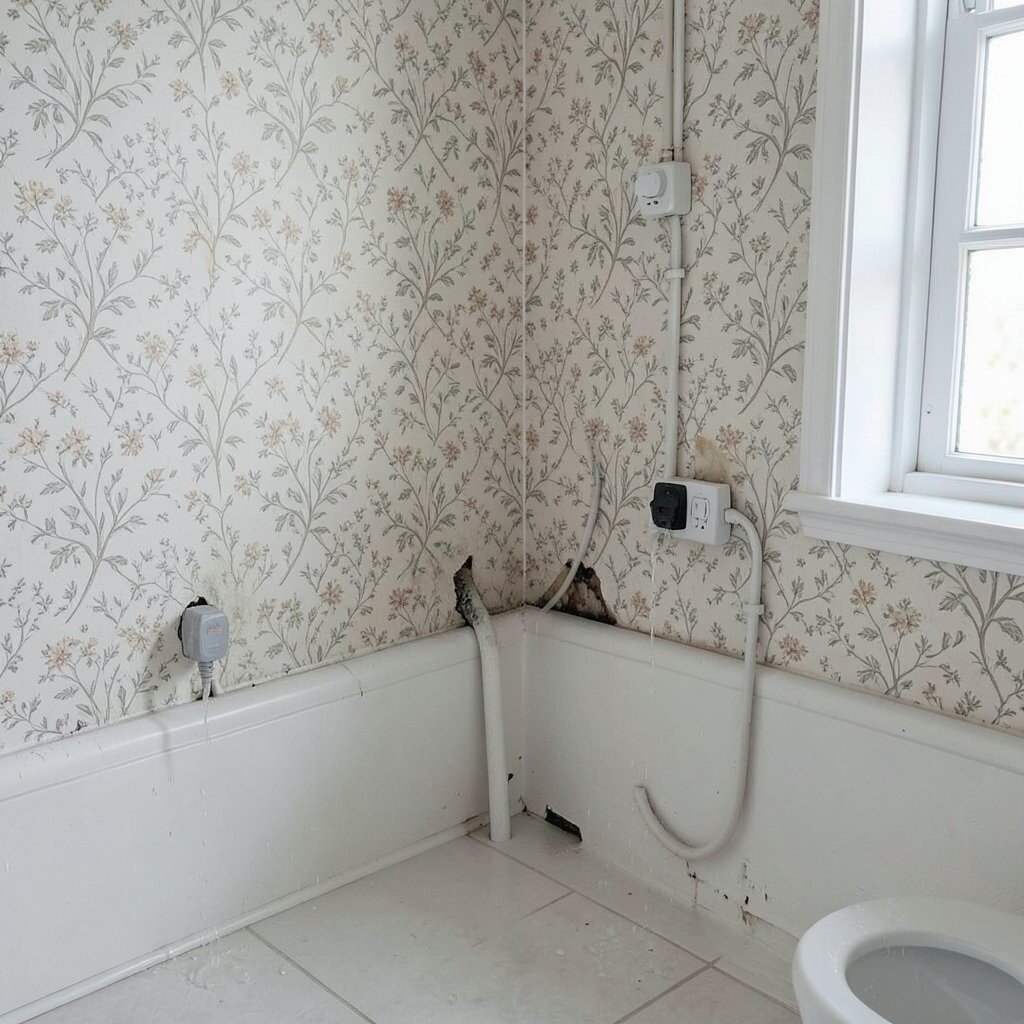
Safety comes first in a bathroom because water and electricity should never mix. If the wallpaper is near outlets, switches, or light fixtures, switch off power to that area before you add any water.
This step can save you from a scary accident and also help you work more freely with sprays and sponges. If you are renting or working in an older home, the extra caution is worth it because old wiring and damp walls do not always behave the same way.
5. Make the Wallpaper Soak
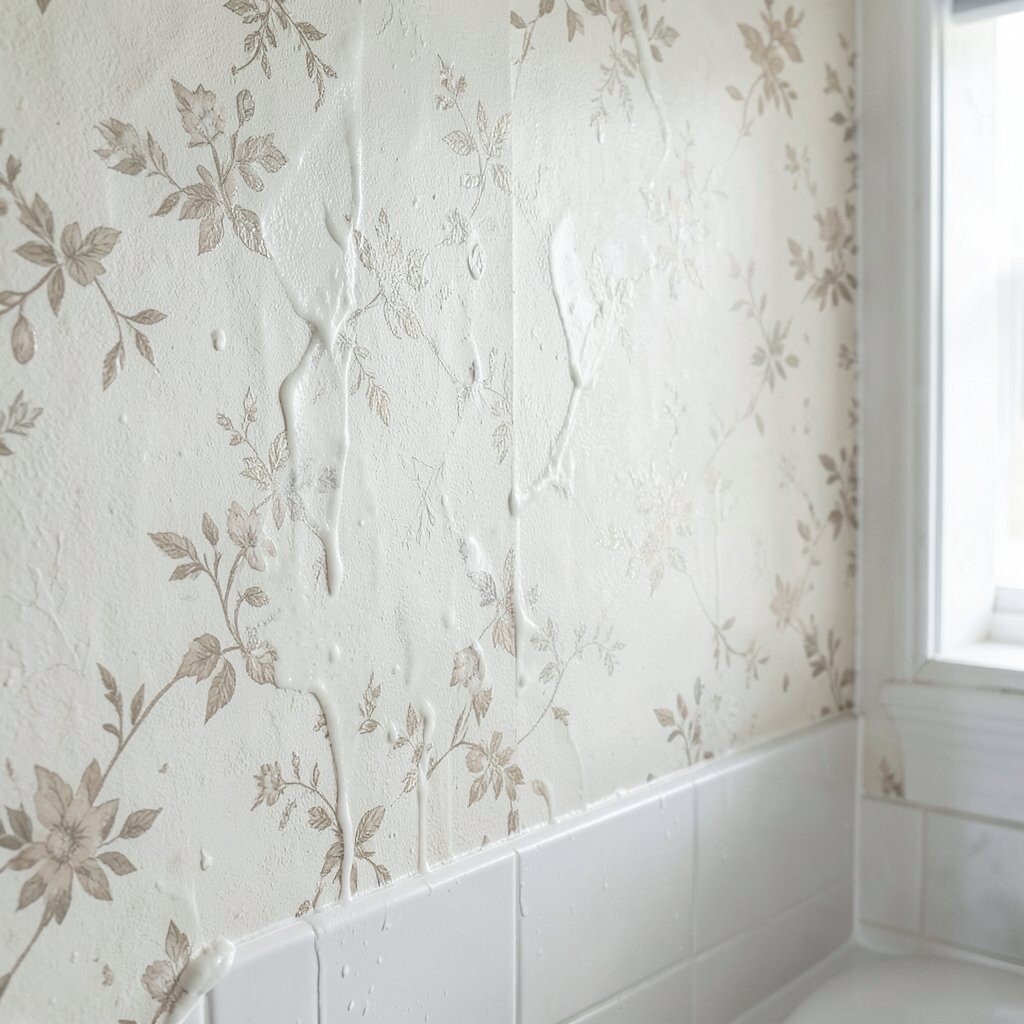
Fill a spray bottle with warm water and mist a small section of the wall. The damp paper will often darken a little, which shows the water is starting to work.
Let it sit for a few minutes so the glue softens and the paper lifts more easily. This step can keep you from scraping too hard, which helps the wall stay smooth and lowers the chance of patching costs later.
For a fresh style plan, work in small zones so the room stays neat and the process feels less overwhelming. A careful soak also lets you see how the wall reacts, and that unique response can guide your pace for the rest of the job.
6. Score Tough Spots
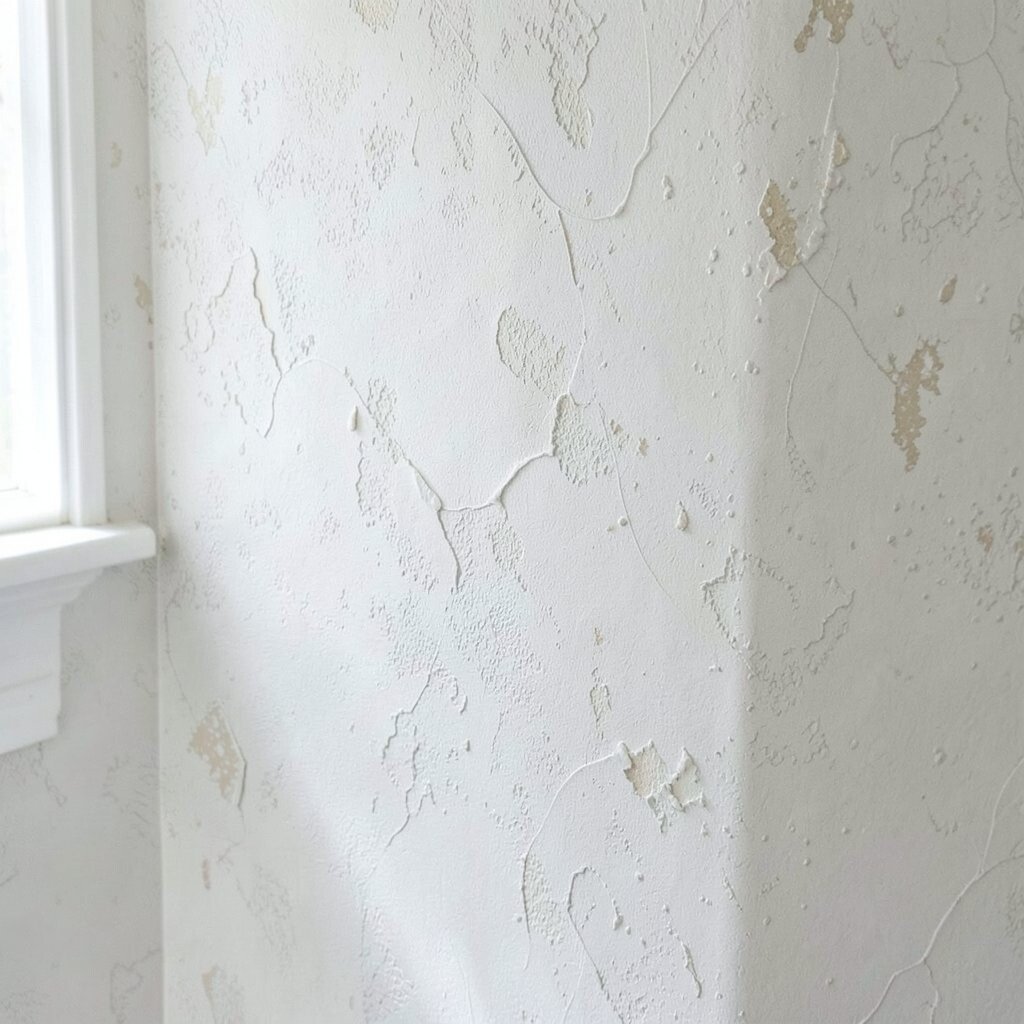
When wallpaper refuses to soak through, use a scoring tool lightly over the surface. Tiny holes help water reach the glue, and the pattern may start to look rough and ready to lift.
Press gently so you do not cut deep into the wall underneath. This method is helpful because it gives stubborn paper a better chance to release, and it is still a low-cost fix compared with renting special machines.
You can make the work feel more personal by scoring only the areas that truly need it. That keeps the wall in better shape and matches the current wish for cleaner, simpler results that still feel handmade.
7. Peel the Top Layer Slowly

Lift one corner and pull the wallpaper back at a slow angle. When it comes away in long strips, the wall can suddenly look brighter and more open.
Go gently so the paper does not tear into tiny bits. A slow peel saves time later because there is less scraping, and that means less chance of extra repair supplies or drywall patch work.
The unique part of this step is seeing the old design disappear section by section. If you like a calm routine, play music and keep a steady pace so the task feels more like a home refresh and less like hard labor.
Sometimes the wall underneath shows little surprises, like faded paint or old marks. That is normal, and it gives you a clear view of what needs fixing before you add a new finish.
8. Remove Leftover Adhesive
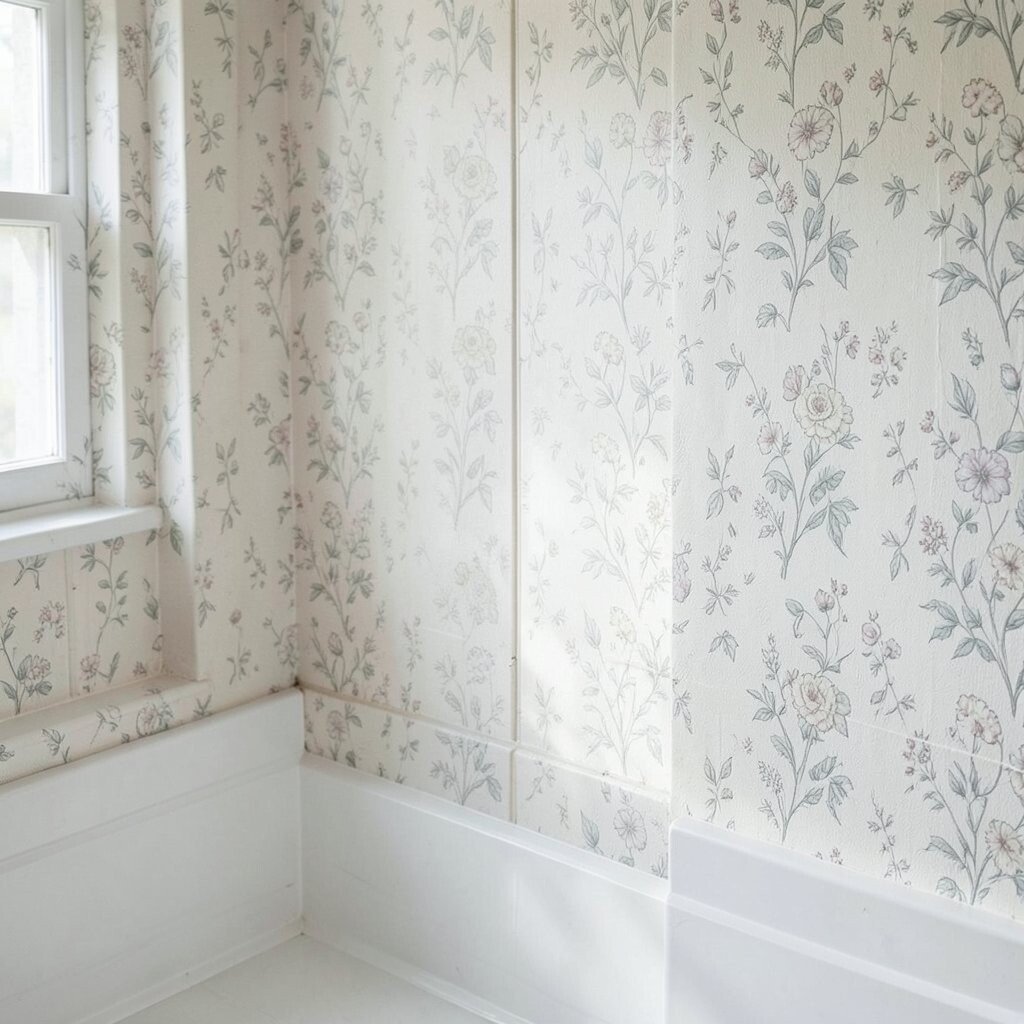
After the paper is off, sticky glue may still cling to the wall. Wipe it with warm water and a soft sponge until the surface feels less tacky.
For tougher spots, let the water sit a little longer and then scrub lightly. Cleaning the residue well makes the next wall finish look smoother, which is a big benefit if you want a neat bathroom without paying for a pro.
You can also choose a mild soap mix if the glue stays put. This simple step is practical, cheap, and kind to the wall, which is great when you want a fresh look without a full remodel.
9. Scrape Gently Where Needed
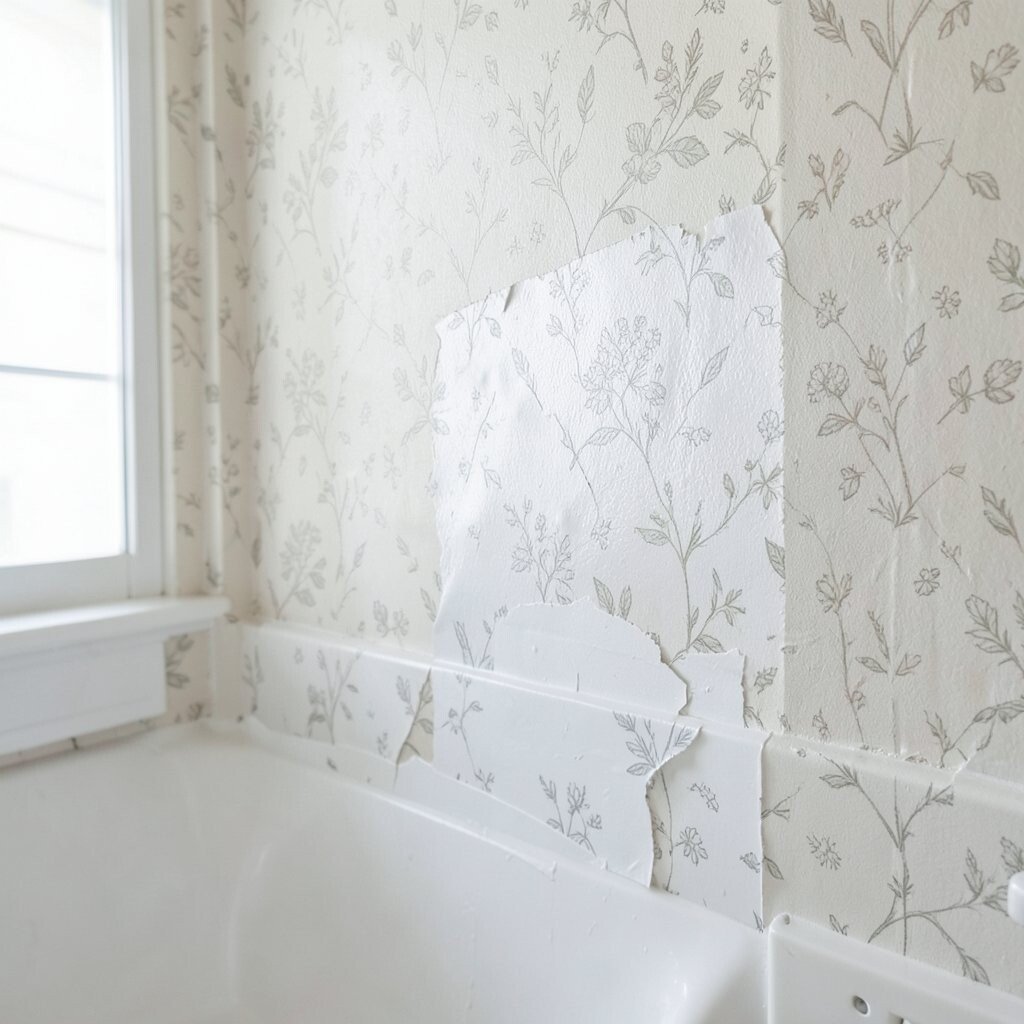
Some small pieces may stay stuck after soaking, and that is where a scraper helps. Hold it flat and move it slowly so you lift the paper without digging into the wall.
A clean scrape gives the room a tidy, even look and makes it easier to paint or hang new wallpaper later. That kind of careful work saves money because a smooth wall needs fewer fixes before the next design step.
If you enjoy a more modern bathroom style, this is the point where the old surface starts to feel truly gone. You can also choose to leave a tiny bit of texture if you like a softer handmade feel, as long as it will not show through the finish you plan to use.
10. Rinse and Wipe the Wall
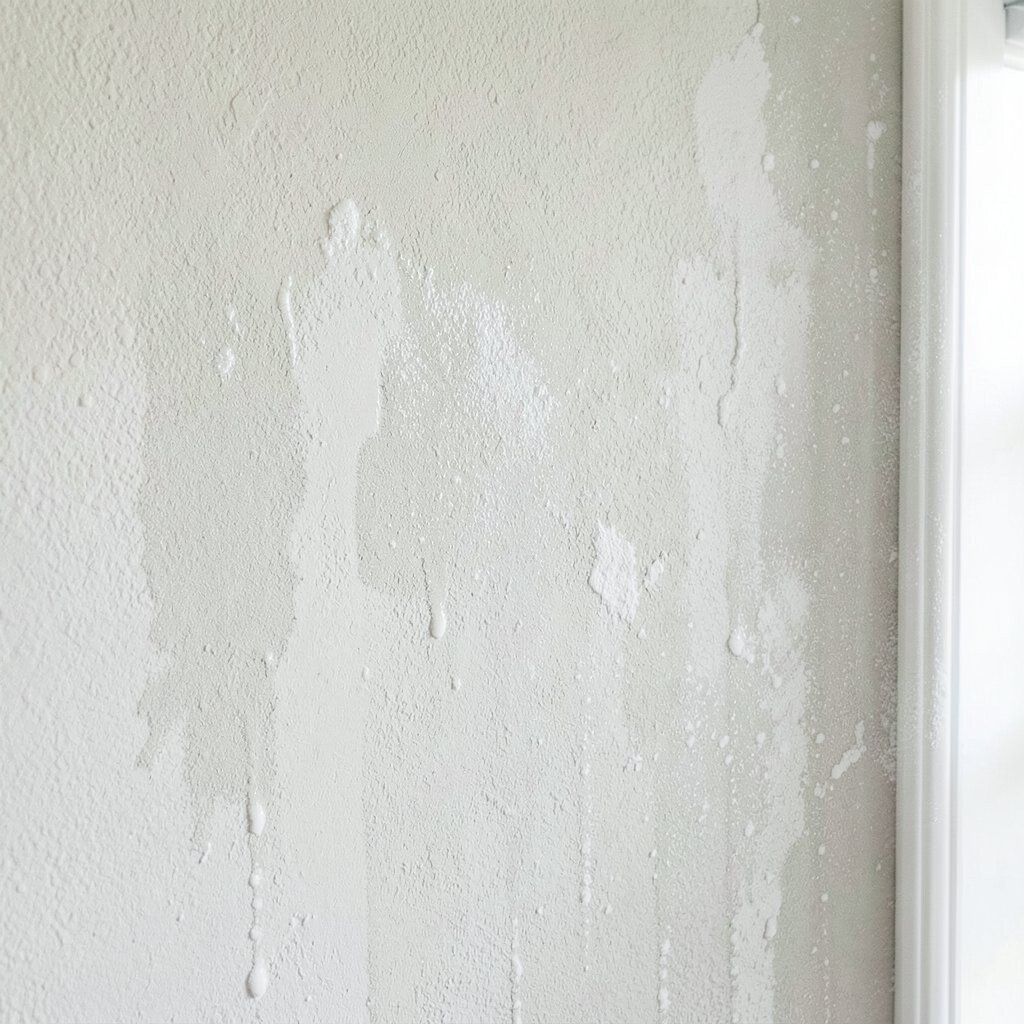
After scraping, wipe the wall with clean water to remove soap, glue, and dust. A fresh cloth will often show gray streaks at first, which is a good sign that the old mess is coming off.
Change the water when it gets cloudy so you are not spreading grime around. This extra care keeps the surface ready for the next step and helps your new look last longer, which is always a smart use of time and money.
11. Dry the Bathroom Well
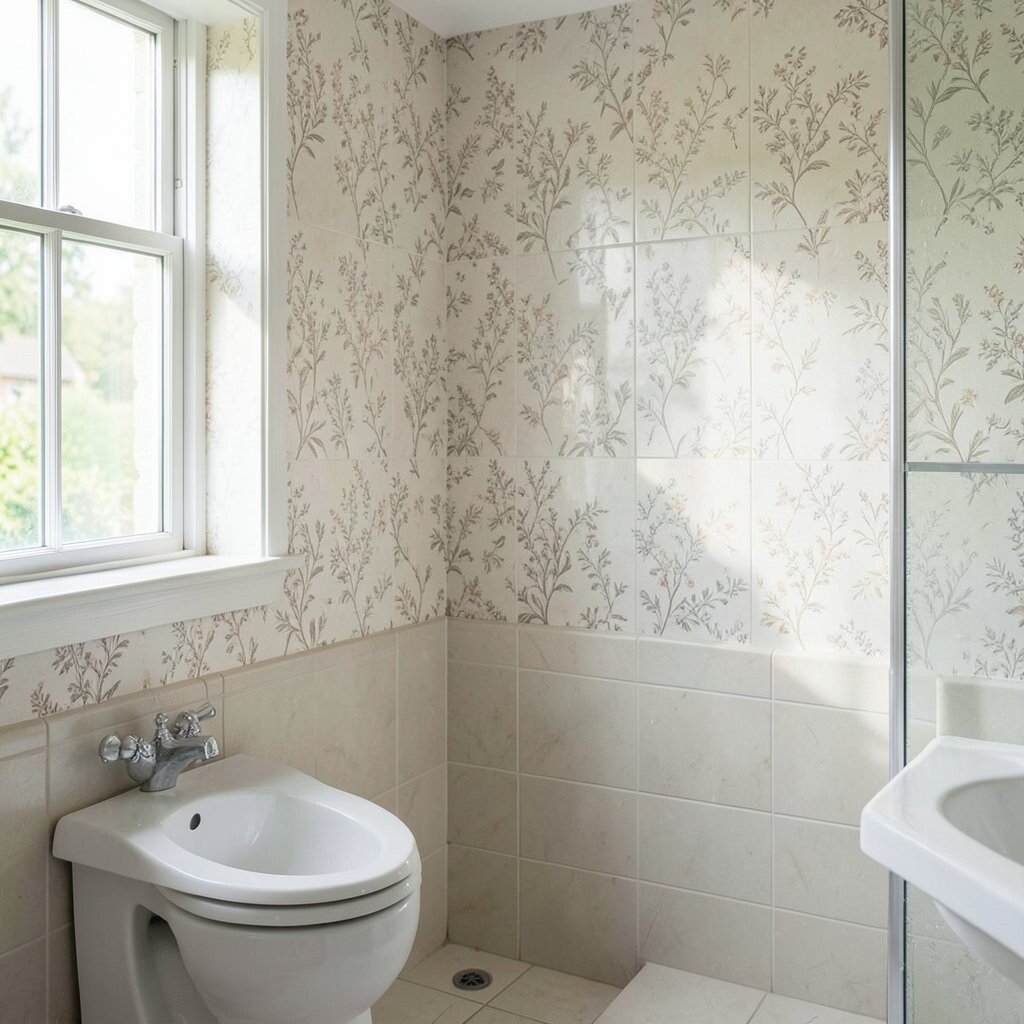
Use towels, a fan, or open windows to dry the room after washing the walls. The bathroom may smell cleaner as the damp paper smell fades away.
Dry walls are important because new finish materials do not stick well to wet surfaces. This step is simple, but it can protect you from peeling later, and that saves both labor and repair costs.
If you want the room to feel more personal, let the air dry while you think about your next color or pattern. Many people like soft whites, pale green, or stone tones right now because they make small bathrooms look calm and bright.
12. Fix Small Wall Damage
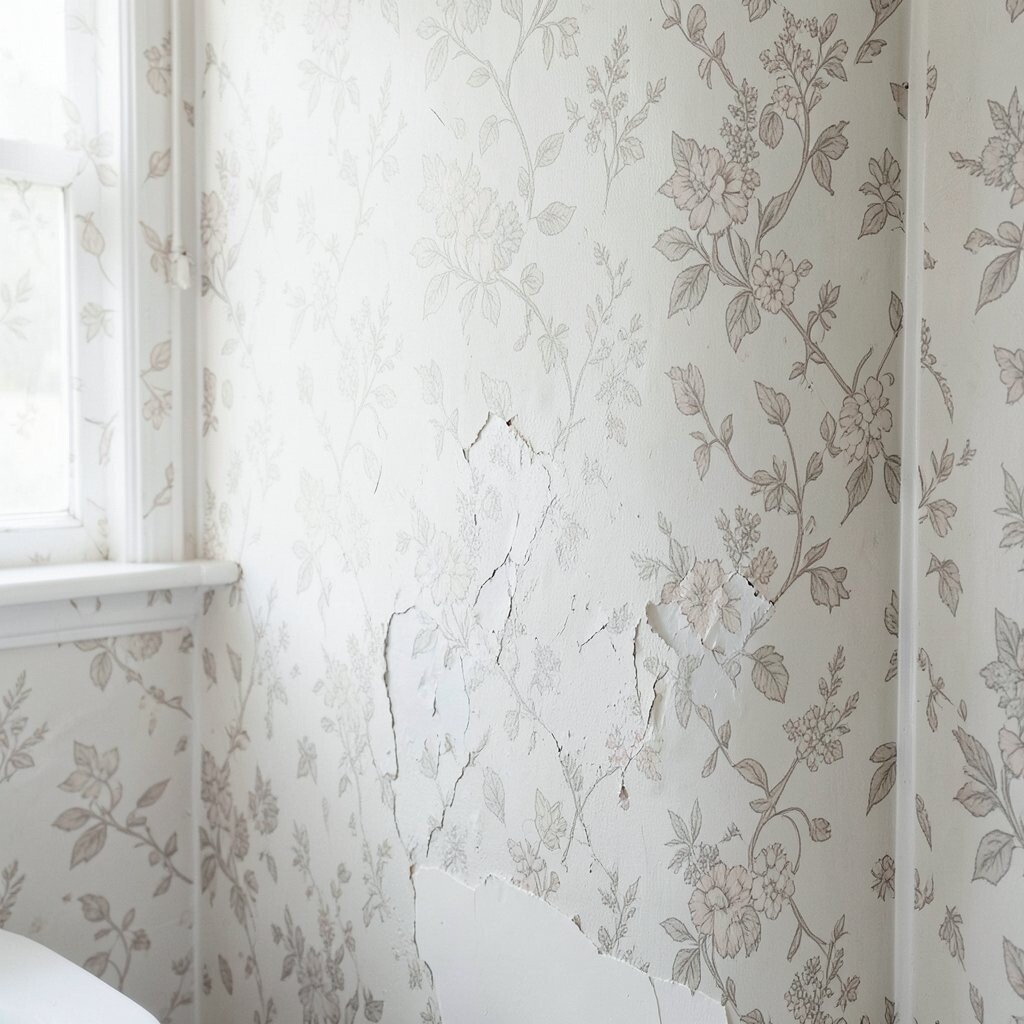
Look for dents, missing bits, or rough patches once the wall is dry. A little filler or patch compound can make these spots smooth again.
Use a putty knife to spread it thin, then let it dry before sanding lightly. Repairing small flaws now gives you a better finish later, and it is usually much cheaper than dealing with bigger wall problems after the new look is already in place.
This is a good time to think about your own style choices, like a clean painted wall or a bold new print. Unique little repairs can even make the room feel more cared for, almost like the bathroom is ready for a small makeover with a personal touch.
13. Sand for a Smooth Finish

Once repairs dry, sand the wall lightly to even out rough spots. The surface should feel smooth to the touch and look soft instead of bumpy.
Wipe away the dust with a dry cloth so it does not mix with paint or paste. This is a practical step that helps the room look polished, and it keeps the final project from needing extra coats that might raise the cost.
Many homeowners like this clean, simple wall prep because it fits today’s easy-care home trends. If you want a more custom result, you can sand a little more around trim or corners so the room feels neat from every angle.
14. Prime Before a New Look
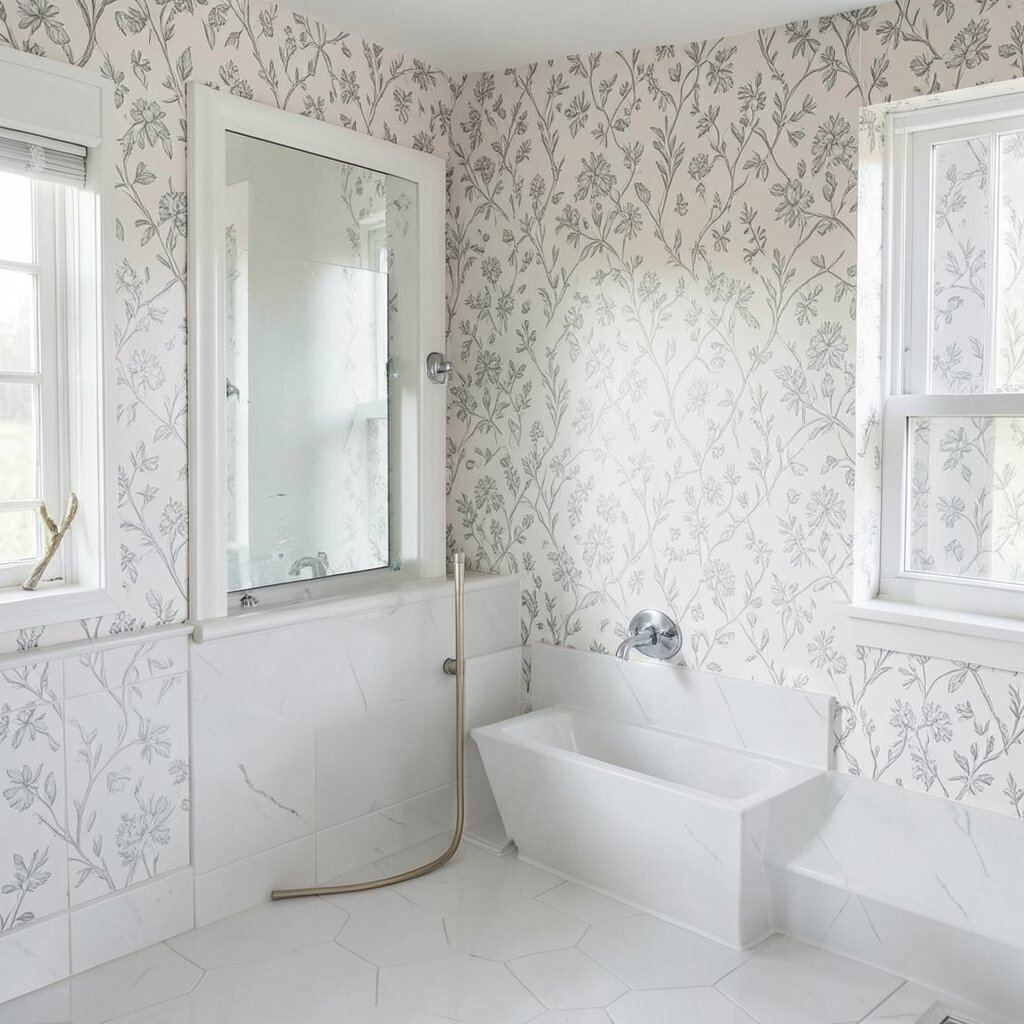
Apply primer if you plan to paint or hang fresh wallpaper. Primer helps the new finish stick better and can stop old marks from showing through.
Use a roller or brush in even strokes so the wall looks uniform while it dries. This step may seem small, but it can save money by reducing extra paint or paste later, and that is a nice win for any bathroom project.
A primed wall also gives you more freedom with color and pattern, which is great if you want the room to feel unique. Soft matte finishes, light textures, and simple prints are popular right now because they make bathrooms feel calm and clean.
15. Rehang or Refinish with Care
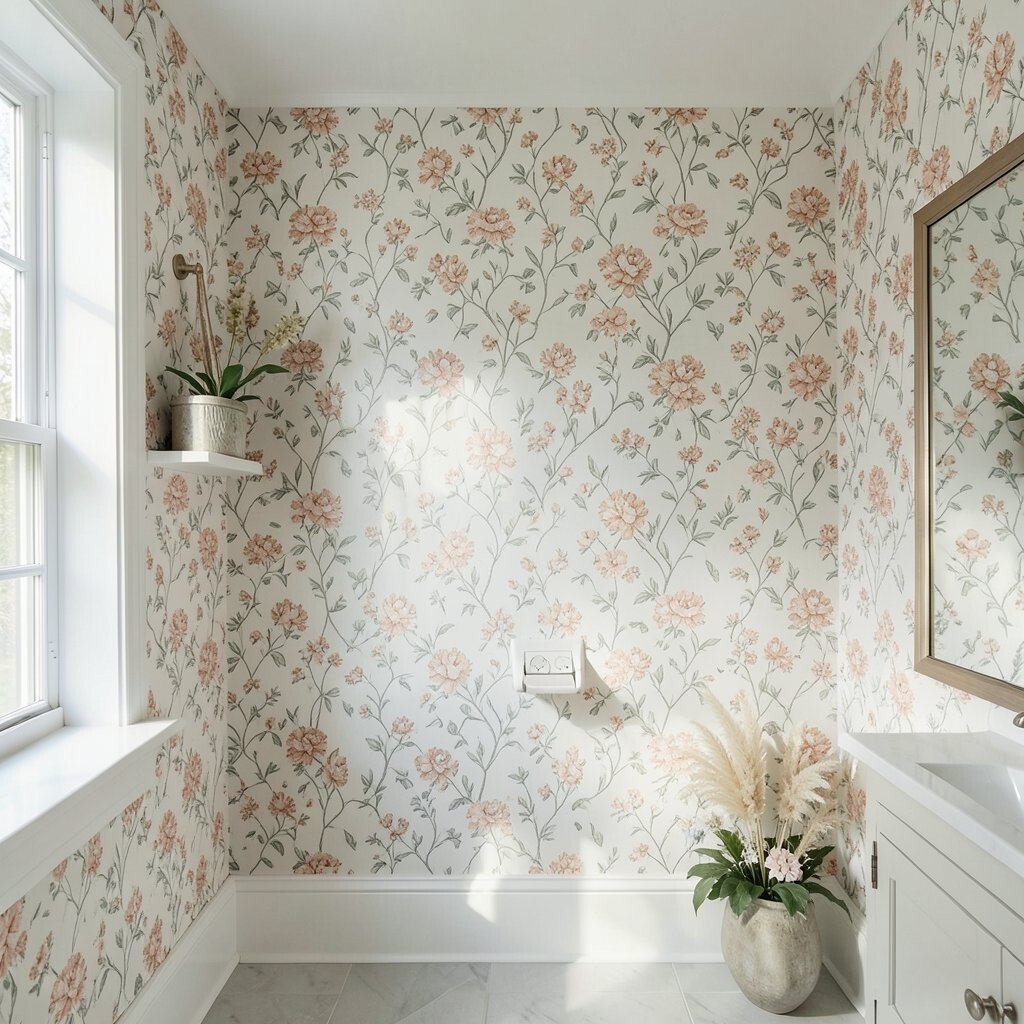
If you want new wallpaper, measure carefully and match the pattern before you cut. A neat install gives the bathroom a crisp look and can make the whole space feel more polished.
If paint is your choice, use smooth strokes and let each coat dry fully. Either option can give you a fresh, updated room, and both can be done on a modest budget if you choose simple materials and shop smart.
You can make the room feel more like your own by picking a pattern that matches your towels or a paint color that works with your mirror frame. Small personal details matter because they help the bathroom feel planned instead of random.
Many people also like peel-and-stick wallpaper now because it is easier to change later. That trend is useful in bathrooms where styles may shift and you want a flexible update without a big commitment.
16. Clean Up and Reset the Space
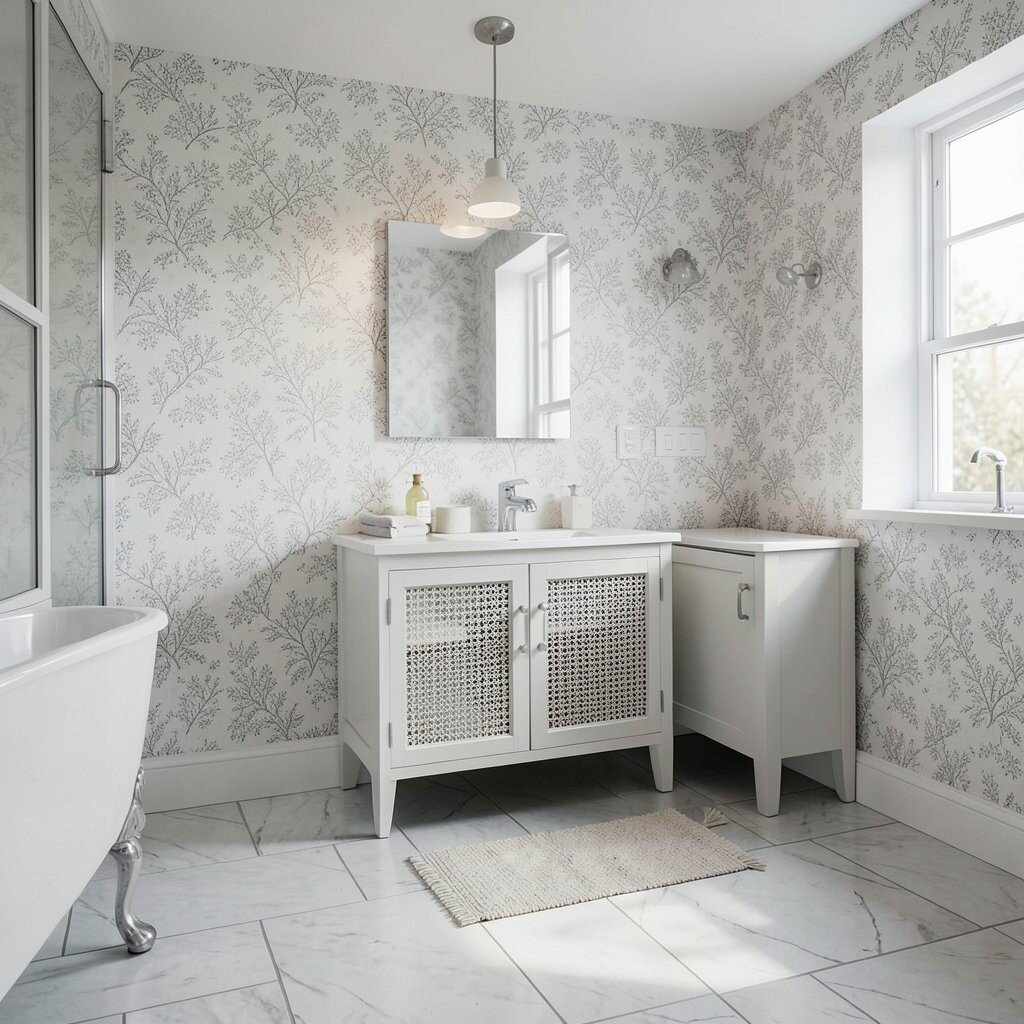
Put back your towels, hooks, and décor after the wall finish is fully dry. The bathroom will look brighter and more open once the room is tidy again.
Throw away scraps, rinse tools, and fold up your coverings so nothing stays damp on the floor. A clean finish makes the project feel complete, and it is a good final step because it leaves the room ready for daily use without extra clutter or surprise costs.
Now you can enjoy the fresh look and think about small touches like a new shower curtain, woven basket, or framed print. Those details are an easy way to make the space feel special, and they can keep the whole room looking new without starting another big project.