
A wreath can make any door feel welcoming without spending a fortune. With a few simple materials, you can build something that looks special and feels personal.
You get to choose the style, the colors, and the vibe, whether your home leans modern, farmhouse, or cozy. Here are budget-friendly ideas that still look like you paid more.
1. Dollar-Store Ribbon and Evergreen Mini Wreath

Start by wrapping a wire or foam ring with soft green ribbon so you don’t see the base. Add a few faux evergreen sprigs and tuck in shiny ribbon loops for a clean, finished look.
Keep it light by using fewer stems and letting the ribbon do the work. Choose one color palette, like deep green with gold, so everything looks coordinated. To personalize, weave in a small bow in your favorite size and add a tiny charm that matches your season.
2. Paper Flower Spring Wreath on a Foam Ring
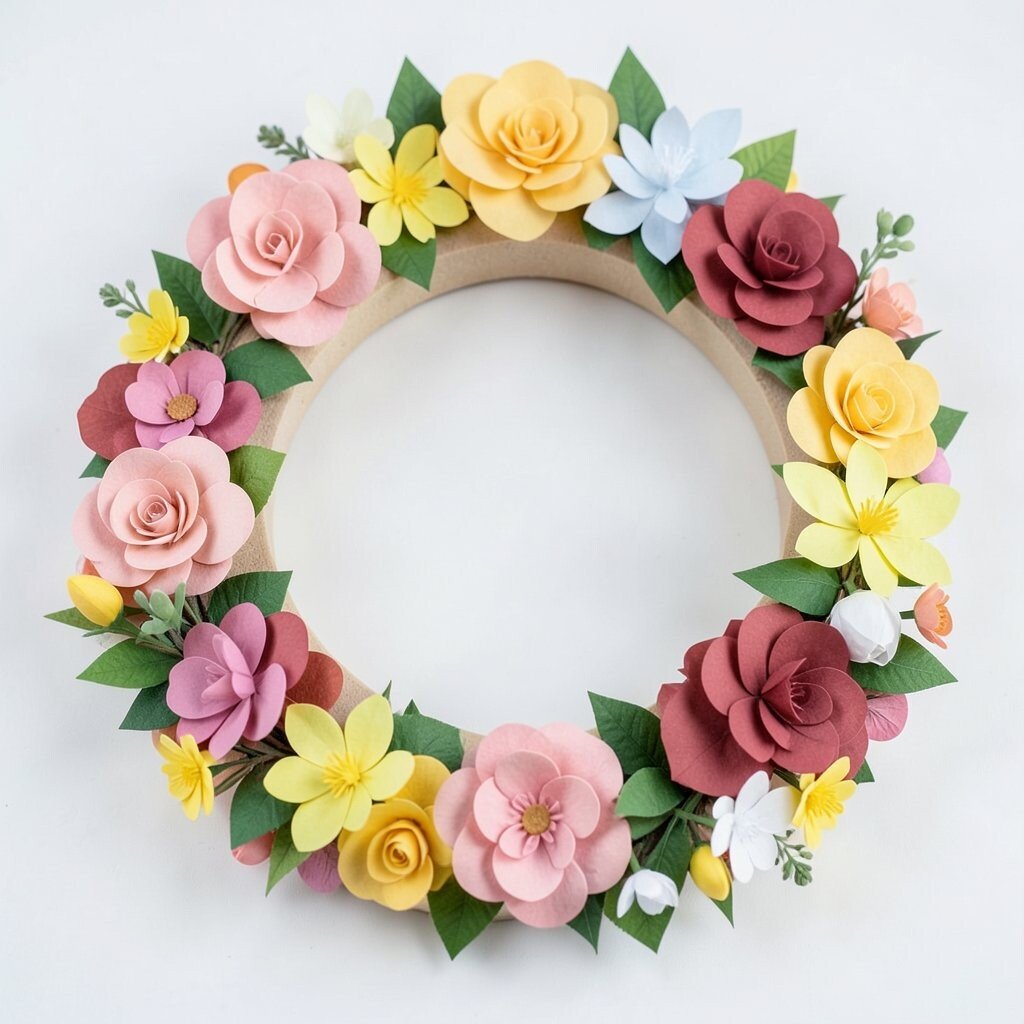
Cut petals from patterned craft paper and layer them into small flowers around a foam ring. The result looks bright and airy, like a bouquet that hangs on your door.
For a practical boost, use a glue gun only at the center of each bloom so the petals stay flexible. Mix a few flower sizes to create depth, and keep the spacing even for a neat, tidy look.
To make it feel current, use trendy colors such as sage, butter yellow, and blush pink. If you want it to last longer, seal the paper flowers with a light clear spray and let them dry fully before hanging.
3. Fabric Scrap Wreath With Braided Strips

Gather fabric scraps, like old shirts, soft cotton, or ribbon bits, and braid them into long strips. Wind the braided pieces around a ring and secure the ends so the wreath looks full and cozy.
The visual effect is warm and textured, like your home is wrapped in handmade comfort. This option is especially budget-friendly because you’re using what you already have.
Personalize it by choosing one theme, such as farmhouse checks or colorful patchwork stripes. For a practical tip, cut the fabric into similar widths so the braid stays even and the final wreath looks balanced.
4. Thrifted Frame Wreath With a Seasonal Center

Instead of using a traditional ring, grab an inexpensive thrifted frame and remove the glass. Attach greenery, faux leaves, or dried accents to the inside edge so it reads like a wreath, but with a new shape.
This look feels unique and artsy, especially if the frame has a worn wood or vintage metal finish. It also works well for small spaces since you can hang it like wall art and still get that welcoming effect.
5. Coffee Filter Ombre Wreath for a Soft Look
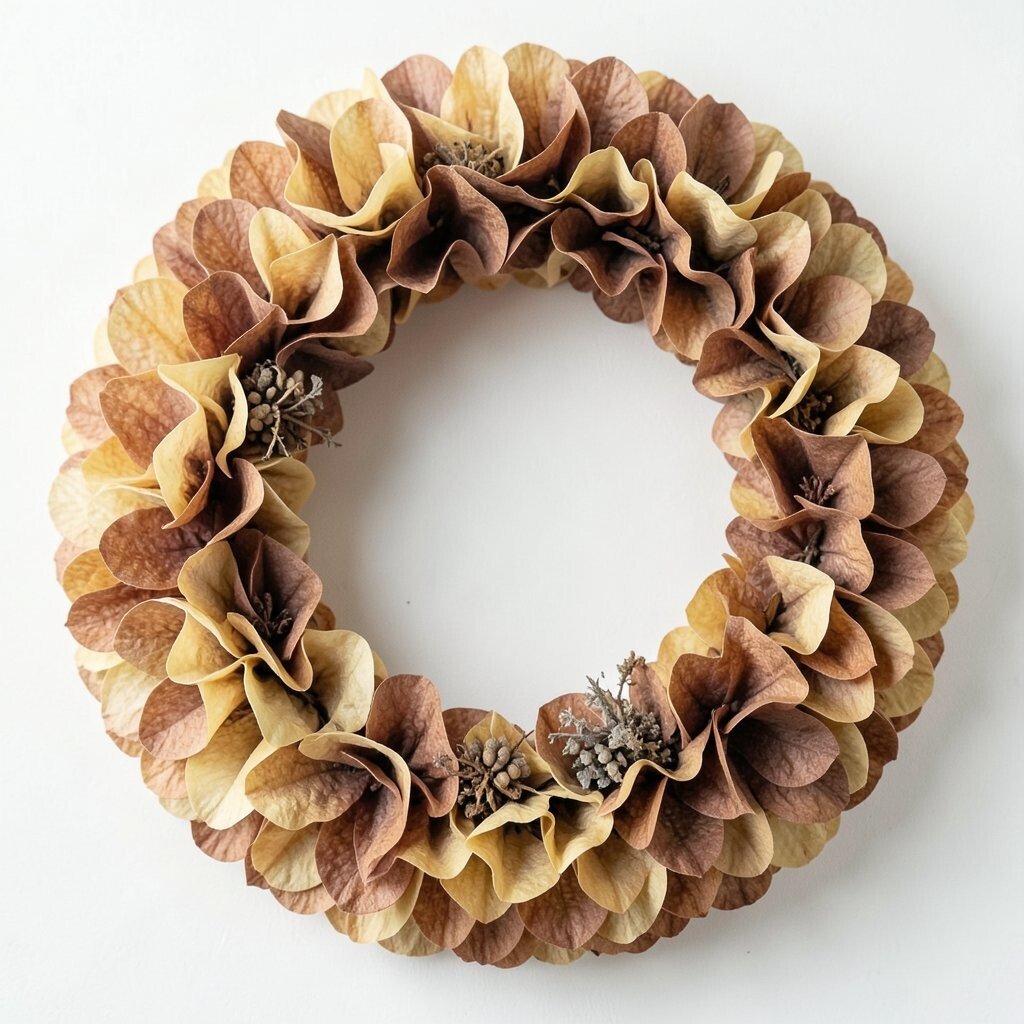
Layer many coffee filters around a ring, and tint them lightly with diluted craft paint or food-safe dye for an ombre effect. The wreath will look cloud-like and delicate, with lots of gentle movement in the petals.
Because filters are inexpensive, you can make a big statement without buying pricey supplies. Let each layer dry flat, then fluff the edges slightly so it looks airy and dimensional.
To personalize, pick colors that match your decor, like dusty rose for spring or warm tan tones for fall. This idea is perfect when you want a wreath that looks trendy but still costs very little.
6. Pinecone and Burlap Door Wreath

Wrap burlap ribbon around a grapevine or foam ring, then glue pinecones in small clusters. Add a few seed pods or cinnamon sticks for that natural, cozy scent and visual interest.
The texture stands out immediately, with rough burlap paired against glossy pinecones. It feels grounded and classic, and it’s easy to make look rich without spending much.
For practical tips, keep the pinecones mostly in the outer ring so the wreath doesn’t look heavy at the center. Personalize by tying a small bow in a solid color like red, green, or navy to match your holiday or home palette.
7. Twine and Button Rustic Wreath

Coat a ring with a thin layer of craft glue and wrap it tightly with twine, then keep winding until it looks solid. Next, glue on buttons of different sizes to create little patterns along the front.
Buttons add a charming handmade look, and twine makes it feel rustic even if you keep the colors simple. This project is great for cost control since twine and old buttons are easy to find cheaply.
8. Felt Ornament Wreath Made From Scrap Pieces

Cut felt scraps into circles, teardrops, or simple ornament shapes, then stack them with stitching or glue for a puffy look. Attach each piece to a foam ring so the wreath reads like a collection of handmade ornaments.
Felt is a forgiving material, so even if your shapes aren’t perfect, the wreath still looks playful. It’s also perfect for personalization since you can match any color theme in your home.
To make it feel more modern, mix matte felt with one small accent fabric, like a tiny strip of metallic or glitter felt. If you want extra durability, use hot glue carefully and let it cool before you hang the wreath.
9. Mason Jar Lid Mini Wreath With Dried Herbs
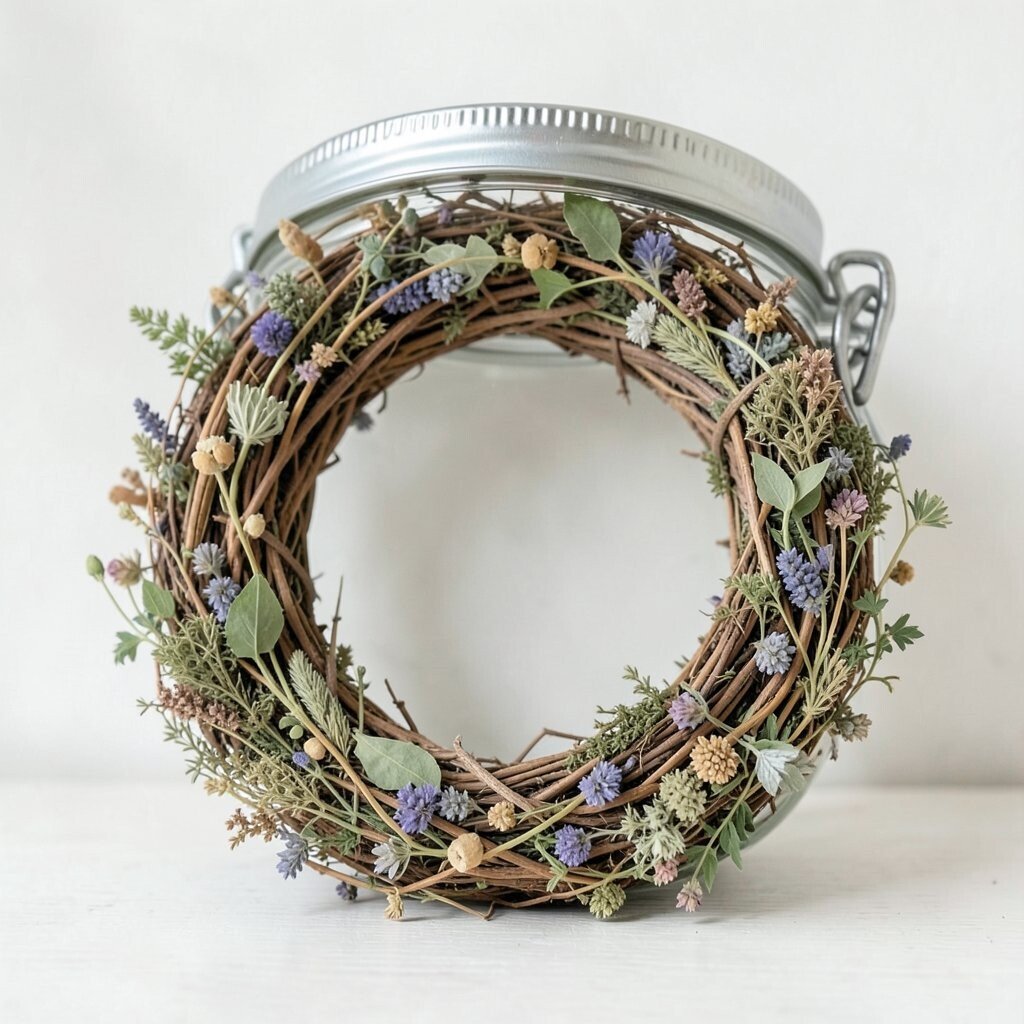
Paint and dry mason jar lids in a matching color, then attach them to a ring in a repeating pattern. Add dried herbs such as rosemary or lavender between the lids for a natural, functional look.
The visual is clever and unexpected, and it can look like farmhouse craftsmanship instead of store-bought decor. It’s also a fun way to reuse lids you might otherwise toss.
Keep the wreath budget-friendly by using a single herb type and collecting stems as needed. Personalize by adding a small twine hanger and one contrasting lid color, like white against natural green.
10. Yarn Pom-Pom Wreath for Color Pop

Make pom-poms using yarn, then attach them around a wreath form until the whole thing looks fluffy. Choose a bright color group so the wreath feels cheerful and ready for any season.
Yarn pom-poms create a soft, playful look that stands out from plain greenery. It also scales easily, since you can add more pom-poms to make it bigger or keep it smaller for tight spaces.
11. Recycled Cardboard Starburst Wreath With Paint
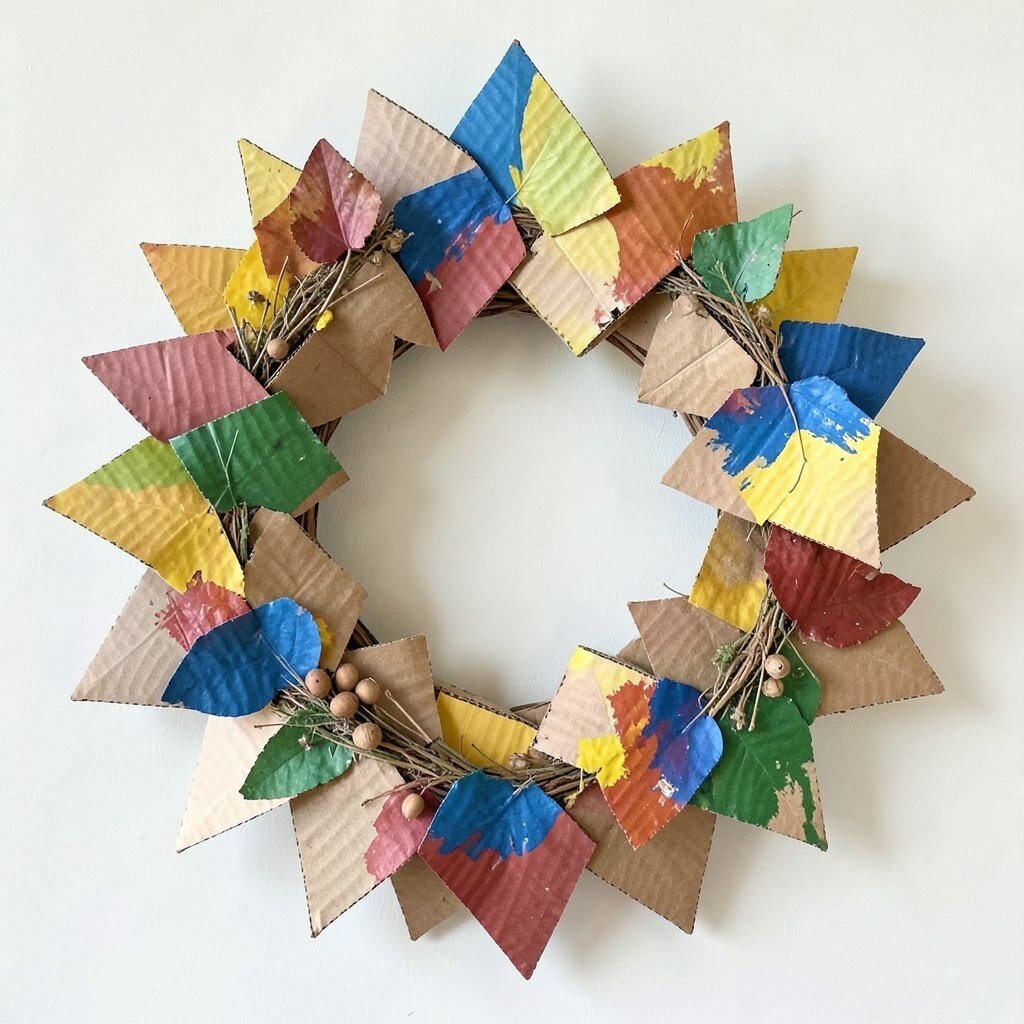
Cut cardboard into layered triangles or a starburst pattern, then paint it with chalky colors for a smooth, modern finish. Mount the pieces around a ring so the wreath looks geometric and bold.
This option is especially budget-friendly because cardboard is nearly free and easy to get. It’s also unique because most wreaths are round and leafy, while this one feels like a fresh wall decoration.
Personalize by using a limited color palette and adding one metallic accent with silver or gold paint. For practical tips, let each painted piece dry thoroughly so it doesn’t smear when you attach it.
12. Hydrangea-Inspired Tissue Paper Wreath
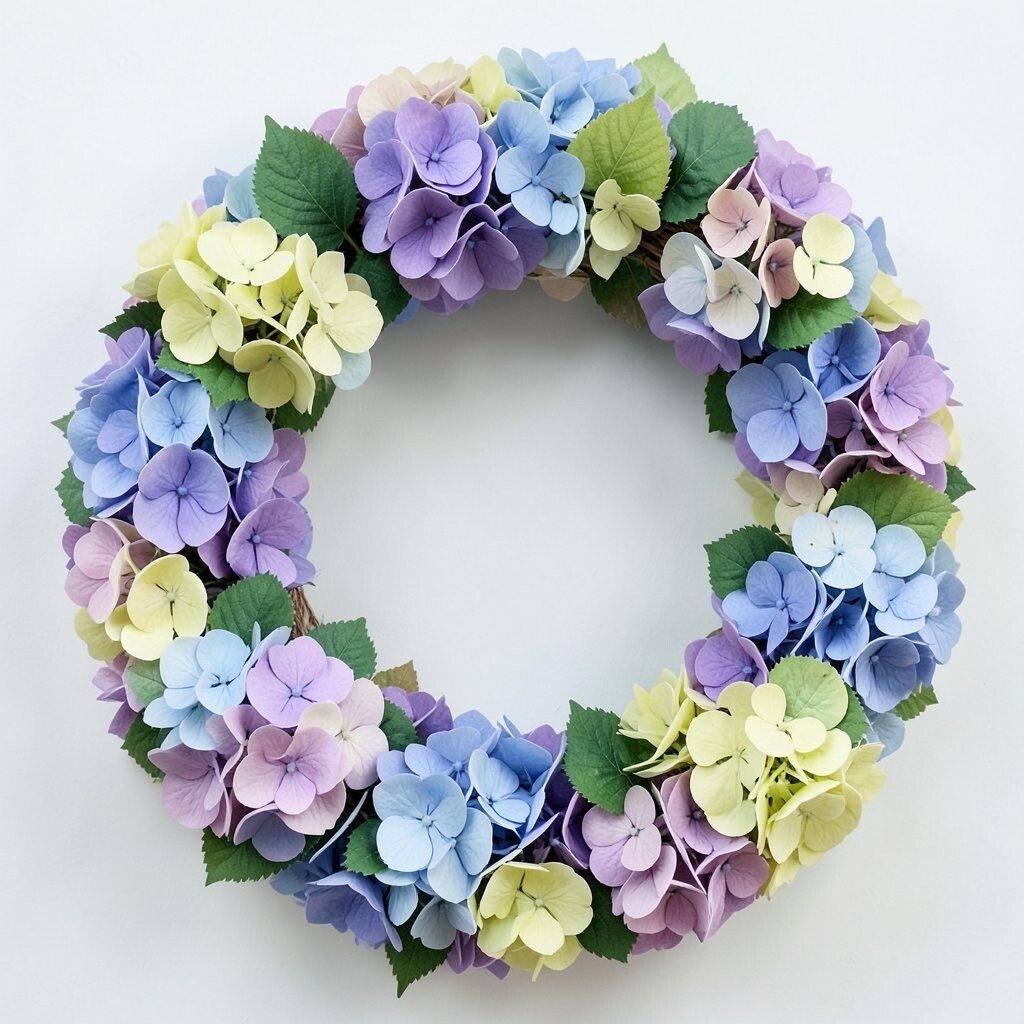
Accordion-fold tissue paper, tie it in the middle, and fan the ends into flower shapes. Attach a bunch of these blooms to a ring so it looks like oversized hydrangeas hanging at your door.
The visual is bold yet light, and it gives a celebratory vibe without needing expensive florals. Tissue paper also makes it easy to customize because you can choose any color, from classic white to deep jewel tones.
To keep the wreath looking neat, trim the edges into a consistent curve and space the flowers evenly. If you’re aiming for current trends, soft pastels and mixed blues look fresh and feel airy for spring and summer.
13. Upcycled Sunglasses or Leaf Clips Wreath With Photo Hanger
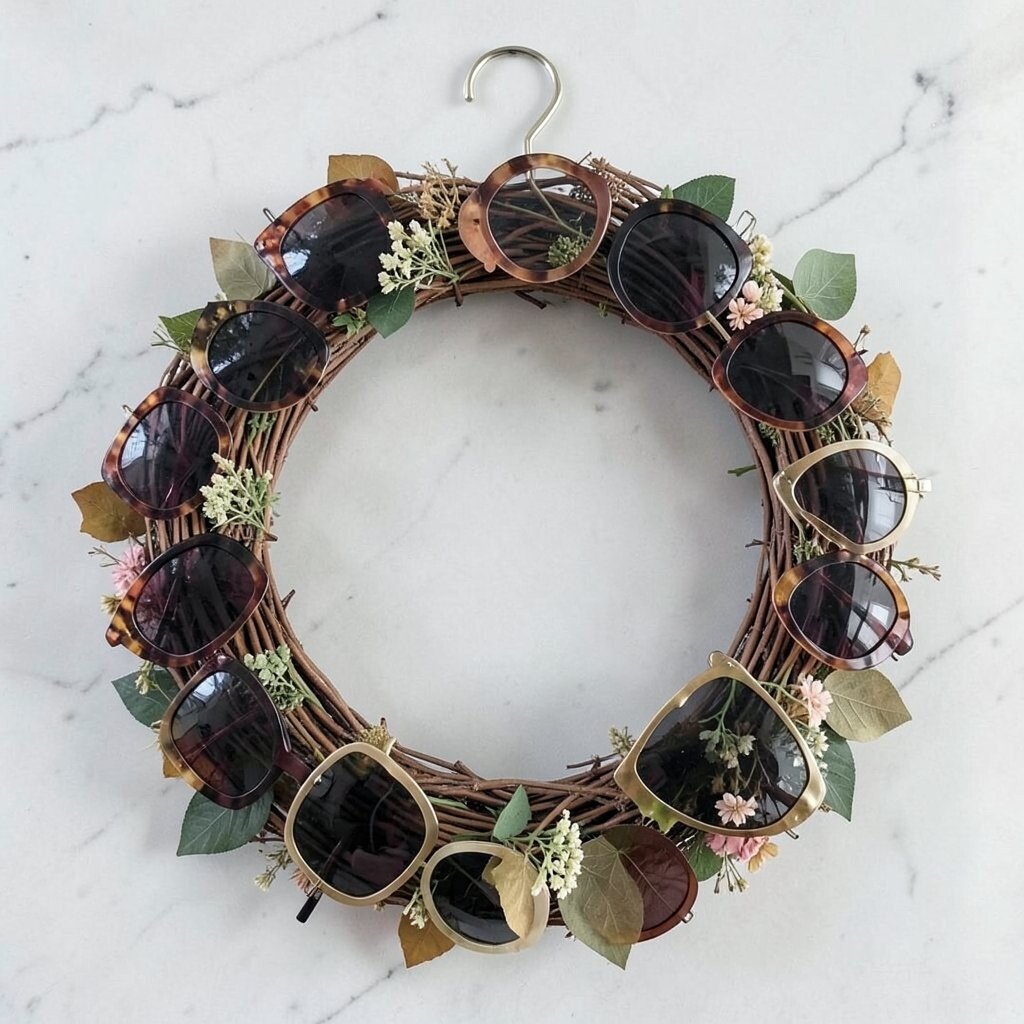
Gather inexpensive decorative clips, like leaf-shaped clothespins or small plastic clips, and attach them around a ring form. Hang mini items like photos, fabric scraps, or small faux leaves so the wreath feels interactive and personal.
This is a fun, unusual twist that makes your wreath feel alive, not just pretty. It’s also practical because you can swap the pieces over time to match birthdays, holidays, or even current family photos.
Cost stays low when you use what you already have from craft bins, and uniqueness stays high because your arrangement will never be exactly the same as anyone else’s. For personalization, add a small bow in the center and choose clip colors that match your decor style.