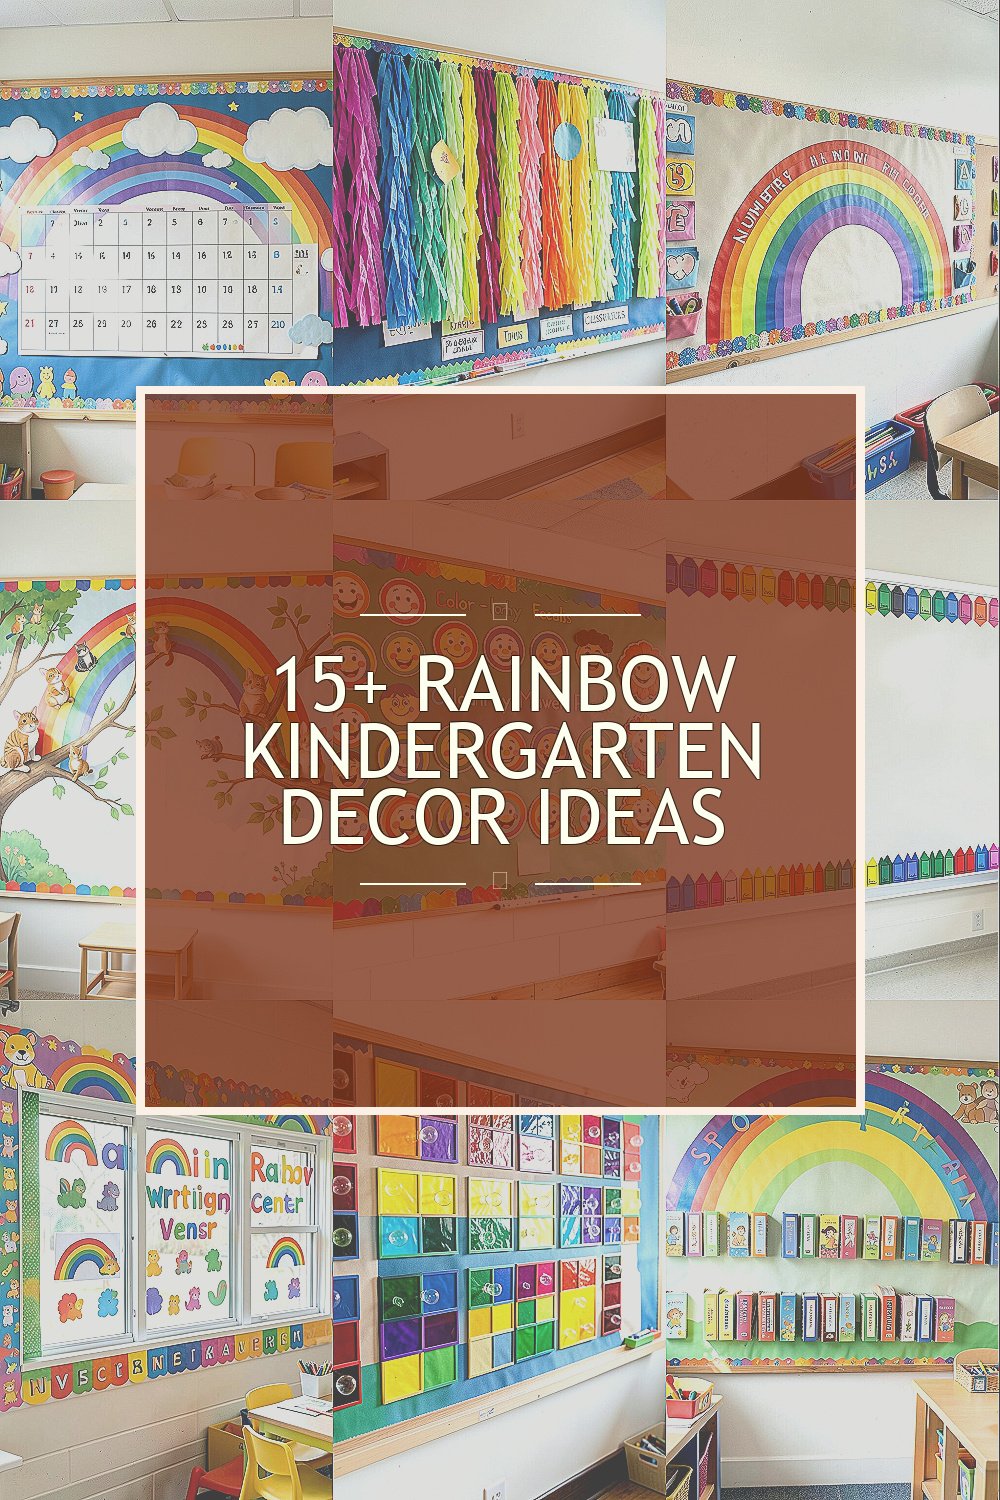
The bulletin board in a kindergarten room can do more than hold papers. It can spark joy, build routines, and make learning feel colorful from the start.
With the right rainbow theme, you can create a space that kids notice every day. Even small changes can make a big difference in how the room feels.
1. Cloud-to-Rainbow Weather Calendar Wall
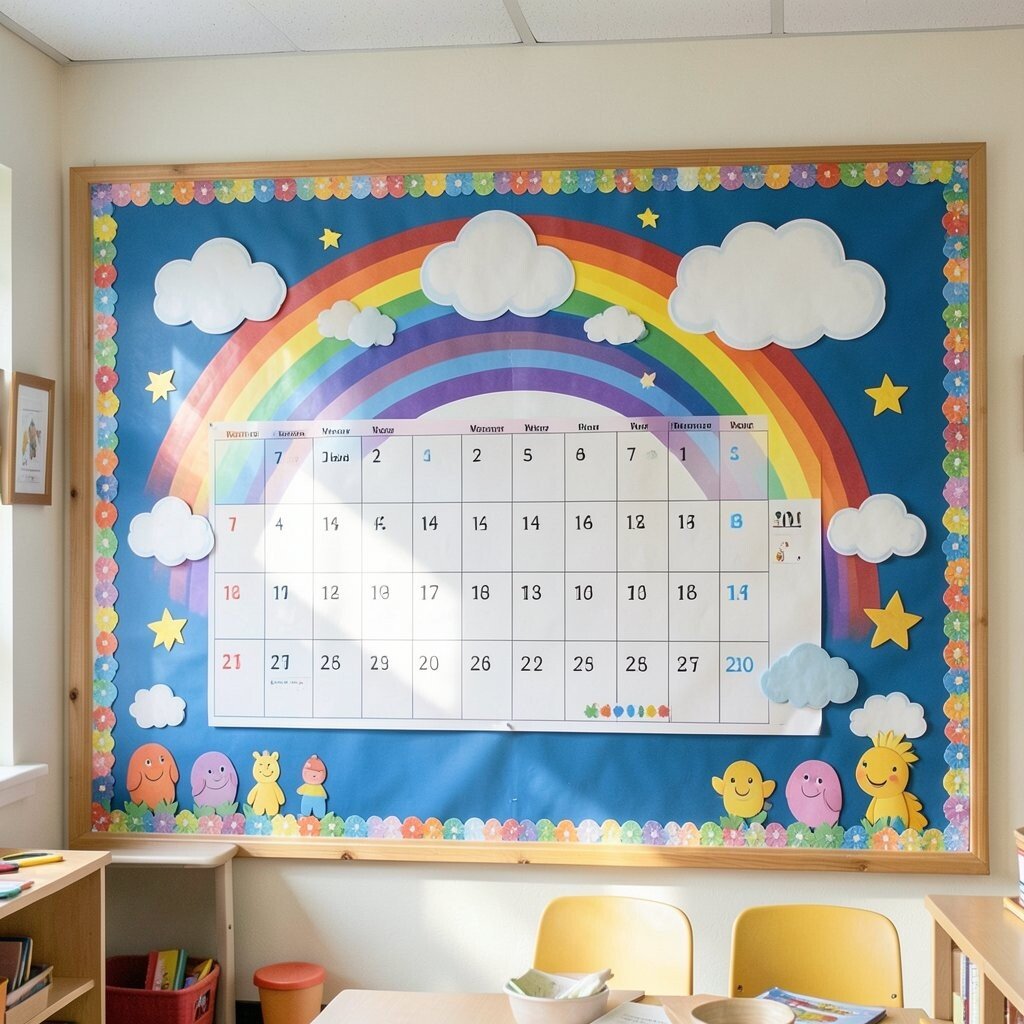
Picture a row of soft white clouds stretching across the board, each cloud holding a tiny weather card in rainbow colors. Under the clouds, a rainbow band gently arcs like the sky is smiling.
This design helps children link daily routines with real-world ideas, like sunny or rainy days. You can add a simple “today” card that students move using magnets or velcro dots. Keep the cards laminated so they wipe clean easily and last longer.
2. Tissue Paper Rainbow Fringe With Classroom Jobs
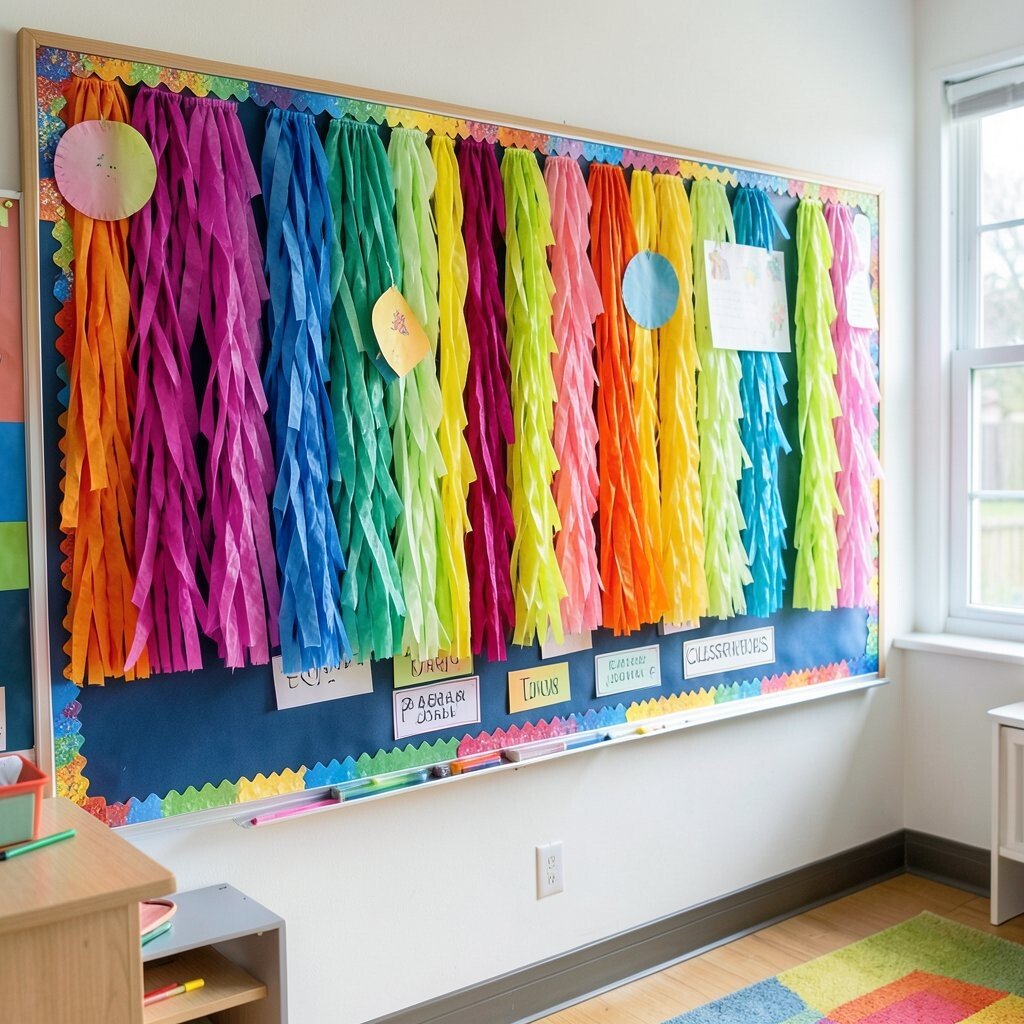
Hang bright tissue paper strips so they look like a rainbow fringe curtain along the border. Add small job name tags inside each color, like helper, line leader, or paper passer.
Kids love matching their role to a color, and it makes classroom responsibilities feel fair and clear. Rotate the jobs weekly so everyone gets a chance, and let students pick from a color pocket that matches the day. Use strong craft glue or a stapler for the fringe so it stays put during busy days.
This idea feels unique because the fringe adds movement when kids brush past it. For cost, start with a few bold rainbow sheets and stretch them with plain backing paper. Personalize by letting your class choose a theme shade, like “brighter mornings” or “calm evenings,” and reflect it in the fringe colors.
3. Rainbow Number Path With Counting Pockets
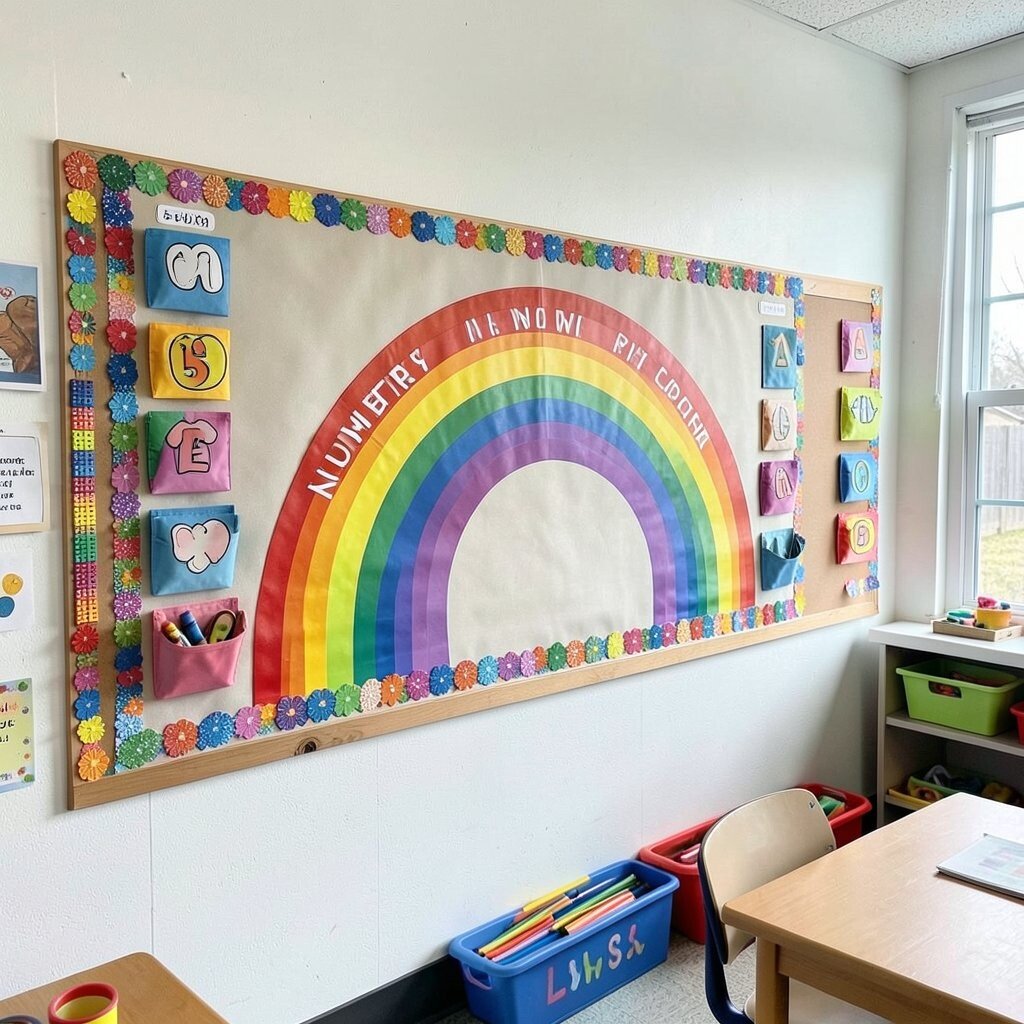
Create a curved rainbow path that goes across the board like a trail. Make little pocket squares along the arc, each holding numbered cutouts and matching dots.
The visual helps children practice counting in a hands-on way, even during transitions. After circle time, you can invite students to move one cutout from the pocket to the “walk” spot. Use thick cardstock for the path so it holds its shape and looks clean up close.
To keep it practical, write numbers in large font and keep the pockets evenly spaced for quick reading. Personalize by adding the class name at one end and student initials near the matching pockets. If you want to keep costs lower, print number sheets in batches and reuse pockets each school year.
This approach is trending because bulletin boards are becoming interactive learning tools instead of static displays. It also supports early math skills without turning the board into a worksheet.
4. Rainbow Animal Friends Perched on Branches
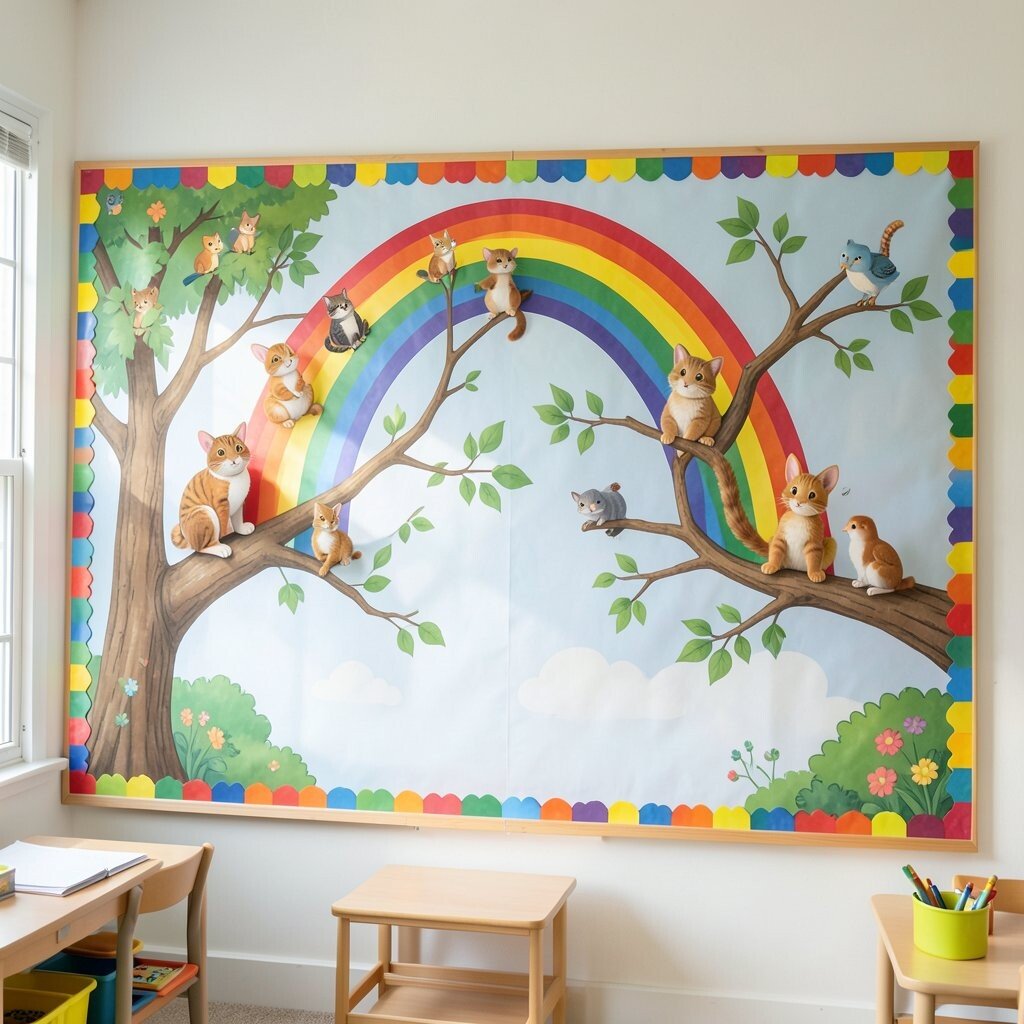
Use paper cutouts of friendly animals in each rainbow shade and place them on simple branch shapes across the board. The animals can “sit” on colorful leaves that mark each section of the rainbow.
This decor makes stories feel vivid and helps children remember characters and vocabulary. You can connect it to your reading routine by swapping animals when you finish a book. For a practical touch, use velcro on the animal backs so you can reconfigure the board quickly.
5. Color-Matched Feelings Faces by Rainbow Bands

Draw a large rainbow backdrop and add a feelings row under each band with simple face icons. Keep each face in that color’s style, like red for excited, blue for calm, or yellow for curious.
Children benefit when they can point to how they feel, especially during morning check-ins. You can run a short routine where kids pick a face and place it in the correct color pocket. Consider using laminated pockets so teachers can write quick notes and wipe them clean.
Personalize by adding feelings words you teach, like happy, worried, brave, or tired. If supplies are limited, print faces in black and white and let kids color them together. This board stays unique because the feelings system is visible, friendly, and always ready for support.
6. Crayon Box Rainbow Border With Student Signatures
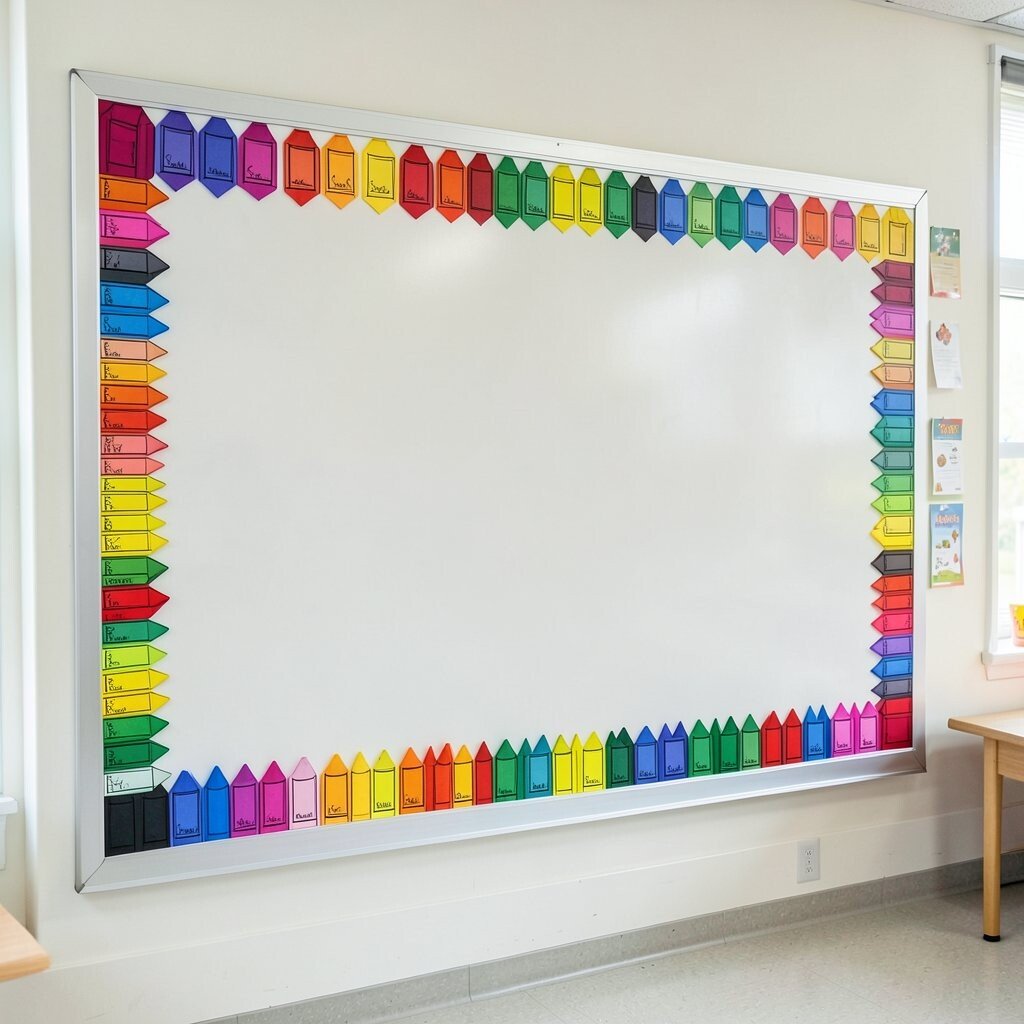
Frame the bulletin board with a big crayon box pattern so the whole display looks like colorful art supplies. In the rainbow sections, add small “spark” shapes where children can place signatures or artwork stickers.
This border makes the room feel playful while also highlighting student work in a tidy way. Use a mix of display pockets and clear plastic sleeves for durability. Kids can swap one sticker each week, which encourages ownership without requiring extra classroom time.
The uniqueness comes from blending a recognizable object with rainbow organization. For cost considerations, you can make the crayon border from brown paper and colored craft tape instead of buying pre-made trim. Personalize by matching the crayon colors to your classroom theme words, like kindness and teamwork.
7. Rainbow Writing Center Window With Velcro Letters
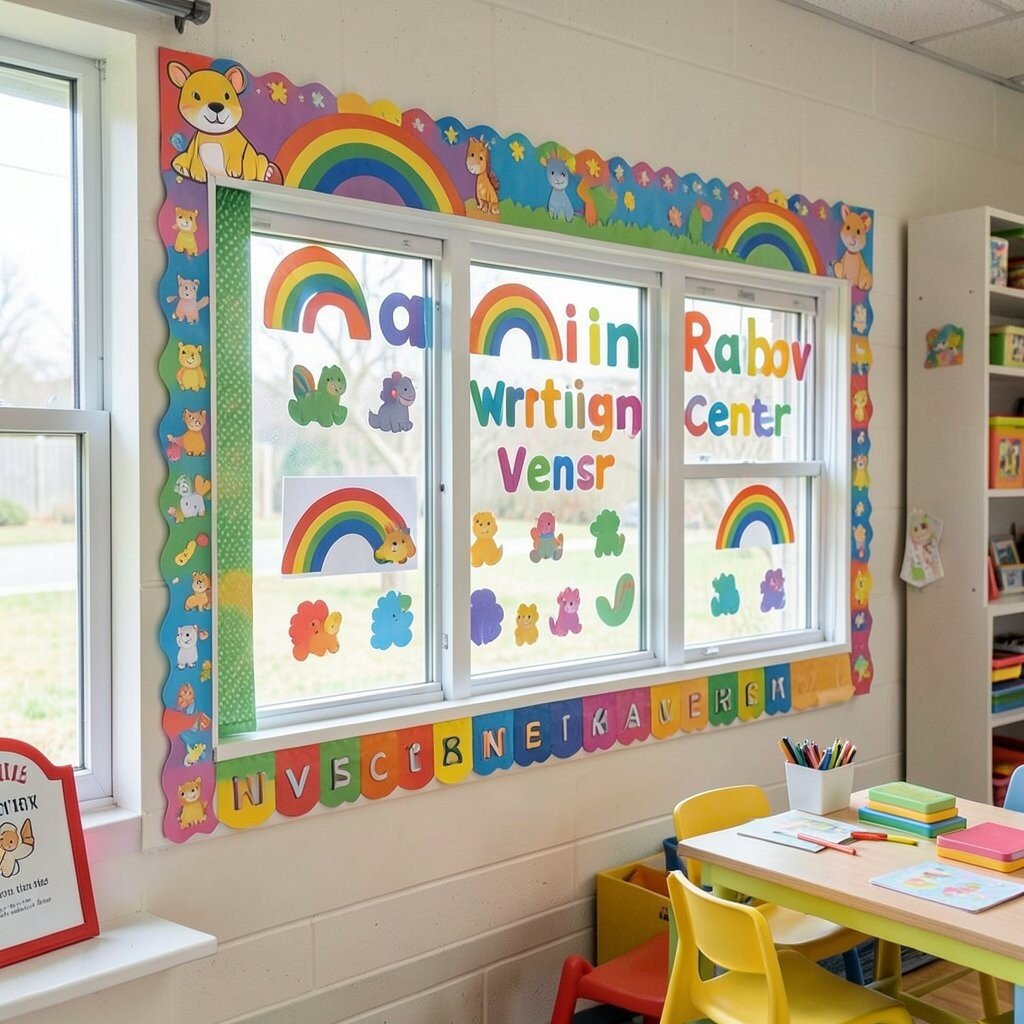
Build a “window” on the bulletin board using a rainbow frame and transparent craft film or sheet protectors. Inside each color, set a strip where students can attach beginning letters with velcro.
This supports early literacy by letting kids practice letter placement in a fun, visual way. Place a few common letters at first, then rotate as your class learns more. Choose foam letters or cardstock letters for a strong attachment that won’t fall during busy moments.
To make it practical, keep the letters big and aligned so children can succeed quickly. Personalize the window by adding mini words students know, like their names or classroom favorites. This keeps the board feeling fresh and current because interactive letter walls are widely used in modern literacy corners.
8. DIY Rainbow Stained Glass Squares With Light Catchers
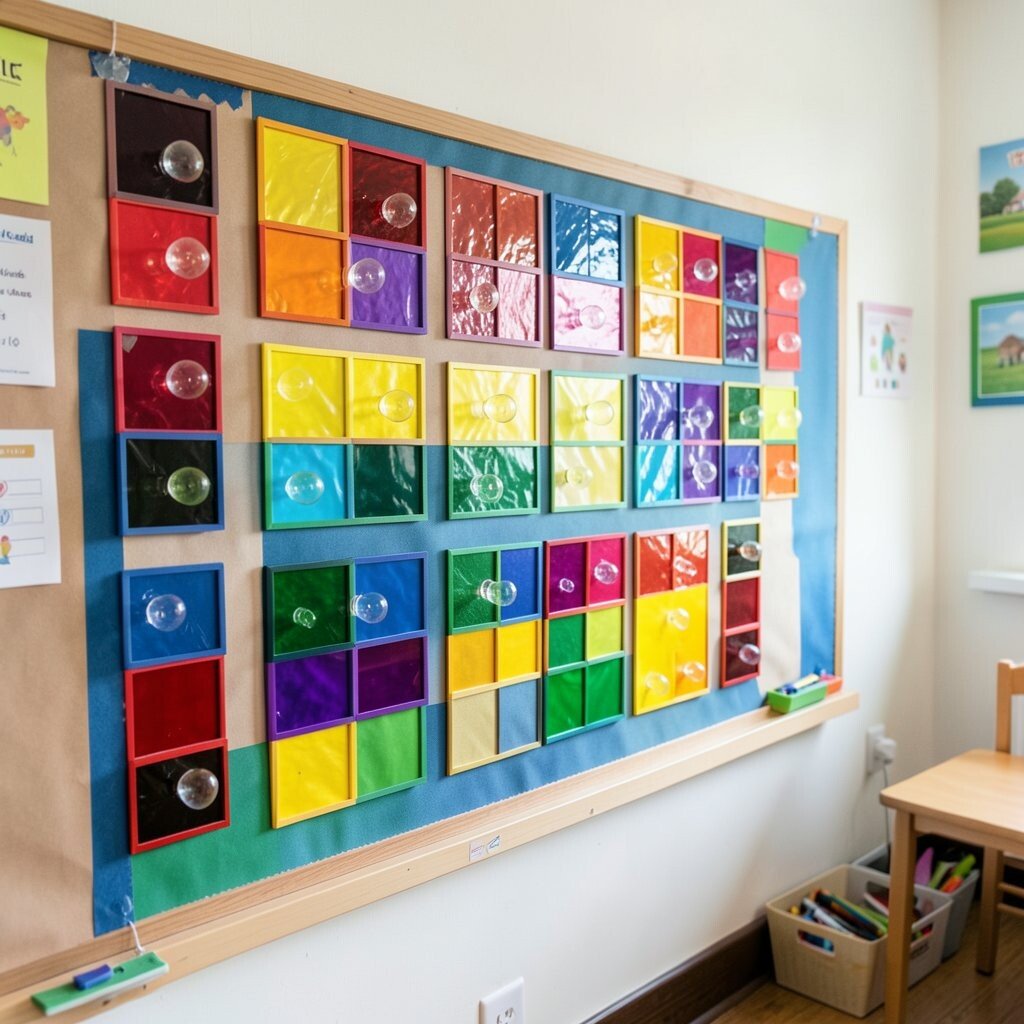
Cover the board with rainbow square panels that look like stained glass, using tissue paper and clear contact paper. Leave a few squares with cutouts where paper “sun rays” can shine through during daylight.
The bright visuals catch attention from across the room, which helps children settle faster. You can also use the stained glass to talk about color mixing by pointing to how each square differs. Keep the tissue pieces small and layered so they stay smooth and less likely to tear.
This idea is uniquely magical without needing expensive supplies, since basic tissue paper goes a long way. For cost, reuse contact paper from craft projects if you already have it at home or in the classroom. Personalize by adding student handprints in the corners like little sun anchors.
9. Rainbow Story Trail With Book Spine Cards
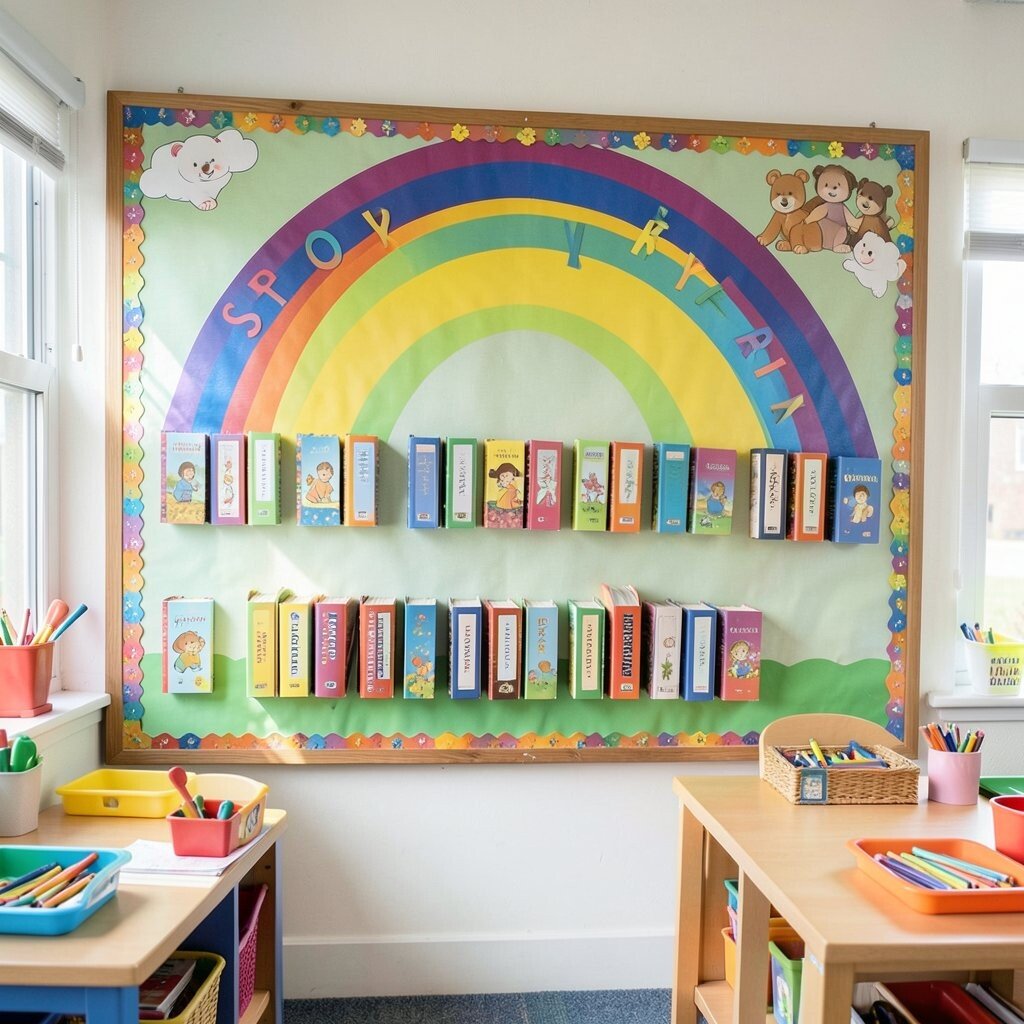
Make a long rainbow trail across the board and place book spine cards like they are traveling together. Each spine can show the title and a tiny icon that matches the book theme.
This decor boosts reading motivation because kids see what’s coming next and can pick favorites. After reading, ask students to move the matching card from “new” to “read” using magnets. Use heavy cardstock and laminate the cards so they can handle daily handling.
For personalization, add a small “read by” space where you write the date or student initials. Keep costs lower by printing cover art in black and white and letting students color the icons. This board feels unique because it blends storytelling with a visual journey.
10. Rainbow Path Seating Labels With Name Tags
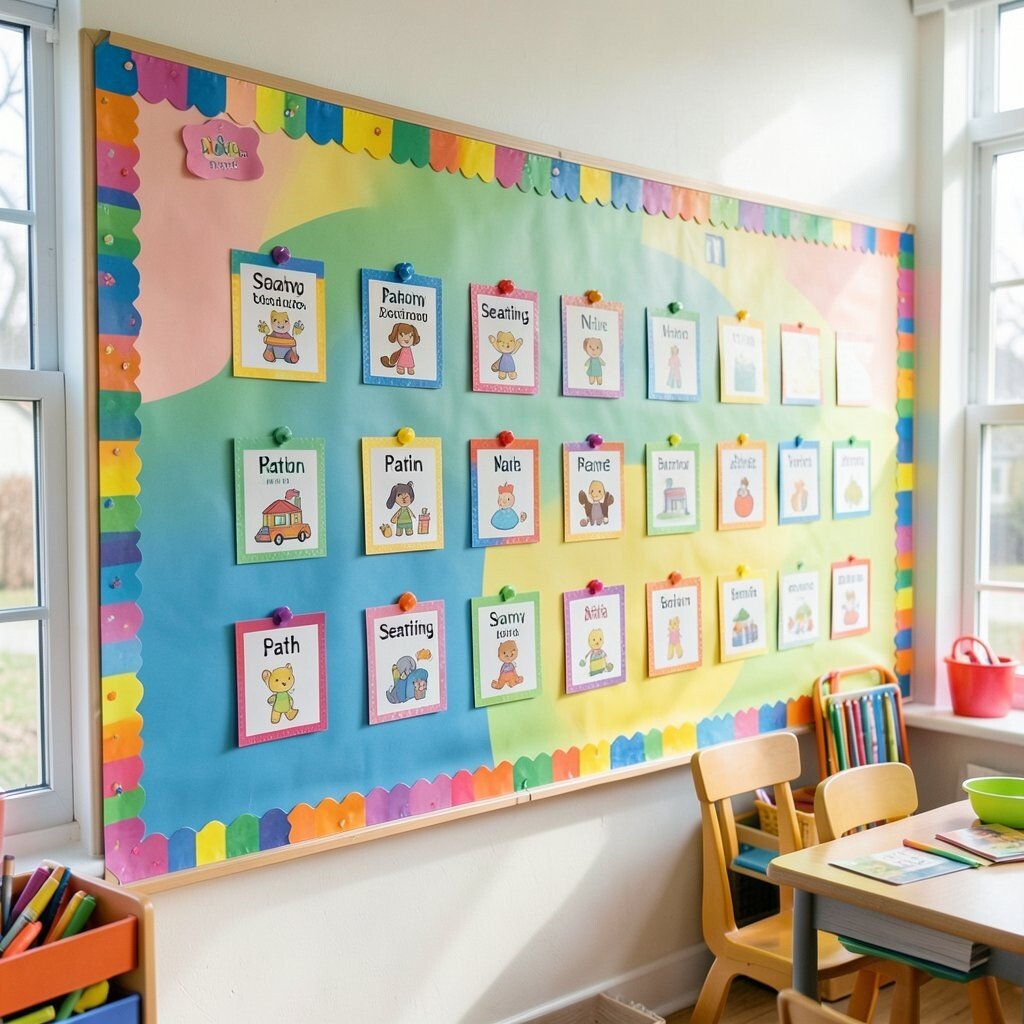
Draw a rainbow path that leads to seating spots and place name tags along it. Each color can represent a group, like red group, blue group, or green group.
This makes classroom routines feel organized and reduces confusion at the start of the day. Kids enjoy finding their own tag quickly, and teachers save time during setup. Use clip-on name tags or laminated tags with string so they are easy to remove and swap.
The practical part is keeping the path clear and not too cluttered, so kids can read their names. Personalize by letting students decorate their tag with one simple sticker and a favorite color. If you want to keep things current, you can add a small “quiet voice” icon to a calming color area of the path.
11. Rainbow Pattern Posters With Clipped Mini Art
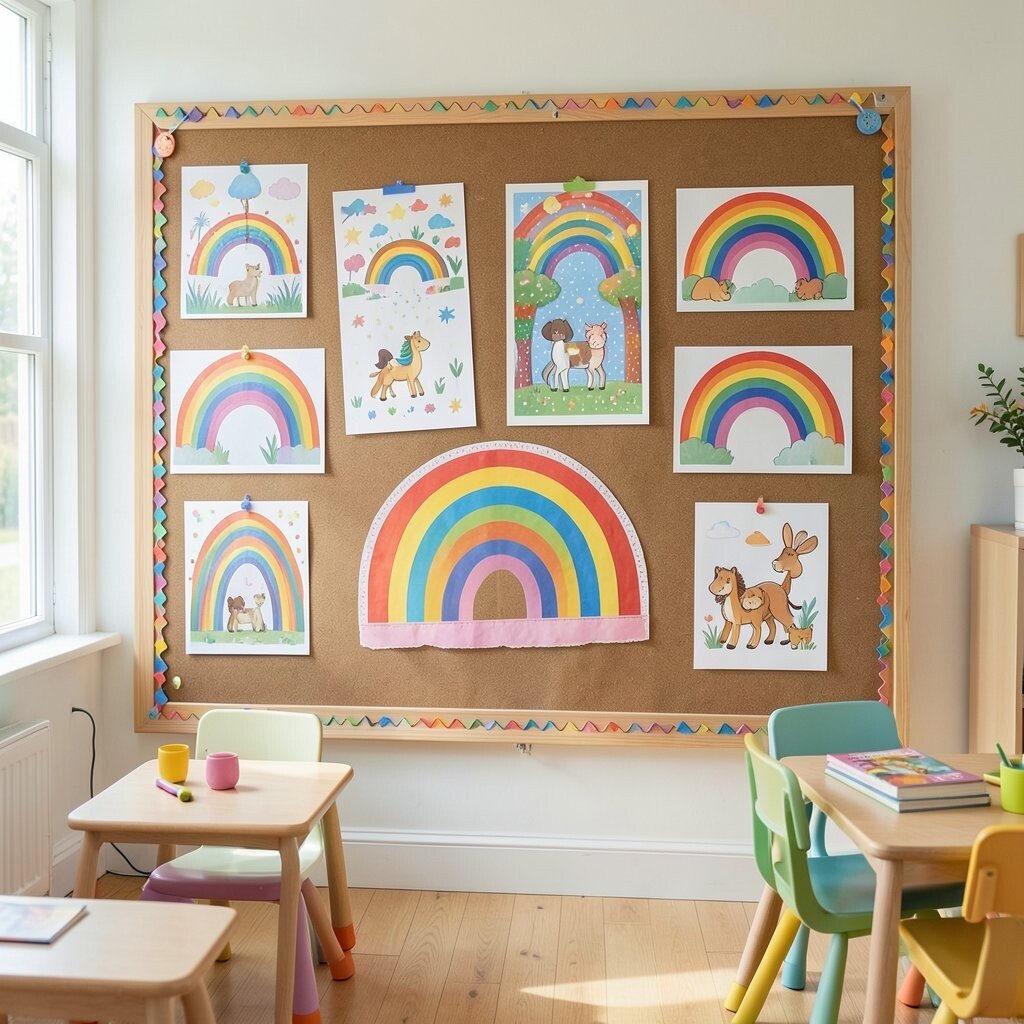
Create large rainbow strips that show repeating patterns, like stripes, dots, chevrons, and waves. Add mini clothespin clips below each pattern so students can hang their own small art or practice cards.
Patterns are a great early math skill, and this board makes them visible in a gentle way. During centers, you can point to a pattern and ask students which one is next. Use cardstock and clear tape to reinforce the edges where clothespins might pull.
This approach stays unique because it mixes decoration with light rotation of student work. For cost considerations, clothespins are inexpensive, and you can make mini art from scraps of paper. Personalize by letting students choose which pattern they want to attach each week.
12. Rainbow Circle Seating Rule Signs With Gentle Icons
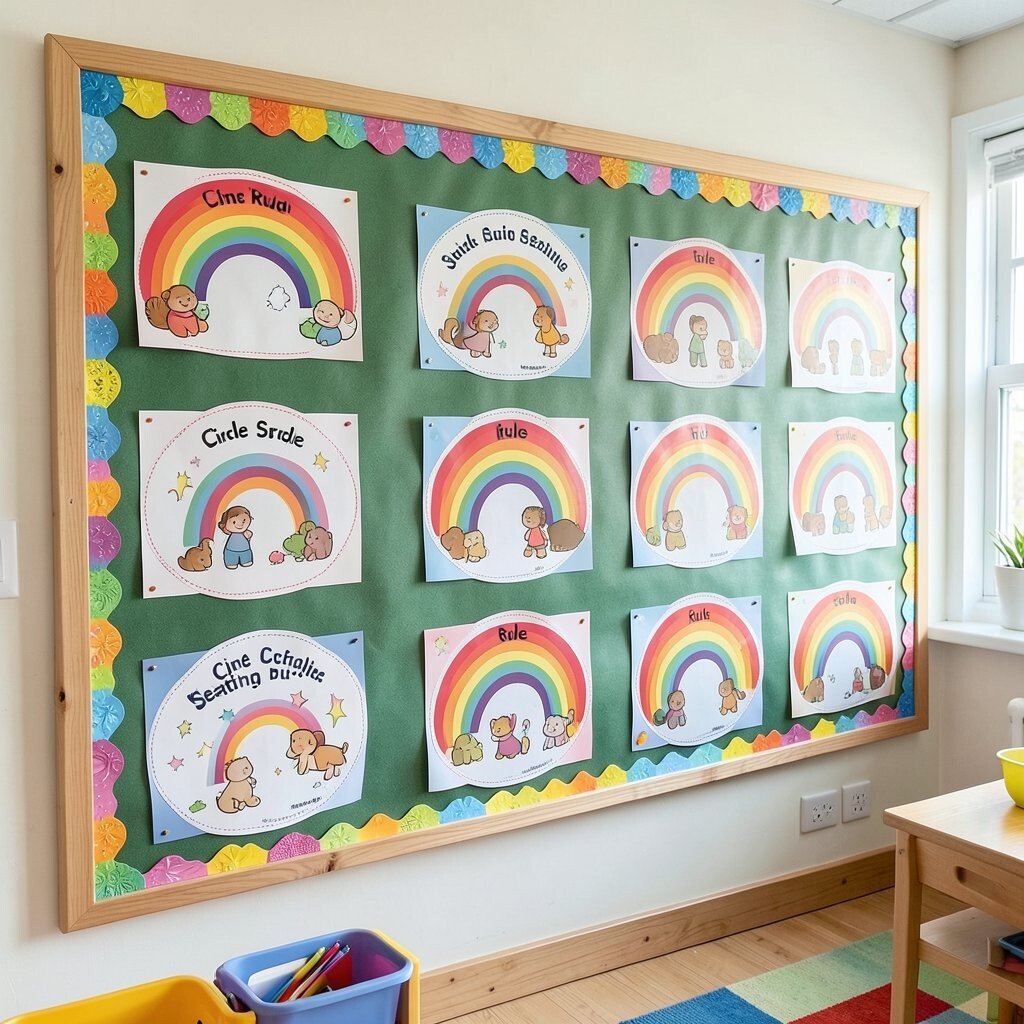
Design a rainbow circle set with small signs that show friendly classroom rules using simple icons. For example, “listen” can have an ear symbol, and “kind words” can show a heart speech bubble.
When rules match the colors kids already notice, they remember them with less effort. You can reference the signs during daily reminders without sounding strict or repetitive. Laminate the rule signs so you can update words when your class grows and matures.
For practicality, keep only a handful of rules and place them at child eye level. Personalize by adding a small picture of your class mascot or a favorite character tied to each rule. This decor feels current because many classrooms focus on social-emotional learning using warm, visual cues.
13. Rainbow Alphabet Ladder With Letter Show-and-Tell Pockets
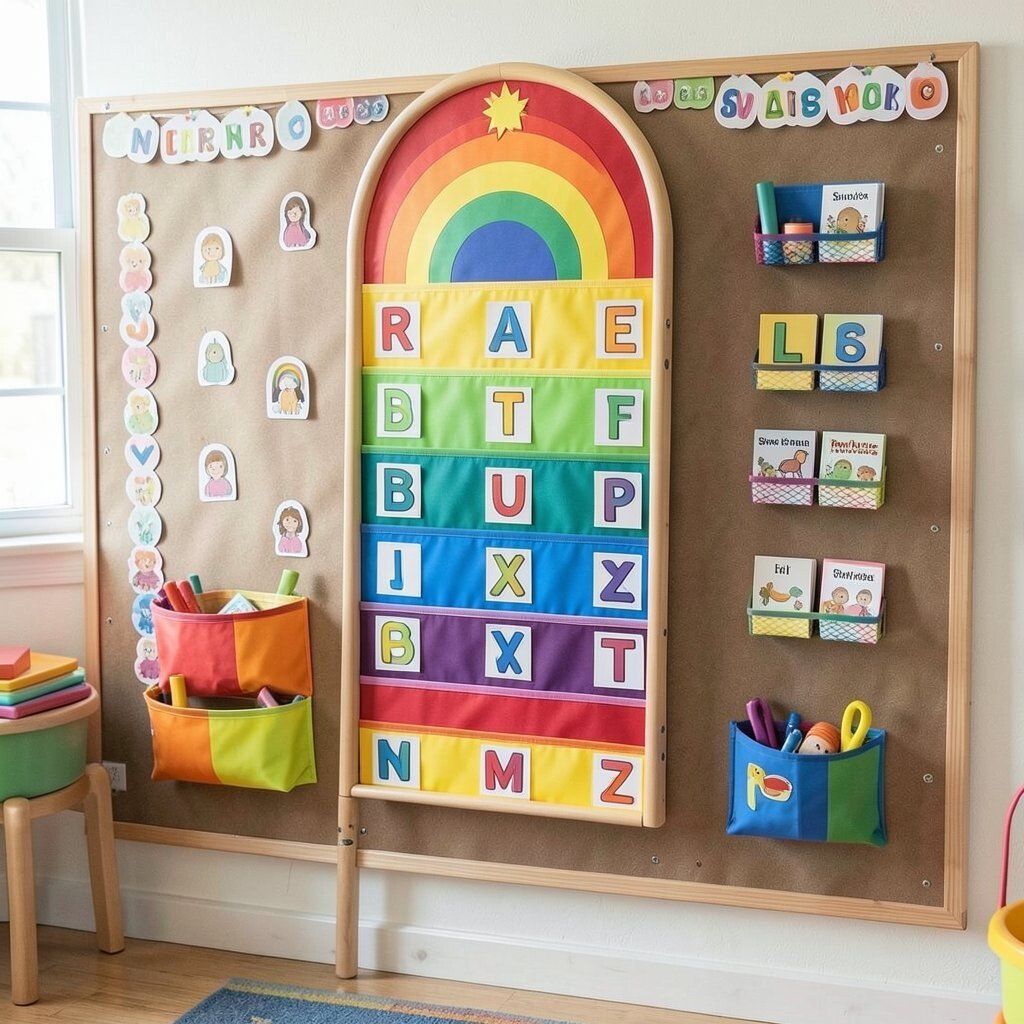
Build an alphabet ladder on the bulletin board using rainbow steps, with each step holding a letter pocket. Put a small card in each pocket for “show-and-tell” items children bring or draw.
This helps children connect letters to real objects, which supports vocabulary and language growth. You can guide students to add a picture when they notice something that starts with the letter. Use sturdy pockets and large letter cards so the ladder stays easy to read during group time.
Uniqueness comes from turning the alphabet ladder into a living gallery rather than a fixed poster. For cost considerations, print letter cards once and reuse them each year, then swap the show-and-tell pictures. Personalize by choosing classroom favorites as themes, like “things we see outside” or “foods we can name.”
This also adds structure to centers, since kids can choose a step to work on and feel proud when their card is displayed.
14. Rainbow 3D Tissue Paper Flowers With Soft Movement
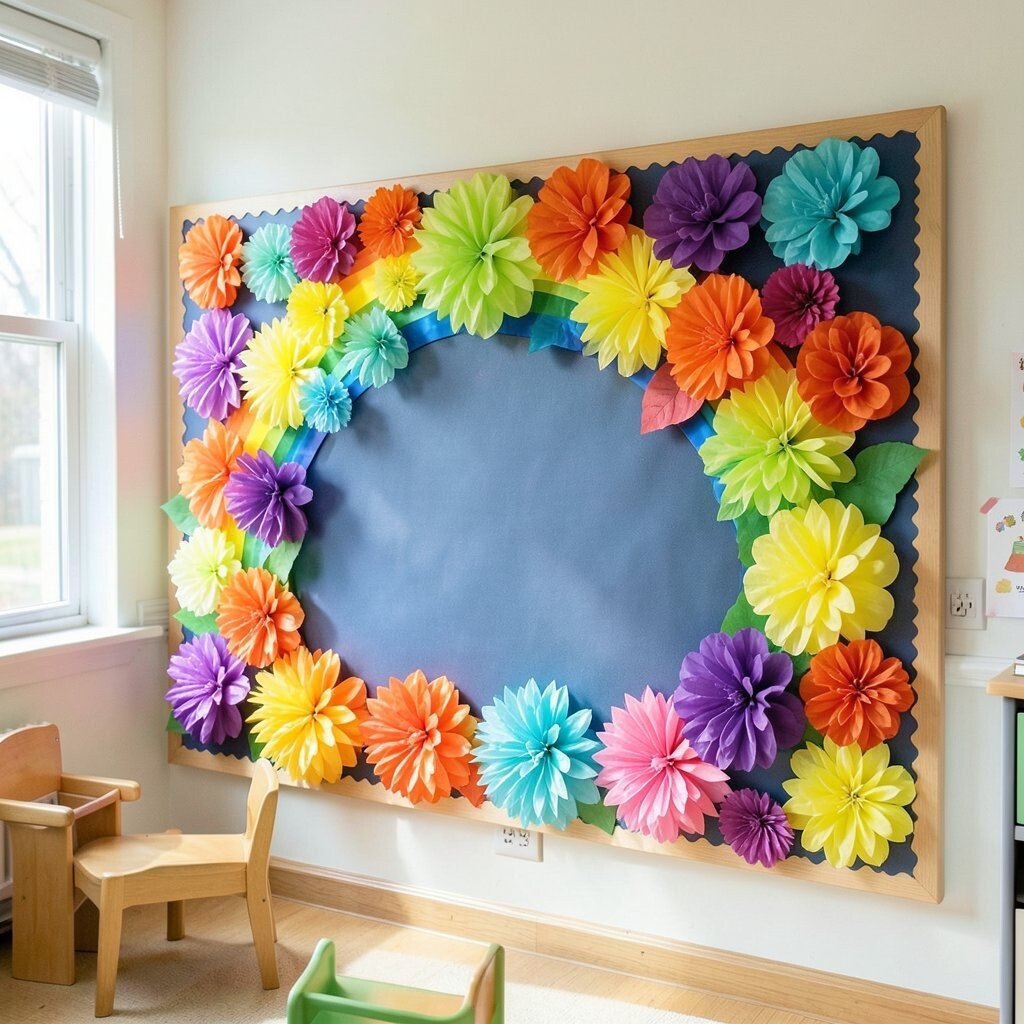
Craft large tissue paper flowers in rainbow colors and attach them around the bulletin board edges. Place a few on 3D stands so they pop out, creating a “garden” look.
This decor makes the board feel welcoming, which can calm kids and lift mood. You can add a center pocket where children insert small “flower notes” like drawings of things they love. Use double-sided tape and reinforced corners so the flowers hold up during enthusiastic pointing and bumping.
For personalization, let students choose which color flower they want to place in the garden, then record their choices in a simple grid. Cost can stay low by making flowers from tissue paper you buy in bulk and reusing stems from leftover craft supplies. The uniqueness here is the soft, dimensional look that feels special compared to flat paper boards.
It also matches current trends of sensory-friendly, nature-inspired decor that feels cozy instead of busy.
15. Rainbow Name Crown Station With Magnetic Add-Ons
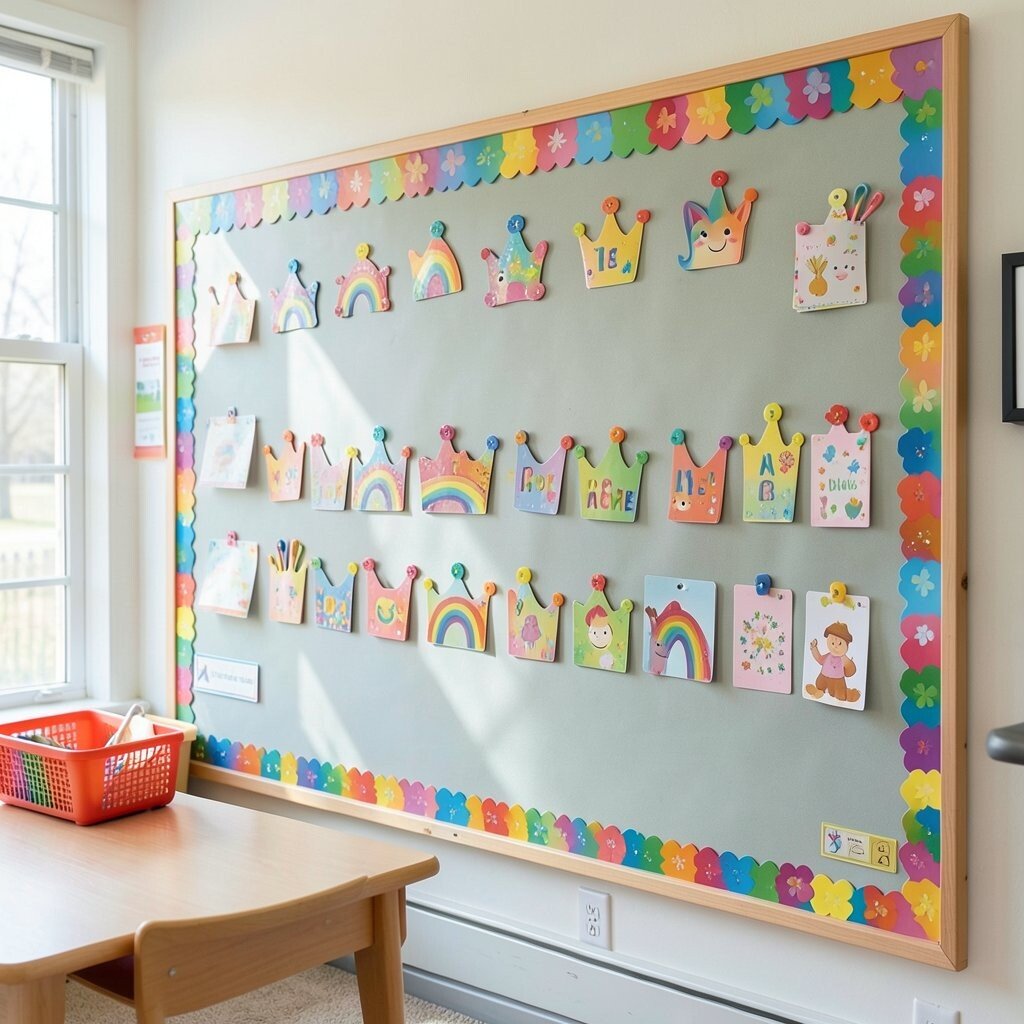
Make a bulletin board “crown” shaped like a rainbow arch above the display area. Under the crown, add a row of name cards where kids can place magnetic letters or foam tiles.
This helps children practice spelling their names and recognizing letter shapes in a joyful way. Keep the magnets small and strong so they hold firmly even when kids move the tiles quickly. For practical setup, store extra tiles in a labeled tray so materials are easy to grab.
Personalize by adding a tiny crown sticker to each student’s slot when they successfully complete a name practice. Cost considerations can be managed by using foam letters or cardstock cutouts instead of buying many magnet sets. This idea feels unique because it turns identity into decor, which kids love showing off.
You can also tie it to birthdays by swapping in rainbow candle icons on the crown during special days.
16. Rainbow Recycling Champions With Upcycled Badge Display
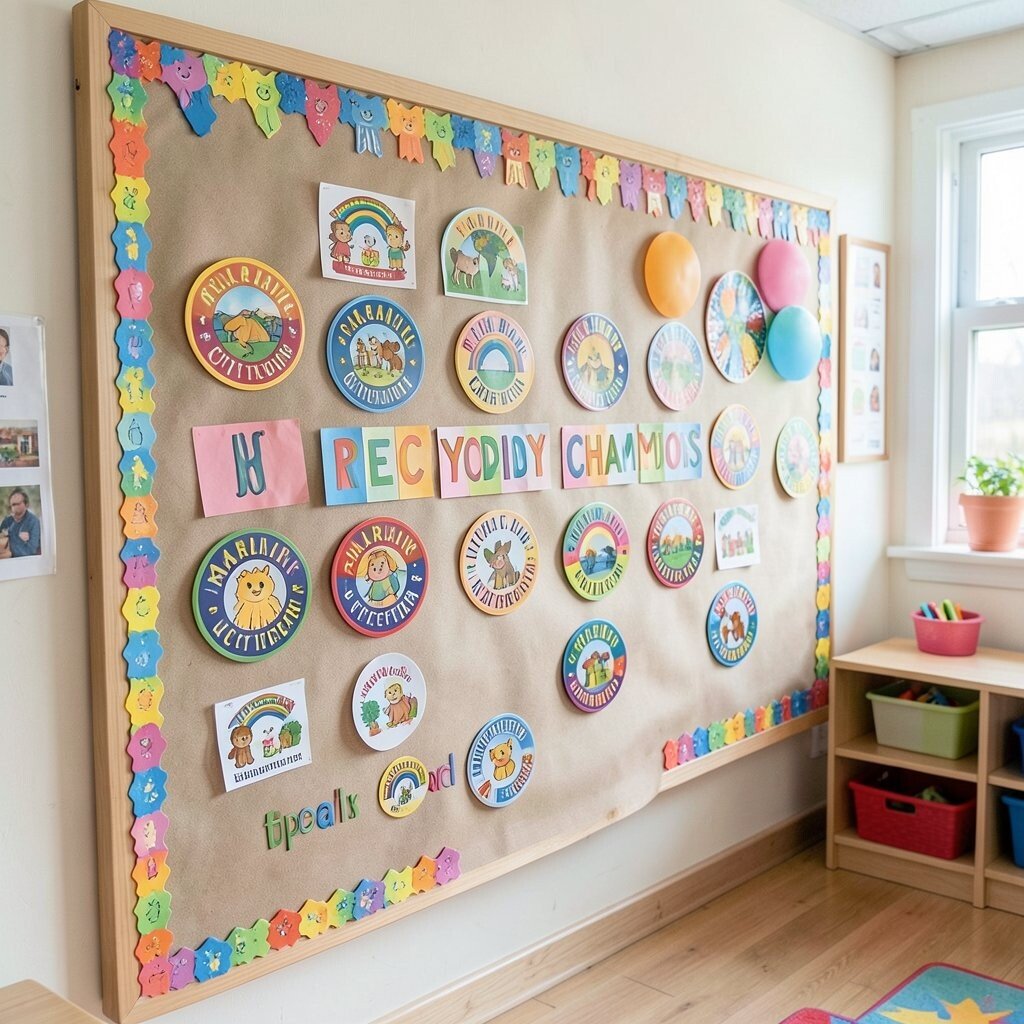
Create a rainbow-themed recycling station on the bulletin board using three color groups and a “champions” section. Add badges shaped like stars that children earn for doing responsible things, like recycling paper or turning off lights.
This decor builds good habits and makes sustainability a visible classroom value. It also supports social learning because kids talk about what they did and why it matters. Use laminated badge sheets or clear sleeves so badges can be reused and moved easily.
The uniqueness comes from pairing rainbow color excitement with real-world action. For cost considerations, use upcycled materials for the badge shapes, like cereal box cardboard painted in bright colors. Personalize by letting students decorate one badge for a class goal, such as “less trash in our classroom.”
Keep it current by using simple tracking ideas that fit modern classrooms, like moving a “progress strip” across each color when goals are met.