The garden starts acting like a friendly classroom the moment you step outside. Every path, plant label, and tiny science station makes learning feel like play.
You can shape it for your space, your budget, and your family’s interests, so it grows with you season after season.
1. Sunlight Lab With Labeled Light Lovers
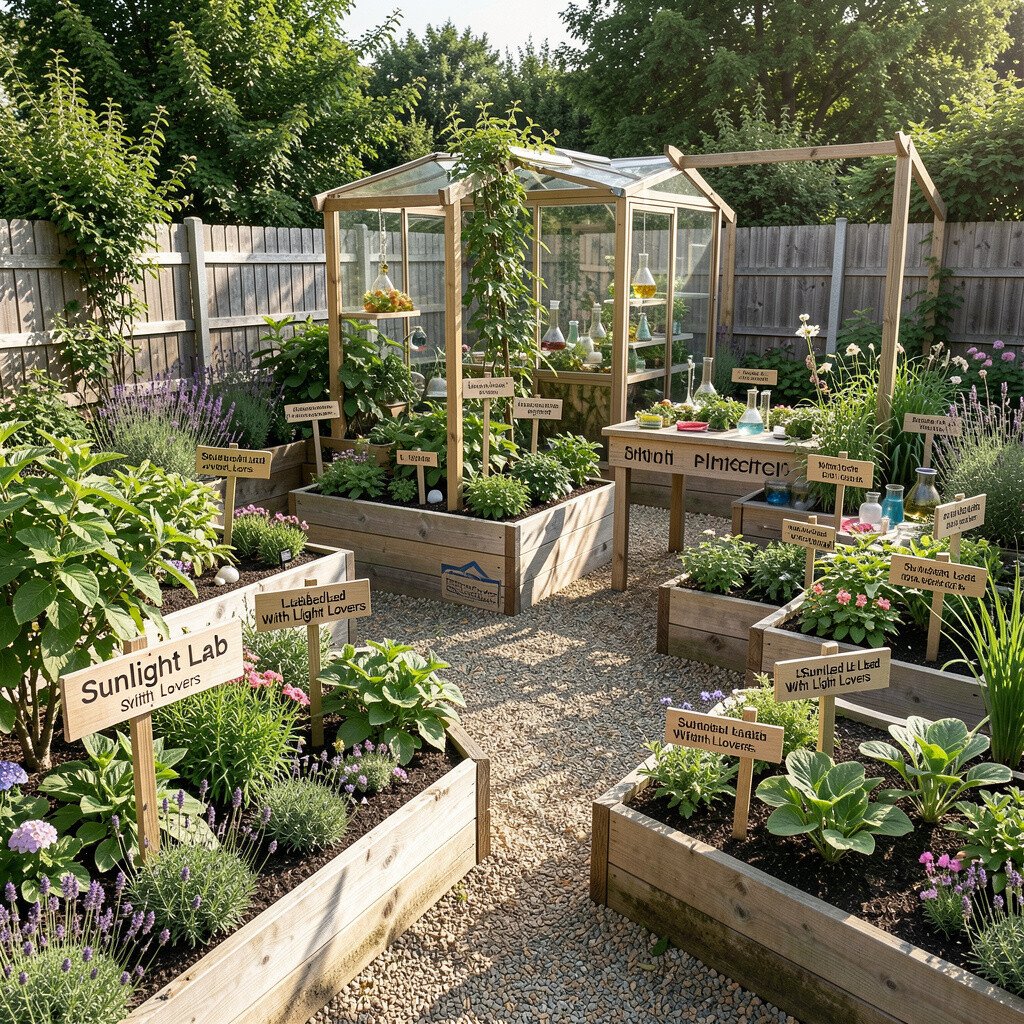
Choose a sunny patch and set up a simple “light station” where you place plant markers for sun-loving varieties. You will notice how leaf color and flower size change when the light shifts through the day.
Try using a mix of herbs like basil and thyme alongside flowers that enjoy full sun, then write short notes on each tag about what the plant needs. Use a handheld notebook or a phone note to record what you observe in the morning, afternoon, and evening, so the labels turn into a habit rather than clutter. This setup also helps you water smarter because plants in brighter spots often drink more.
2. Rain and Water Cycle Bed With Mini Weather Stations

Build a shallow rain-catching corner with a small barrel or a gutter-led collection bin and place clear labels near water-loving plants. A mulch layer makes the soil look tidy while helping water soak in instead of running off.
To make the science feel real, add a simple rain gauge made from a marked container and place a tiny “soil moisture check” stick near the beds. When storms come, you can talk about the water cycle by watching how collected rain moves into the ground and into the plants. If you want a low-cost upgrade, reuse old containers for the gauge and paint the outside with outdoor-safe marks. This corner is unique because it connects plant care to the weather you already experience.
For personalization, let kids pick one question each week, like where the water goes first after a heavy shower. Track it with photos and add the results onto each plant label so the garden becomes a living timeline.
3. Pollinator Walk With Color-Coded Plant Names
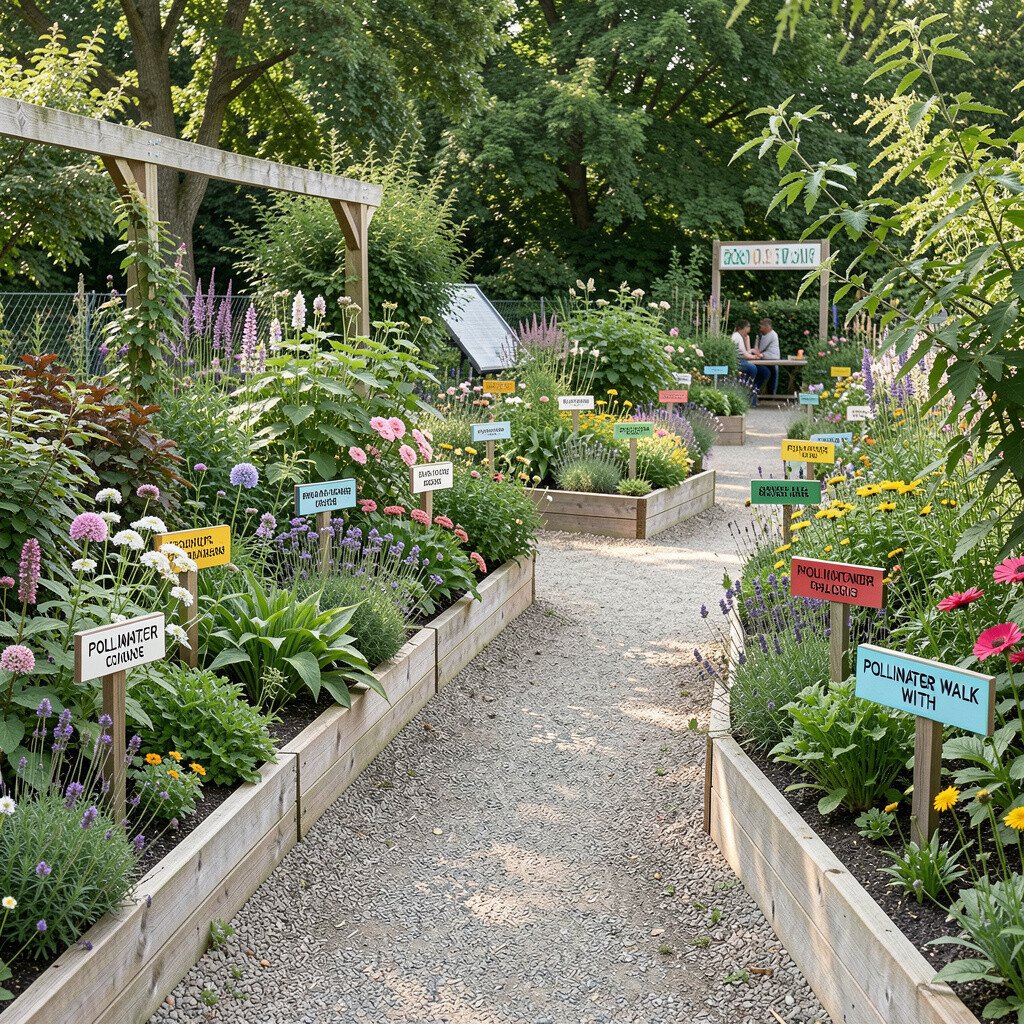
Design a gentle path through flowering plants and use color-coded labels to show which ones attract bees, butterflies, or hummingbirds. You will get a living ribbon of color that changes daily, even when you only glance outside for a minute.
Plant favorites such as coneflower, bee balm, and zinnia, and keep the label text kid-friendly so it reads like a story. Add a small watering tray with stones so pollinators can land safely and still drink. This makes the garden feel welcoming, and it supports local wildlife while helping your own flowers set seed.
For practical tips, group plants by bloom time so there is always something flowering, even in smaller yards. Consider a budget approach by starting with a few reliable perennials and adding annual color where you need quick impact. A current trend is labeling for ecology, so using simple categories like “nectar rich” can match what many school gardens are doing today.
To personalize, let each person choose a favorite pollinator and give them a “watch zone” along the path where they can record visitors.
4. Seed Germination Bench Under a Clear Observation Roof
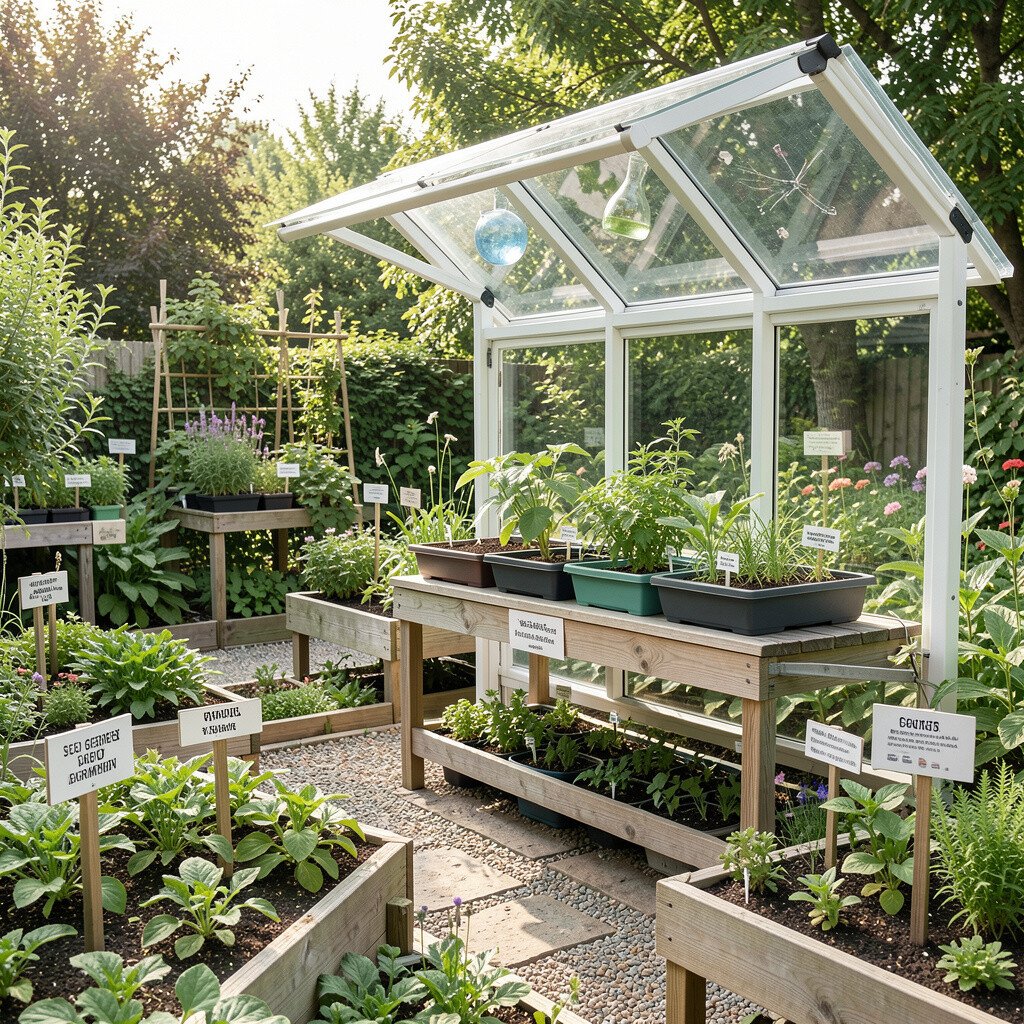
Create a small bench area under a clear canopy, like a mini greenhouse shelf, where you can start seeds and keep them visible. Transparent plastic or even a sturdy clear lid lets you study tiny changes without disturbing the seedlings.
Label each tray with what you planted and when, then add a short note about what the seeds need for sprouting. Use gentle watering and good airflow so seedlings grow sturdy instead of leggy. As a benefit, you get stronger plants for the garden and fewer losses when you transplant.
5. Soil Texture and Earthworm Study Patch
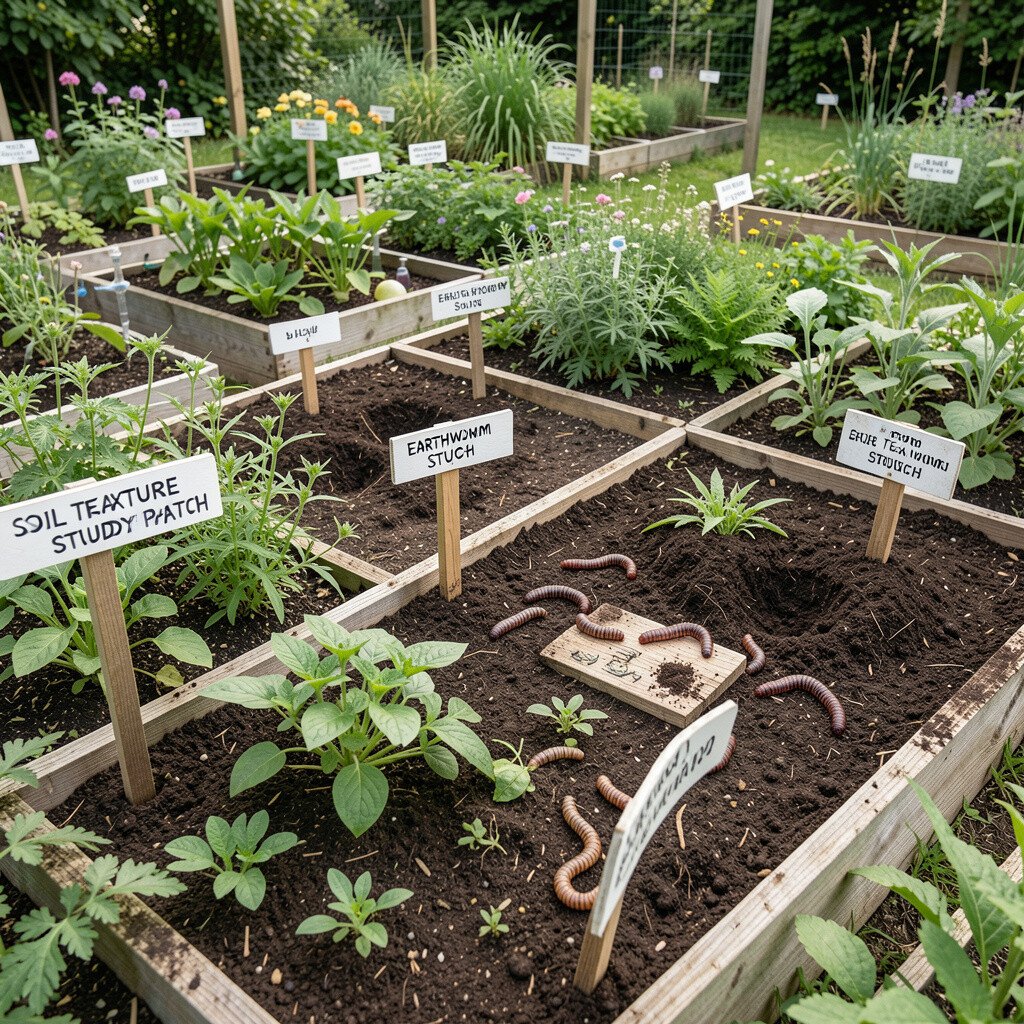
Pick a corner of the garden where you can knead soil lightly and compare textures using a few labeled jars. You can write down how sandy, loamy, and clay-like mixes hold water and crumble in your hands.
Add a simple “earthworm hotel” setup with a covered container and aeration holes, then label what you add and when. When worms move through the soil, the garden starts showing its hidden workforce at work. This spot builds patience because the changes are slow, but kids love checking for signs of activity.
For practical tips, keep the soil fairly moist but not soaked, and place the container in a shaded, stable spot. Cost can stay low by using recycled jars and a bucket, and by borrowing a small hand sieve from a friend if you want finer texture results. A uniqueness boost comes from using your real yard soil instead of store samples, because the results match your environment.
6. Compost Chemistry Corner With Labeled Ingredients
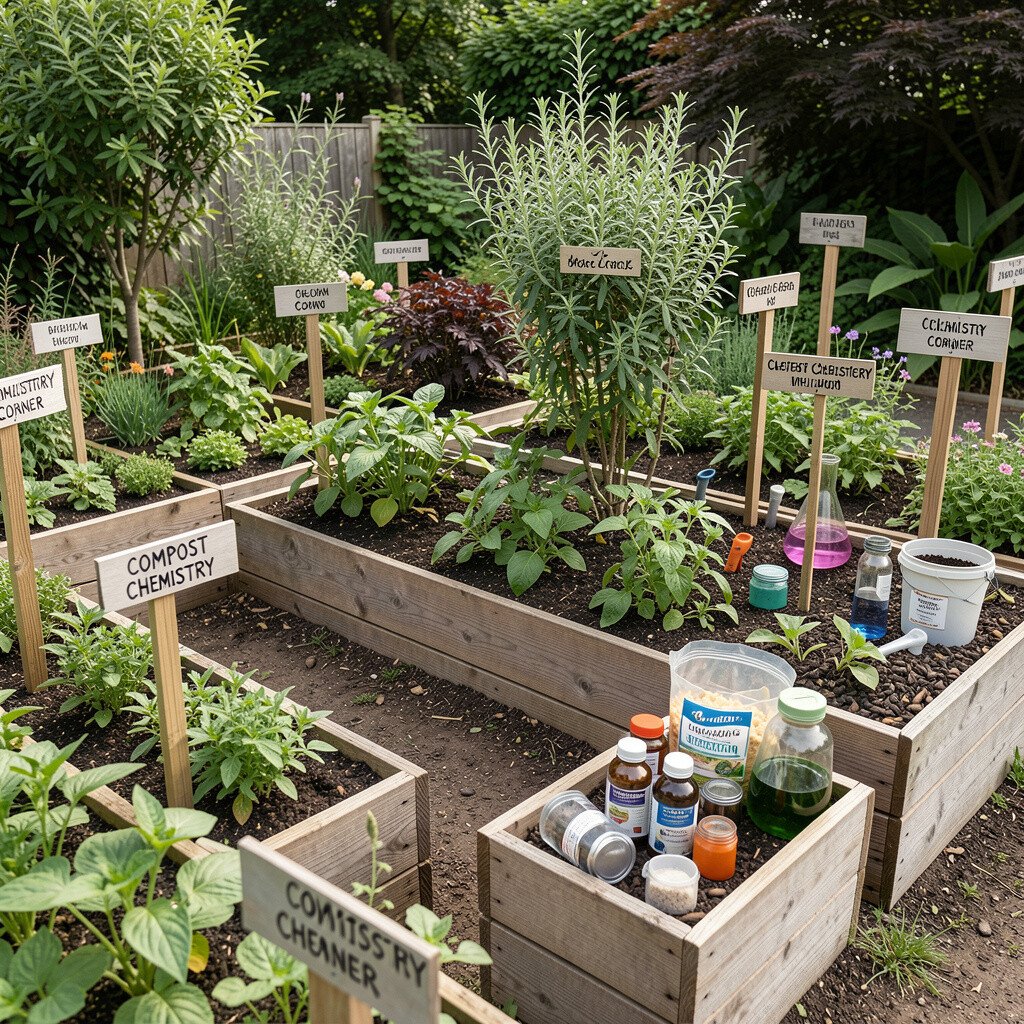
Set up a compost area where bins or piles are easy to see, and label common ingredients like leaves, vegetable scraps, and dry browns. The visual mix of colors and textures gives you an instant science display without needing fancy gear.
To make the learning spot meaningful, add a thermometer or just a simple temperature chart near the bin. Turning the pile becomes a lesson on oxygen and breakdown, and you can measure how heat changes over time. Composting helps the garden by reducing waste and feeding soil, so your plants grow with less bought fertilizer.
For practical tips, keep a small “chop and layer” rhythm so scraps break down faster and smells stay low. If space is tight, consider a compact tumbler and label its parts and steps for upkeep. Many gardeners now focus on tidy, kid-accessible compost, so a clearly labeled system fits current home-garden trends.
7. Plant Adaptation Tower With Vertical Labels and Weather Notes
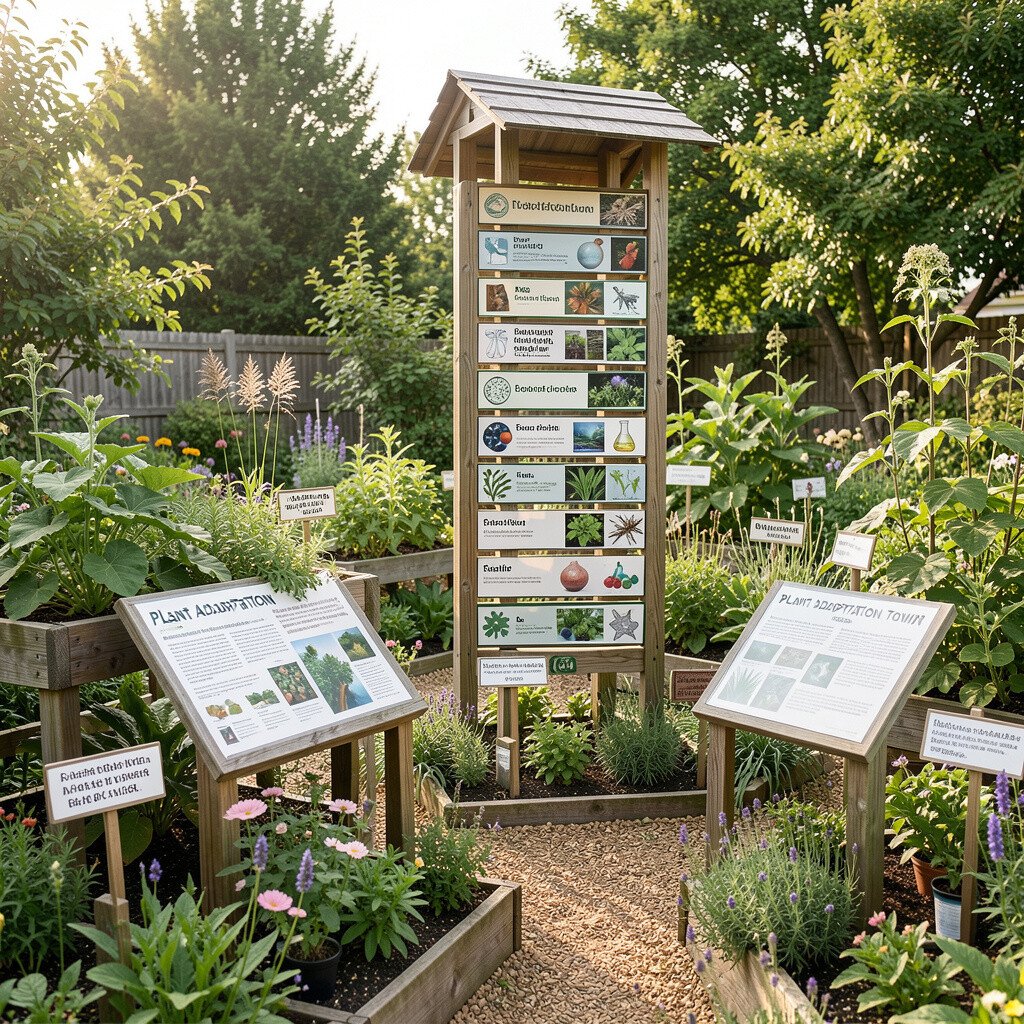
Build a vertical structure like a trellis or stacked planters and grow climbing plants that naturally reach for light. Place tall labels on each section so you can compare how different varieties handle sun, wind, and shade.
Include plants such as peas, beans, and fast-growing morning glories, then add notes about how they climb and what support they need. When the weather changes, the tower becomes a natural “adaptation screen,” showing how stems adjust and leaves reorient. This is practical because vertical growing saves ground space while still giving plenty of teaching moments.
To keep personalization strong, let each person decorate their assigned label with a theme, like ocean waves for a sea-blue flower variety. Consider cost by using sturdy scrap lumber and reusing old trellis pieces, then spending only on planters that need replacing. Current trends lean toward space-saving food and pollinator-friendly growing, and a tower fits both ideas.
8. Watering Compass With Labeled Flow Paths and Timing
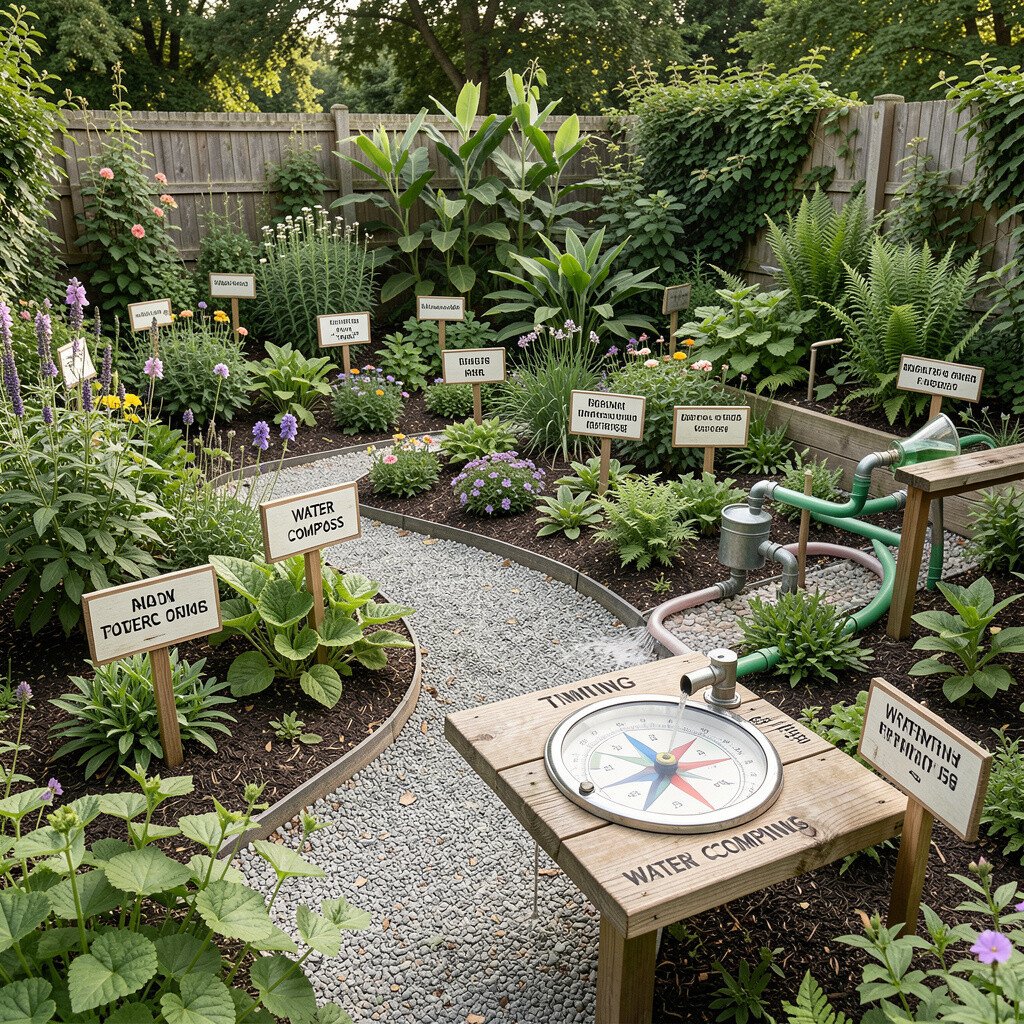
Create a small “watering map” on a board where you mark which bed gets water at which time. Use labeled stakes or tags near hoses and sprayers so the garden’s routine becomes visible and easy for everyone to follow.
Observe how a slow soak changes plant leaves compared to a quick splash, and write simple notes on each label about what worked best. Using a compass-style reminder can help kids remember direction and sequence, like “start at the far row” or “finish near the herbs.” This setup saves water and reduces plant stress, which is a real benefit even if you only have a weekend schedule.
For practical tips, test different watering styles by using a small catch cup under the hose end for a few minutes. If you want low-cost gear, use a basic watering can plus a timer on your phone, then keep labels updated. Personalize by adding family names or chores icons on the watering map so it feels like teamwork.
Over time, the garden becomes smarter because you stop guessing and start learning from your own results.
9. Leaf Shape Gallery With Pressed Specimens and Label Frames
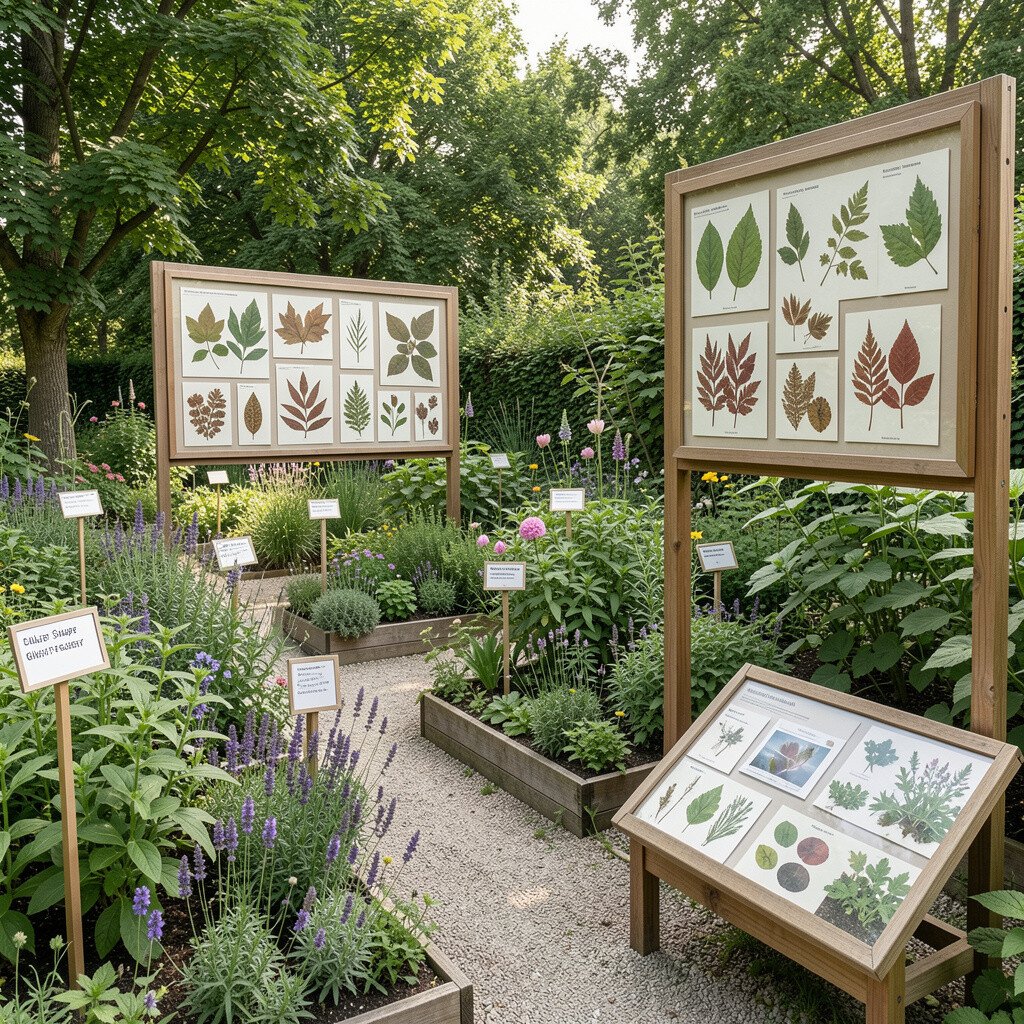
Set up a leaf press area and make a “leaf shape gallery” where you save samples from labeled plants. Each specimen can sit in a small frame or envelope, with the plant name written clearly for future seasons.
As the plants grow, you can compare leaf shapes and textures, then talk about why leaf size matters for shade and heat. This learning spot is unique because it extends beyond the garden bed and keeps memories alive in a simple system. It also helps you notice problems early, since you can compare new leaves to past healthy examples.
For practical tips, press leaves soon after picking and write down the date and plant location on the label. Cost considerations are gentle here since leaf presses can be DIY, and plain cardstock works well as label backing. A current trend is nature journals and “slow learning,” and leaf galleries fit perfectly with that style.
10. Planet-Scale Herb Circle With Sun and Star Story Labels

Plant herbs in a circle to create a “mini solar story,” and label each herb with a fun note about the light it enjoys. The visual of a neat ring feels like a tiny observatory, especially when the herbs show different heights and leaf colors.
Choose herbs with different growth habits such as dill, rosemary, parsley, and chives, then add short notes about how they respond to sun. Talk about patterns in nature, like how each plant has its own rhythm, even if you keep the setup simple. This benefits the garden because you end up with well-structured planting that supports airflow and easier harvesting.
For practical tips, separate herbs that spread widely and use edging to keep the circle tidy. Keep costs down by starting with small seedlings and using compost from your own pile when possible. Personalize by assigning each herb a “role” in the story and letting kids draw a tiny symbol next to its label.
11. Color Spectrum Flower Beds With Bloom Calendar Labels

Choose flowers that naturally cover different color ranges and arrange them in bands that resemble a spectrum. Add labeled stakes that include the expected blooming window so you can predict what will show up next.
This setup looks bright and orderly, and it teaches how seasons and temperature influence growth. When you check the bloom calendar, you practice observing change without needing special tools. It also gives you practical planning power because you can plan deadheading and watering based on what stage each plant is in.
For cost considerations, mix a few more expensive standout plants with lots of budget-friendly companions that fill space. A current trend is garden planning apps and printed calendars, and you can combine that idea with physical labels so learning stays hands-on. To personalize, let each family member choose a color lane and write a short “how it smells” note on the tag.
Small additions like that make the bed feel personal and motivating.
12. Sound and Vibration Wind Spinner Zone With Label Stories
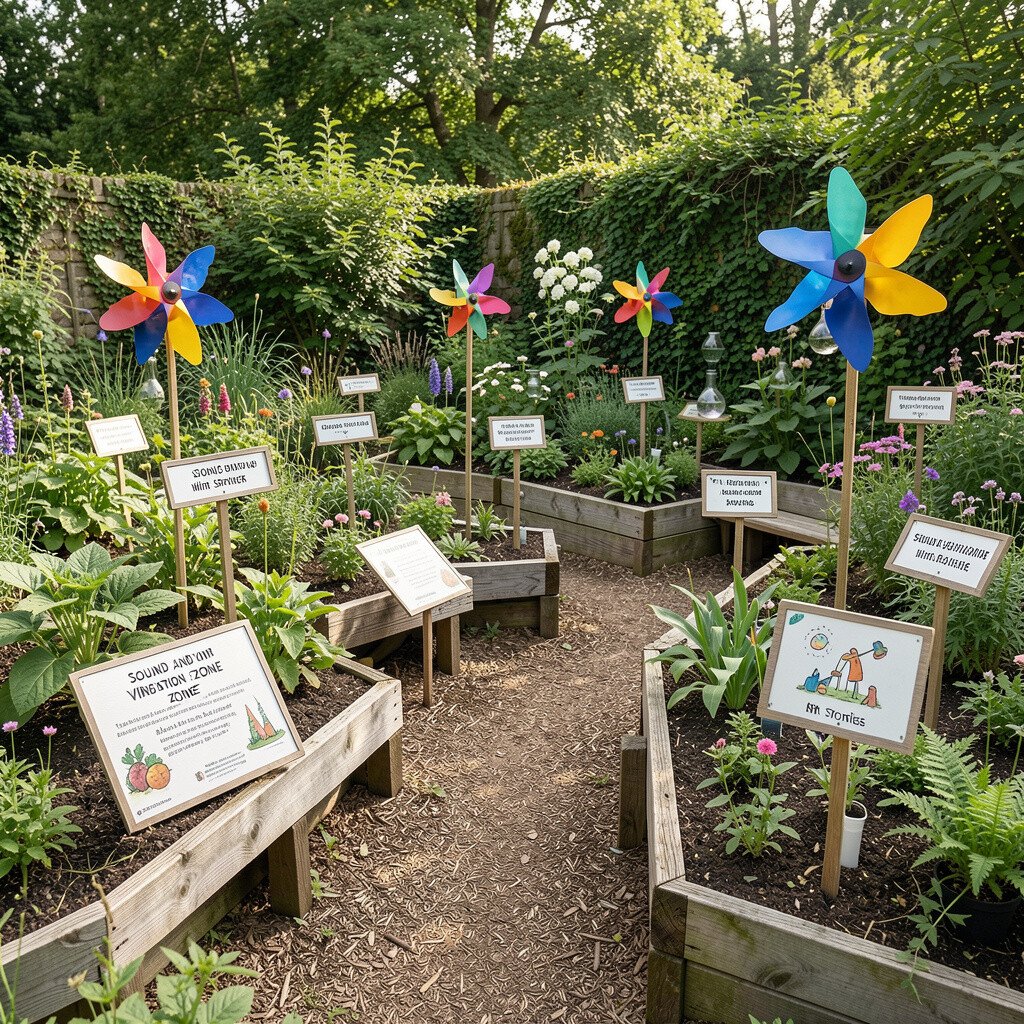
Create a corner with wind spinners, hanging seed pods, or chimes near sturdy plant groupings. Use labeled stakes to connect the sound maker to what’s nearby, like “this plant grows best in breezy spots.”
When the wind moves, you can talk about vibrations and motion in a way that feels playful rather than technical. The garden becomes a sensory classroom because it includes sight, sound, and movement all at once. It also benefits plants indirectly by guiding airflow and reducing stagnant corners when placed thoughtfully.
For practical tips, anchor anything that spins firmly so it does not whip or tangle, and keep labels protected from rain. Cost can stay reasonable by using inexpensive metal frames or even repurposed materials like bottle caps, as long as they are safe and stable. Personalize by tying each label story to a favorite question, like why some plants rustle more than others.
13. Plant Measurement Trail With Simple Height Markers

Lay out a short measurement trail through the garden using labeled stakes at easy heights. Each stake can hold a ruler or measuring tape so you can check plant height and leaf growth over time.
As the season moves, the trail becomes a visible timeline, which makes it easier to track slow changes in herbs, shrubs, and vines. This is a strong practical benefit because it helps you adjust watering and support early. It is also unique because the numbers stay humble and the focus stays on what you can see and feel.
For practical tips, measure from the soil line to the top leaf and record in a notebook next to the labels. If costs matter, use repurposed wood strips with printed markings and secure them with simple brackets. A current trend is data-friendly gardening, where people measure to learn, but you can keep it friendly by making the entries short and visual with photos.
Personalize by letting kids decorate their measurement stakes with small drawings that match each plant’s theme.
14. Nighttime Glow Garden With Labeled Life Lessons
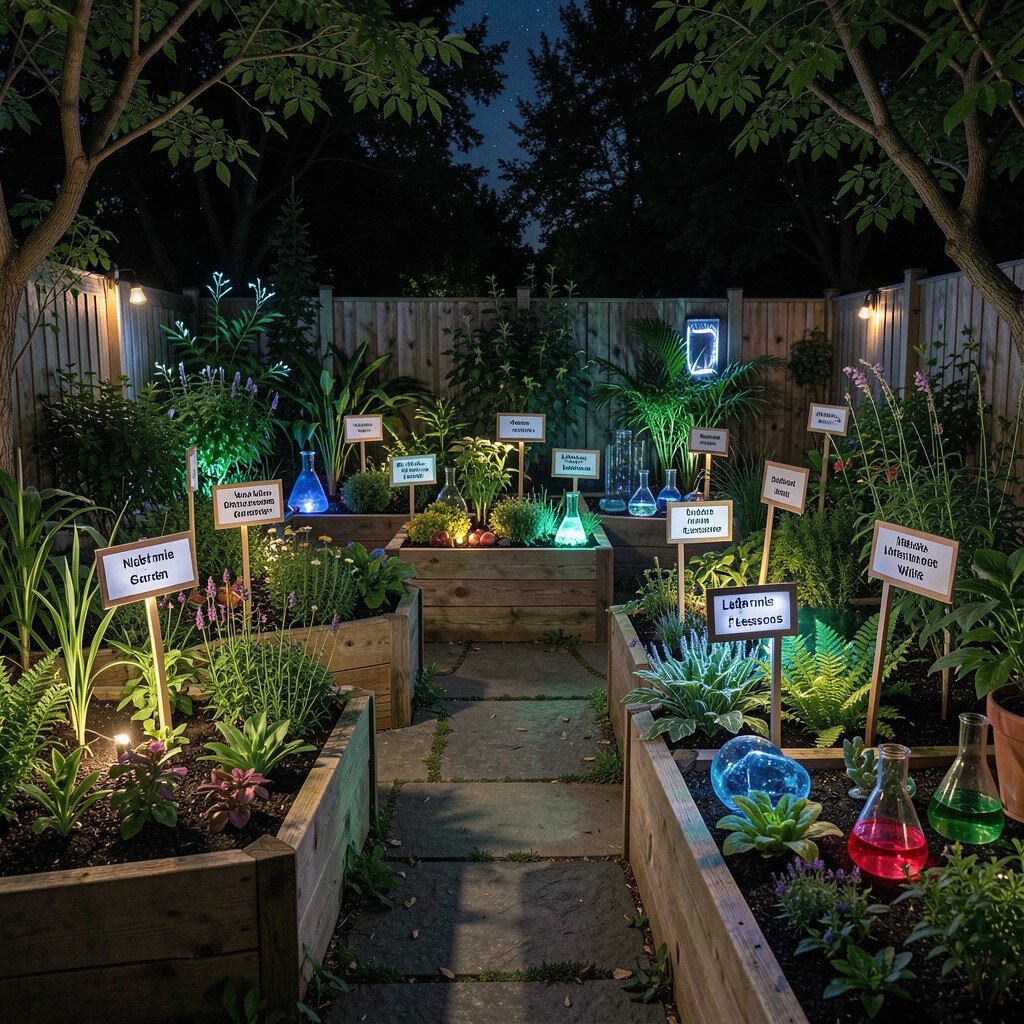
Create an evening-friendly area using low-glare lights and glowing or softly reflective plant features. Place labels that explain nighttime roles, such as how some insects feed after dark or how certain blooms close at evening.
Choose plants that look lovely in softer light, like evening primrose or moonflower, and use labels to connect their behavior to the time of day. This learning spot is beneficial because it supports more wildlife activity and helps you notice patterns you would miss during daylight. It is also unique because it turns your garden into a calm nighttime experience instead of a daytime-only space.
For practical tips, use warm, shielded lighting so it does not bother plants or pollinators, and keep the lights on a simple timer. Cost considerations are manageable since you can start with a few lights and add more slowly, especially if you prioritize areas that get the most foot traffic. Personalize by adding a small “night journal” page on the label board so family members can write one observation after dinner.
When the garden glows gently, learning feels like bedtime stories, and everyone wants to come back outside again.