The fastest way to ruin a favorite garment is to fix it the wrong way. The fastest way to save it is to use small tricks people forget to mention.
You will see the stains differently after you learn how repairs really work. Then you will start treating every tear, snag, and faded seam like a solvable mystery.
1. The Fabric Dictator Test

Hold the fabric to light and look at how it bends, stretches, and returns. If it snaps back quickly, treat it like a live fabric that needs gentler tension.
You can feel the difference by rubbing two damp fingertips along an inside seam. A smooth, steady glide usually means stable weave, while a fuzzy drag hints at delicate fibers. That single observation helps you pick stitches, needle size, and pressing habits without guessing.
2. Thread Matching by Eye, Not Hope
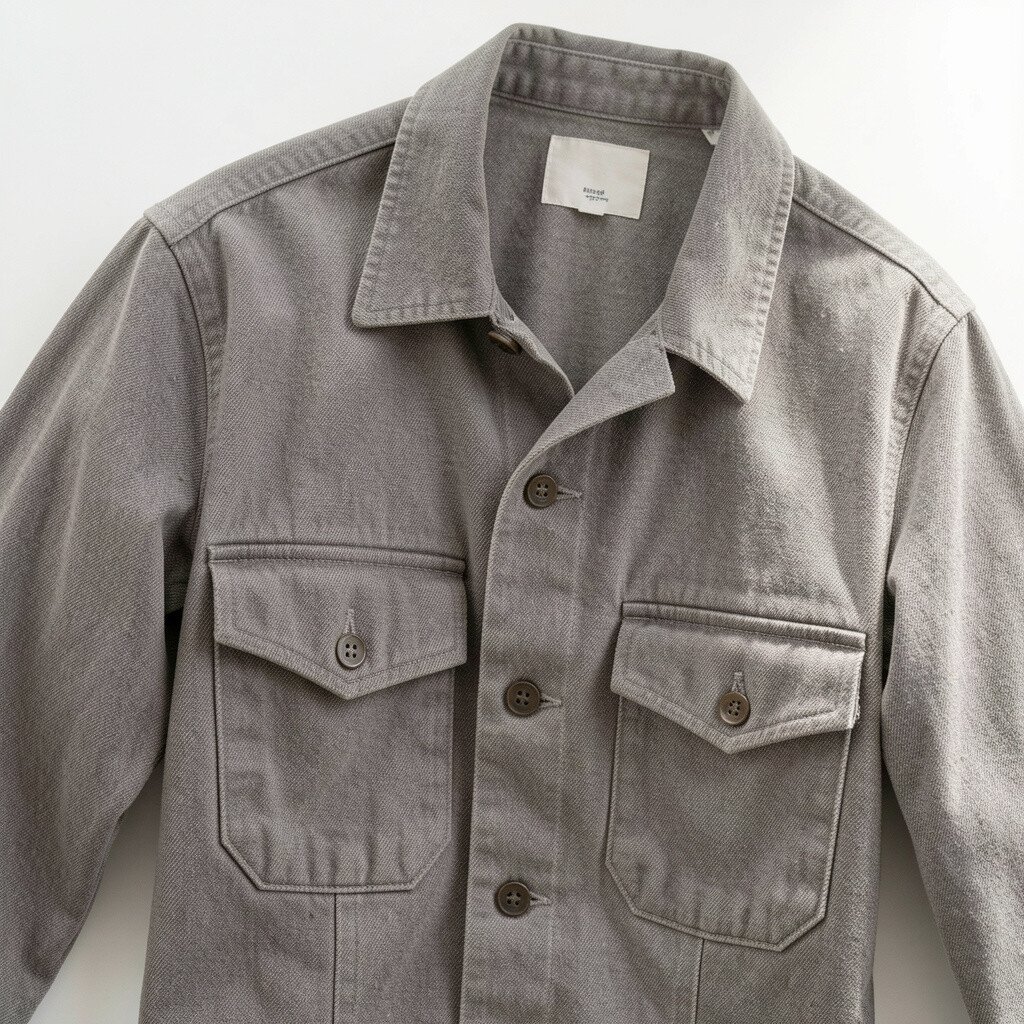
Choose thread by matching the fabric undertone, not just the color name. Two “navy” threads can look different because of warmth, brightness, or gray levels.
Wrap a small thread sample around your wrist and compare it beside the garment in daylight. If the stitch line disappears while still looking neat, you found a winner. When repairs blend in, people assume the garment was always that way.
For denim and canvas, slightly darker thread often looks stronger and more natural. For knits, using thread close to the original weight keeps seams from looking too bulky. If you cannot match perfectly, slightly under-coloring is usually less obvious than going brighter.
3. The “In-Place” Stitch Trick

Pin or clip the damaged spot while the garment sits on a hanger or your body. The fabric settles in a real way, so you can repair along the true curve.
Then sew slowly, keeping tension even and letting the cloth feed naturally. This reduces puckers and helps the repaired area line up with the original seam direction. Your finished patch will look less like an add-on and more like part of the garment’s story.
When you work on sleeves or waistlines, wear thin gloves so you can feel the fabric shift. Also check that the pattern lines up before you commit to the last few stitches. That tiny pause prevents the “why does it twist?” surprise later.
If you notice the fabric wants to creep, guide it with your fingertips rather than pulling. Gentle guidance protects both the repair and the surrounding fibers. Your stitches should look calm, not stretched.
4. Pressing Is a Repair, Not a Finale

Pressing can make a repaired seam look crisp even before you finish the last stitch. Use a clean pressing cloth so you do not shine or scorch delicate fibers.
Light heat plus steady pressure helps threads settle and flattens tiny ridges. If your garment is knit, use a softer touch and avoid long holds. The goal is to guide the fabric, not cook it into shape.
5. Stabilize Before You Sew Anything Elastic
When a waistband, cuff, or knit hem has stretched out, it needs support before stitching. If you sew directly on loose loops, the repair can wobble and pop again.
Use a thin, stretchy stabilizer or even a careful strip of fusible interfacing. Iron it from the inside so it holds the area without making it stiff. Then stitch over that steadier surface so your seam stays aligned as it flexes.
For socks and leggings, keep the stitches smaller and more frequent to match how the fabric moves. Try a zigzag or stretch stitch so the seam can breathe. This makes the repair feel like it belongs to the garment instead of fighting it.
6. The Zigzag That Saves Frayed Edges

Frayed edges can be tamed with a zigzag stitch that catches stray fibers. Use a short stitch length so nothing has room to retreat.
Guide the fabric edge just under the needle path, then let the zigzag fold the loose strands inward. A neat zigzag can act like invisible hands holding the damage together. You will see fewer loose threads after the first wash.
For lightweight fabrics, lower the stitch width so you do not chew up the cloth. Keep your presser foot pressure moderate so the edge feeds evenly. This keeps the repair clean and reduces bulk.
7. Use Scrap Fabric to Gauge Needle Damage

Needles leave marks, and the wrong needle can create tiny holes that you cannot undo. Before working on the garment, test on a scrap or seam allowance if you have it.
Try a short practice line and then tug gently. If you see snagging or thread pull, switch needle type or size. The smallest adjustment can prevent permanent damage.
8. Turn Sews Into Invisible Repairs
For holes in woven fabric, cut away only the truly ruined threads, not the good ones. Then stitch using a method that lands inside the original weave.
You can blend by matching stitch direction to the fabric grain so your thread follows the cloth’s natural lines. When done well, the repair looks like a natural repair seam rather than a patch. People will notice the garment looks better, not that it was fixed.
9. The “Don’t Stretch It” Clamp Rule
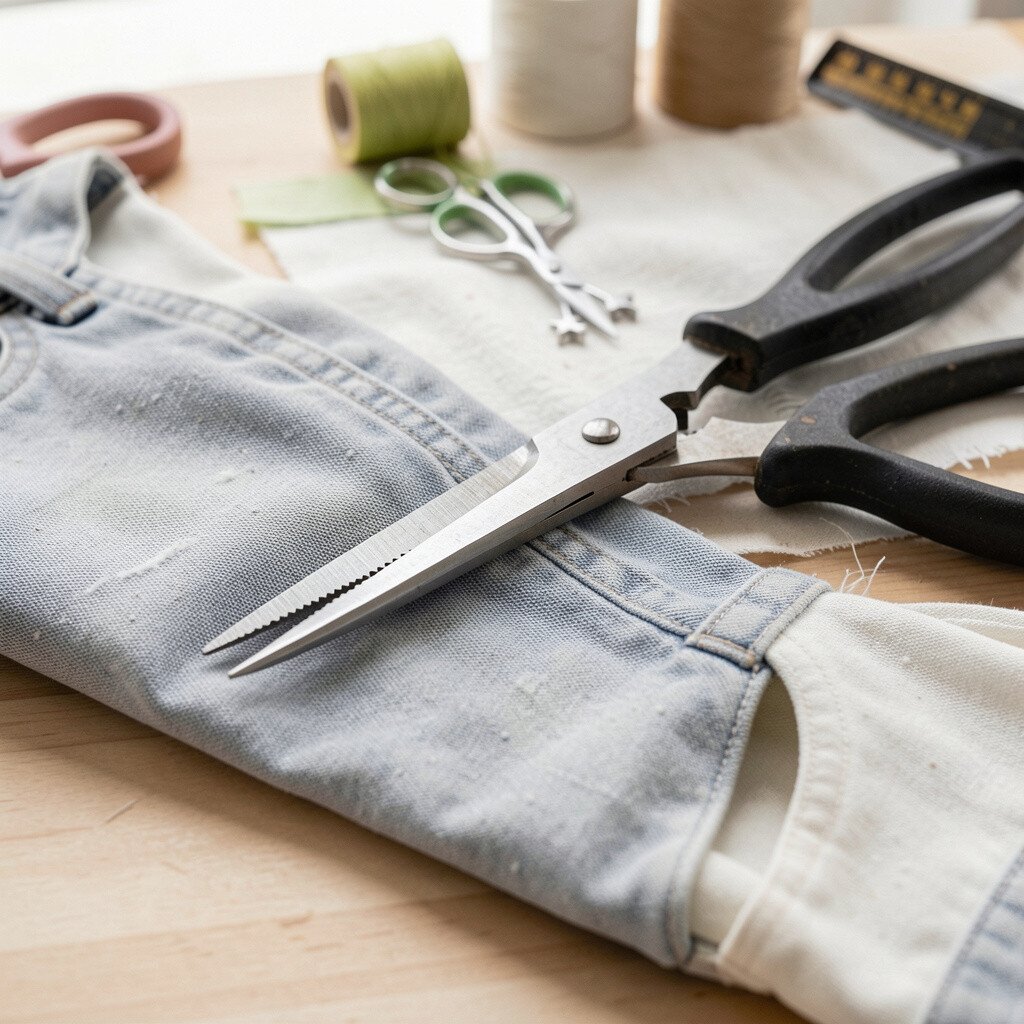
Clamps and clips can tug fabric even when you think they are gentle. Over-stretching while repairing can make the area look warped after the garment dries.
Use clips sparingly and reposition them often so the tension stays even. For delicate fabric, place tissue paper between the clip and cloth. That extra layer reduces grip marks and helps keep the weave calm.
If the fabric shifts, stop, reposition, and continue. Quick corrections beat long messy stitches that fight the fabric shape later. Your future self will thank you.
10. Patch With a “Breathing Border”

Patches look best when they cover the damaged area and also secure the surrounding fibers. A breathing border means you do not bury everything under thick layers.
Choose a patch fabric with similar thickness and stretch. Then trim the patch edges after basting so the edges lie flat. This gives a softer transition and improves comfort at the repaired spot.
11. Seam Replacement Starts With a Photographic Memory
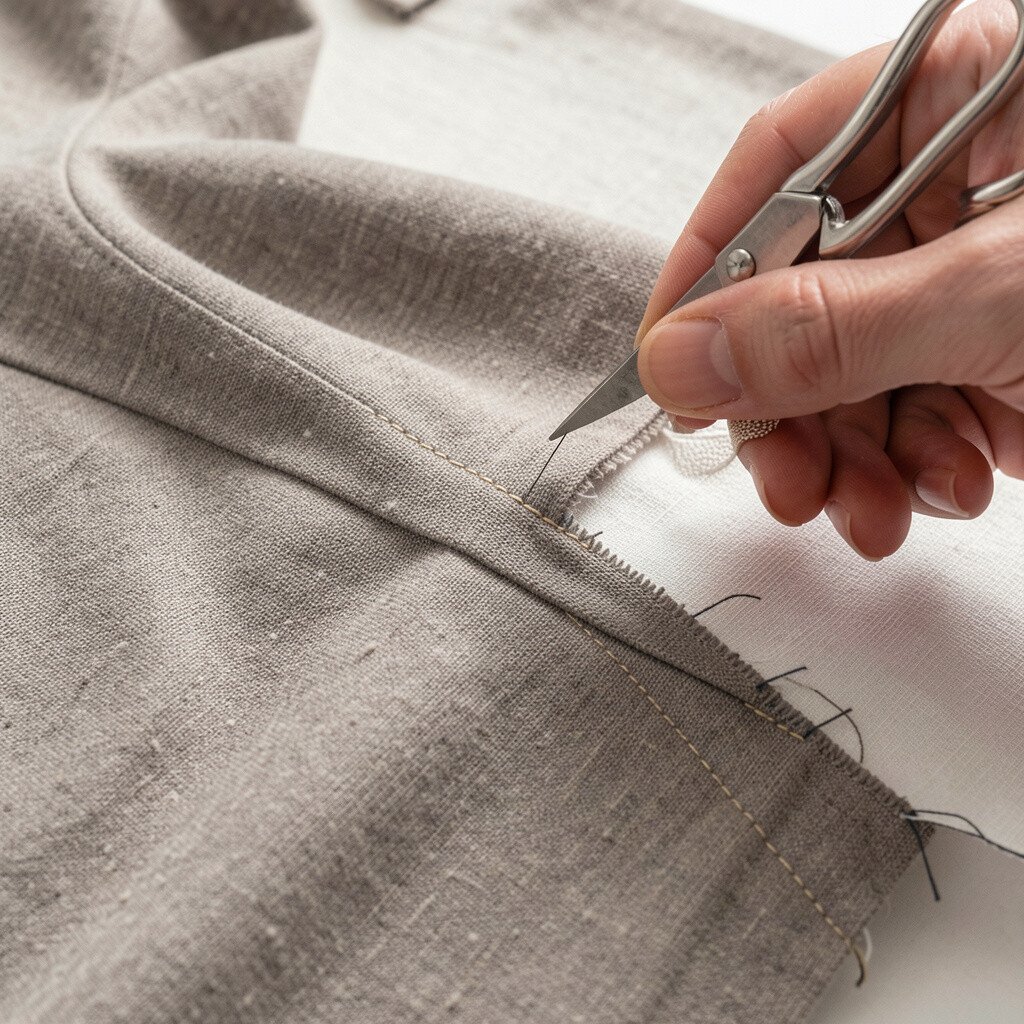
Before taking anything apart, take a quick picture from a few angles. Seams often hide tiny differences in stitch placement and turn depth.
Even a simple phone snapshot helps you rebuild the path correctly. When you understand where the seam was supposed to sit, the repair feels smoother and more confident.
If you can, note how the fabric was pressed before disassembly. That memory prevents you from pressing the wrong direction and creating a ridge. The garment will look more original when you replicate the old workflow.
12. Thread Ends Should Be Tucked, Not Knotted

Knots can be bulky and visible, especially on thin fabrics. Tucking thread ends into the seam is often cleaner and more secure.
After sewing, weave the thread back through a few stitches and trim close. This locks the thread with less bulk. On knits and sportswear, this also prevents stiff bumps on the skin.
13. Match the Original Tension Like a Hairstyle

Stitch tension changes everything, like how a hairstyle looks neat or messy. If the stitches pull too tight, fabric puckers; too loose, and it sags.
Test on a scrap first, then adjust your machine tension or hand-stitch tension. When you see the stitch lying flat against the fabric without rippling, you are close. Take your time because tension is the hidden reason repairs look professional.
14. The Lint Brush Clean-Up That Makes Repairs Pop
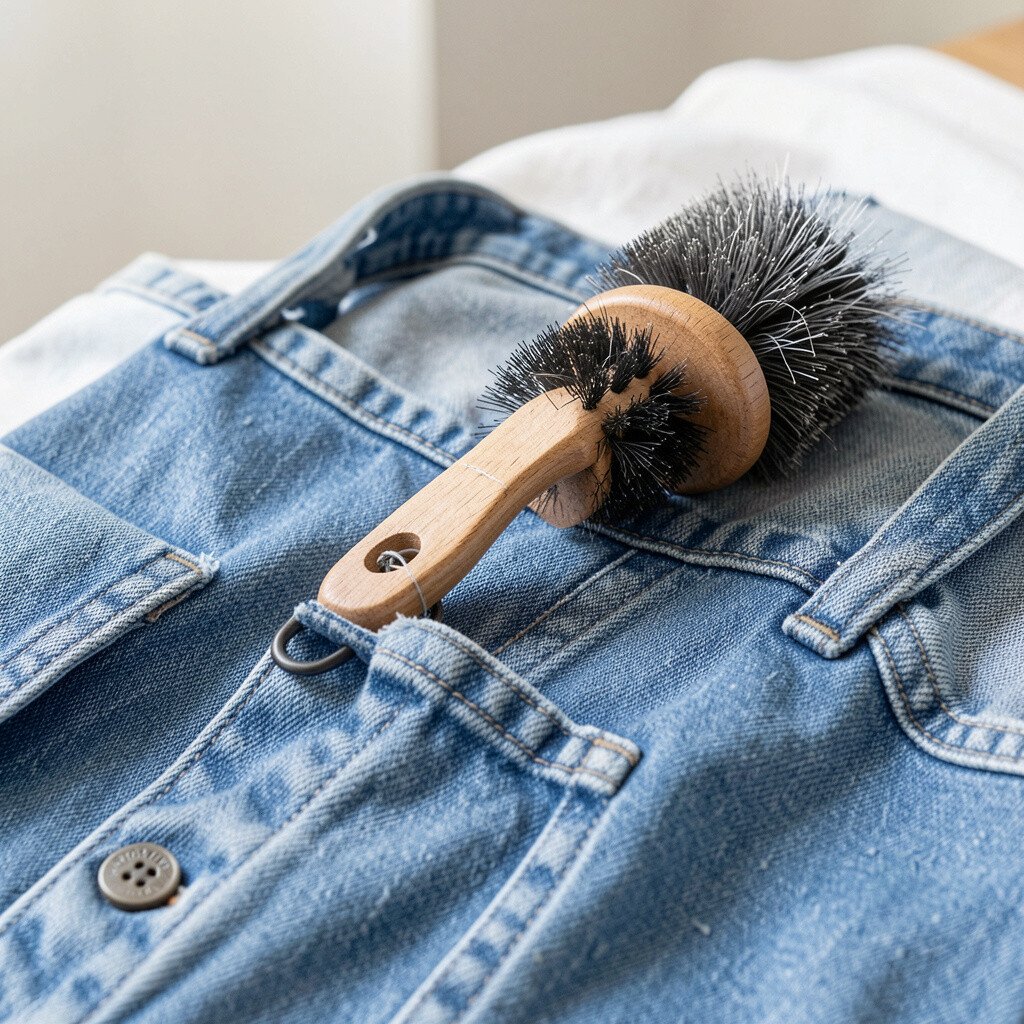
A garment that looks dirty hides the real shape of damage. Brush the area with a lint roller or soft brush before you sew.
Cleaning also helps adhesive and interfacing stick more evenly. You will spot frayed threads and weak points more easily, so you repair the real problem instead of only the visible damage. This simple step often upgrades the whole outcome.
15. Stabilize Stains Before You Work Around Them
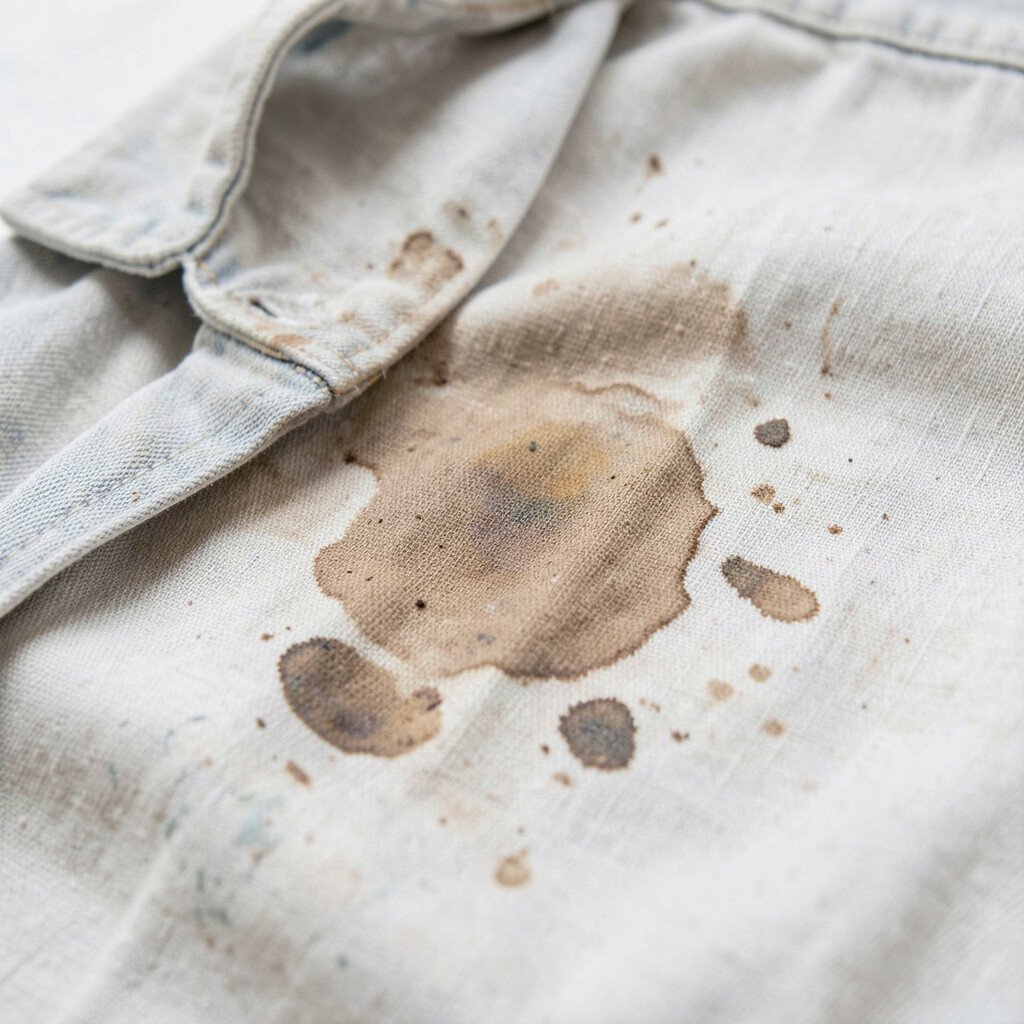
Stains can spread when fabric gets warm, rubbed, or pulled. If you plan to sew near a stain, protect the area first.
Wash and dry the garment fully when possible so you repair after the stain settles. If the stain is stubborn, protect it with a gentle barrier like a thin cloth layer while you work. That keeps the stain from migrating into the stitch line.
If you cannot fully remove a stain, choose a thread shade that blends with the stain tone. Repairs that hide both tear and discoloration can look like magic to onlookers. It is practical, and it makes the garment feel wearable again.
16. Repair Buttons With a Layout Sketch in Your Head

Buttons can shift because the fabric gets stretched or the buttonholes wear out. Before sewing, check alignment by closing the garment and observing how the button sits.
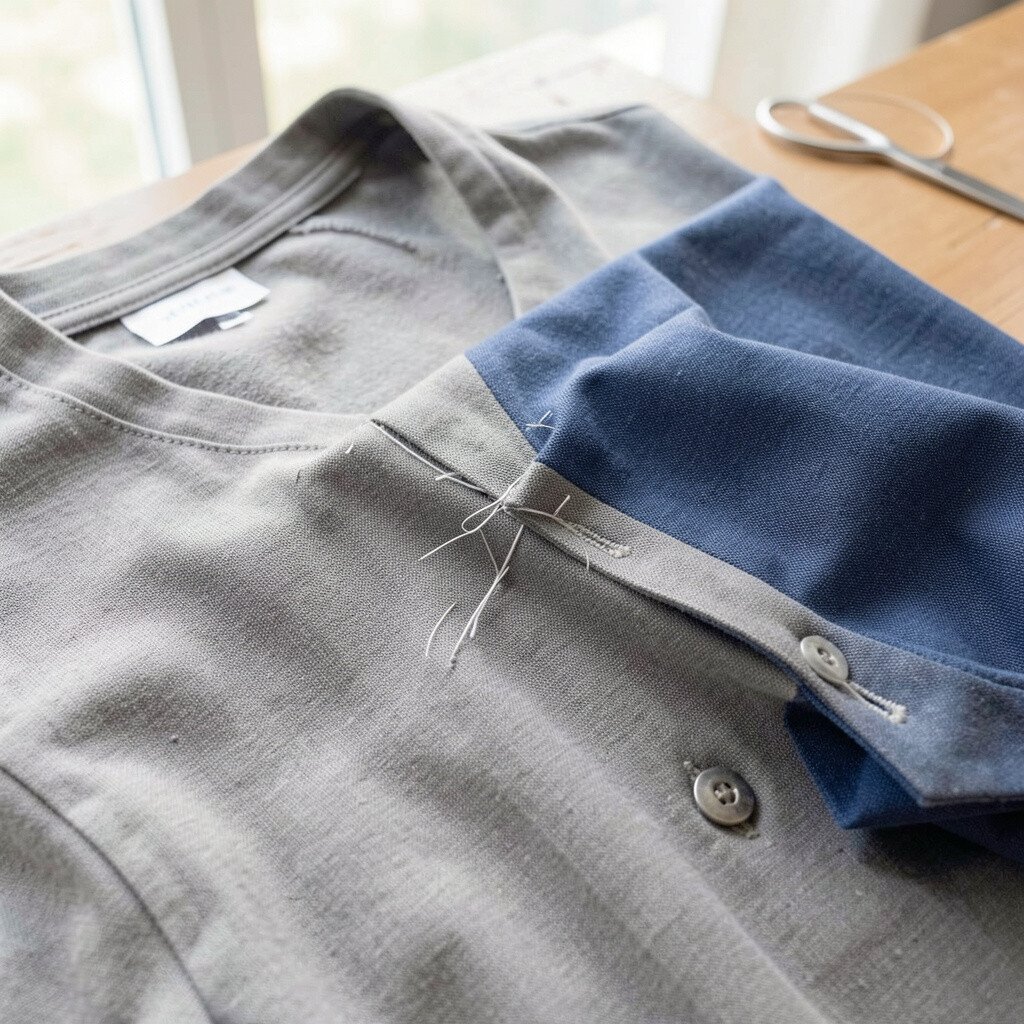
Then mark light placement with chalk or a washable marker. Keep the spacing consistent so the button thread does not pull the fabric into odd angles. A precise placement makes the closure feel smooth instead of tense.
17. Buttonholes Need Clean Edges, Not Extra Fabric
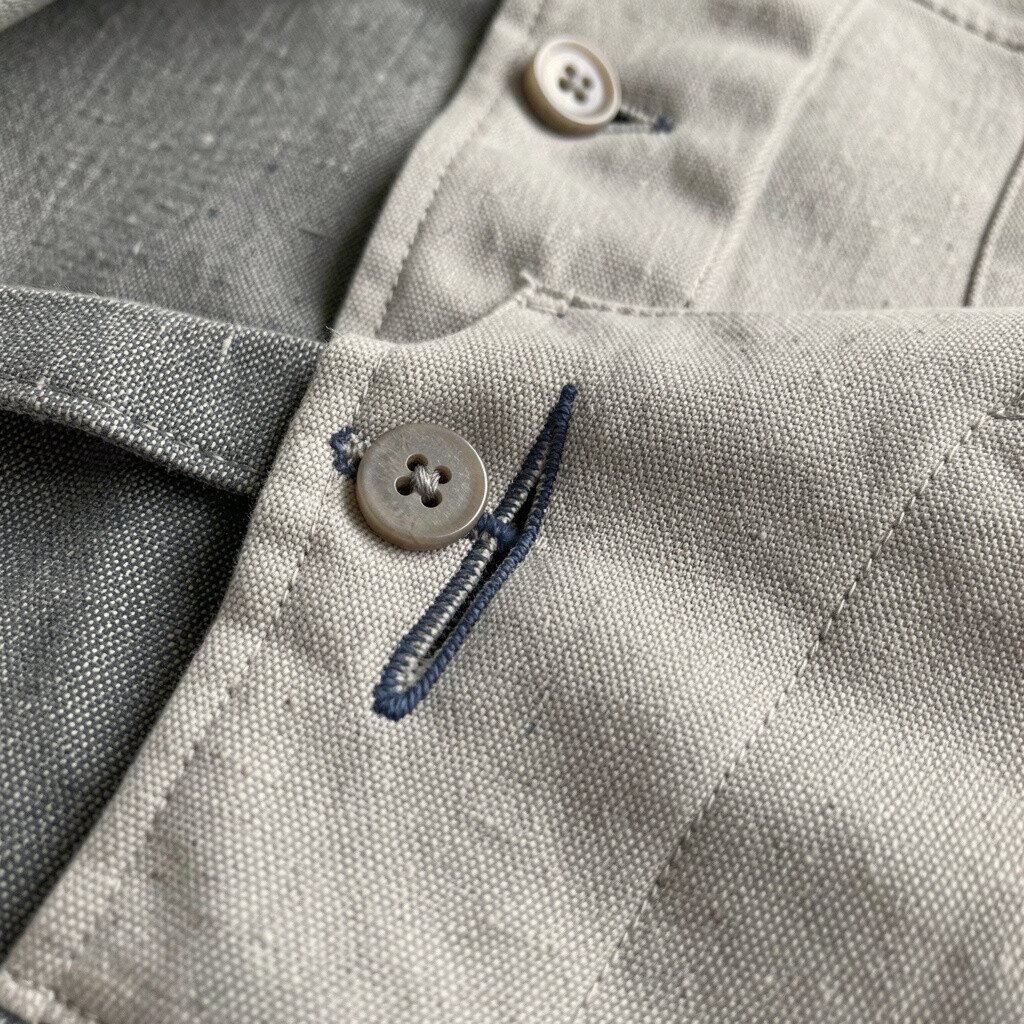
If you have a torn buttonhole, trim only the loose fibers and avoid widening the hole. Clean edges make the stitch line neater and easier to match.
Use a stabilizer inside so the buttonhole does not sag as you sew. Then sew slowly, following the existing stitch path. A tidy buttonhole keeps the rest of the garment looking sharp and ready for daily use.
18. Fix Seams That Split by Rebuilding the Way Fabric Lies
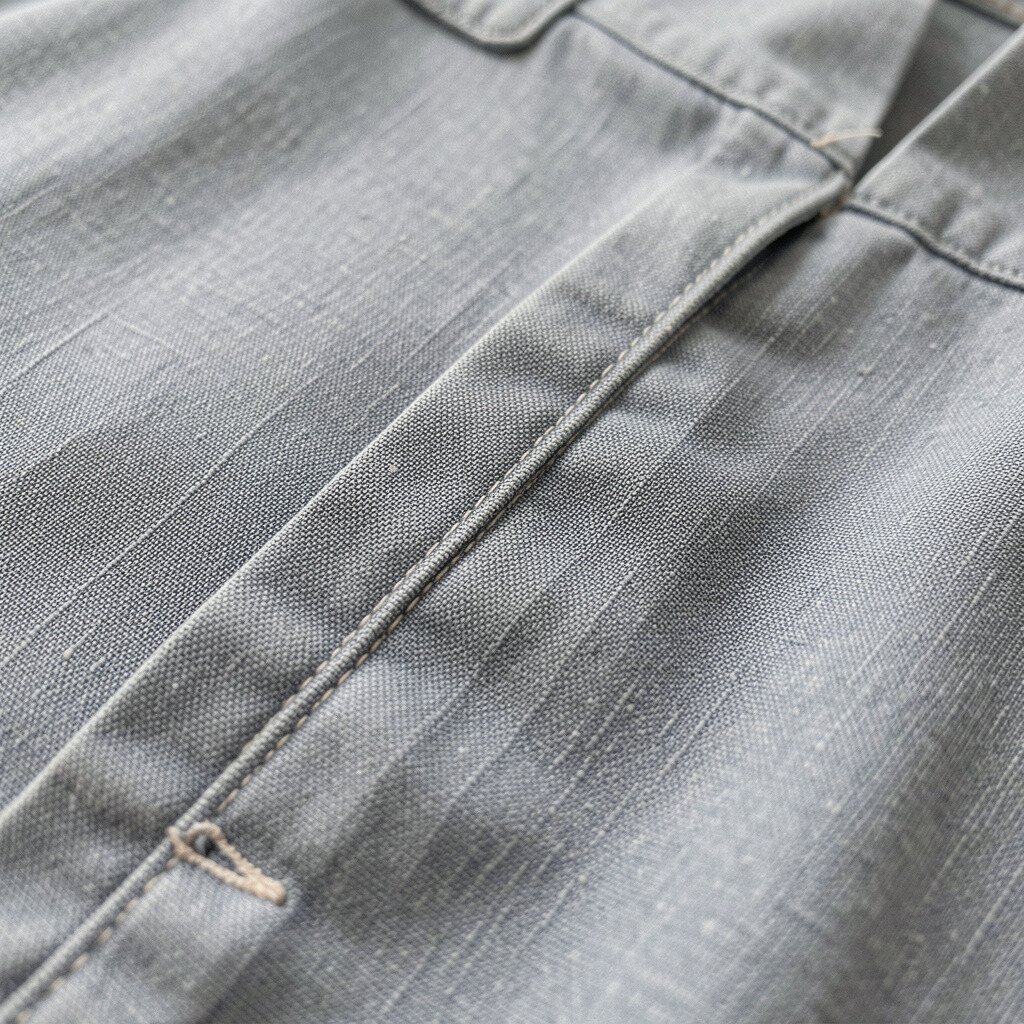
When a seam splits, the fabric may not lie in the same place anymore. Rebuilding the seam means matching the original fold and curve, not just joining edges.
Pin the seam while the garment is flat, then check how it sits when worn. If the seam twists, unpin and adjust before you sew. This prevents the “same seam, new problem” effect.
Consider reinforcing with a narrow inner strip if the fabric is thin. That extra support can reduce repeat failures after regular washing. It is a cost-friendly upgrade compared to replacing an entire garment.
19. The “Less Patch, More Matching” Strategy
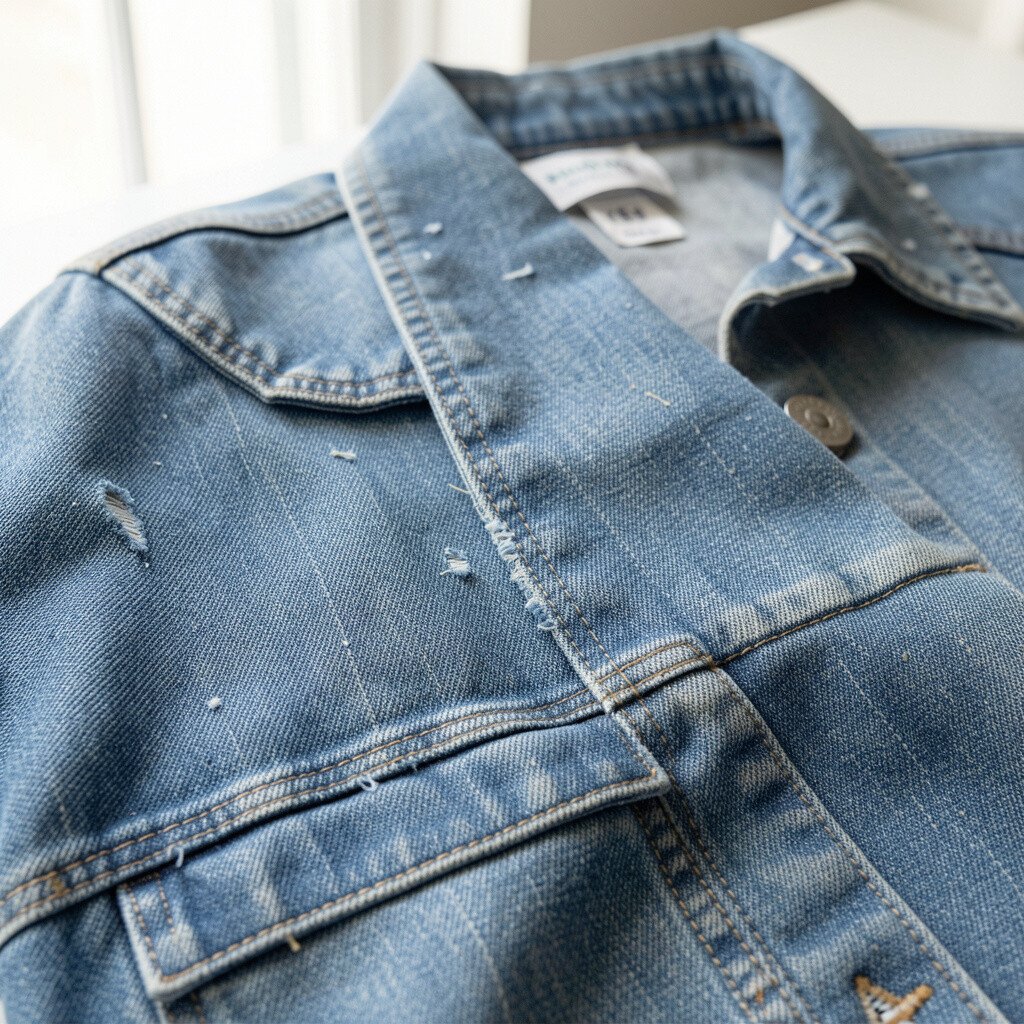
You do not always need a big patch to solve a hole. Smaller repairs that match the weave often look better and keep fabric flexible.
Try removing only the damaged threads and then bridging with careful stitching. This method works especially well on small wear spots on elbows, knees, and hems. You keep comfort because you avoid thick layers where bending happens.
For visible areas, choose a patch fabric that matches the original color even if it slightly differs in pattern. When the border blends, the repair feels intentional instead of disguised. That’s why small choices can feel like designer-level care.
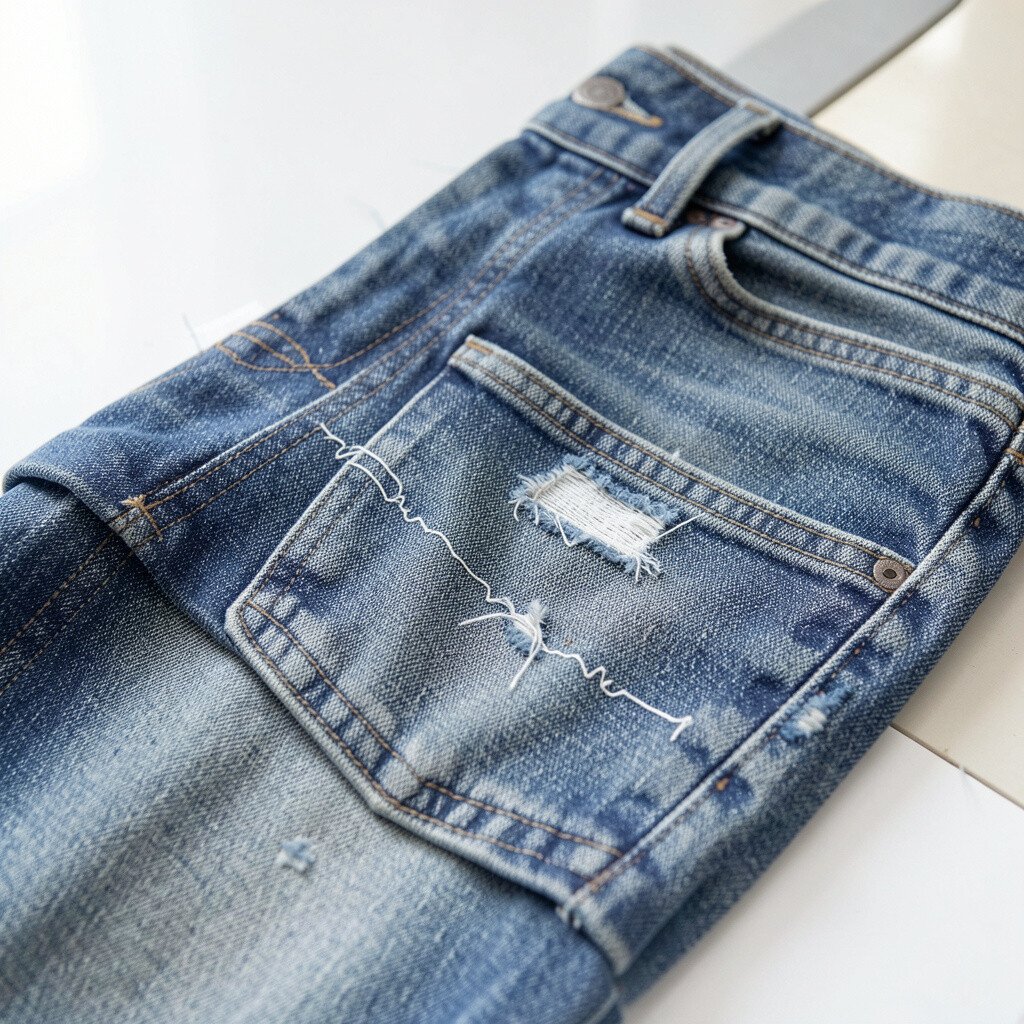
20. Current Trend: Visible Mending Done On Purpose

Visible mending is trending because it turns repair into style. People now like colorful threads, patch shapes, and intentional stitching lines.
If you enjoy that look, use bold thread and contrast so the repair becomes part of the design. Make the stitches even and confident, like a pattern on purpose. This approach also makes future touch-ups easier because you can see where reinforcement is needed.
Choose modern patch shapes like rounded rectangles or curved corners that echo garment lines. Pair the thread color with a bag, shoes, or scarf so it feels coordinated. The end result is unique and fun, and it saves money versus replacing the whole piece.
21. Cost Smart Repairs That Still Feel Luxurious

Repair costs can stay low when you buy what you will actually use. Start with a good set of needles, quality thread, and a few stabilizers instead of random tools.
Repairing a small tear is often cheaper than replacing the garment, especially for coats, work pants, and favorite knits. When you treat repairs like a small project, you also avoid repeated failures that cost time and materials. That feeling of reliability is part of what makes garments feel luxurious after repair.
When budgeting, prioritize areas people notice most, like front panels, cuffs, and closures. For less visible spots, you can use simpler reinforcements that still hold. This keeps you spending wisely while keeping the garment wearable and beautiful.
Finally, personalize repairs with thread colors that match your life, from calm neutrals to bright accents. Your repaired item becomes yours, not a generic fix. And every new repair teaches you skills you can reuse again and again.