Walls can feel instantly more alive when the finish has character. Knockdown texture adds depth, mood, and a forgiving look that hides everyday flaws.
1. Choose the Perfect Base Coat
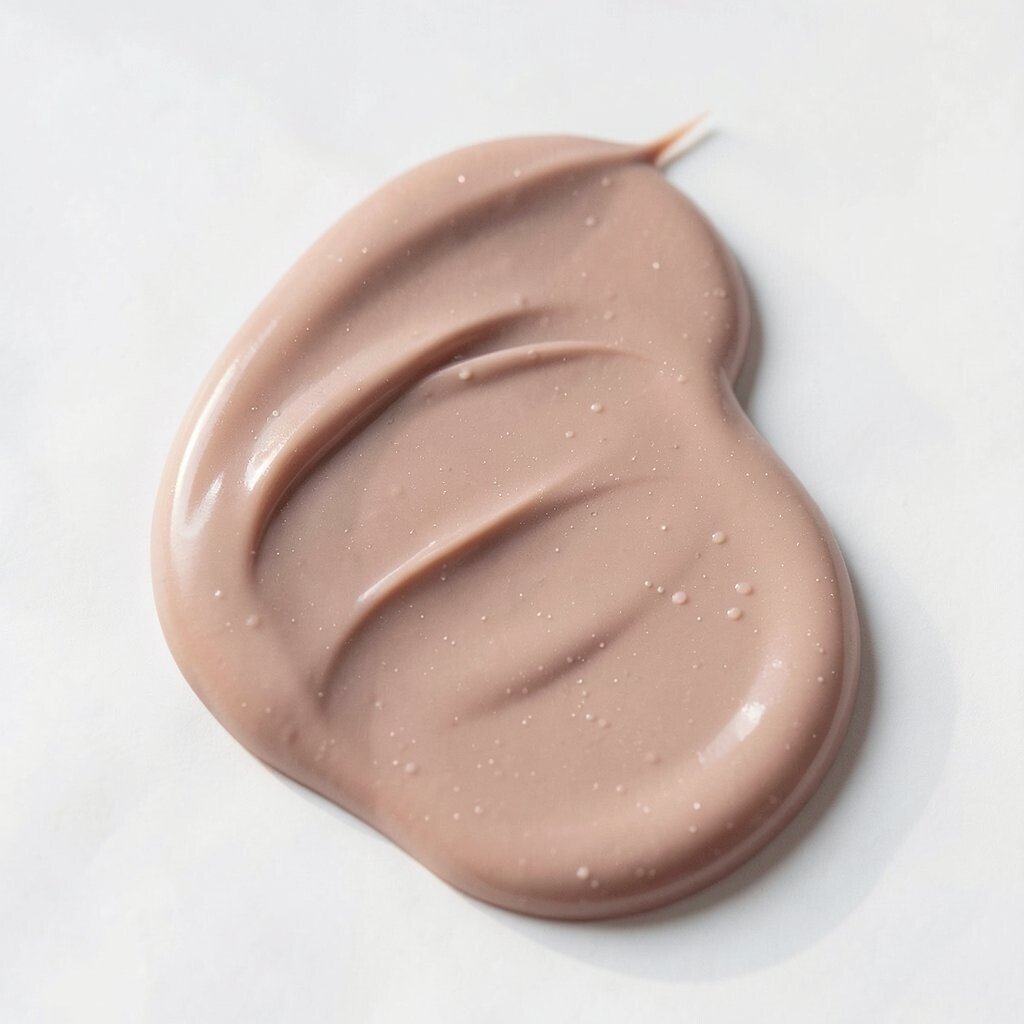
You start with a solid foundation because knockdown texture is only as good as the coat underneath. Pick a base coat that matches your drywall condition so the surface stays smooth under the stamped pattern.
Most people notice how the final look can shift from crisp to soft depending on how even the base is. A well-filled base helps the peaks and valleys land where you expect instead of drifting around.
2. Control Thickness Like a Chef
Texture paste behaves differently at different thicknesses, so treat it like a recipe. Thicker mixes tend to hold stronger ridges, while thinner mixes blend flatter.
For a consistent result, mix slowly, rest briefly, and remix so the texture stays uniform. Use a clean bucket and keep your tools the same so every batch feels predictable.
When you aim for a medium body, the knockdown process can be gentle and still look defined. That balance often gives the best “lived-in” look without feeling too rough.
3. Pick the Right Tools for Your Look
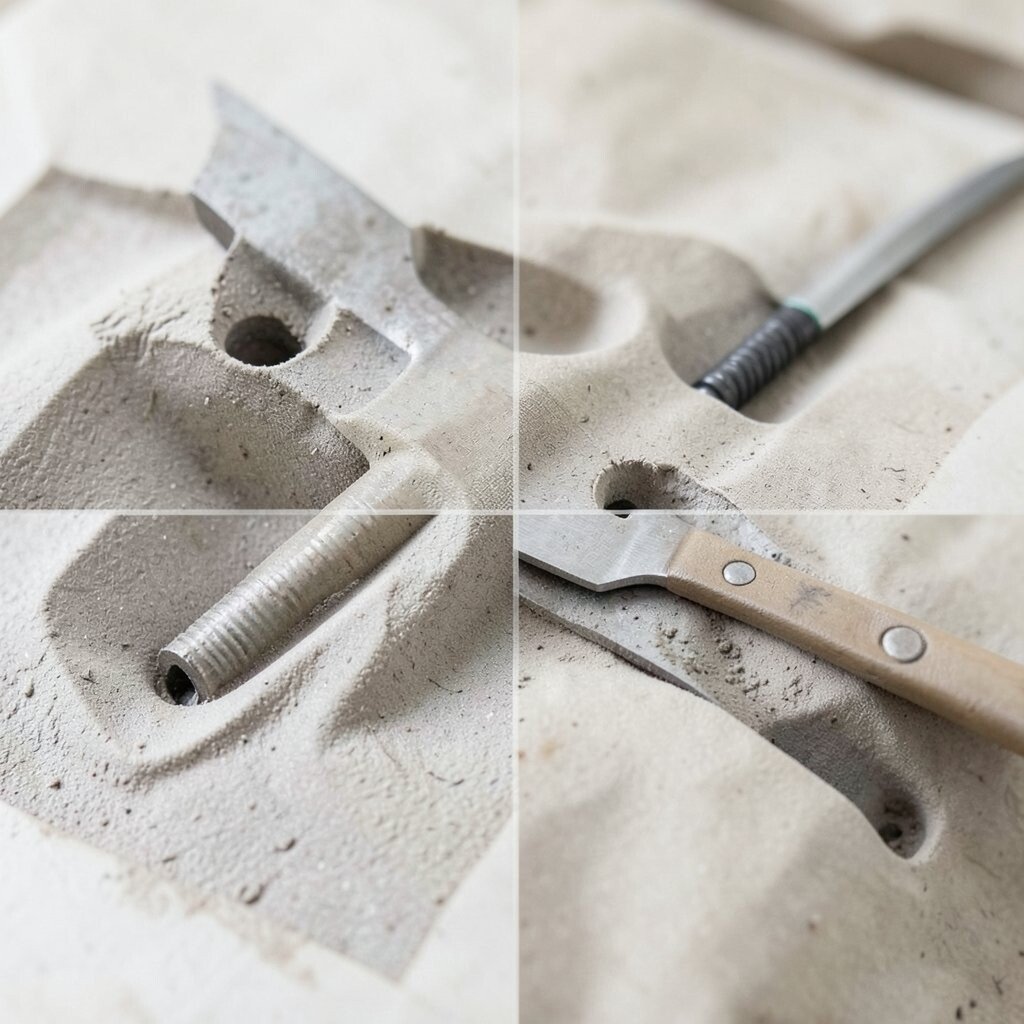
The look changes fast when the application tools change, so choose tools that fit your style. A wide drywall knife creates broad movement, while a narrower knife can add tighter character.
Some people prefer a texture gun for speed, while others enjoy hand application for control. If you want a calmer pattern, keep the strokes steady and avoid overworking the same spot.
Test on a scrap board so you can see how your tools translate into ridges. Once you see the result, you can adjust pressure and spacing without guessing during the real project.
4. Let the Texture Set Before You Knock It Down
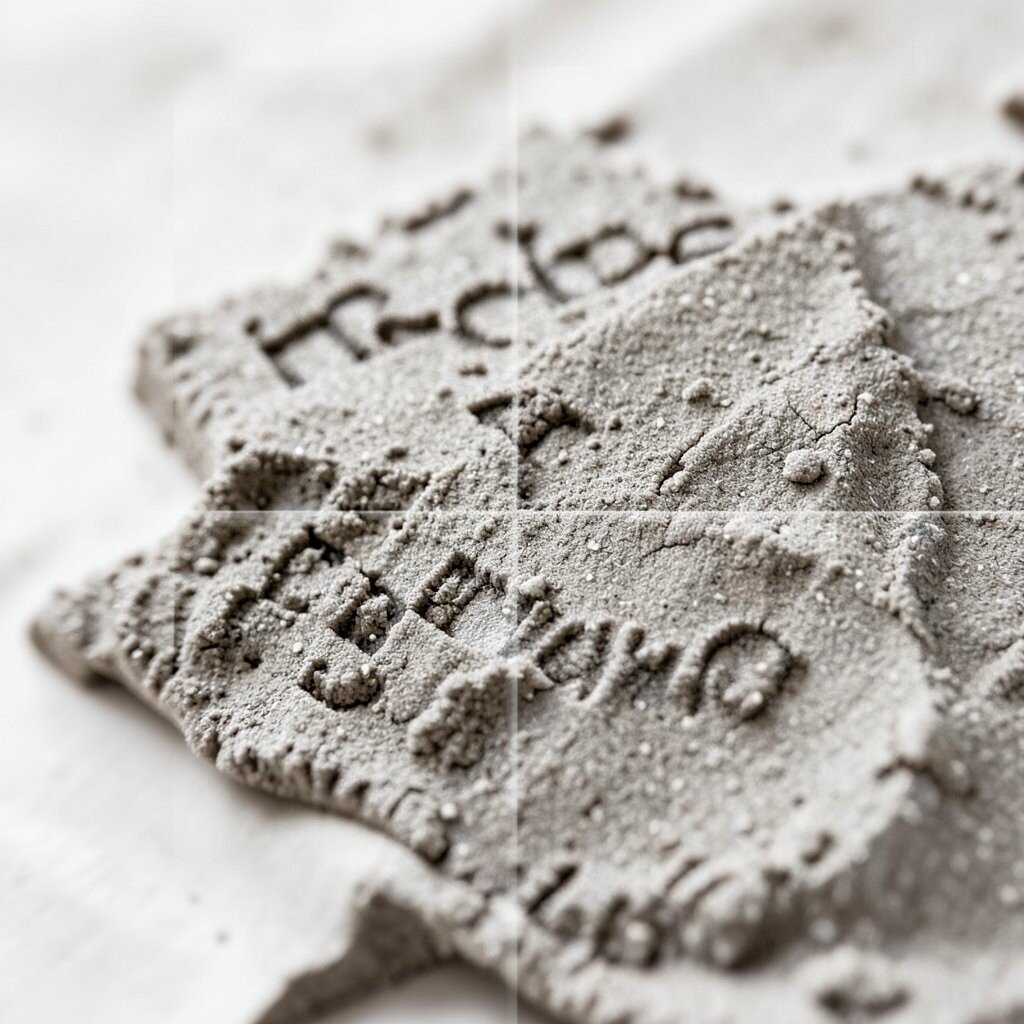
Timing is one of the most important secrets for a clean knockdown finish. If you knock too early, the pattern smears and loses shape, and if you wait too long, it can tear or look dusty.
Watch for a surface that feels tacky but not wet, then try one small area. When the peaks flatten with a light pass, you are in the sweet spot.
5. Use Slight Pressure for That “Soft-Crater” Feel
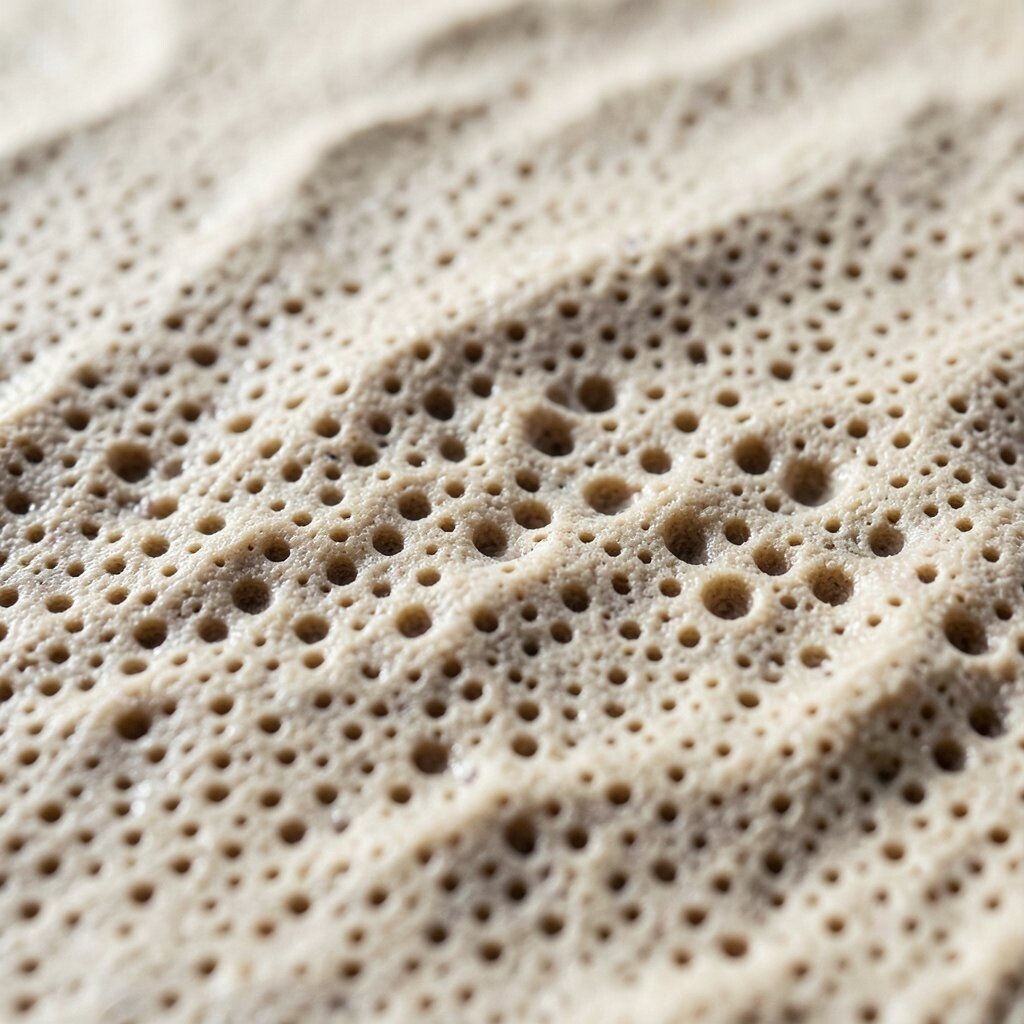
The secret to a pleasing knockdown texture is how you press the blade. Light pressure creates gentle craters and makes the wall look forgiving and warm.
If you press hard, the ridges flatten aggressively and can make the finish feel heavier. That can work in some rooms, but it may overpower small spaces or darker paint colors.
Think about where you want shadows to land when the room is lit. Lighter pressure usually gives better depth without making the walls feel bumpy.
6. Keep Patterns Random, Not Chaotic
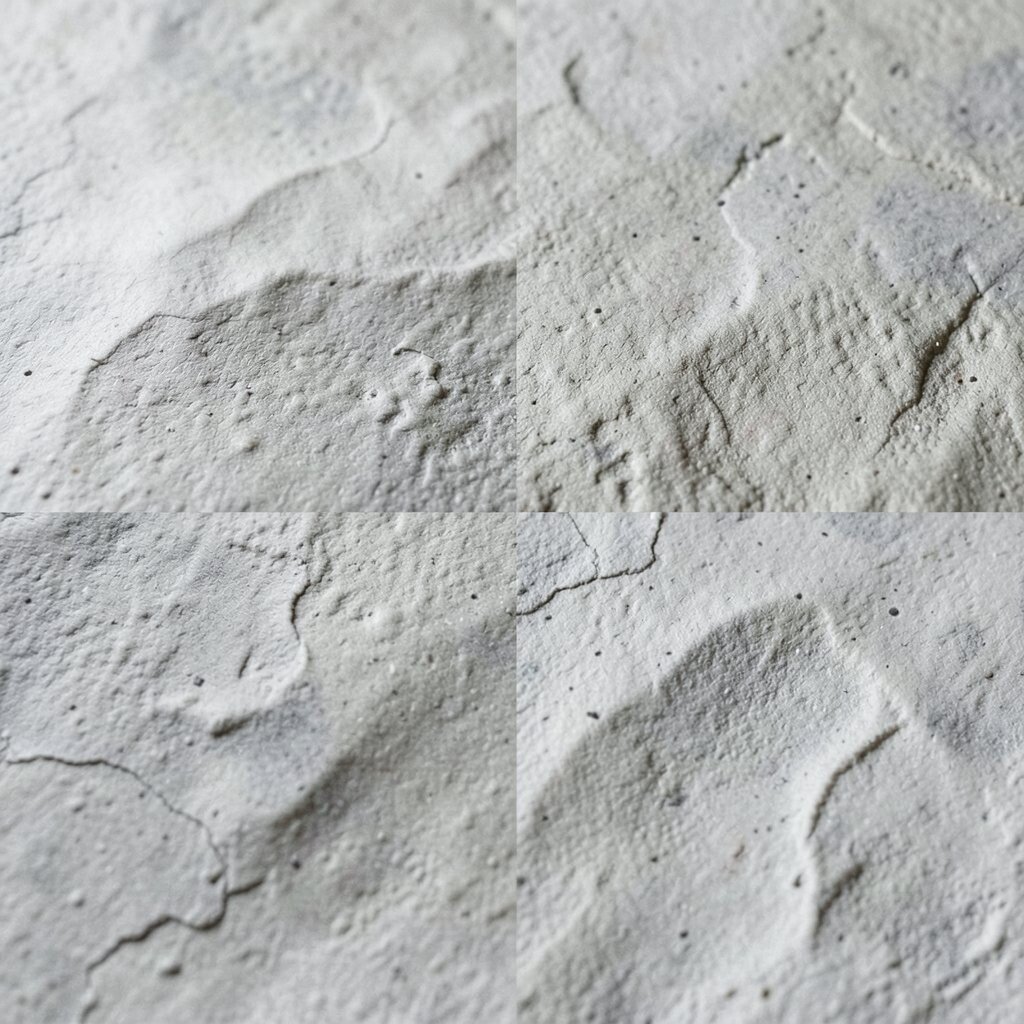
Randomness makes knockdown texture look natural, but too much randomness can look messy. Aim for a pattern that feels varied while still flowing across the wall.
When you apply, overlap lightly and avoid strict rows. A gentle crosshatch feel often looks most believable, especially in rooms that get natural daylight.
7. Plan for Lighting So the Texture Wows
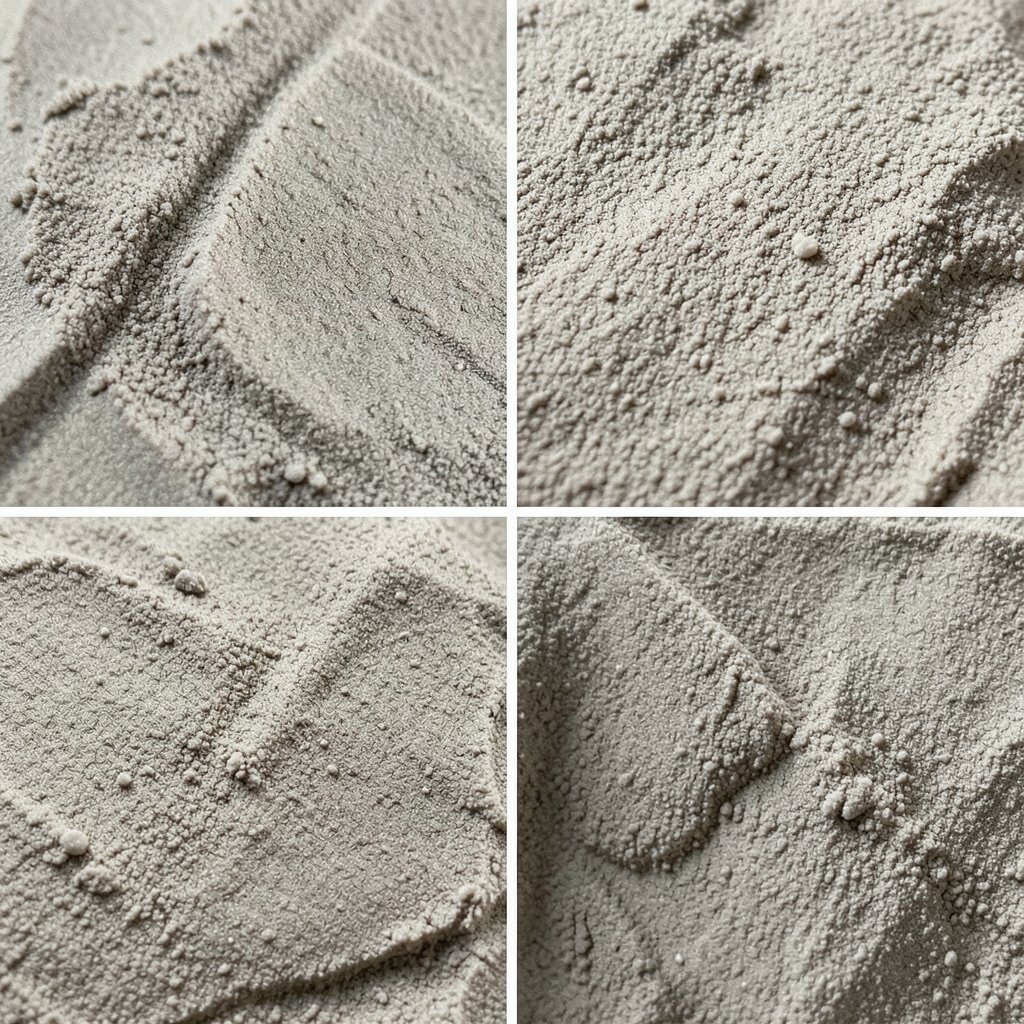
Knockdown texture looks different at night than it does in the afternoon. Strong overhead lights can emphasize peaks, while softer side lighting reveals smoother valleys.
Before you start, stand back and imagine where your lamps will sit. If you know you will use wall sconces or track lighting, you can tailor how defined you want the ridges to be.
People often love this finish because it adds dimension without needing decor. It also makes many walls look more finished even when the room is simple.
8. Prime Strategically to Prevent Uneven Absorption
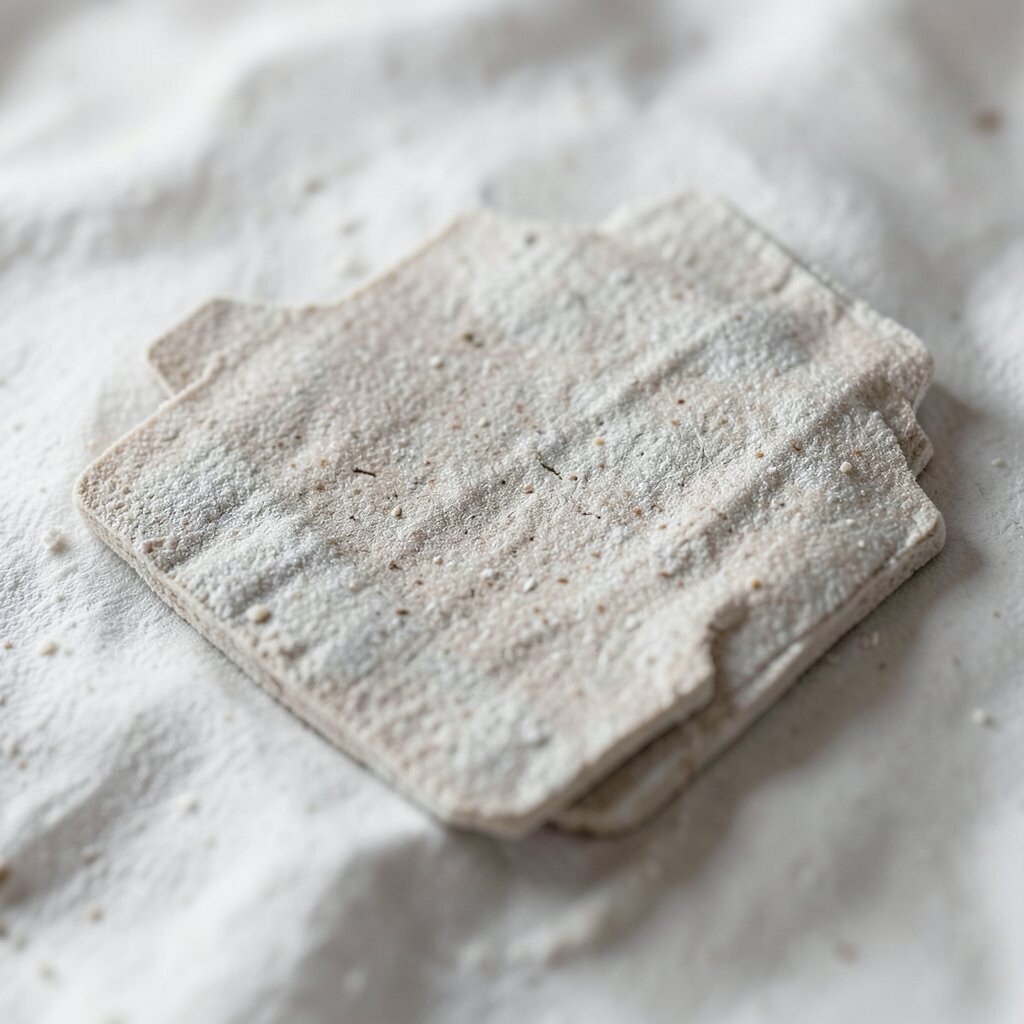
Texture can soak up paint unevenly, especially when the surface has tiny highs and lows. A good primer helps the wall accept color in a steady way.
Use primer that works with your substrate, and consider spot-priming any areas that look thirsty. This small step protects the final paint job and keeps color true.
9. Choose Paint Sheen for the Right Level of Cleanability
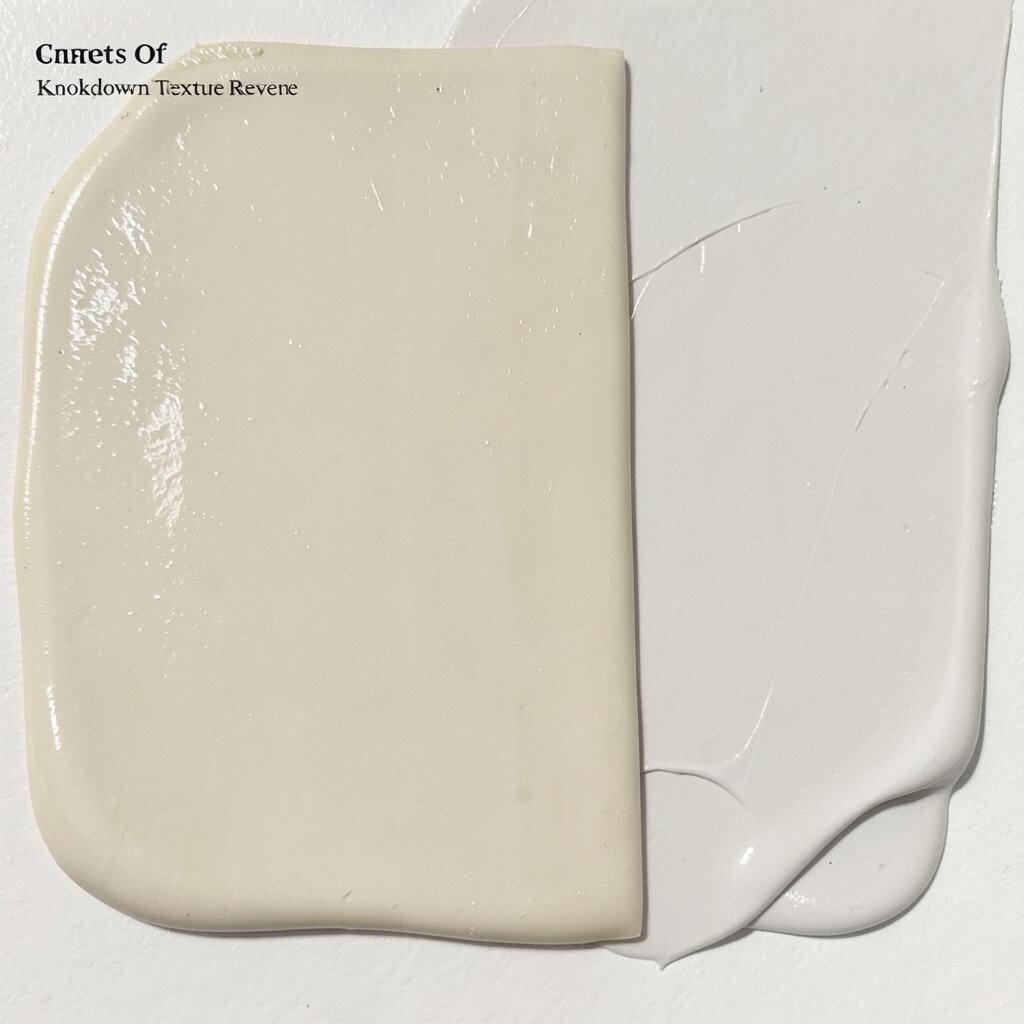
Paint sheen affects how knockdown texture looks and how easy it is to maintain. Flat paint hides imperfections, but it can show scuffs more easily in busy zones.
Satin and eggshell sheens add a subtle glow and tend to wipe clean better. In hallways, kitchens, and entryways, a washable sheen can be a practical upgrade.
If you want a more modern feel, consider a gentle sheen that catches light on the texture. You get the beauty of depth with fewer worries about daily life.
10. Match Knockdown Size to Room Scale
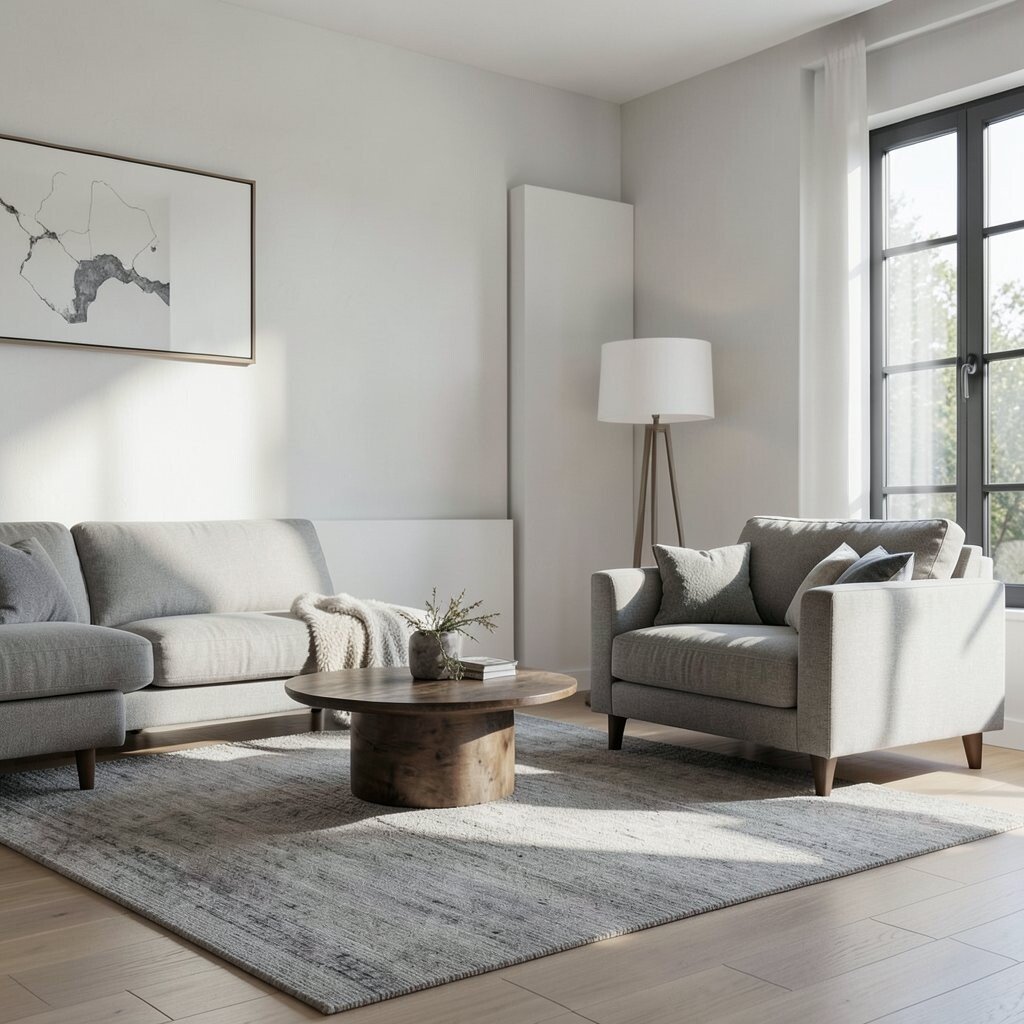
Texture size changes the mood of a room, almost like choosing the scale of a rug. Larger ridges can feel dramatic and bold, while smaller ridges look refined and calm.
In smaller rooms, tight texture often looks balanced and keeps the walls from feeling too loud. In larger open areas, a slightly bigger pattern can add a luxury feel without needing extra decoration.
11. Add a Subtle Color Shift for Extra Depth
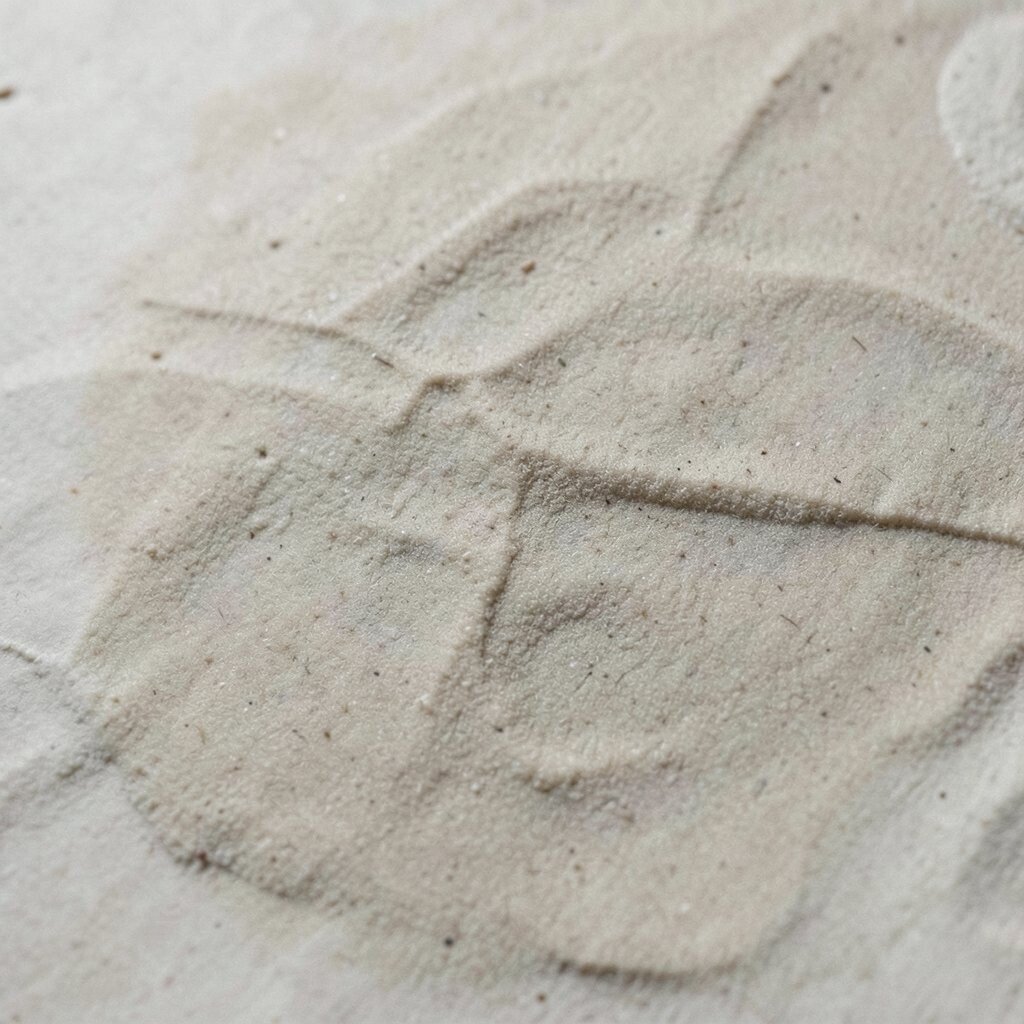
You can make knockdown texture feel more dimensional by playing with color. Many homeowners love a base shade and a lightly varied top color that makes shadows look richer.
Try a technique like tinting the primer a touch darker, then painting over it with your chosen color. The result is a soft, artistic depth that still looks clean and modern.
This kind of personalization can be done without expensive materials. It just takes careful blending and the right patience between coats.
12. Blend Edges Carefully Where Walls Meet
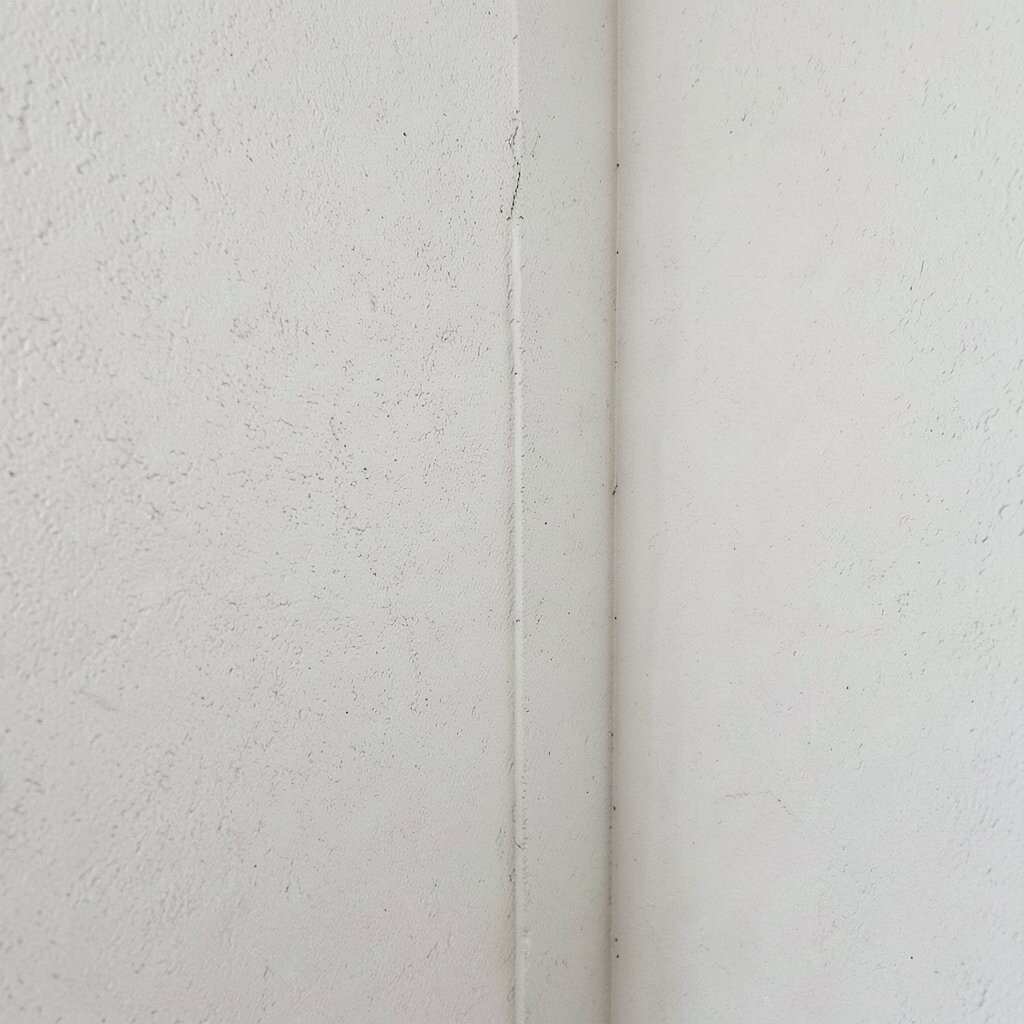
Wall corners and transitions are where texture can look rushed. If you want a professional finish, work the edges with extra attention and keep your strokes consistent.
Knockdown across adjoining surfaces so the pattern feels like it continues. When you stop and start abruptly, the wall can show a visible seam line.
13. Repair Small Cracks with the Texture in Mind
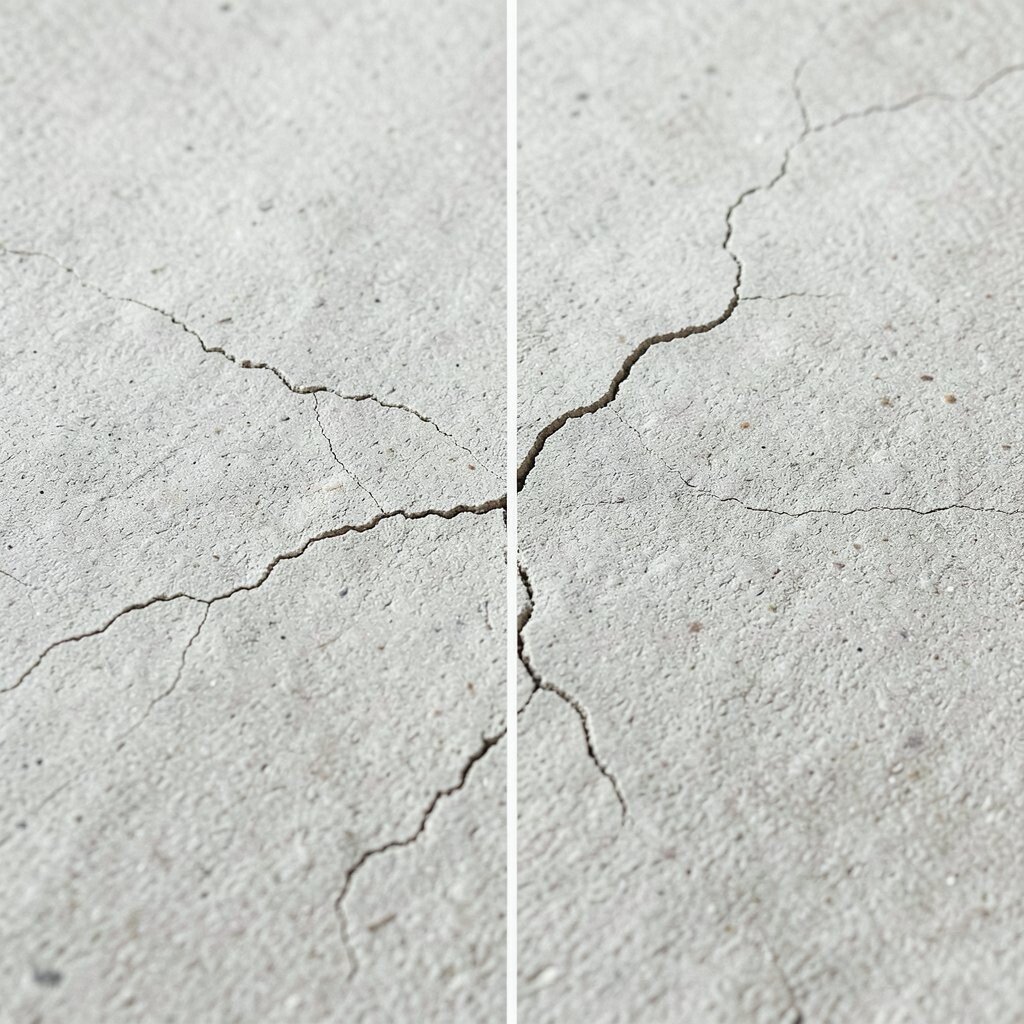
Some cracks happen because of settling, minor movement, or previous patchwork. Knockdown texture can hide tiny issues, but it is still smart to fix major problems first.
After repairs, let patches dry fully and feather them smooth. Then you can match the texture density so the repaired area blends naturally.
14. Use Plastic for Protection and Speed Cleanup
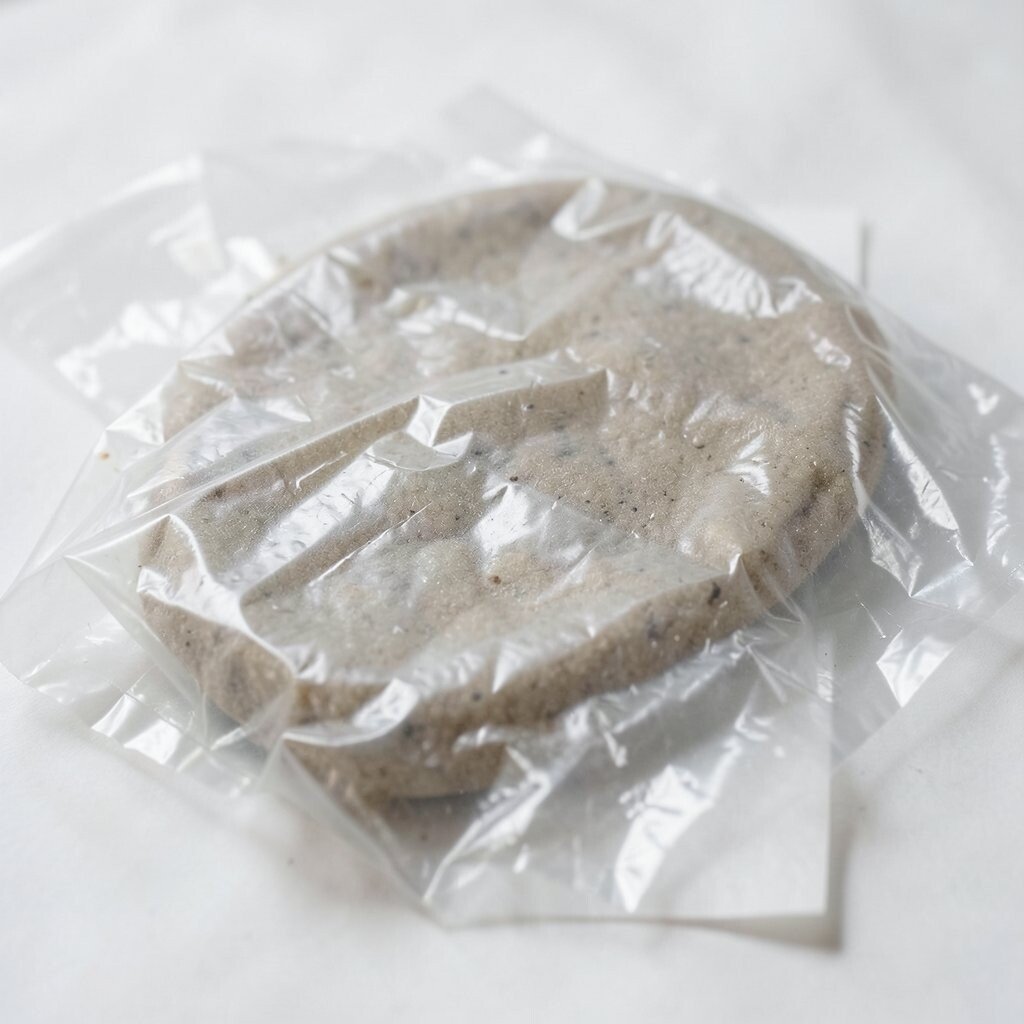
Knockdown texture can get messy, so protect floors and nearby surfaces early. A lightweight plastic drop cloth helps you avoid scratches, splatters, and last-minute frustration.
Tape off trim and cover outlets when needed, then keep a damp cloth nearby for quick cleanup. This keeps your workflow smooth and saves time, especially when you are working alone.
It is also a cost-friendly approach because it reduces wasted paint and fewer rework moments. When cleanup is easier, you are more likely to finish strong.
15. Keep an Eye on Drying Conditions
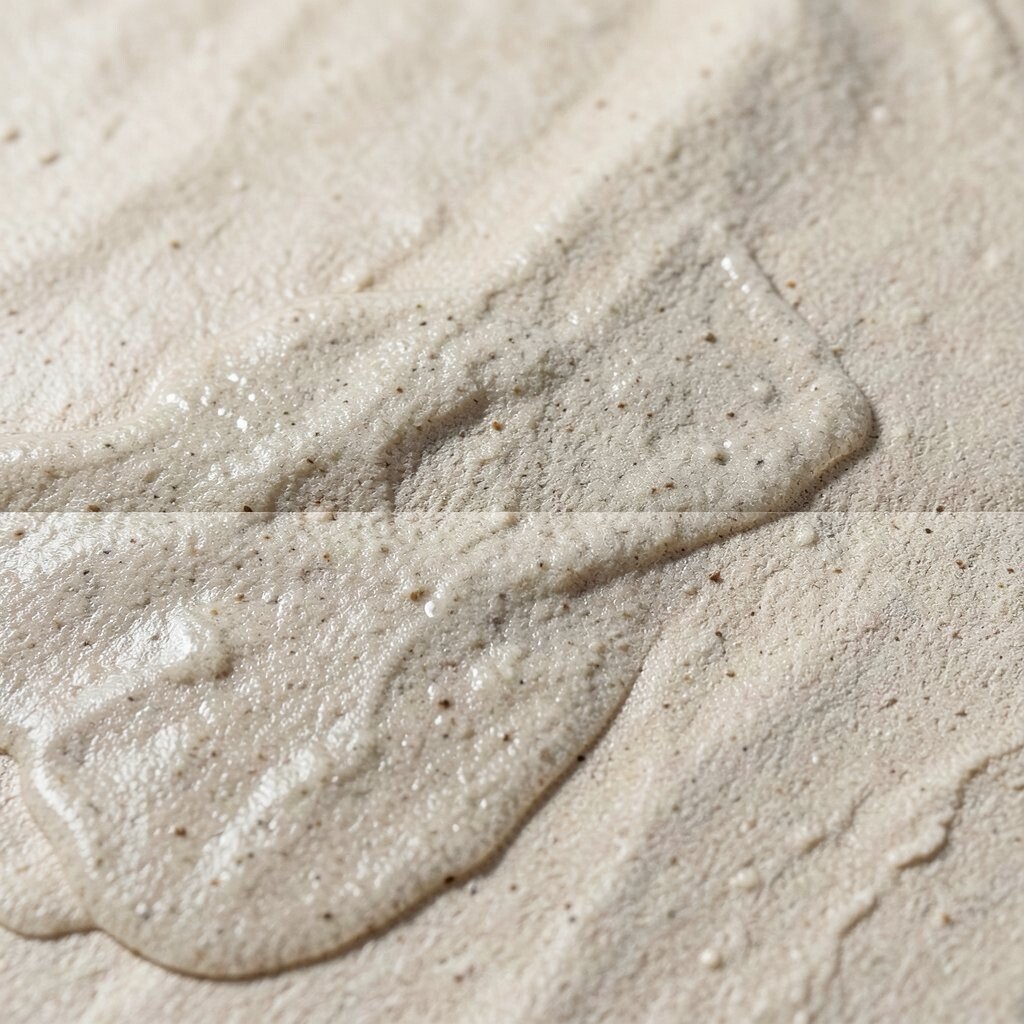
Humidity, airflow, and room temperature can change how long texture takes to set. If the air is too dry, you may find your working time shrinks quickly.
Use fans for gentle air movement, but avoid blasting a single spot. Consistent conditions help you knock down the texture at the right moment over the whole wall.
16. Create Accent Panels with Knockdown Texture

You do not have to texture every wall to get the look. Many people love using knockdown texture on one feature wall or inside a built-in section for a stylish focal point.
By keeping the texture limited, you reduce product use and labor costs while still getting a statement look. It also makes it easier to match finishes if you plan to rework later.
Pair the textured panel with clean paint colors and simple decor so the wall stays the star. This personalization can feel bold without overwhelming the room.
17. Match the Finish to the Room’s Style
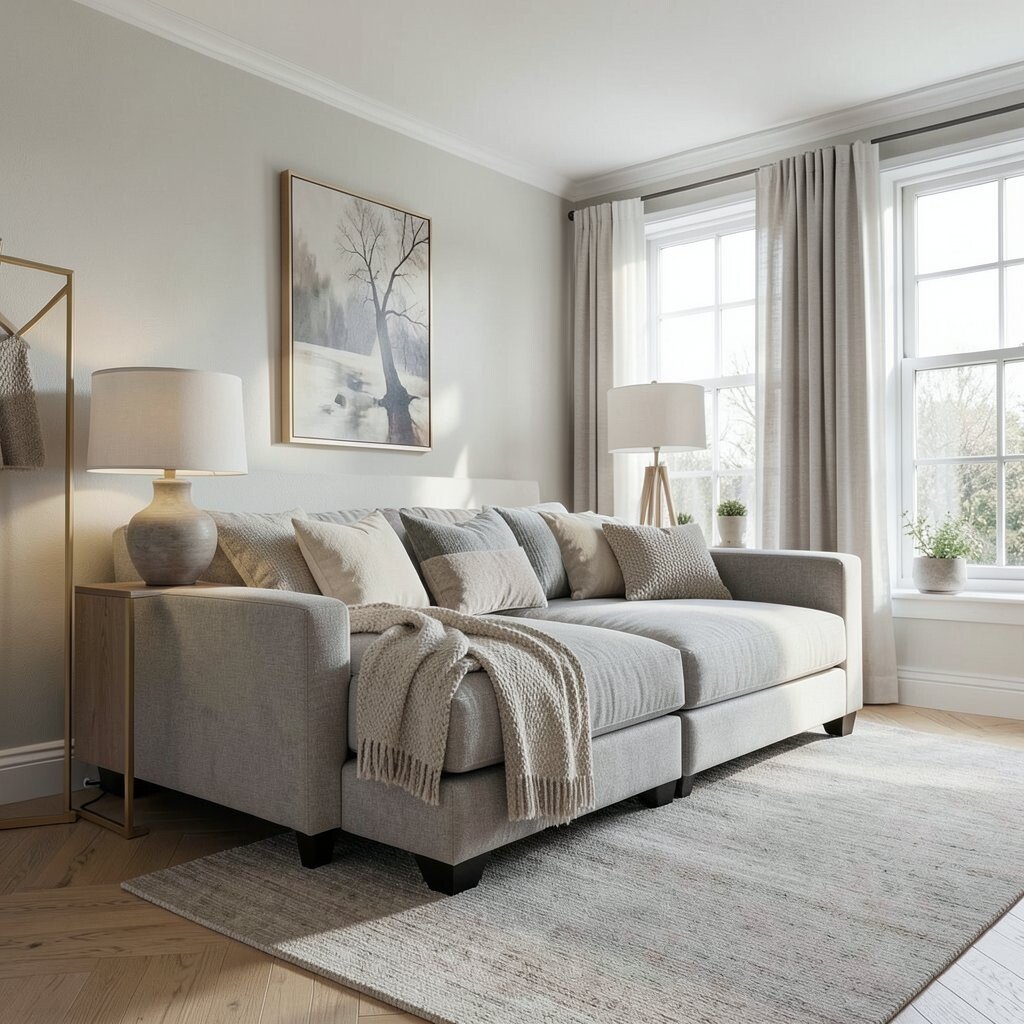
Knockdown texture fits lots of styles, but the pattern density changes the vibe. A smoother knockdown feels more modern, while a more pronounced finish can look rustic and cozy.
If your home leans farmhouse or industrial, a slightly stronger pattern can complement exposed materials. For a contemporary look, keep ridges subtle and paint in crisp tones.
18. Plan Your Workflow to Avoid Harsh Lines
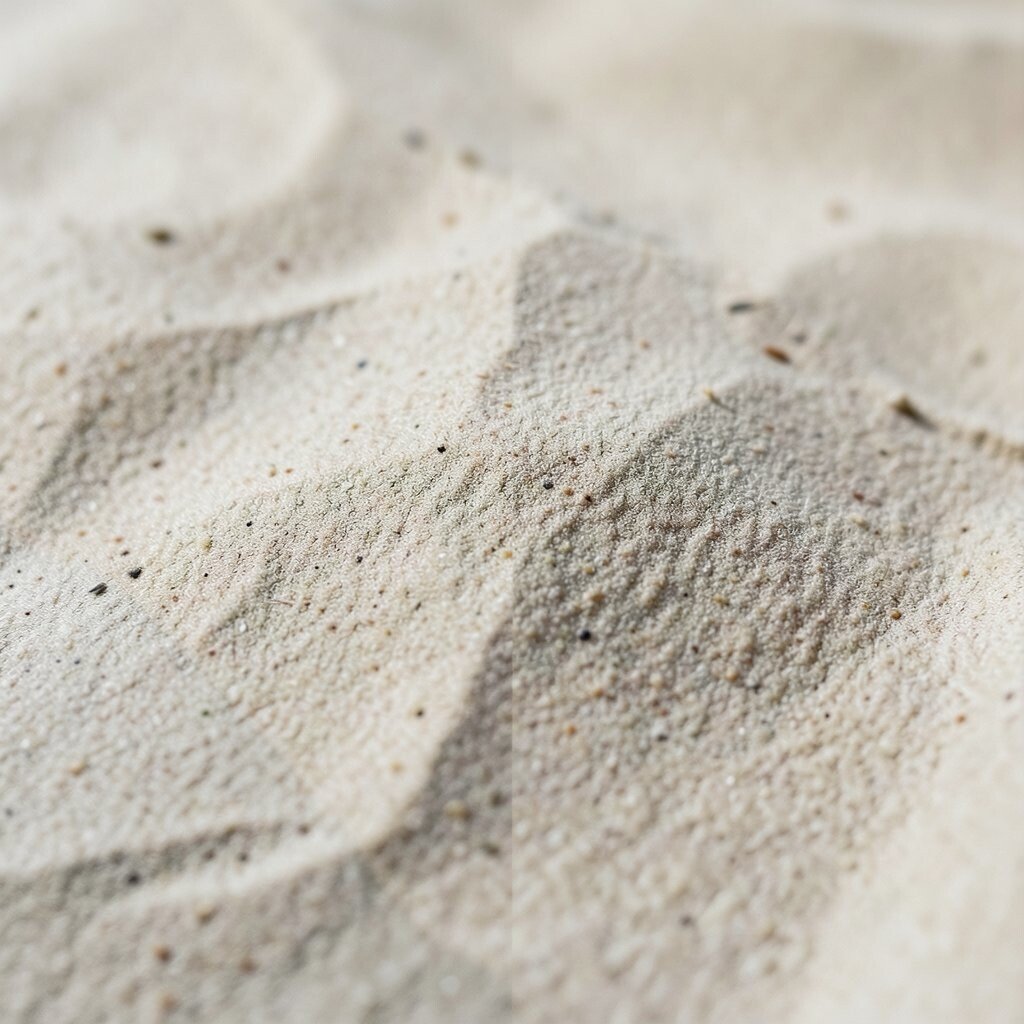
Texture loves continuity, so plan how you will move across the wall. Work in manageable sections and keep wet edges so the finish blends naturally.
When you stop too long, you can end up with visible boundaries where the next section starts. Many homeowners prevent this by scheduling their work and setting up everything before mixing.
A smooth workflow also protects your sanity because you spend less time sanding and fixing. That practical benefit can make the whole project feel more affordable in the long run.
19. Sand Lightly Only When Needed
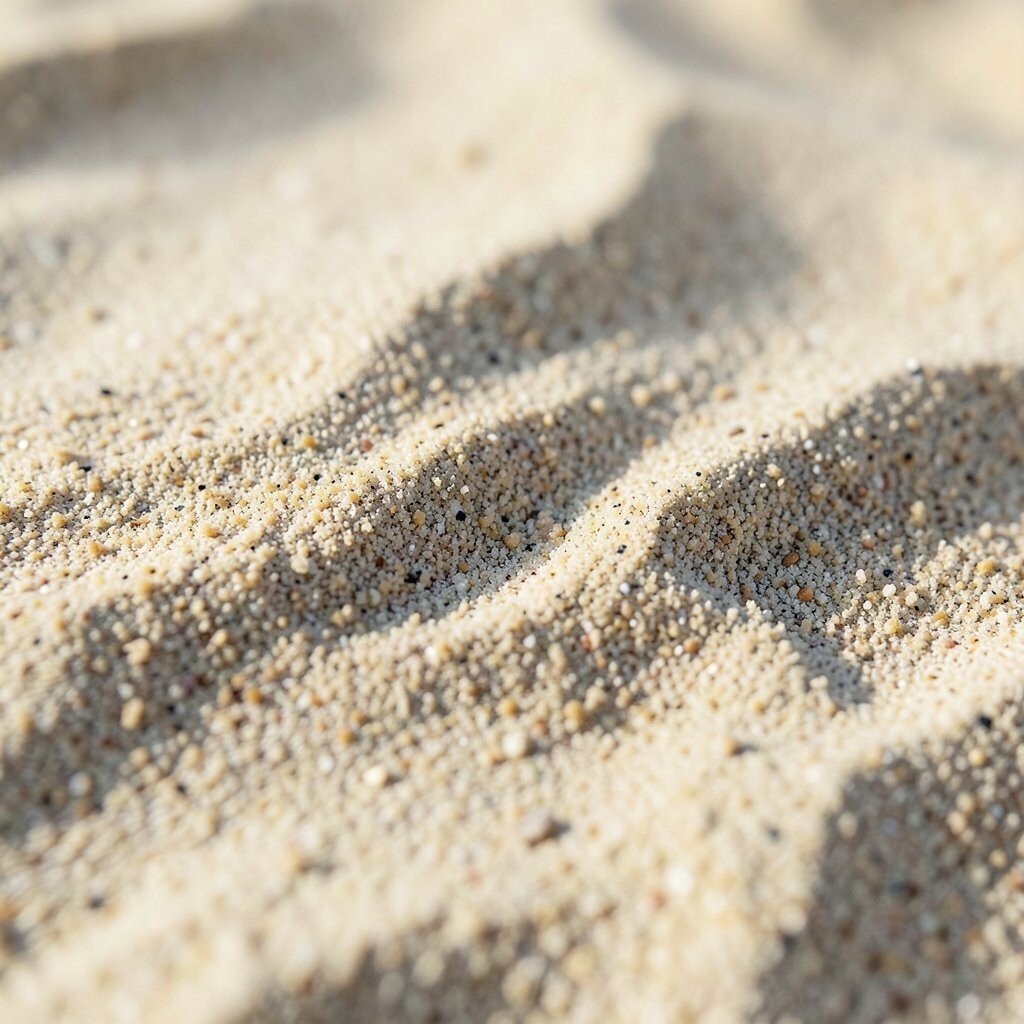
Some knockdown walls require minimal sanding, while others need light correction. After the finish is fully cured, check it under side light to see any rough highs.
Use a gentle sanding approach and vacuum the dust before priming or painting. Over-sanding can flatten the character you worked hard to create.
20. Personalize with Decorative Tools and Layering
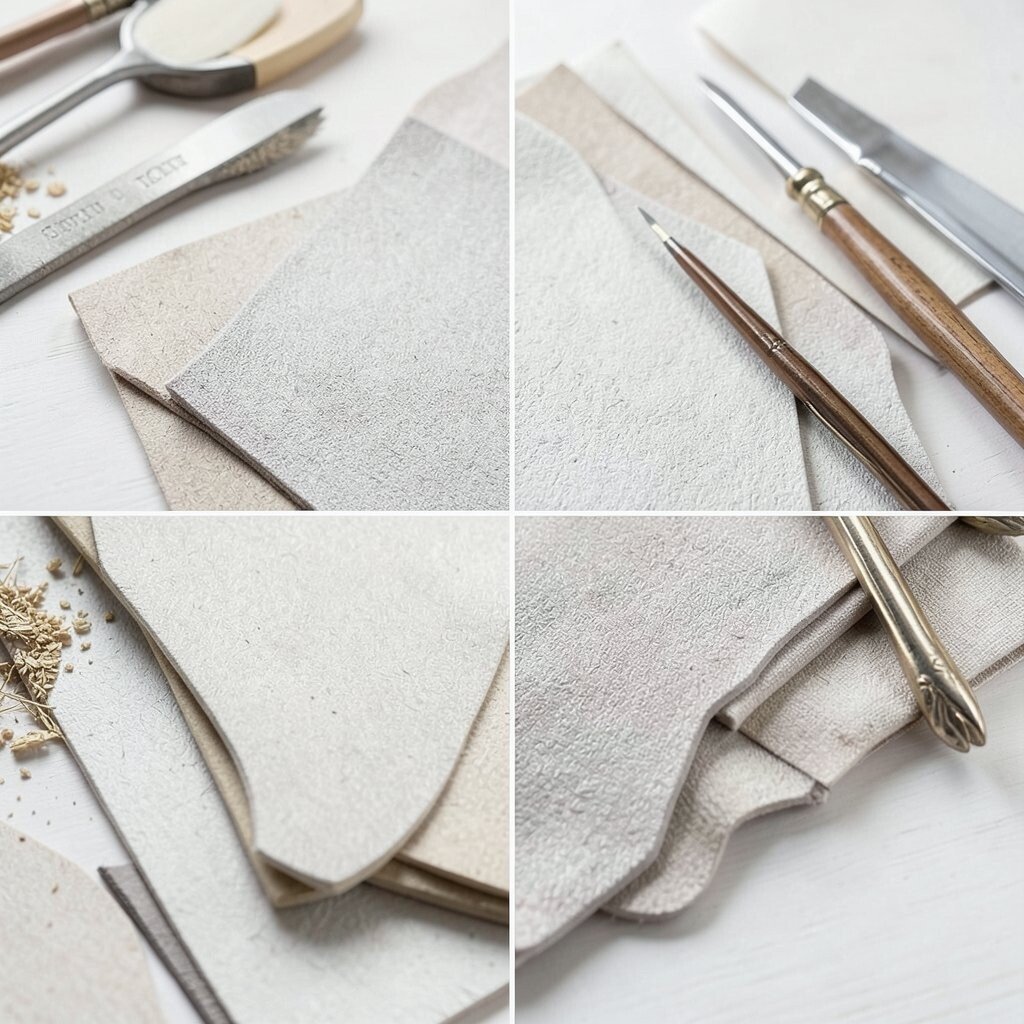
Once you understand the basics, you can personalize knockdown texture in creative ways. Some people use sponges, stamps, or special knives to add a faint variation without turning the wall into a busy mural.
You can also layer finishes by adding a second, lighter pass in select areas for added depth. This creates a more handcrafted look that feels unique to your home.
Choose changes that match your budget, because small tweaks usually cost far less than full rework. When done thoughtfully, your walls look custom and still stay practical for everyday living.