The light in your studio can change how every painting feels. With the right setup, your space can stay airy, calm, and ready for big ideas.
From layout to window choices, these ideas help you make room for easels, supplies, and comfortable long sessions.
1. North-Facing Window Wall With Adjustable Blinds
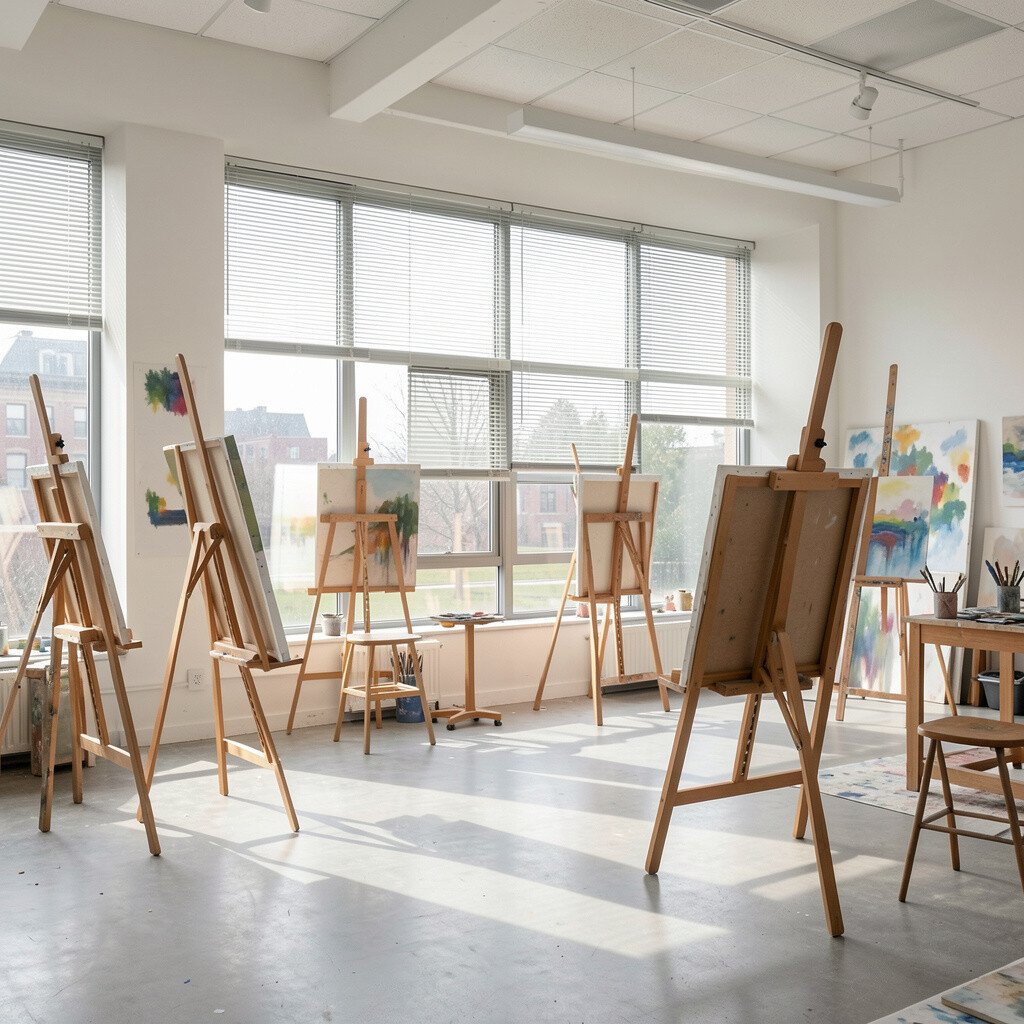
Imagine stepping into a studio where the light stays steady all day, like a soft wash across your canvas. A north-facing window wall helps avoid harsh glare, so color mixing feels more accurate.
Set up your main easel along that wall and keep a clear path for walking behind it. Add adjustable blinds or sheer curtains so you can fine-tune the brightness when clouds roll in. Choosing low-cost diffusers can help the light feel even without blocking it completely.
2. L-Shaped Layout That Keeps Every Easel Moving Freely

An L-shaped studio plan gives you more “elbow room” than a simple rectangle. You get one zone for easels and another zone for drying racks, reference boards, and storage.
Position each easel so you can rotate your body without bumping into shelves. This makes longer sessions easier because you are not constantly stepping around clutter. To keep it practical, measure your widest canvas before buying new furniture, then build pathways that match your working style.
For uniqueness, paint just one inner corner a deep color like warm charcoal, which makes bright paintings pop. If you want a trend feel, consider a large pinboard or cork wall for instant mood boards, since mixed-media artists love quick reference setups. Even with a modest budget, using matte paint and repurposed shelving can create a polished studio look.
3. Tall Ceiling With Skylights Over a Dedicated Painting Island

When skylights sit above your painting island, the whole room feels taller and brighter. That top-down light makes brushwork look crisp and helps you spot edges that need blending.
Place a sturdy table near the center for palettes, jars, and small tools, then set two easels on opposite sides. This arrangement reduces back-and-forth trips and keeps your supplies close. Keep a drop cloth storage hook nearby so cleanup is quick after each session.
If skylights are too expensive, use a combination of large upper windows and reflective surfaces, like light-colored walls. A current trend is “studio zoning” with clear work islands, so your room stays tidy even when creativity gets messy. Personalize by adding a simple ceiling track system for hanging lamps that match the daylight when evening arrives.
4. Sun-Tracking Floor Mirrors to Fill the Corners
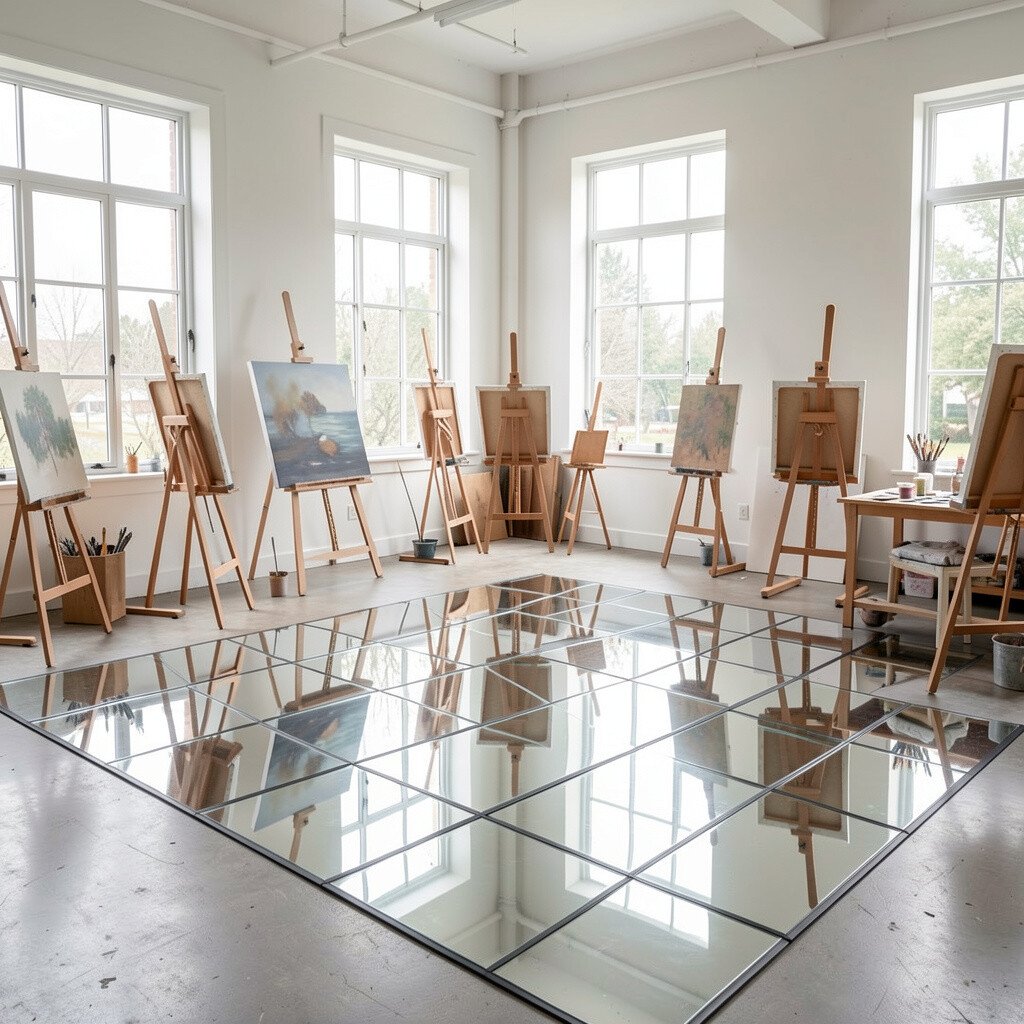
Sometimes the brightest place is not the place you actually stand, and that is okay. A large floor mirror can bounce light into corners so your working area feels more balanced.
Place mirrors across from windows at an angle so they catch the light and spread it around the room. You can also use slim, vertical mirrors beside storage units to reduce dark gaps where dust hides. This approach costs less than major window work and still delivers a big visual upgrade.
5. Removable Easel Zones With Roll-Out Storage Carts
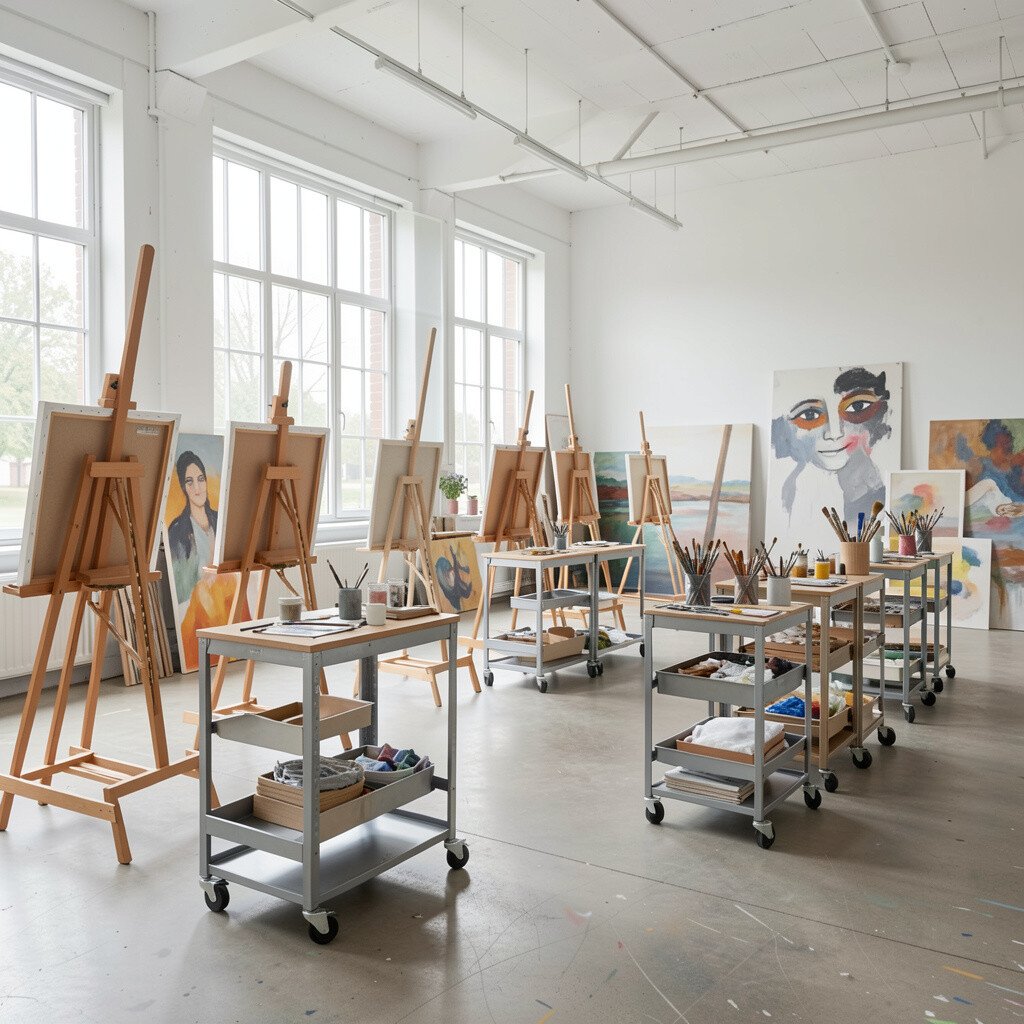
A studio can feel spacious even when you have lots of supplies if the tools roll out when needed. Roll-out storage carts create an organized rhythm while keeping the main floor open for large canvases.
Use carts for paint tubes, mediums, cloths, and brushes, then pull them to your easel when you paint. Afterward, roll them back so the room looks calm again. Choose caster wheels with locks so carts stay steady while you mix colors and clean up.
To keep uniqueness, label your carts with simple painted labels or small tags, and coordinate colors with your wall palette. Many artists now prefer flexible storage because their projects change often, especially when switching between oil, acrylic, and mixed media. Budget-wise, you can start with one cart and add more over time as your materials grow.
6. Natural-Light Reading Nook for Reference and Rest

Great studios support more than painting, because you also need time for quiet looking. A small reading nook near the window helps you study photos, books, and color references in comfortable light.
Set a bench or small chair by a window and add a side table where you can keep sketchbooks and a simple lamp. When you take breaks, you refresh your eyes and come back to your easel with clearer choices. Soft cushions and warm textiles can also make the room feel inviting, not clinical.
Personalize this corner with a single gallery shelf that holds your favorite prints or small frames. A trend you will see in studios is “slow creativity,” where artists create spaces for both making and thinking. Even on a smaller budget, you can reuse a thrifted chair and add fresh paint or slipcovers for a clean look.
7. Whiteboard and Drawings Wall Behind the Seating Area
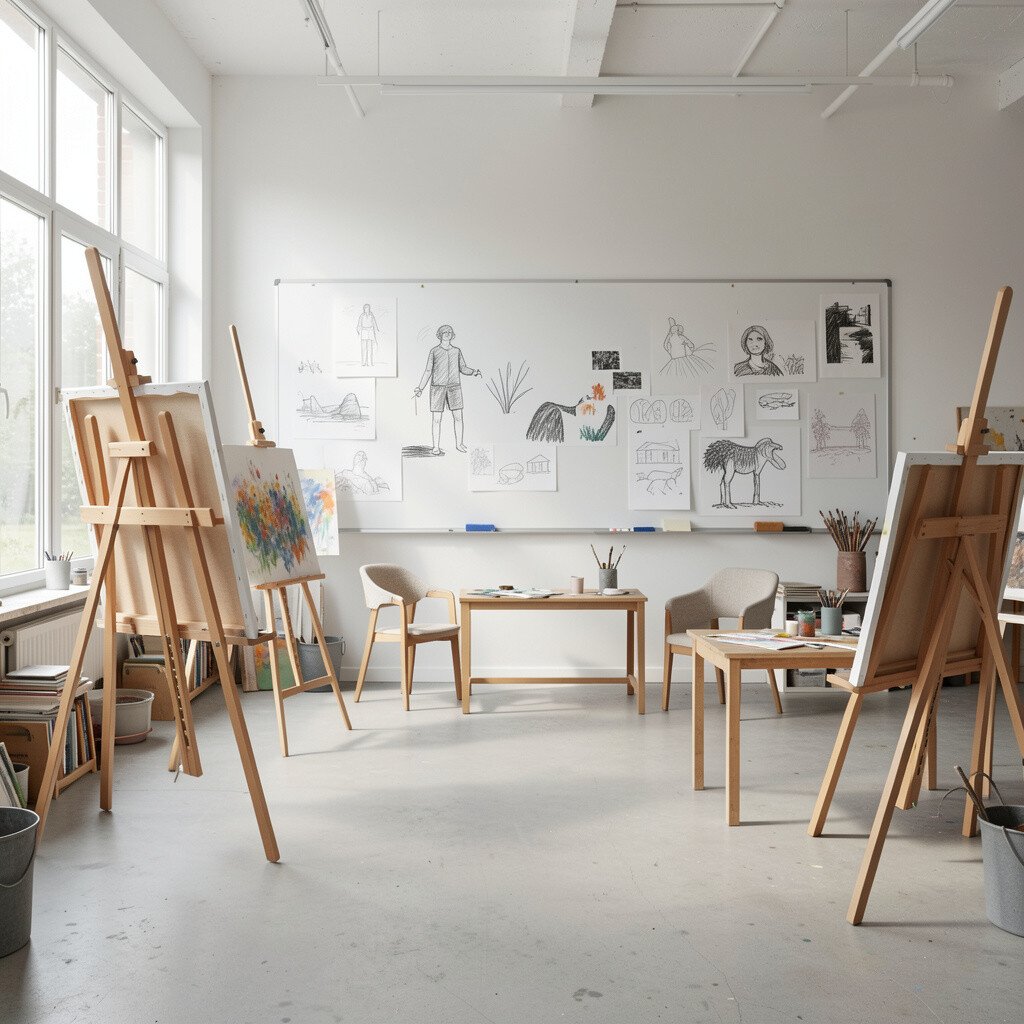
If you keep reference notes out in the open, you waste less time hunting for ideas. A whiteboard or cork wall behind your seating area turns the studio into a living planning space.
Use it to test color combinations, sketch layouts, or tape quick thumbnails while you plan the next canvas. This is especially helpful when you rotate through multiple projects and need a clear memory of where you left off. Keep a marker holder within reach so you can jot ideas right after inspiration hits.
8. Wide Worktable With One-Side Sink and Easy Cleanup Flow

A spacious studio still needs smart cleanup, and the right sink setup can make all the difference. If possible, place a sink on one side of a wide worktable so mixing and rinsing stay close.
Design the workflow so you mix near the table, rinse at the sink, and dry brushes on a rack that sits just beyond. This reduces spills and keeps water from traveling across your floor. Choose a durable countertop, since stains happen even when you try your best.
For cost considerations, basic stainless fixtures and a simple drain tray can be enough for a functional setup. Oils and acrylics both benefit from an organized rinse station, and it helps your space feel calmer between sessions. Personalize by storing drying labels or jar sizes in a neatly arranged organizer so your system feels yours.
9. Two-Window Cross Lighting for Better Shadow Control

Cross lighting helps you see shadows more clearly, and shadows are where realism comes alive. When two windows face different directions, you can judge depth without guesswork.
Try positioning one easel between the light sources so you get highlights from one side and shaping from the other. If you paint portraiture or still life, that extra shadow clarity can speed up your progress. Keep sheer curtains handy so you can soften both light beams on bright days.
Uniqueness can come from placing a long, slim shelf under one window for small plants or stone samples you use for shading studies. A current trend is using natural objects as “living references,” and window-adjacent shelves feel perfect for it. Budget-friendly plants and a few curated items can make the space look intentional without spending much.
10. Corner Easel With Protective Wall Padding and Clear Backing

Some corners are made for art, especially when you want your easel tucked into a calm spot. Adding protective wall padding keeps the area safe from accidental knocks and splashes.
Place the easel so the canvas faces the room, then use a clear backing panel or removable board behind it. That helps protect the wall while also giving you a stable surface for notes or pinned sketches. If you use heavier canvases, sturdy padding and a firm base will improve stability.
For practical tips, keep a small broom and cloth station nearby so paint dust does not travel. Personalize by adding a simple color strip on the padding, which ties the corner into the rest of your decor. Cost-wise, foam padding and a sheet of scrap paneling can be a smart alternative to expensive wall renovations.
11. Light-Colored Floors and Reflective Surfaces for Airy Color

Your floor choice affects how bright your studio feels, even if your windows are small. Light-colored floors bounce more daylight, making the whole room feel open and friendly.
Use washable finishes like sealed wood, vinyl, or easy-clean tiles so spills do not stress you out. Reflective surfaces also help, so consider a light wall color and a glossy trim in small doses. This helps your paintings look more vivid without turning the room into a glare-filled space.
12. Curtain Rail That Turns the Room Into a Studio Stage
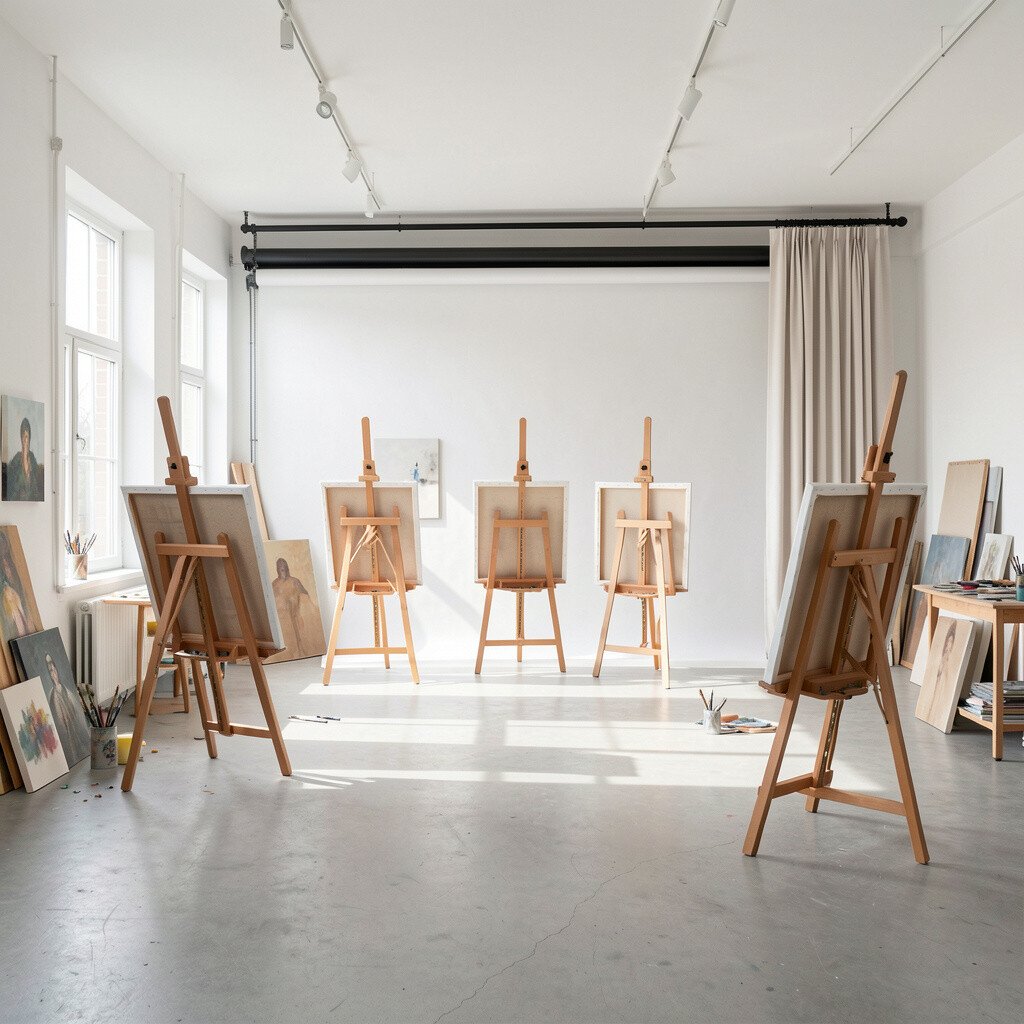
Sometimes you want full brightness, and other times you want softer focus while you paint. A curtain rail system gives you quick control over how the room feels.
Hang sheer curtains for diffusion and heavier panels for blocking when the sun gets too intense. This setup is useful for photographers too, since you can adjust light for documenting work. Choose rails that move smoothly so you can adjust them with one hand while carrying brushes.
Uniqueness shows up when you select fabric colors that match your style, like warm linen or cool gray. Current trends often feature flexible “stage lighting” thinking in studios, where artists shape natural light like a spotlight. Cost considerations are important, so start with one window panel and add more when you can.
13. Modular Wall Shelving for Supplies at Eye Level

Nothing kills studio flow like bending down every time you need a brush. Modular shelving brings supplies to eye level, so you can keep painting with fewer interruptions.
Keep lightweight jars, brushes, and reference books on shelves near your main easel. Store heavier items lower to the ground, and keep paint mediums in sealed containers to avoid messy surprises. This layout helps your studio stay safe and tidy.
For personalization, match shelf colors to your favorite paint tones or add small plant pots that look like part of the palette. A modern trend is “horizontal workstations,” where shelves and surfaces create a continuous station around the room. If budget is tight, use simple brackets and adjust height as your needs change.
14. Family-Friendly Floor Layout With Clear Walking Paths

Spacious studios work best when the space is easy for everyone who visits. Clear walking paths make your studio feel safe, and safety makes creativity feel relaxed.
Arrange easels so you can pass behind them comfortably, and keep storage units tucked along walls. If you have pets or kids, use closed cabinets for paints and keep solvent supplies out of reach. A tidy floor also makes it easier to move large canvases without scraping corners.
Uniqueness comes from adding a small “artist landing zone,” like a basket for tote bags and a shoe mat near the door. That simple habit keeps clutter from spreading and keeps the studio feeling intentional. Cost-wise, baskets, bins, and a mat are usually affordable ways to set clear order.
15. Steam-Bent Pegboards for Tools and Hanging Paper Rolls

Pegboards feel creative because they turn tools into part of your studio design. When you hang your brushes, palette knives, and paper rolls, the room becomes practical and stylish at once.
Mount a pegboard near your primary easel so you can reach tools without leaving your spot. Use hooks that hold different weights, and keep your everyday items on the most reachable rows. For paper rolls, add a simple dowel or tube holder underneath the board.
If you love uniqueness, paint the pegboard frame in a soft color like sage or clay, then mix in tiny labels for a charming look. A current trend is using peg systems for artist desks because they make surfaces feel lighter and more open. Budget-wise, a mid-range pegboard can save money later by reducing the need for multiple small tool holders.
16. Drying Wall With Shelves and Breathable Spacing
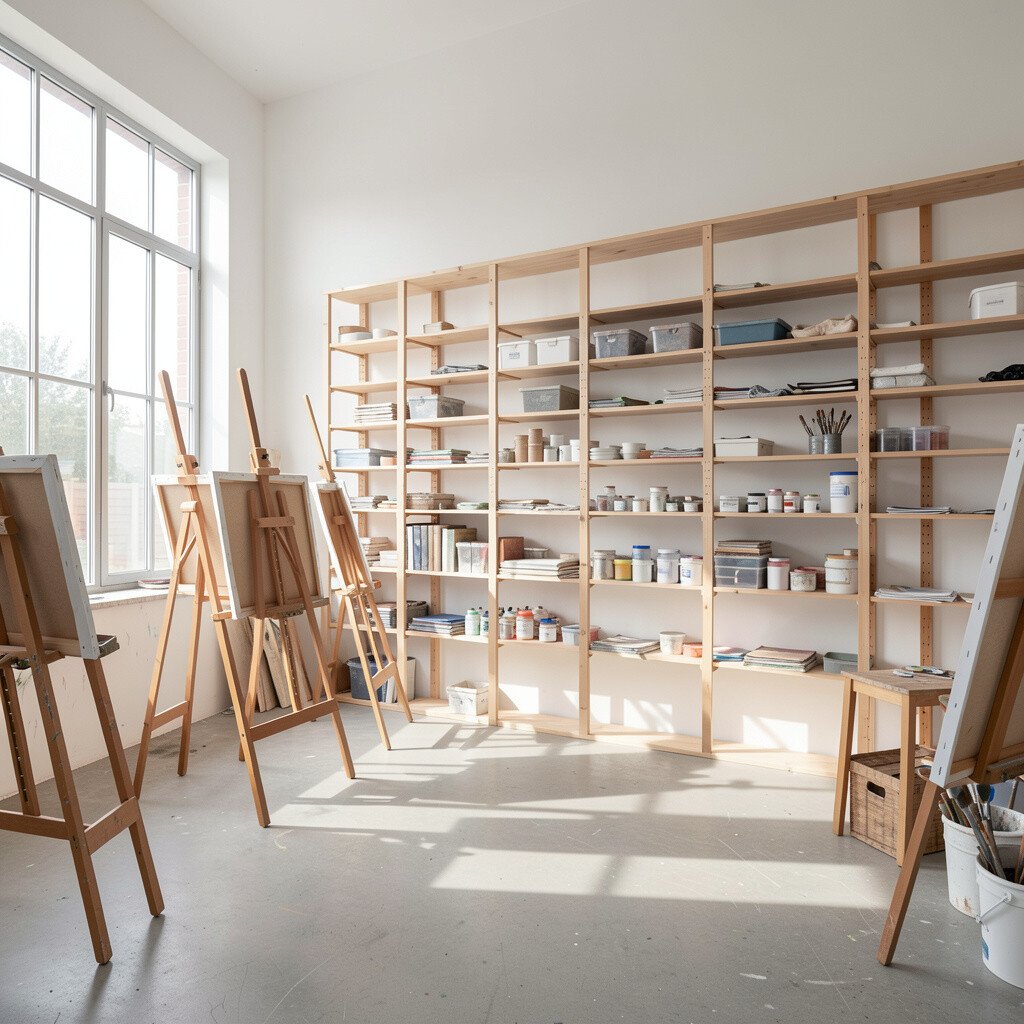
Drying is part of art, and it deserves good design. A dedicated drying wall keeps wet pieces organized while protecting them from dust and smudges.
Install shelves with breathable spacing so air moves around each canvas, especially for paint and mixed media. If you work with oils, you will appreciate extra time and stable airflow, which reduces accidental tackiness. Add a cover for dusty seasons, but keep it ventilated so pieces do not trap moisture.
Personalize by arranging your drying area like a rotating gallery, where you can view progress at a glance. Trend-wise, many modern studios use “work-in-progress walls” instead of hidden storage, because it keeps motivation high. Cost considerations are usually reasonable, since wood shelves and simple brackets can do the job.
17. Built-In Bench With Lift-Up Storage Under the Window

A window bench makes a studio feel cozy while giving you extra storage at the same time. When sunlight streams across the seat, it becomes a favorite spot for sketching, mixing, or waiting for paint to set.
Build a lift-up bench panel so you can store rolled canvases, extra rags, and backup sketchbooks inside. Keep the bench close enough to the window that the light is useful, but not so close that dust collects on open supplies. This design also helps keep the floor open, which makes the room feel more spacious.
For cost considerations, you can adapt a ready-made bench and add storage with simple hinges if custom carpentry is out of reach. Personalize with removable cushion covers so your style changes with seasons. A practical touch is adding a small tray on top for palette cups so spills stay contained.