
Your stairs take daily hits, yet they can still look like the nicest part of your home. A fresh finish can make the whole hallway feel cleaner, brighter, and more you.
With a few smart choices, you can upgrade grip, hide wear, and set a style that matches the rest of your space.
1. Warm Wood Stain With a Satin Topcoat
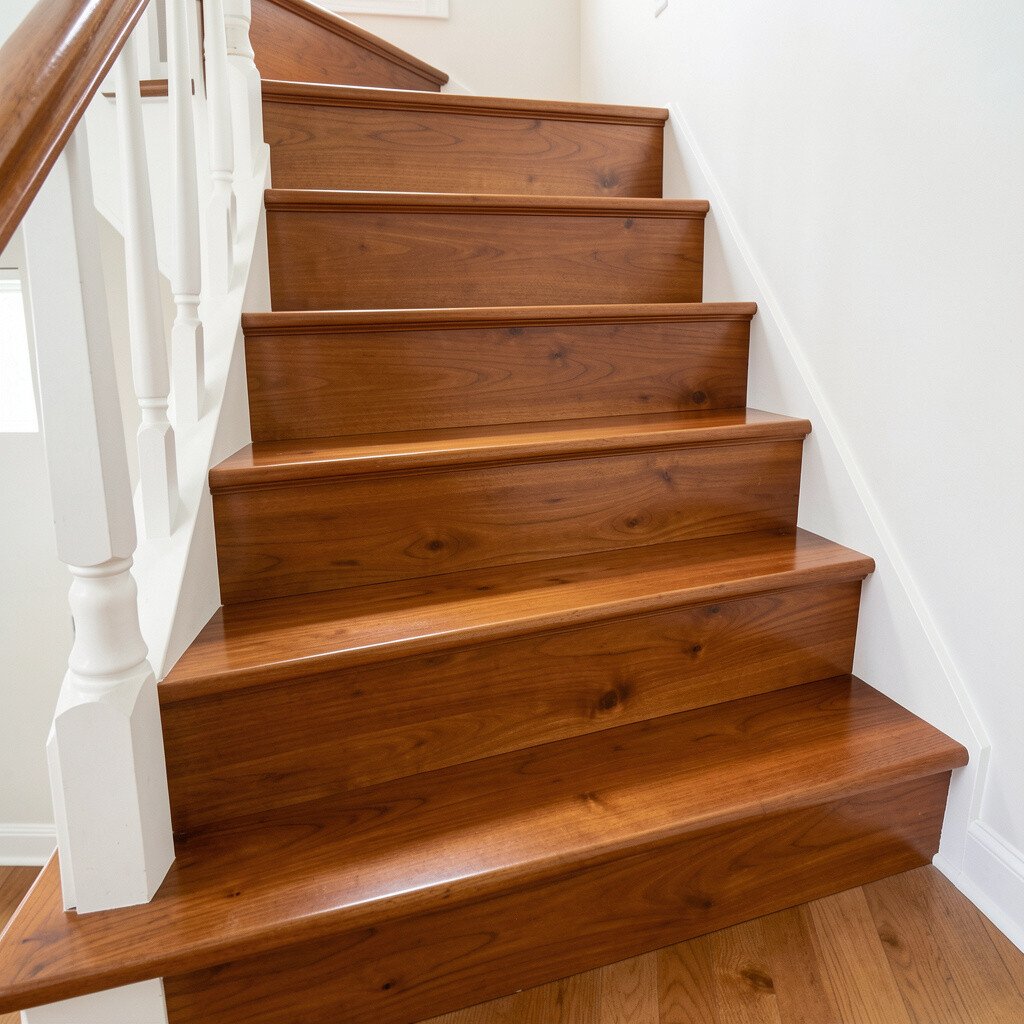
Nothing feels more welcoming than stairs finished in warm wood tones. Light catches the satin sheen and makes every step look cared for.
You can choose a stain that leans honey, caramel, or chestnut to match your floors and trim. A satin topcoat also helps scuffs blend in instead of screaming for attention, which is great for busy households. For the best result, clean the treads well, sand in the same direction as the grain, and wipe off dust before coating.
2. Distressed Farmhouse Finish for Character
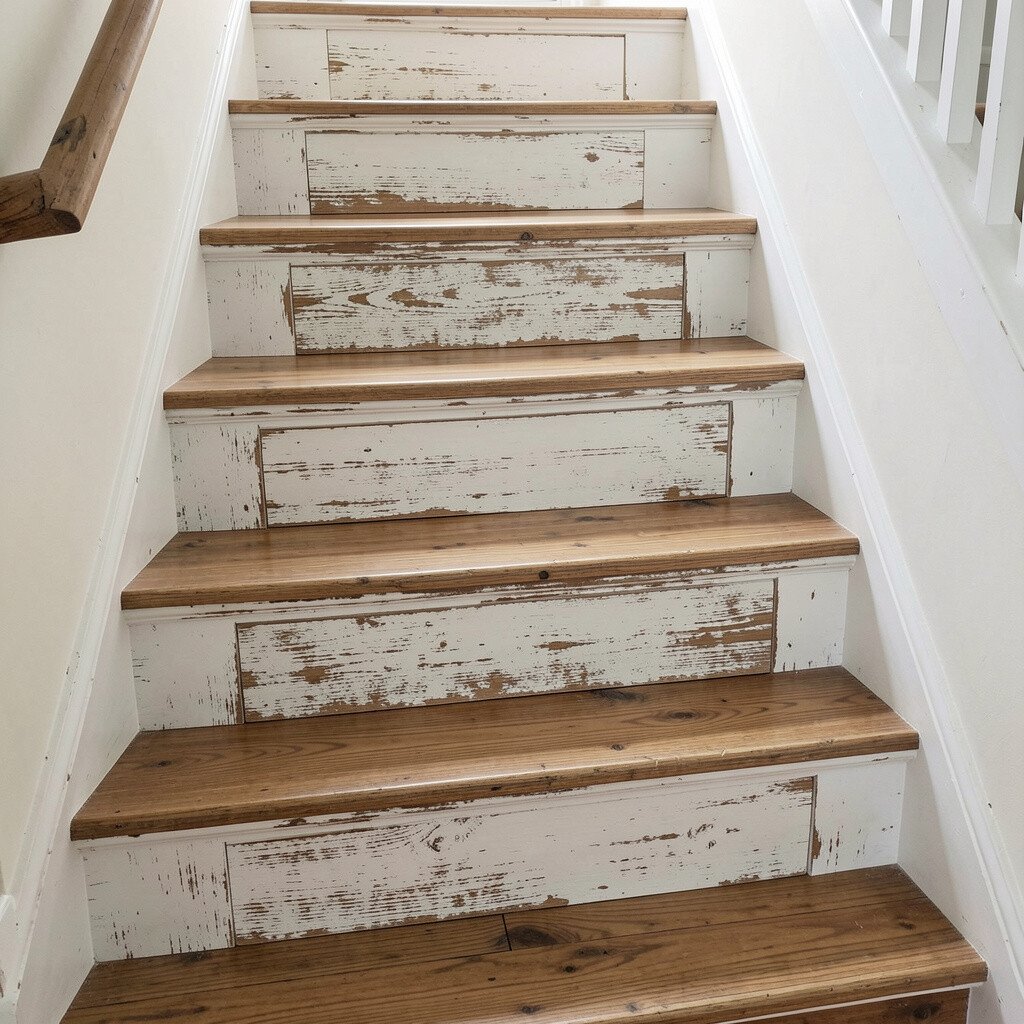
If you love lived-in charm, a lightly distressed finish can look instantly stylish. The texture gives your stairs a soft, rustic glow that feels full of personality.
Start with a base stain, then add controlled distressing at edges where hands and feet naturally hit. This style is unique because it turns normal wear into an intentional look. To keep it practical, seal the finish with a durable clear coat and consider adding stair nosing for safer footing.
You can match the farmhouse vibe with black iron balusters or warm brass hardware. When choosing color, test a small sample board so the distress shows up the way you expect. Costs usually stay moderate because you can refresh with coatings instead of replacing the stair treads.
3. High-Traction Waterproof Clear Coating
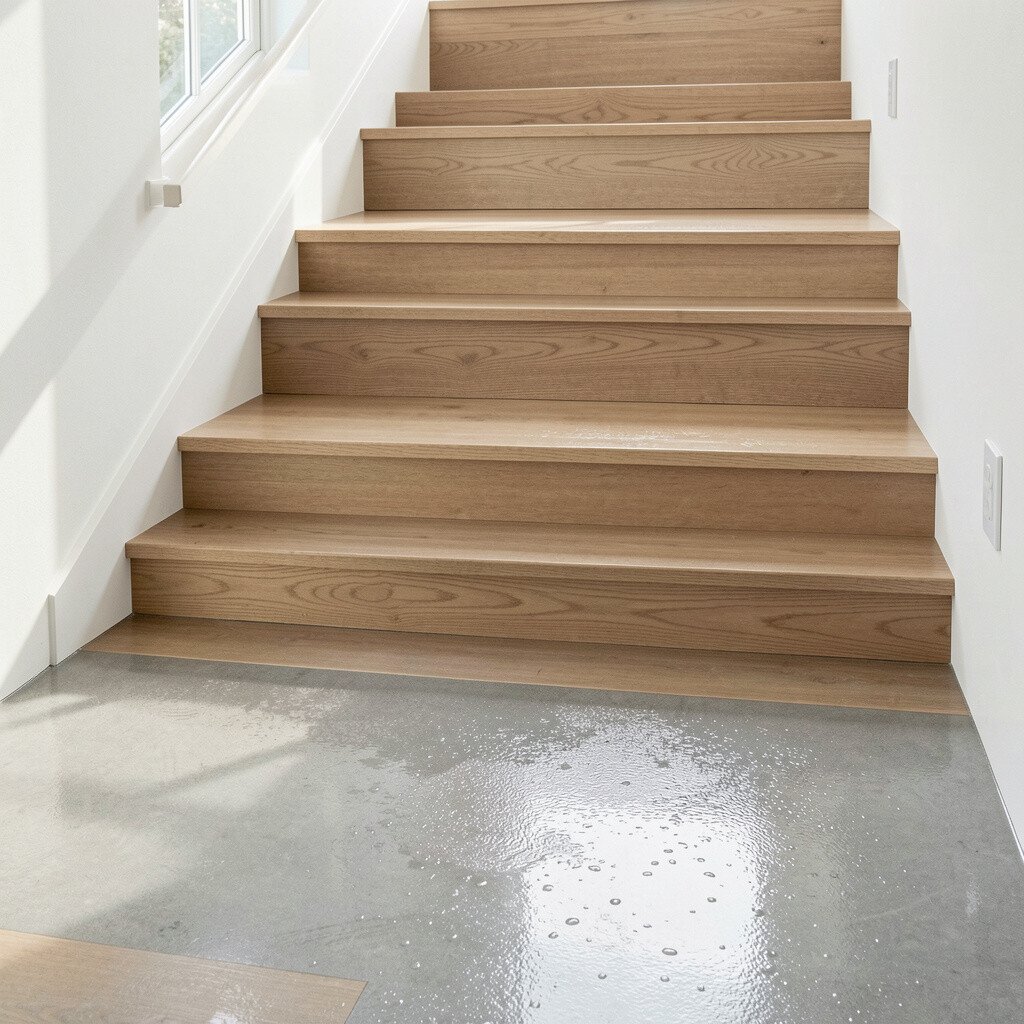
Sometimes the best update is the finish that protects everything underneath. A clear, high-traction topcoat keeps your original wood or material looking crisp while adding better grip.
You’ll notice less dullness after daily use, because the coating resists grime and dulling oils. It’s especially helpful for stairs that see muddy shoes, pets, or lots of traffic. For a smooth application, use the recommended primer if your surface needs it, and apply thin, even layers to avoid tacky spots.
If your stairs are already in good shape, this option can save money compared to replacing treads. Pair it with clean, simple runner colors for a balanced look. Choose a finish rated for floors, and don’t forget to cure it fully before heavy use.
4. Paint the Treads With a Durable Floor Grade System
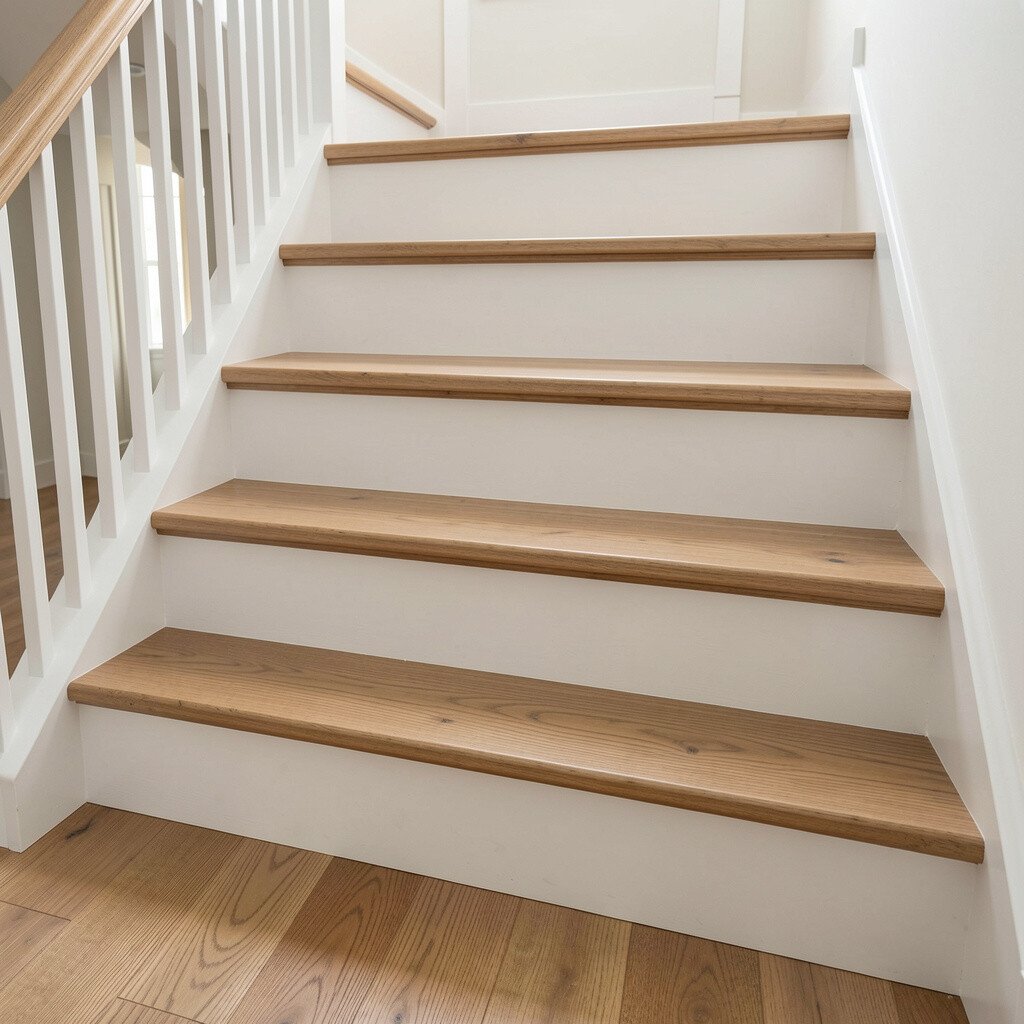
Painted stairs can make your home feel freshly styled in a single season. Crisp color lines create a tidy, modern look that’s easy to maintain.
Select a floor-grade paint and a compatible primer so it bonds well and resists scuffs. Many people like to paint the treads while keeping the risers a coordinating shade for a cleaner visual rhythm. To personalize, add a subtle contrast on the edges or use a gentle matte finish for reduced glare.
5. Monochrome Matte Finish for a Modern Feel

A monochrome finish makes stairs feel calm and intentional. When the treads and risers share a similar shade family, the whole entry area looks more put together.
Matte finishes hide minor scratches better than shiny coatings. That benefit matters because stair traffic tends to create small marks over time. For practical results, sand lightly, wipe with a tack cloth, and apply a quality sealer that won’t yellow.
Try a soft greige, deep charcoal, or warm off-white depending on your lighting. You’ll get a unique, designer look without needing bold patterns. If you’re worried about upkeep, choose a finish that’s described as washable and suitable for foot traffic.
6. Patterned Vinyl or Peel-and-Stick Treads
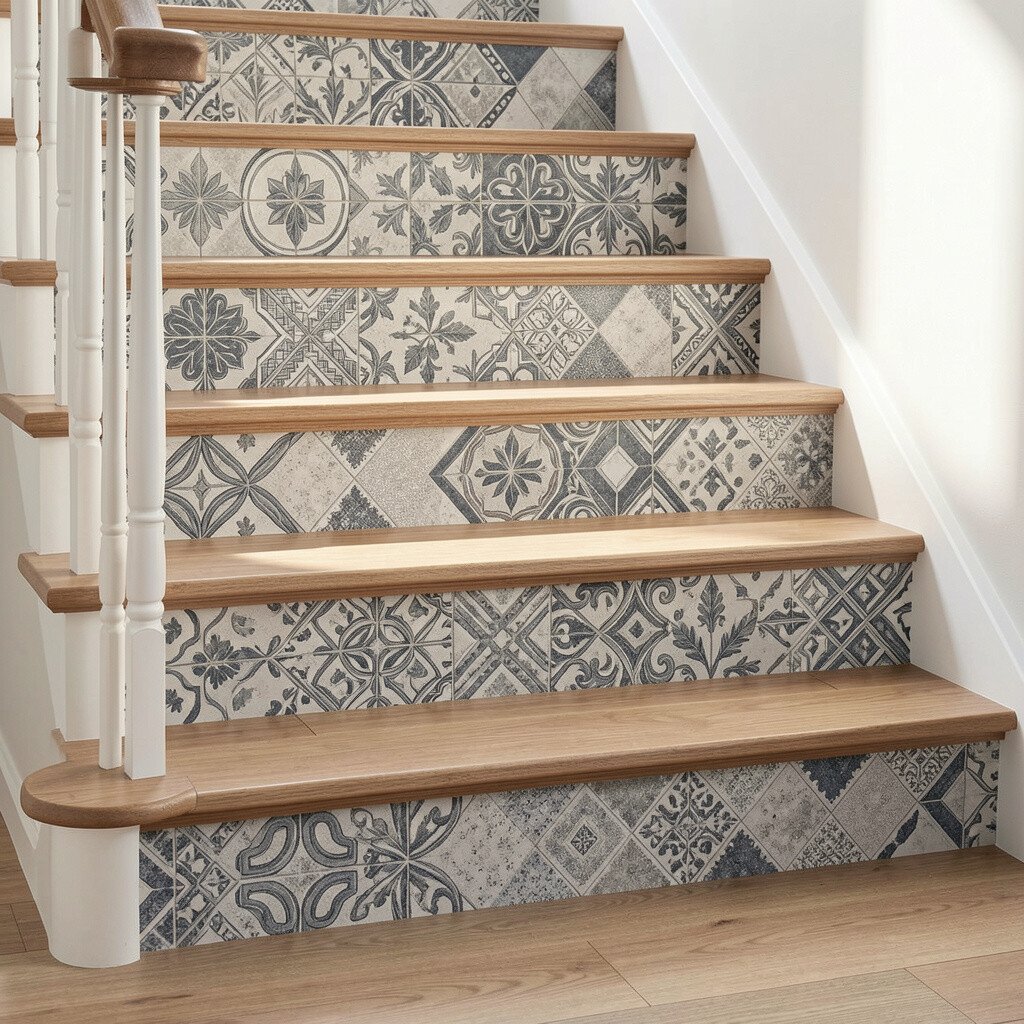
If you want a quick style change, patterned tread covers can give instant personality. They can also protect wood from scratches while adding a fresh layer of texture.
Choose geometric patterns, subtle mottled designs, or even artful looks that match your decor theme. This approach feels unique because you can switch styles later without a full refinishing job. For best performance, clean the stairs thoroughly, use proper adhesion prep, and press firmly along edges.
Many options now include traction backing, which is a real practical win. Costs vary widely by brand, but you can often find quality covers that are more budget-friendly than full refinishing. Personalize by using one pattern for the treads and a different tone on the risers to create a layered effect.
7. Stained and Painted Contrast Stair Nosing

Stair nosing is where style meets safety. When you finish it with contrast, your stairs look sharper and feet feel more confident.
Use a wood stain on the treads and a matching or contrasting paint on the nosing or edge strip. This gives a tailored look even when your stairs are older. It also helps visually mark where each step ends, which is useful in low light.
For personalization, choose colors that echo your wall trim, banister, or hardware finishes. If you want a current look, try a warm wood tone paired with a deep neutral edge. Budget-wise, nosing updates can be cheaper than repainting everything, especially if you target only the most visible wear areas.
Before committing, measure the tread edges carefully and test paint colors on a small scrap that matches the existing finish.
8. Luxury Runner-Ready Finishes With Soft Protection
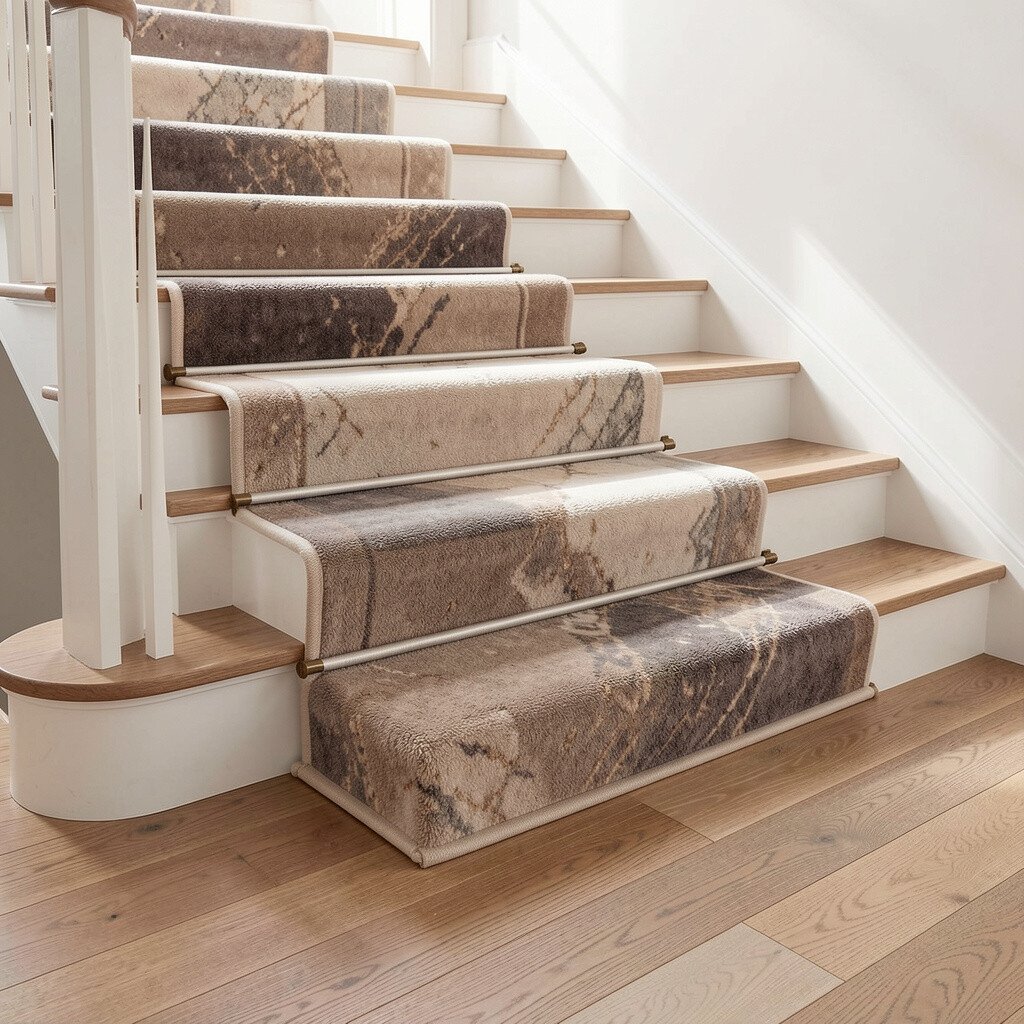
If you plan to use a stair runner, your finish can work like a backstage helper. A runner-ready coating keeps stairs looking good even when the fabric shifts slightly.
Choose a finish that’s smooth enough for a snug fit and durable enough to handle runner anchor hardware. A satin clear coat often works well because it looks clean while still forgiving scuffs. This idea is unique because the finish supports the final look rather than competing with it.
To make it practical, seal around edges and seams where dirt likes to collect. You can personalize by matching the undertone to your runner color so the stairs don’t fight the textile. Costs can be lower than changing everything because you focus on protection and prep instead of full visual repainting.
9. Stone-Look Epoxy for a Strong, Sleek Surface
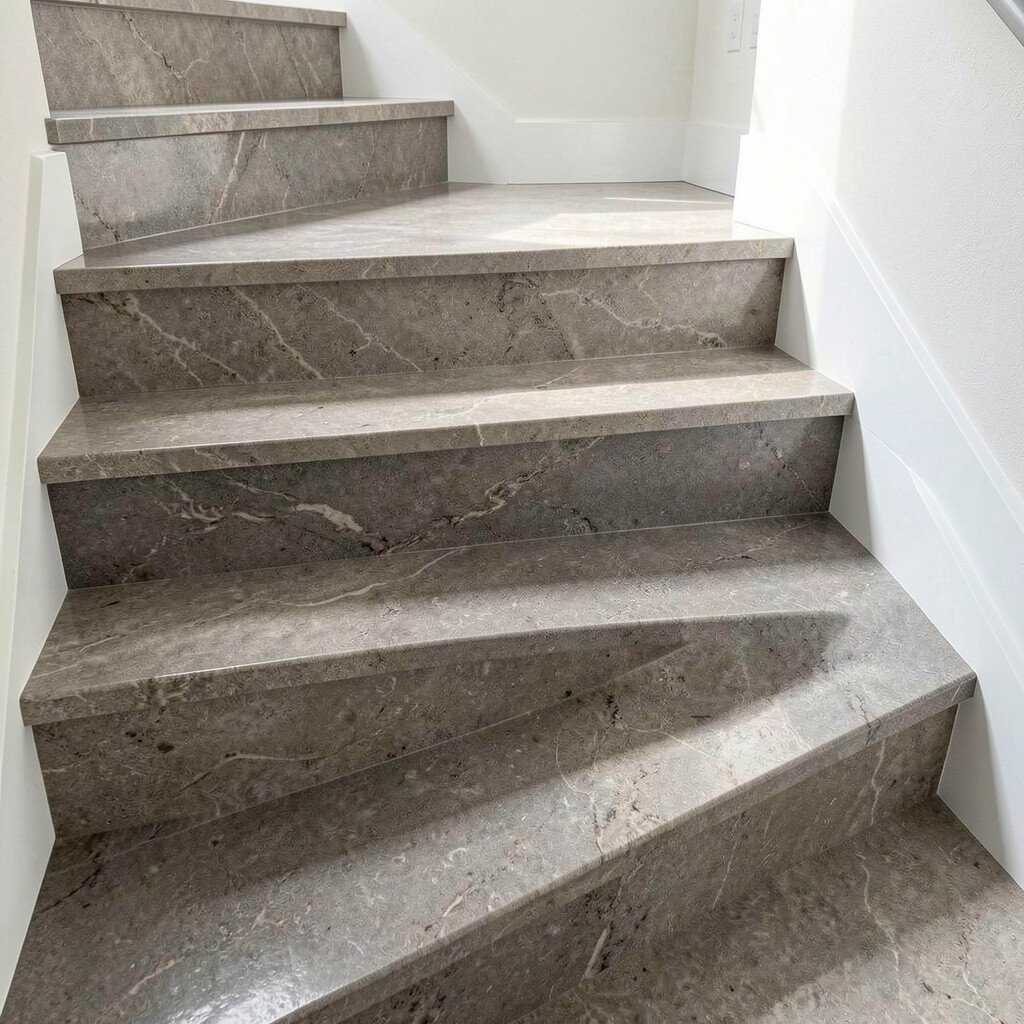
Stone-look epoxy can make stairs feel like a high-end design studio. Swirls of neutral tones look dramatic, and the finish is tough enough for regular use.
You’ll get a unique look that feels modern and sturdy without needing actual stone. Epoxy also seals and protects against moisture and everyday grime, which helps stairs stay cleaner. Keep it practical by using a traction additive or textured topcoat so the surface stays safe.
For personalization, pick a quartz-inspired palette with warm whites, soft greys, and gentle taupe specks. This style can cost more than paint, especially with professional prep, but it often pays off through durability. If you choose DIY, practice mixing ratios carefully and work in small sections for even coverage.
10. Natural Oil Finish With Easy Touch-Ups
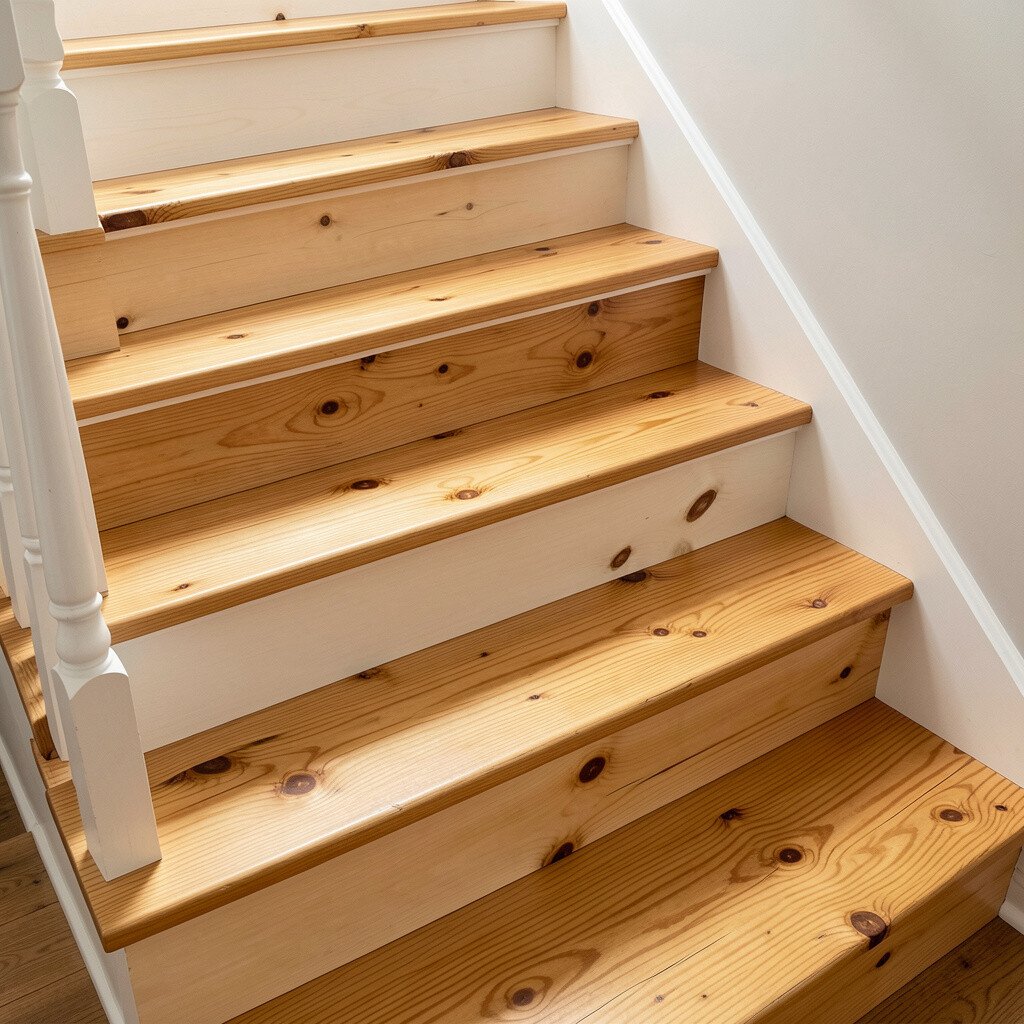
Oil finishes let wood keep a natural, friendly feel. They also make it easy to refresh scuffs without doing a full redo.
When you use a hardwax oil system, your stairs can look warm and slightly matte, which many people find soothing. This is unique because the finish breathes with the wood while still offering protection for foot traffic. For practical upkeep, keep a small kit for spot repairs so scuffed areas blend nicely.
Choose oil tones that complement your existing flooring, especially if the stairs connect to other wood surfaces. Consider a colorless option for a true wood look or a tinted oil for subtle warmth. Costs can be mid-range, and the real value comes from easier future repairs.
Before applying, make sure moisture is fully dried out and sand consistently so the oil soaks evenly.
11. Glazed Riser Paint for Depth and Soft Shine

Risers are the perfect spot to add visual interest without heavy work on every tread. A glazed look gives depth, like subtle color washings over a solid base.
This can be a great trend choice because soft color gradients and gentle sheen feel modern but not harsh. You get uniqueness through layering techniques, and the final effect looks rich in daylight and warm evening light. For practical tips, use a glaze medium made for floors and pair it with a clear coat designed to resist scuffs.
If your treads stay neutral, glazed risers can do all the styling. Personalize with earthy greens, clay tones, or a gentle blue that matches your accents. Costs depend on products, but usually stay affordable compared to full flooring replacement.
12. Wrought-Iron and Wood Finish Combination for a Classic Contrast
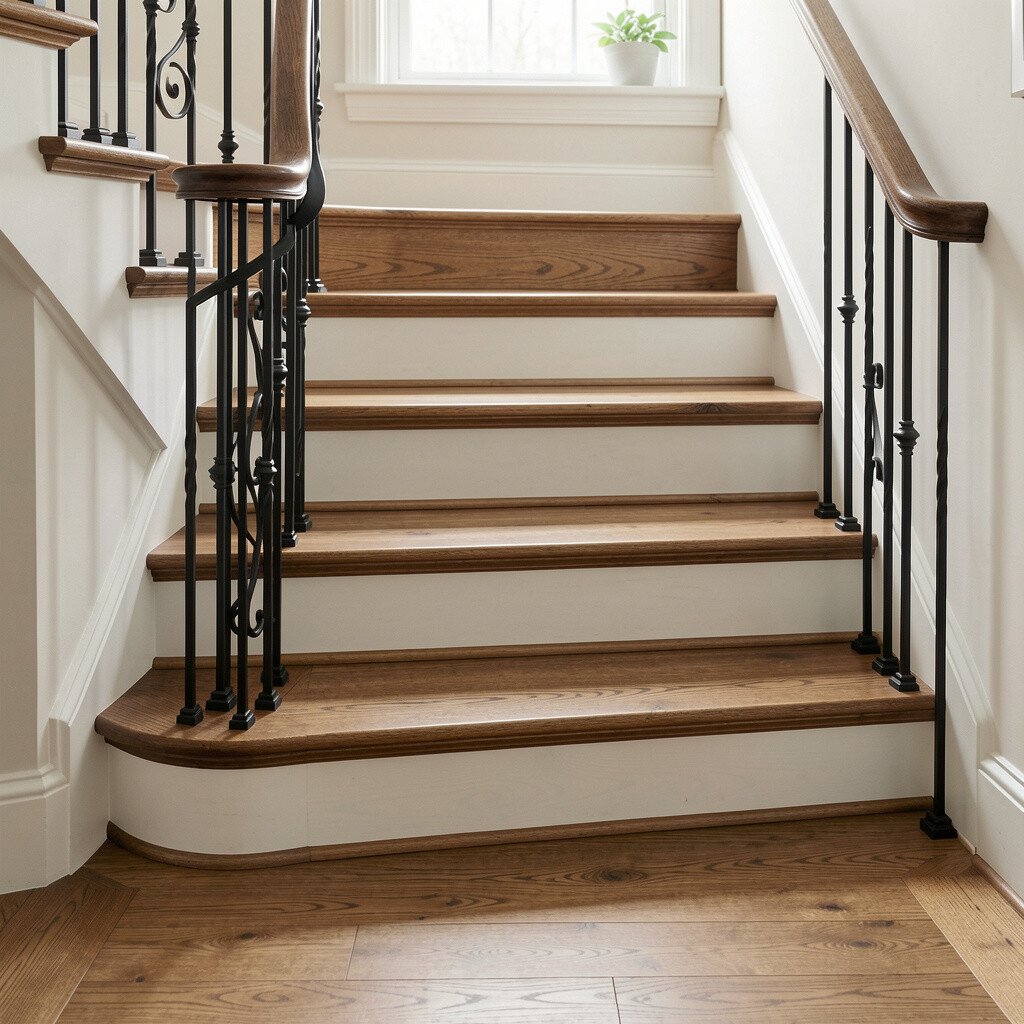
Stairs become extra elegant when the floor finish and railing styling speak the same language. Pairing stained wood with iron details creates a timeless contrast that still feels fresh.
Finish the treads with a stain that matches the wood tone you want, then keep risers clean with a complementary neutral. The unique look comes from mixing warm organic grain with crisp, dark lines. For practical safety, add durable anti-slip strips at the tread edges so iron styling never compromises grip.
Personalize by coordinating rail color with lighting, cabinet hardware, or picture frames. This idea can fit many budgets because you can often refresh floors with coatings while leaving the railing system in place. Plan your paint and stain selection so it matches your existing rail finish and doesn’t clash with your wall colors.
13. Textured Microcement Finish for an Urban, Seamless Look

Microcement creates a smooth, modern surface with a slightly textured feel. It can make stairs look continuous and architectural, even if the staircase has lots of turns.
This finish is unique because it offers a minimalist style without needing tile grout lines. It can also be customized with tones that range from warm sand to cool stone greys. For practical tips, microcement needs careful prep and proper sealing, so follow the system you choose and allow full cure time.
Costs can be higher because the prep and layering matter a lot. If you’re budgeting, consider doing only the treads and riser faces rather than every surface. Personalize with a subtle topcoat sheen so the stairs feel elegant but not slippery.
Always check traction options and consider adding a textured additive if your household has kids or elderly family members.
14. Tile-Look Finishes for Crisp Lines and Easy Cleaning
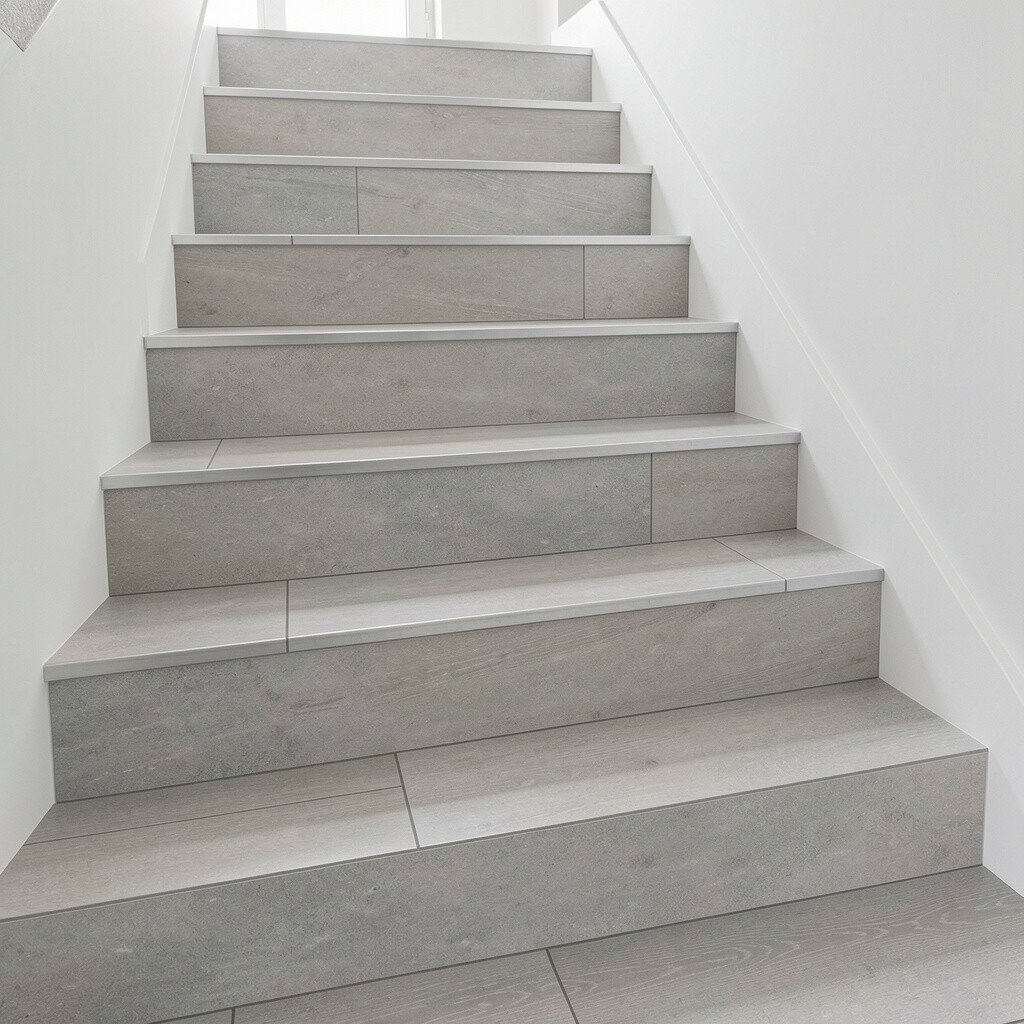
Tile-look finishes can give the look of tile without the heavy feel. They also make cleaning simpler, since many systems wipe up quickly.
Use a tile-look coating, stencil pattern, or decorative tread overlays that mimic real tile shapes. The benefit is a clear visual structure that makes the stairs feel tidy, especially in entries with patterned decor. This option is unique because you can create a custom tile style that fits your home’s colors and scale.
Personalize by selecting grout-like lines using a contrasting color that matches your trim. Consider traction strips or textured topcoats for safety, since tile-style surfaces can feel slick if they’re too smooth. Costs vary depending on how much work you do yourself, but many homeowners find this approach more budget-friendly than real tile installation.
15. Custom Stair Stenciling for One-of-a-Kind Style
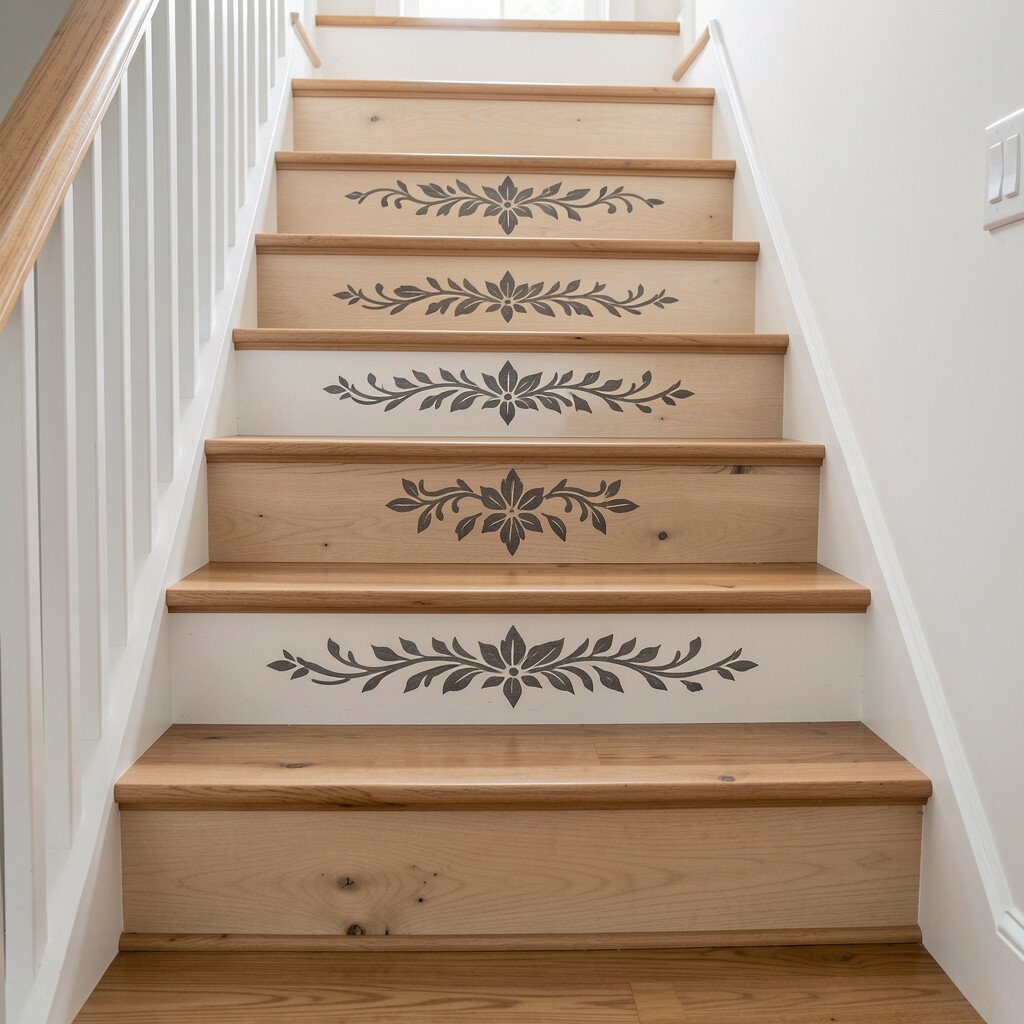
Stenciling turns plain stairs into a personal design moment. Even a simple pattern can make the staircase feel like a feature wall you can walk on.
Choose a stencil that fits your home, like soft chevrons, small medallions, or narrow geometric bands along the edges. The benefit is flexibility because you can adjust placement based on where lights hit and where wear shows. This is unique because it’s hard to find the exact same stair design in another home.
For practical tips, use painter’s tape guides, apply thin coats, and seal with a floor-rated clear coat for protection. Personalize by matching the stencil colors to your rug tones, wall paint, or artwork frames. Costs are usually reasonable because most stenciling uses coatings and simple tools instead of replacing treads, though careful prep is still important.
Let each layer cure before stepping on it, and do a test on a spare piece of wood or a hidden tread first.