The classroom can feel the same year after year. Small setup choices can make it feel fresh every single day.
Here are creative ways to change the room using setups that are practical, fun, and easy to match to your students.
1. Layered Learning Zones with Soft Boundaries
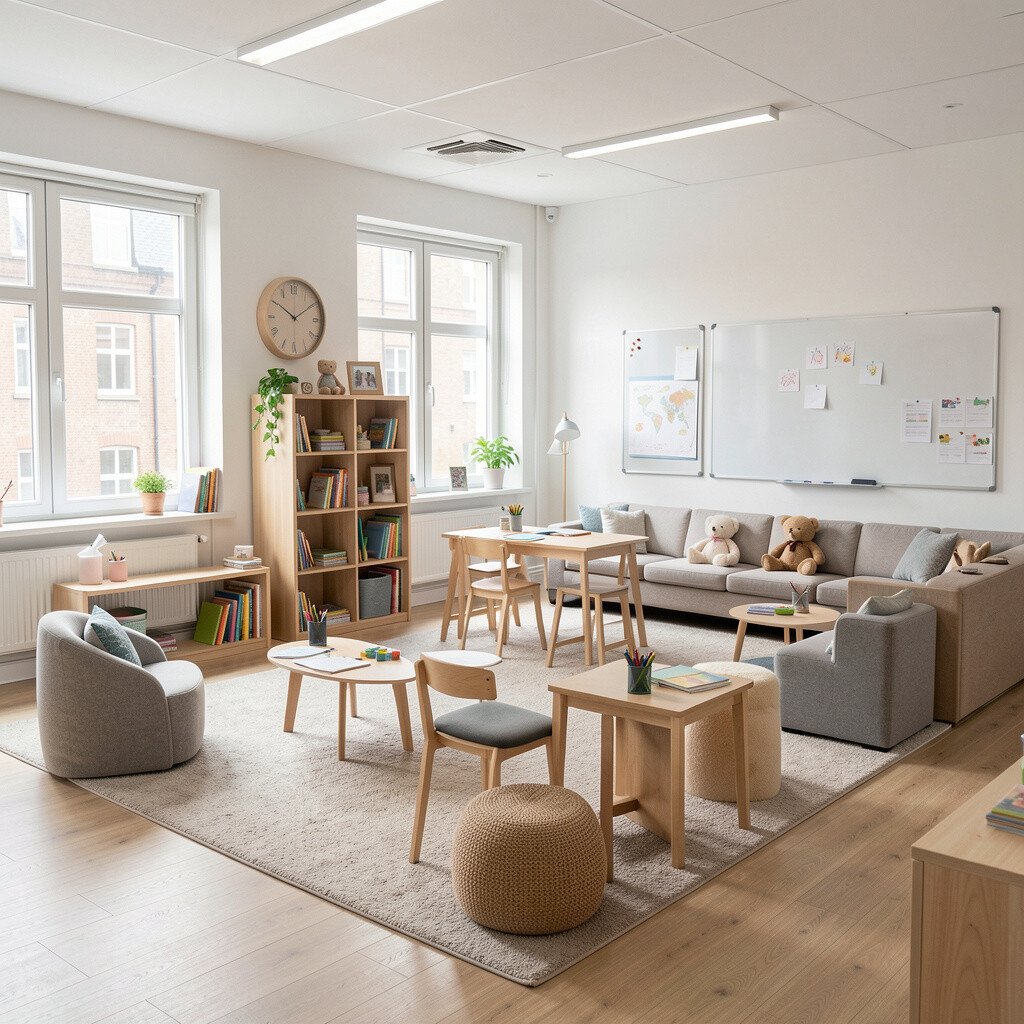
Turn one room into several cozy mini-spaces using soft boundaries like rugs, low shelves, or hanging fabric panels. When students walk in, they can instantly “see” where different activities happen.
Try placing a small rug for reading, a flexible mat area for hands-on work, and a clear desk zone for quiet writing. Use the same color accent on each zone so students learn the routine fast. Keep transitions smooth by posting a simple visual cue at eye level, like a picture of a book near the reading area.
2. Mobile “Wonder Wall” that Moves on a Timer
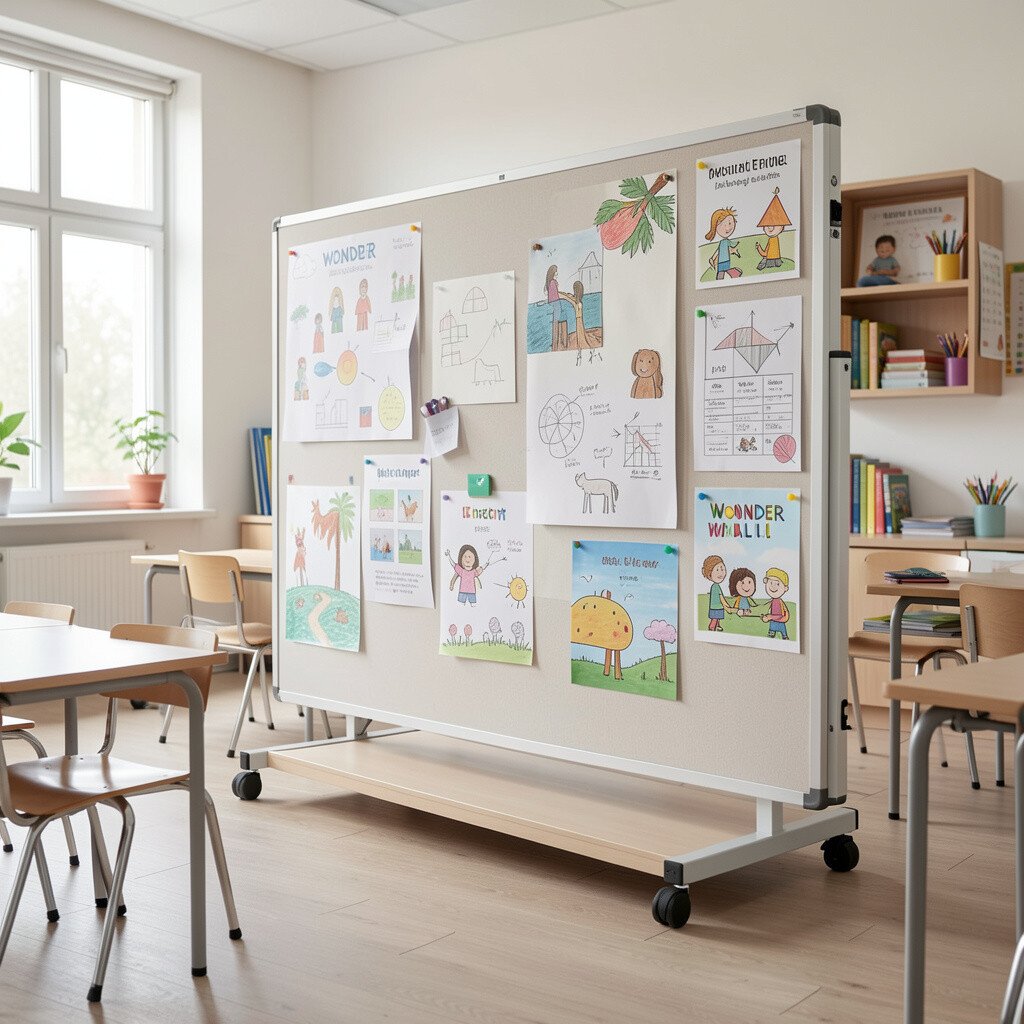
Create a wall display on wheels so it can roll to where you need it most. It can show student questions, vocabulary, or current class goals, and it looks bright even from across the room.
Set it near the start of the day and then move it closer to group work during activities. During discussion time, rotate what’s shown every so often so students stay curious. To personalize it, let students add one small item each week, such as a photo, a sketch, or a sticky-note prediction.
For cost, use a plain board from a home store plus poster frames or binder sleeves. This setup fits current trends toward student voice and frequent short feedback cycles. Just make sure the board is sturdy and the wheels lock so nothing slides during class.
3. “Audio Stations” Built from Simple Listening Corners
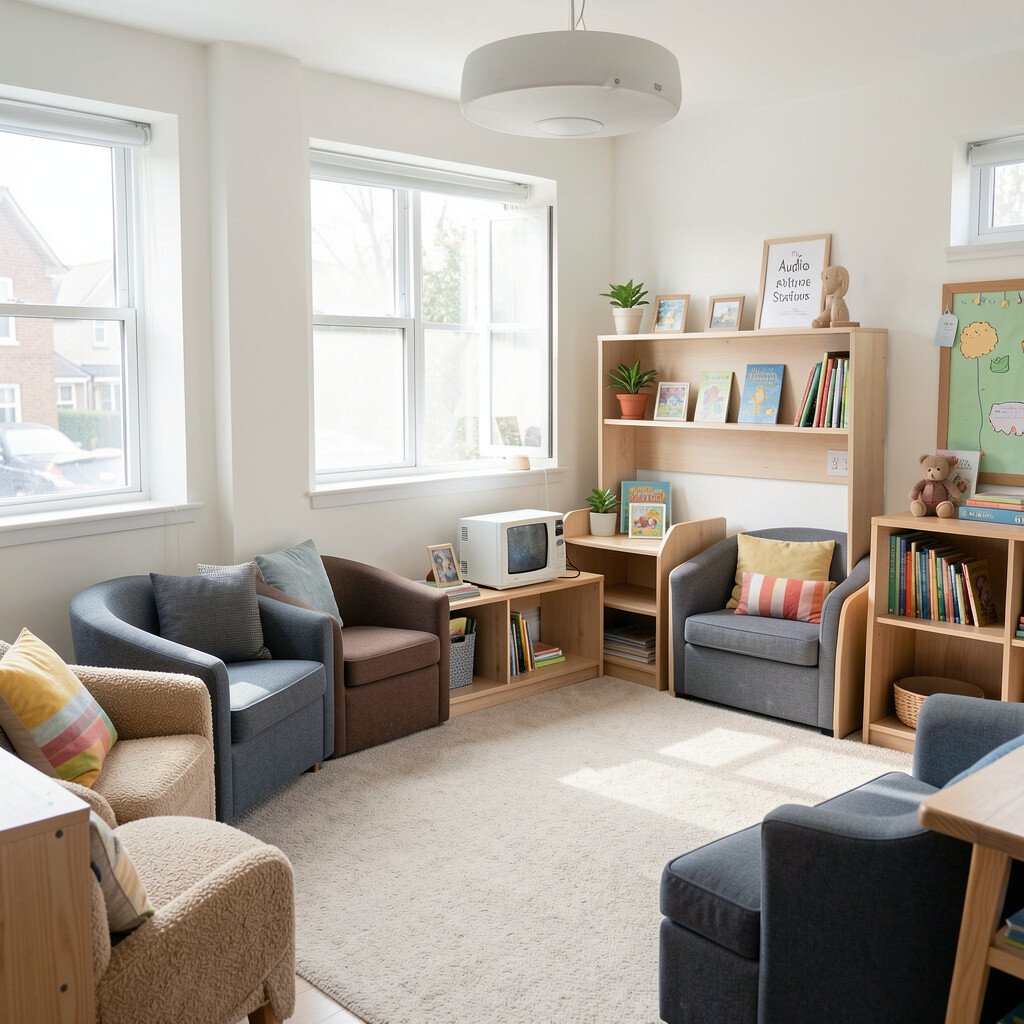
Set up small listening corners using inexpensive headphones and a device with prerecorded directions. Students can hear read-alouds, directions for stations, or study tracks without crowding one speaker.
Arrange each corner with a chair, a small bin of earbuds or headphones, and a clipboard with what to do next. Use visual reminders like icons so students who need extra support can follow along. Let students choose from a couple of audio options to match different reading levels, and rotate the choices to reduce favoritism.
Uniqueness comes from making the room feel like it has “secret study spots” rather than a single listening area. For practical tips, label cords clearly and keep a quick cleaning routine for earbuds. Keep costs low by using shared devices and choosing free or school-ready audio content.
For personalization, invite students to create their own short audio reflections, then store them on a class account. This matches trends in multisensory learning and helps students who benefit from listening. The corner becomes a calm retreat when the class needs a reset.
4. Desk Clusters with Choice-Card Roles

Instead of standard rows, arrange desks into small clusters and add role cards for each group. A visible role system helps students cooperate while still keeping each group flexible.
Use a small stand with role pictures like “materials helper,” “time keeper,” or “question starter,” and rotate roles weekly. When students know what to do, they spend less time waiting and more time producing. Pair the setup with a choice board so groups can pick from two or three task versions that match their current level.
5. A Class “Map of the Room” for Navigation and Calm
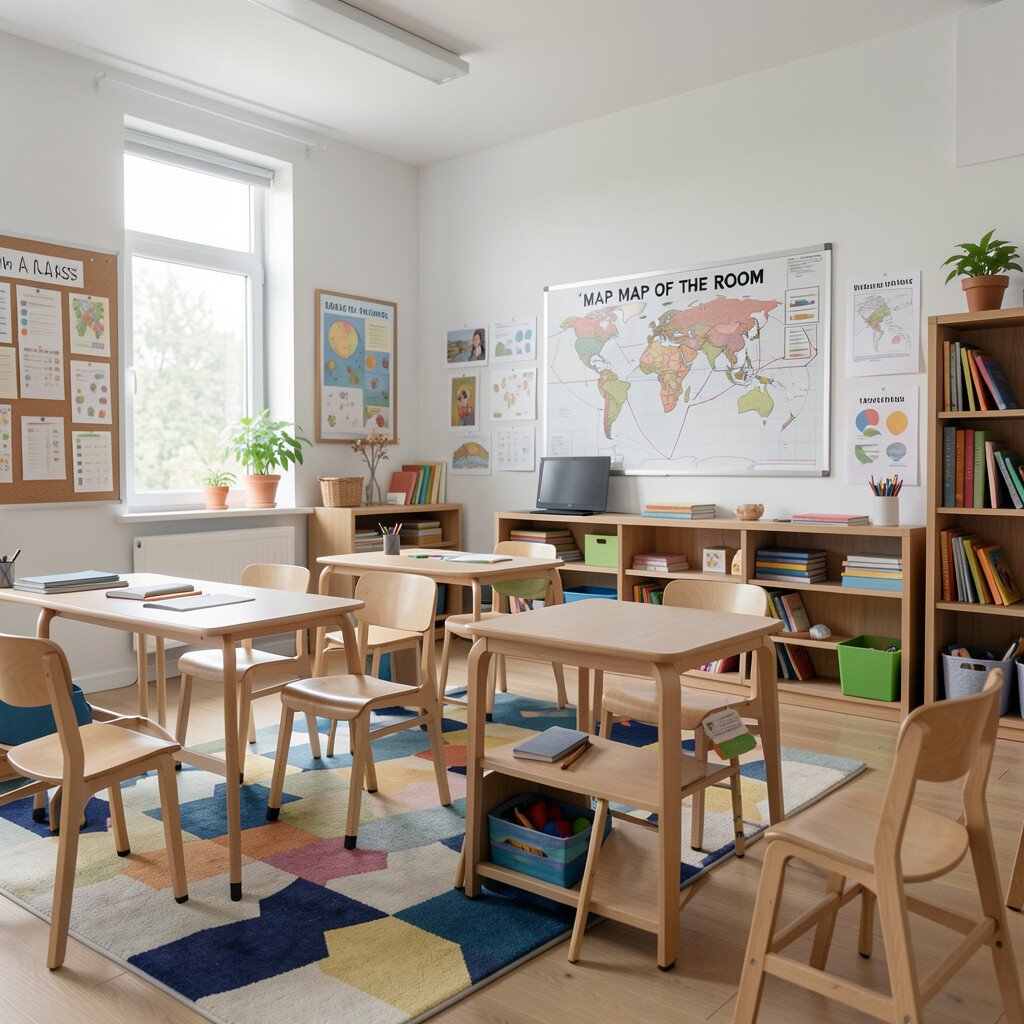
Draw a simple map of your classroom and place it where students can reach it easily. Visual navigation reduces stress for new routines, specialist transitions, and busy days.
Label key spots with symbols, like a book icon for the reading area, a hand icon for help, and a recycle icon near supplies. Make it interactive by letting students move small magnets when they start a new task, which makes the room feel organized and alive. If you teach multiple subjects, use different colored magnets for each class period.
For cost considerations, you can print the map on cardstock and add magnets or reusable velcro dots. This feels unique because it turns your room into a guide, not just a space. It also fits current trends in visual supports and student independence.
6. Build a “Story Corridor” Using Student-Made Panels
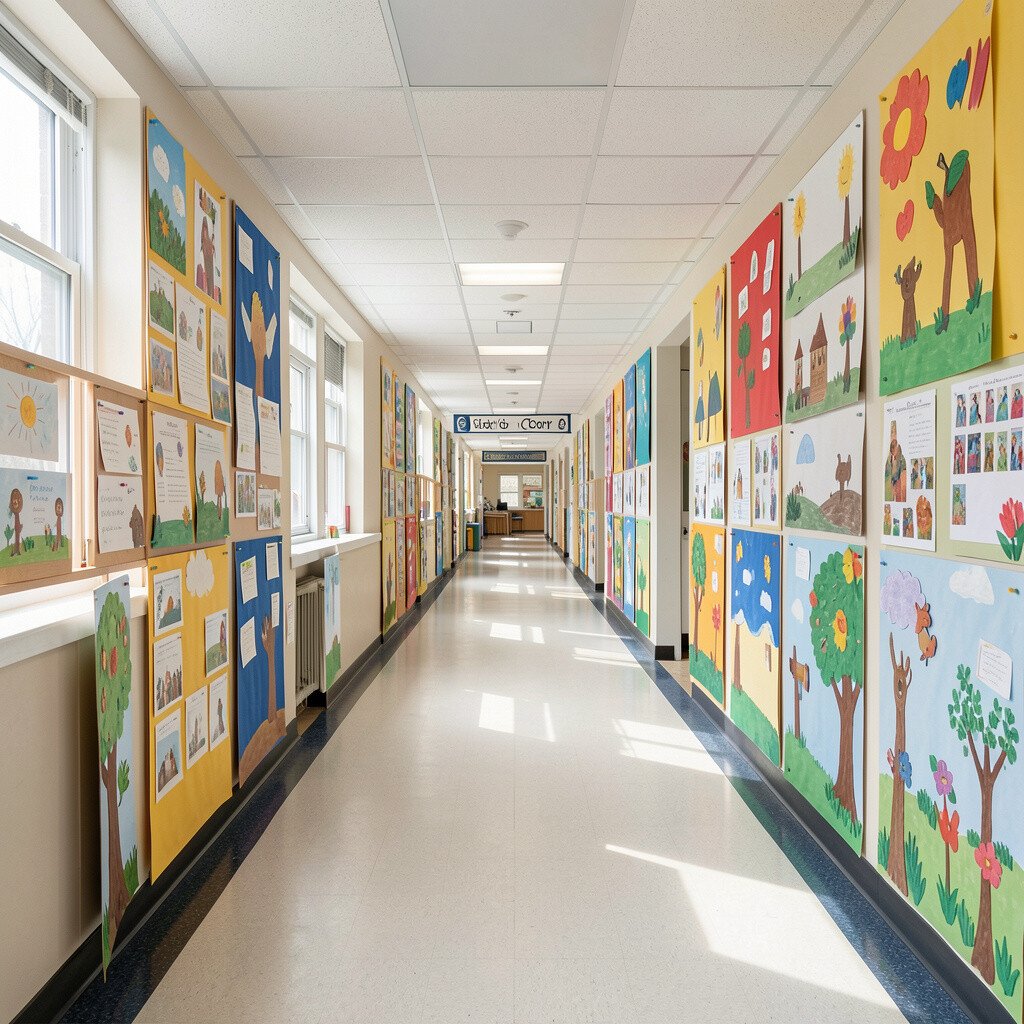
Create a narrow path between learning areas using panels made by students. Even simple paper boards can look like a hallway when you decorate them with story scenes or themed borders.
As students read a class book or unit text, add one panel per chapter to show a new scene. Let students work in pairs so the corridor grows over time, and the classroom becomes a living timeline. Practical setup matters, so store panels in a tub and attach them quickly with removable clips.
7. Quiet Micro-Activities at Every Seat
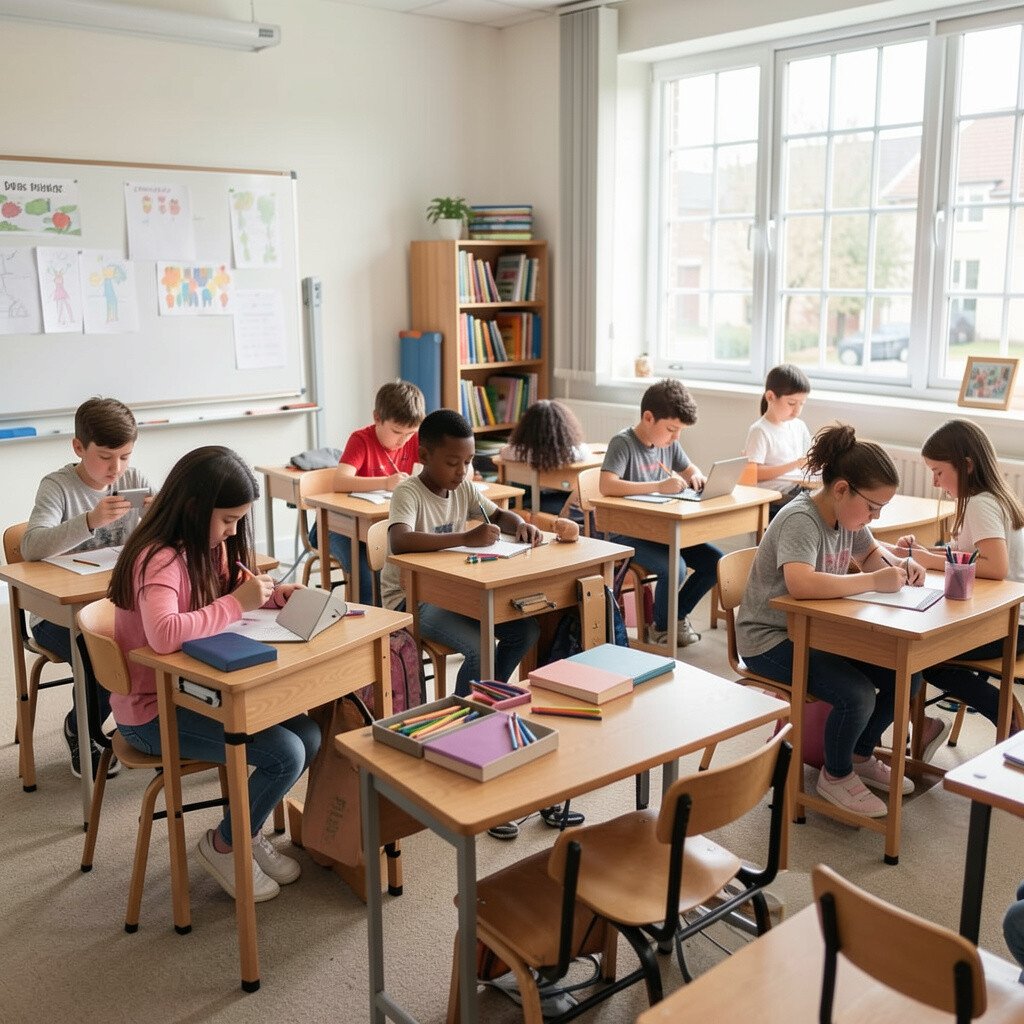
Prepare small, low-mess tasks that live in bins under or beside each seat. Students who finish early or need a calm break can start right away without interrupting the class.
Choose activities that match what you already teach, like letter-sound cards, quick word searches, or math practice tiles. Make the bins consistent, then personalize by letting students choose one “special” option from a rotating menu. For practical tips, keep directions on tiny cards with pictures and a clear “do this first” step.
This setup is unique because it supports different energy levels while keeping everyone in the same learning rhythm. Cost can stay low by making your own cards, using recycled folders, and reusing materials across units. It also matches current trends in student autonomy and in-class differentiation.
8. Create a “Classroom Weather” Mood Board

Use a large board that shows classroom mood in a fun way, like a weather chart with sunny, cloudy, and windy icons. When students can see the emotional “forecast,” they can adjust their work strategies sooner.
Students can change the icon with a quick vote, then choose a response plan that fits the “weather.” For example, cloudy might mean more breathing space and quieter tasks, while sunny might mean group presentations. To make it practical, set a short routine for how and when the board updates so it does not steal time.
9. Turn Supply Storage into a “Showroom” Instead of a Closet
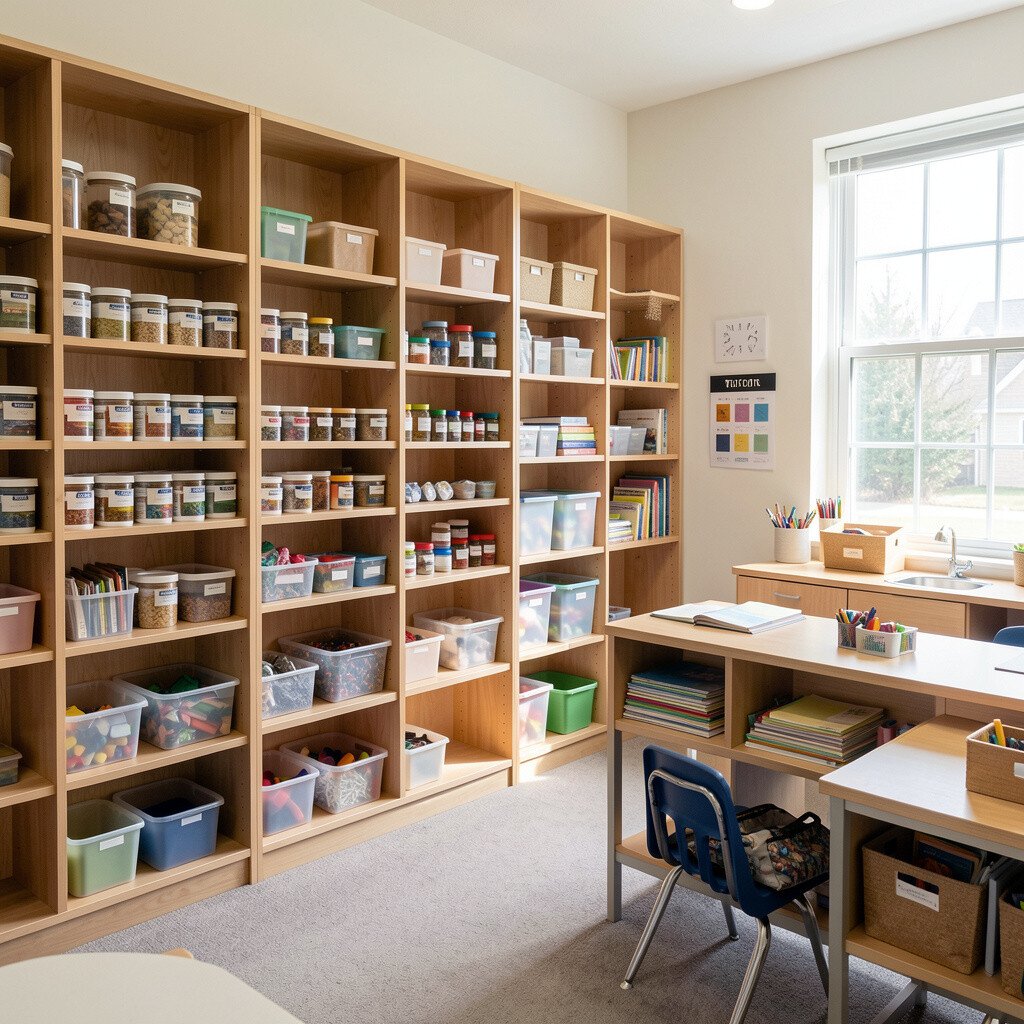
Arrange supplies so students can see what exists without rummaging. Think open rolling carts, clear containers, and labeled drawers that look like an art shop.
Place the most-used items at student height and keep less-used extras up higher. Add a small “featured tools” spot where you rotate one supply based on the current unit, like watercolor brushes or new writing templates. For personalization, let each group earn the right to choose the next featured tool for the week.
This is unique because it makes materials feel cared for and makes independence easy. Cost considerations are manageable since you can reuse storage from home and upgrade slowly with clear bins. Current classroom trends favor visible organization and sensory-friendly spaces, and this setup supports both.
To keep it sustainable, use sticky labels with symbols and replace them when they fade. Students stay calm because they always know where things belong.
10. Install a “Creation Corner” with Rotating Maker Trays
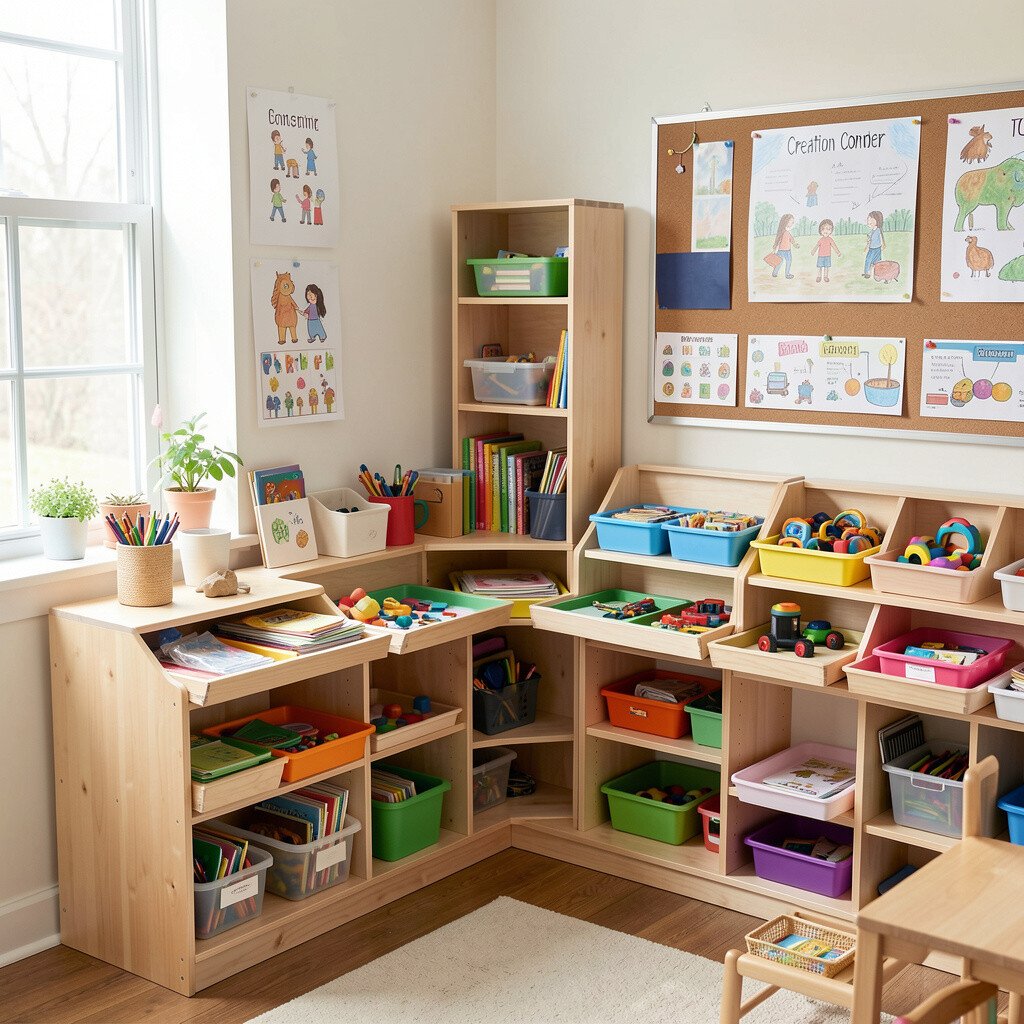
Set aside one area as a creation corner with maker trays that rotate like a mini studio. Each tray can hold building tools, craft supplies, or science items that match the week’s topic.
Use shallow bins so items stay visible and students can grab what they need quickly. Keep a simple guide sheet in the corner with a step order and examples of finished work. Students love this because it feels like making art, even when the task is connected to math or reading.
For practical tips, limit each tray to a small number of items so cleanup is fast. Cost can be controlled by reusing packaging, saving spare materials, and building a shared classroom collection over time. This setup feels current because it supports hands-on learning and creative problem solving.
Personalization can be as easy as letting students photograph their creation and add it to a class gallery wall. That gallery becomes a motivation engine for the next group.
11. Use a “Laughter and Learn” Seating Pattern with Scheduled Swaps
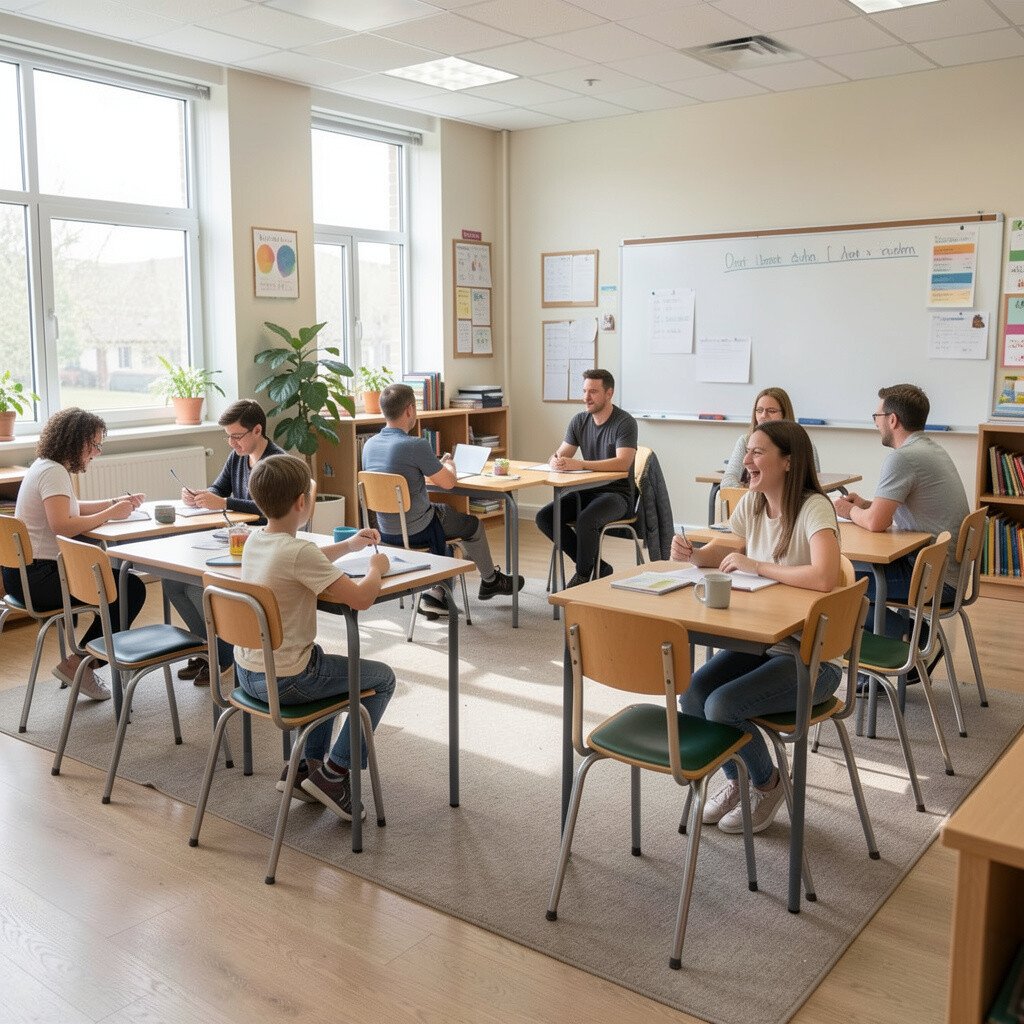
Plan seating swaps on a schedule so students sit with different partners over the course of the month. Keep the pattern simple and predictable, like pairing up then switching after a set lesson type.
This setup reduces social cliques and helps students practice working with many classmates. Add a “laughter and learn” routine where students share a quick win from their seat partner, like one thing they improved or one strategy that worked. Make it practical by keeping swaps short and using a clear visual chart so students do not debate where to go.
It is unique because the room rhythm changes without chaos, and students feel new energy without losing structure. Cost is minimal since it mainly depends on your seating plan and a printed chart. Personalization happens naturally because students remember different classmates’ strengths and learn how to connect with them.
12. Design a “Light-Play Board” for Visual Thinking

Use a bright LED light strip board or a simple projector setup to support visual thinking and quick checks. Students can respond with color-coded markers, shapes, or sticky notes that move when you change the activity.
Try using it for sorting, sequencing, or concept mapping by projecting a faint grid or using colored lighting cues behind a transparent board. Visual descriptions stand out because the board glows, and students feel like they are participating in something special. For practical tips, keep the light settings consistent and avoid glare on student faces.
Cost considerations vary, but you can start with low-cost LED lighting, a clear sheet, and sturdy tape, then upgrade later. This approach feels unique because it turns “showing” into a shared visual space where students move ideas around. Current trends in interactive learning and visual supports make this especially helpful for students who need structure to process information.
Personalize by letting students choose which color represents which learning goal. When students help set the system, they care more about using it correctly.