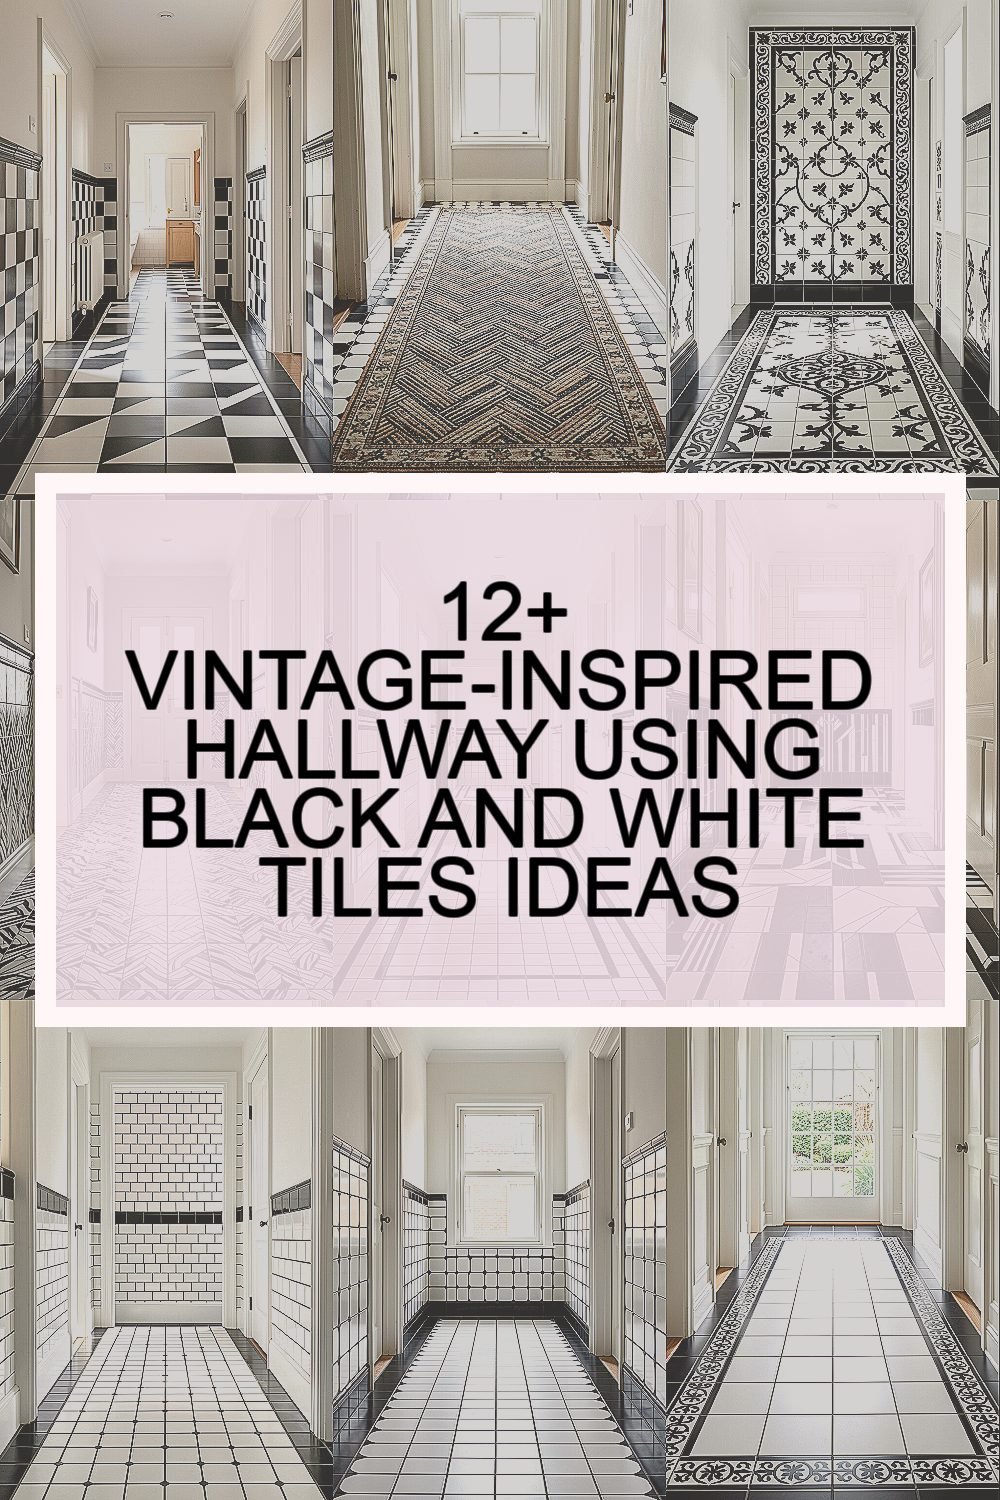
The hallway is the first place your guests notice, so it deserves character. Black and white tiles can give you that timeless vintage vibe with a crisp, clean look.
When you choose the right patterns, trims, and styling, your entryway can feel both cozy and polished. Plus, it’s a practical upgrade that holds up to everyday life.
1. Classic Checkerboard With Soft Vintage Edges
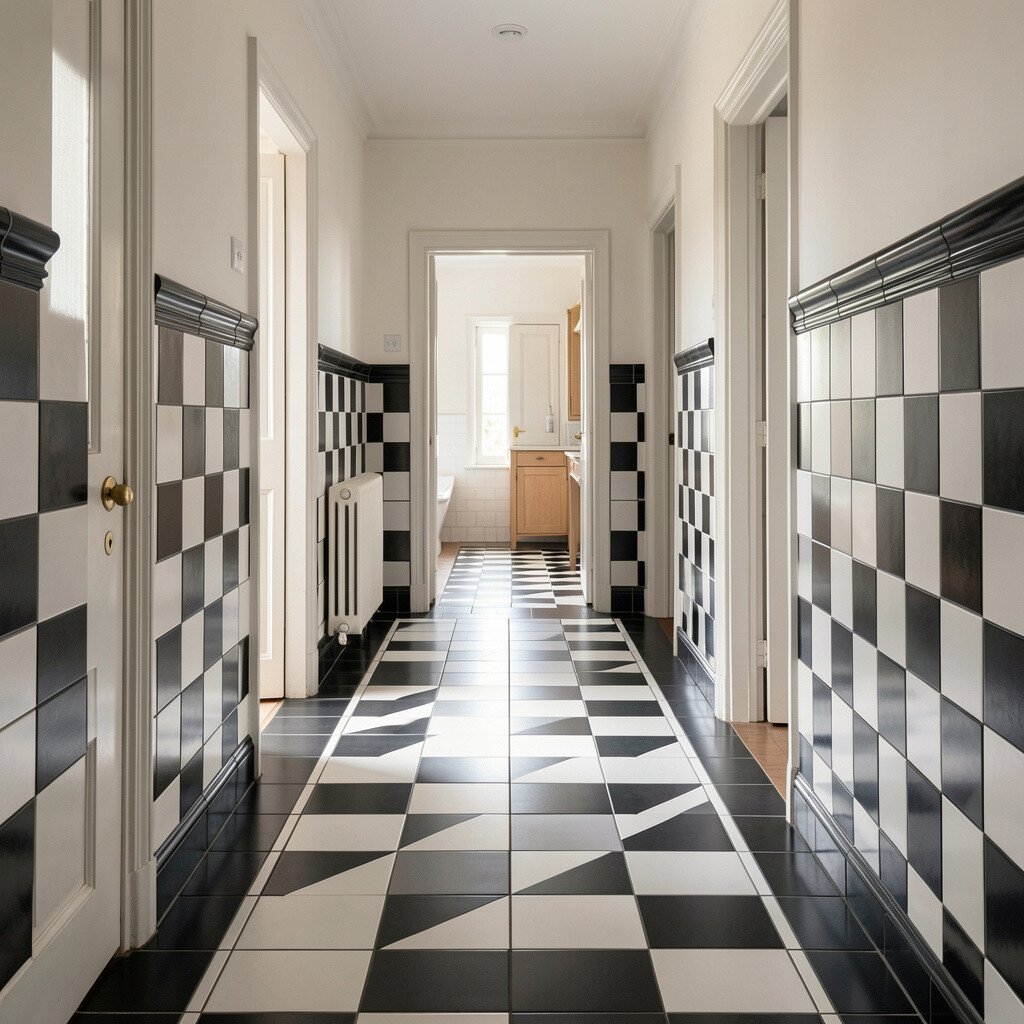
Start with a black and white checkerboard so your hallway instantly looks lively. Keep the grout slightly warm-toned to avoid that harsh modern feel.
Choose a tile size that fits your space, then focus on neat alignment from the doorway onward. This pattern guides the eye straight down the hall, which can make the passage feel longer and brighter. For a vintage touch, consider adding a thin border strip in a muted cream or light gray.
2. Herringbone Runner For A Cozy, Old-World Feel
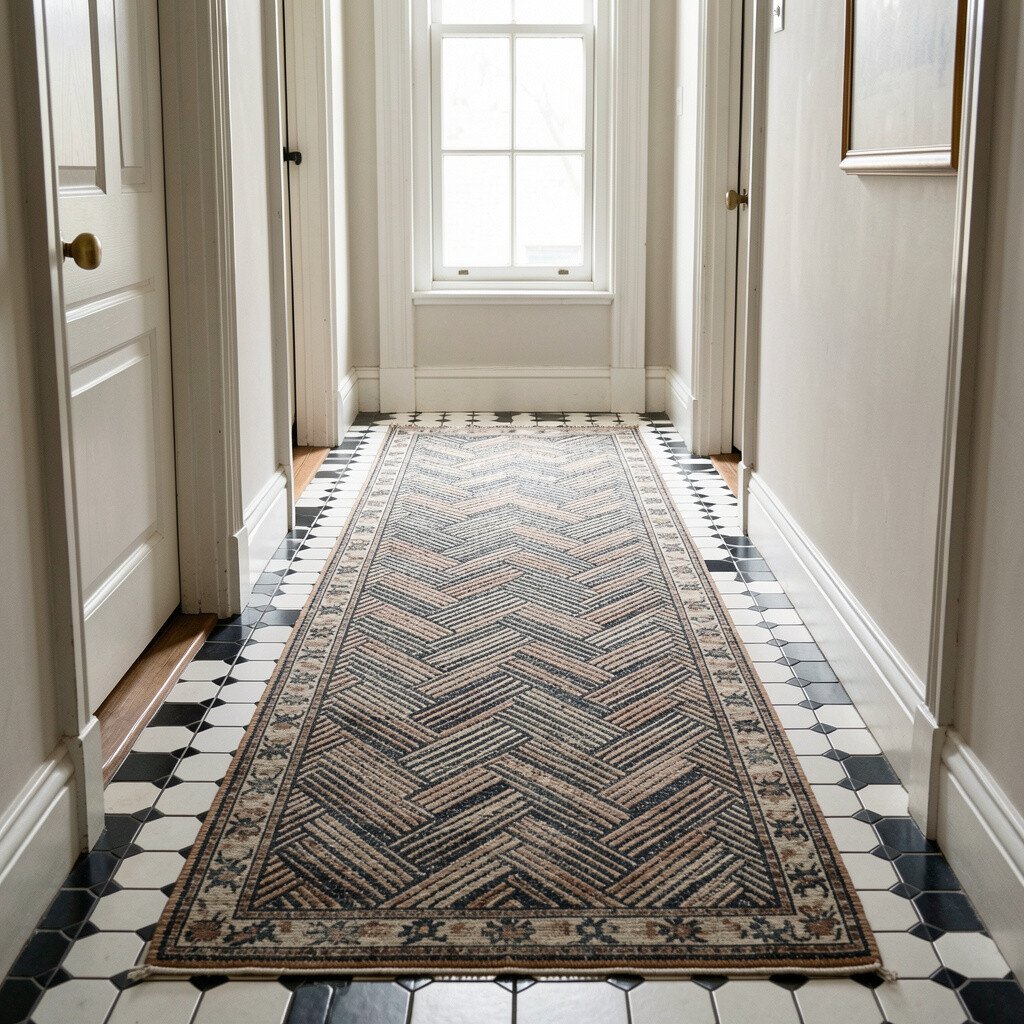
Swap the blocks for a herringbone runner pattern, and the whole hallway starts to feel more textured. The angled lines look elegant and make the floor feel richer without needing extra decor.
Go with durable, slip-resistant tiles so the floor stays safe on busy mornings. This layout hides small scuffs better than very high-contrast repeats, which is great for real life. Pair it with a vintage-style runner rug pad if you want extra comfort underfoot.
If your hallway is narrow, a herringbone can add visual width because the pattern keeps moving. To personalize it, match the tile rhythm with the width of your doorways and baseboards. For cost, pre-plan how many rows you need so you can buy closer to your exact square footage and reduce leftover waste.
3. Bold Victorian Medallion Center With Side Borders
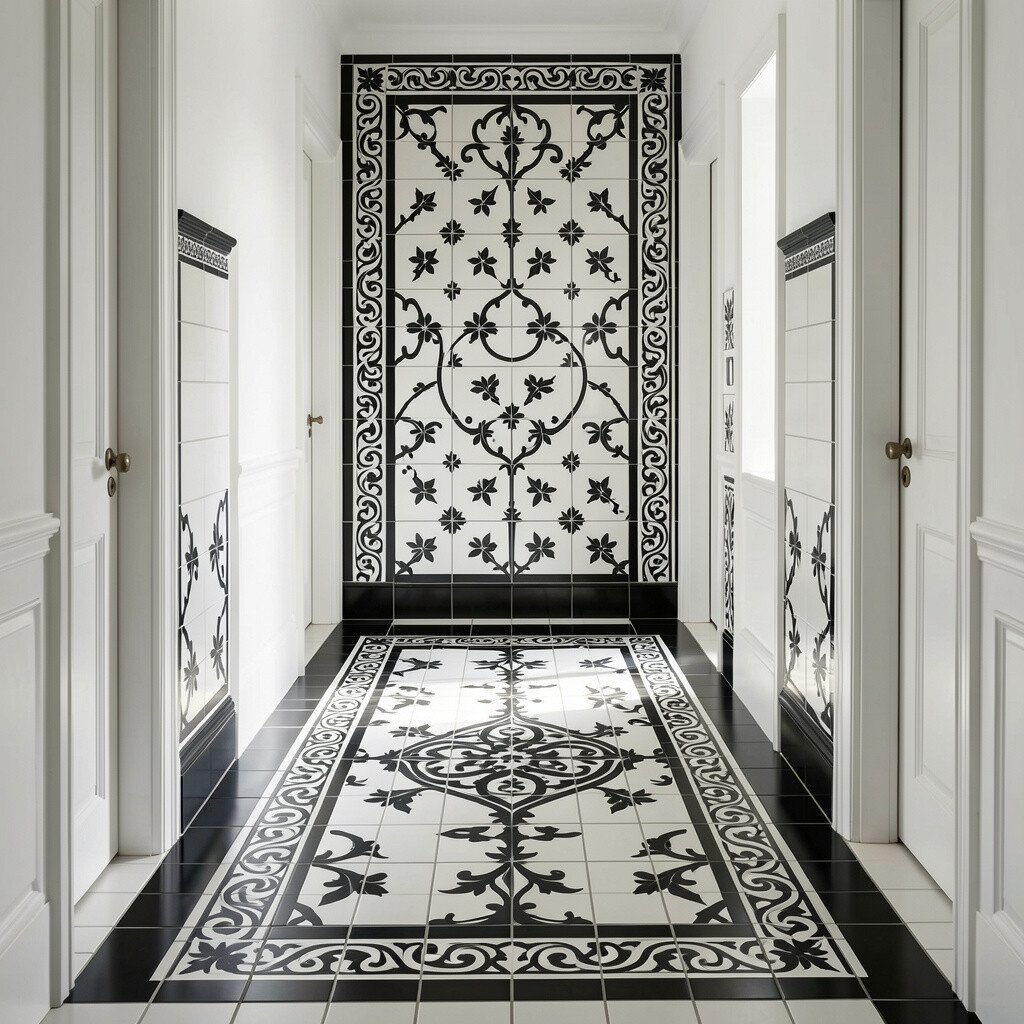
Picture a central medallion in black and white, then frame it with simple side borders. Even in a small hallway, a focal piece like this feels like a classic home from long ago.
Use a medallion that repeats cleanly so installation stays manageable and less stressful. The benefit is that guests naturally pause in the middle, making the hallway feel designed instead of empty. Keep surrounding tiles simpler so the medallion stays the hero.
For personalization, choose a medallion style that matches your fixtures, like scrollwork near a vintage chandelier. If you want a softer look, reduce contrast by selecting tiles with slightly varied finishes rather than ultra-gloss surfaces. When thinking about cost, medallions often require more cuts, so budget for extra material and time.
To make it practical, confirm slip ratings and keep grout sealed to prevent dirt buildup along lines. A quick wipe after shoes come in can keep the pattern crisp for years.
4. Subtle Twisted Basketweave Pattern For Vintage Charm
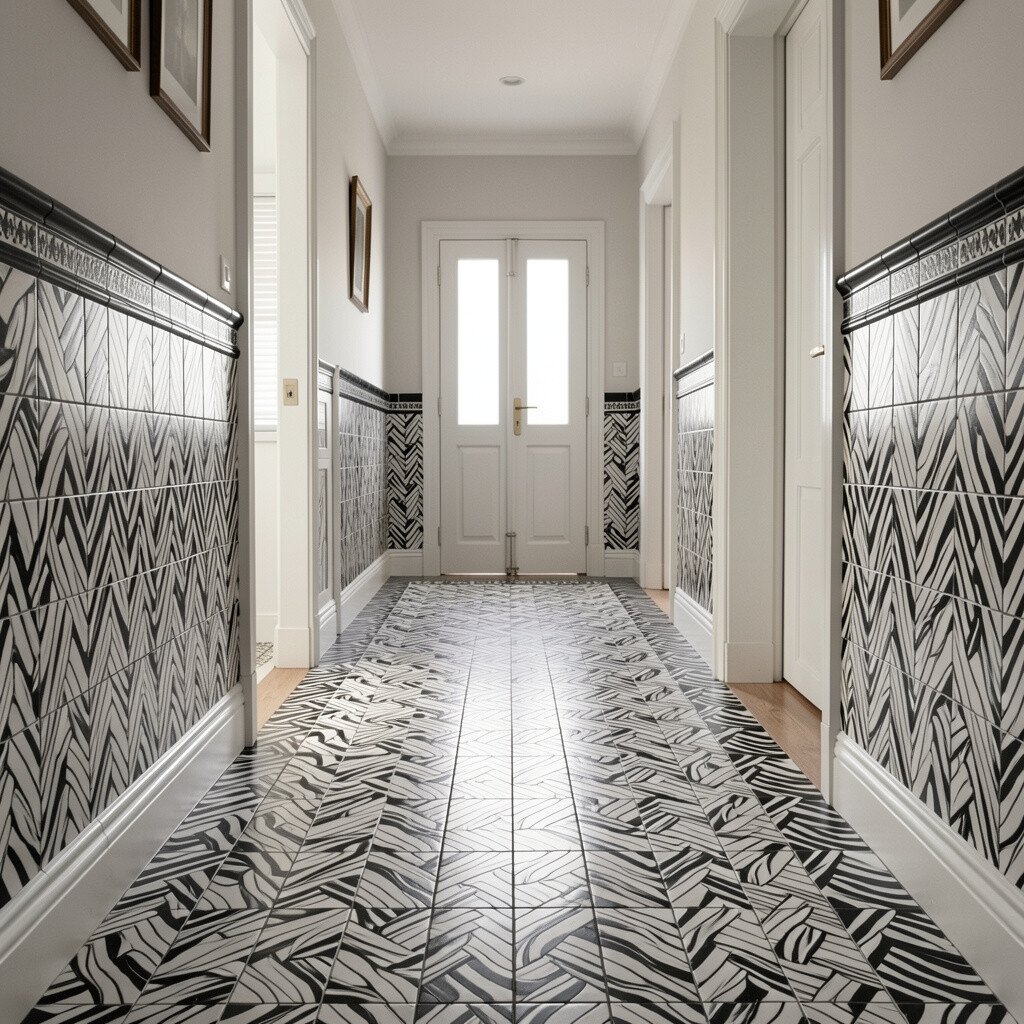
Basketweave tiles look like woven fabric, which gives your hallway a gentle, old-fashioned mood. The black and white variation adds sparkle while staying less loud than big geometric shapes.
Choose a pattern that uses consistent repeat spacing so you don’t end up with a patchy look near doorways. This is a great option if you like vintage style but want something that feels calm and easy to live with. The texture also helps hide tiny marks that show up on flat finishes.
5. Period-Look Frame Tiles With Inner Simple Squares
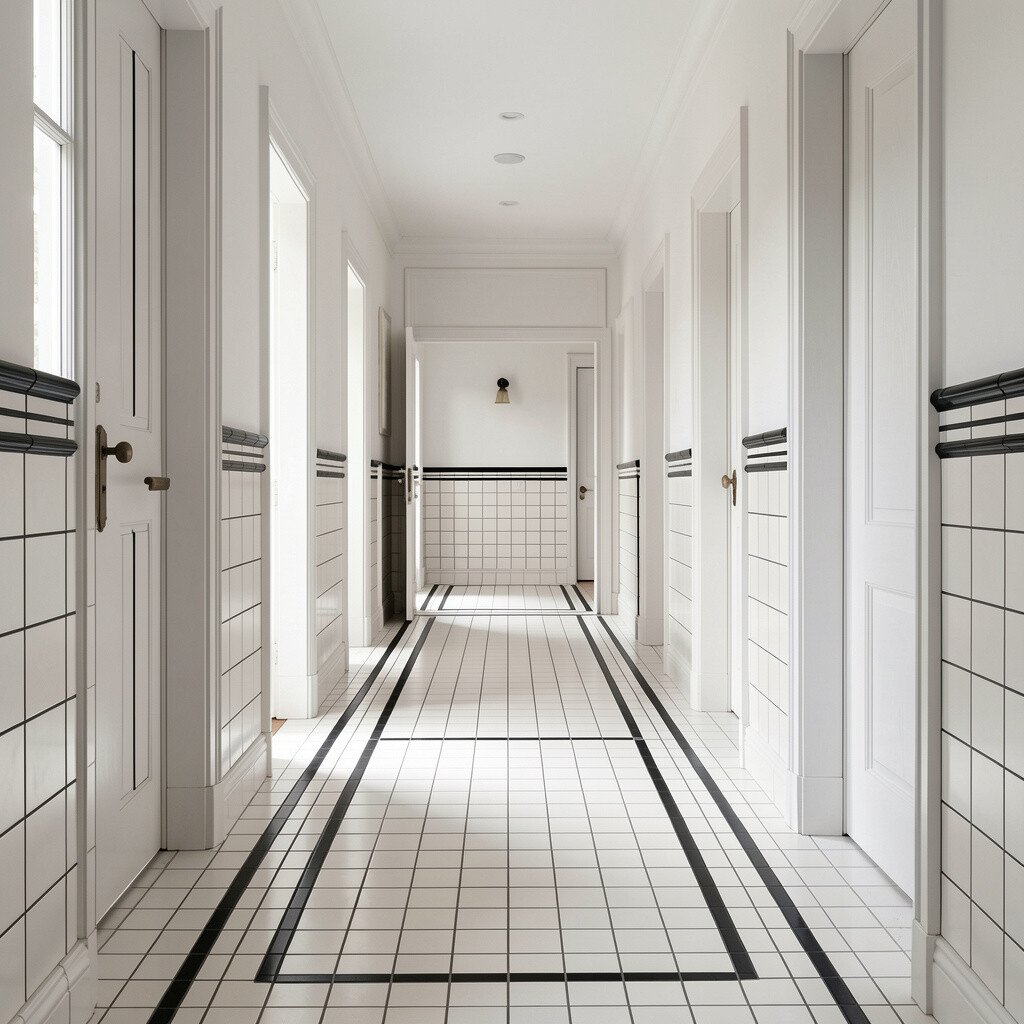
Create a “framed” floor by using border tiles that resemble old molding. Fill the inner area with straightforward black and white squares so the design stays balanced and tidy.
This combo offers a clear vintage vibe without overwhelming the hallway. Because the layout uses repeatable blocks, it’s often more beginner-friendly than complex mosaics. For practical results, measure the hallway length and plan where the frame will land so it looks centered when you walk in.
Personalize by matching the border width to your baseboards and adding brass or black hardware near the entry. If you like trends, matte finishes are popular right now because they feel softer and reduce glare. When budgeting, border tiles can cost more, so start with the border you love most and keep the interior simple.
6. Art Deco Stripes With Black And White Step Rhythm

Art Deco designs bring drama in a clean way, especially with black and white tiles. Try a stripe layout that “steps” slightly as it moves along the hallway, like a sleek design from a vintage hotel.
Keep the stripes consistent in width so the hallway feels orderly. The benefit is that this kind of layout can make ceilings seem taller, because the lines pull the eye upward. Use a sealer that resists staining since bold contrast can show dirt more easily.
To personalize, pair the tiles with a geometric wall sconce or a mirror that has a similar vibe. For cost considerations, you can get the same look with fewer special tiles by using repeatable stripe sections. If you are trying to stay within budget, place the densest deco pattern near the entry and simplify toward the back.
7. Classic Subway Tile Offset With Vintage Grout Tint
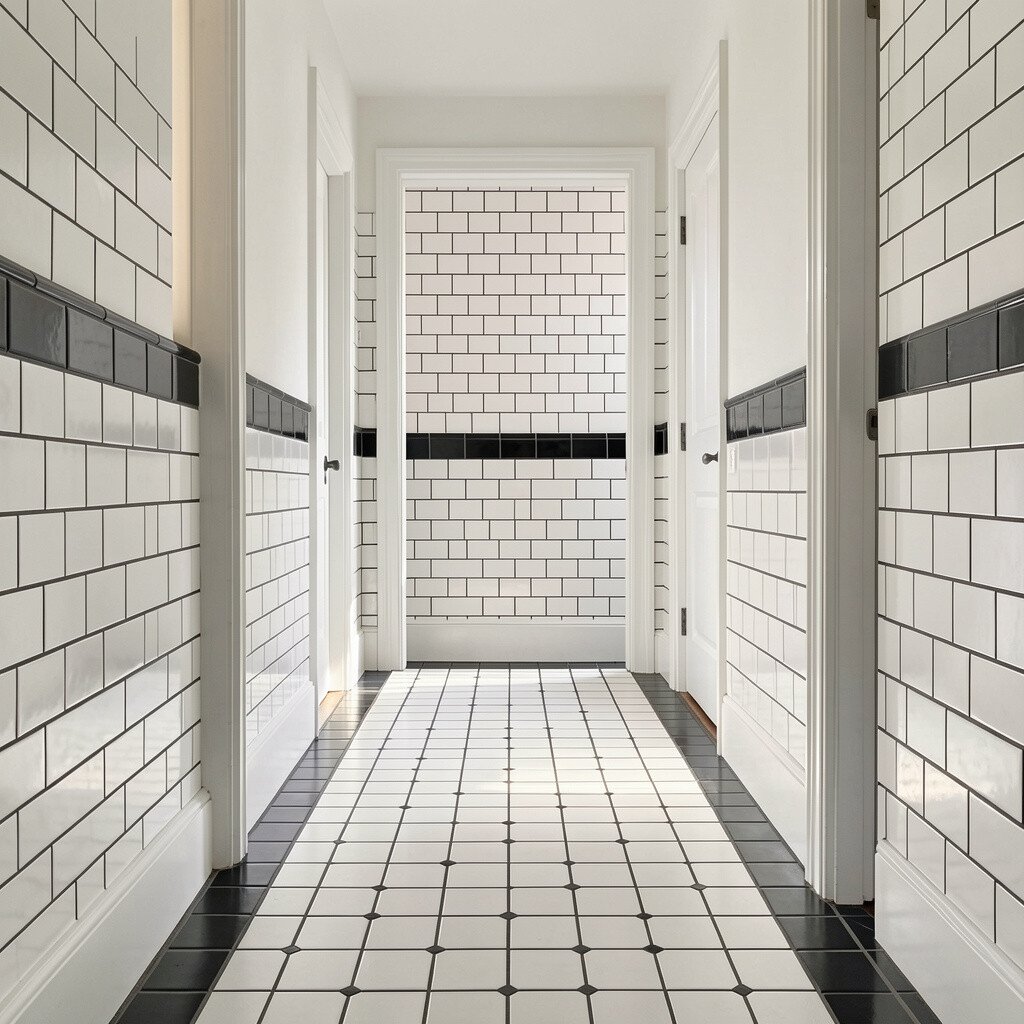
For a cleaner vintage feel, use black and white subway tiles with an offset pattern. It’s simpler than most decorative styles, yet it still looks timeless when the grout is chosen well.
Go for a grout color that leans creamy or light gray to soften the contrast. This gives the hallway a worn-in, classic atmosphere without looking messy. The benefit is easier maintenance, since subway layouts have fewer intricate lines than medallion designs.
8. Black And White Tile With Rounded Corner Accent Squares
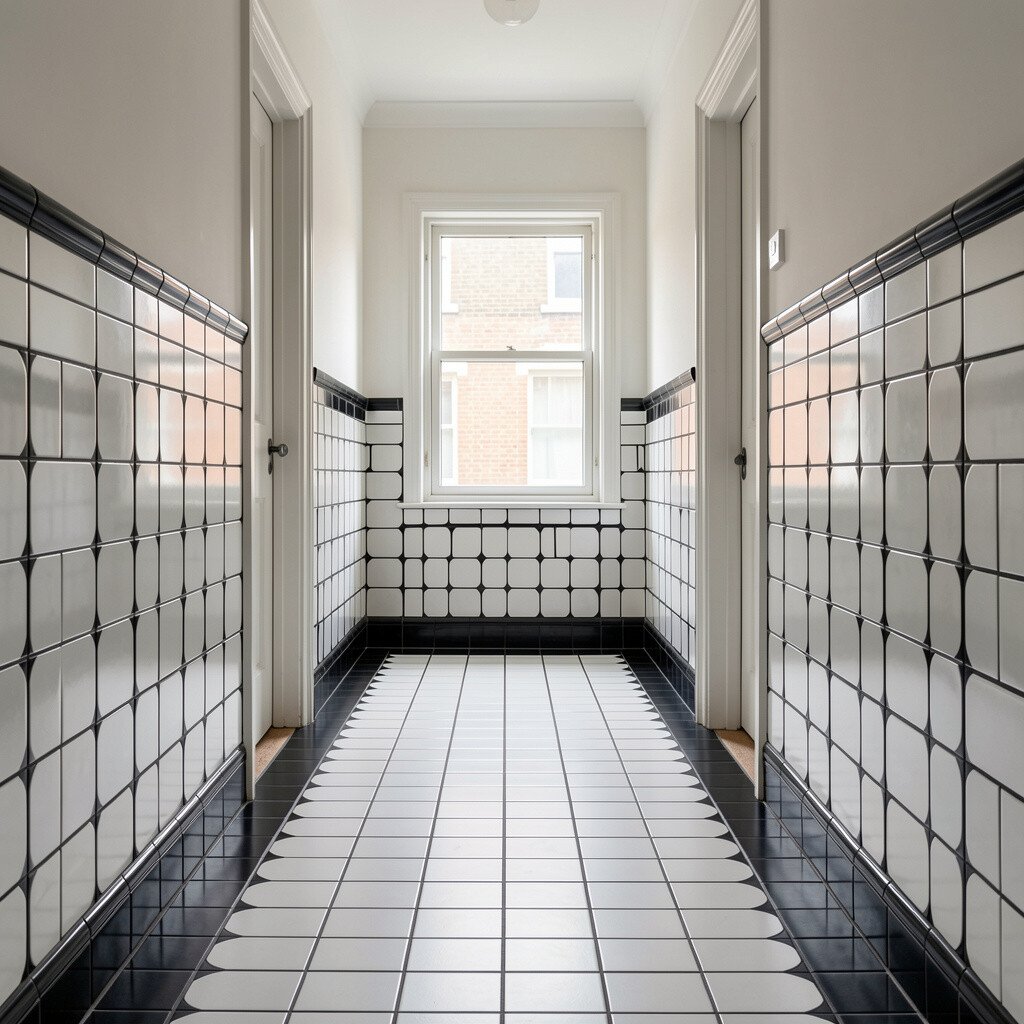
Give your hallway a playful vintage touch by adding rounded corner accent tiles at key turning points. Think of them as little “capstones” for the pattern that guides the eye nicely.
These accents look extra special around door frames, transitions, or where the hallway meets another room. The practical benefit is that rounded corners can visually soften sharp transitions, which makes tight hallways feel less cramped. For personalization, select accents with subtle texture so they catch light differently as you walk by.
When budgeting, accents are usually less expensive than full custom panels, but you still need extra tile pieces. Plan ahead for cuts at corners so the finished look stays smooth and aligned. If you want a trend-friendly update, matte tiles with gentle texture are widely loved because they look vintage without feeling dated.
9. Vintage Border Tiles With Plain Center For Low-Effort Style

Want big impact with less complexity? Use black and white tiles mainly in the hallway body, then add a decorative border near the walls. This design feels classic because it resembles old architectural detailing.
Keep the center area consistent so your hallway stays neat and doesn’t feel busy. The benefit is comfort and practicality, since your daily mess is handled by simple repeating patterns. It also makes the floor easier to clean because you are not working around lots of tiny shapes.
For personalization, choose border motifs that match your style, like small florals, stars, or simple linework. If your lighting is warm, the black will look deep and the white will look creamy, creating a cozy vintage mood. For cost planning, border tiles can be a smart compromise because you use fewer patterned pieces.
10. Repeating Ribbon Pattern For Movement Down The Hall
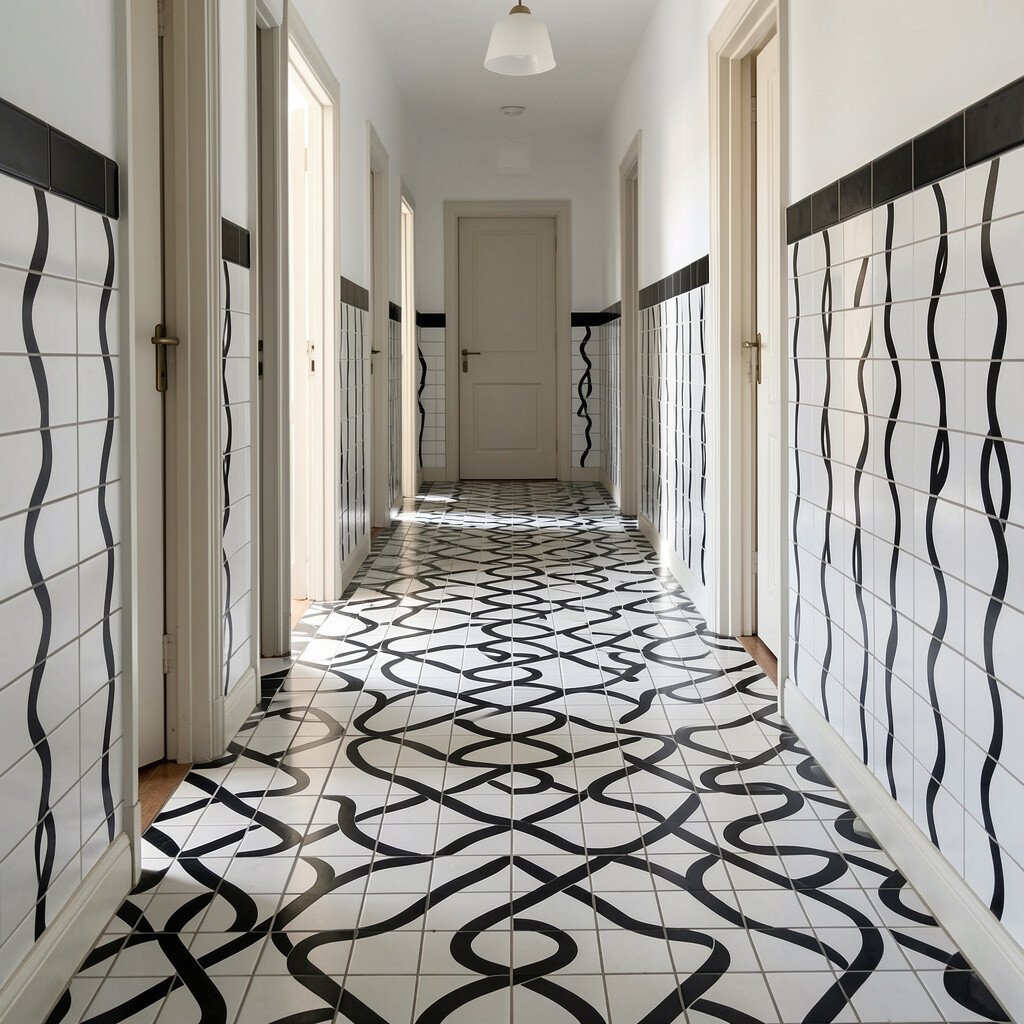
Ribbon patterns look like flowing stripes, and they make hallways feel more energetic. With black and white, the movement reads clearly even in narrower spaces.
Use ribbons that repeat in the same direction so the floor feels intentional. This helps your hallway feel organized, which is a surprising benefit when you are trying to keep everything tidy. Practical tip: plan grout lines early, because thicker joints can change how the ribbon looks from far away.
To personalize, match the ribbon’s spacing to your artwork rhythm on the walls. If you like current trends, you may enjoy mixing a vintage floor with modern wall paint in a warm off-white. For cost, ribbon patterns can be made using standard tiles plus a few specialty pieces, so you can keep spending controlled.
Sealing is worth it, especially in entry areas, since dark lines can collect dust if they are not protected. A quick reseal schedule can keep the ribbons looking sharp.
11. Tall Starburst Medallions In Alternating Positions

Starburst motifs can bring a vintage festival feel to a hallway without turning it into a theme park. Use black and white tiles to create a tall, narrow star look that stretches the space visually.
Alternate starburst placements so the pattern feels balanced from one end to the other. This is a great benefit for longer hallways because it creates a steady rhythm while still giving you visual interest. Keep the surrounding tiles simple so the stars feel crisp, not crowded.
For personalization, choose star shapes that echo your chandelier or mirror design. You can also vary the finish by using slightly different sheen levels so the star edges stand out more when the light hits. If cost matters, limit the most detailed star tiles to the busiest section near the front door and simplify the back half with fewer accents.
To keep maintenance easy, wipe regularly and use a mild cleaner that won’t dull the finish. When the grout stays sealed, the contrast stays bold longer.
12. Victorian-Inspired Corner Tiles With Tiny Floral Linework
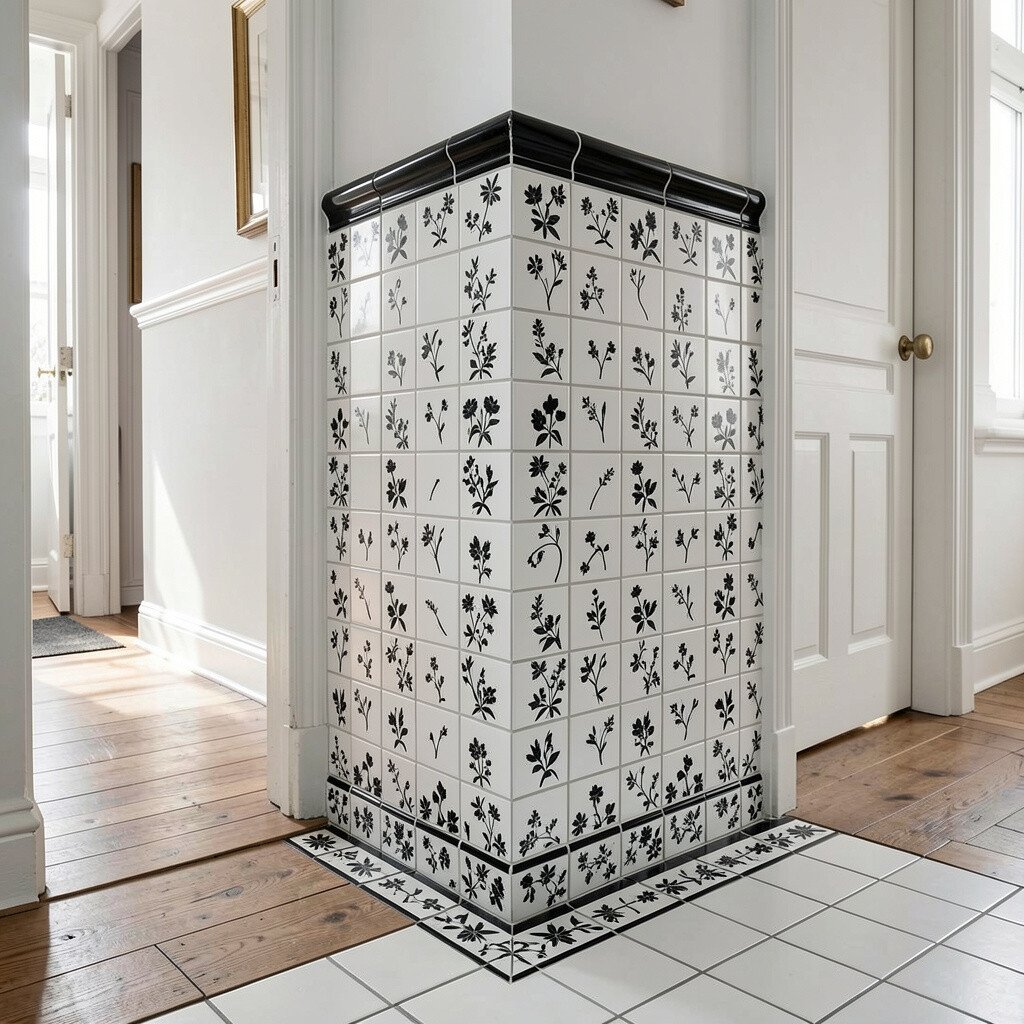
Add charm by placing corner tiles that feature delicate floral linework. Keep the main floor mostly black and white squares so the flowers feel like a special touch, not a loud pattern.
Corner details are often seen by visitors first, so they create a memorable welcome. The practical benefit is that you can keep the rest of the floor straightforward and easy to maintain. If you have kids or pets, this setup gives you the style you want without demanding constant deep cleaning.
13. Layered Vintage Look With Black And White Tiles Plus Warm Wood

Pair black and white tiles with warm wood flooring at the hallway threshold for a layered vintage vibe. The contrast feels like an old home that has been lovingly updated for today.
This mix gives you both visual comfort and practical benefits, since wood can feel warmer underfoot while tiles handle heavy traffic near the entry. Use a clean transition strip to keep the floor edges safe and level. For personalization, match the wood tone to your furniture, like honey oak or deeper walnut shades.
To keep the look cohesive, choose tile finishes that work with your wood sheen, such as matte tiles with satin wood. If you want to follow current trends, many homeowners are blending vintage patterns with natural materials because it feels inviting and less stark. For cost considerations, using tiles in only the entry zone can reduce overall spending while still delivering a high-impact vintage moment.
Plan the layout early so the tile line meets the wood in a neat way. That small detail makes the whole hallway feel intentional and well cared for.