
You can make uneven floors feel solid without tearing everything out. Vinyl plank can do a lot of quiet, satisfying work when you plan the build-up carefully.
1. Start With a Careful Flatness Check

Before any plank touches the floor, you want to know where the problem spots live. Use a long straightedge and mark dips and humps with painter’s tape so you can plan around them.
Look closely under bright light, because glare makes small waves easier to see. When you find the worst areas, you can decide if you’ll use leveling compound, a thicker underlayment, or both.
If the subfloor is only a little uneven, vinyl plank often handles it well with the right underlayment. If the floor has big ridges, plan early so the planks don’t flex and loosen over time.
2. Choose a Vinyl Plank With a Built-In Cushion Layer

Many modern vinyl planks include an attached cushion that helps smooth minor bumps. You’ll often see a soft, slightly forgiving look and feel when you run your hand across it.
This type can reduce noise and make steps feel warmer, especially in rooms where you stand often. When the cushion is thick enough for your situation, you may avoid extra materials and cut labor time.
3. Add a Two-Stage Underlayment for Better Recovery

A smart underlayment setup can help planks “bounce back” instead of staying stressed. Picture a layered pad system that evens out small dips while still staying firm enough for locking edges.
Using a base layer plus a top layer can also help with sound reduction, making hallways feel calmer. You’ll get a smoother click when pieces lock, which matters for long-lasting seams.
Pick materials made for resilient flooring and match them to your subfloor type. If moisture is a concern, choose options that include vapor control so the flooring stays happier.
4. Fill Low Spots With Self-Leveling Underlayment

When the floor has dips, filling them is usually the cleanest fix. Self-leveling underlayment spreads like thick batter and settles into low areas for a more even surface.
Make sure you clean dust and debris first, then prime if the product calls for it. Once it cures, you can sand or spot-skim high edges so the planks feel true underfoot.
5. Sand High Spots Until the Surface Feels Smooth
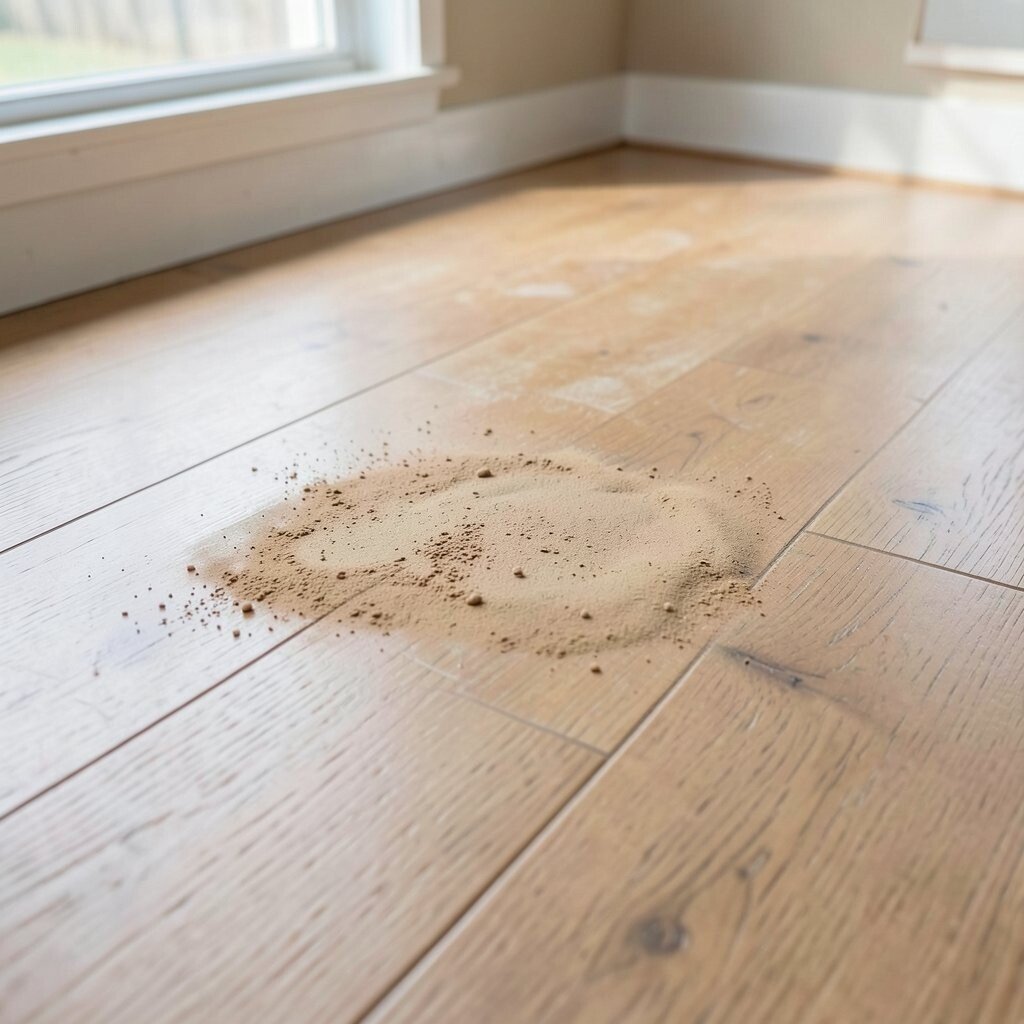
If you only have bumps, sanding is often quicker than pouring new material. Imagine running a palm across the area and feeling the surface go from scratchy to steady.
Use a dust-controlled method and check often so you remove enough but don’t overdo it. After sanding, vacuum thoroughly so tiny particles don’t create bumps under the planks.
This approach can keep costs lower because you’re using fewer compounds and fewer layers. It also helps the locking mechanism sit flat without wobble.
6. Use a Skim Coat for Localized Waves

Some rooms have one or two areas that look like gentle hills and valleys. A thin skim coat can level those spots without rebuilding the whole floor.
You can apply it with a smooth trowel and feather the edges so transitions disappear. After it dries, test with a straightedge again to confirm the plank will sit evenly.
Skim coating is helpful when you want a targeted fix instead of a full leveling job. It’s also a great place to personalize by focusing on the spots you feel the most when walking.
7. Install Over a Wood Subfloor With Proper Fastener Checks
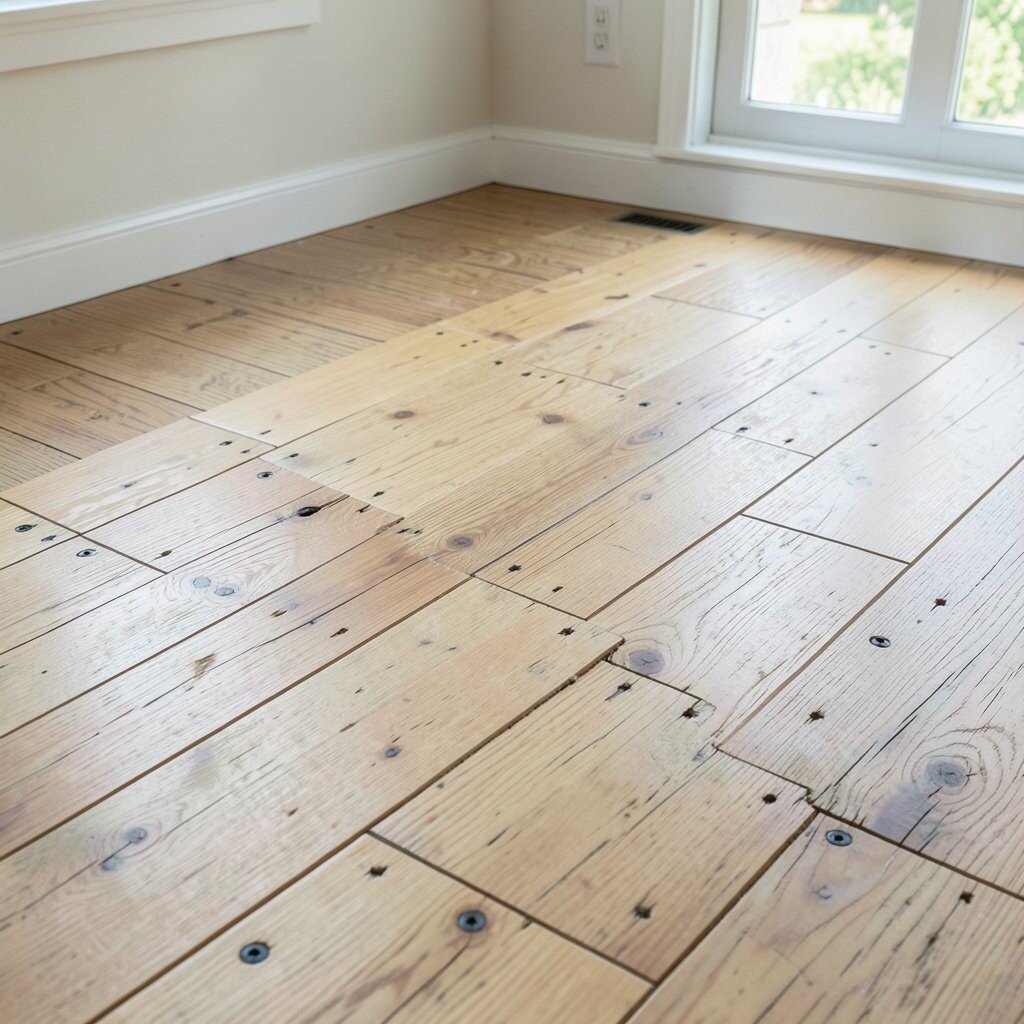
Unevenness in wood floors often comes from loose boards or nails that have lifted. Tighten squeaky spots, press down high screws, and replace fasteners that don’t hold.
When everything feels locked in place, vinyl plank lies flatter and looks more uniform. You’ll also help reduce future movement that can open seams over time.
8. Address Moisture Before You Lay Anything Down
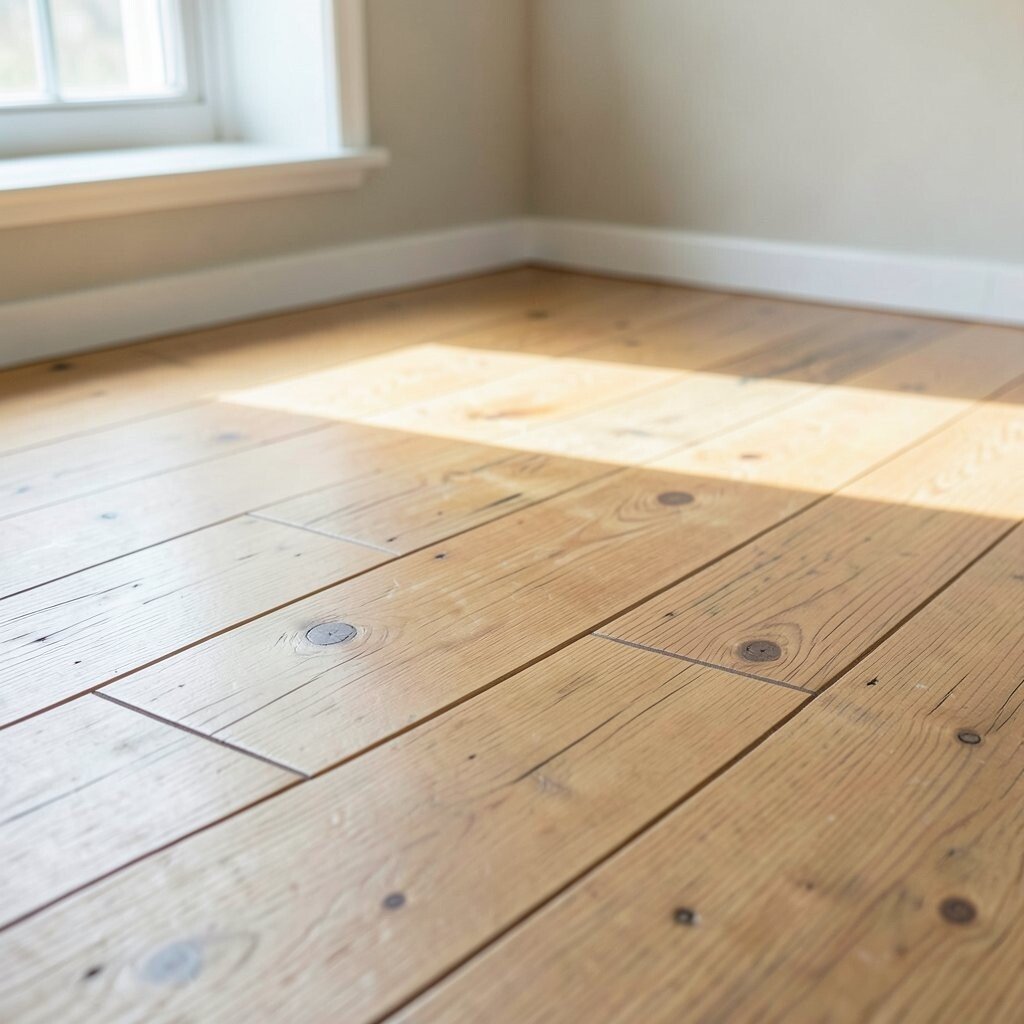
Moisture can warp subfloors and create new uneven spots even after you level. Look for signs like damp crawl spaces, condensation, or a floor that feels cool and clammy.
Using a proper vapor barrier and moisture-compatible underlayment can keep the system stable. That stability protects the plank’s locking edges and keeps your floor looking neat and even.
9. Consider Plank Size and Thickness for Real-World Floors

Not every vinyl plank is built for every foundation. Thicker planks often feel more rigid, which can help when the subfloor has small dips.
Long, wide planks can be stunning, but they may require better flatness than shorter layouts. If your floor has mild waves, you may like how a slightly smaller plank reduces visible unevenness.
Plan the look you want while matching it to the floor reality. This is one place where personalization is fun because you can choose a style that hides minor variations.
10. Break Up the Layout With Staggered Seams
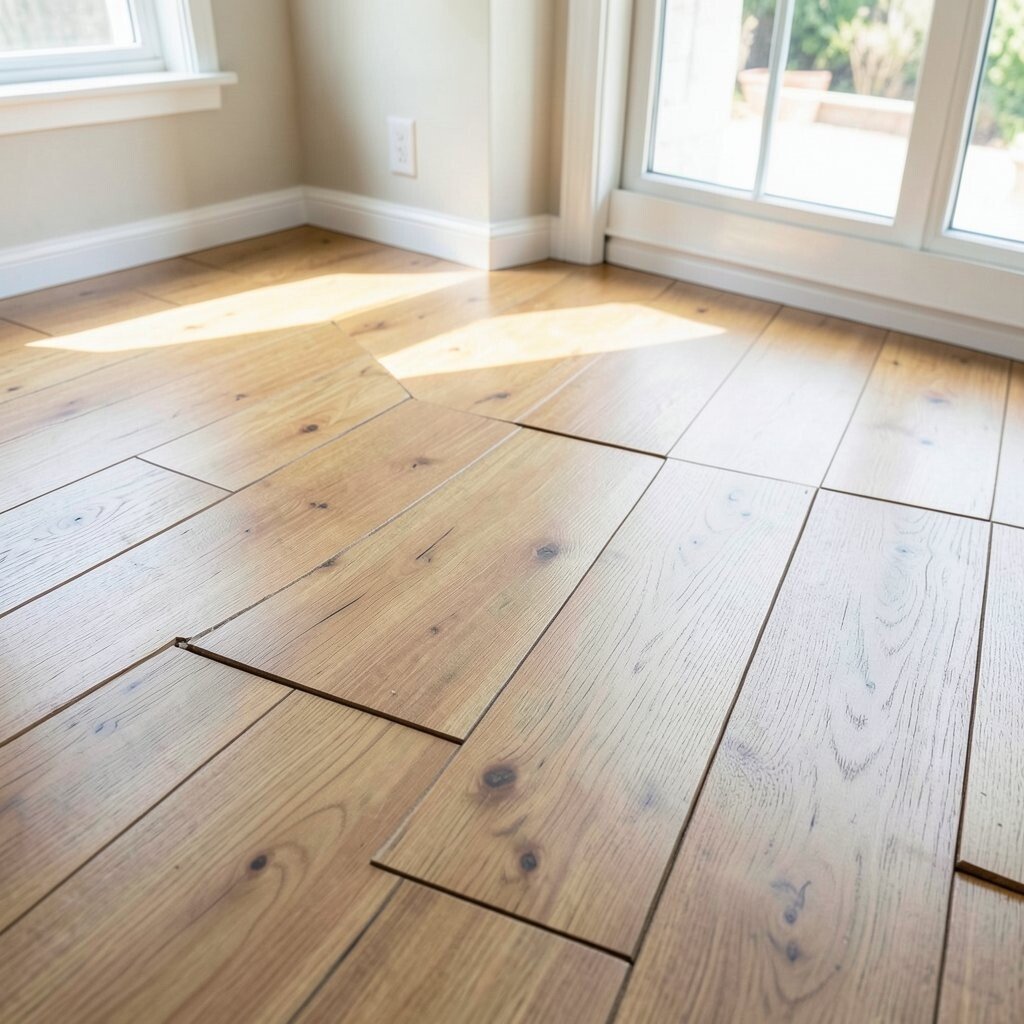
A staggered pattern can make the floor look more balanced, especially in rooms with light shining from one direction. When seams land in different spots, the eye reads the surface as calmer.
Keep an eye on layout flow so you don’t end up with narrow strips that flex over tiny dips. Taking a few extra minutes to plan transitions at doorways can also prevent stress points.
11. Use Expansion Gaps to Let the Floor Breathe

Vinyl plank needs room to move with temperature changes, and cramped edges can cause buckling that looks like unevenness. Leave the recommended gap around walls so the floor stays steady and flat.
Use spacers for a neat, consistent line, then remove them after installation. This simple step keeps your layout crisp and avoids wave-like problems after the first season changes.
12. Install First Rows Straight With a Guide Line

The straightness of your first row sets the tone for the whole room. If the starter line curves, later planks may bridge uneven spots in a way that looks crooked.
Set a guide using chalk or a laser line and double-check as you go. When your first rows look sharp, the rest of the floor usually clicks in with less fuss.
This makes the floor feel more intentional, not just patched together. It also helps locking seams align, which can reduce the chance of gaps showing later.
13. Use Underlayment Tape at Seams for a Cleaner Surface
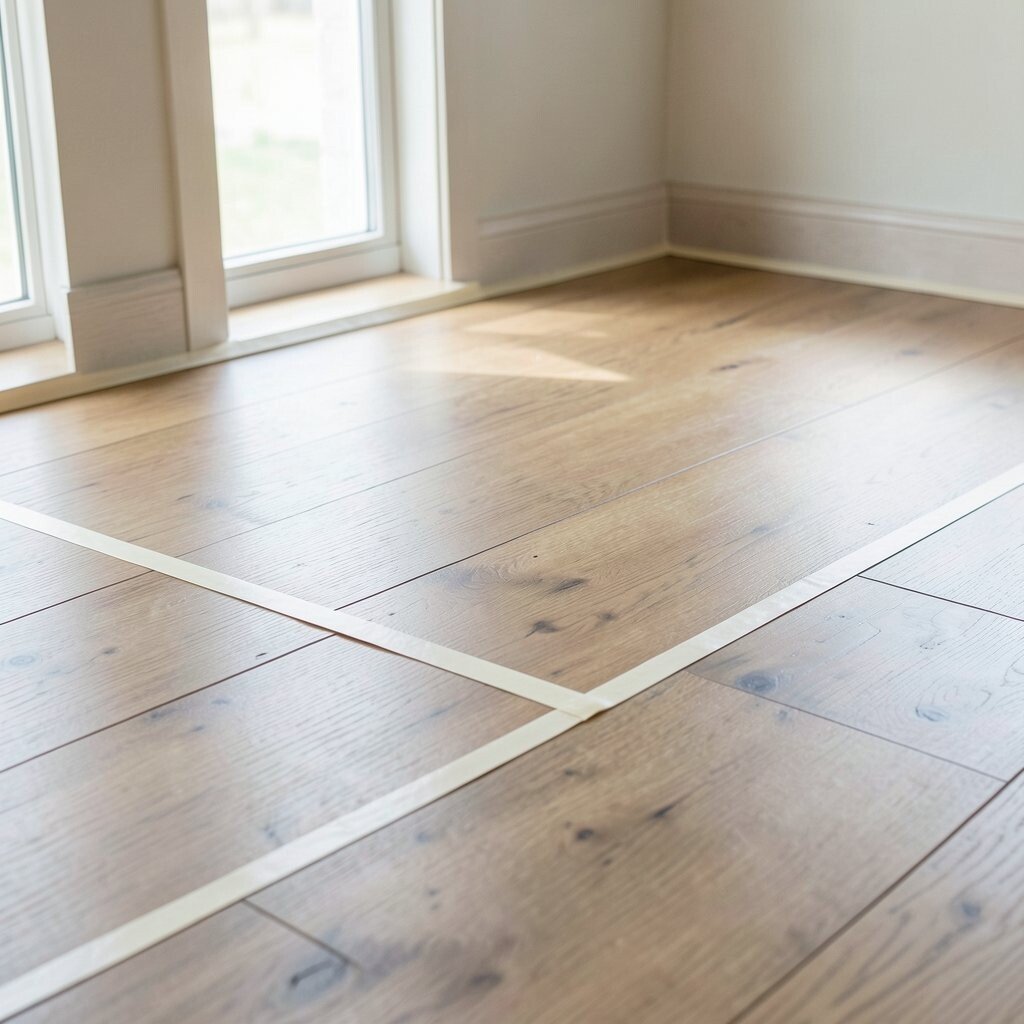
Underlayment seams can create little ridges if they don’t lie flush. When you tape the seams, the surface becomes smoother like a continuous sheet.
You’ll notice it during installation because planks slide more easily and lock with less resistance. This can also improve sound control, making footsteps feel softer and less hollow.
14. Replace Damaged Subfloor Areas Before Flooring Goes Down

If you see rotten wood, delaminated panels, or crumbling concrete patches, leveling won’t last. Vinyl plank may hide a little damage at first, but it can’t fix a weak foundation.
Cut out problematic sections and repair them with matching materials. After the repair cures and dries, check flatness again so the plank installation feels confident.
This step costs time but saves money later because it prevents repeat work. It also lets you tailor the build to your home, especially in older houses with unique problem spots.
15. Consider Modular Leveling Solutions for Quick Local Fixes

Sometimes the unevenness is concentrated in a few tiles or boards, not the whole room. Modular leveling pieces can lift only those trouble zones without waiting for large compounds to cure.
These systems often look tidy and install faster, especially when you need to keep a project moving. They can also reduce mess since you’re not pouring and mixing materials across the entire floor.
16. Choose a Floor That Handles Thermal Changes in Your Climate

Unevenness can come from seasonal shifts as rooms heat up and cool down. When a floor moves unevenly, it may open seams or create subtle ridges that feel worse than before.
Pick vinyl plank designed for your climate range and follow acclimation guidance. Keeping the room at stable temperatures helps the flooring settle evenly, which is especially useful in garages, sunrooms, and entryways.
17. Plan Transitions With Proper Reducer Strips and Edging

Doorways and hall openings are often where uneven floors reveal themselves most. Transition strips help bridge changes in height so the floor doesn’t dip abruptly at thresholds.
Choose edging that matches the thickness of your plank and underlayment. You’ll get a clean look that also feels safer for heels and rolling carts.
Good transitions also make the layout feel customized, because you can coordinate patterns and finishes to match the rest of your home. It’s a practical place to spend a little more for a smoother, more professional result.
18. Keep Subfloor Layers Flat When Installing Over Existing Flooring

Some people want to install over old floors like vinyl sheet remnants or worn tiles. The key is making sure the surface is stable, not soft, and not full of raised edges.
If the existing floor has ridges, flatten them with sanding or removals as needed. If it’s uneven and unstable, adding underlayment won’t fully fix it, and you may end up with rocking planks.
This is where careful prep keeps your investment protected. When the base layer is truly flat, your new vinyl looks even and feels solid when you walk across it.
19. Reinforce High-Traffic Areas With Extra Support

Entryways, kitchens, and stairs-adjacent areas take the most pressure, which can reveal unevenness faster. If those zones feel slightly bouncy now, they deserve extra attention before plank installation.
Using a sturdier underlayment or a targeted leveling approach can help the floor feel consistent. When the support matches the stress level, you’ll enjoy a calmer, quieter floor for years.
20. Personalize the Finish by Matching Color to Light and Leveling Fixes
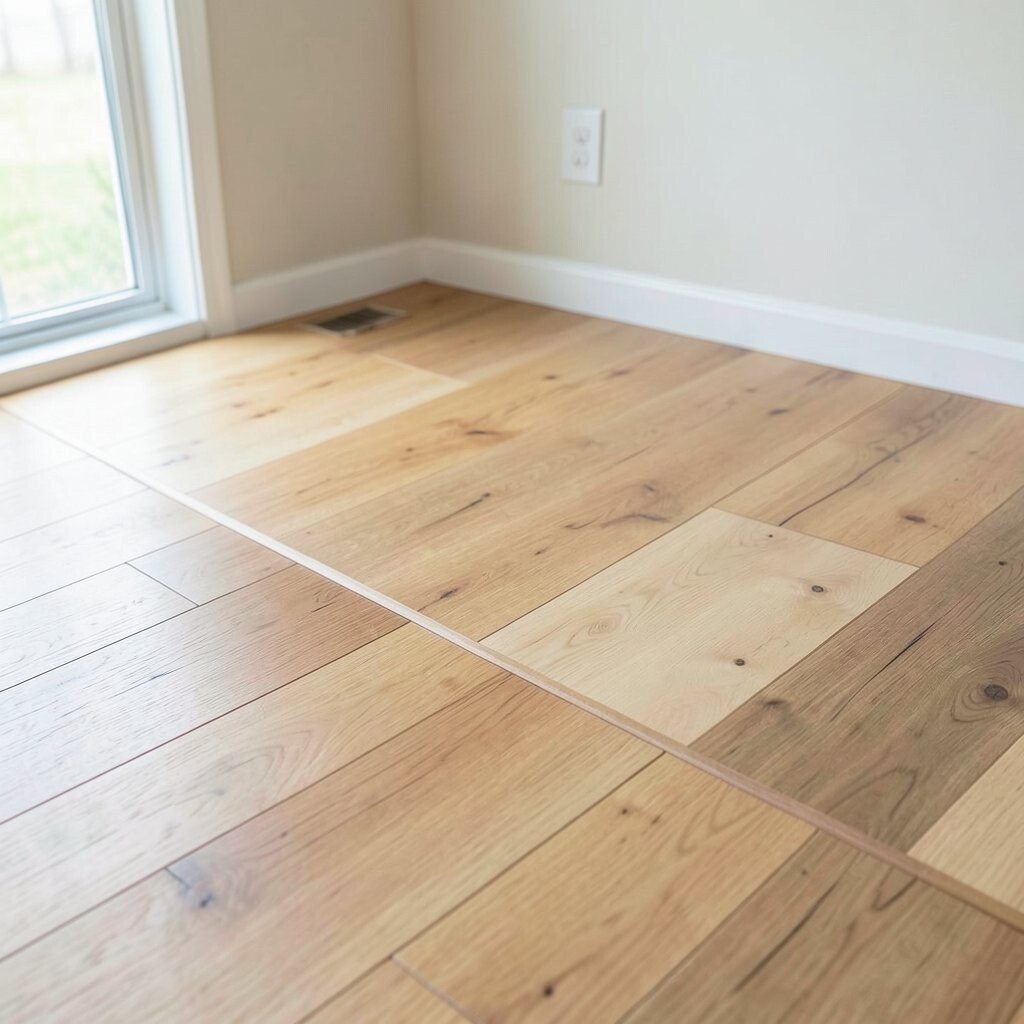
Color choices can make unevenness less noticeable, especially when light moves across the room. Lighter planks can highlight texture, while medium tones can hide minor variations better depending on your lighting.
Wide planks with realistic grain can create a strong visual pattern that draws the eye forward. If you’re leveling only parts of the floor, pick a style that looks great from multiple angles so the room still feels cohesive.
Think about cost here too, because investing in better-looking planks can feel worth it when your subfloor prep already did the heavy lifting. Choose a finish that you’ll love every day, not just the one that “fits” the job, and you’ll feel proud of the final look.