The room hums when students feel safe to try. Every activity below is made for that exact moment when imagination wakes up.
You’ll find hands-on options, easy materials, and plenty of ways to make each one feel like it belongs to your class.
1. Storybook Still Life
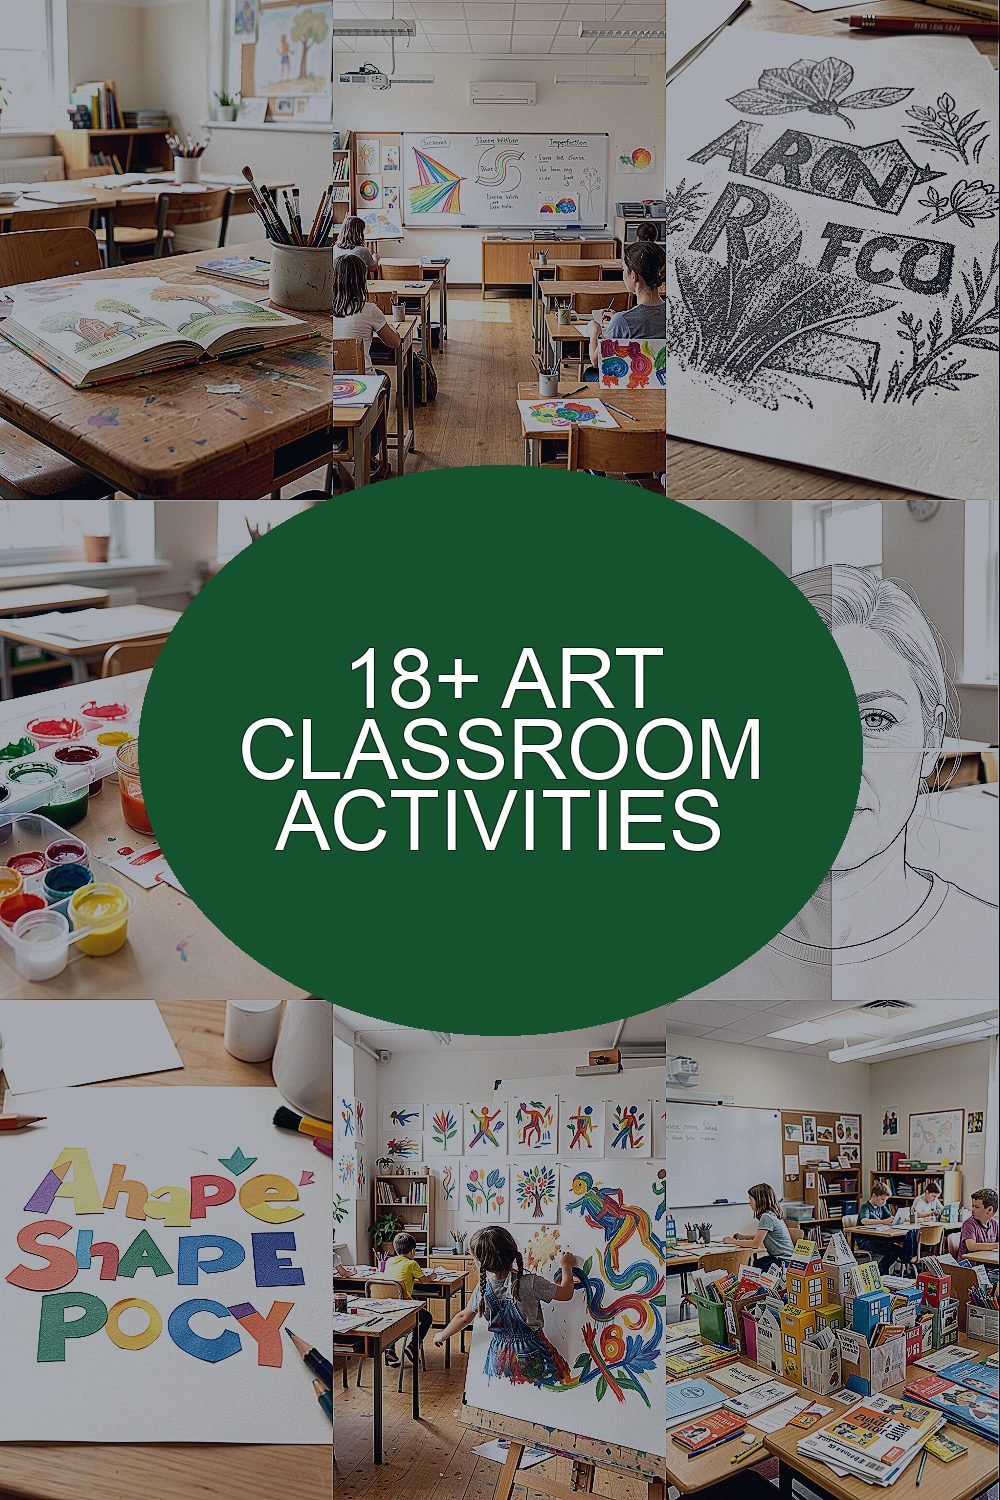
Set a small “scene” on each table using everyday objects like buttons, paper scraps, toy parts, or fruit. Students observe closely, then arrange the objects into a quiet moment that feels like it’s from a story.
Ask them to add simple details with drawing or collage, such as a shadow that looks like a character, a map of where the scene happens, or a tiny caption written as plain dialogue. They can also label shapes using handwriting, not fancy lettering, and that helps reading-friendly students join in. As they work, encourage them to choose one mood, like cozy, spooky, or funny, so the visual choices stay focused.
2. Symmetry With Imperfection
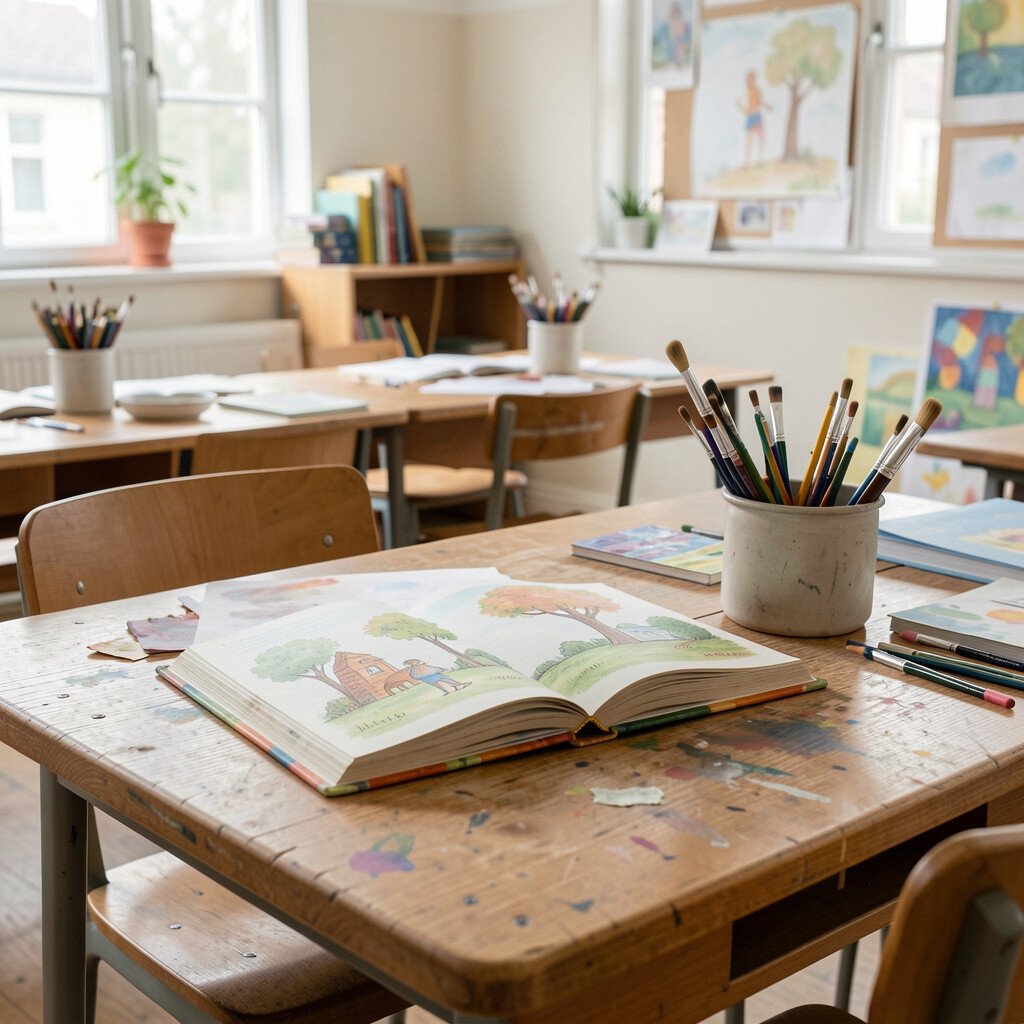
Give students folded paper and a marker, then invite them to draw half a design that they’ll mirror. The results often look like butterflies, masks, or ornaments, but the fun is in the mistakes that happen when lines don’t match perfectly.
After unfolding, they finish the “missing” parts by adding texture dots, crosshatching, or small patterns that make the imperfection feel intentional. You can guide them to keep one color only for a clean look, or let them use a limited palette for variety. Students benefit because symmetry practice builds confidence, and the slight wobble teaches them that art doesn’t need to be exact.
For personalization, have them choose a theme like sports, space, or favorite snacks, and let that theme guide the shapes. Keep cost low by using scraps of printer paper, old wrapping paper, and one set of markers per group. A current trend in classrooms is “design constraints,” and symmetry with limits helps students create bold work without feeling overwhelmed.
3. Texture Rubbings From Around School
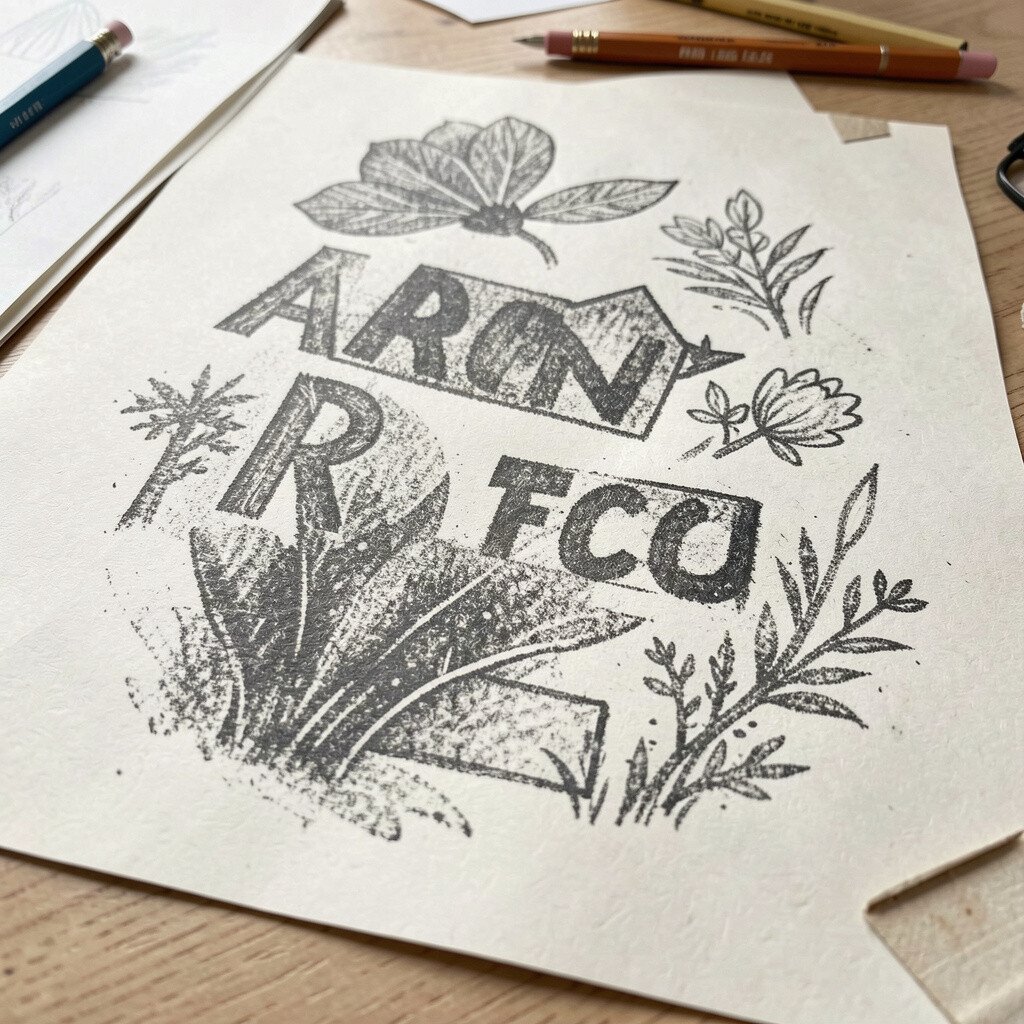
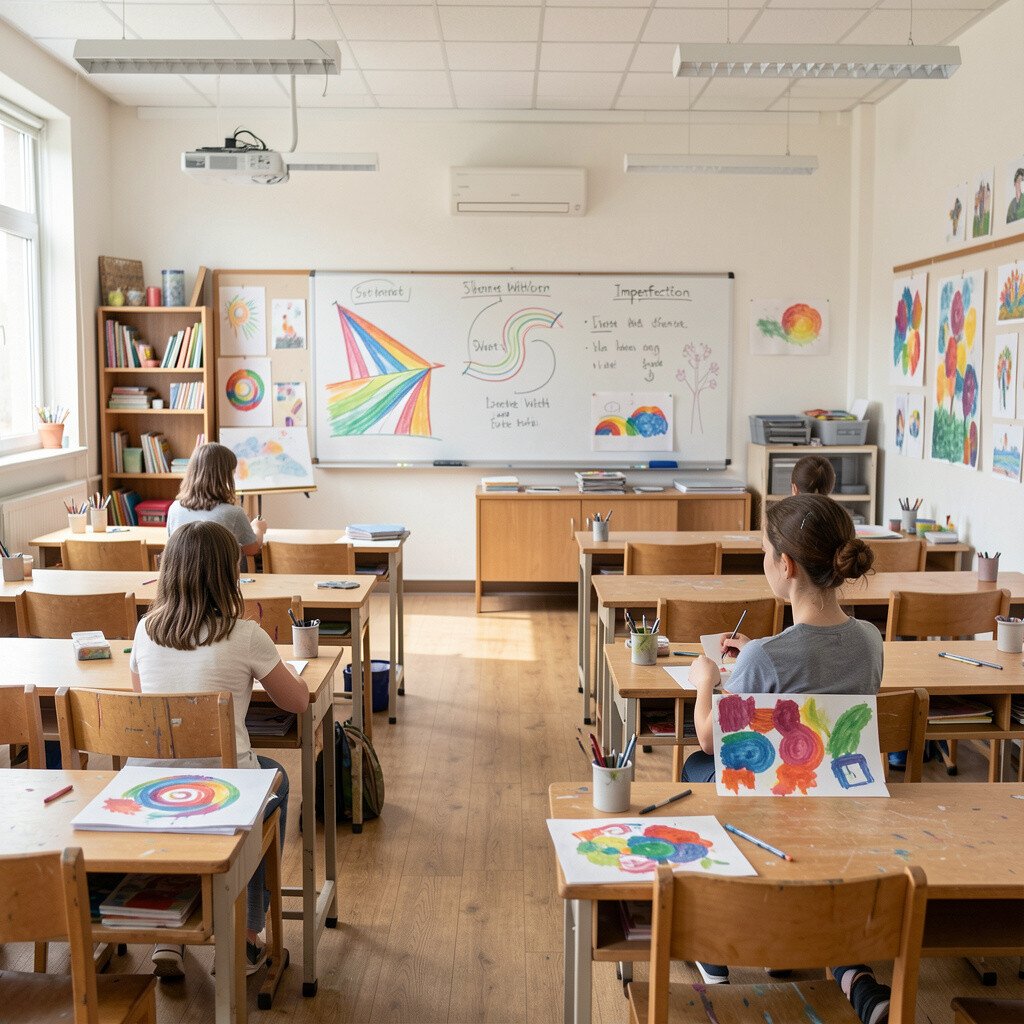
Send students on a short, careful “texture hunt” with pencils and paper. They find safe surfaces like classroom signs, desk edges, fabric, leaves in a planter, or cardboard patterns.
Back at their seats, they place paper over the texture and rub gently to capture the pattern in graphite. Then they turn those rubbing shapes into a larger artwork by cutting pieces and arranging them into a collage.
To make it feel creative, ask them to pick one texture that feels strong and one that feels soft, then design a piece that shows both moods. Students gain fine-motor control and visual awareness because they’re practicing observation, not just copying. For cost, the best supplies are paper and a pencil, and you can reuse scrap sheets for many rounds.
Trend-wise, texture-based art is popular in makerspaces, and this activity connects that idea to the real world students can touch. Personalize by letting each student label their textures as characters, like “the speedy stripe” or “the calm weave,” and weave that into their final layout.
4. Color Mixing With Hidden Messages
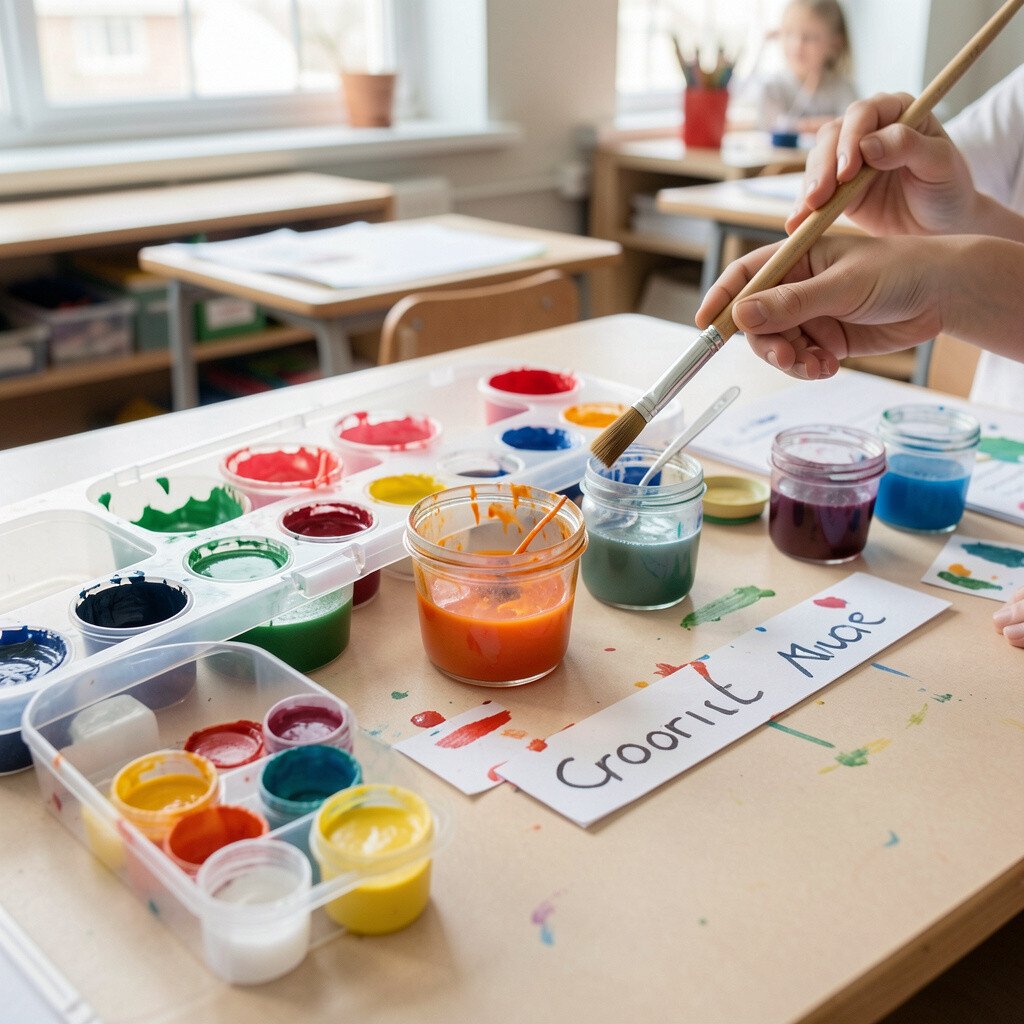
Set out watercolors, washable paint, or even food coloring in cups, and let students mix new shades on scrap paper. Give them a secret prompt like “create a sunrise you can hide,” and remind them that art can carry a message under the surface.
They paint one part of the page with a light color, then add a second layer that reveals a hidden image when it dries. Encourage them to use white crayon or watered-down paint first, then layer brighter colors on top for a surprise effect.
5. Map-Your-Mind Collage
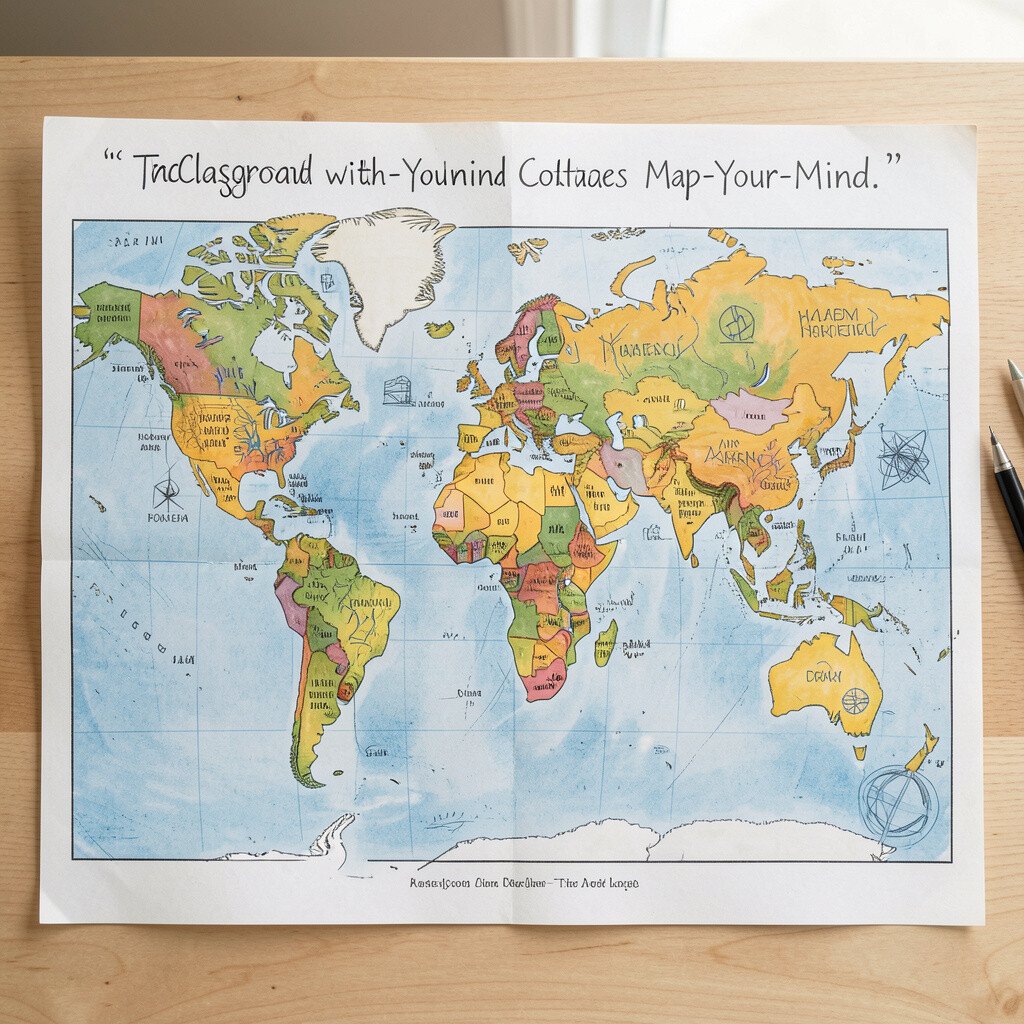
Ask students to think of a place that exists in their mind, like a dream neighborhood, a magical backyard, or a mountain made of music. They sketch a simple map shape on paper, then fill it with cut paper symbols and tiny hand-drawn landmarks.
Give them magazine scraps, colored paper, tape, and markers so they can build a visual route from one feeling to another. This helps students make connections between emotions and color choices, which many teachers find leads to more expressive work.
For personalization, encourage each student to include three “stops” on their map, such as a comfort corner, a challenge hill, and a celebration street. To keep costs gentle, use old catalogs, printouts, and donated paper scraps, and keep scissors shared so materials stay manageable. A helpful trend in classrooms is visual journaling, and map-style collage is a friendly entry point that feels playful.
6. Blind Contour Faces
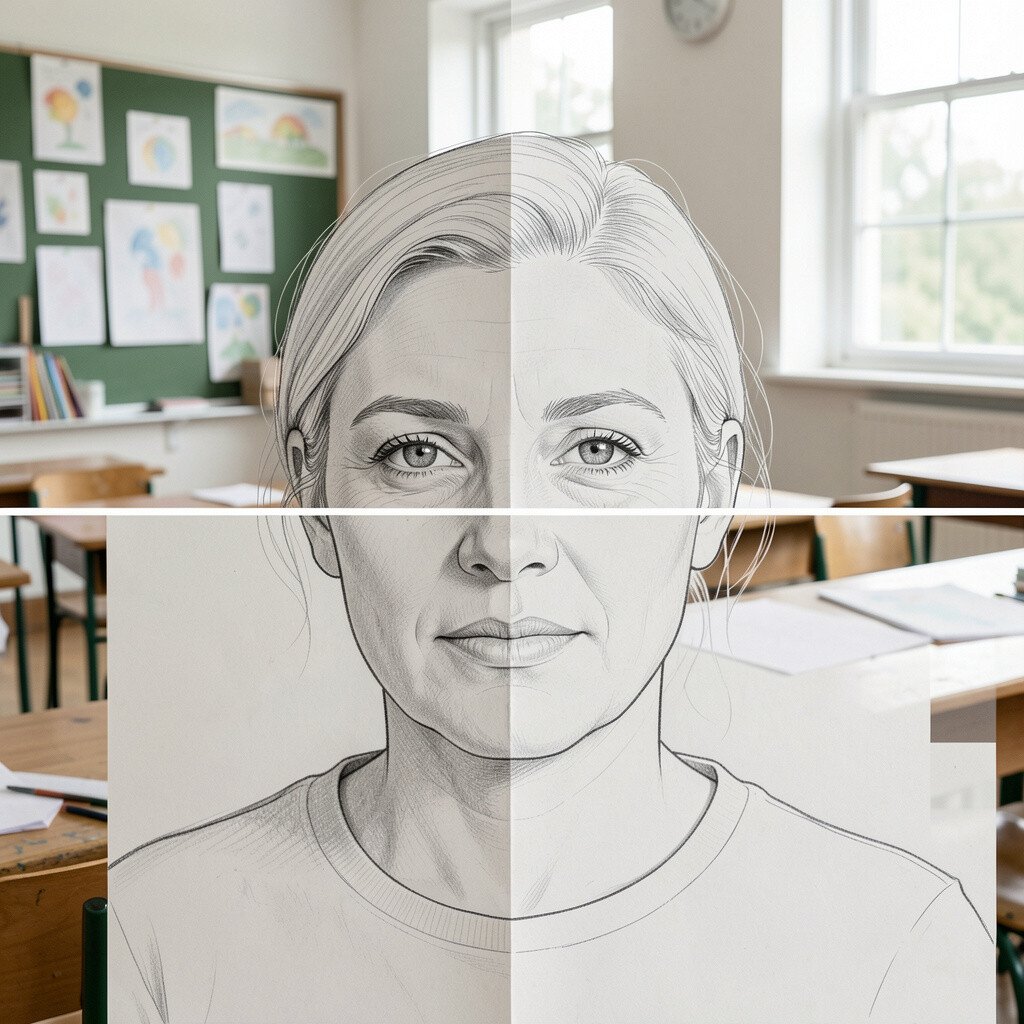
Students draw while looking only at the subject, not the paper. Give them a partner photo or let them observe a class-made face collage, then guide them to draw slow, confident lines.
The final lines look unusual and expressive, like a moving sketch frozen into place. This activity supports attention and reduces the fear of making mistakes because the drawing isn’t about perfection.
For practicality, use pencil and scrap paper, and limit the time so students keep it light. Personalize by letting them add one color highlight to show a feeling, like red for anger or blue for calm. Many art programs now use contour drawing as part of “process-first” learning, which fits well with modern creativity goals.
7. Shape Poetry With Cut Paper
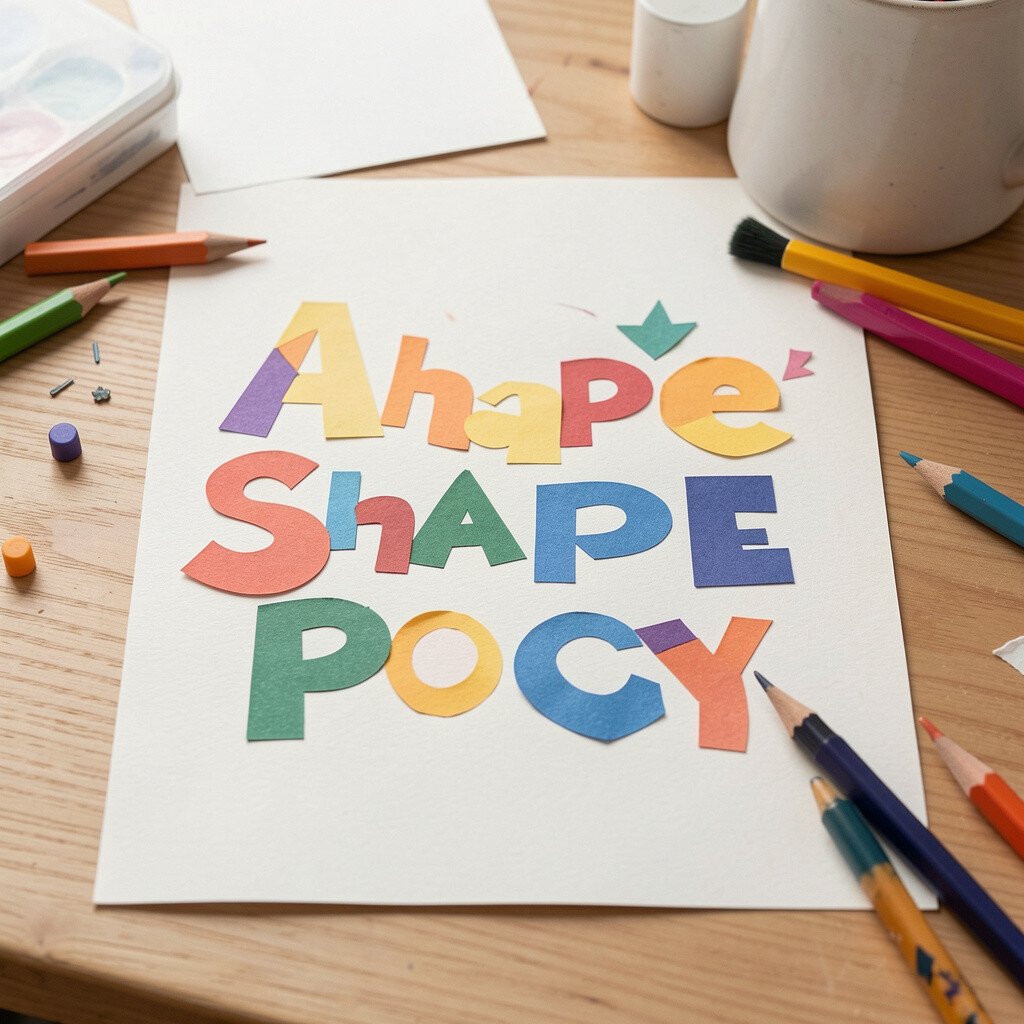
Provide a pile of cut shapes made from paper, foam sheets, or cardstock. Students arrange the pieces into a picture that feels like a poem, using shapes to suggest rhythm and mood.
They then write a few short words that match the visual movement, such as “quiet waves” or “busy sparks,” and they keep the writing simple. The benefit is that students learn to combine visual art and language, and both kinds of expression grow together.
Uniqueness happens when each student treats shapes like characters, giving the tallest triangle a “voice” or making circles look like “sound bubbles.” To personalize, let them choose a theme like animals, weather, or sports plays. Cost is low since you can cut shapes once and reuse them all year, and you can store everything in labeled envelopes.
8. Movement-to-Pattern Gesture Art
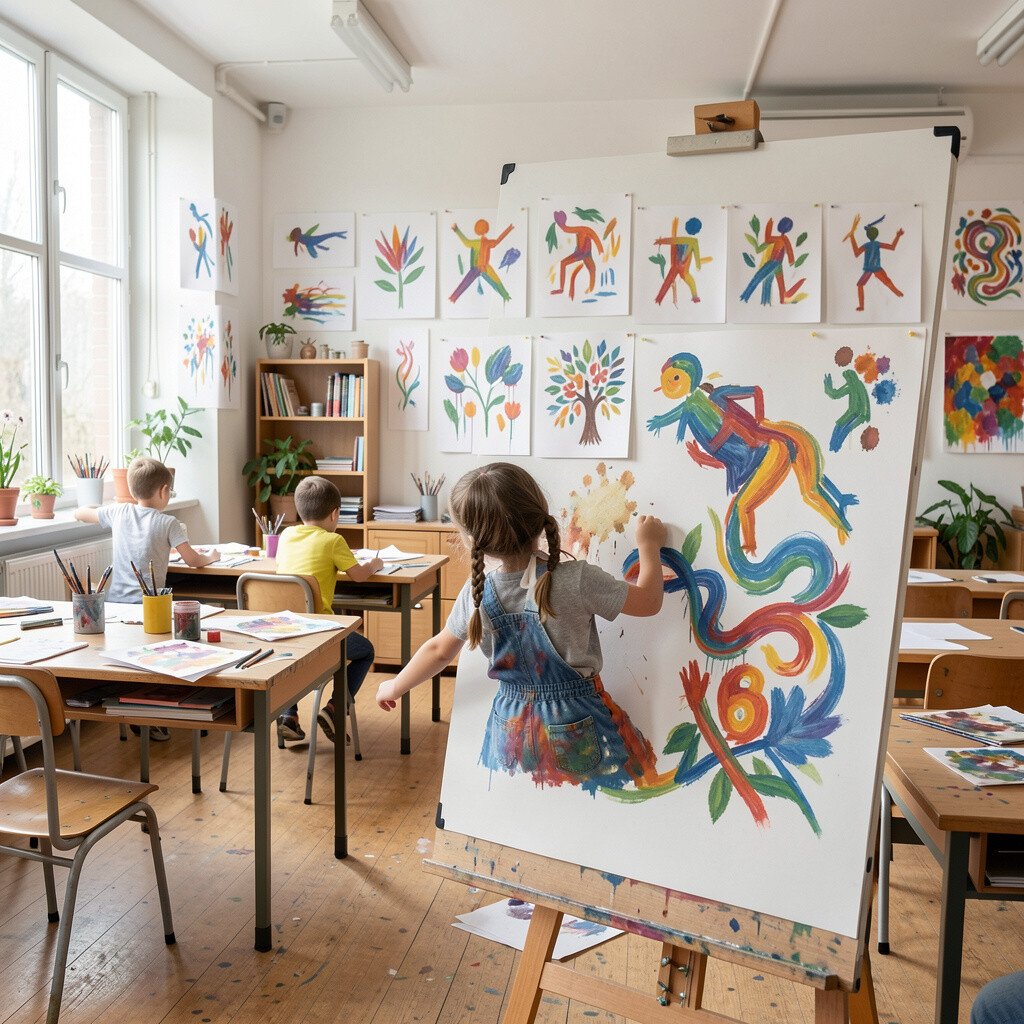
Start with a quick warm-up where students practice body gestures like swirls, zigzags, and spirals. Then they translate that motion onto paper by drawing big shapes first, using charcoal, thick markers, or paint sticks.
They work with both hands if possible, and that adds surprise and energy. This helps students connect movement with line quality, which can be great for students who struggle with still drawing.
9. Junk Mail City Builders
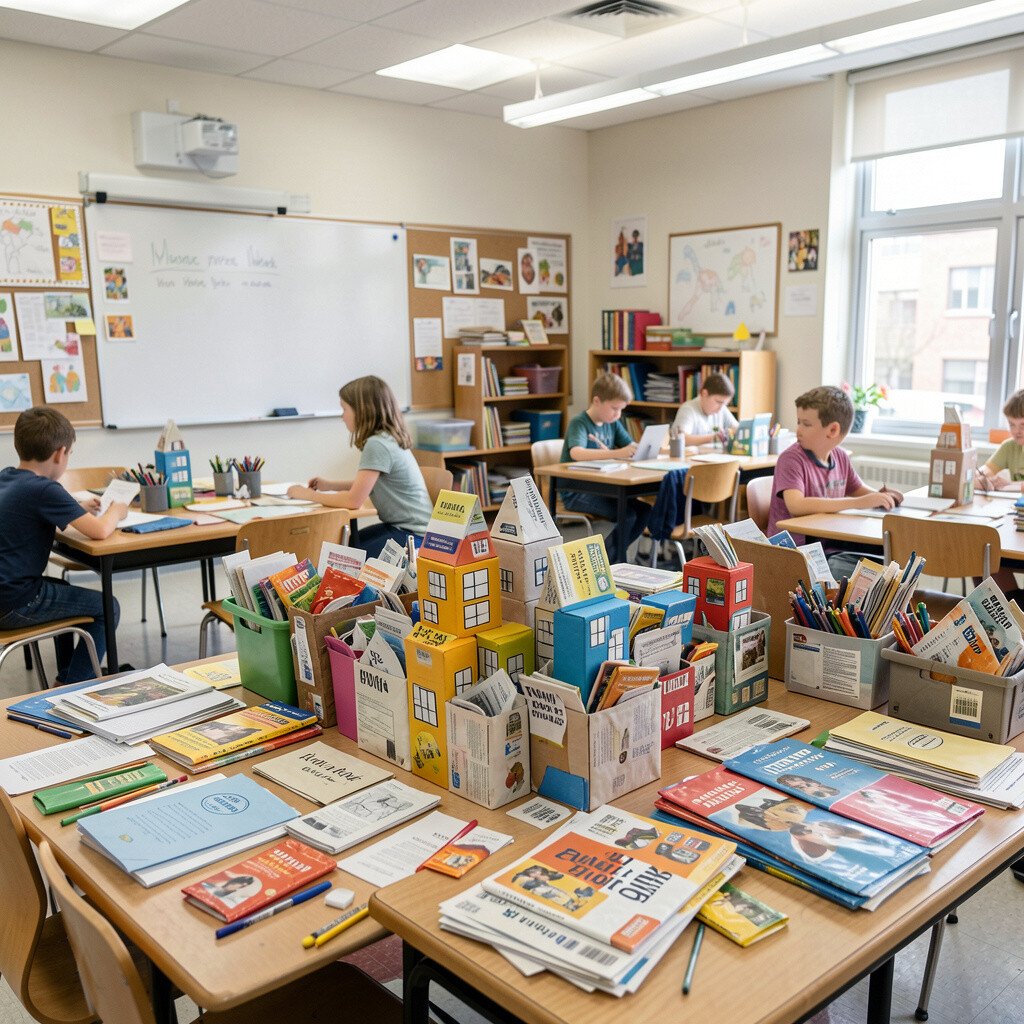
Collect clean junk mail, cardboard, bottle caps, and paper bags, then invite students to build a tiny city. They can use glue, tape, and safe tools to create houses, bridges, parks, and roads.
After building, students add details using markers and crayons, such as windows, signs, or tiny posters that show what each building “does.” This activity boosts planning skills because they have to think about size, layout, and materials.
Uniqueness comes from the way each student invents a purpose for their structures, like a library shaped like a whale or a train station made from cereal box cardboard. For personalization, ask them to include one building made from a material they choose themselves, so the piece feels personal. Cost considerations are easy since you can save packaging during the whole year, and the end result looks impressive even with simple supplies.
A current classroom trend is sustainability through upcycling, and junk mail cities make that idea fun instead of heavy. Students also often feel proud because their city can be displayed and revisited like a mini community.
10. Three-Frame Change Story Comics
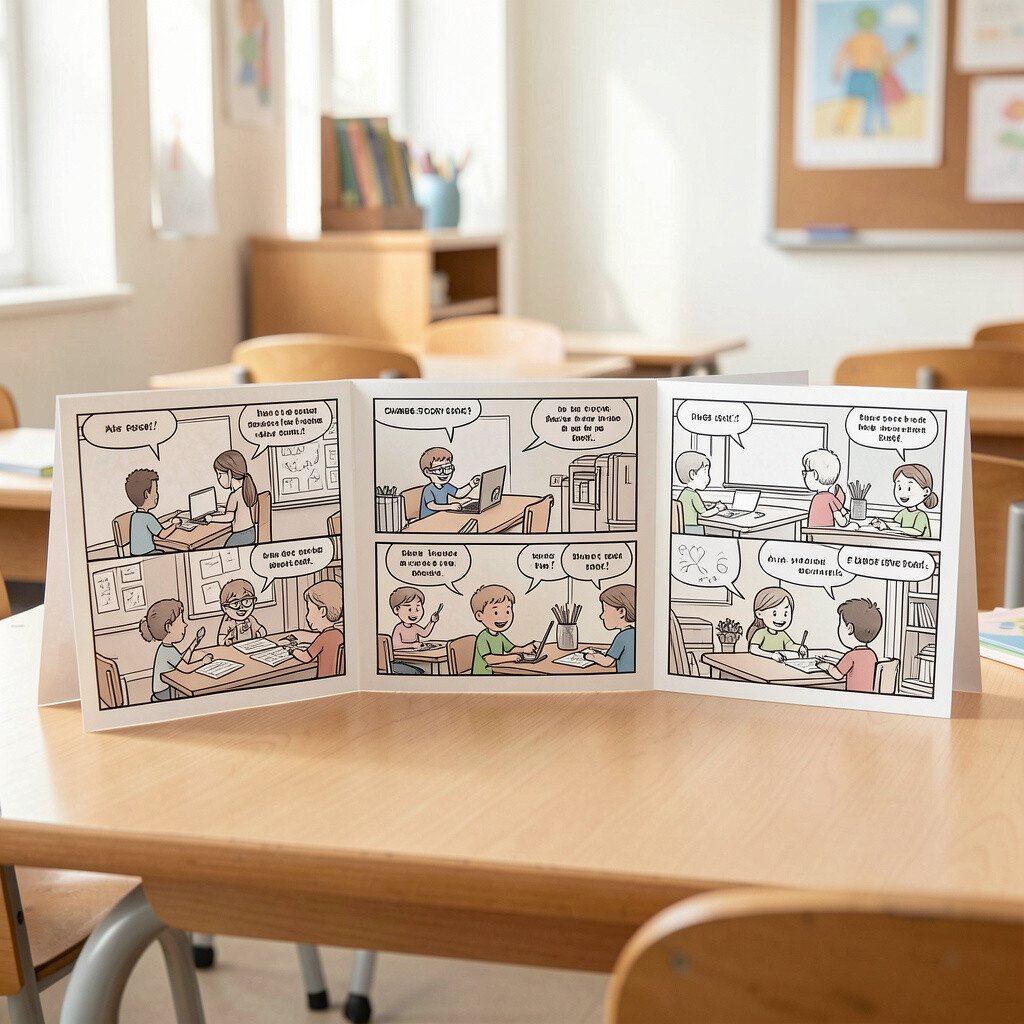
Give students a small template with three frames, or have them fold paper into three sections. They create a comic that shows a clear change from frame to frame, such as a character entering, transforming, and then reacting.
Encourage them to use visual tricks like different line thickness, color temperature, and background patterns to show emotion shifts. This benefits students because it teaches narrative through visuals, not just words.
11. Color-Emotion Weather Wheels
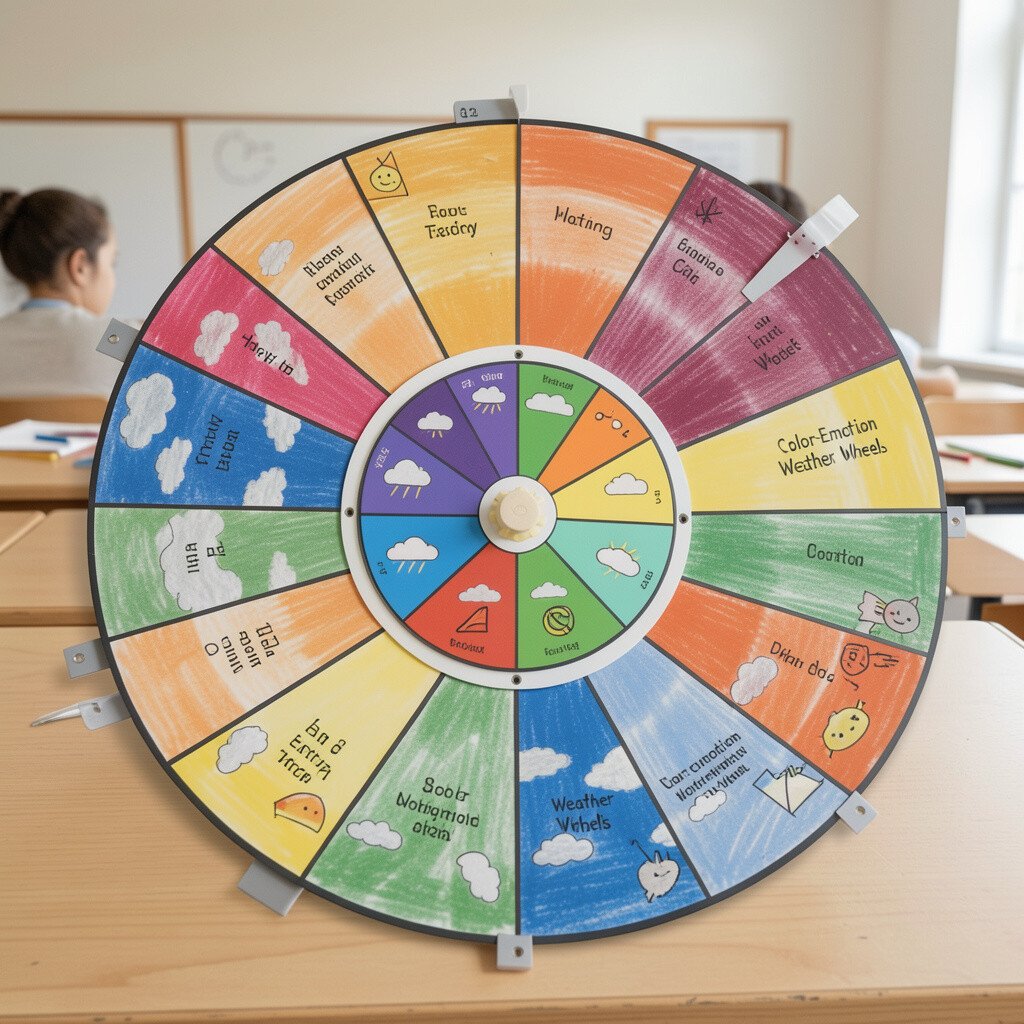
Students draw a circle and divide it like a wheel, then label sections with simple feelings such as happy, worried, brave, or calm. They choose colors that match each feeling and paint quick swashes, not detailed portraits, to keep the work flowing.
Then they add “weather symbols” like raindrops, suns, clouds, or lightning using marker or cut paper. Personalize by letting them pick one feeling from their day and spin the wheel to predict the “weather” in their artwork.
Cost stays low because wheels can be made from paper plates, cardstock, or recycled folders. This activity is unique because it turns abstract emotions into visible design, which many students find easier than describing feelings in words. A current trend is using creative coping tools, and weather wheels fit that idea in a gentle, classroom-friendly way.
12. Mini Mural Blueprint Teams
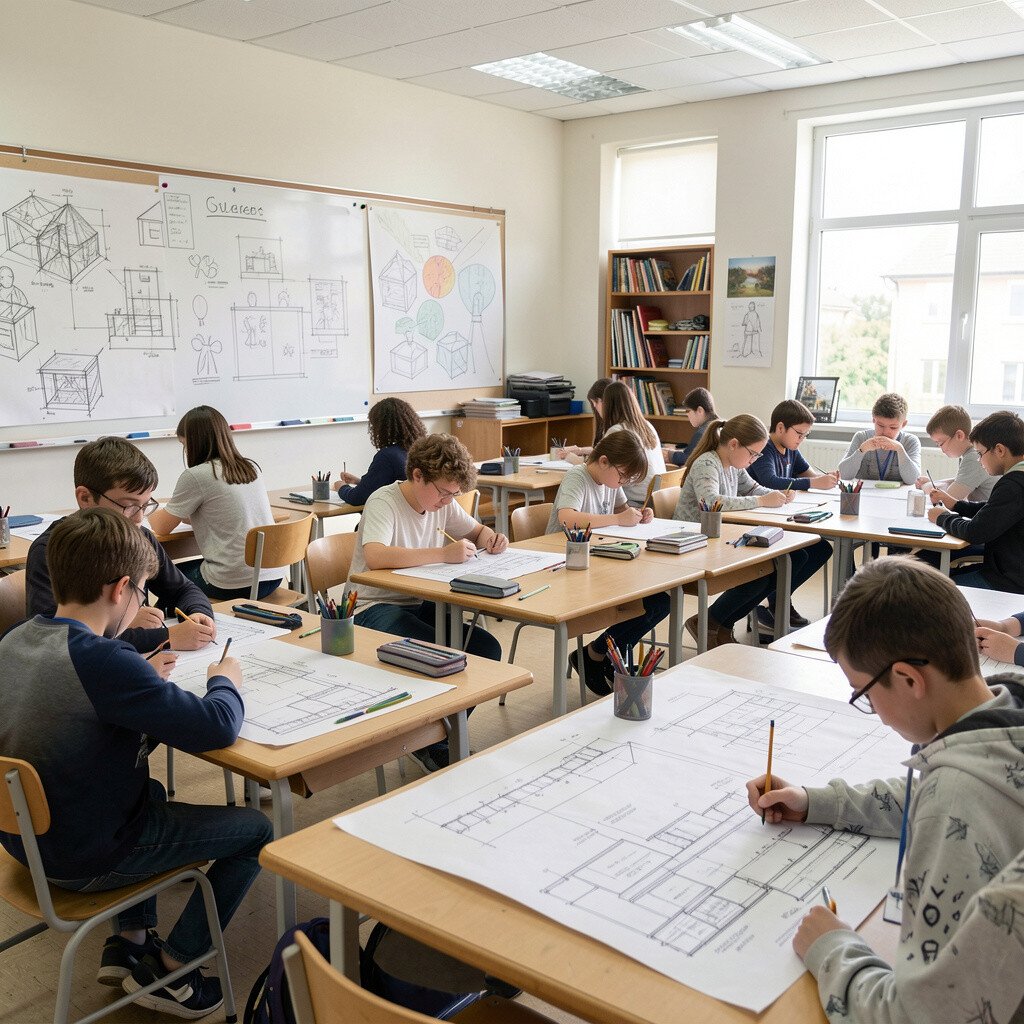
Divide the class into small teams and ask each team to design a square section for a shared mural. Provide a limited palette and a theme like “ocean dreams,” “favorite sports moves,” or “space garden,” so the mural looks unified.
Each team creates a blueprint sketch first, then transfers it onto a large paper sheet using grid lines or light pencil marks. The benefit is that students practice collaboration and communication while still making their own artistic choices.
To personalize, allow each team to choose one “signature element,” such as repeating stars, flowing lines, or patterned borders. Cost considerations are simple since you can use butcher paper, scrap paper, or poster board, and students can share paints and markers. This kind of group artwork also mirrors real-world design teamwork, a trend educators often highlight in maker-centered learning.
13. Paper Bag Stage Props
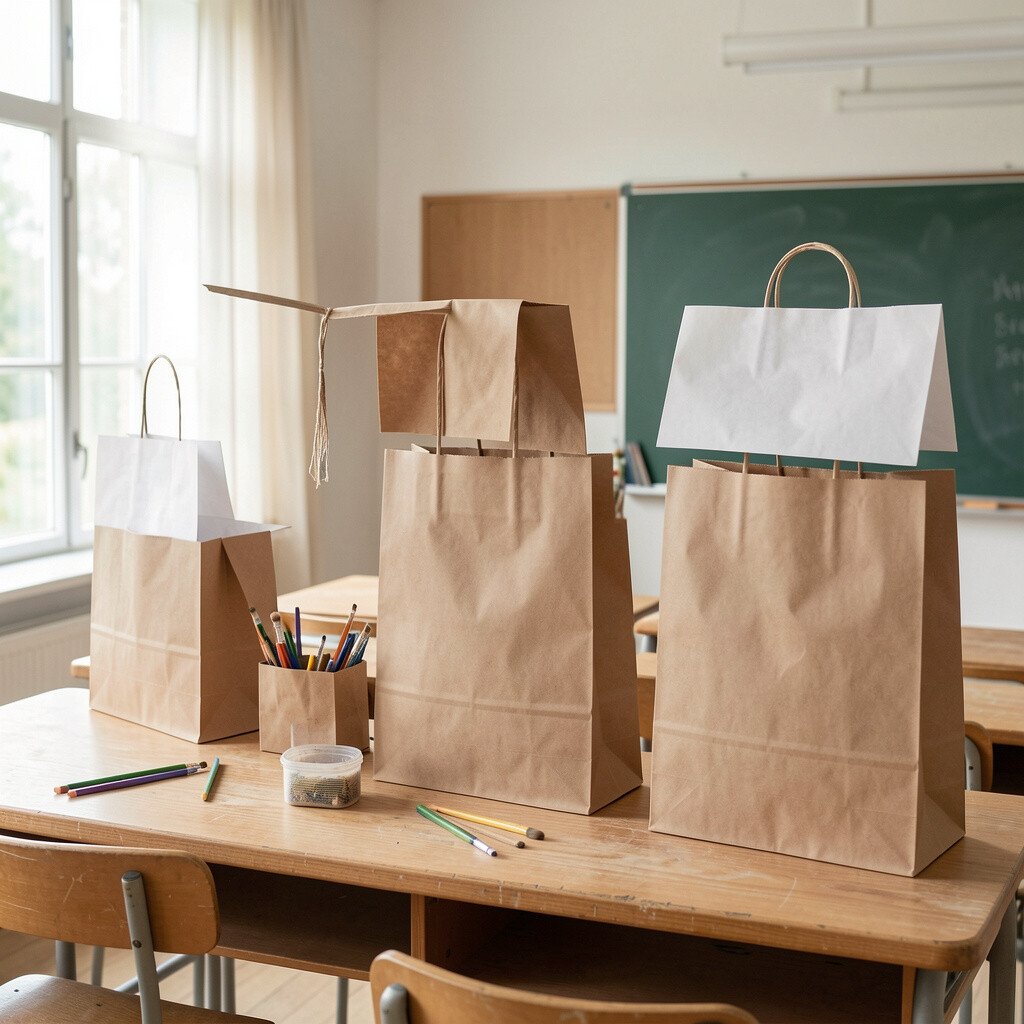
Hand each student a paper bag and invite them to turn it into a character stage prop. They might create a puppet body, a villain mask holder, a hero backpack, or a creature hiding behind a curtain.
They decorate with safe materials like markers, colored paper, yarn, and simple collage bits, then add details that make the prop look like it can move. This activity helps students think in 3D and encourages storytelling through shape and texture.
14. Alphabet as a Living Thing

Instead of drawing letters the usual way, students treat each letter as an organism. For example, the letter “S” might feel like a snake, smoke, or a ribbon curling in wind.
They choose one letter and create a detailed “life” around it using patterns, shading, and cut paper accents. The benefit is that students practice letter design while also learning creative techniques for texture and form.
Uniqueness is built in because every letter becomes a different personality, and students can share their “letter creature” story aloud. Personalize by connecting letters to student names, favorite places, or class values like kindness or bravery. Cost is minimal because pencils, scrap paper, and a few markers are enough to create a polished look.
15. Shadow Drawing With a Desk Lamp
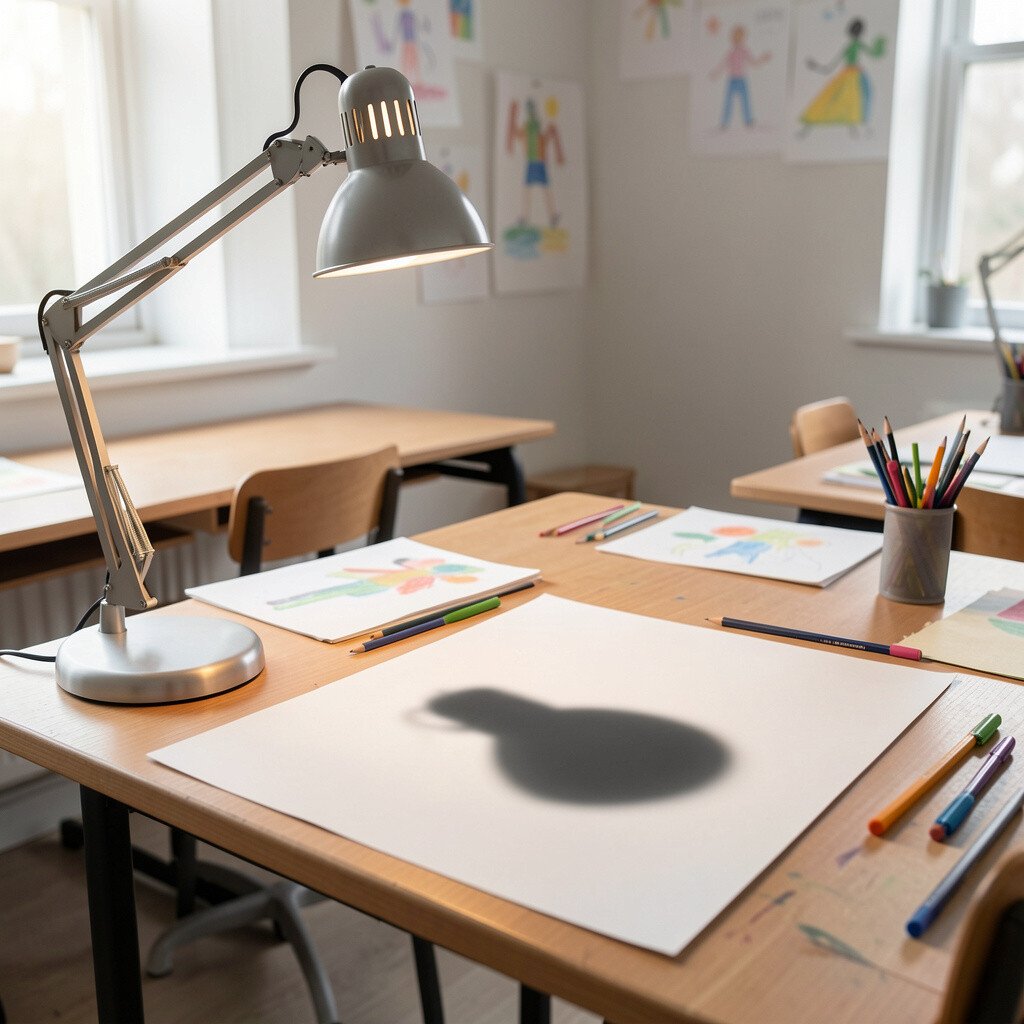
Students use a desk lamp or bright flashlight to cast shadows of objects onto paper. They test simple items like forks, leaves, blocks, or hand shapes, and they trace the outline of the moving shadow.
After tracing, they fill in the scene with drawing, collage, or paint to create a “night world” that matches the shadow shapes. This activity benefits students by turning a science-like observation into art, which keeps curiosity high.
Personalize by asking students to choose one object and create a story about what it is in the shadow world. Cost considerations are friendly since a lamp and basic objects are enough, and you can reuse paper. A current trend in classrooms is mixing STEM and art, and shadow drawing is an easy bridge that feels magical.
16. Pattern Loom Without a Loom
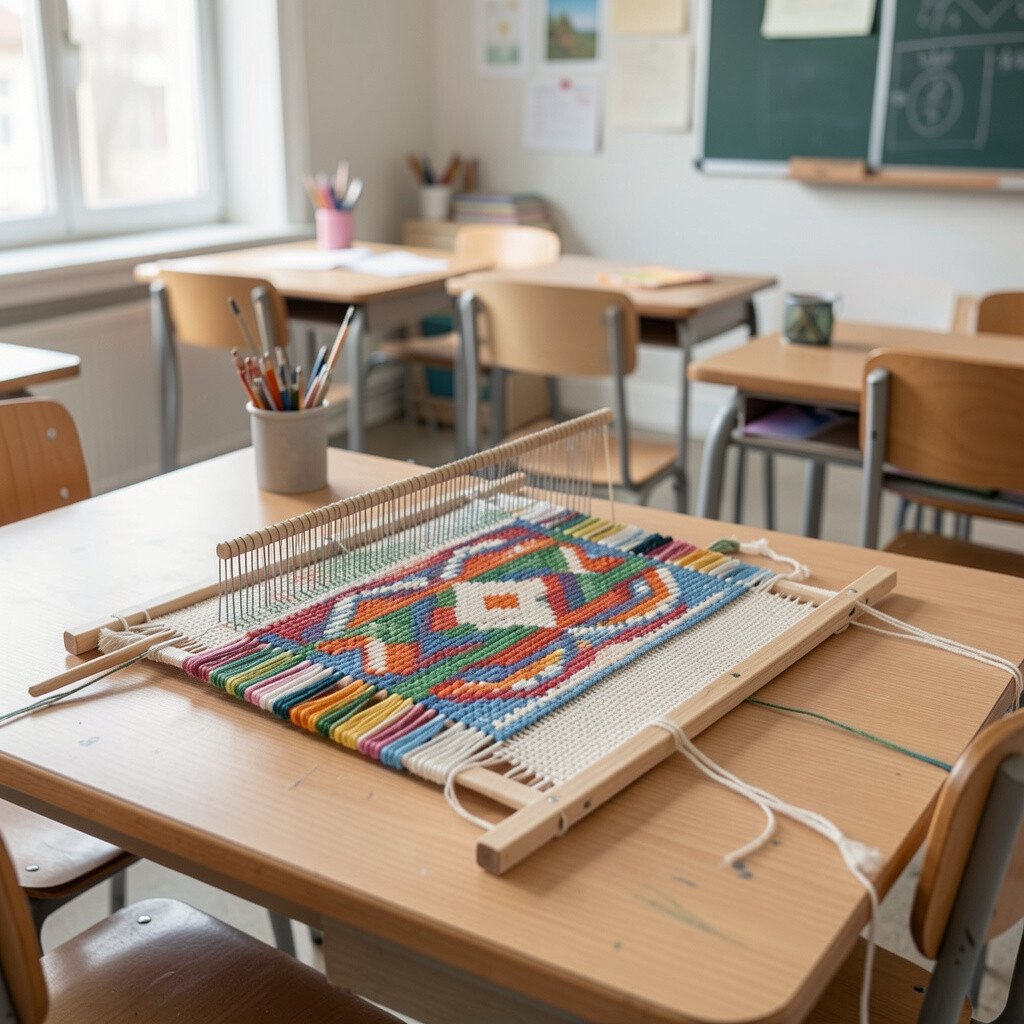
Students create a “loom” using strips of cardboard, craft paper, or a simple clip board frame. They weave paper strips through slots or using tape as guides, forming a fabric-like pattern.
Once they finish the weaving, they decorate the edges with stitching marks drawn using a marker, and they can add images on top like trees, waves, or city skylines. This builds patience and helps students understand repetition, balance, and rhythm in visual design.
17. Surprise Palette Portraits
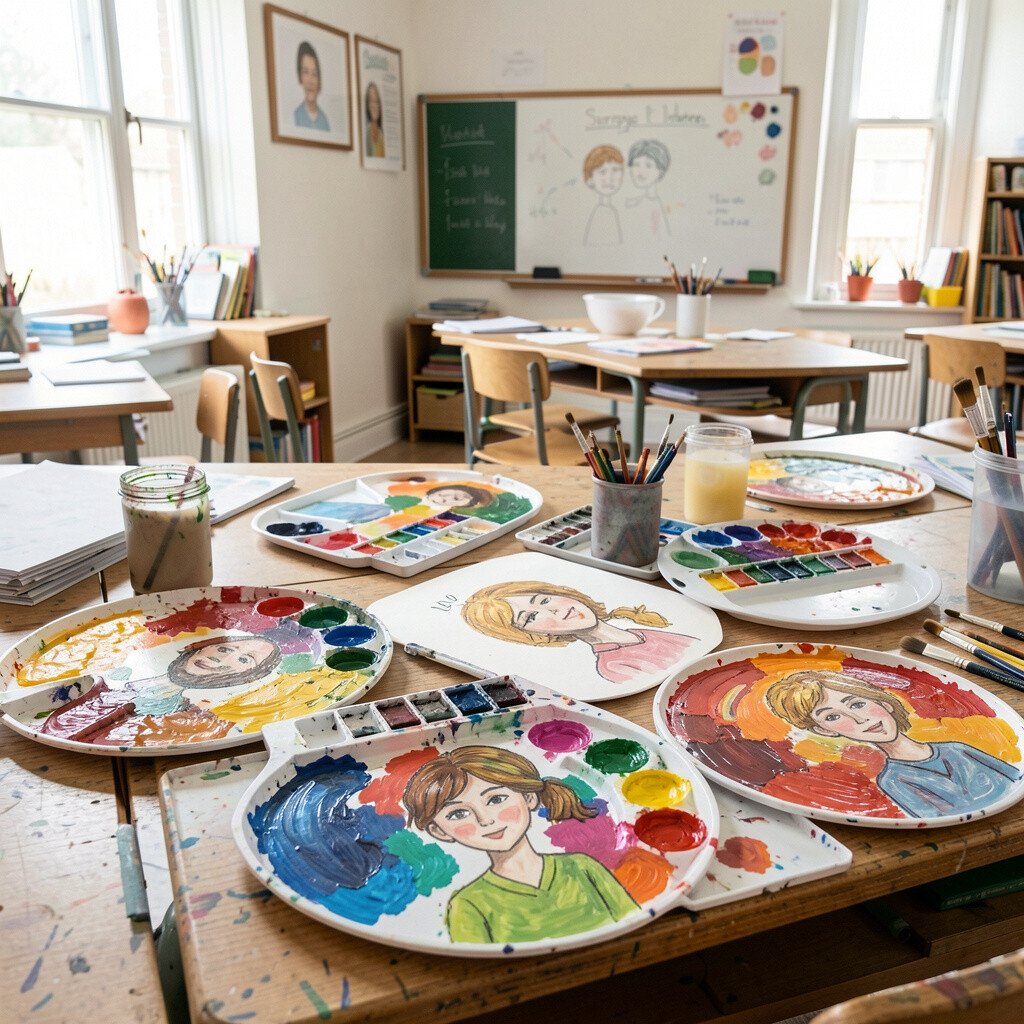
Students draw a face, but they don’t choose the colors. Instead, assign a surprise palette from a few paint colors or colored paper swatches and ask them to make the portrait look right using those limits only.
They add details like eyebrows, hair texture, and cheek shapes using pattern rather than realistic shading, which keeps expectations friendly. The benefit is that color practice becomes a game, and students learn how mood can change when the palette changes.
Uniqueness happens because each student interprets the same palette in a different way, so you get variety even with shared supplies. Personalize by letting students choose an emotion for the portrait, like “focused,” “excited,” or “dreamy.” Cost is manageable since you can use small paint cups, cheap tempera, or even colored pencils with scrap backgrounds.
18. Collaborative “Texture Quilt” Panels
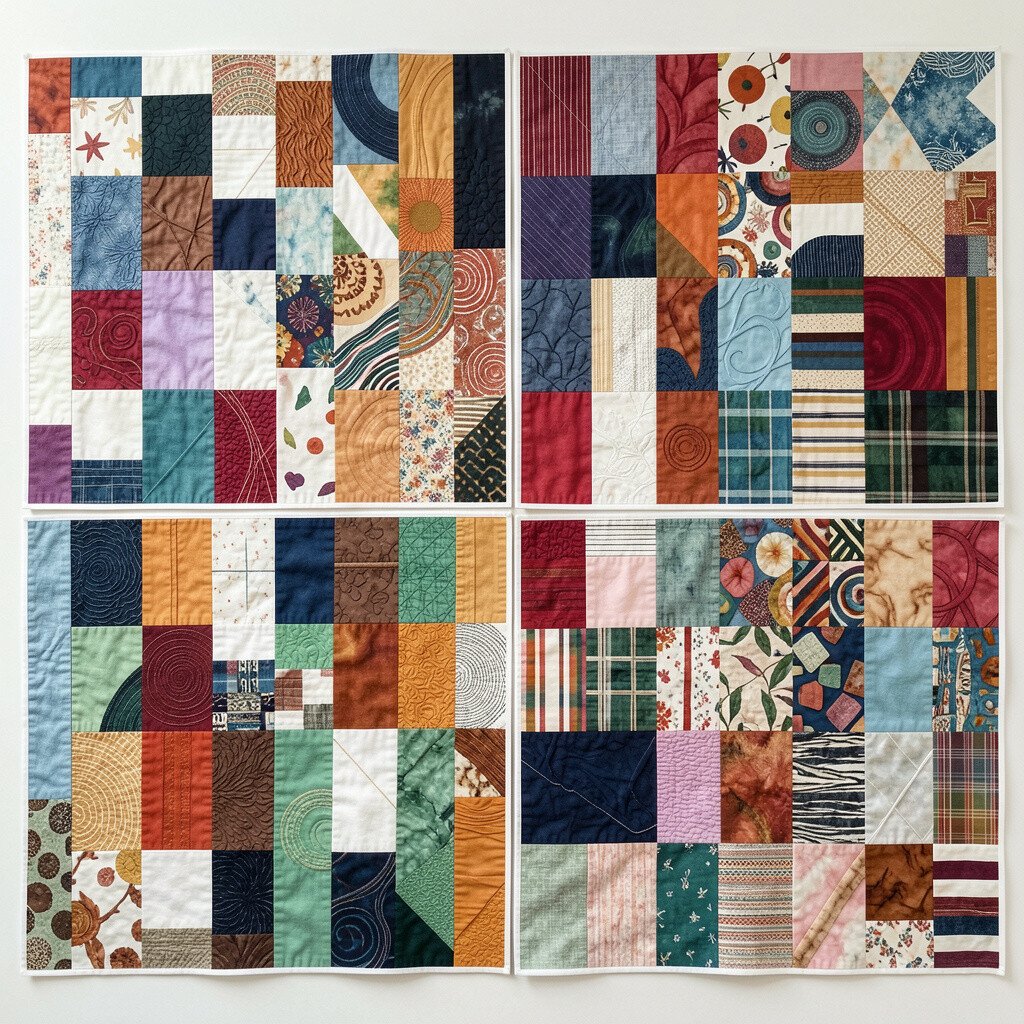
Each student creates one quilt-like panel filled with a single texture technique, such as rubbing, stippling, crayon resist, or paper tearing. They focus on a small area so the whole class can connect every piece into a larger quilt.
When the panels are finished, combine them into one display by using big paper backing and simple glue or tape. This benefits students because it celebrates different styles and teaches them that every small contribution matters.
For personalization, have students add a tiny symbol that matches them, like a star for a student who loves astronomy or a leaf for a student who likes plants. Cost considerations are easy because you can reuse scrap paper, and you only need a few texture tools shared around. This also matches a current trend of community art where students feel ownership through collective creation.
19. Question Sculpture From Classroom Waste
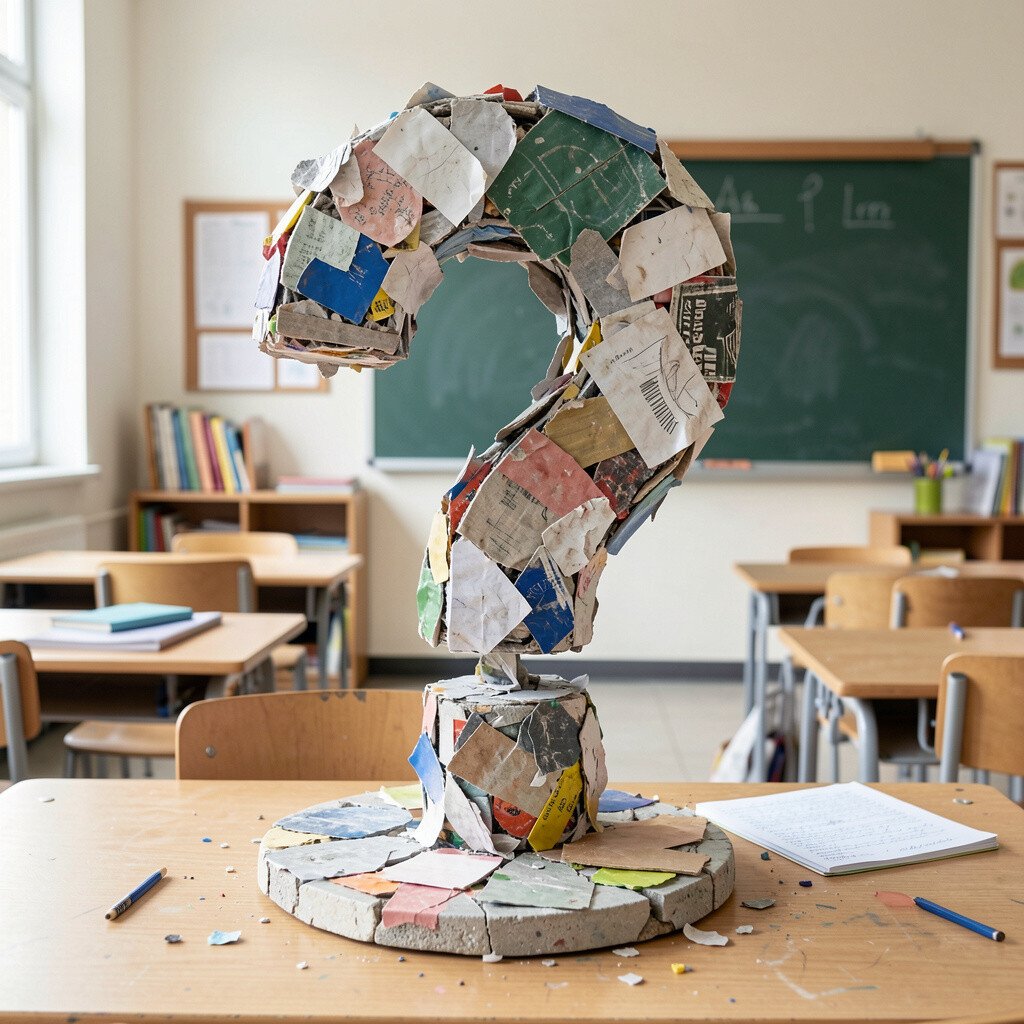
Students collect safe classroom waste such as cardboard scraps, tube packaging, and paper offcuts, then build a sculpture that answers a question. You can pose a question like “What does bravery look like?” or “How does calm sound?” so the sculpture becomes visual thinking.
They assemble pieces using tape, glue, or string, then add a simple title or short phrase written small on a tag. The benefit is that students connect meaning to form, and it builds confidence because the “right answer” is personal.
Uniqueness thrives here because every sculpture is made from different materials and choices, and those differences tell a story. Personalize by offering a choice of scale, like a small desk sculpture or a larger floor piece, and let students decide. For cost, recycling keeps supplies free, and you can set aside a bin for collection over the month so cleanup stays easy.
Trend-wise, sculpture made from recycled materials is popular in maker spaces, and it also supports classroom values like care for the environment. When students share their sculpture, encourage them to describe what they used and why, which turns building into communication.