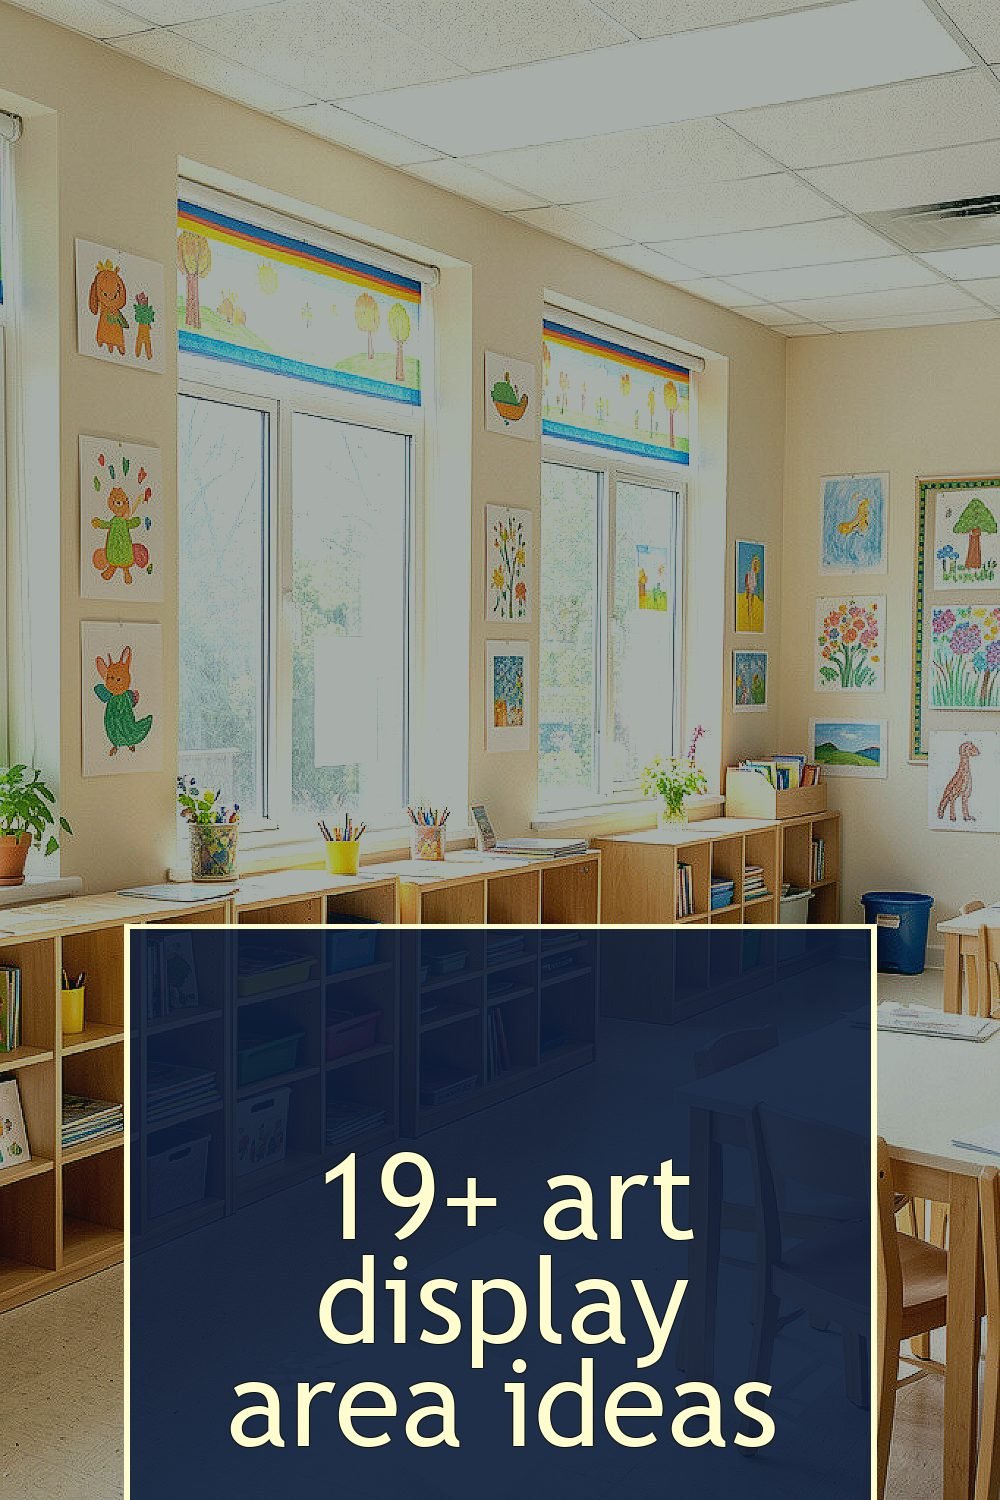
Bright displays can make kids feel proud the moment they walk in. When the walls glow with color, art becomes part of daily life.
Ready-to-use ideas can also be gentle on budgets and easy for teachers to manage. With a little planning, every paper can look like it belongs in a gallery.
1. Sunny Window Gallery Strips

Use narrow strips of paper or fabric along the window to hang artwork right where daylight lands. The light makes crayons and paint look extra vivid, almost like they’re sparkling.
Try clothespins, mini binder clips, or reusable clips that slide along a thin rod so you can rotate pieces quickly. Keep a simple system by choosing one strip for each child’s “current” work, then swapping it at the end of the week. Personalize by adding tiny name tags or small stars next to each child’s spot so they can find their art fast.
2. Glow-In-The-Dark Star Frame Corners
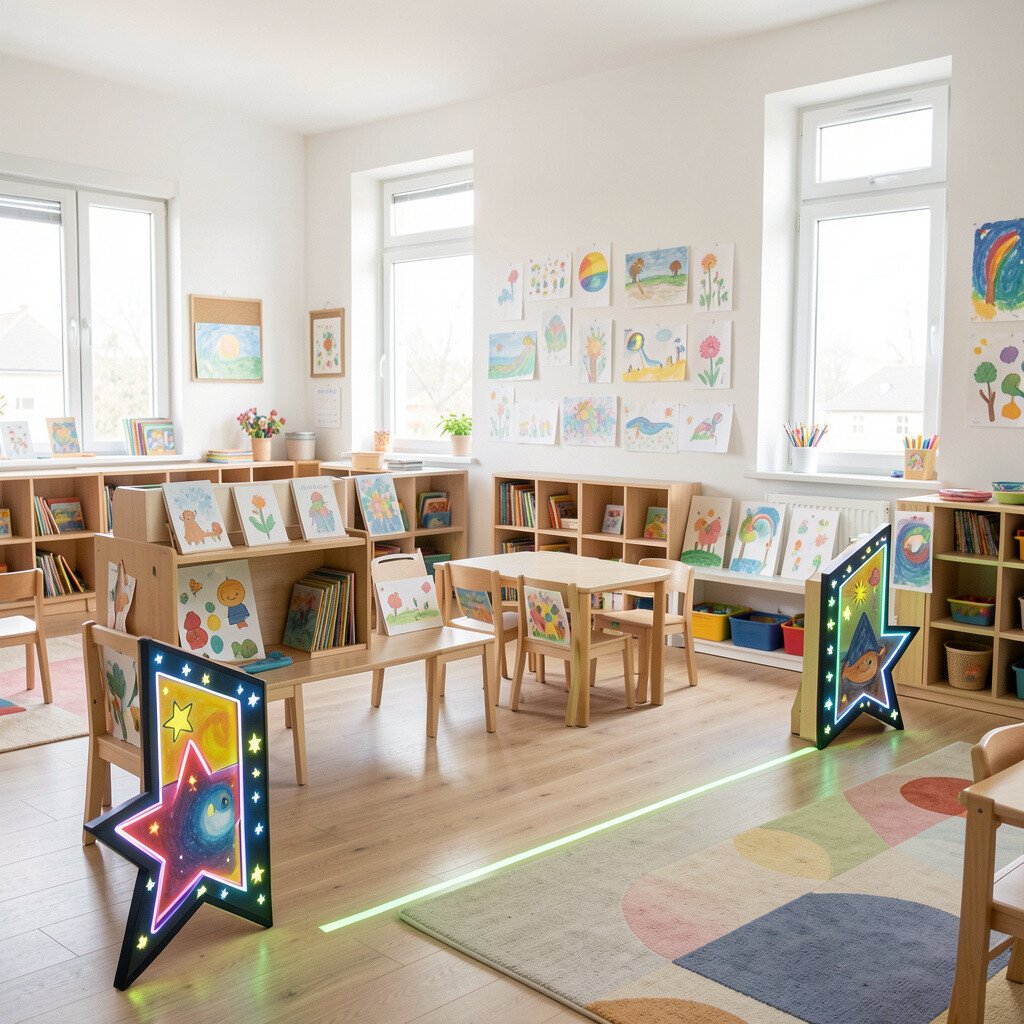
Create small corner frames using translucent plastic or clear sleeves, then add battery LED fairy lights inside the border. Even on cloudy days, the display will look cheerful and bright, like a classroom night sky.
Place a few “star points” made from cut paper above each frame so kids can match their artwork to a spot. This kind of lighting helps students feel excited to share their creations, and it makes the area feel special without needing expensive equipment. Consider using cool white LEDs for a clean look, and choose frames that are easy to wipe down after art supplies get a little messy.
To keep it practical, pick frames that hold flat drawings and avoid heavy materials that can tilt. Rotate seasonal pieces, like planets for fall or snowflakes for winter, and let families see the glow during pickup time.
3. Color Wheel Rotation Wall With Clip Rails
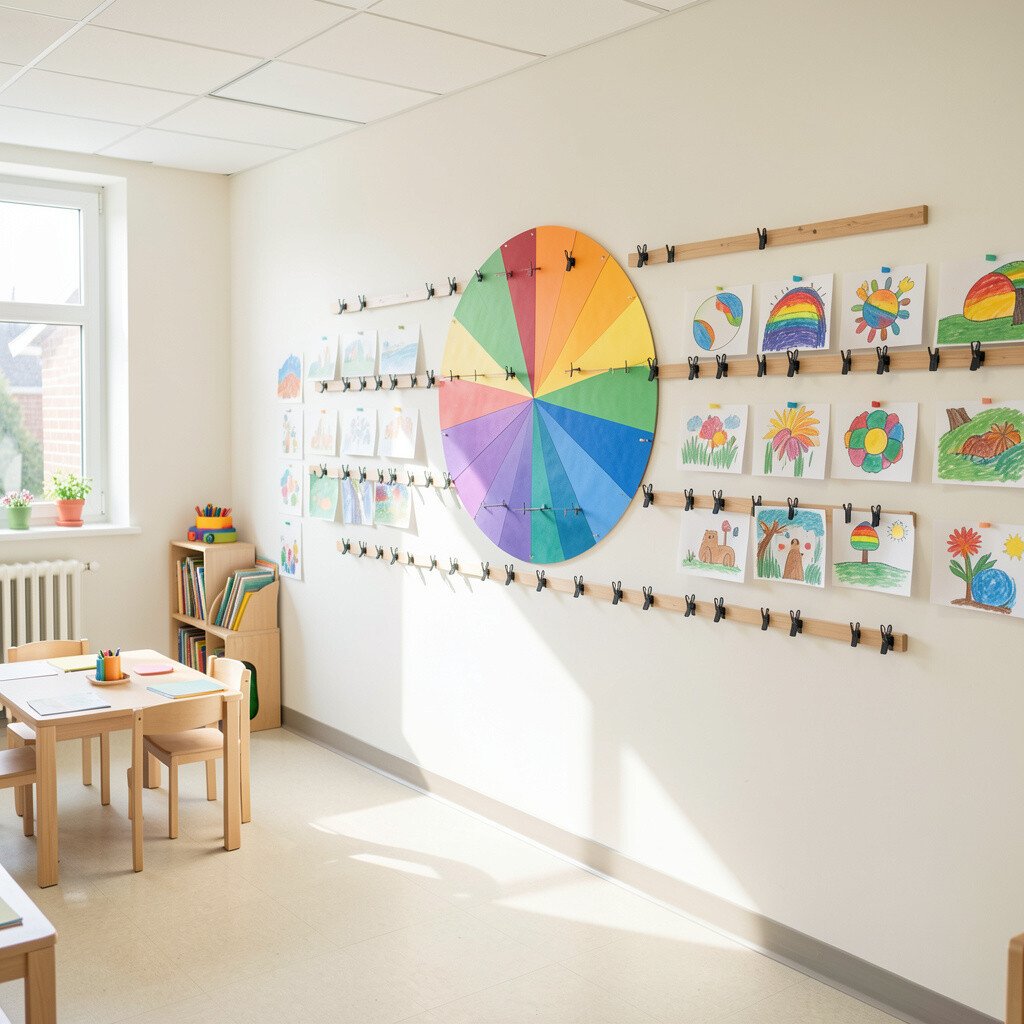
Build a wall display shaped like a simple color wheel using wide paper circles or foam board segments. Bright overhead lighting will make each color section pop, so kids naturally notice their work and their classmates’ work.
Hang clip rails on each segment so you can swap art quickly without untangling string. This approach supports learning because children begin to see how colors connect and change across different artworks. Use labels that match the color segments, like “red,” “blue,” and “green,” to help with early vocabulary.
For cost control, use leftover cardboard, craft foam, and clear packaging tape to seal edges. Personalize by letting each group add one new color segment during the year, such as a “mixed colors” section for collage projects.
4. Prism Light Catcher Display Overhead
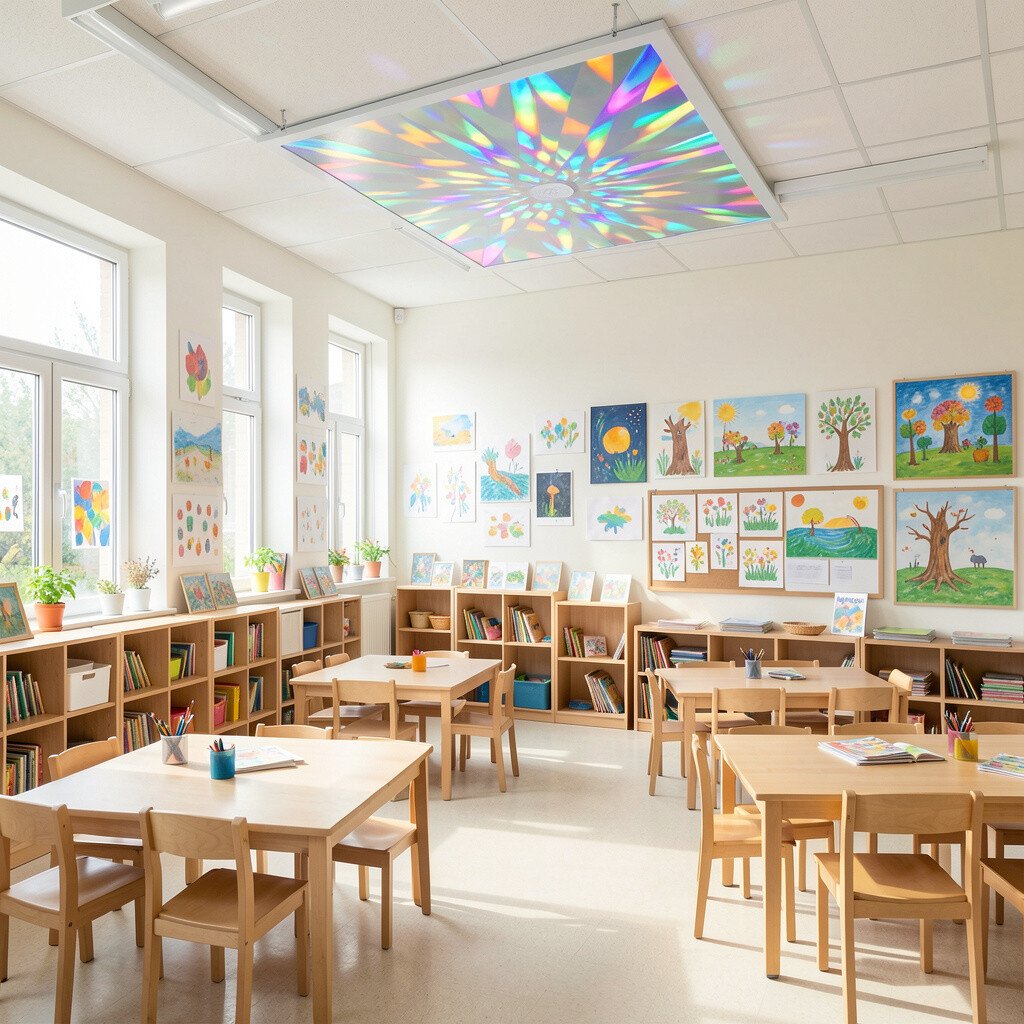
Hang clear acrylic or plastic “prisms” from the ceiling near the art wall, then place artwork beneath so rainbows appear when light hits them. The visual effect makes drawings feel more magical, especially for sparkly crafts and crayon rubbings.
Pair each prism with one theme of the month, like shapes, weather, or community helpers, so the display feels organized. Keep the process easy by using sturdy fishing line and knotting it securely so nothing drifts too low. For personalization, add small notes from the child on the back of each piece so the front stays neat and bright.
5. Classroom Spotlight Track for Artist Highlights
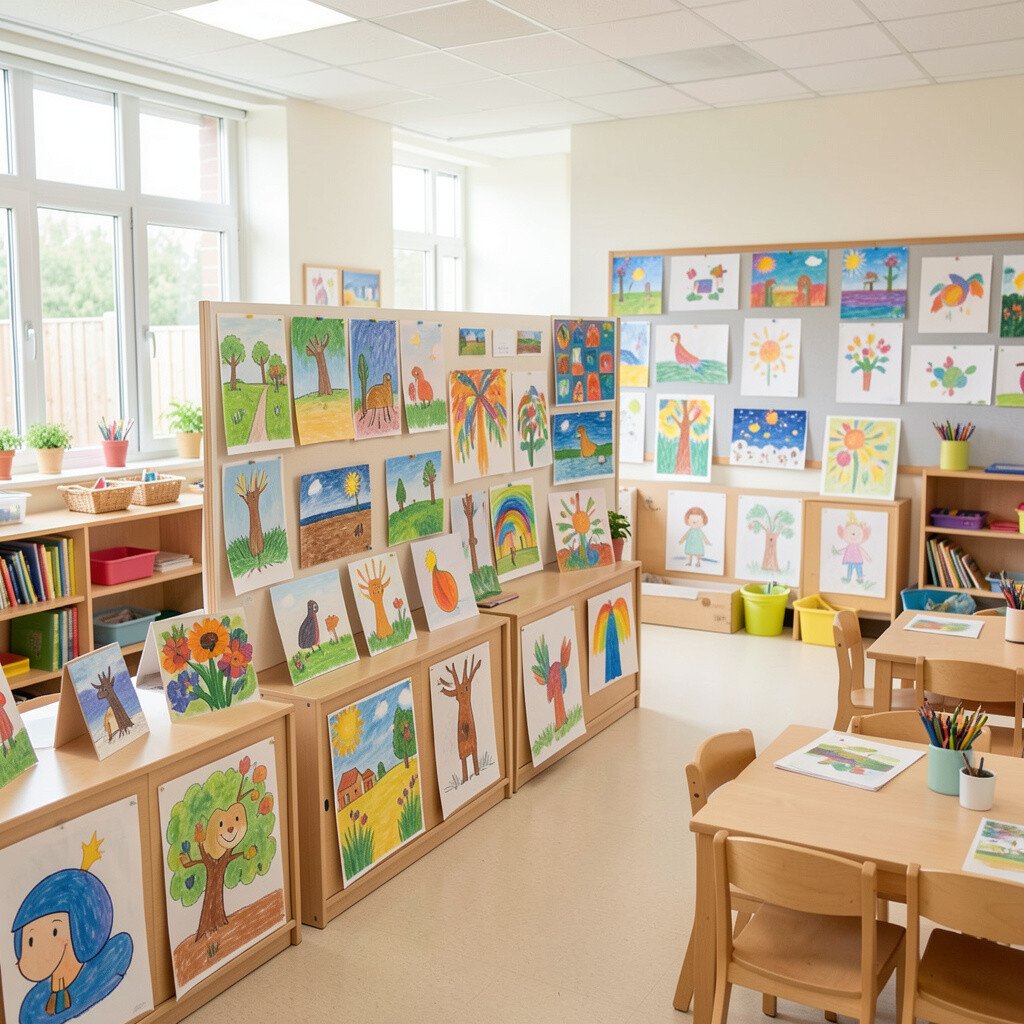
Install a simple track light or use a compact LED spotlight aimed at the display wall. The focused glow turns a few selected artworks into “spotlight” pieces that feel like they’re being celebrated.
Choose a rotating schedule so each student gets a chance, which builds confidence and encourages sharing. Keep it practical by using small frames that fit standard paper sizes, and swap pieces in under a minute. Personalize with a tiny “today’s artist” card at the edge of the spotlight so the class knows what to admire.
For cost considerations, search for affordable adjustable LED spotlights and aim for energy-saving bulbs. If ceiling mounting feels too hard, use a sturdy floor lamp with a shade that directs light toward the wall.
6. Tiered Bookcase Showcase With Backlit Covers

Use a low bookcase or shelf unit as a display stage, then place LED strips behind the shelf edges. The shelves create depth, and the backlighting helps artwork look bold and clean.
Arrange pieces in layers, with larger art on the bottom and smaller pieces on the top, so every item gets visible space. This approach helps kids learn to scan and notice details, which supports attention during group time. Keep it flexible by using clear page protectors so artwork can be switched without tearing.
Personalize each shelf by theme, like “our journeys,” “our science time,” and “our favorite feelings.” For cost, consider repurposing an old shelf and adding adhesive LED strips that plug into a basic outlet.
7. Tape-and-String Lightlines Across the Bulletin Wall

Stretch thin string lights along a bulletin board border, then add lightweight ribbon loops to hang art. The line of light creates a bright pathway across the wall, guiding the eye through each week’s work.
Use washi tape to label hanging zones in a fun way, like “Big Art,” “Tiny Art,” and “Sticker Art,” so kids know where their pieces go. This keeps organization simple and reduces last-minute scrambling before the day ends. For personalization, let students decorate the ribbon loops with paper cutouts that match the current unit.
8. Framed “Morning Work” Mini Gallery
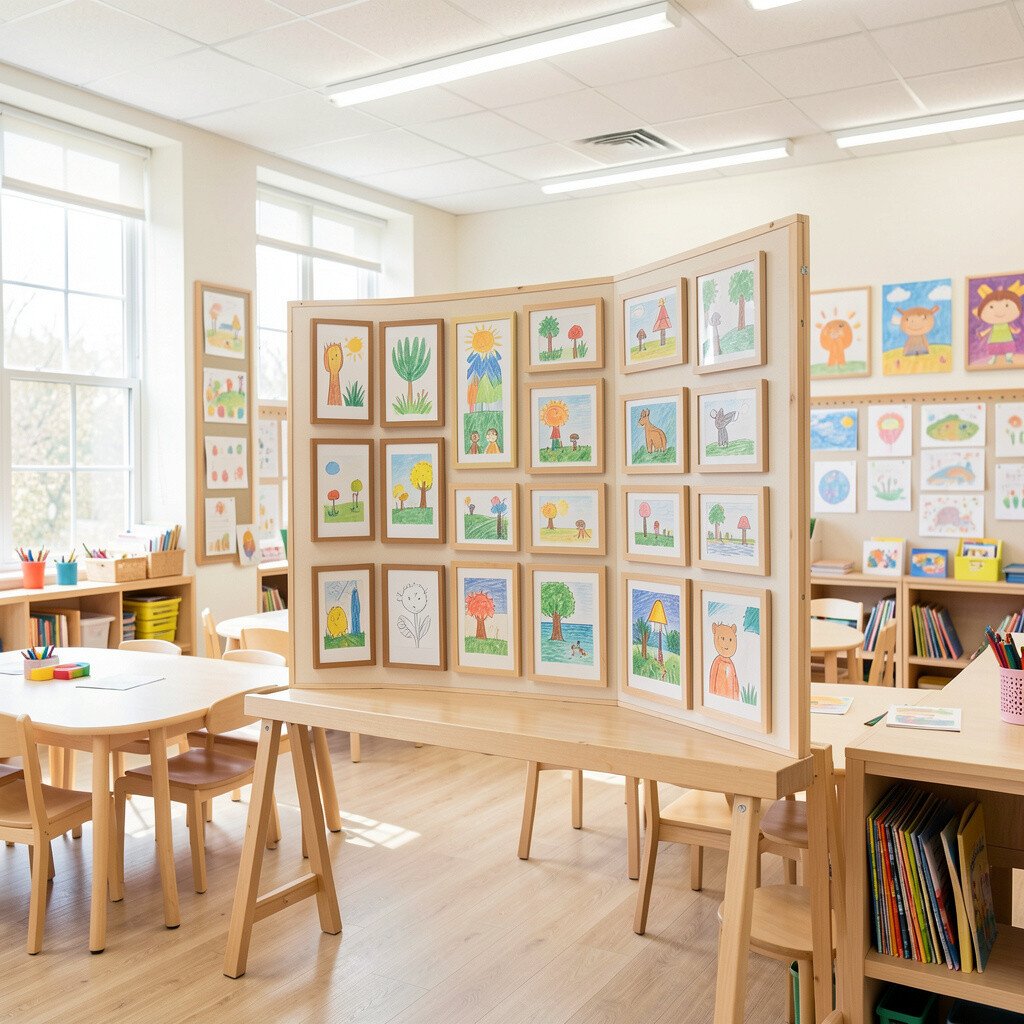
Set up a small frame cluster near the morning meeting spot, so kids see their new artwork right away. Bright lighting makes fresh work feel important, and it gives the room a lively rhythm.
Rotate mini frames daily or weekly, depending on how quickly you can swap pieces. This routine boosts pride and helps children remember that their effort matters. Keep frames kid-friendly by choosing shatter-resistant plastic instead of glass, and mount them at a safe height.
To personalize, add a sentence starter from the child’s voice on a separate card behind the frame, like “I made this because…” Families love reading those notes during conferences.
9. Ceiling Pennant Banner With Art Clips
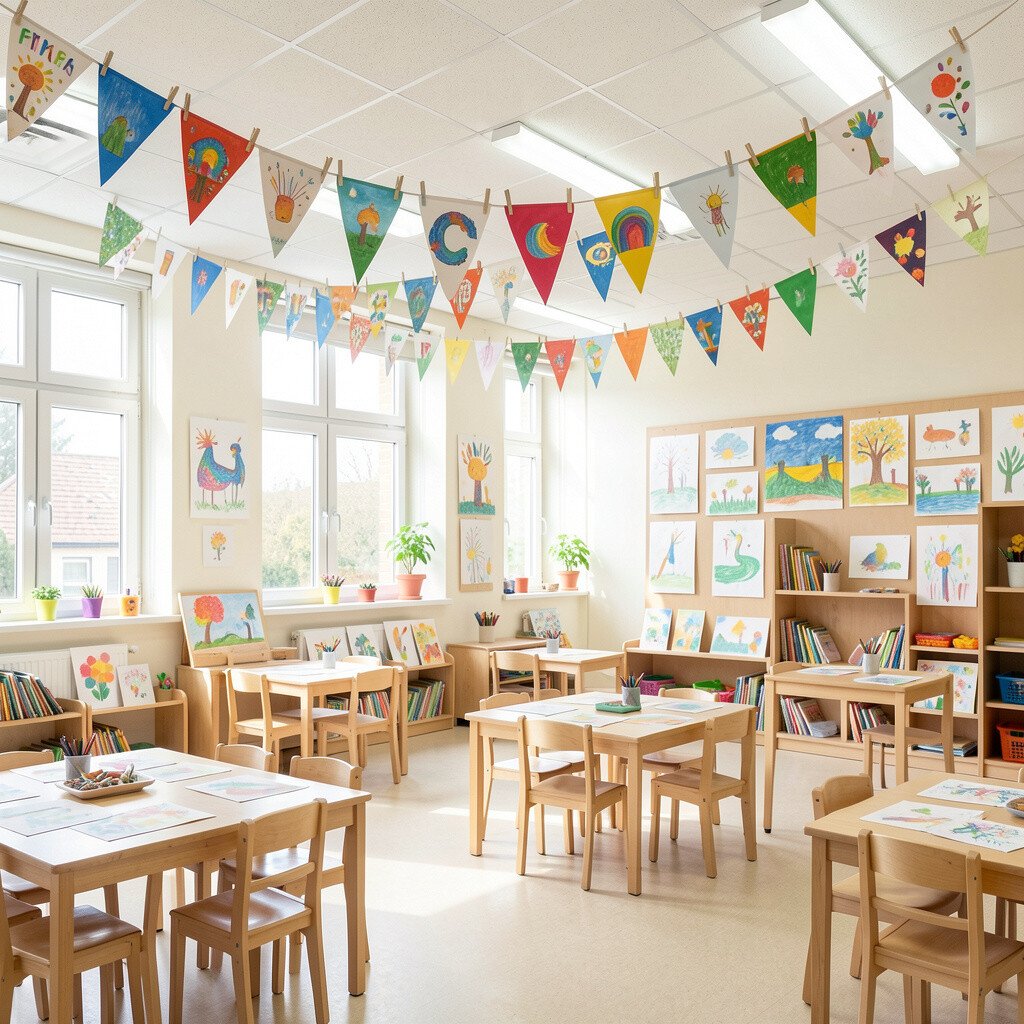
Create a pennant banner made of colorful paper triangles, then clip small artwork squares to each pennant. When overhead lights shine, the banner looks like a party ribbon, and the classroom instantly feels upbeat.
Use clothespins or mini binder clips so you can change pieces without cutting or re-threading anything. This makes the display practical because it can grow as you collect art throughout the year. Personalize the pennants by letting groups pick a pattern, like stripes, polka dots, or bubble shapes, for their week’s artwork.
10. Colorful Velcro Art Patches On A Lighted Board
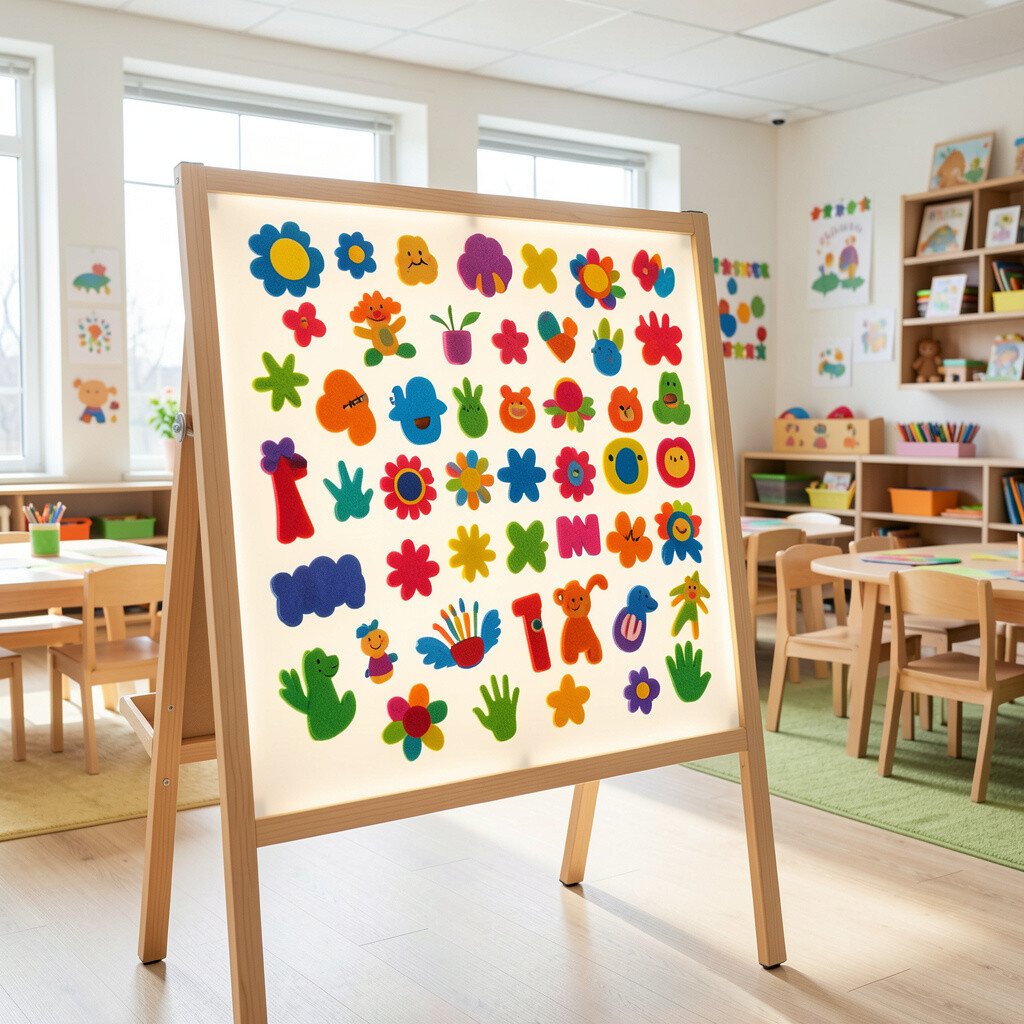
Mount a smooth board and add Velcro squares so artwork can stick and peel easily. If you place a bright light behind or around the board, the patches and paper look extra crisp and colorful.
Velcro supports clean organization because you can reposition pieces when kids want to change what they share. This also reduces paper damage, since staples and tape can tear edges. Keep it simple by using consistent cut card sizes so the Velcro pieces line up perfectly every time.
For cost considerations, Velcro and craft board are often cheaper than buying multiple frames. Personalize by adding small icons beside each Velcro spot, like a paintbrush for art time or a heart for feelings work.
11. Rainy Day Rainbow Paper Ladder Display
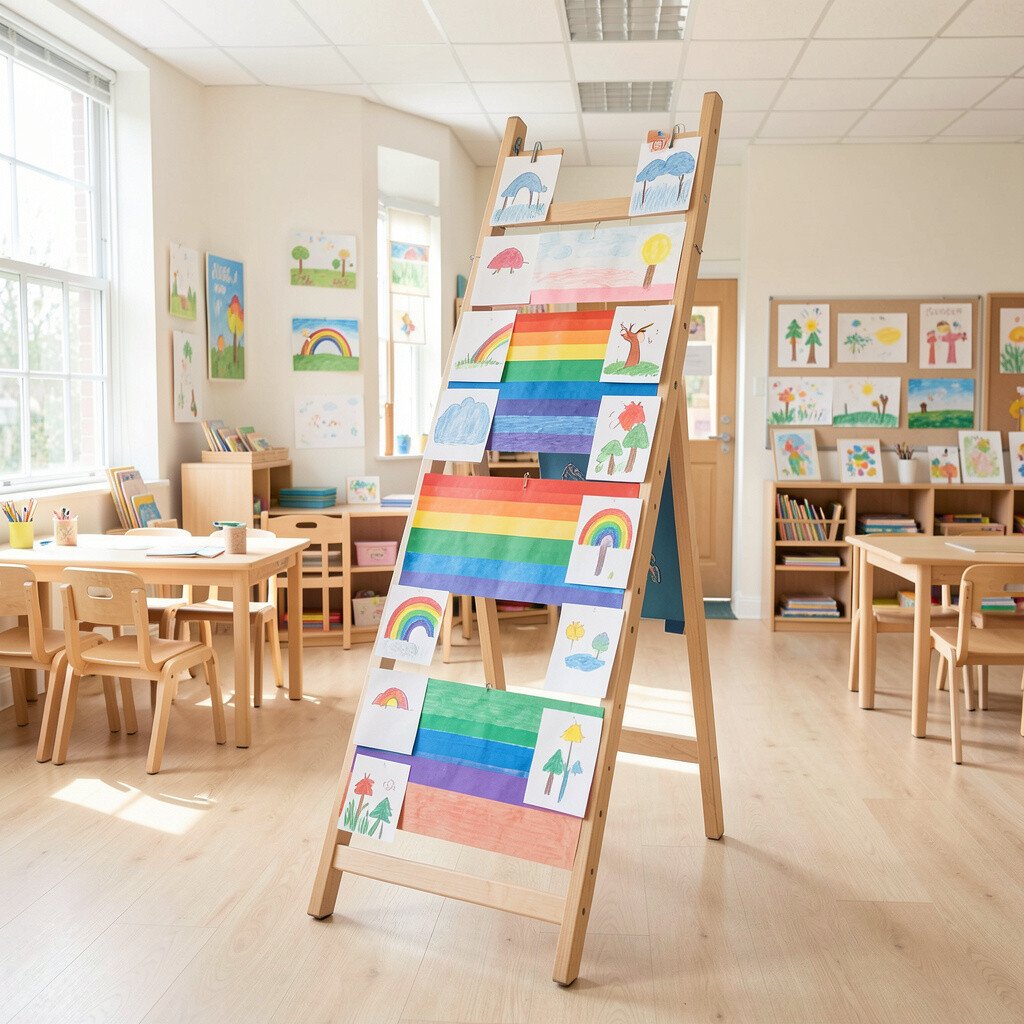
Make a ladder shape out of strips of craft paper or thin wood, then hang artwork on each rung. Place it near a bright area where sunlight or classroom lamps can hit the rungs, turning the whole display into a colorful rainbow path.
This idea feels unique because it adds motion and structure, not just flat rows on a wall. Kids enjoy climbing the visual ladder with their eyes, and it encourages them to compare artwork across different weeks. Use practical cutouts like paper raindrops at the top to signal the theme, then swap to snowflakes later in the year.
12. Laminated “Gallery Cards” Under a Clear Cover
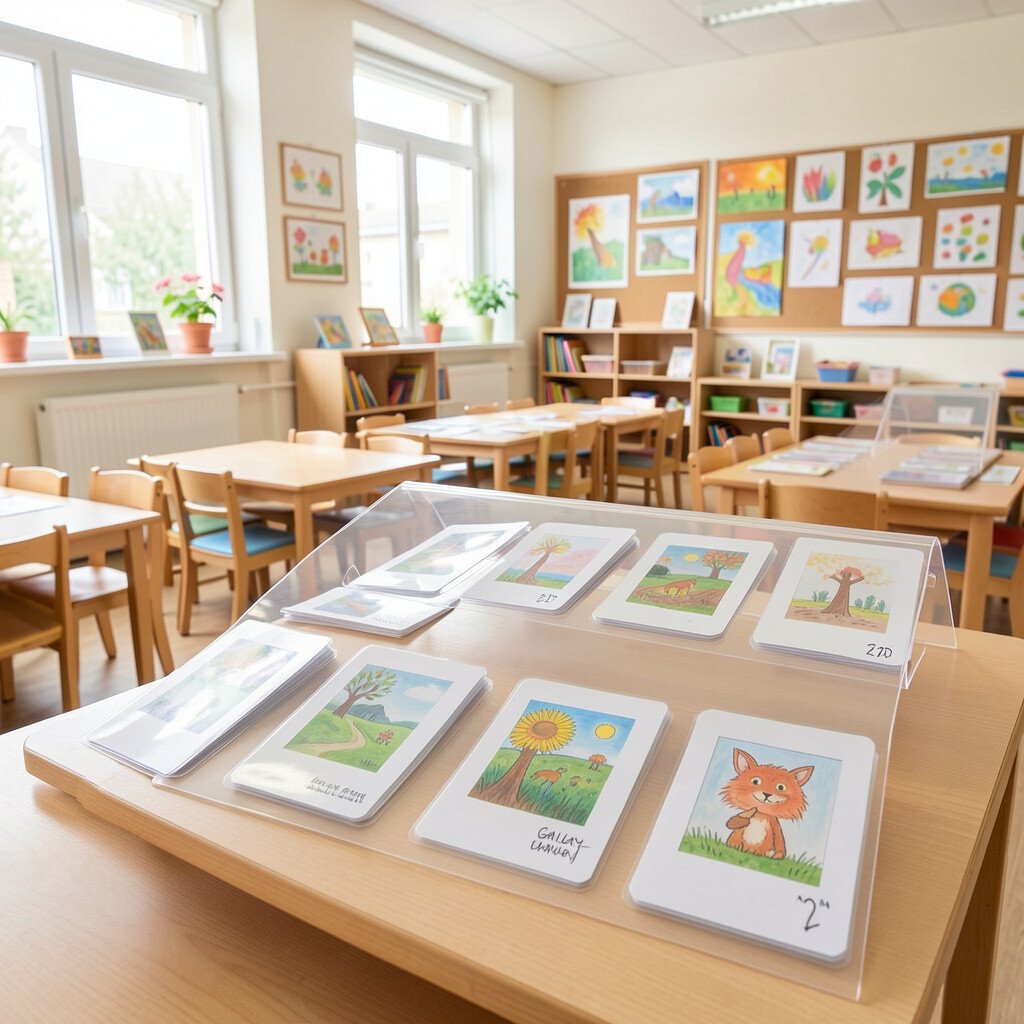
Put artwork behind a clear plastic cover, like a binder sleeve or a framed cover panel, and add bright labels underneath. The clear layer keeps art protected while lighting from above makes colors look sharper.
Create gallery cards with thick paper and bold writing so kids can “read” what they made. This supports language practice while still keeping the display bright and neat. For personalization, include one student-selected word, such as “brave,” “silly,” or “kind,” so every piece reflects their personality.
13. Backlit Tissue Paper Collage Showcase
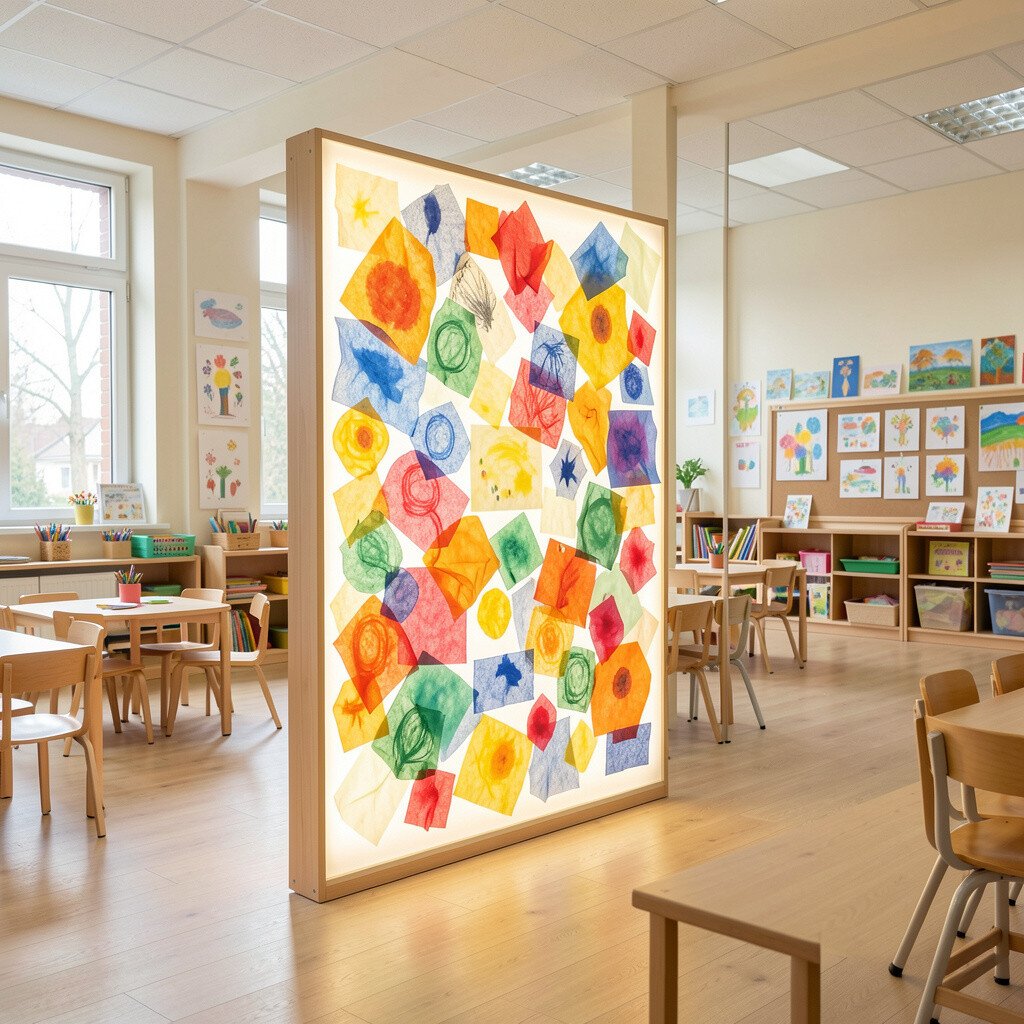
Build a display using tissue paper panels that sit behind artwork, then light them with small LEDs. The tissue paper glows softly, making collages and layered materials look rich and almost three-dimensional.
This approach is especially great for kindergarten because many kids love texture and color mixing. It also creates a unique look that stands out from typical bulletin boards. Keep it practical by choosing washable clear backing and using removable adhesive dots instead of glue on the artwork.
For cost, use inexpensive tissue paper sheets in bulk and LED strips that you can reuse every year. Personalize by assigning each month a color family, like warm colors for spring and cool colors for winter.
14. Lighted Letters Spelling “Art Club” With Student Work
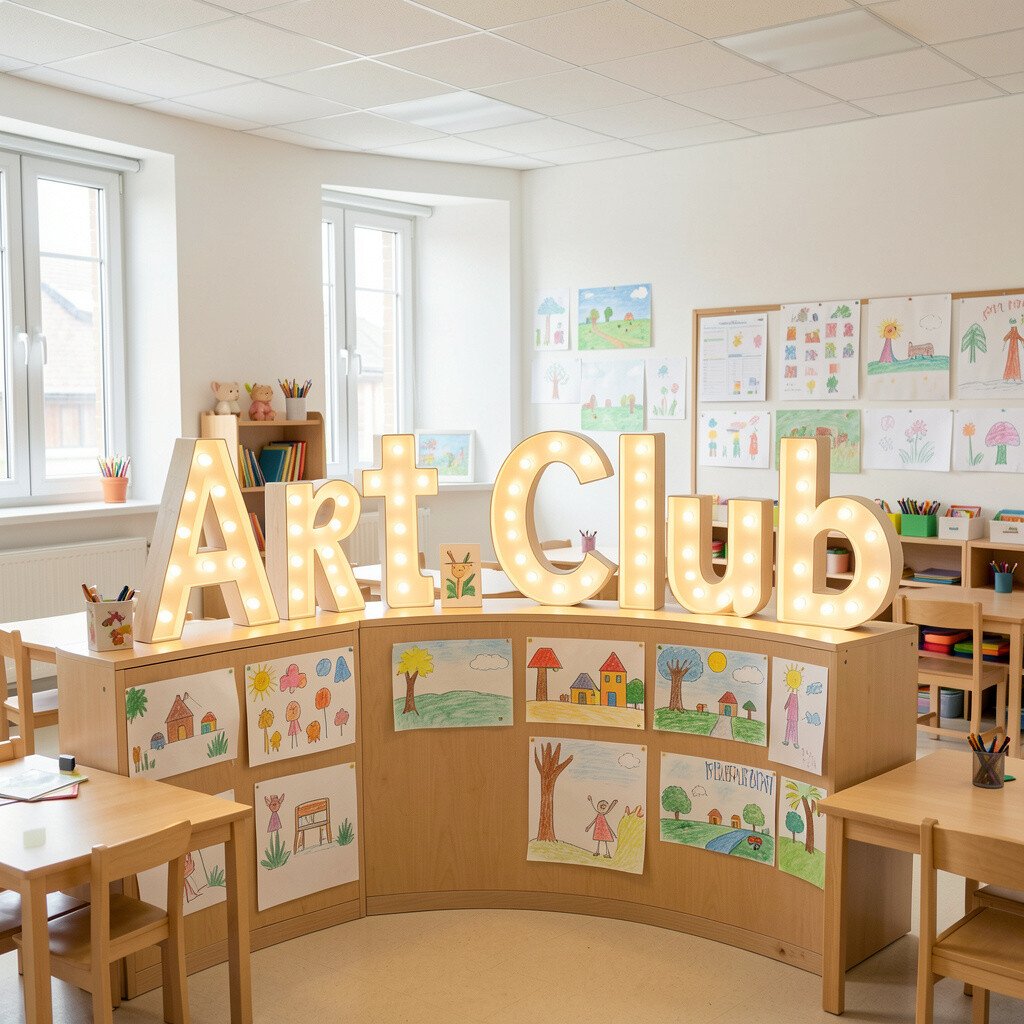
Spell a joyful message using big foam letters, then attach artwork behind or in front of the letters so the light shows through. When students pass by, they see a bright phrase that makes the art area feel like a special club.
Choose a bold color scheme and pair it with a bright lamp aimed at the letters. This can boost motivation because kids enjoy being part of something. Keep it practical by using Velcro to attach letters and artwork so you can swap quickly as themes change.
Personalize by letting each child add one sticker or drawing to the letters themselves, like tiny stars, handprints, or simple shapes. For cost considerations, foam letters are often available cheaply during craft sales, and you can reuse them year after year.
15. Photo Strip “Before and After” Art Display With Bright Clips
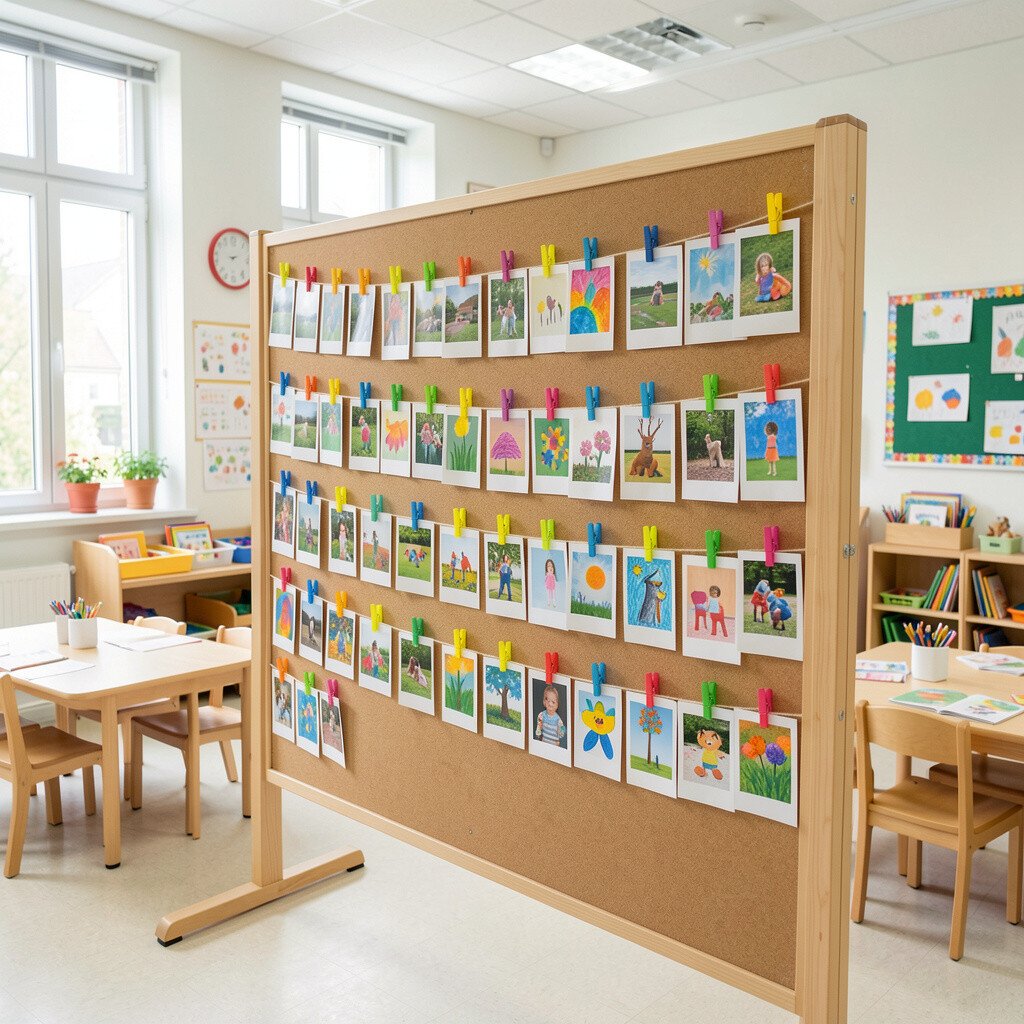
Show artwork progress by pairing finished pieces with simple photo snapshots or quick notes about the steps. Clip the pairs under bright lighting so the display looks clean and energetic, with a lively rhythm across the wall.
This helps children understand that art changes and improves, which builds a growth mindset in a kid-friendly way. It’s also unique because it shows thinking, not just final results. Keep it practical by printing small photos and placing them in clear sleeves so you can update them without redoing everything.
For personalization, let kids choose one step they want to highlight, like sketching, coloring, or adding details with markers. Cost-wise, a basic home printer and card stock can cover most needs.
16. Sticker-Comet Motion Wall With LED Edge Lighting
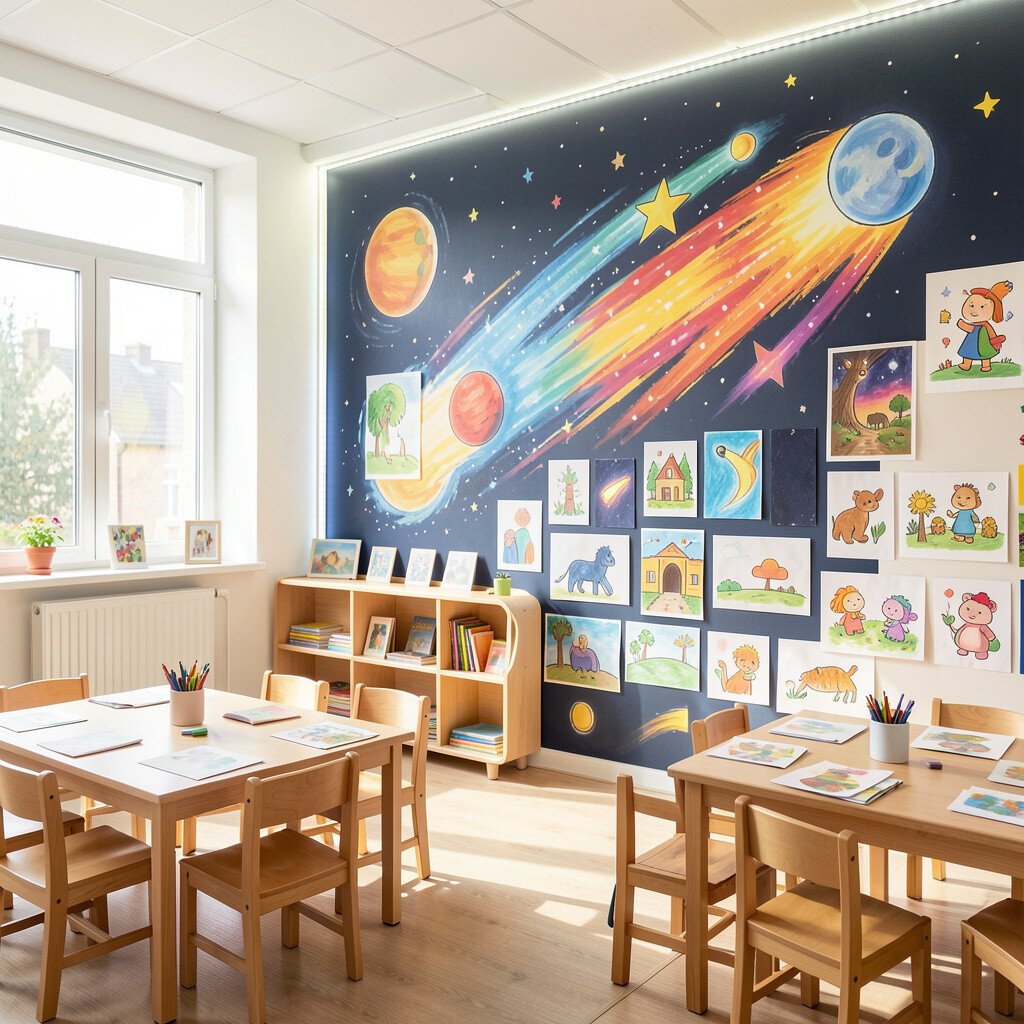
Design a motion wall using comet shapes cut from colored paper, then add artwork at different “points” along the comet. Edge lighting makes the wall feel alive, and the motion theme draws attention to each student’s piece.
Pair this with a rotating schedule so new artwork slides into the next comet point each week. Kids love stories about space and motion, and that excitement makes the art area feel playful. Keep the setup practical by using pre-cut shapes and clear pockets for easy swapping.
17. Giant Picture Mat Frames on a Bright Background
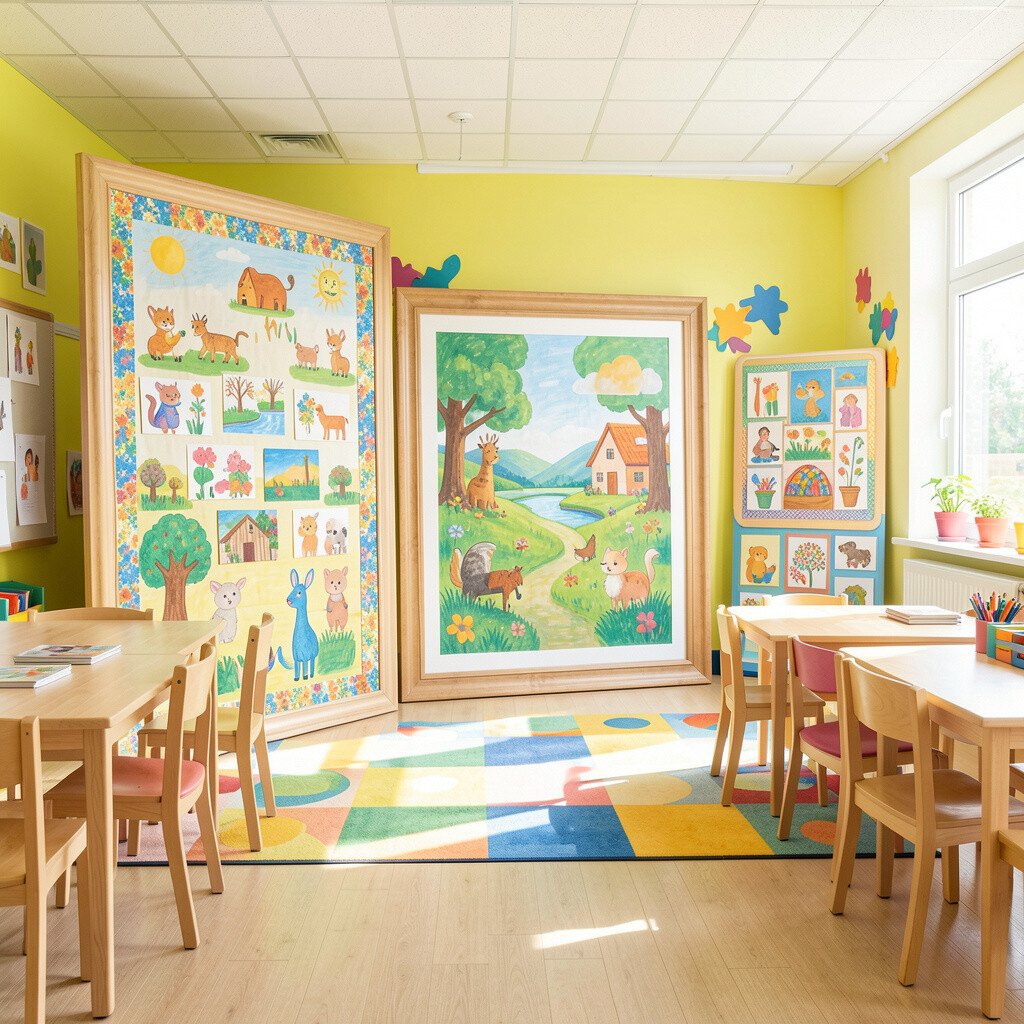
Use large paper mats behind smaller frames so every artwork sits on a bright, clean background. When light hits the mats, the colors look brighter and the whole wall feels organized.
Choose a few sturdy sizes that match your paper and keep frames consistent so you don’t spend extra time hunting for matching pieces. This supports classroom flow because you can post work quickly during cleanup. For personalization, let students decorate the mat border with simple shapes like circles, squares, or zigzags.
Cost considerations can be friendly here if you use cardboard and wrap it with contact paper for durability. It’s a budget-friendly way to make each drawing feel like it has a spotlight without buying lots of expensive frames.
18. Lightbox Style Tray Display for 3D Art
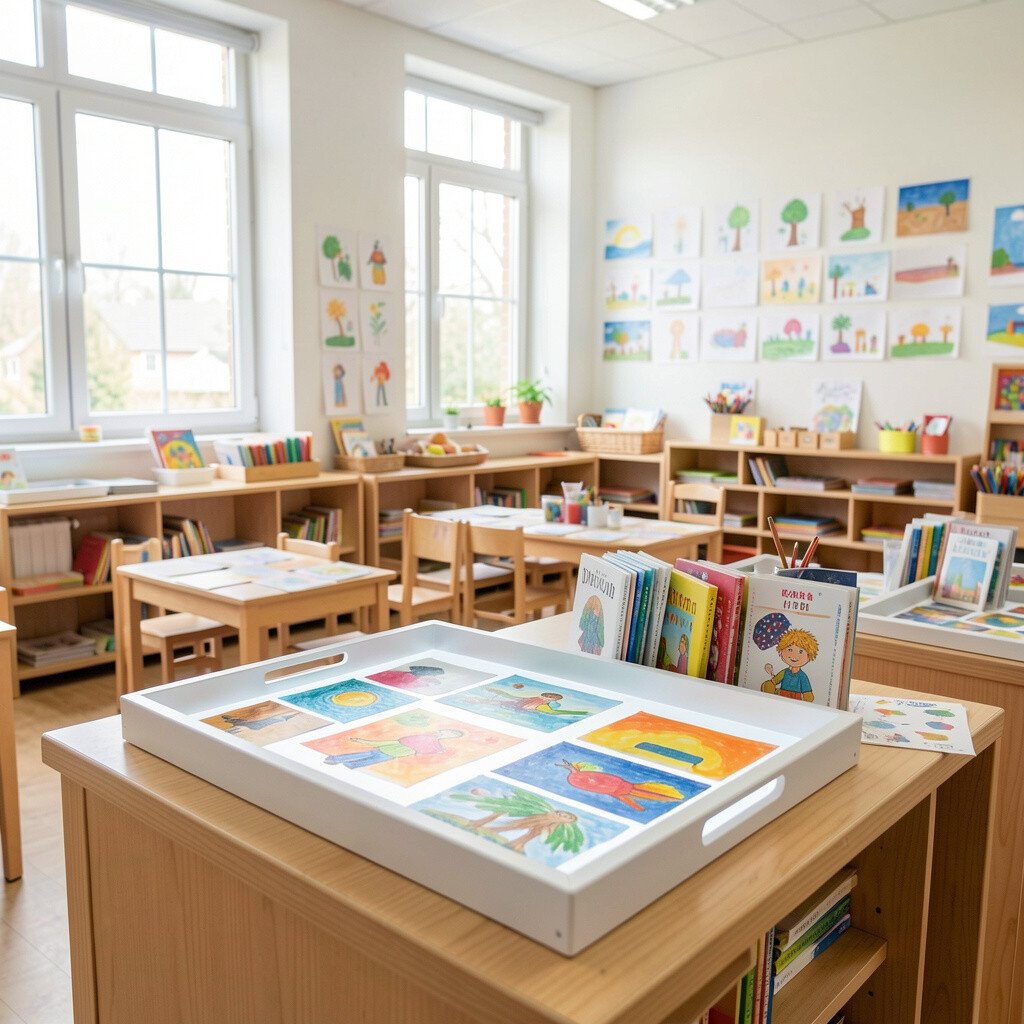
Use a shallow tray under a bright light source to display 3D art, like clay pieces, paper sculptures, and textured collages. The glow underneath makes items look like they’re floating, which kids find thrilling.
To keep the display safe, use clear domes or acrylic risers so pieces don’t get bumped. This creates a unique gallery moment and makes the art area more varied than flat wall posters. Personalize by labeling each tray with a theme, such as “builders,” “makers,” or “nature finds,” using child-friendly icons.
For cost considerations, you can start with a cheap light pad or a repurposed display light, and test it with non-breakable items. Always keep an eye on heat and make sure cords are placed out of reach.
19. Bright Border Pathway With Hanging Art Over Steps
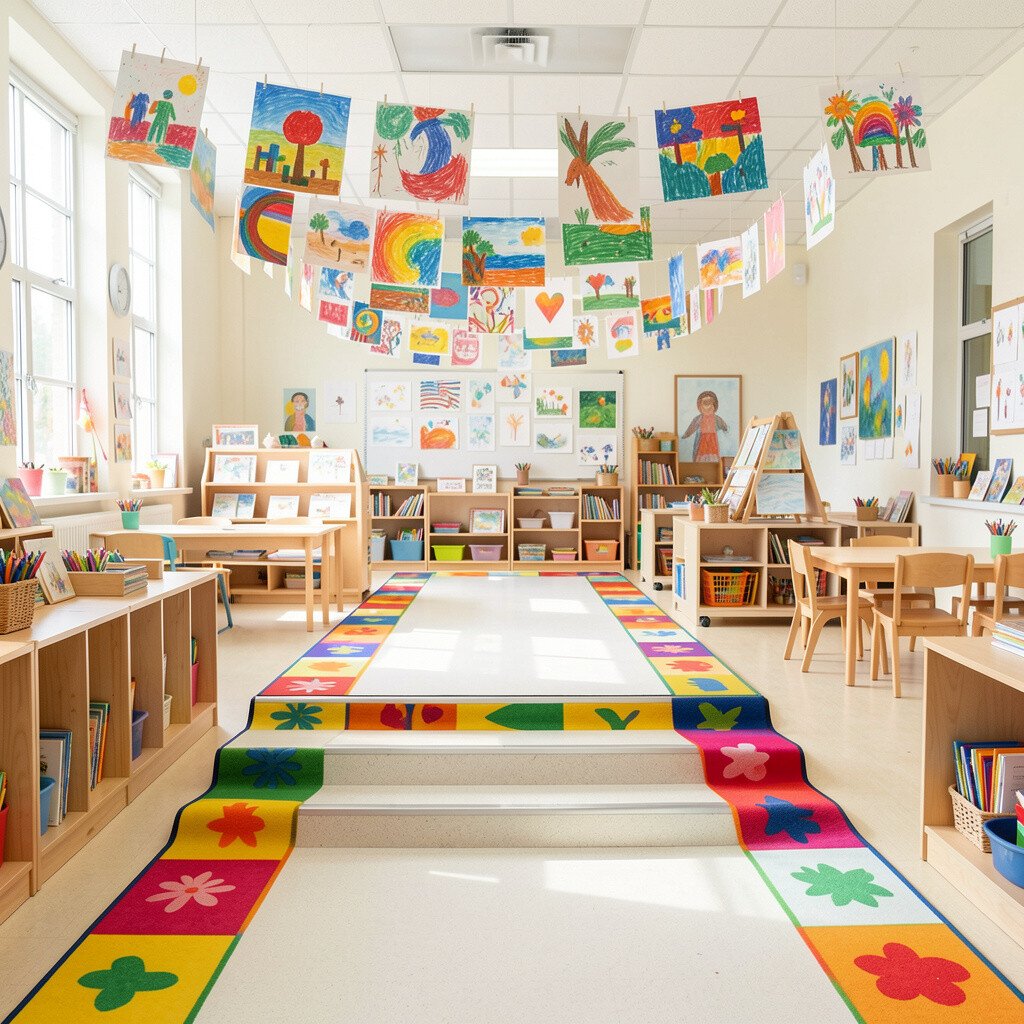
Create a border shaped like stepping stones along the wall, then hang small artwork from each stone. The bright outline acts like a visual hallway, and kids naturally move their attention from one piece to the next.
This works well for quick walk-and-talk moments during transitions, since students can point to their favorite piece. It’s practical because the display uses small spaces, so you don’t need a huge wall to show a lot of art. Personalize by having each stone match a classroom routine, like mornings, stories, art time, or snack time.
For cost, craft paper and sturdy tape can handle the stone shapes, and string or ribbon can handle the hanging. Choose bright colors that match your room theme for a unified look.
20. Seasonal Lantern Frames With Rotating Themes
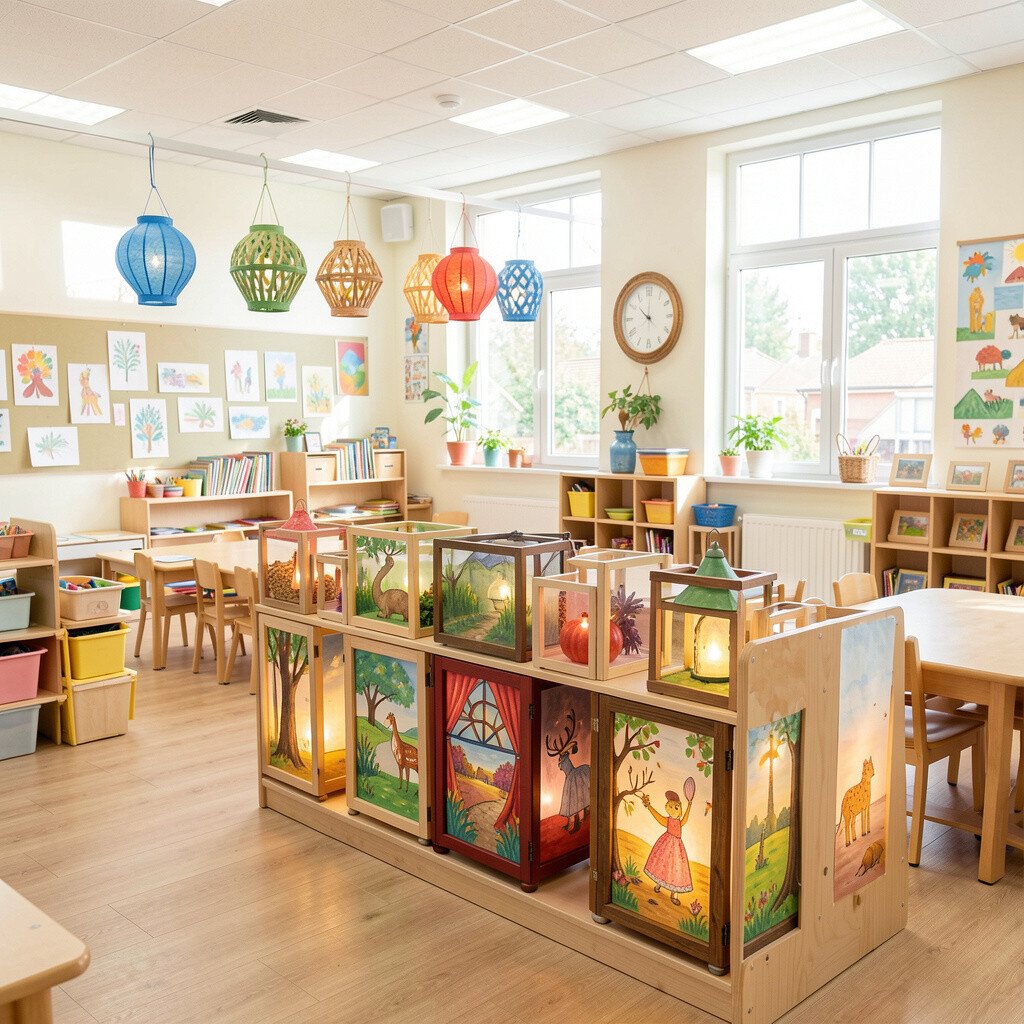
Frame artwork inside lantern-style holders using translucent paper or mesh with soft LEDs inside. The warm glow makes seasonal themes feel cozy, and it gives the art display a gentle, inviting look.
Rotate themes regularly, such as harvest, winter lights, spring flowers, and summer fun, so the classroom always looks fresh. This also helps teachers plan because you can match art projects to the season and keep the display aligned with what kids are learning. Keep it practical by choosing holders that are easy to open, so you can swap art without removing the light setup.
For personalization, invite kids to choose which season color they want their artwork to “belong” to, then place it in that lantern frame. Cost considerations are manageable because you can reuse lantern frames and simply change the artwork and color accents throughout the year.