Your supplies can look calm and organized even when you’re busy. The trick is choosing storage that fits how you actually create and repair.
When everything has a home, you spend less time hunting and more time making. Let these DIY ideas spark simple upgrades you can finish in a weekend.
1. Label-Ledger Jar System for Small Bits
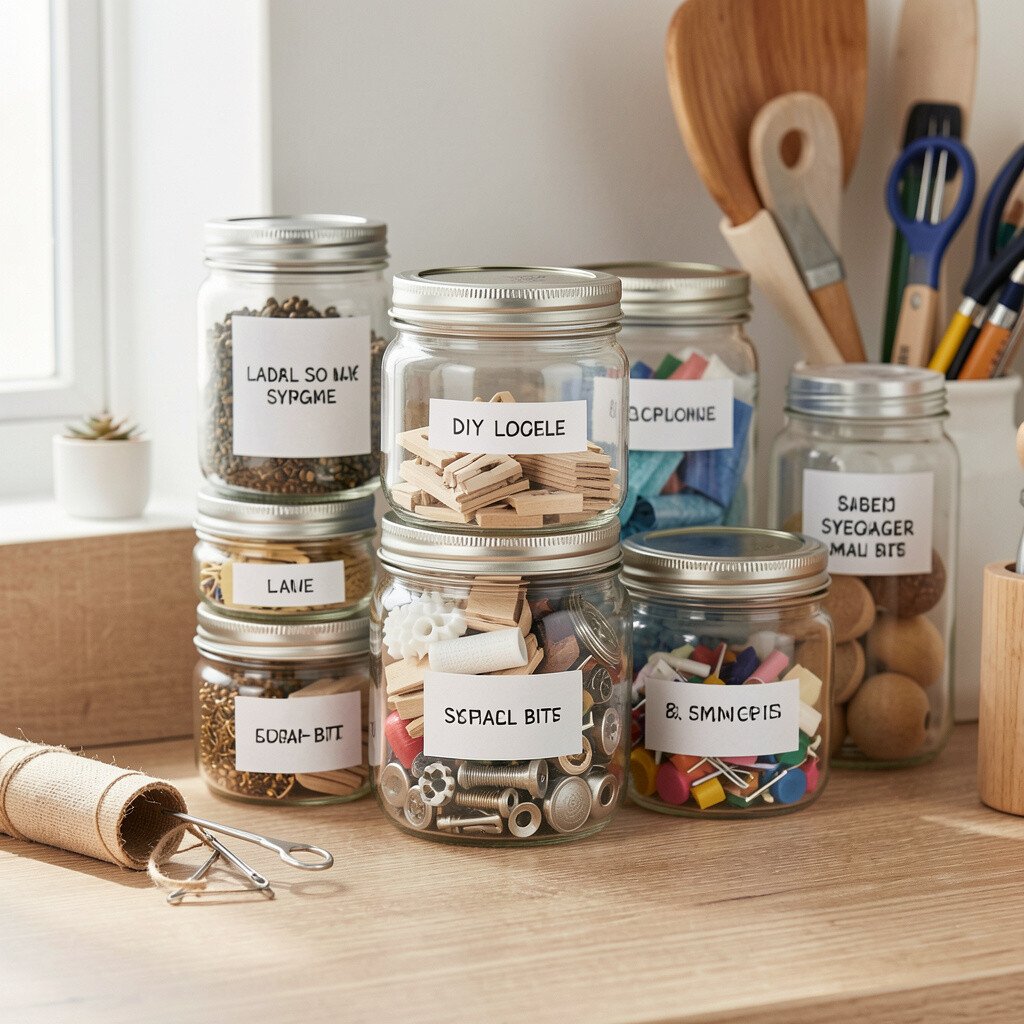
Clear jars make it easy to see what’s inside at a glance. When you add labels with a neat hand, you cut down on mix-ups fast.
Try a ledger-style label so parts stay grouped by use, not just by size. Place the jars in a shallow tray or on a shelf near your main work spot for instant access.
2. Pegboard With DIY Sliding Tool Caddies

A pegboard instantly adds structure, and it looks great on a blank wall. Add small wooden or plastic caddies that slide onto hooks so items move smoothly.
You’ll love how quickly you can re-arrange the layout as your projects change. Keep lighter tools up high and heavier ones lower for better stability.
3. Hanging File Folders for Paper Patterns
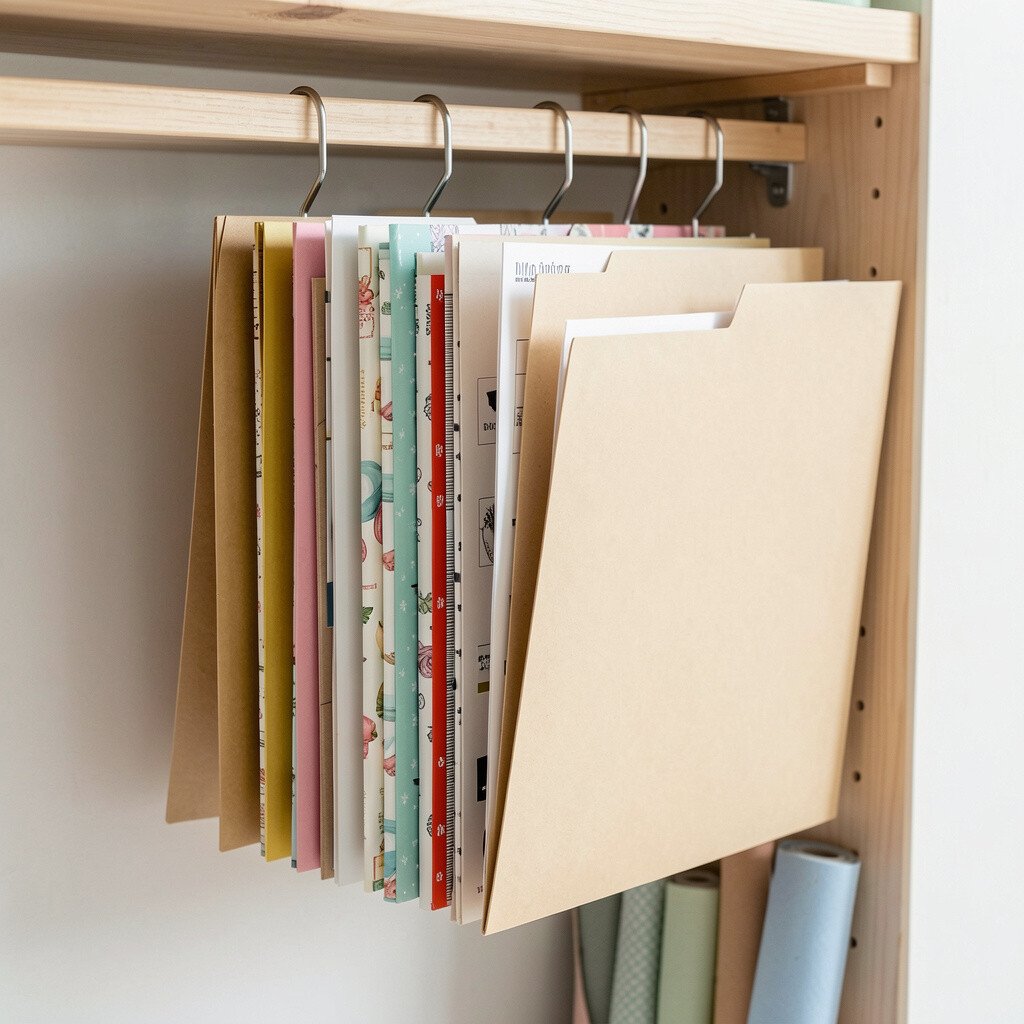
Flat patterns and instructions stack up fast and turn messy. Hanging file folders keep them visible without taking over your desk.
Use binder clips to attach the folders to a wall rail or closet bar so they hang at the right height. Add a simple color code for categories like sewing, crafts, and repairs.
This makes it easier to grab the right sheet when you’re in the middle of a project. If you enjoy a tidy look, choose matching folders and use the same label style for everything.
4. Repurposed Spice Rack for Craft Paint and Markers
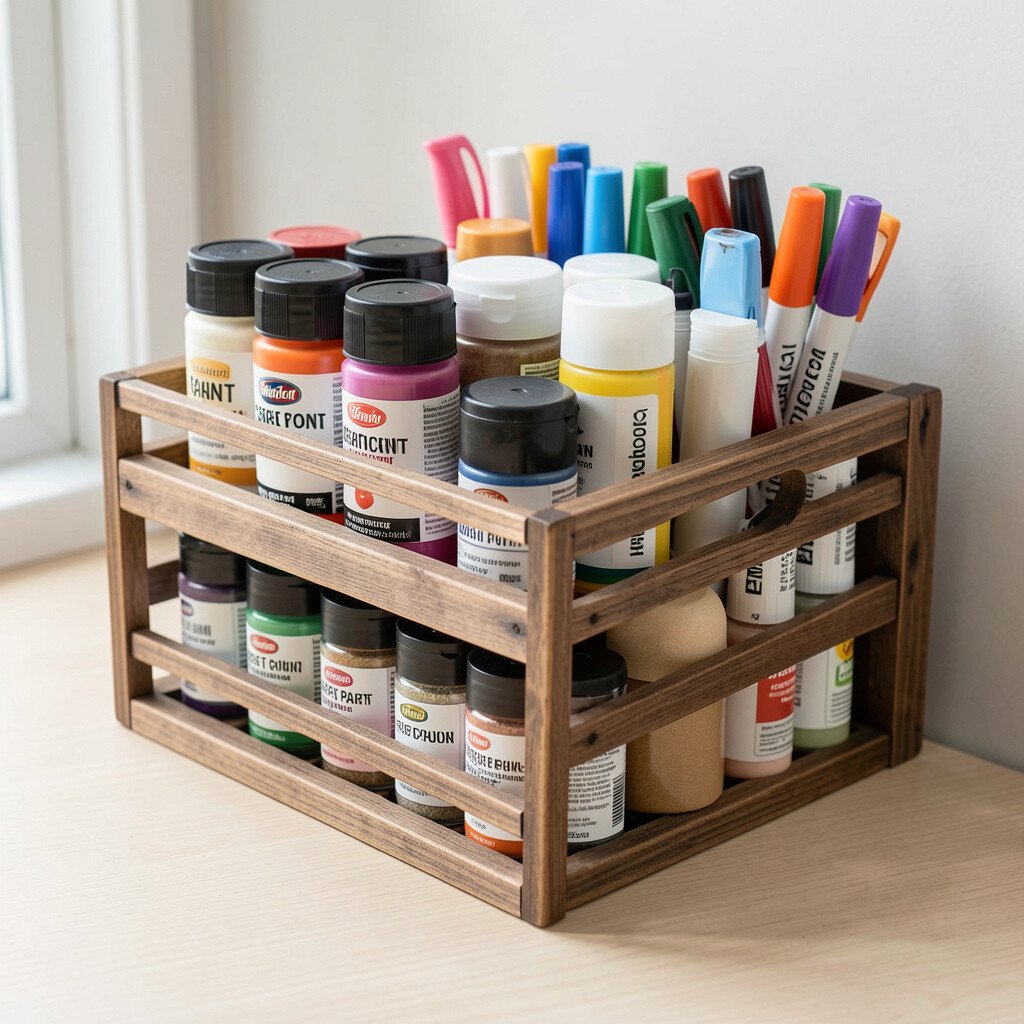
A spice rack is made for small containers, so it feels perfect for paint bottles and marker caps. When you line up colors in order, your workspace starts to look like a mini studio.
Choose a rack that has either a turntable or multiple tiers so you can see everything clearly. Secure it with wall anchors if you plan to keep heavier bottles inside.
5. Shoe Organizer for Drawer-Ready Storage
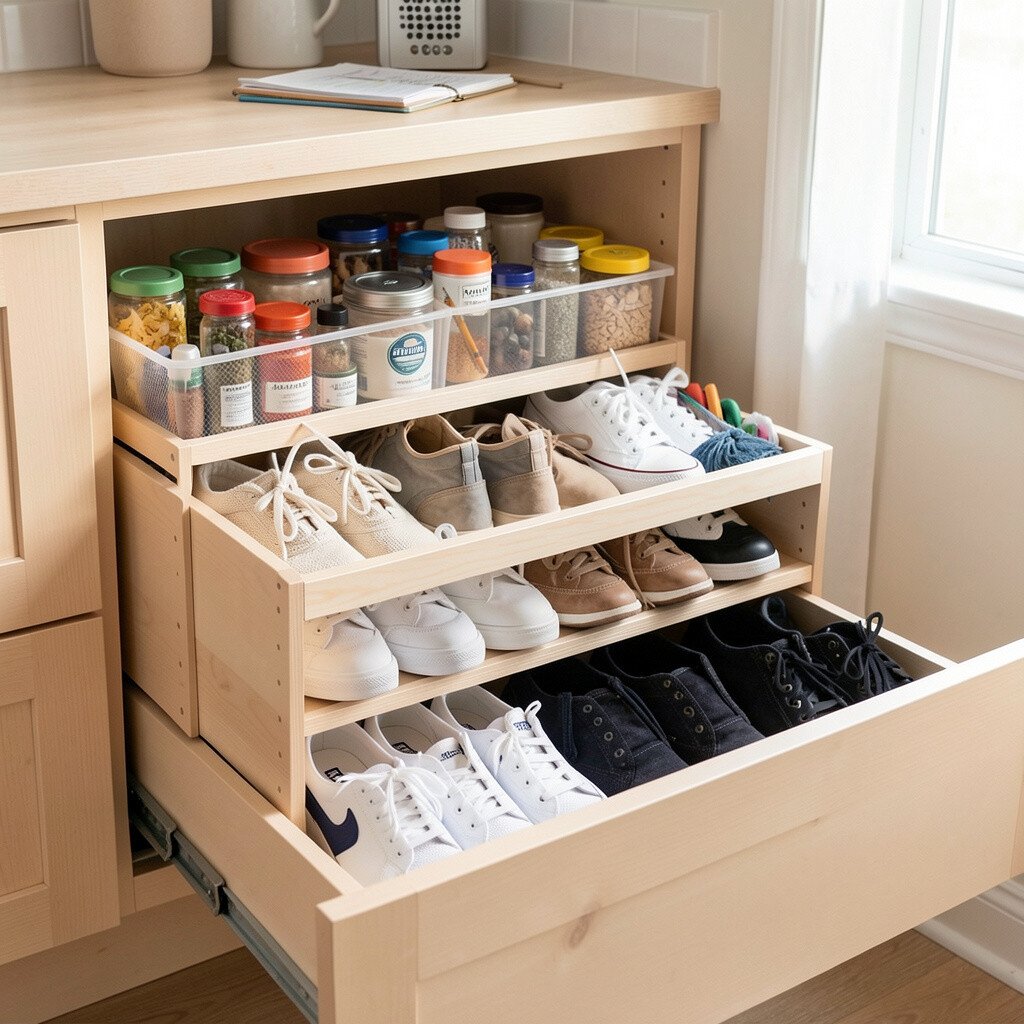
That over-the-door shoe organizer can do much more than hold pairs. Small bins help you sort accessories, thread, tape, and tiny tools without bending every time.
Hang it inside a closet door or on the back of a cabinet for hidden storage that still stays easy to grab. Use removable hooks so you can take it down when you need to refill.
Pick fabric pockets that match your room style, like neutral tones for a calm look or bright ones for a playful vibe. You can even personalize the pockets with fabric labels so each category feels special.
6. Clear Tackle Boxes for Hardware and Screws
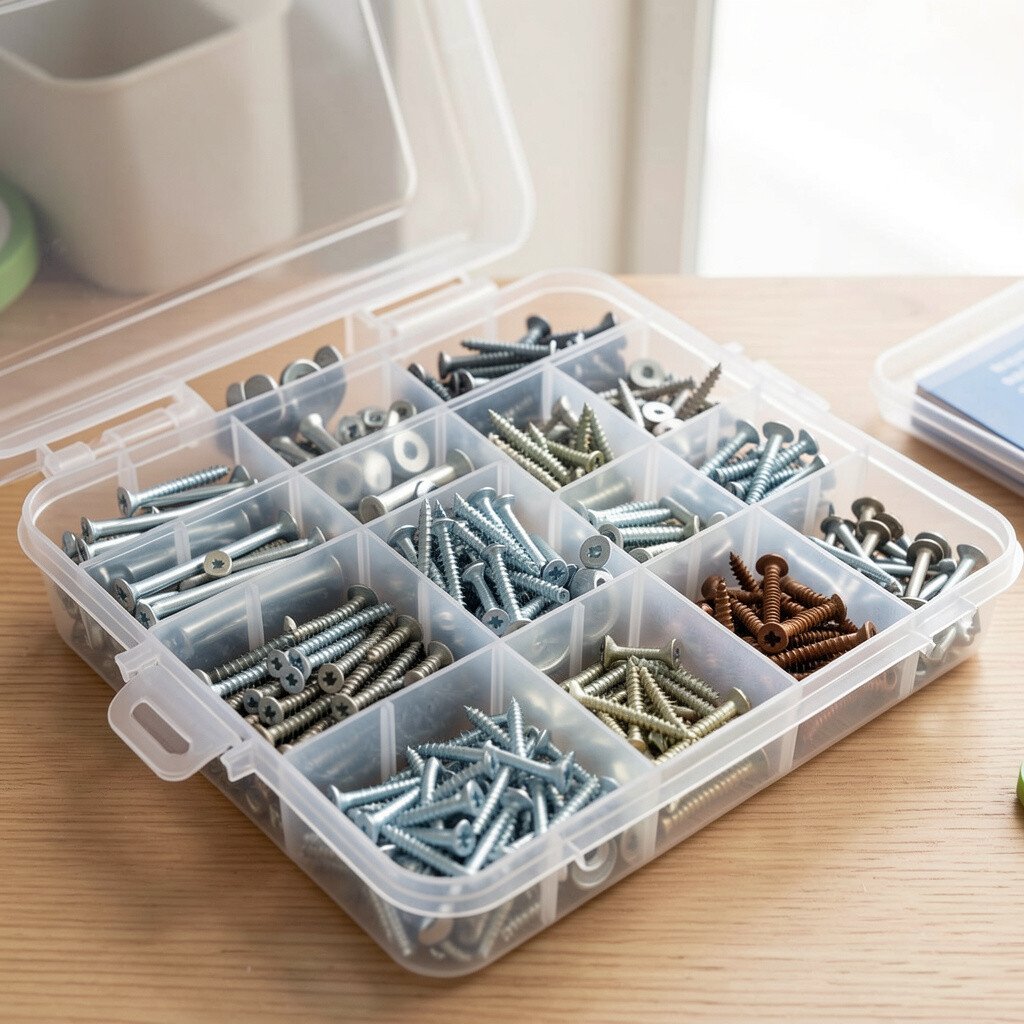
Tackle boxes are built for mixed pieces, which makes them great for hardware storage. The see-through lids and tiny compartments help you stay organized even when you’re sorting quickly.
Keep one box for small fasteners and another for larger parts so you never dig through everything. Add a few index stickers to the lid so you know what each compartment holds.
7. Magnetic Strip Wall for Metal Tools
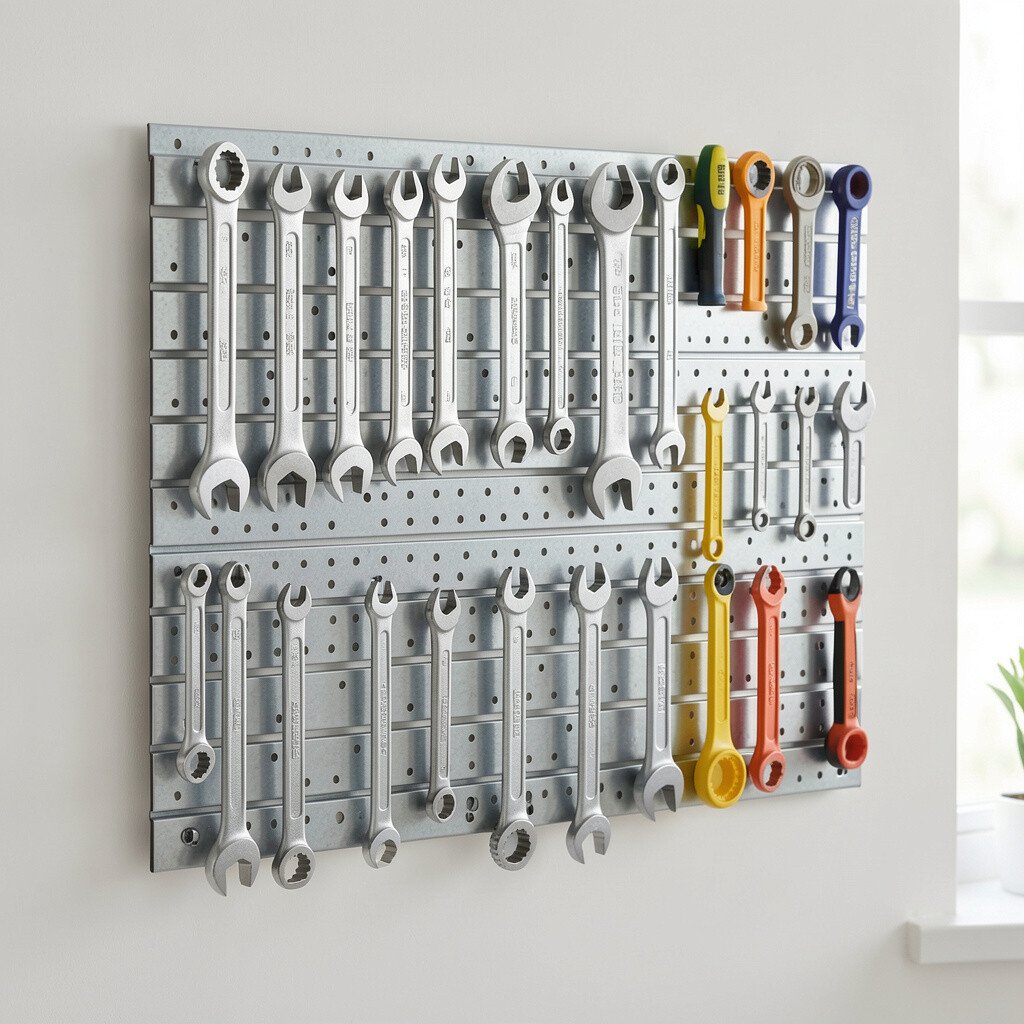
If your tools are always wandering, a magnetic strip can bring them back fast. It’s a clean-looking setup that keeps metal items visible and ready to use.
Choose a strip length that fits your wall and place it near your work surface. Use small magnetic trays for tiny bits like washers so nothing slips down.
This storage idea feels modern and neat, especially when you wipe the strip clean after dusty projects. For personalization, group tools by shape and color so the layout is satisfying to look at.
8. Drawer Dividers From Reclaimed Wood Slats
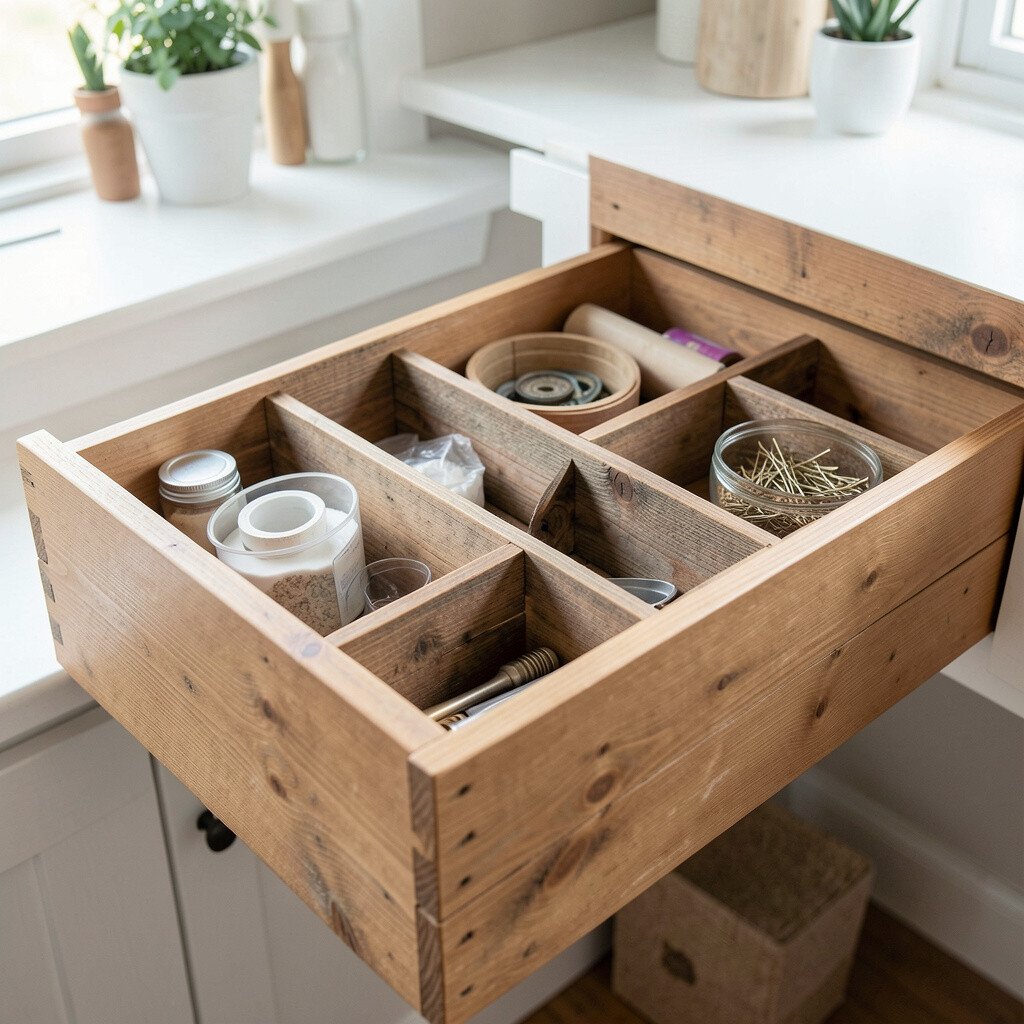
Loose supplies inside drawers can turn into a jumbled pile in no time. DIY drawer dividers give each item its own space and make pull-outs feel smooth.
Use thin reclaimed wood slats or leftover trim to build simple dividers that match your drawer width. Sand the edges, then stain or paint them so the whole setup looks intentional.
9. Under-Shelf Bins With Sticky Notes Labels
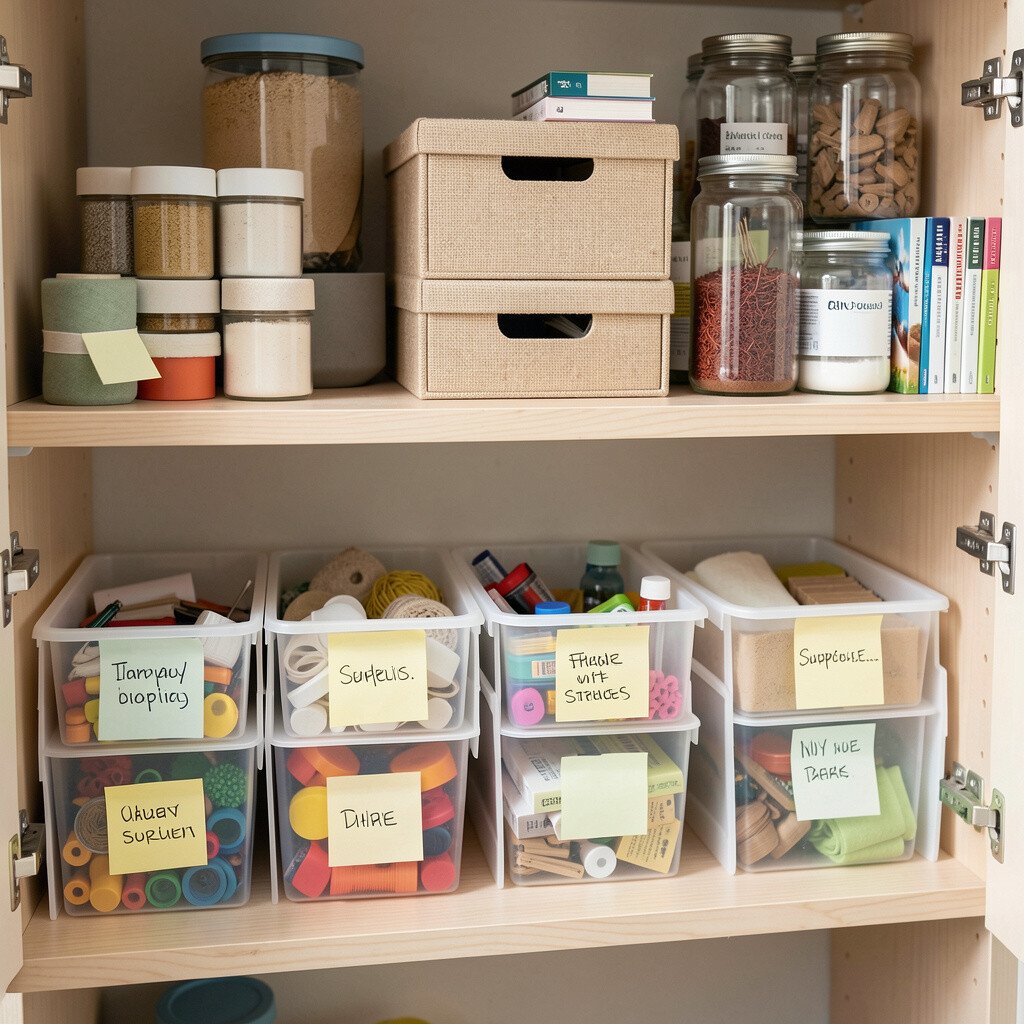
Under-shelf storage keeps countertops clear, and the items feel closer to your work. Small bins can hold measuring spoons, tape, batteries, or even scrap paper.
Place the bins under a shelf you already use and add labels that are easy to swap. Use sticky notes protected with clear tape so you can change categories as your projects shift.
This is a smart way to stay flexible without making permanent changes. It also keeps things hidden from view while still making them simple to reach.
10. DIY Clipboard Storage for Craft Boards

Craft boards, sketch papers, and pattern sheets can lean and sag unless they’re supported. A DIY clipboard-style holder gives them a firm place to sit.
Mount small boards vertically or use clips attached to a wooden frame so pages stay secure. Keep a few different slots for different sizes, and store the right one at eye level.
11. Mason Jar Pencil and Tool Organizer
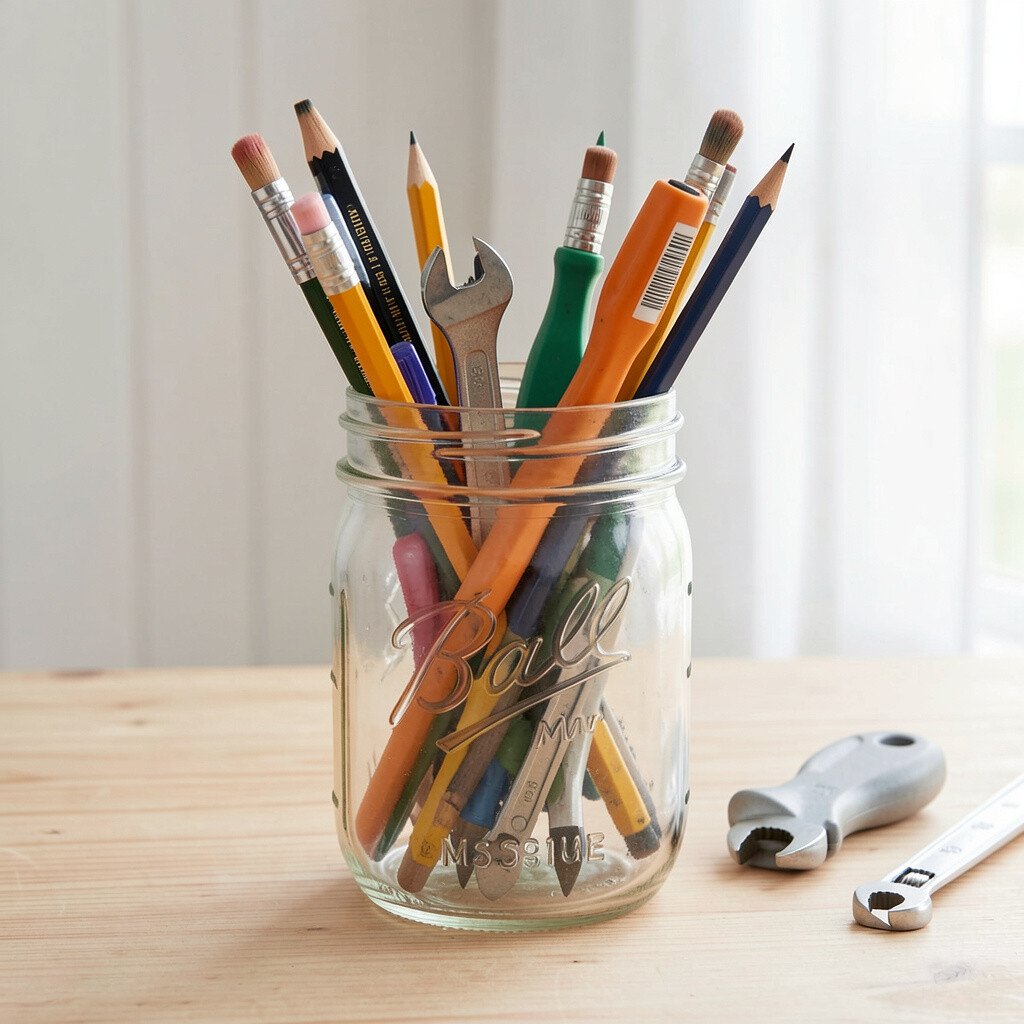
Mason jars are sturdy, affordable, and look good almost anywhere. Turn a cluster of jars into a neat home for pencils, paintbrushes, and small scissors.
For a more tidy setup, mount jars to a wooden plank or set them in a shallow crate. Add a ribbon or fabric wrap around the jar tops to make the display feel personal.
This gives you quick visibility and reduces the temptation to toss tools into a random cup. Choose jars of similar heights for a calm, balanced look.
12. Fold-Flat Fabric Roll for Cables and Accessories
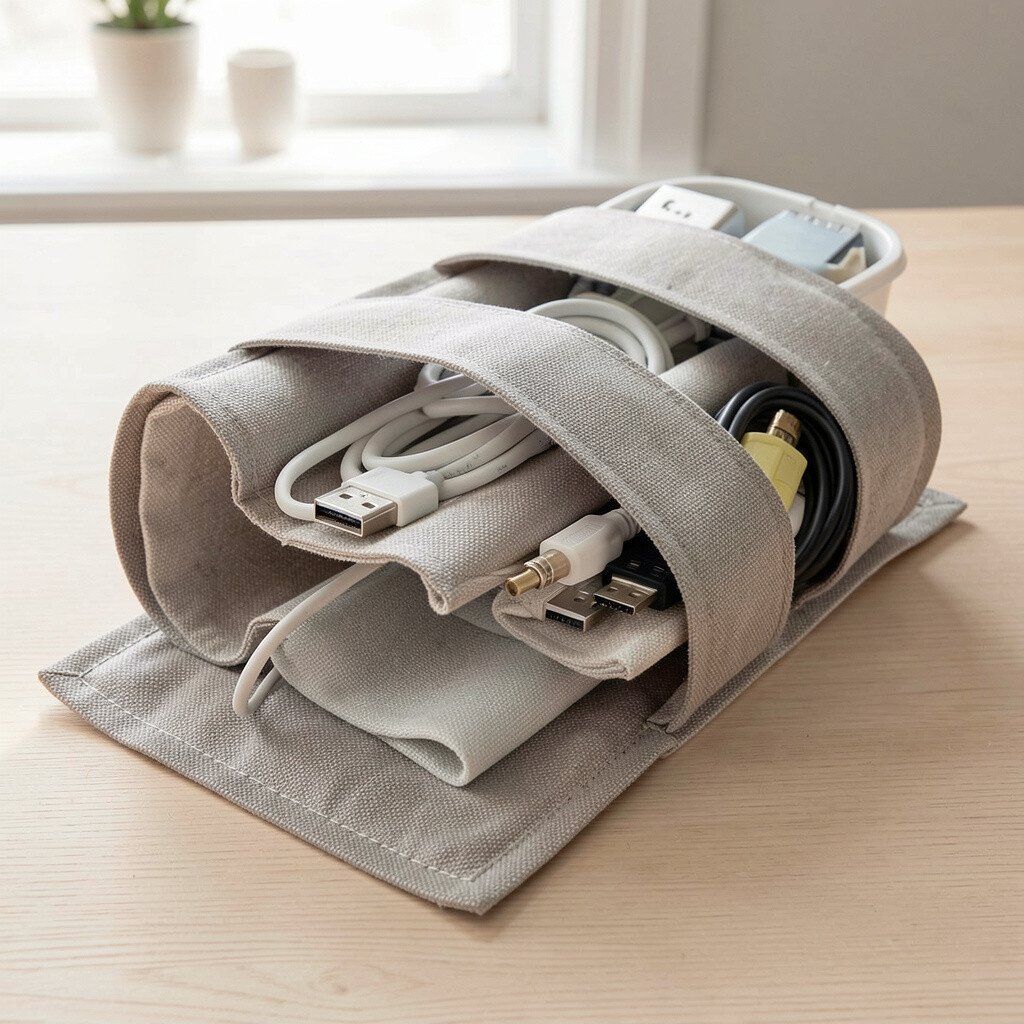
Cables and accessories tangle when they don’t have a flexible home. A DIY fabric roll keeps cords, chargers, and small gadgets together and easy to pack.
Use sturdy fabric and sew in pockets of different sizes so each item has a snug fit. Roll it up and tie it with a ribbon, then store it in a drawer or on a shelf.
13. Wall Grid With Peg Hooks for Everyday Supplies
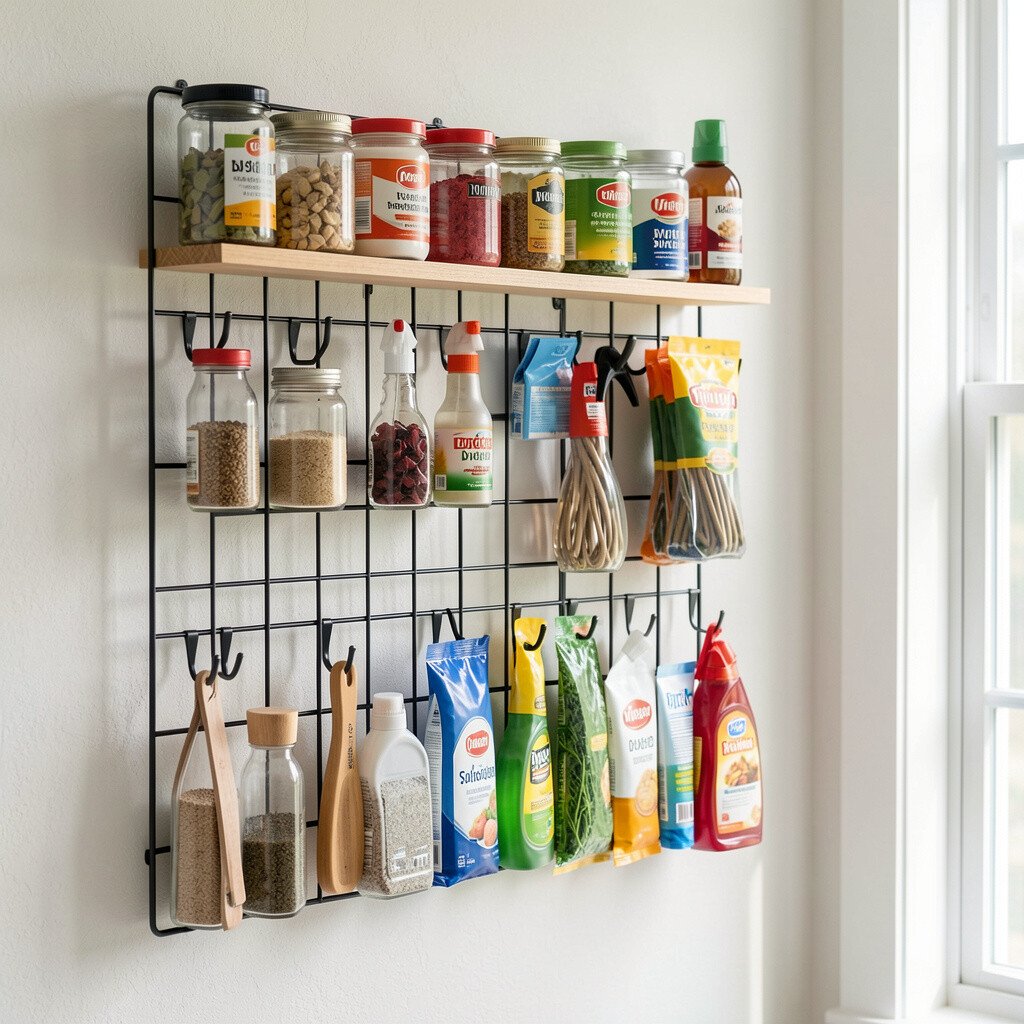
A wall grid makes storage feel playful and organized at the same time. Small peg hooks let you adjust the layout whenever your supplies grow.
Hang bins for scissors and scissors-like tools, then use hooks for tape dispensers and light accessories. This setup helps you keep daily tools where your hands already reach.
Current makers love modular systems because they change with every hobby season. Customize the grid with fun paint colors or a clean monochrome finish to match your space.
14. PVC Pipe Frame for Long Supplies
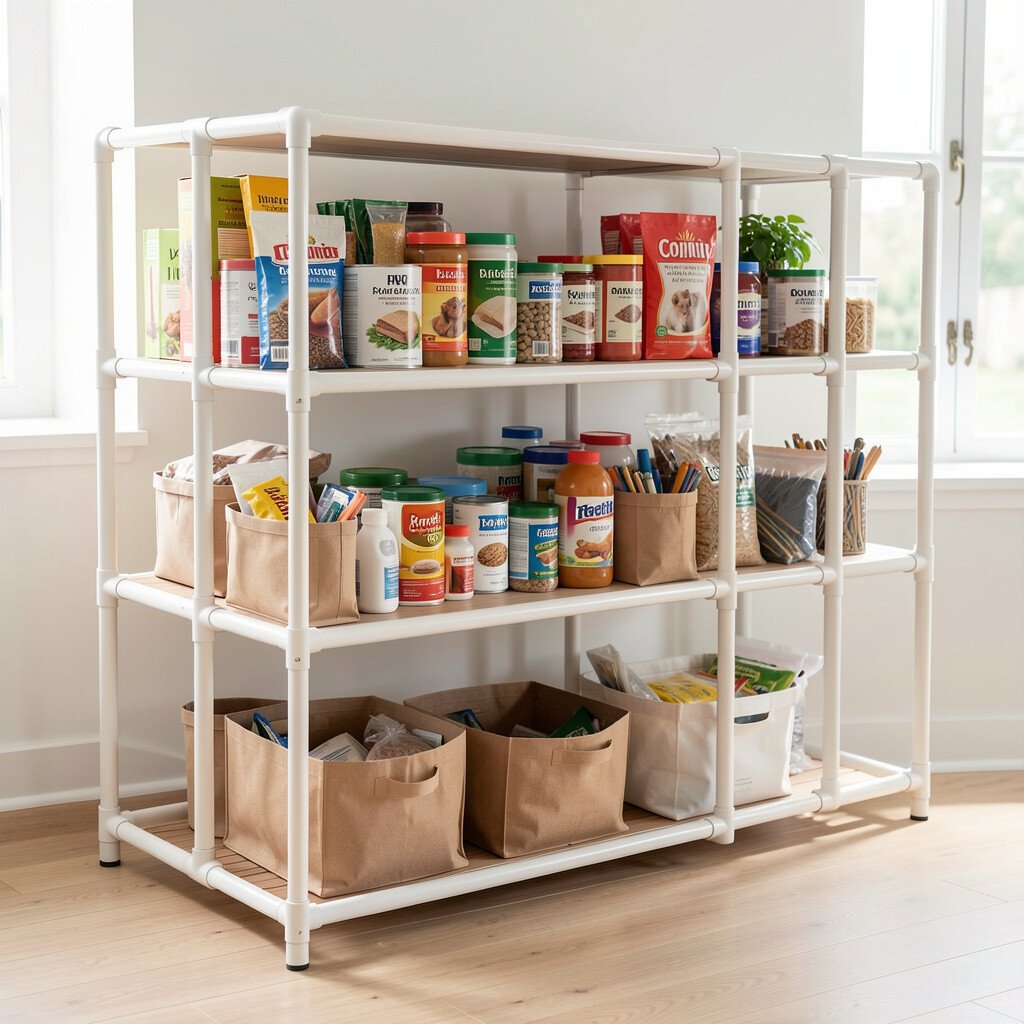
Long supplies like dowels, rulers, and paint rollers can slide around and create clutter. A DIY PVC pipe frame holds them upright and prevents bending or damage.
Cut pipes to size, glue them into a sturdy base, and secure it to the wall or place it in a cabinet corner. Paint the frame to match your room, then add rubber caps for a softer touch.
15. Hanging Basket System for Craft Flaps and Scraps
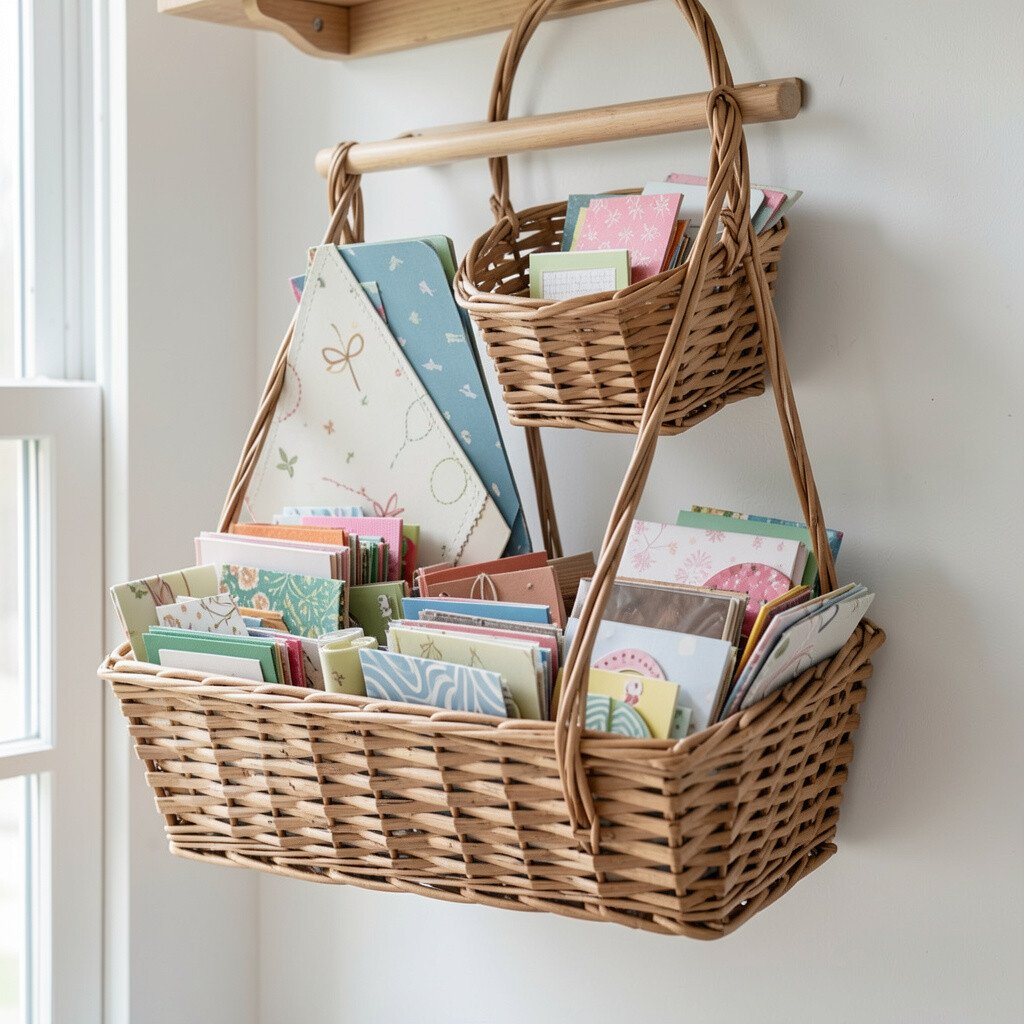
Scraps pile up because they’re too small to store in regular bins. Hanging baskets make it easier to collect bits in one place without cluttering the floor.
Choose baskets with open sides so you can see colors and textures quickly. Sort scraps by material like paper, fabric, or ribbon so you can grab what you need without rummaging.
It’s a great way to keep the creative zone active while still staying tidy. Add a small cloth tag to each basket so the categories feel fun and clear.
16. DIY Overhead Rack for Bulk or Seasonal Supplies
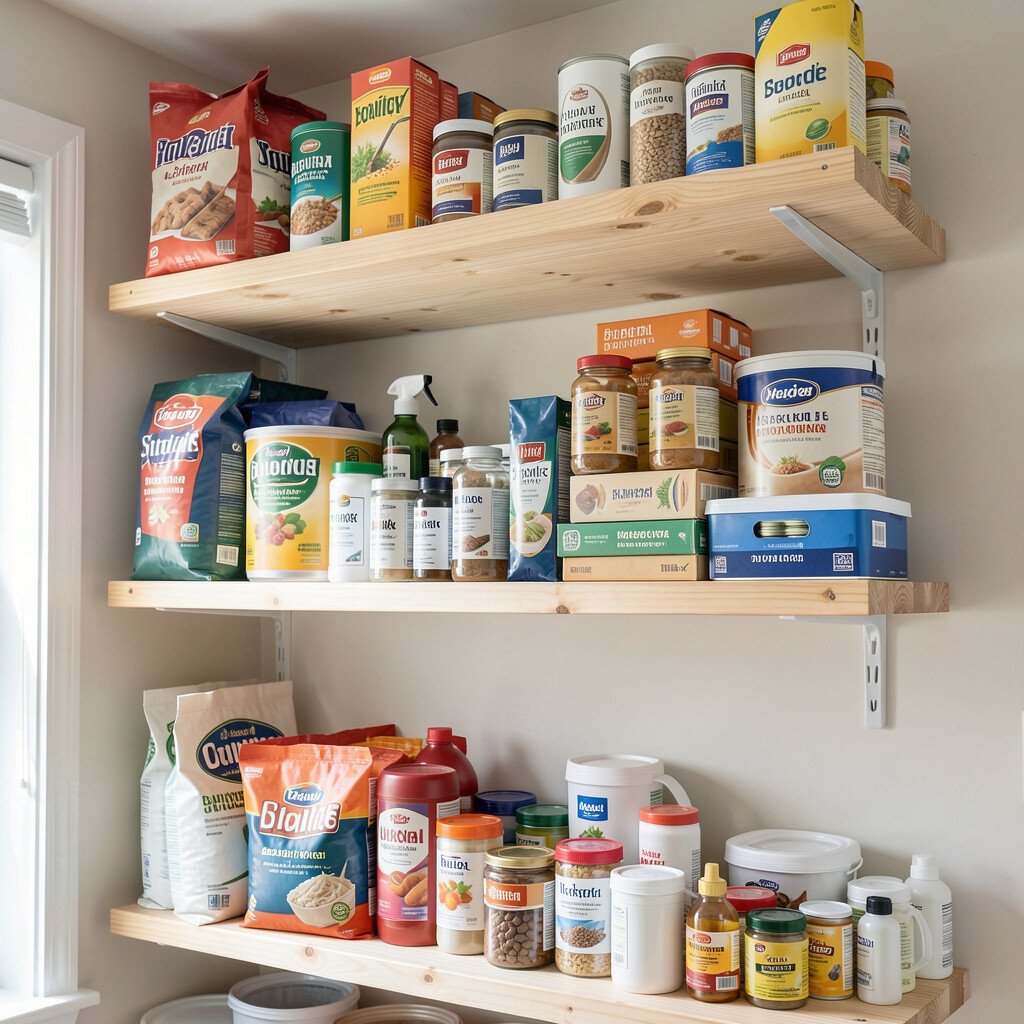
Not everything needs to be on your desk, and overhead storage is perfect for bulk items. A simple rack helps keep spare supplies safe, dry, and out of the way.
Use sturdy brackets and strong shelf supports, then add bins to separate items by season or project type. Store things you use less often like extra glue sticks, holiday wrapping, or backup paper.
17. Clear Plastic Organizer With Hidden Under-Shelf Dividers
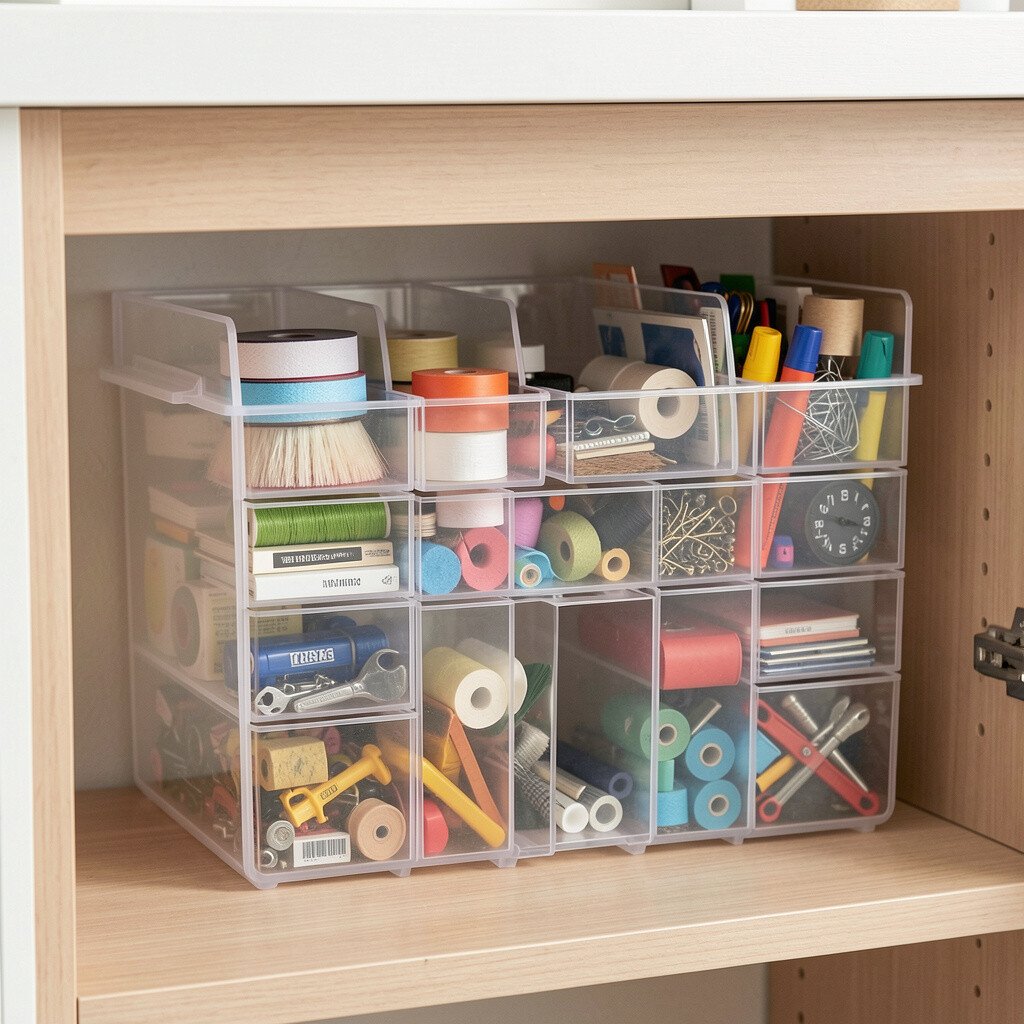
Plastic organizers are great because they keep items visible and protected. Add DIY dividers inside the organizer so small parts don’t end up bouncing around.
Cut divider pieces from thin plastic sheets or reclaimed board, then fit them to your container size. This approach feels tidy and modern because it shows exactly what you own.
18. Washi Tape Roll Dispenser for Small Craft Tools

Washi tape dispensers make a satisfying sound and keep rolls from flattening. You can use a DIY holder to store tape, thin films, and small accessories neatly.
Attach a small dowel or wooden spindle to a board, then slide rolls onto it. For personalization, paint the board in your favorite color or cover it with scrapbook paper.
This is a low-cost storage upgrade that keeps your materials accessible and visually pleasing. It also works well for label tape and measuring tape too.
19. DIY Tool Caddy From a Repurposed Canister
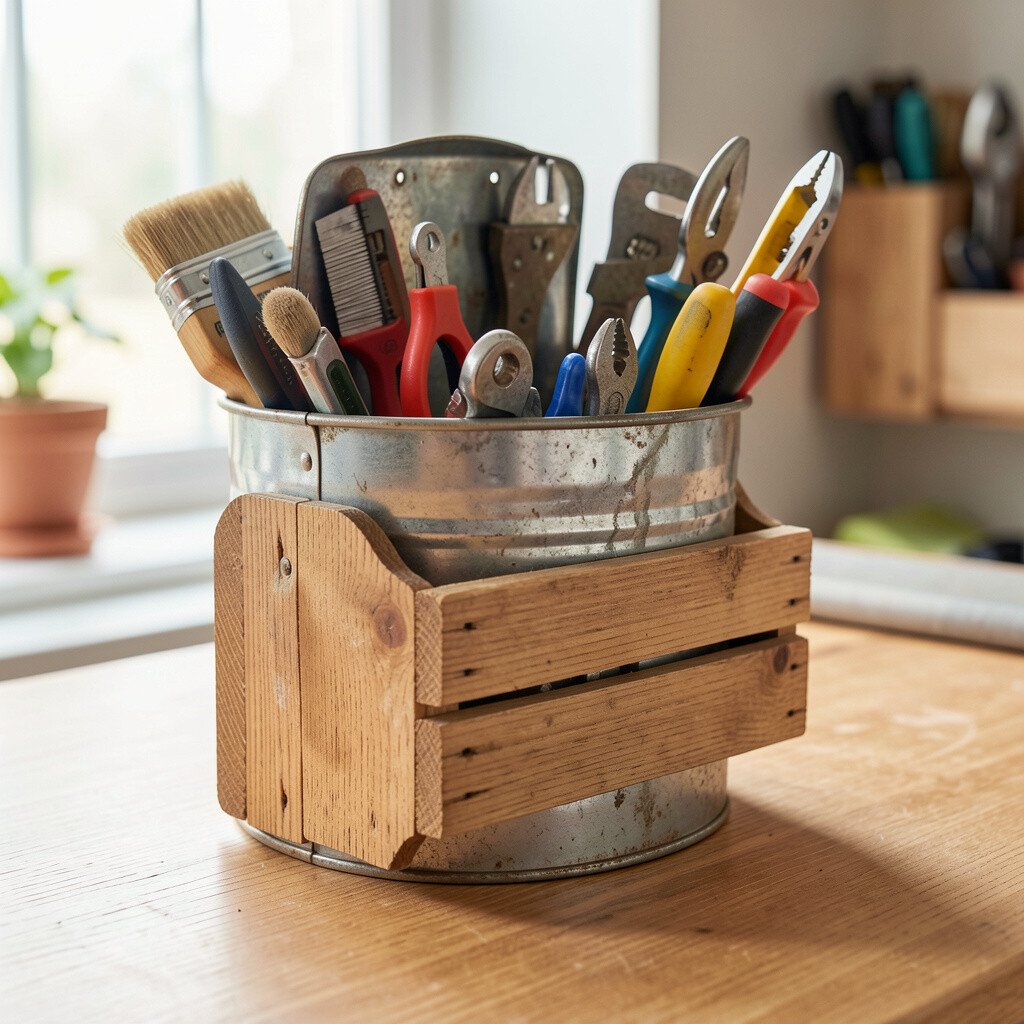
Old containers can become useful storage once you clean them and add a plan. A repurposed canister with a handle makes a handy caddy for daily tools.
Paint or wrap the outside so it matches your space, then insert a foam or cardboard grid to keep items from rolling. Use the caddy on your desk or take it around the house for projects.
This setup feels unique because it’s made from something you already have. It’s also budget-friendly and helps reduce waste in a way that still looks nice.
20. Floating Shelf With Built-In Drawer for Small Receipts
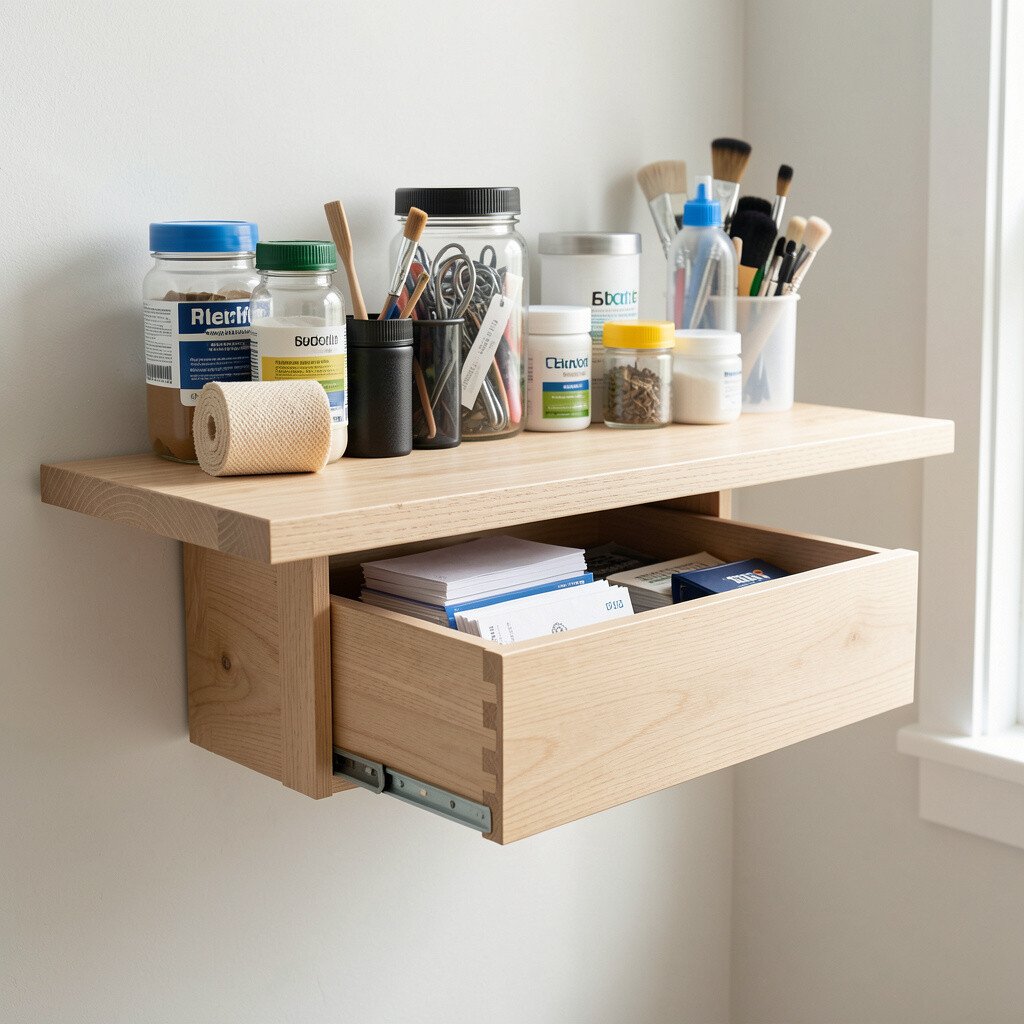
Small papers like receipts, instructions, and warranty cards often end up in random stacks. A floating shelf with a built-in shallow drawer keeps paperwork close and contained.
Build a simple wooden compartment under the shelf lip, then label the front with a soft, clear label. It’s helpful when you need a part number quickly or want to track your supplies.
Light wood and clean lines are a current trend, especially in craft spaces. Personalize it by choosing a drawer pull that matches your room style.
21. Pegboard Shelf for Scissors, Glue, and Sticky Notes
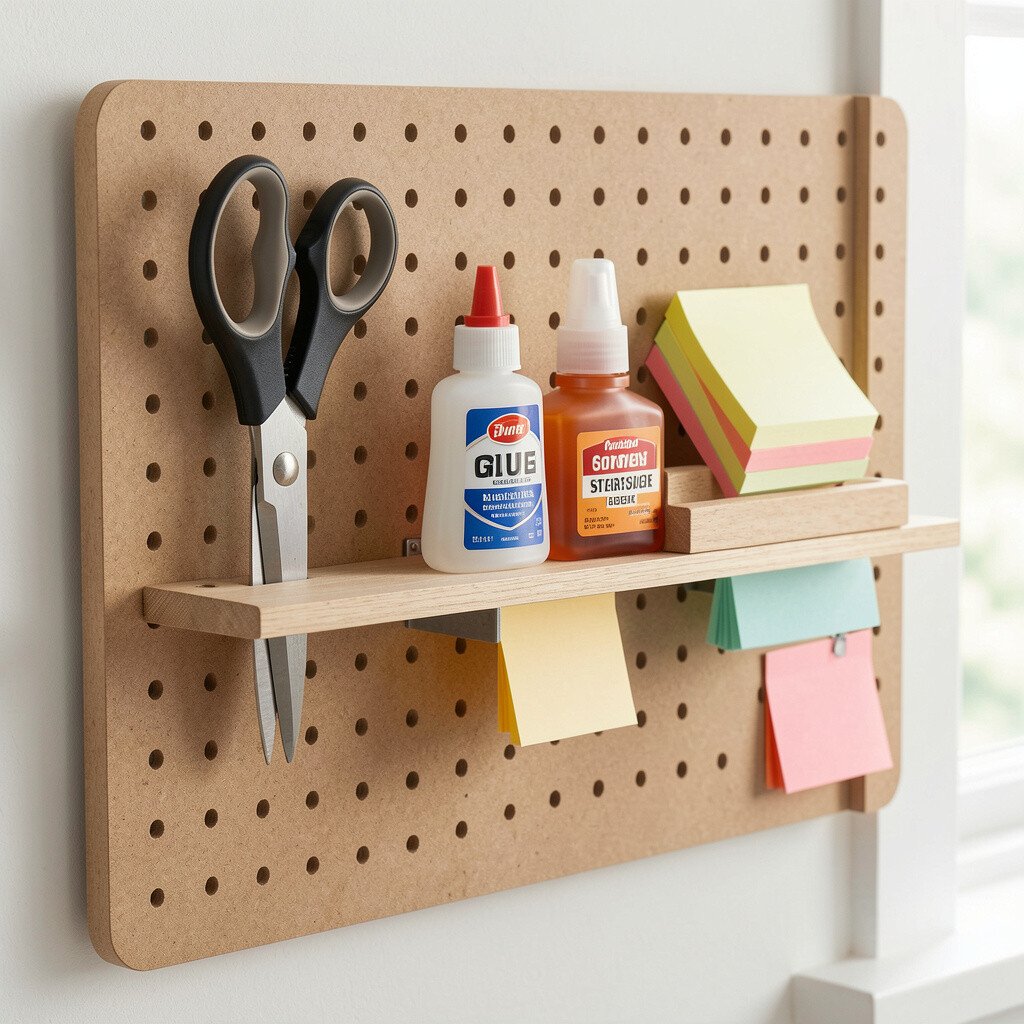
Glue bottles, scissors, and sticky notes usually live in the same area because they’re used together. A pegboard shelf with hooks helps keep that trio in one neat spot.
Add a small shelf ledge for bottles and clips for paper, then arrange the items in a “grab order” so your workflow stays smooth. Keep sticky notes on the side so you can write quick reminders without searching.
This kind of setup feels tidy and efficient, and it encourages you to return tools right after use. Choose colorful storage clips if you want a fun, creative look, or keep everything simple for a calm workspace.
22. Hanging Organizer for Paint Brushes With Drying Space
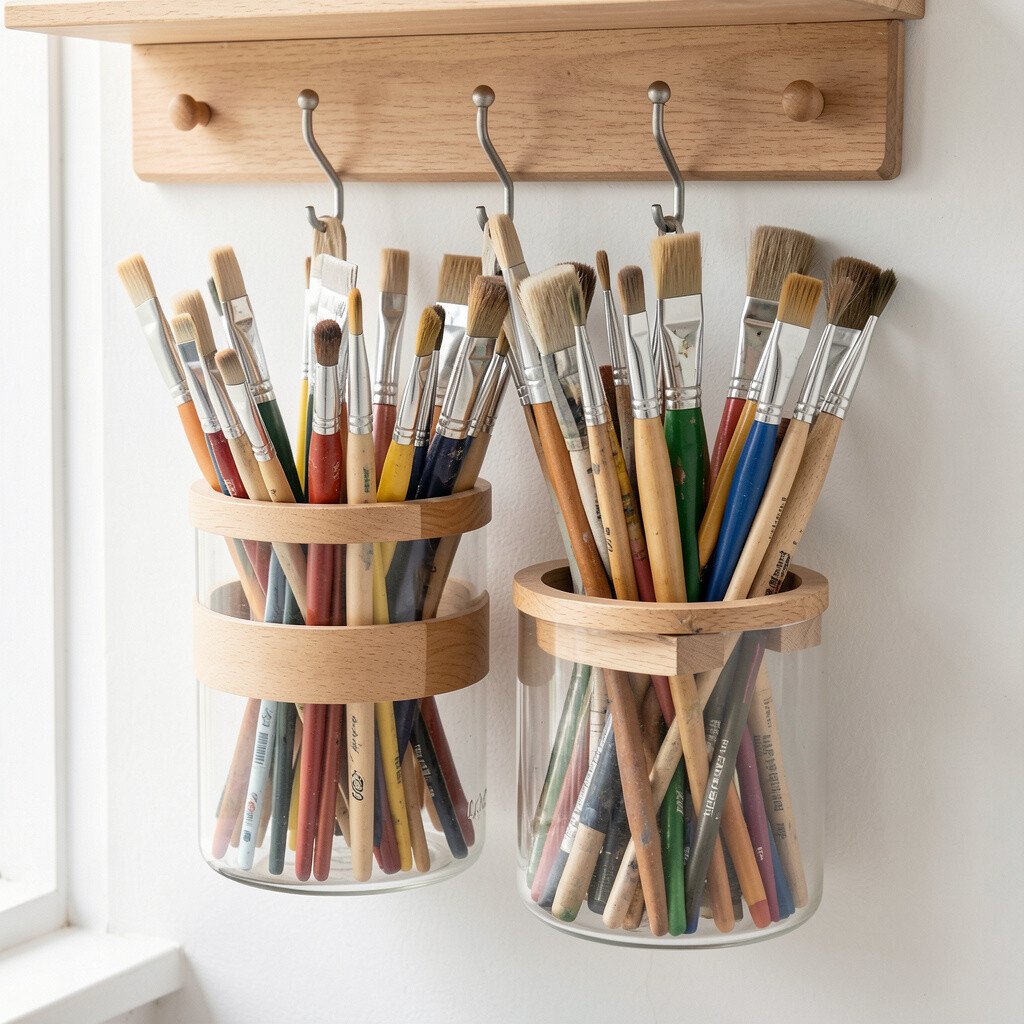
Brushes need care, and storage can help them last longer. A hanging organizer with pockets lets brushes dry upright while keeping them from getting tangled.
Use fabric pockets or a DIY canvas sleeve, then add small hooks for each pocket so brushes hang comfortably. Keep it near where you wash brushes so cleanup and storage feel like one step.
This idea stands out because it combines organization with proper drying. For personalization, mark each pocket with a color or style so you know which brush is yours at a glance.