The air feels brighter when colorful flags appear between trees or along a hallway. You can make that instant joy with simple materials and a little patience.
Each idea below is beginner-friendly, flexible for any style, and easy to adjust as your tastes grow. You will also find practical ways to keep the result looking neat and fun.
1. Paper Scrap String Bunting
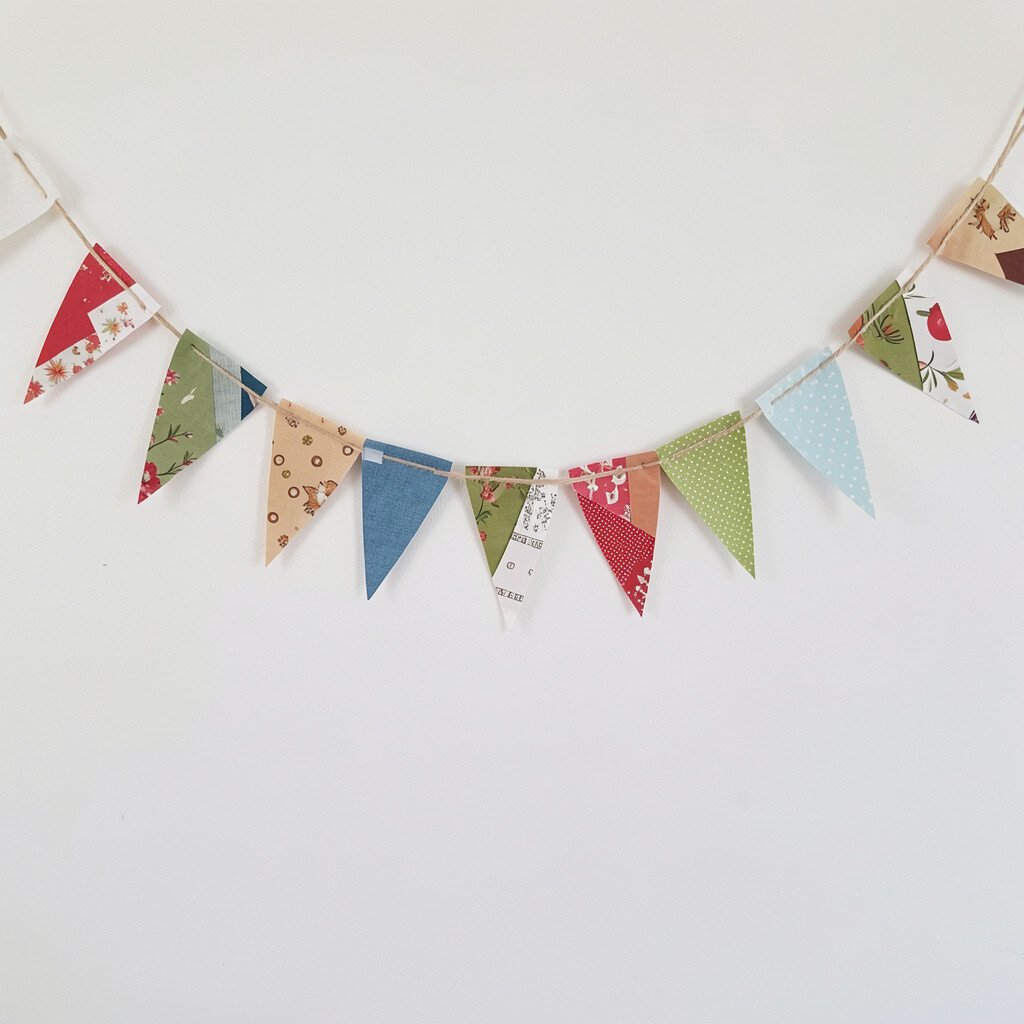
Gather leftover paper from old cards, packaging, and notebooks so your bunting costs almost nothing. Cut matching shapes like triangles, rectangles, or tiny pennants, then punch holes at the corners.
String everything together with twine, yarn, or thin ribbon and watch the garland brighten up a wall or fence. This works great for quick decor because you can choose colors that already exist in your space.
To make it look more polished, keep the triangle sizes consistent and trim edges with a steady hand. Personalize it by mixing matte and shiny paper, or by adding hand-drawn doodles with washable markers.
2. Fabric Ribbon and Clothespin Flags
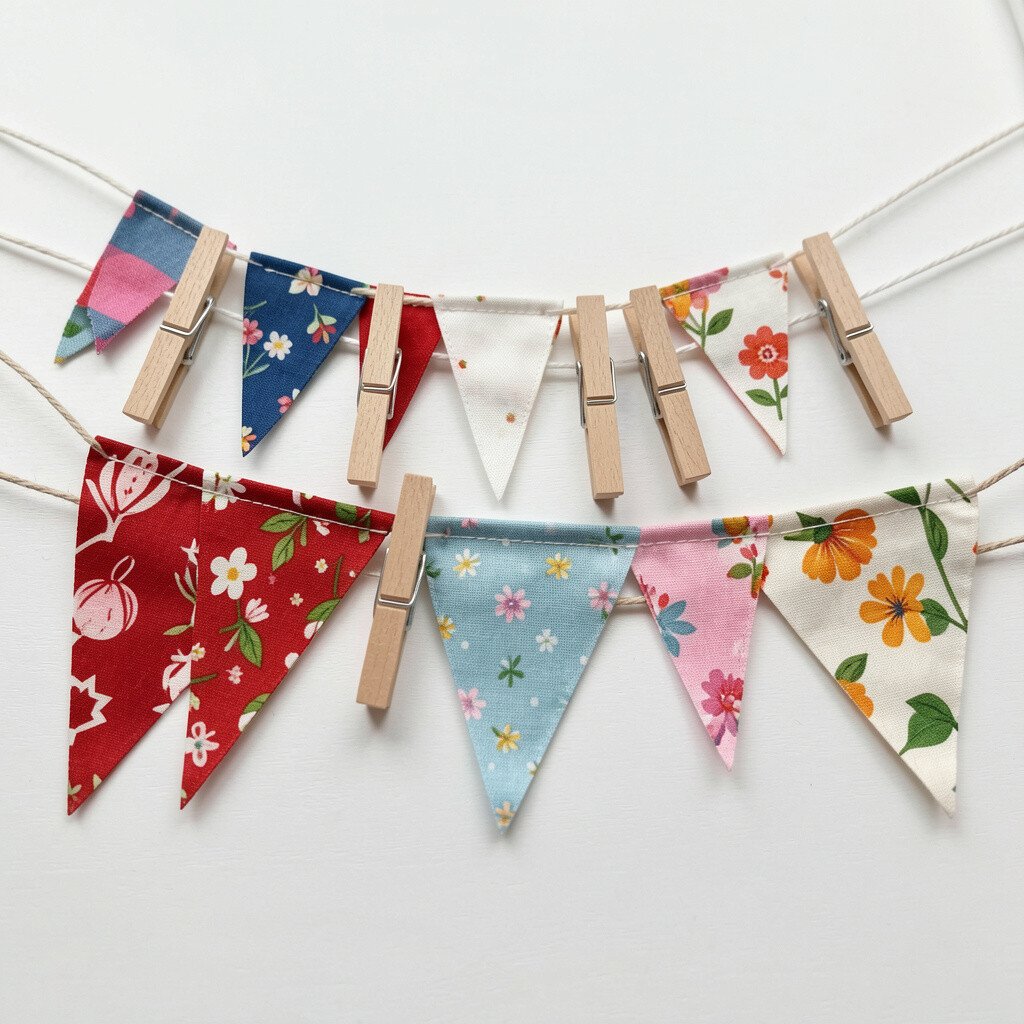
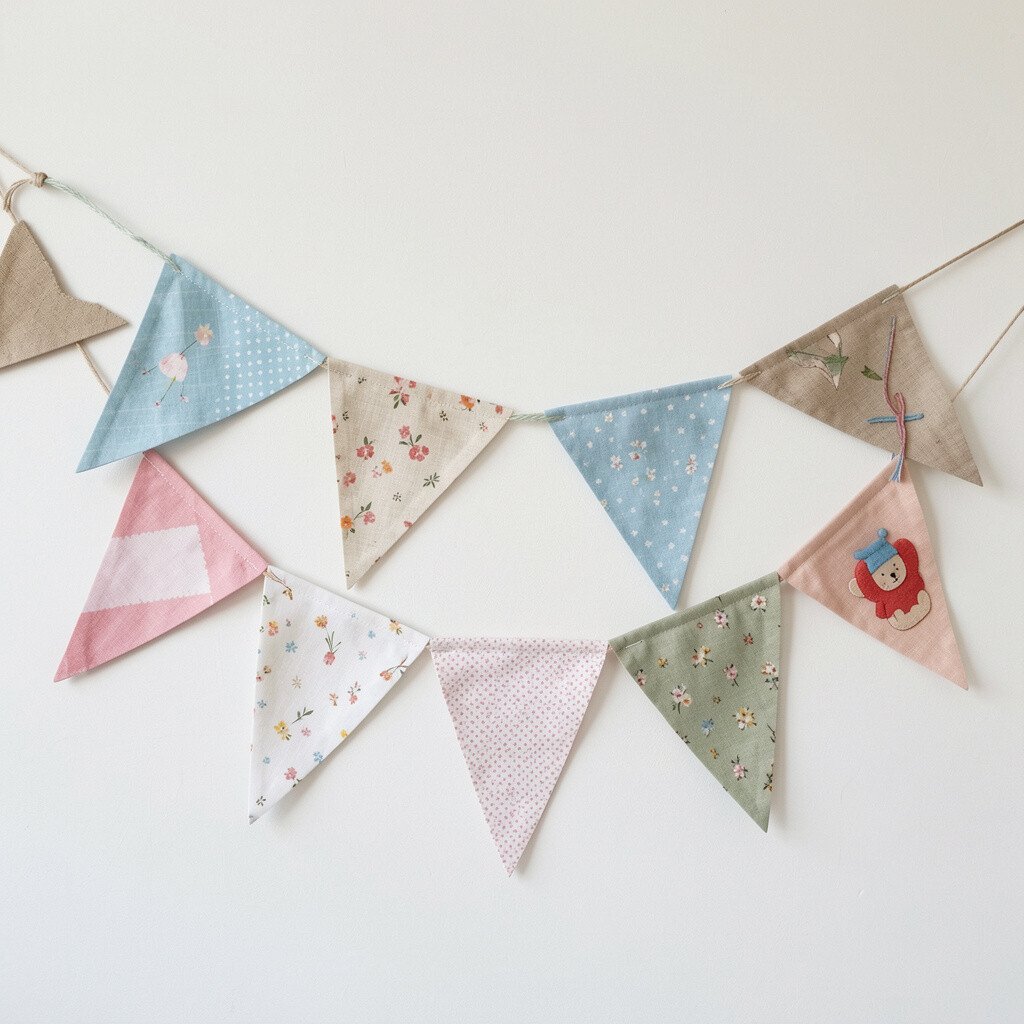
Choose fabric scraps and ribbon strips, then cut them into flag shapes with pinking shears if you have them. Use small wooden clothespins to attach each piece to a line of twine.
When the pieces flutter, the texture shows through, giving your bunting a cozy, handmade feel. This is a nice option if you want a bunting that feels soft and warm instead of paper-bright.
Use thin cotton or old bedsheet scraps for easy folding and clean edges. For personalization, stitch or tie tiny bows, or stamp simple symbols like stars and hearts onto plain fabric.
If you’re short on supplies, thrift-store linens and bedsheets can be very budget-friendly. For current trends, try a mixed palette that combines creamy neutrals with one bold color for a modern look.
3. Felt Banner With Cut-Out Shapes
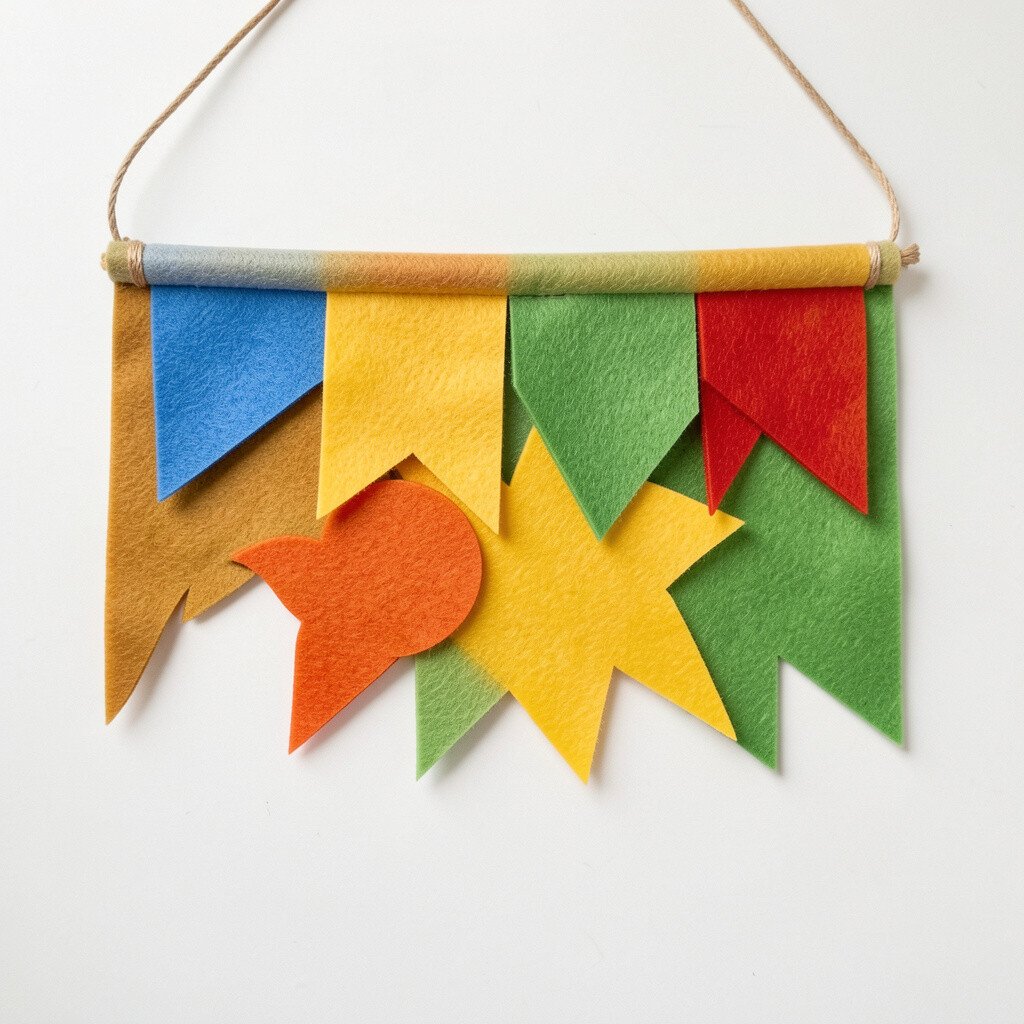
Felt is forgiving and doesn’t fray, which makes it perfect for beginners. Cut small triangles or circles, then layer them for extra depth using simple glue or a few hand stitches.
Pick a theme like garden blooms, clouds, or playful animals to give the bunting personality. This kind of banner looks tidy even when viewed up close, which is great for shelves and entryways.
To keep it durable, use craft felt that holds its shape and avoid super-thin sheets that stretch. Personalize with names, numbers, or tiny stitched eyes, and let each piece feel like a mini artwork.
4. Washi Tape Triangle Line
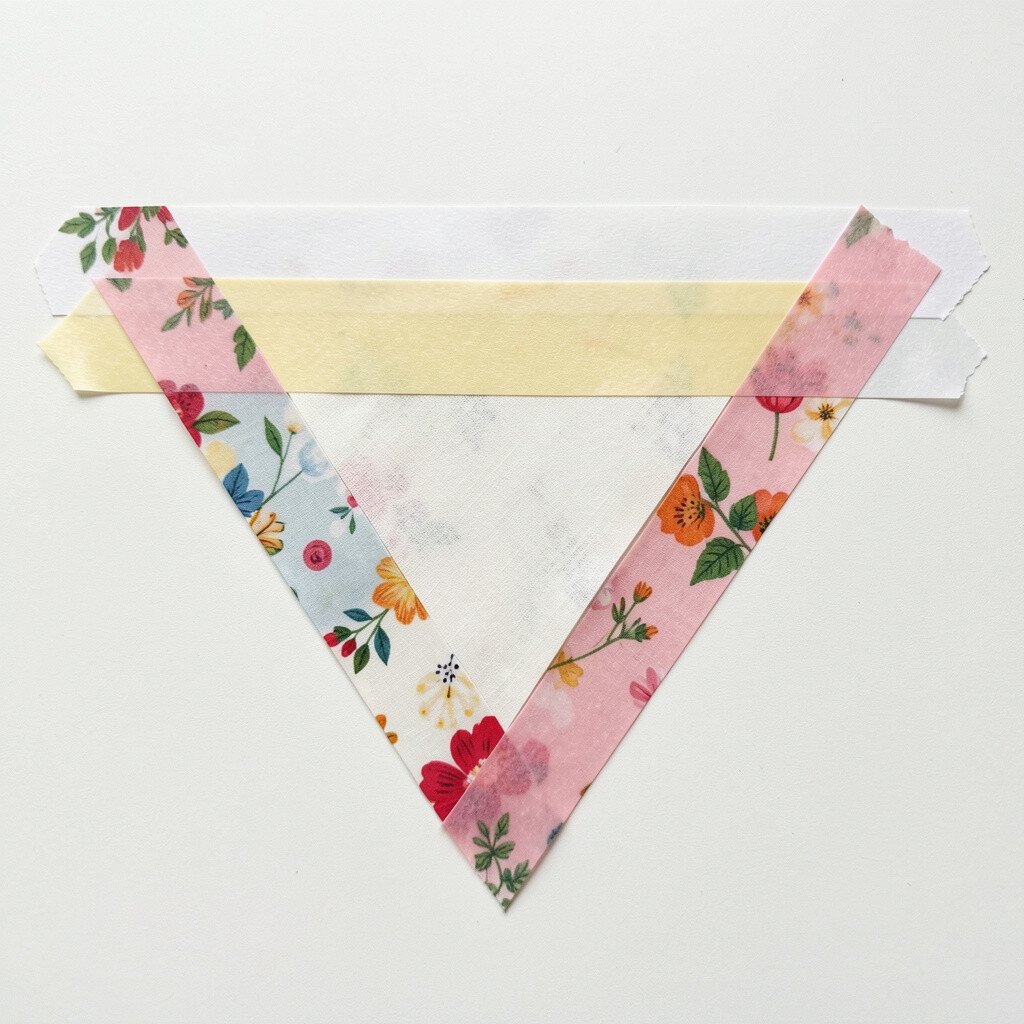
Turn simple kraft paper or cardstock into quick flags using washi tape as the trim. Cut your triangle bases, then tape along the edges and add stripes or dots across the surface.
The result looks crisp and artsy, and you will love how easy it is to change colors later. This idea also helps you use up your washi tape stash without needing much extra shopping.
Use a light adhesive like a glue stick and press gently so the tape stays flat. Personalize by making one section with glitter tape and another with tiny patterns for variety.
Cost-wise, washi tape can be pricey, but a little goes a long way and many people already have a few rolls. For a trendy look, keep the triangles uniform and choose a limited palette like sage, blush, and cream.
5. Upcycled Book Page Pennants
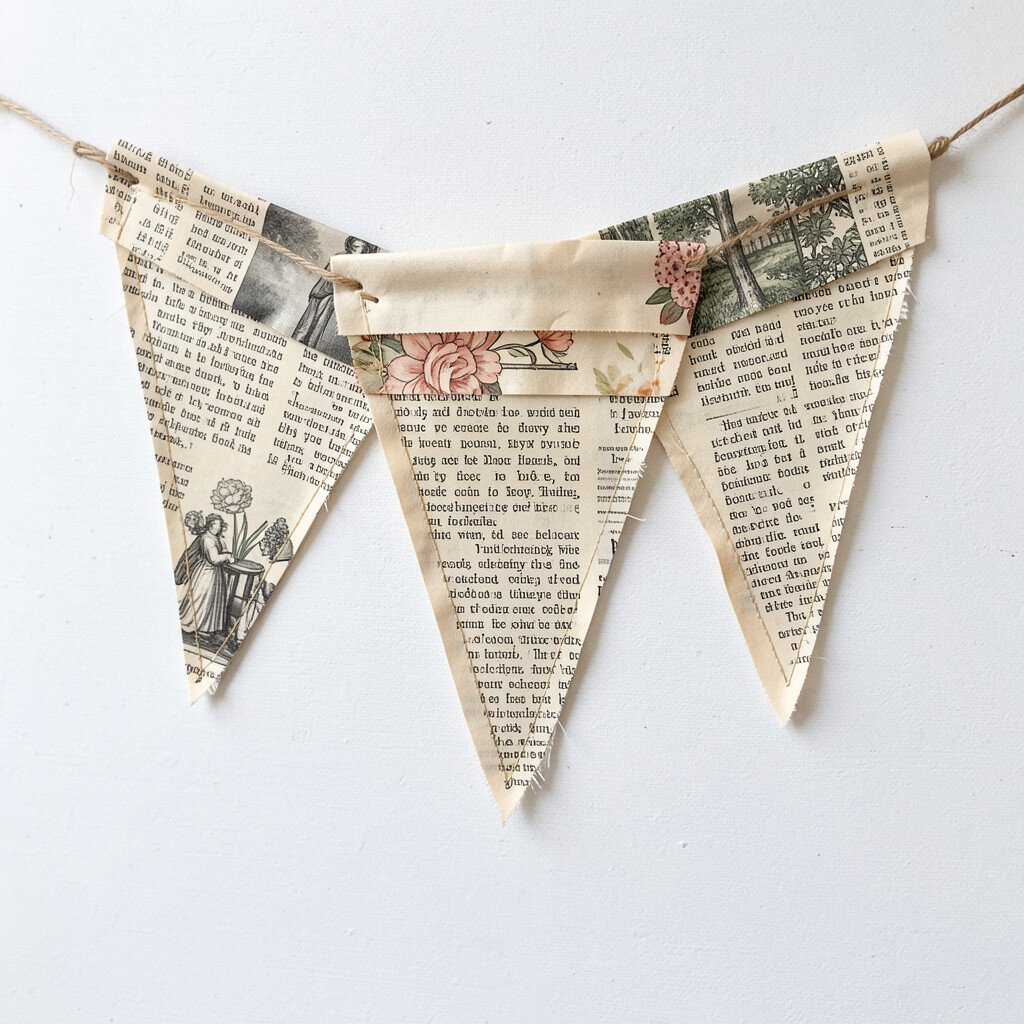
Grab old magazines or a discarded book and cut page strips into small pennants. Choose a font-heavy area so the printed words add interest without extra drawing.
This bunting looks vintage and thoughtful, and it turns everyday paper into something charming. It is especially nice for reading corners, birthdays with a literary theme, or calm seasonal decor.
Seal the pages with a thin layer of matte decoupage or spray sealer if you have it, so the bunting resists light moisture. Personalize by cutting shapes that match your event, like stars for celebrations or simple triangles for everyday charm.
6. Cardstock Confetti Garland
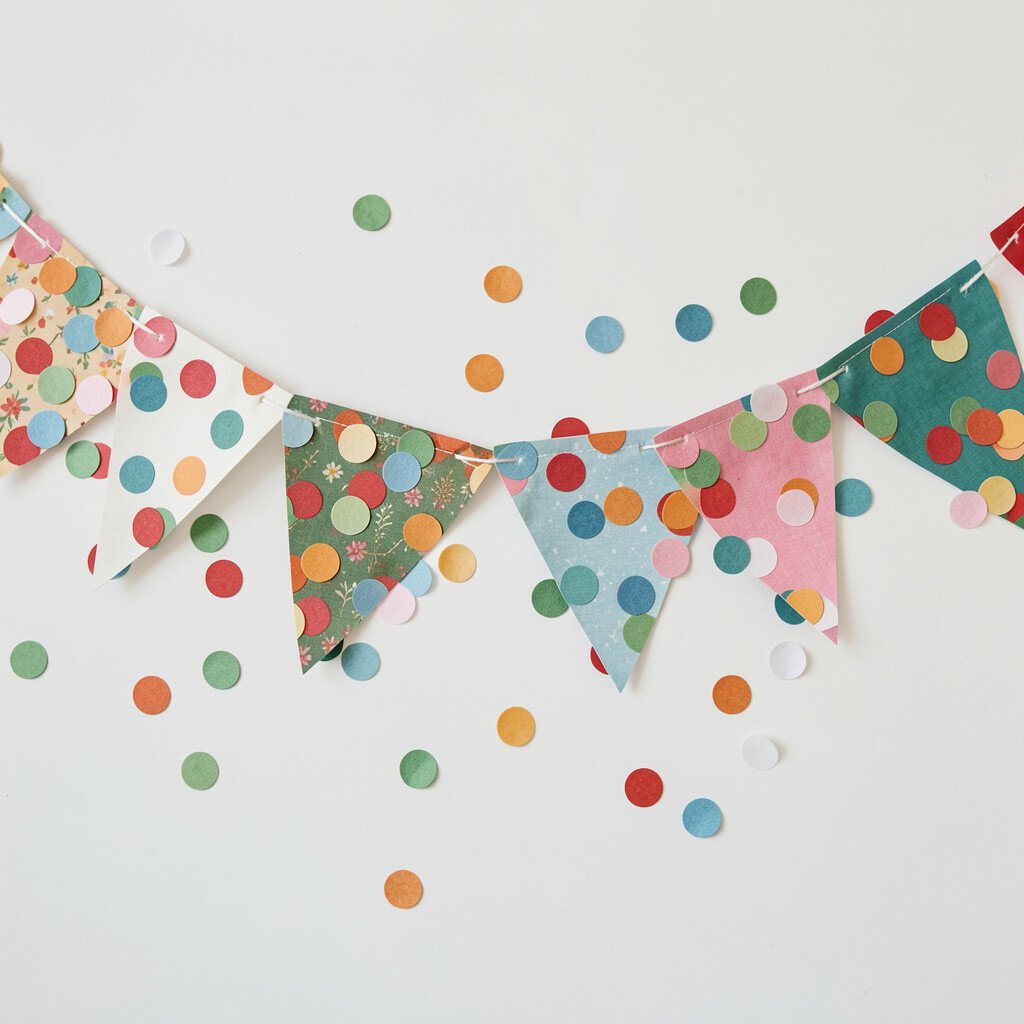
If you want maximum color with minimal effort, cut small triangles or circles and cluster them like confetti. Use cardstock in bright shades and poke a hole at one point to hang each piece on the string.
Garlands like this create a playful, energetic look and work well for birthdays, playrooms, and photo backdrops. The main benefit is speed since you can make many pieces in one sitting.
For steadier results, measure a template once, then trace it repeatedly for consistent shapes. Personalize by adding a few metallic pieces for a “sparkle moment” without needing lots of glitter.
Cost considerations are easy here because you can buy a small multipack or reuse old greeting cards. A current trend is bold color blocking, so grouping similar shades together can look extra modern.
7. String Lights Under Bunting Panels
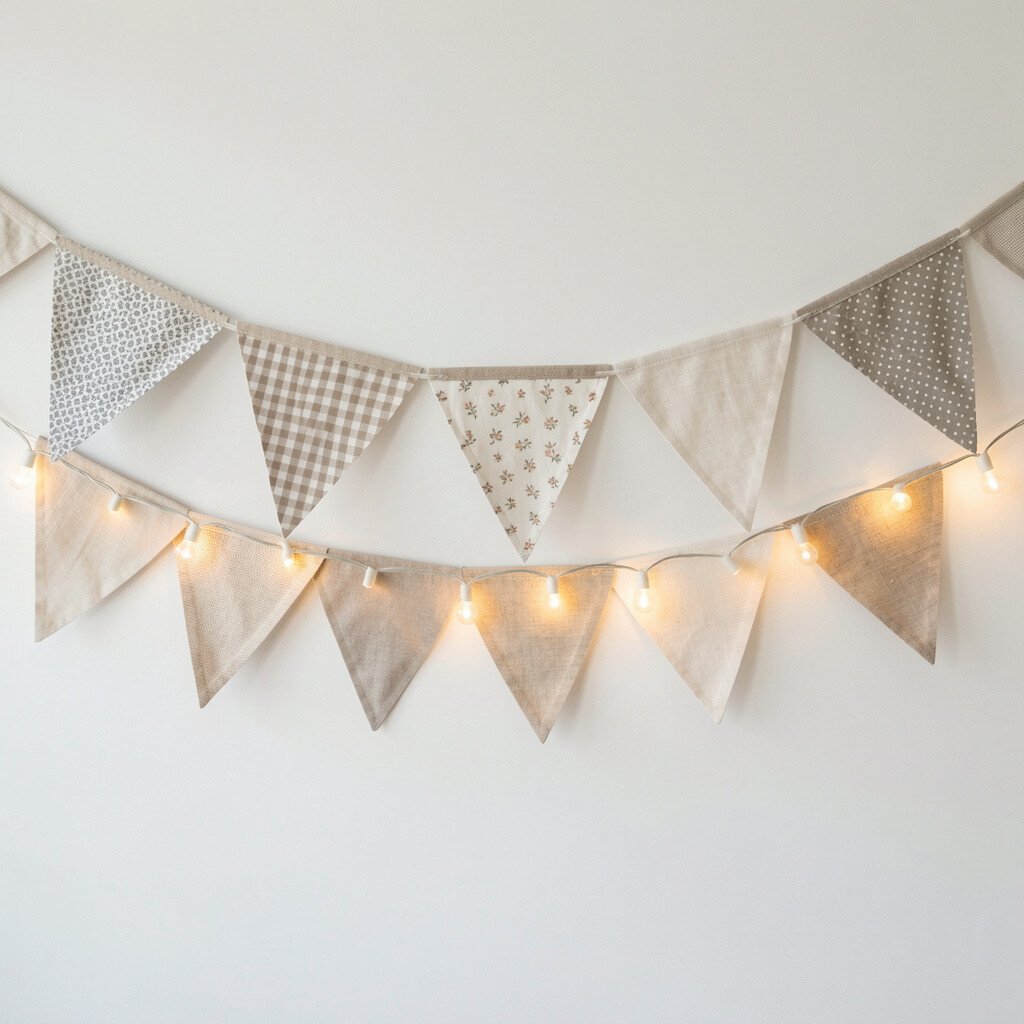
Lay out small bunting flags and place a strand of fairy lights behind or through them before hanging. The glowing lights add a cozy evening vibe while the bunting adds color and shape.
This combo is great for beginners because it hides small mistakes and makes the whole display feel magical. It also works for indoor patios, bedroom corners, and outdoor tables.
Use battery-powered lights when possible for easier setup and less worry about outlets. Personalize by choosing warm white lights for a classic look or multicolor lights for a fun party mood.
For cost, this idea can be as simple as using an old light strand you already own. If you want a fresh trend, try neutral bunting with a warm glow for a clean, modern atmosphere.
8. Natural Twine and Leafy Garland Flags
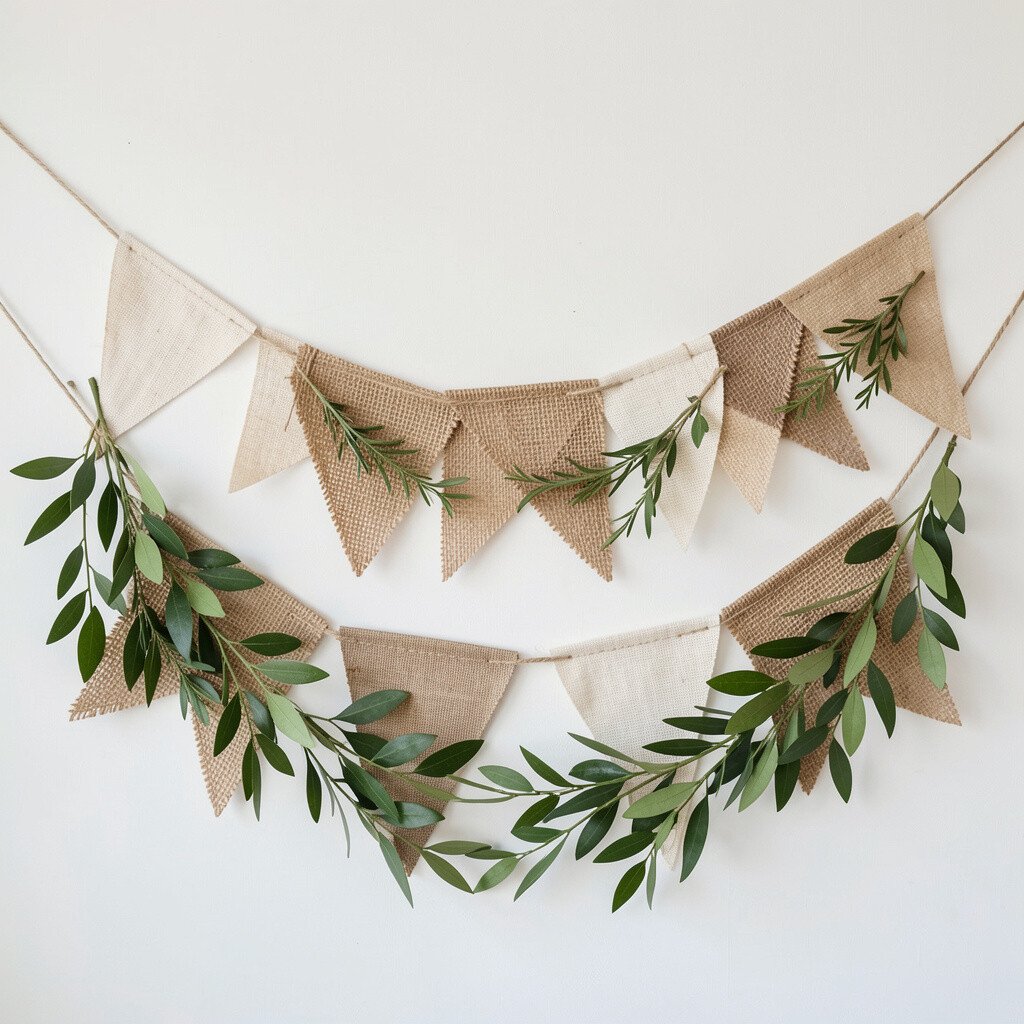
For a calm, nature-inspired bunting, use brown paper, thin twine, and simple leaf-shaped cutouts. Fold or glue leaf shapes onto small flag bases so each piece looks like a tiny garden moment.
This design benefits from texture, which makes it look more expensive than it actually is. It’s unique, gentle on the eyes, and perfect for spring, summer, and rustic gatherings.
Personalize by using leaf prints from stamps, tracing real leaves onto paper, or adding small pressed herbs for a layered look. If you’re using real leaves, let them dry fully and keep the bunting indoors to protect them.
Budget-wise, brown paper and twine are usually inexpensive, especially if you reuse packaging. A current trend is “earthy minimal,” so try a restrained color mix like kraft, olive, and muted cream.
9. Painted Clothespin Mini-Banners
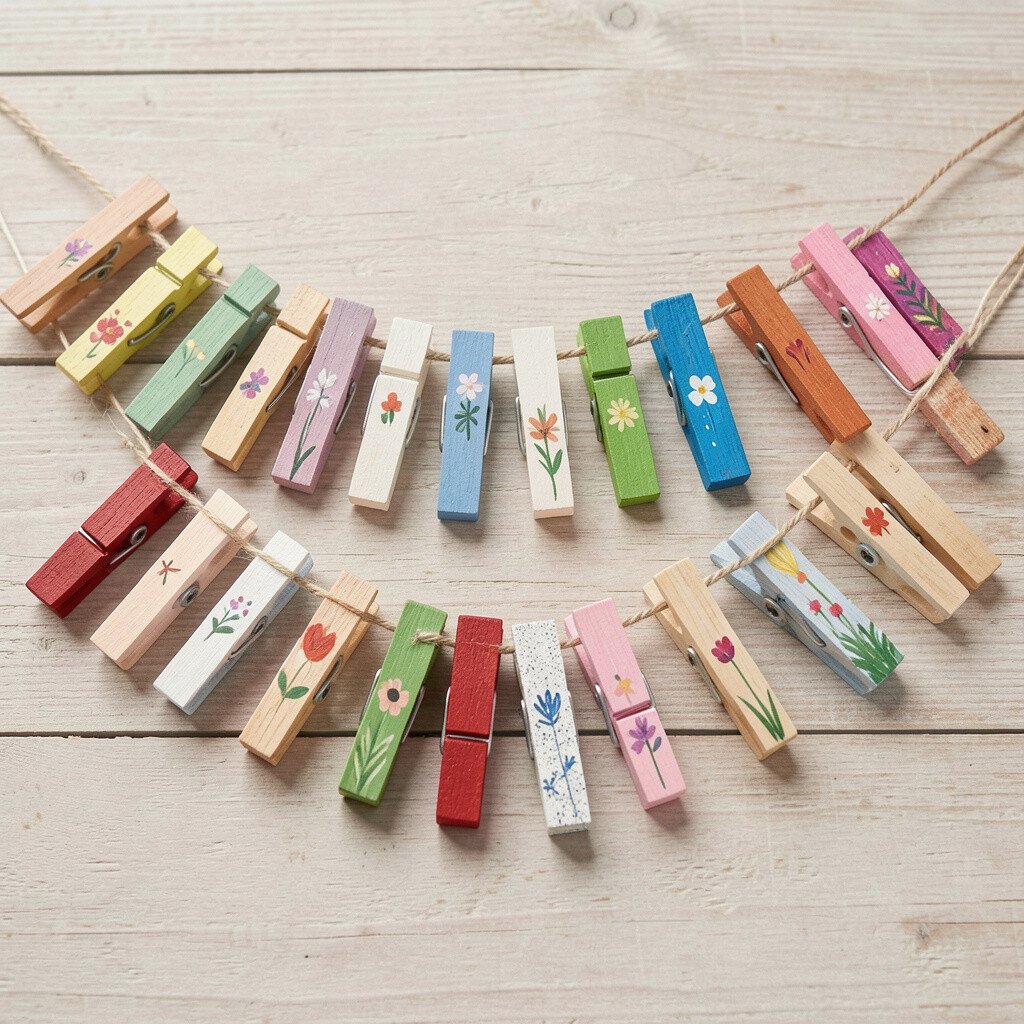
Paint small clothespins in your favorite colors, then clip lightweight banner pieces onto them. Cut mini flags from cardstock, watercolor paper, or even old craft paper.
The moving clips create a playful rhythm and let you swap pieces easily when you change the theme. This gives you a reusable style that can grow with your decor.
To keep the paint looking smooth, let clothespins dry fully before clipping anything else. Personalize with a pattern like polka dots, stripes, or a simple ombre that fades from one color to the next.
Cost is usually low because you can buy a bag of clothespins and use craft paint you already own. For trend alignment, try earthy tones for a modern rustic look or bright pastels for a cheerful, kid-friendly vibe.
10. Printable Template Bunting With Copycat Style
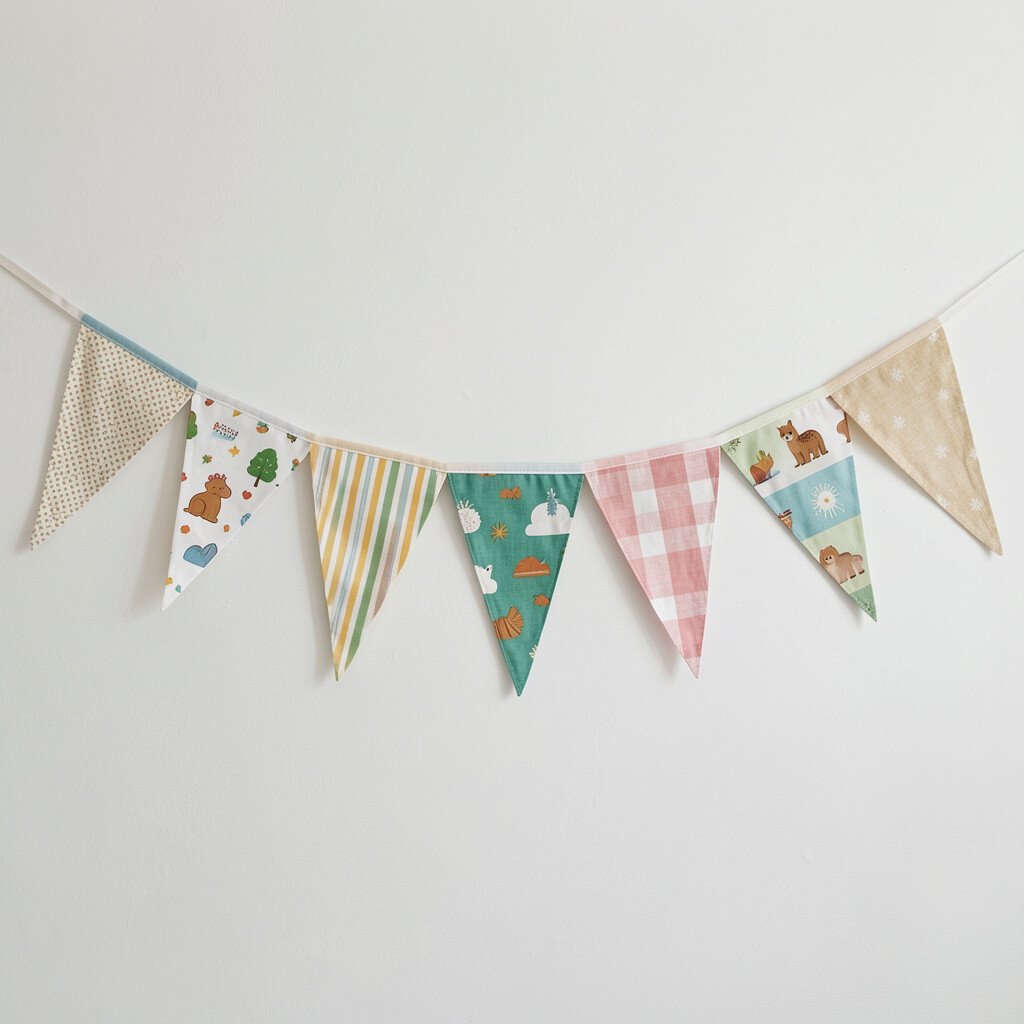
If you like things looking neat, print a simple bunting template onto cardstock and cut it out. Choose a design style you enjoy, like modern stripes, minimalist icons, or vintage patterns.
Printable bunting gives you consistent shapes every time, which helps beginners feel confident. It also helps you personalize quickly since you can change the design in minutes.
Use thicker paper for sturdier flags, and lightly spray with sealant if you will display it outdoors. Personalize by mixing two printed styles on alternating sides so it feels curated rather than random.
Cost depends on your paper and printer ink, but you can often print multiple sets from one sheet. A current trend is mixing graphic patterns with solid colors, so choose one strong pattern and balance it with plain flags.
11. Layered Watercolor Banner Strips
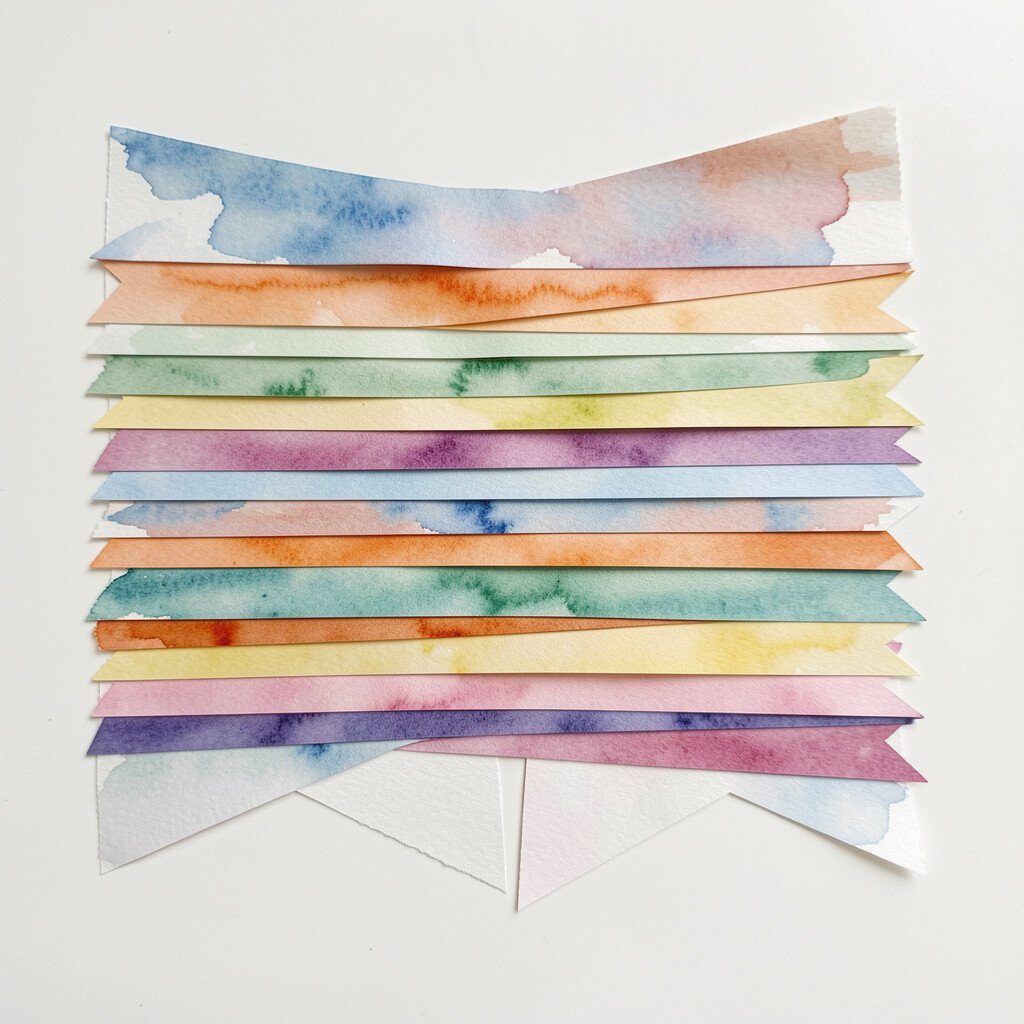
Paint simple watercolor stripes on paper, then cut them into long pennant shapes that hang from a line. Even if your painting is imperfect, the softness creates an elegant, artistic feel.
This idea is unique because it looks like brushwork rather than craft-store decoration. The benefit is that watercolor makes every piece slightly different, which feels special and handmade.
Let the paint dry completely, then tape or glue the top edge so the banner won’t curl. Personalize by adding small splashes of metallic paint, or by creating a color story like sunset pinks, warm oranges, and pale creams.
Cost considerations are mostly about paper and paint, but you can use student-grade supplies and still get great results. For current trends, try a muted palette and leave white space for a modern airy look.
12. Photo and Memory Bunting on Thread
Print a few favorite photos, cut them into small rectangles, and add a simple border with marker or cardstock. Punch holes along the top, then thread them onto yarn for a memory-packed garland.
This bunting is meaningful, and it becomes more personal each time you look at it. It’s also easy to update later, since you can swap prints without rebuilding the whole display.
To keep photos from curling, use thicker paper or mount them lightly onto cardstock. Personalize by adding tiny handwritten captions, dates, or short drawings on the blank space around each photo.
Cost can stay low by using photos you already have and basic printer paper. For a fresh trend, mix black-and-white photos with a few single-color accents like red hearts or green leaves.