
The page can feel like a quiet stage, waiting for your choices. Paint and pencil each bring their own kind of magic to your creativity.
1. Mood-First Color Washes
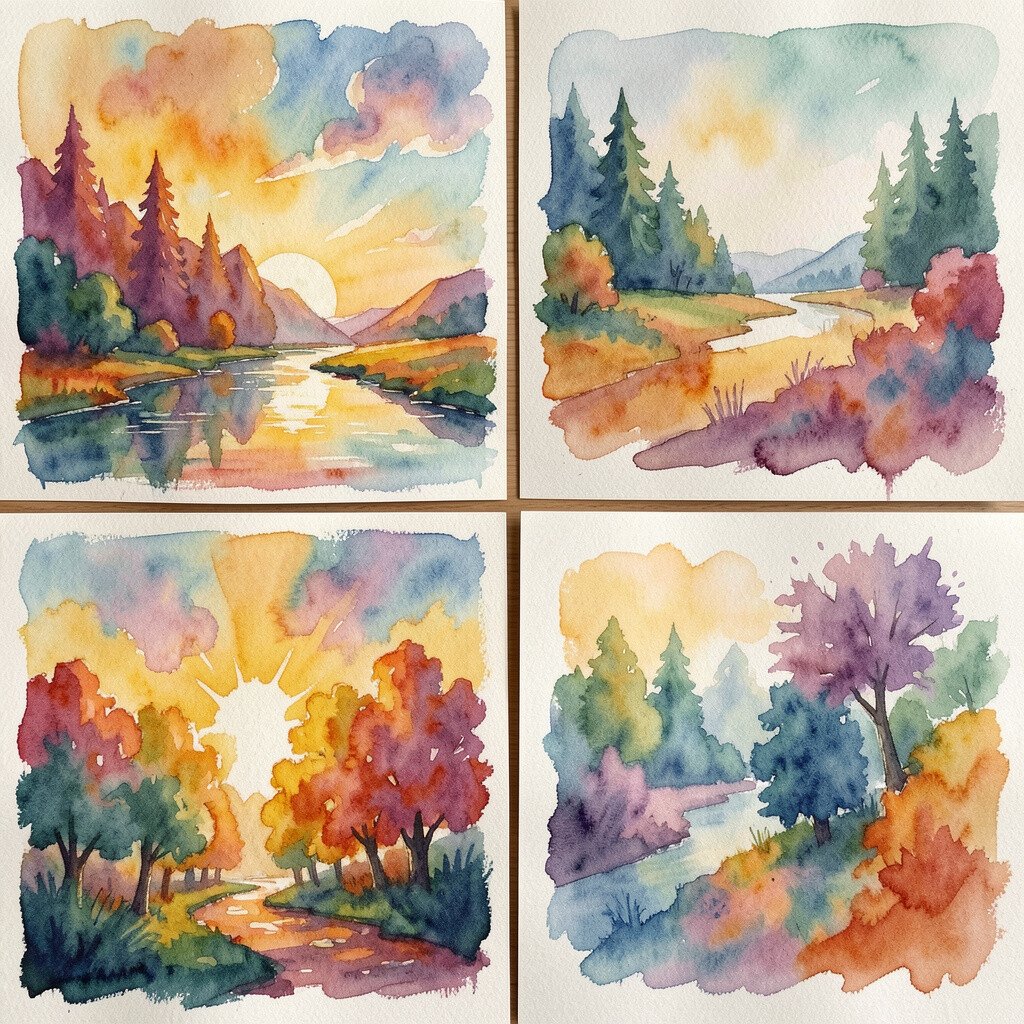
Start with a color wash that matches a feeling you want to keep. Spread watercolor or diluted acrylic across paper, then let edges fade like a memory. After it dries, you can add simple shapes that match the mood, such as a soft circle for comfort or jagged strokes for energy.
This approach is great for building confidence because you are not trapped in details right away. You can use a limited palette to keep costs low, grabbing a few affordable tubes or student-grade paints. Try personalizing it by painting the colors from a favorite snack wrapper, a curtain in your room, or the sky at a specific hour. If you want practical results, keep a spray bottle handy to blur transitions and get smoother gradients. A current trend you may notice online is “atmospheric abstraction,” where texture and color do more than recognizable objects.
2. Ink Line Portraits With No Eraser
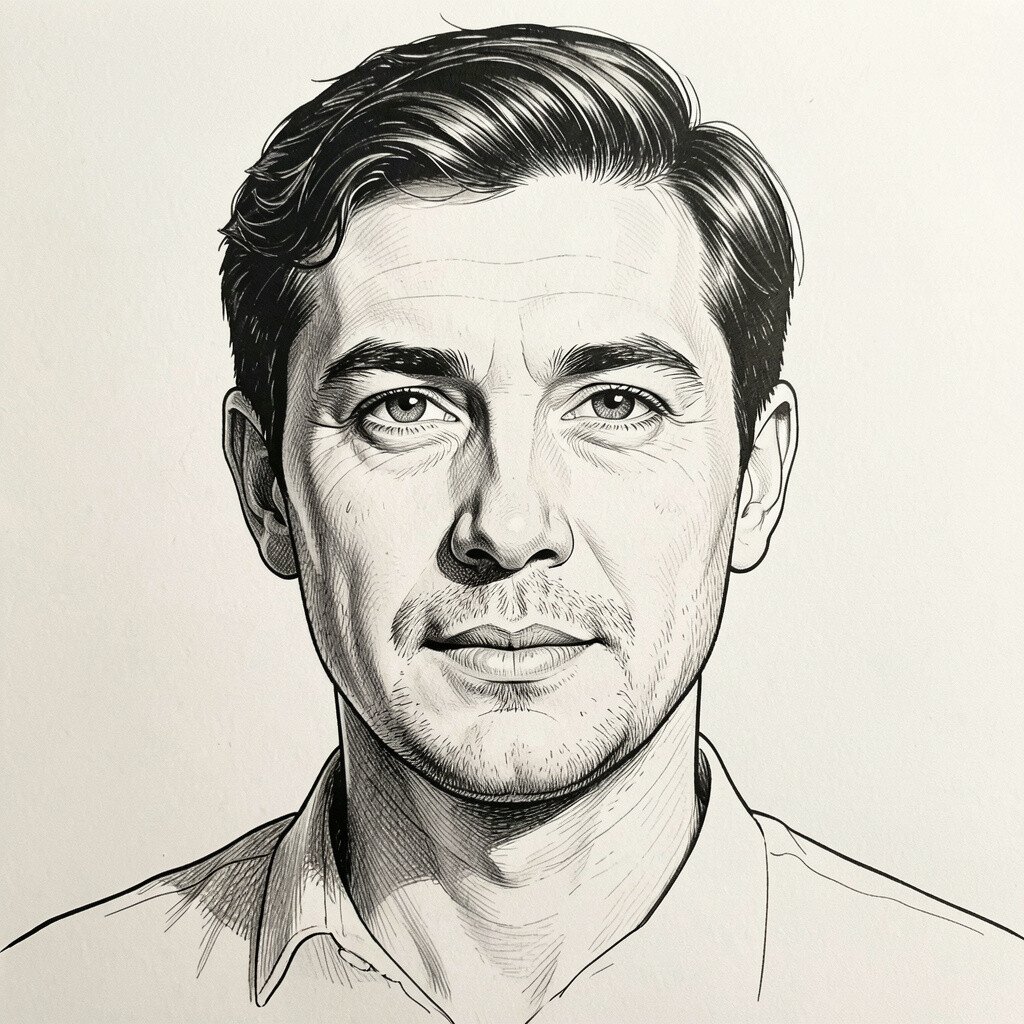
Choose one portrait reference, then commit to ink lines only. Use a pen you enjoy and avoid erasing, so your strokes become part of the personality. Let imperfect lines create character, like freckles made from tiny dots.
This drawing style helps your brain practice focus because every mark has purpose. It is also budget-friendly since pens and paper cost less than paint supplies. Personalize the portrait by exaggerating one feature, such as longer eyelashes or a wider smile. For a practical tip, vary pressure as you go so the face looks alive without adding heavy detail.
Ink linework stays popular because it can look bold even with minimal time. If you want a trend-friendly twist, try pairing a realistic face with a background that is purely graphic, such as triangles or flowing scribbles. When you finish, sign it with a small symbol that means something to you, like a star, wave, or your initials.
3. Textured Collage Paint Overlays
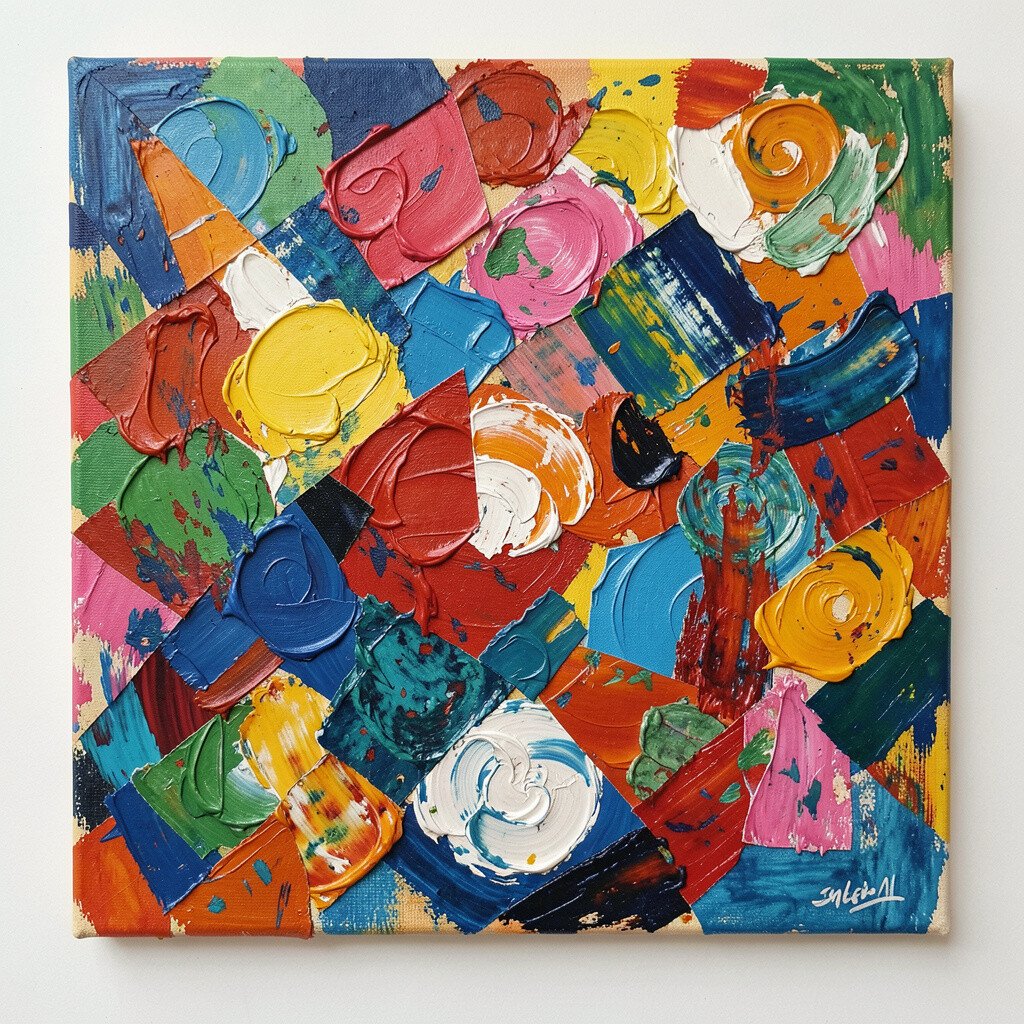
Build a background with paint, then press in bits of paper, fabric scraps, or torn book pages. When the layers peek through, the scene feels richer than flat color. After the collage dries, paint translucent glaze over it to unify everything.
This mixes painting with mixed media, which is powerful for creative problem-solving. You can keep costs reasonable by using leftovers from around the house instead of buying new materials. Personalize it by choosing textures that match your life, like old receipts for a “busy mind” theme or wrapping paper for celebration. Try using a thin layer of white glue under the scraps, then seal with a light varnish when everything is fully dry.
The uniqueness comes from accidental patterns, so you never start from scratch. A practical tip is to test glue and paint compatibility on a small corner first, since some paints can lift paper. Current maker trends often highlight collage textures because they look modern and tactile on social media. If you want to make it feel personal, add a few small painted icons that only you would notice, like a tiny cat face or a secret map line.
4. Continuous Line Cityscapes
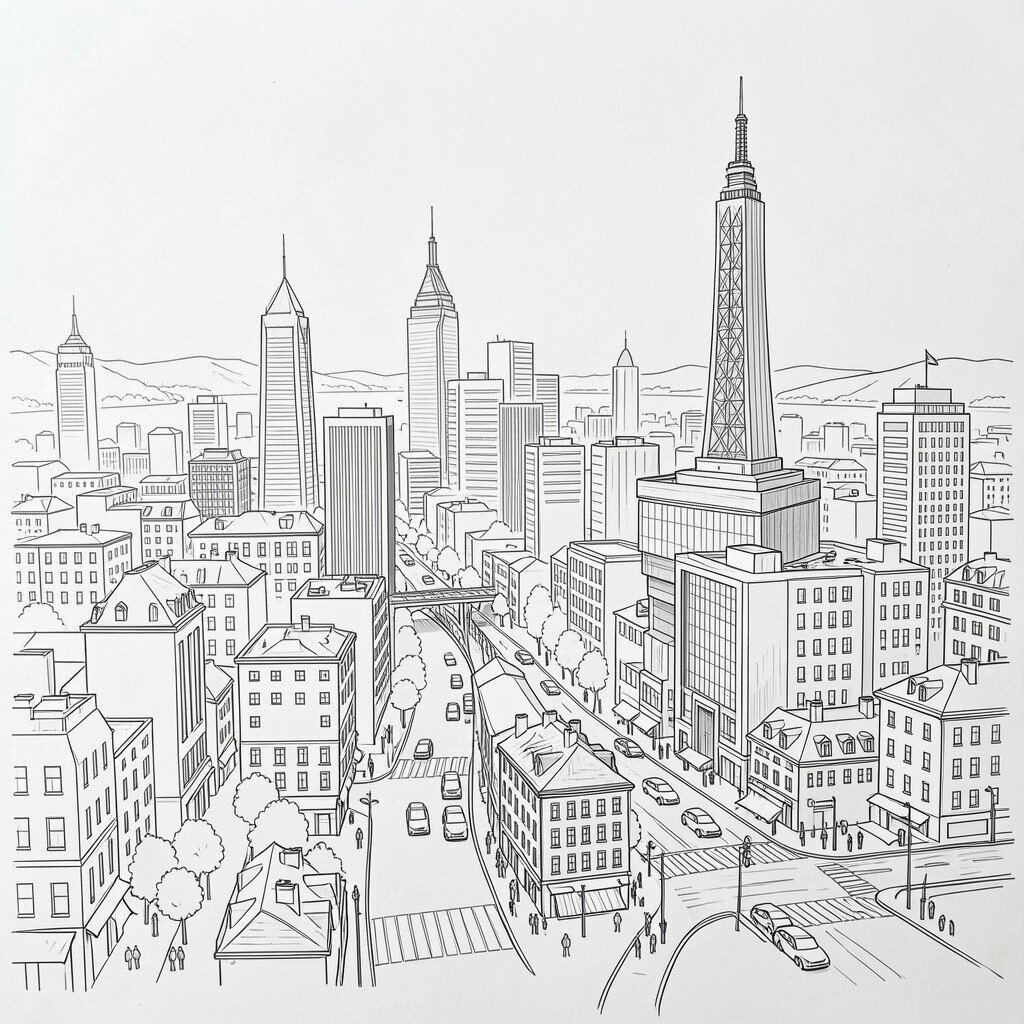
Draw a city scene in one continuous line without lifting your pen. Start with a street corner, curve into a window, and keep going until rooftops blend into sky. Use slow, steady motion so your line has rhythm and confidence.
This kind of drawing trains your hand to stay calm, which makes creativity feel less scary. It also helps you notice how shapes repeat across buildings, so your mind learns structure. Keep it practical by using black fineliner on printer paper, then add a few color accents with markers later. Personalize it by choosing a city you know, or invent one that reflects your mood, like “cozy houses” or “electric towers.”
5. Palette Knife Sunburst Scenes
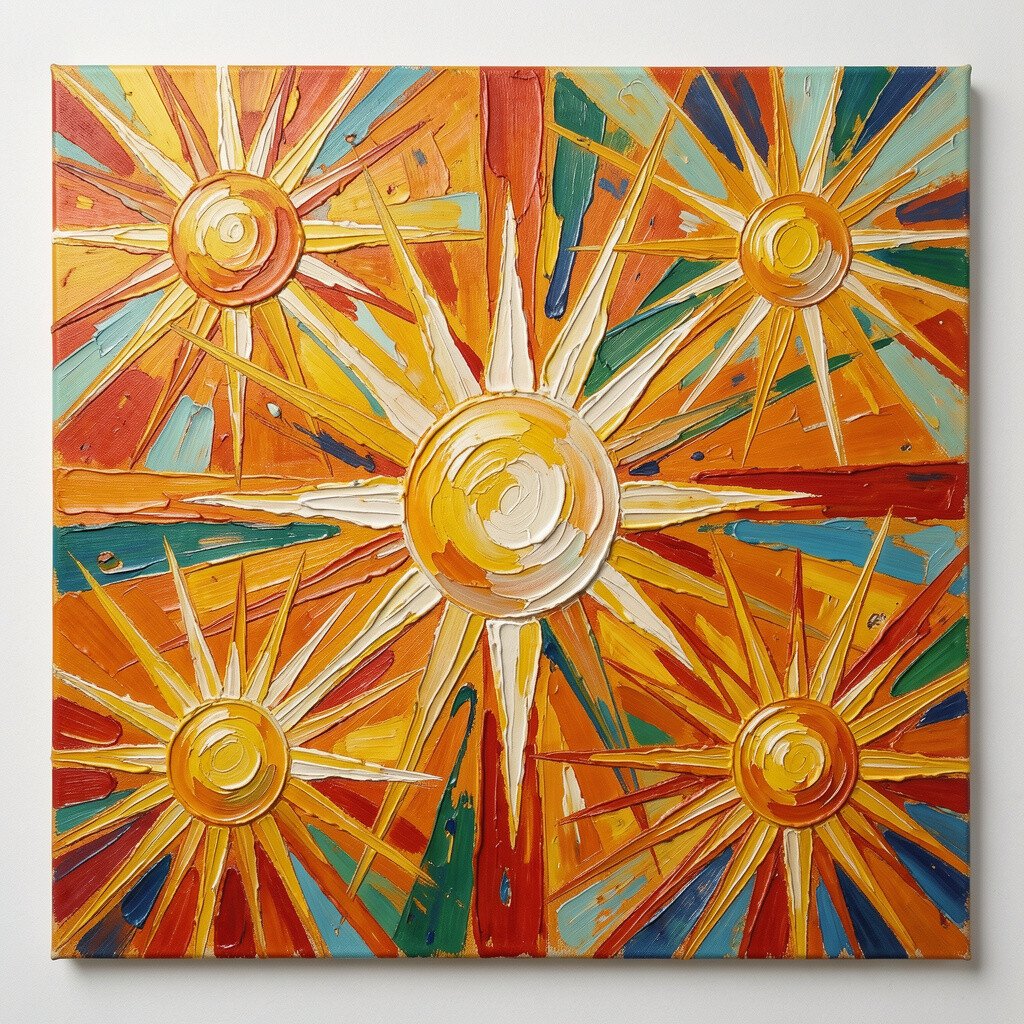
Use a palette knife to apply thick paint in sharp, playful rays. Place bold blobs in a circle, then drag the knife outward to create a sunburst effect. The paint will show ridges, giving your artwork a bold, almost sculpted look.
This painting idea builds a strong sense of composition because the center pulls everything together. It can be surprisingly affordable if you get a basic knife and use leftover paint. Personalize the palette by matching the colors to your home decor or to your favorite season. For practical results, work on a surface that can handle texture, like heavier paper or canvas board.
Palette knife art is trending because it feels modern and energetic, even when the subject is simple. A handy tip is to wipe the knife between color changes so edges stay crisp. If you want a fun twist, add tiny painted dots around the rays to suggest stars or confetti.
6. Shadow Studies With One Pencil

Pick one object, such as a mug or plant leaf, and place it under a lamp. Draw only the shadows first, using one pencil and no outline at all. As the shadow shapes grow clear, the object will start to “appear” in your mind.
This method strengthens your observation skills because it teaches value, not just shape. It is low cost since a single pencil and basic paper are enough. Personalize the study by choosing objects that feel meaningful, like a souvenir stone or a spoon from your kitchen. For a practical tip, move the light slightly every few minutes so you can capture different shadow moods.
7. Color Blocks Inspired by Your Favorite Photos

Choose a photo you love and translate it into large color blocks rather than tiny details. Paint broad rectangles and irregular shapes that match the main colors. Leave some paper showing so the artwork breathes.
This painting approach helps you plan composition and teaches you to simplify. It also keeps costs in check because you can use fewer colors and make the rest with mixing. Personalize it by selecting photos from your own life, like a market stall or a rainy street, so the colors carry your story. A practical tip is to sketch the big shapes lightly before painting, then commit once the layout feels right.
You will also notice how popular “block painting” and modern color styling are online right now. It works well for beginners because the goal is clarity, not perfection. When you finish, write one sentence on the back about what the photo made you feel, then paint again using that same emotion.
8. Doodle Harmony Across the Margins
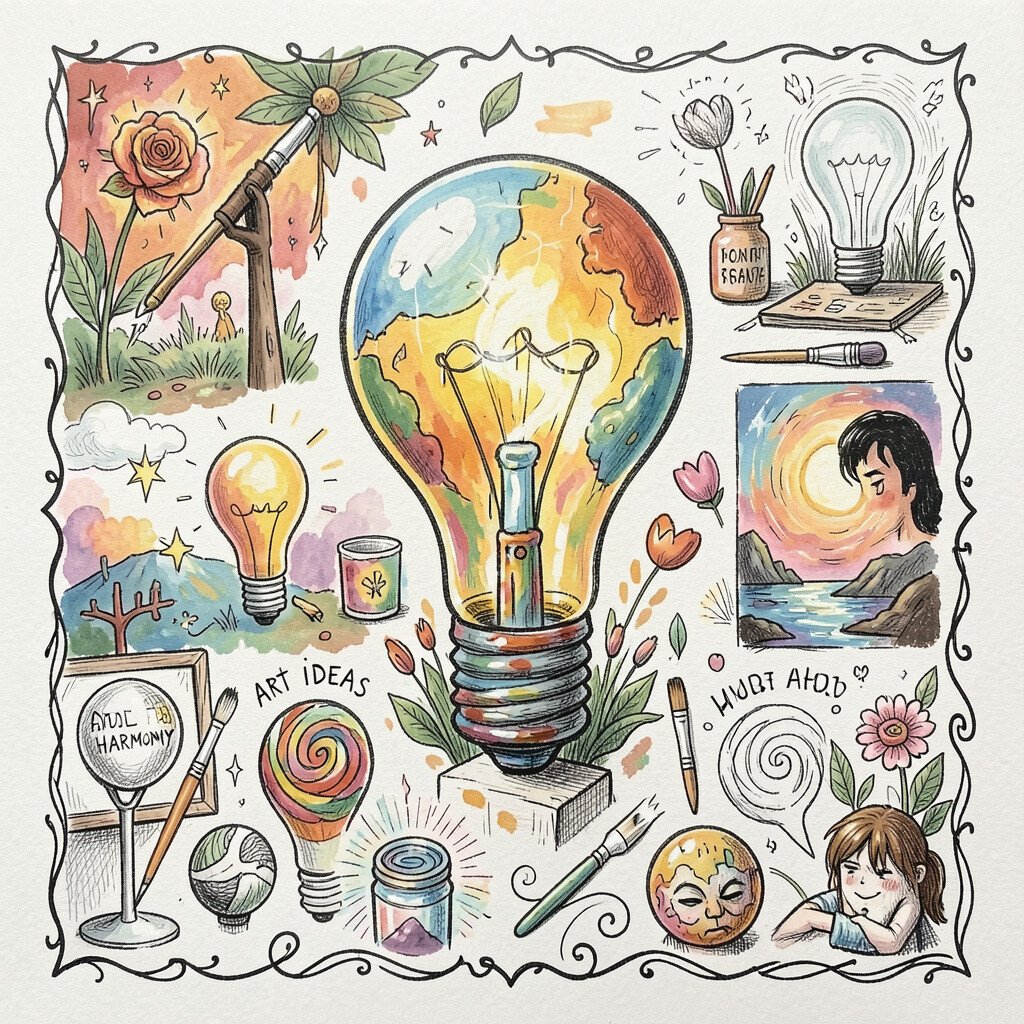
Open a sketchbook and fill the margins with repeated doodles that share a theme. It could be waves, tiny flowers, stars, or loops that travel like music. Keep going until your hand starts moving without hesitation.
This kind of drawing builds creative momentum and helps you return to your sketchbook often. It is low cost because you can use a pen you already own. Personalize it by using doodles that match your hobbies, such as skate wheels, guitar strings, or cooking utensils. For a practical tip, choose one theme for a whole week so your style becomes consistent.
9. Negative Space Petals and Leaves
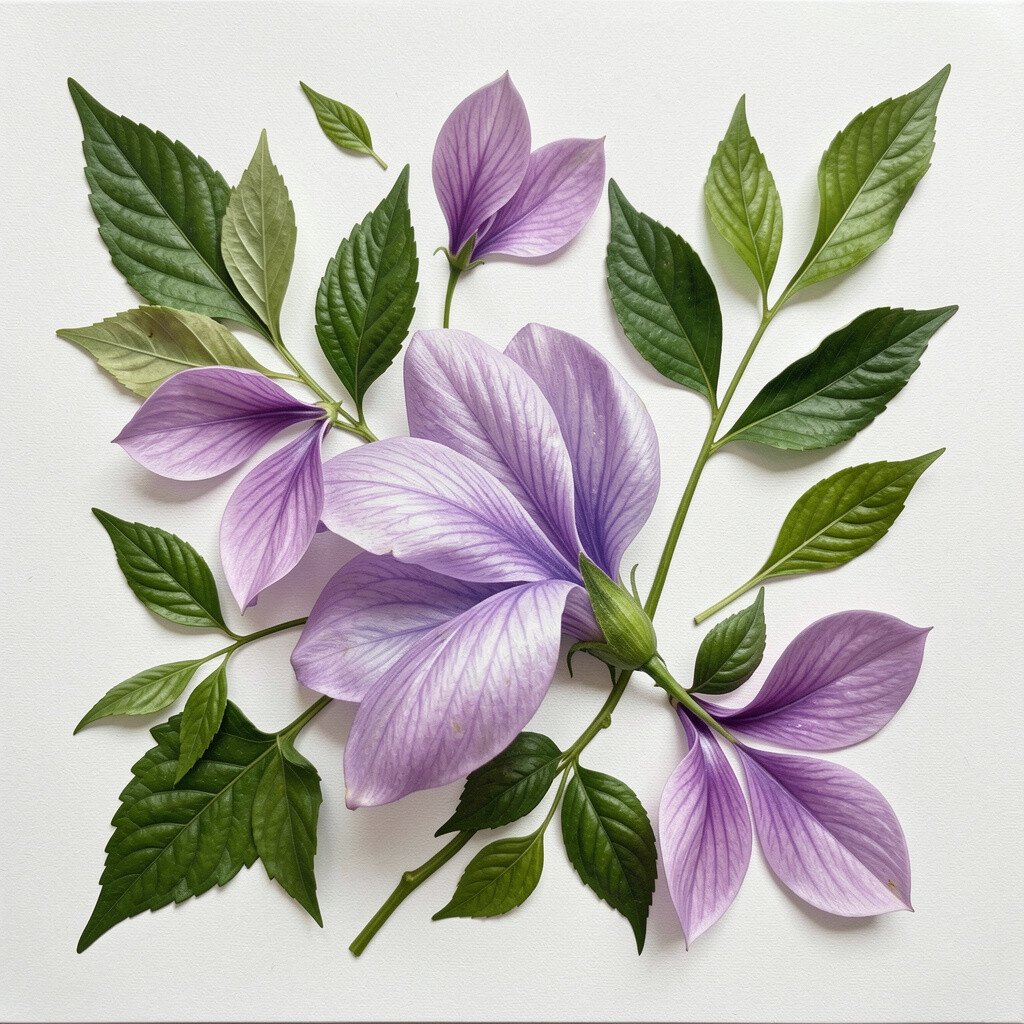
Paint the background first, then carve out leaf and petal shapes by leaving areas unpainted or carefully scraping paint away. The shapes look crisp because the “absence” becomes the subject. You can also paint dark leaves over a lighter ground to make the negative space pop.
This is unique because it flips the usual focus from drawing edges to shaping the emptiness. It supports creative thinking since you plan where the paint should not go. You can keep costs manageable by using just two or three paint colors and a simple brush. Personalize it by using plants you actually know, like a sprig from your window or weeds you notice on walks.
A practical tip is to let the paint dry fully before scraping or removing layers. Many people follow negative-space art online because it feels clean and modern. If you want a trend-friendly touch, add subtle speckles with a toothbrush for a gentle texture.
10. Perspective Practice With Toy Objects
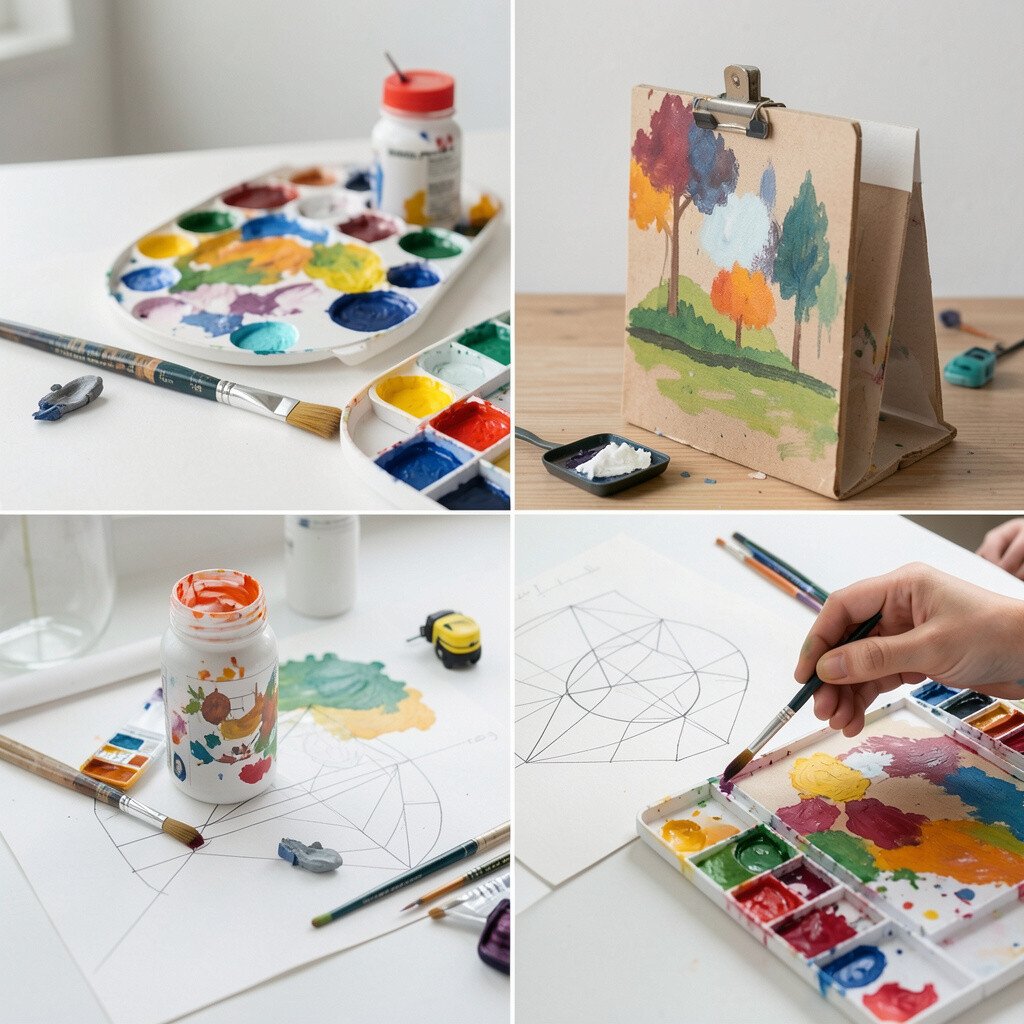
Place a small toy car, box, or action figure on your floor and set up a simple scene. Draw it using a one-point perspective grid in your head, then lightly map the ground lines. Keep the first attempt simple, focusing on how the object shrinks with distance.
This drawing improves spatial thinking, which helps every future artwork. It is budget-friendly because you already have household items to use as models. Personalize it by choosing objects that tell your story, like a tiny boat from a trip or a favorite figurine. For practical tips, take a quick photo for reference, since memory can shift perspective when you look away.
11. Wet-on-Wet Watercolor Rain Worlds
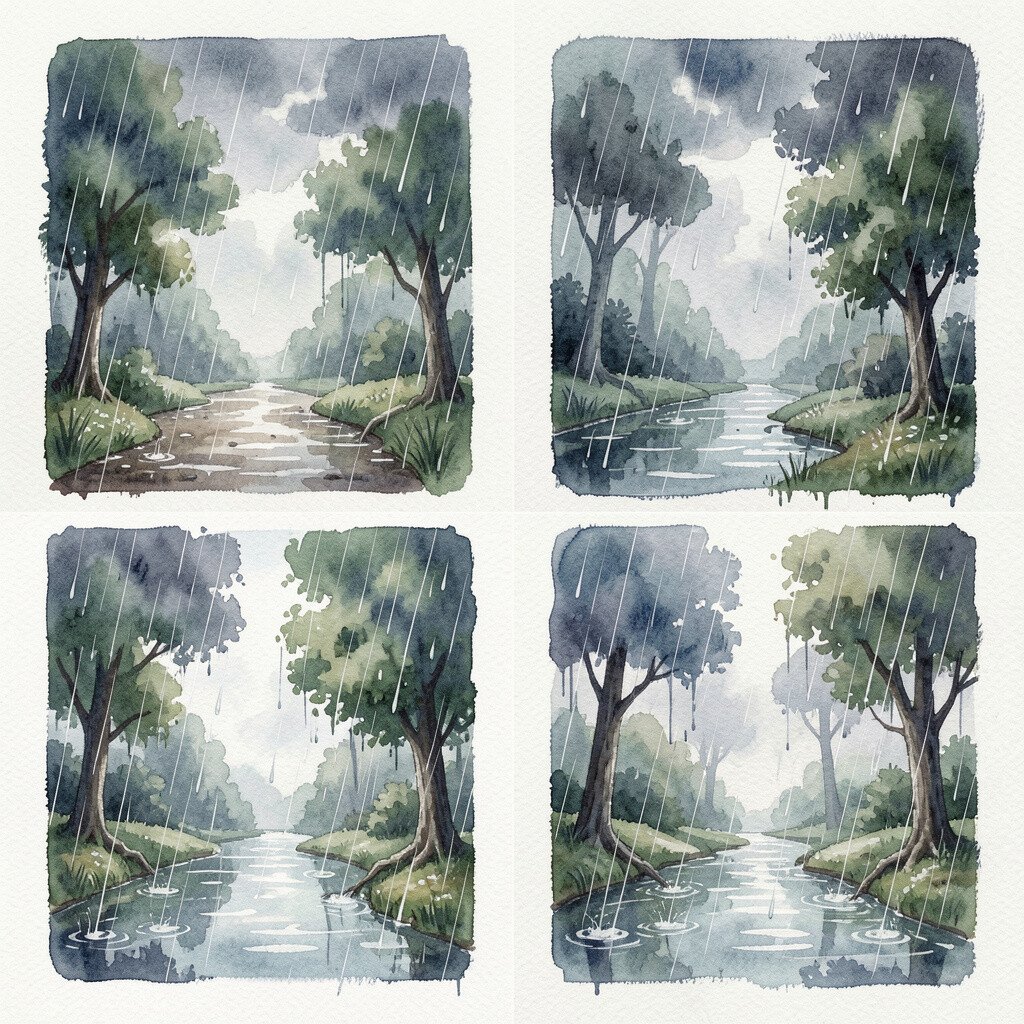
Wet your paper with clean water, then drop in watercolor so pigments spread and bloom. Add small darker dots where raindrops would land, then let everything blend into a soft “world.” This method feels dreamy because the paper does half the work for you.
It benefits creativity by reducing pressure, since outcomes can be spontaneous and still beautiful. Watercolor can be cheaper than heavy acrylic painting because a small set can last. Personalize it by painting storms that match your mood, like gentle fog colors for calm days or vivid blues and purples for excitement. For a practical tip, keep paper towels nearby and tilt your page to guide flow without overworking it.
Wet-on-wet effects are widely shared in current art circles because they look atmospheric and calming. If you want a unique finishing step, add one clear shape, like a tiny window frame, so the scene anchors the viewer. After drying, scan your sheet and turn it into digital wallpapers for your phone if you want an extra use for your work.
12. Charcoal Mood Drawings on Rough Paper
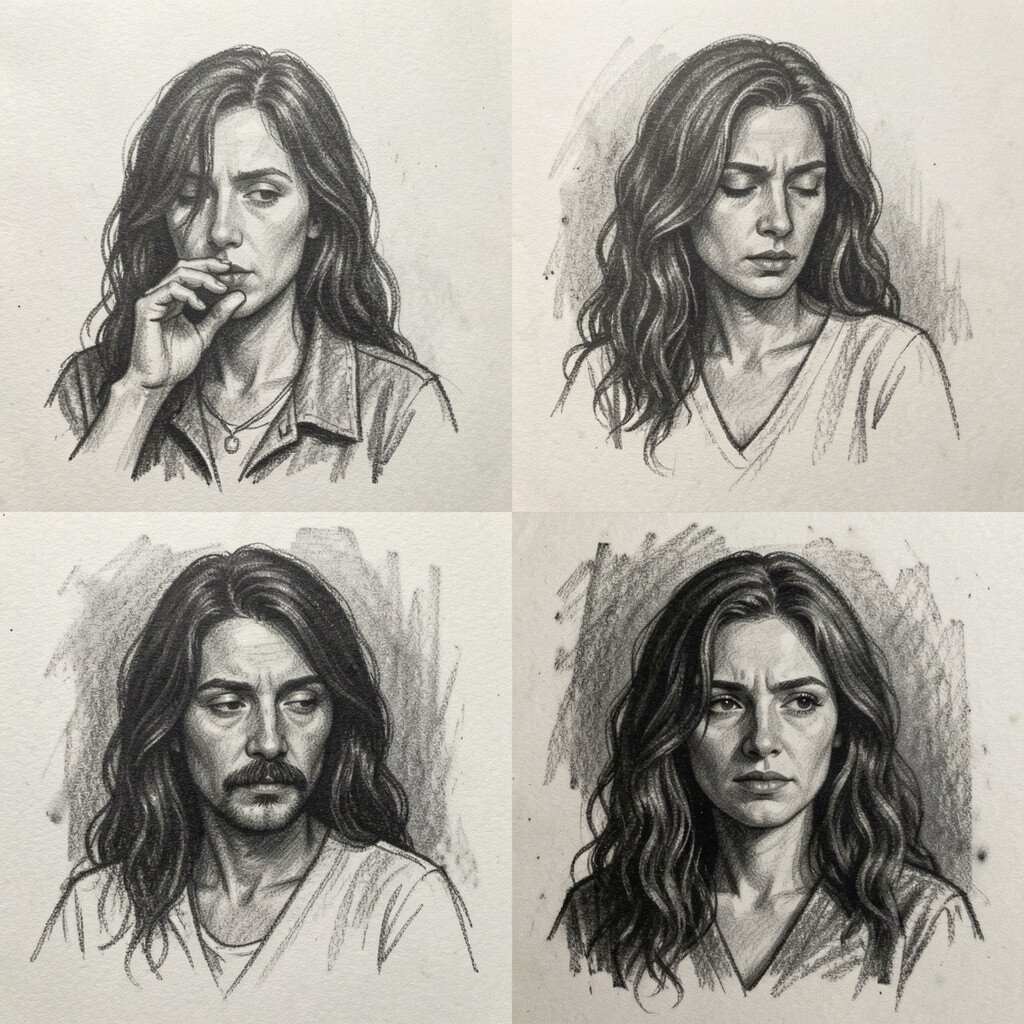
Use charcoal on textured paper and aim for broad gestures first. Smudge lightly with a finger or tissue to create soft gradients, then add sharper lines on top. Keep erasing minimal, since charcoal likes to leave traces that feel human.
This approach helps you express emotions quickly, which is a big creativity boost. It is relatively inexpensive, because charcoal sticks and paper are accessible. Personalize it by using music as a guide, letting different beats change your strokes. For a practical tip, set a timer for short sessions so you can build courage without overthinking.
13. Acrylic Pour Patterns With Intentional Shapes
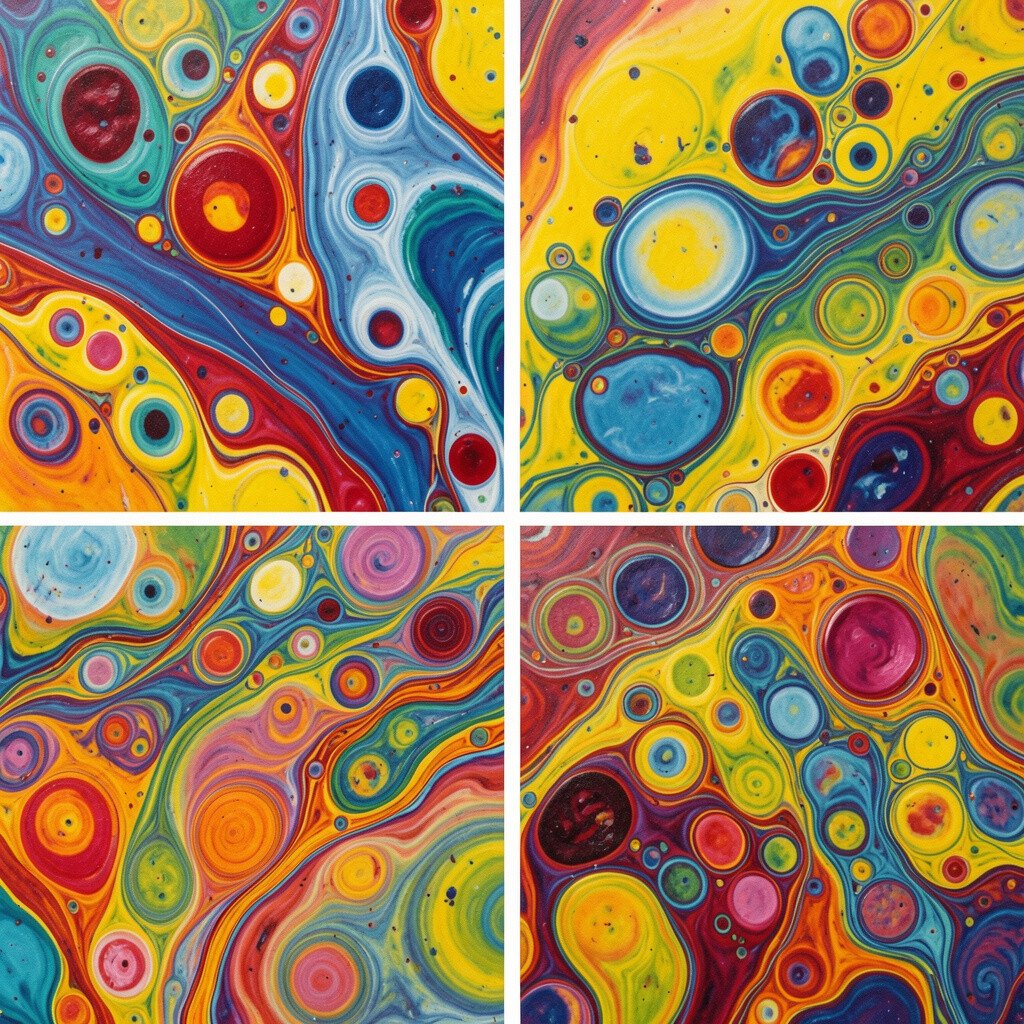
Create a pour with acrylic medium and your chosen colors, then plan one intentional shape to appear. You might tilt the canvas into a triangle of color, or let a ribbon of paint form a winding path. Once it dries, lightly paint a few lines or marks to suggest meaning.
This is a fun painting idea because it blends chance with control. It can cost more than pencil drawing because medium and canvas are needed, but you can save money using leftover paint and inexpensive boards. Personalize it by choosing colors tied to your life, like graduation colors or your favorite brand palette. For a practical tip, use a protective sheet under your work area and test your thickness with a small batch first.
Fluid art and pouring styles keep showing up in current trends, especially for bold home decor. If you want uniqueness, add a few fine details with a brush after pouring, like tiny dots that look like stars. When you finish, photograph it before framing, since lighting can change how people experience your colors.
14. Mixed Media Scribble Maps

Draw a scribble map of your thoughts, mixing pencil lines with marker shapes and maybe a little watercolor wash. Start with looping routes, then place symbols along the paths, like a heart, a door, or a small house. The map does not need to be real, but it should feel like you.
This idea helps creativity because it turns imagination into a navigable visual pattern. It is uniquely yours since no one else has your rhythm of symbols. Costs stay manageable if you use a few basic tools and re-use scraps of paper for collage-like effects. Personalize it by naming “places” on the map with tiny words or initials, then letting the rest remain wordless for mystery.