Kitchen clutter can sneak up faster than you can wipe the counter. A few smart changes make everything feel calmer and easier to reach.
With the right storage, your kitchen can look neat and work smoothly even on busy days. Keep reading for practical ideas that fit different styles and budgets.
1. Add Magnetic Strips for Metal Tools
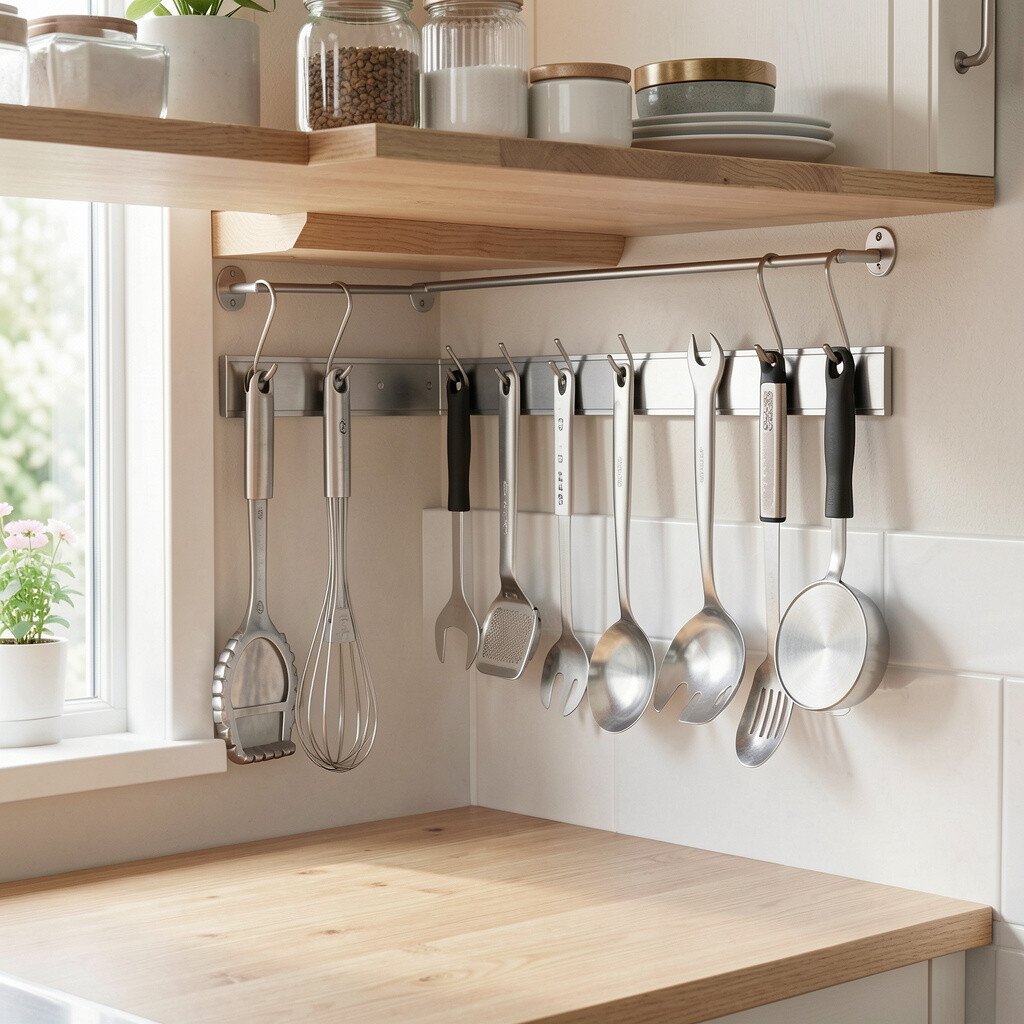
Swap drawer chaos for a clean wall setup using magnetic strips. You can picture shiny spatulas and scissors lining up neatly, like they belong in a display.
Choose strong strips and place them where you cook most often, such as near the stove or prep zone. This keeps frequently used tools in sight, so you grab them without digging. For a personal touch, group tools by size or color handles and keep one spot for backup utensils.
2. Use Stackable Bins for Pantry Zones
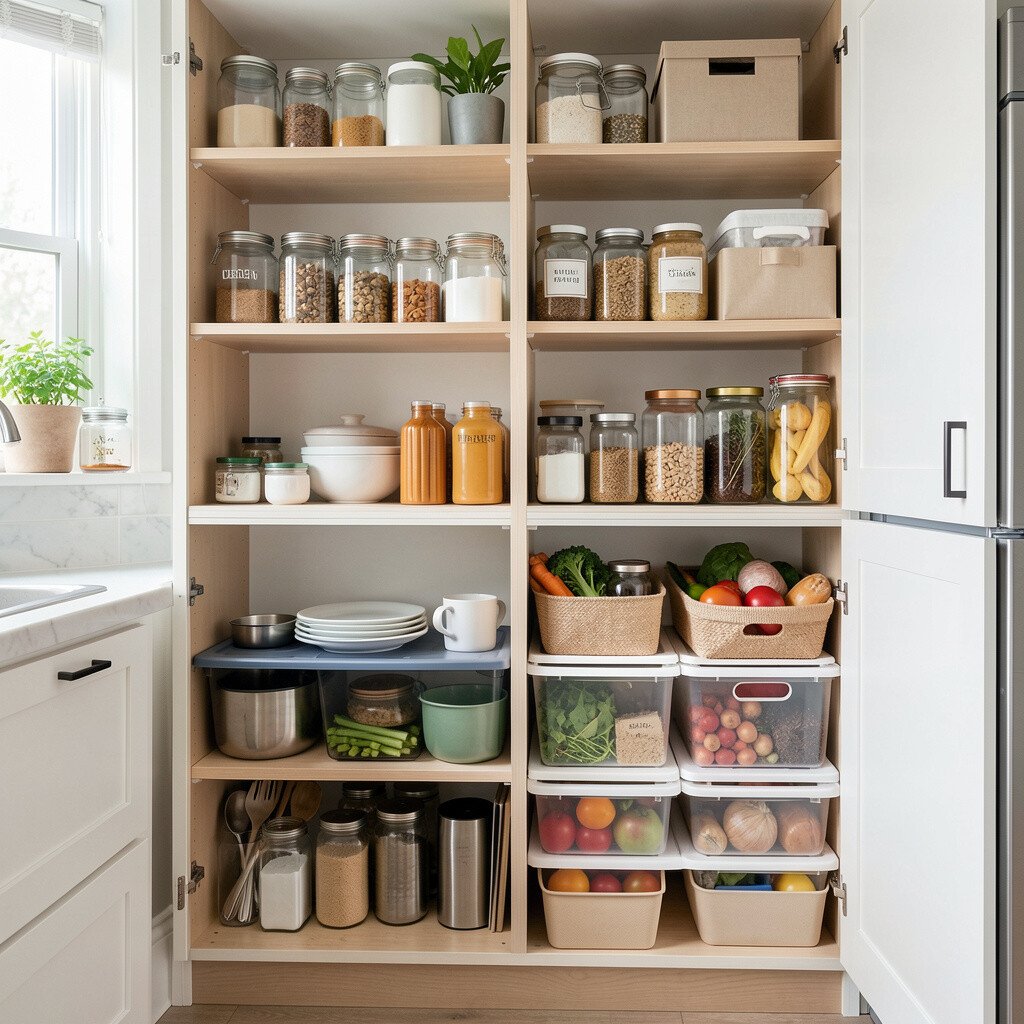
Grab stackable bins and turn a messy pantry into clear zones. When you slide in the bins, the shelves suddenly look tidy, with labels you can spot from the doorway.
Group similar items together, like baking supplies on one level and snacks on another, so restocking feels simple. Many people like the current trend of mixing clear containers with colored lids because it looks modern and makes items easier to see. If you want to save money, start with a few bins for the most cluttered shelf and add more over time.
For personalization, match bin colors to your dishware or choose neutral tones for a calm look. If your pantry has oddly shaped corners, use bins that fit the space instead of forcing them. Keep older items in front so you use things before they get forgotten.
3. Install a Pegboard Behind the Door
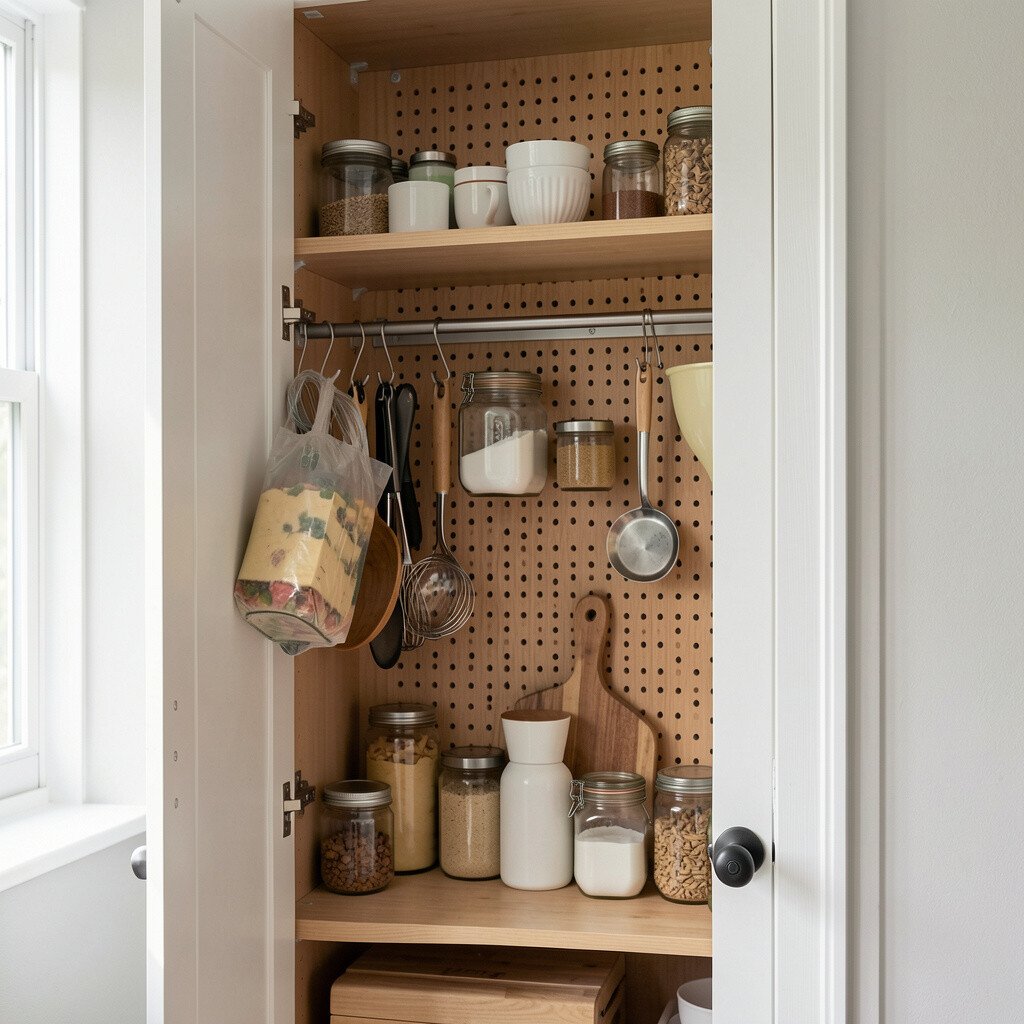
Turn the inside of a cabinet door or pantry door into a tool-friendly wall. You’ll love how hooks and slots create a visual grid for measuring cups, small brushes, and odd gadgets.
Mount the pegboard so it stays at eye level and use hooks that match the sizes you store. This gives you quick access and prevents small items from hiding at the bottom. Add a few removable baskets for things you move often, like spare batteries or storage twist ties.
If you like a clean aesthetic, paint the pegboard to match your kitchen cabinets. For cost control, repurpose a cheap board and seal it for easy wiping. Keep heavy items on sturdy hooks and avoid overloading the board in one area.
4. Keep Spices in a Visible Carousel
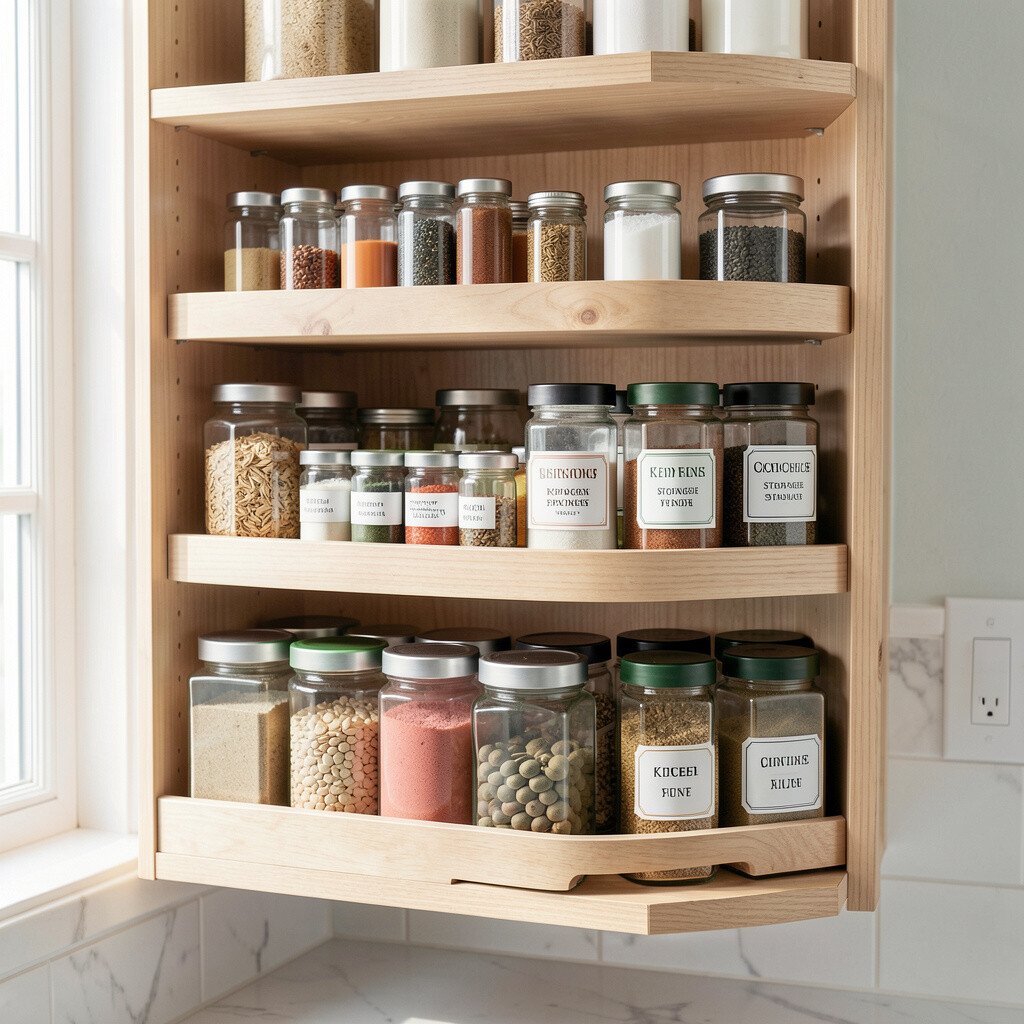
Spice chaos is common because tiny jars multiply quickly. A rotating carousel makes every bottle face forward, so the shelf looks organized instead of crowded.
Choose one that fits your cabinet depth and spin it on the same shelf where you cook. This saves time because you can find the right flavor without opening multiple jars. For a personal vibe, group spices by cuisine style or by how often you use them.
5. Add Drawer Dividers for Utensils
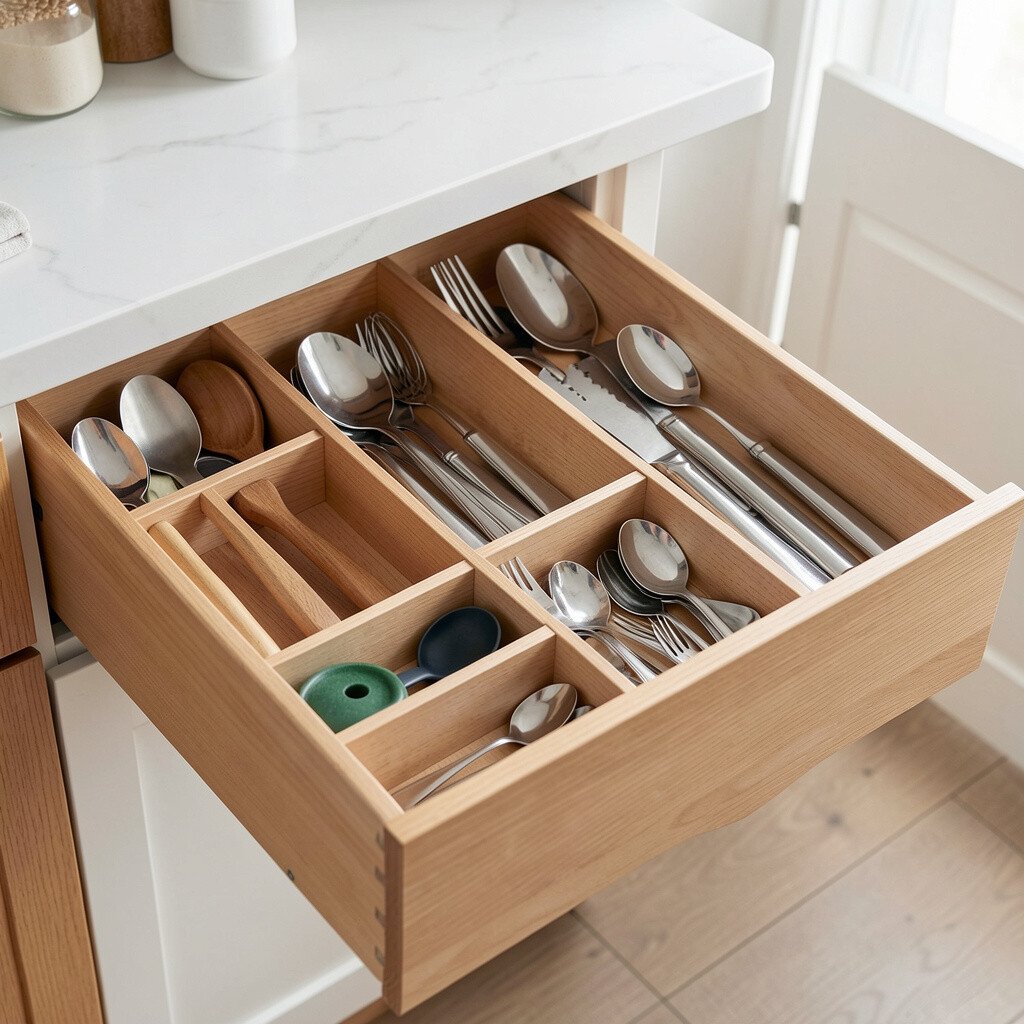
Loose utensils sliding around can make a drawer feel stressful. With dividers, each fork, spoon, and tool sits where it belongs, like it’s assigned a tiny home.
Pick dividers that fit your drawer width, then arrange by type and use frequency. If you cook often, place everyday tools on one side and backup items on the other. For an easy upgrade, use adjustable dividers so you can reconfigure as your set changes.
Cost stays reasonable since you can start with just the drawer that gets the most mixed-up. Many people enjoy a trend toward minimal, matching storage, so choose a simple neutral divider set. Keep the drawer calm by cleaning and drying tools before putting them away.
6. Create a Lid and Pan Organizer
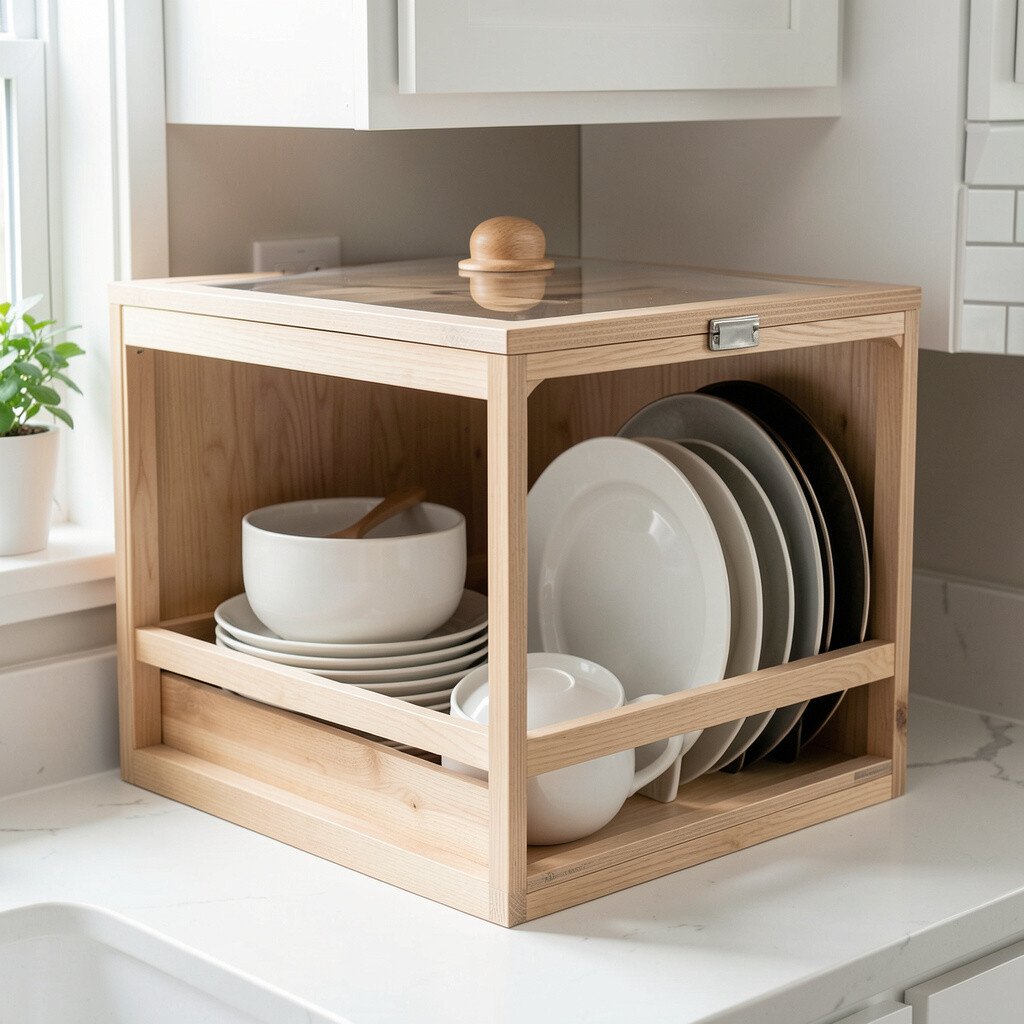
Lids that lean and rattle can wreck the vibe of an otherwise neat cabinet. A dedicated rack or vertical organizer keeps lids separated and easy to spot at a glance.
Look for a divider that supports lids and pans without scratching, especially if you use nonstick cookware. This reduces the time you spend stacking and restacking. To personalize, adjust sections for your most common sizes and store specialty lids together so they don’t get lost.
7. Put Everyday Oils at Counter Height
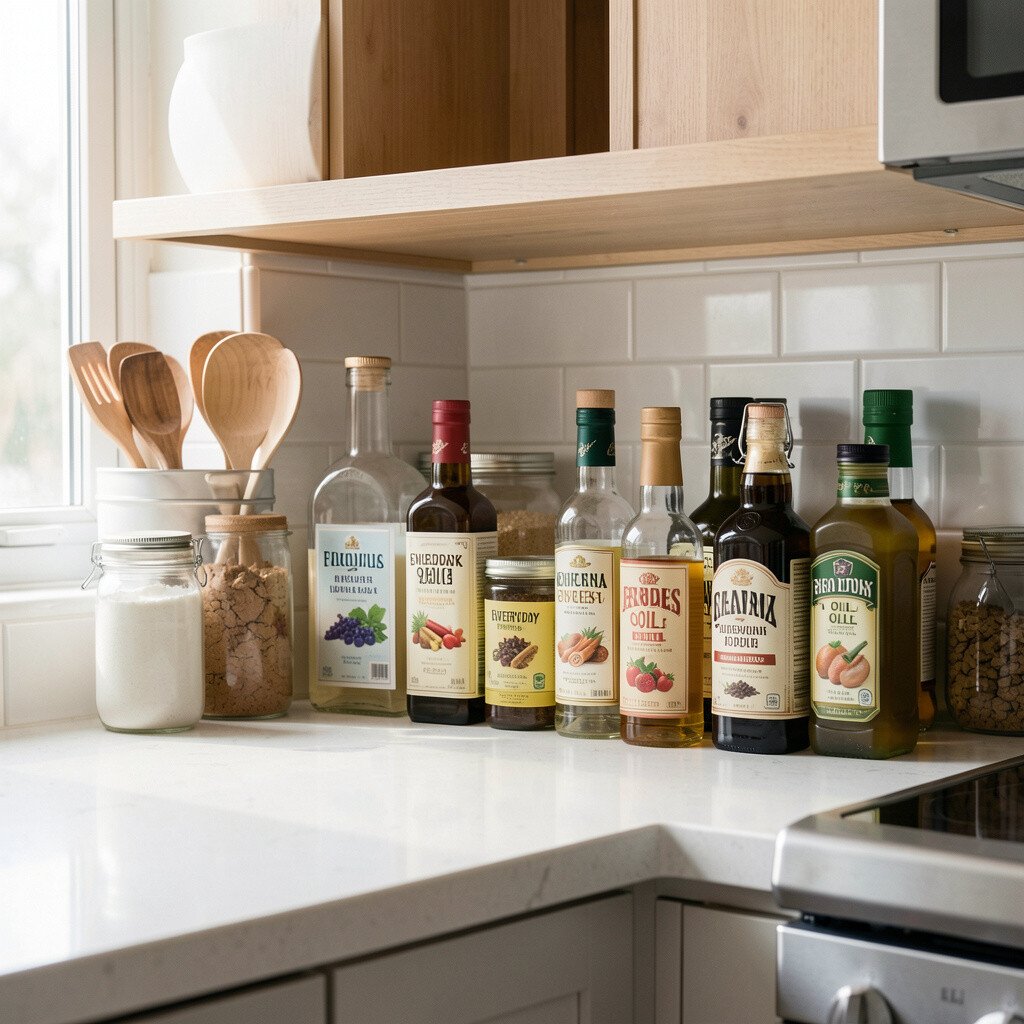
Reaching for cooking oil from a deep cabinet is a small hassle that adds up. A slim organizer near the stove or on a shelf keeps bottles ready when you need them.
Choose a tray or stand that fits your space and holds oil, vinegar, and soy sauce in one view. This feels convenient and also creates a clean, intentional look. If you’re following current kitchen trends, consider a tidy countertop setup with matching bottles and uniform labels.
For personalization, reserve one side for “grab-and-go” bottles you use daily. If counter space is tight, use a roll-out cart that stores away when not in use. Keep it simple and wipe the tray regularly so it stays fresh-looking.
8. Label Everything with Removable Tags
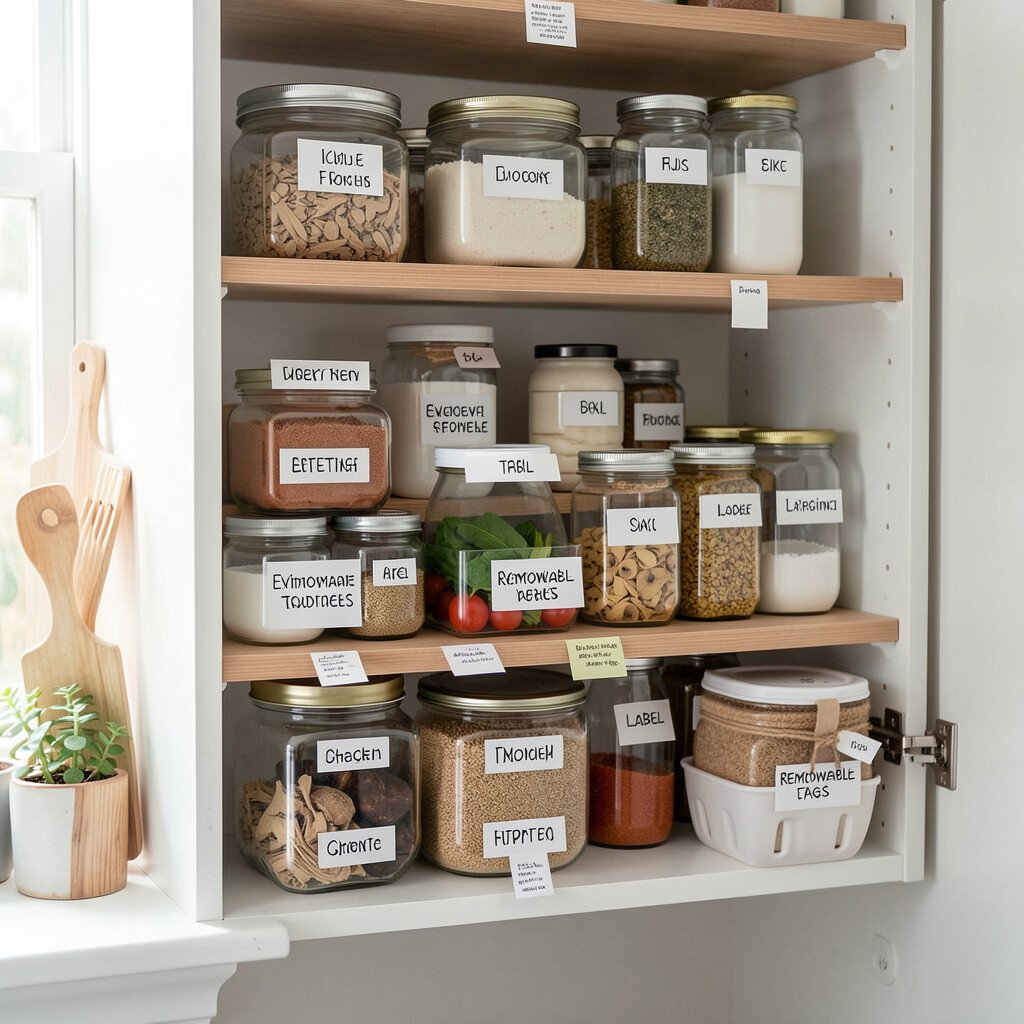
Even if your storage is perfect, you still need quick identification. Removable tags make it easy to find what you want and reorganize later without damaging containers.
Use labels for pantry bins, jar lids, and freezer sections so items don’t drift into mystery piles. When you can read labels at a glance, it reduces the mental load while cooking. This also helps in households with more than one person, since everyone follows the same system.
9. Add a Under-Shelf Basket for Cleanup Tools
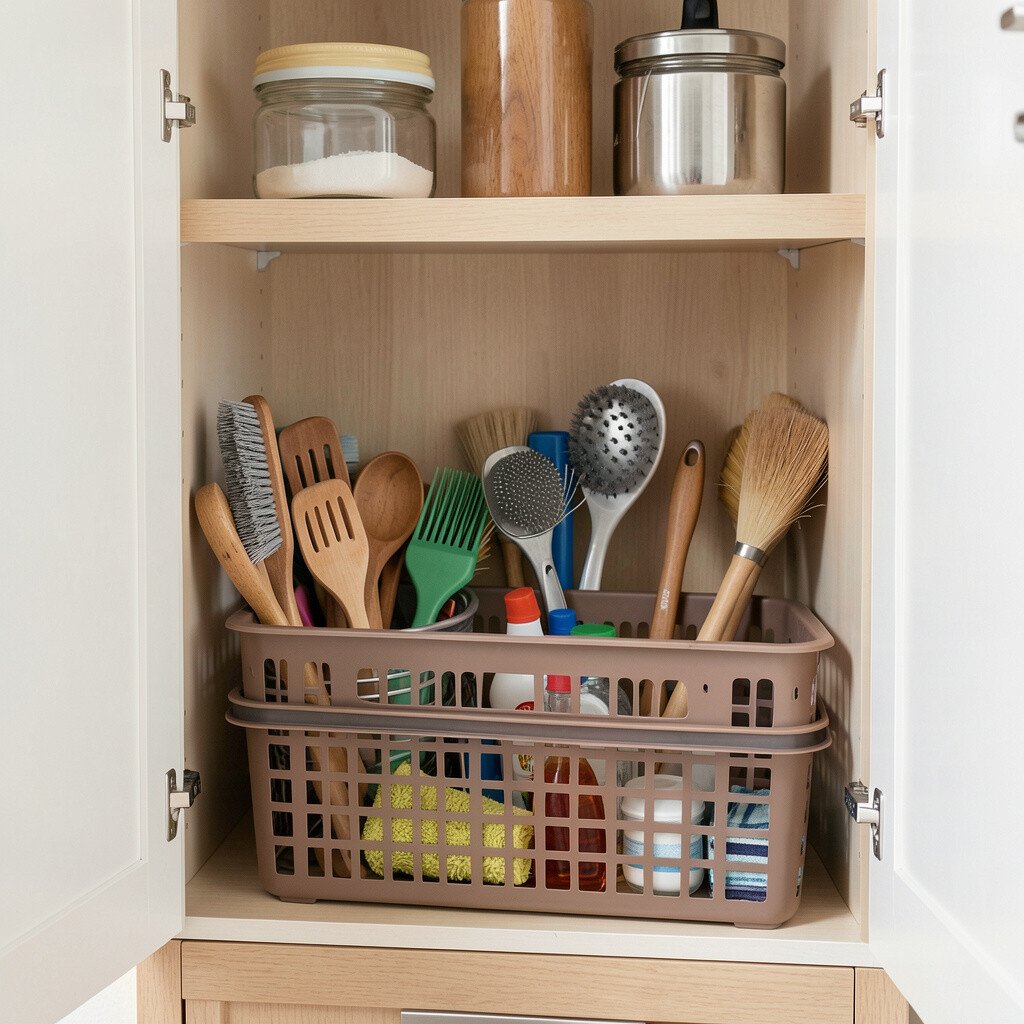
Sometimes the best storage is the space you already have but never use. Slide-in baskets under a shelf can hold sponges, scrub brushes, and extra dish towels, tucked out of sight.
Position the basket where you prep meals so cleanup tools stay close. The visual benefit is huge because counters look calmer when supplies aren’t sprawled around. For personalization, choose a basket color that matches your kitchen theme or use a clear one for an airy look.
If you want to keep costs low, check for budget wire baskets that clamp or slide. Current trends favor smart, hidden storage, so this feels modern without buying expensive furniture. Just measure first so the basket clears cabinet doors and drawers.
10. Use a Hanging Caddy for Trash Bags
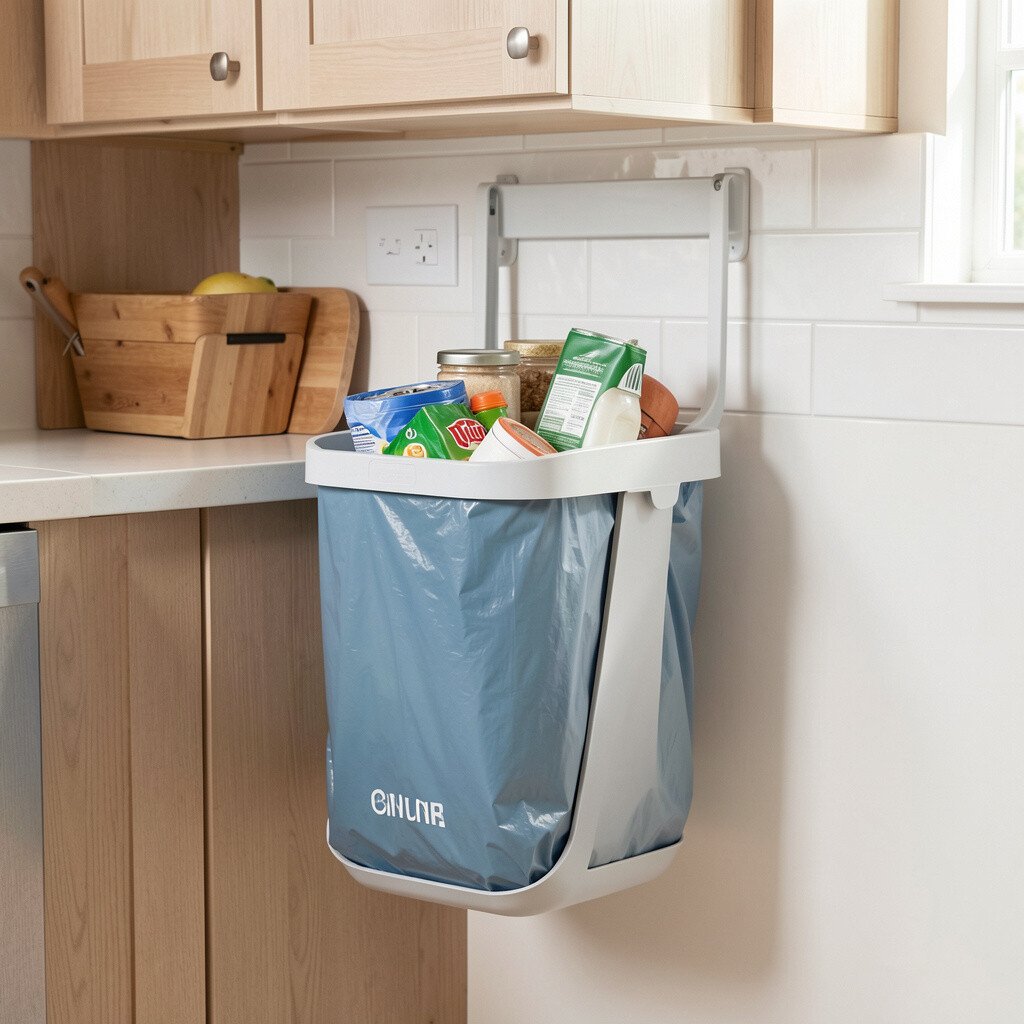
Trash bags can take up space in a cabinet and turn into a tangled mess. A hanging caddy keeps them neat and pulls down when you need them in seconds.
Place the caddy near the trash area or inside a cabinet door close to cleanup. You’ll see bags ready in a neat stack instead of stuffed in a drawer. For a personalized setup, use a caddy with pockets so you can also store gloves, small liners, and wipes.
Consider buying a caddy that’s easy to remove so you can refill it quickly. This is a low-cost fix that helps your kitchen stay tidy daily. Keep the caddy dry and close to the trash only, so it doesn’t collect moisture.
11. Store Baking Sheets Vertically
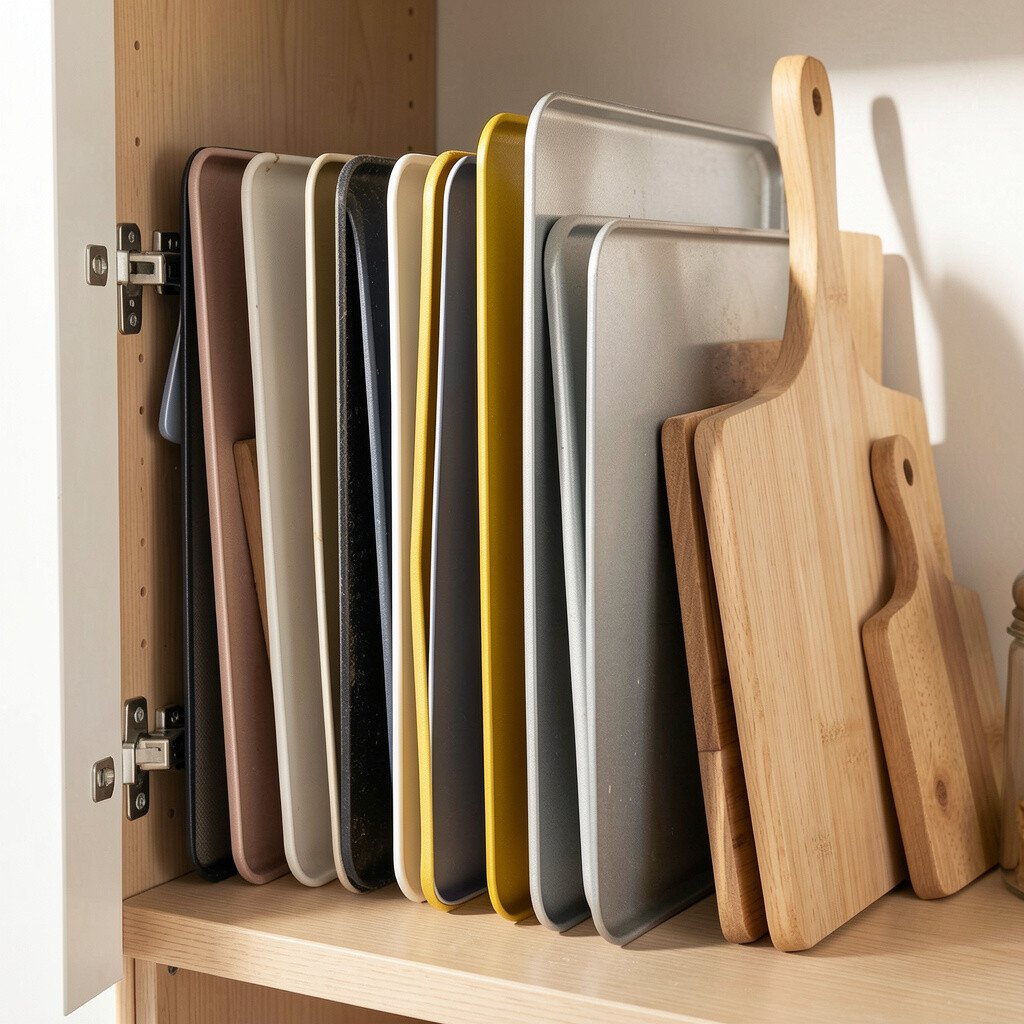
Baking sheets stack too neatly until they start slipping and bending. Vertical storage racks let each sheet stand upright, so nothing gets crushed together.
Look for an organizer that holds multiple trays without wobbling, then place it inside a cabinet or pantry. This makes the shelf look cleaner and helps you grab the right size without pulling out everything. For personalization, sort by size and keep the most-used trays at the front for quick access.
12. Add a Rail for Measuring Cups and Spoons
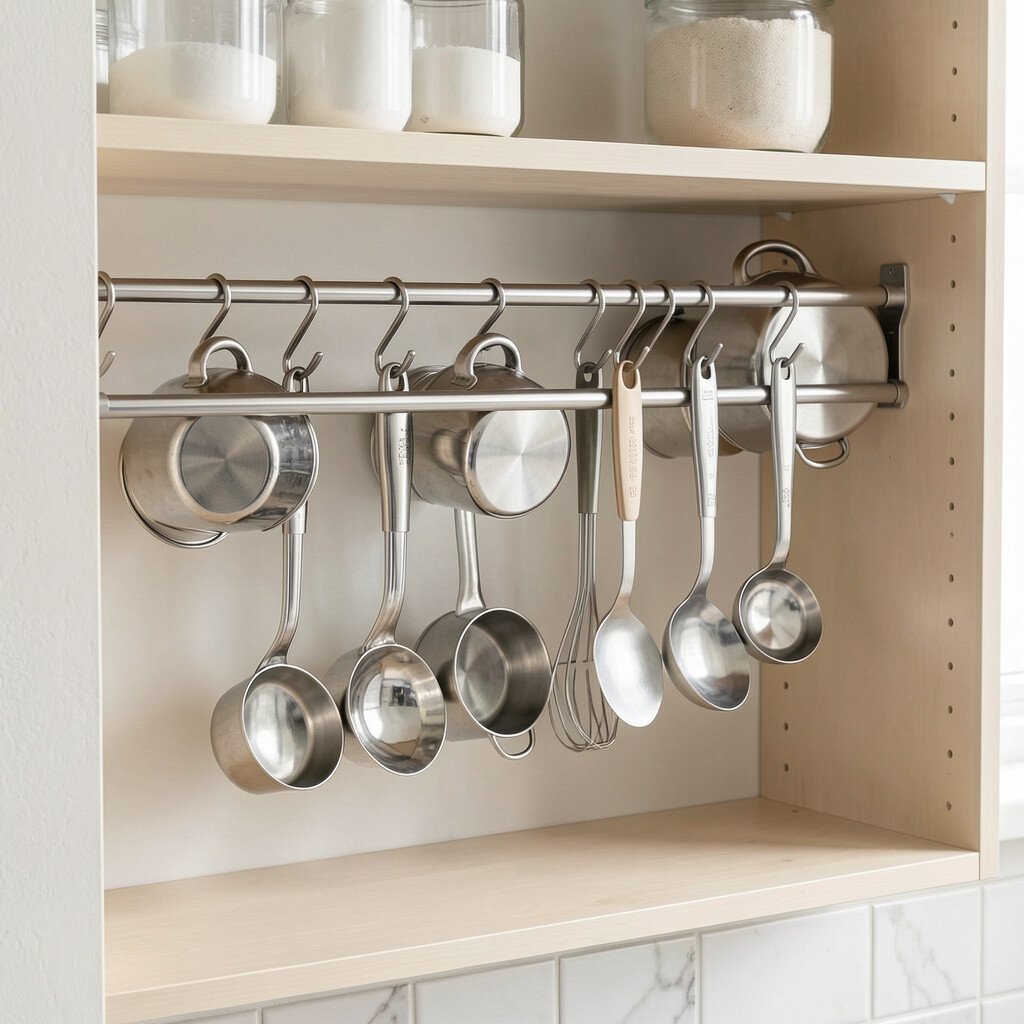
Measuring tools disappear into drawers, especially when you bake often. A rail with hooks or clips lets your cups and spoons hang in a neat row.
Mount the rail near your baking zone or inside a cabinet where you mix ingredients. This keeps tools visible, which helps you grab the right measure without searching. Some people love the trend of “functional decor,” where everyday tools look like part of the kitchen style.
For personalization, hang them in order by size and match the hooks to your hardware finish. If you’re on a budget, a simple rail and a few strong hooks can be enough. Keep hooks spaced so tools don’t clink too loudly when you open the door.
13. Use Clear Jars for Dry Staples
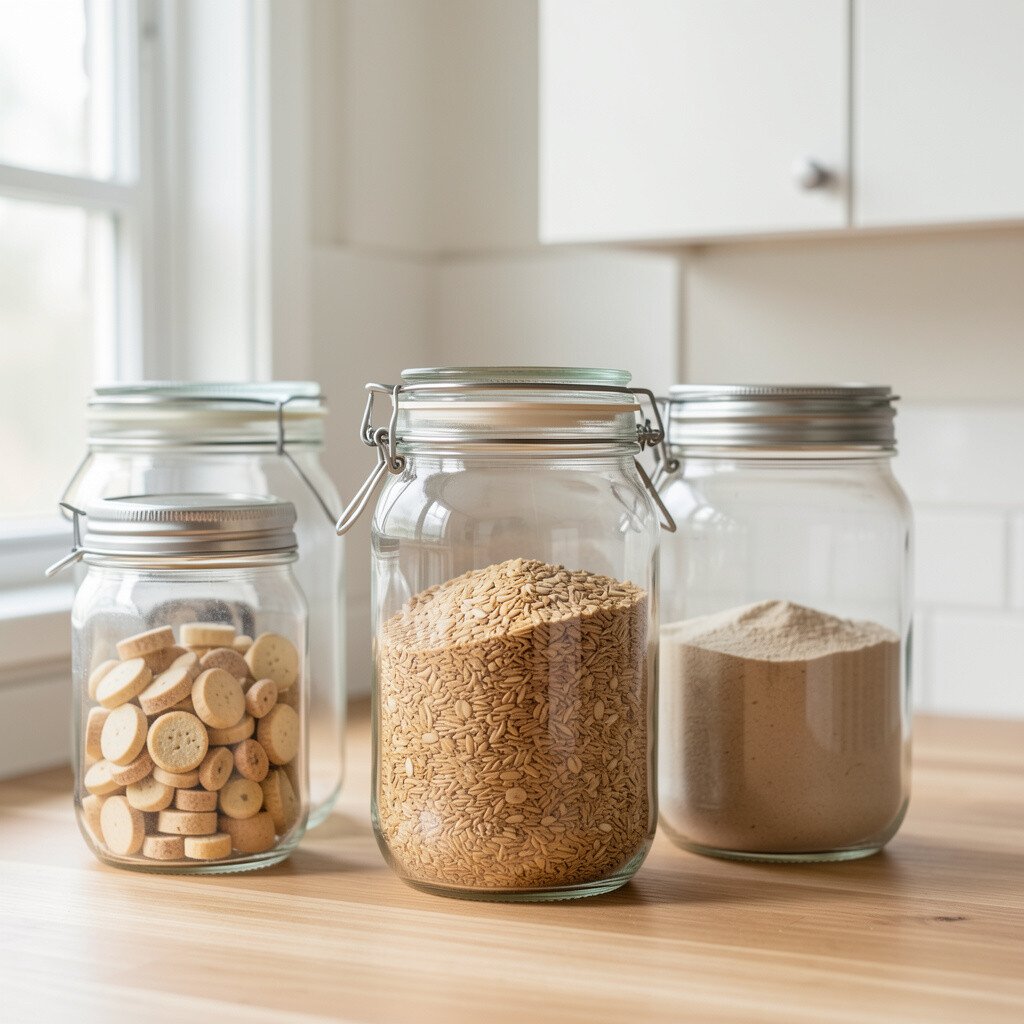
When flour, sugar, and oats sit in mismatched bags, the pantry looks chaotic. Clear jars make dry staples look consistent and help you spot low levels quickly.
Choose jars with tight lids to keep moisture out and protect freshness. This visual upgrade also helps you cook with confidence because measurements are easier to read. Personalize by using a simple uniform style and adding matching lids in a finish you like.
If you want to keep costs smart, start with jars for your most-used staples, like coffee, rice, and pasta. This trend of “pantry styling” looks great but also works for real daily routines. Just remember to transfer only completely dry items and keep labels readable.
14. Make a Freezer Basket for Quick Meals
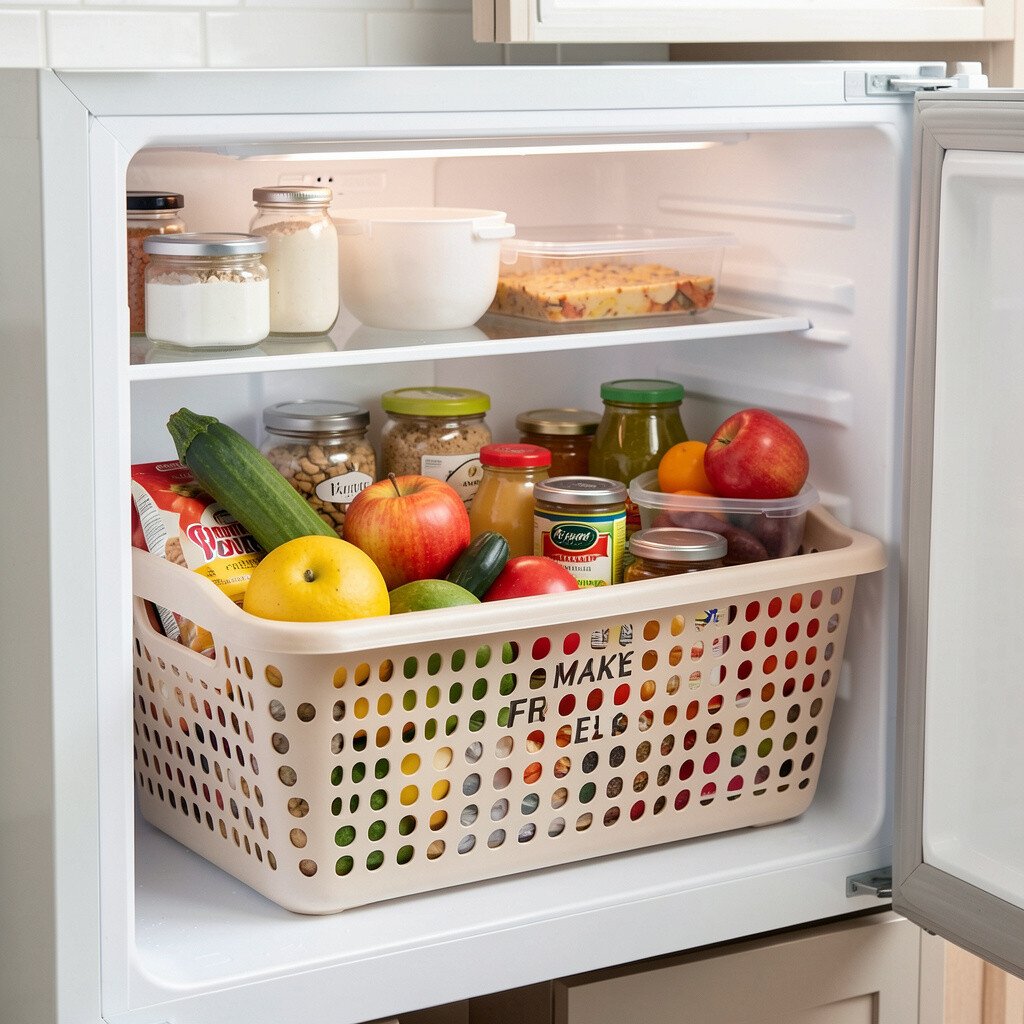
Freezer storage can feel like a puzzle that never solves itself. A labeled basket system makes it easier to grab dinners without digging through everything.
Group items into categories like breakfast, soups, and ready-to-heat meals, then keep each group in one basket or bin. You’ll notice the difference right away when you can find meals fast. For personalization, use color-coded bins so family members can identify what’s inside without reading every label.
Consider buying baskets that stack neatly and handle cold temperatures, since some plastics crack over time. This is a cost-friendly way to reduce food waste by using what you already own. Keep a small checklist of inventory if you like, but only update it when you restock.
15. Store Cleaning Supplies in a Separate Drawer
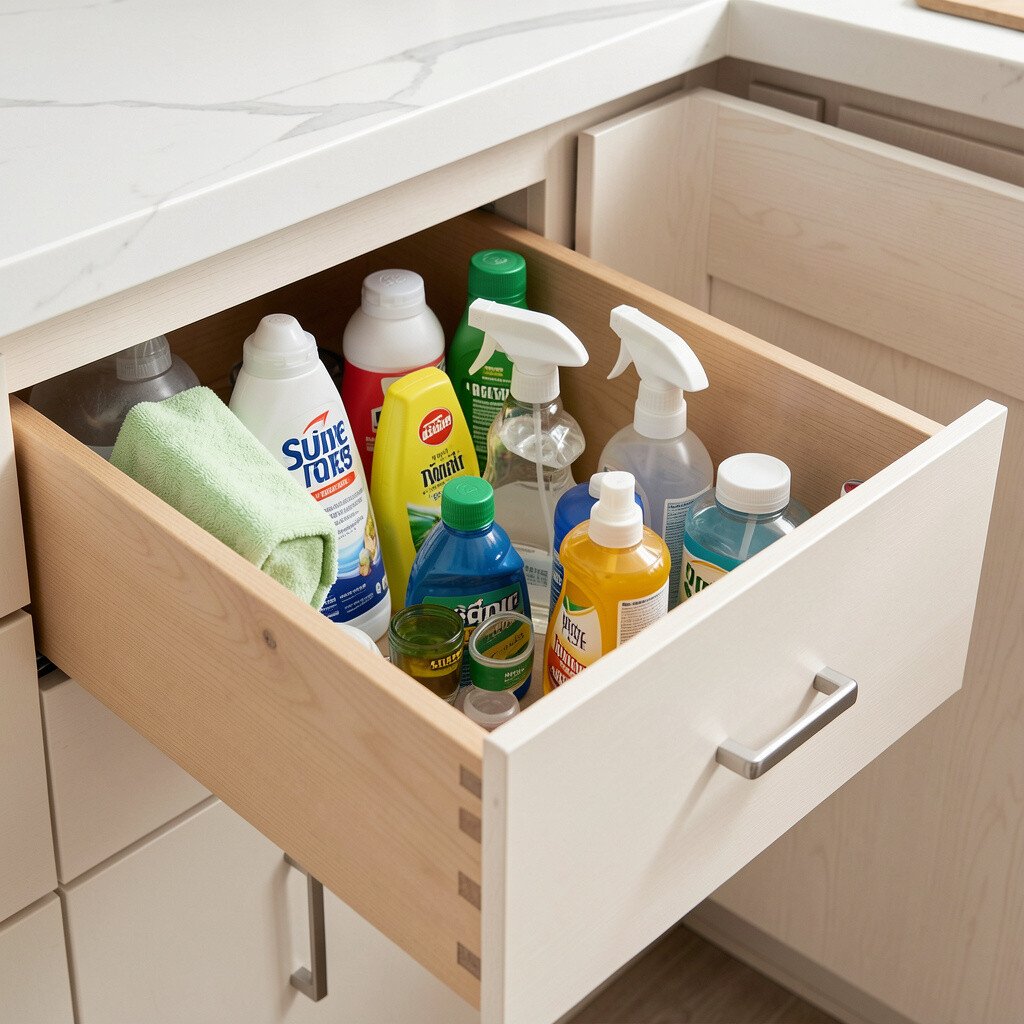
Cleaning items often end up mixed with cooking tools and then nothing feels right. A dedicated drawer for wipes, spray bottles, and scrub pads creates a calm separation.
Use a tray to keep bottles from rolling and store refills in a small section behind. This reduces the chance of spills on cooking gear and keeps the kitchen feeling organized. For personalization, set up a “grab and clean” zone so the most used items sit closest to the front.
Cost can be low since a basic drawer organizer and a couple trays are usually enough. Current trends lean toward tidy, hidden storage that keeps countertops clutter-free. Just keep chemicals away from food items and ensure lids are secured.
16. Add a Lazy Susan to Corner Cabinets
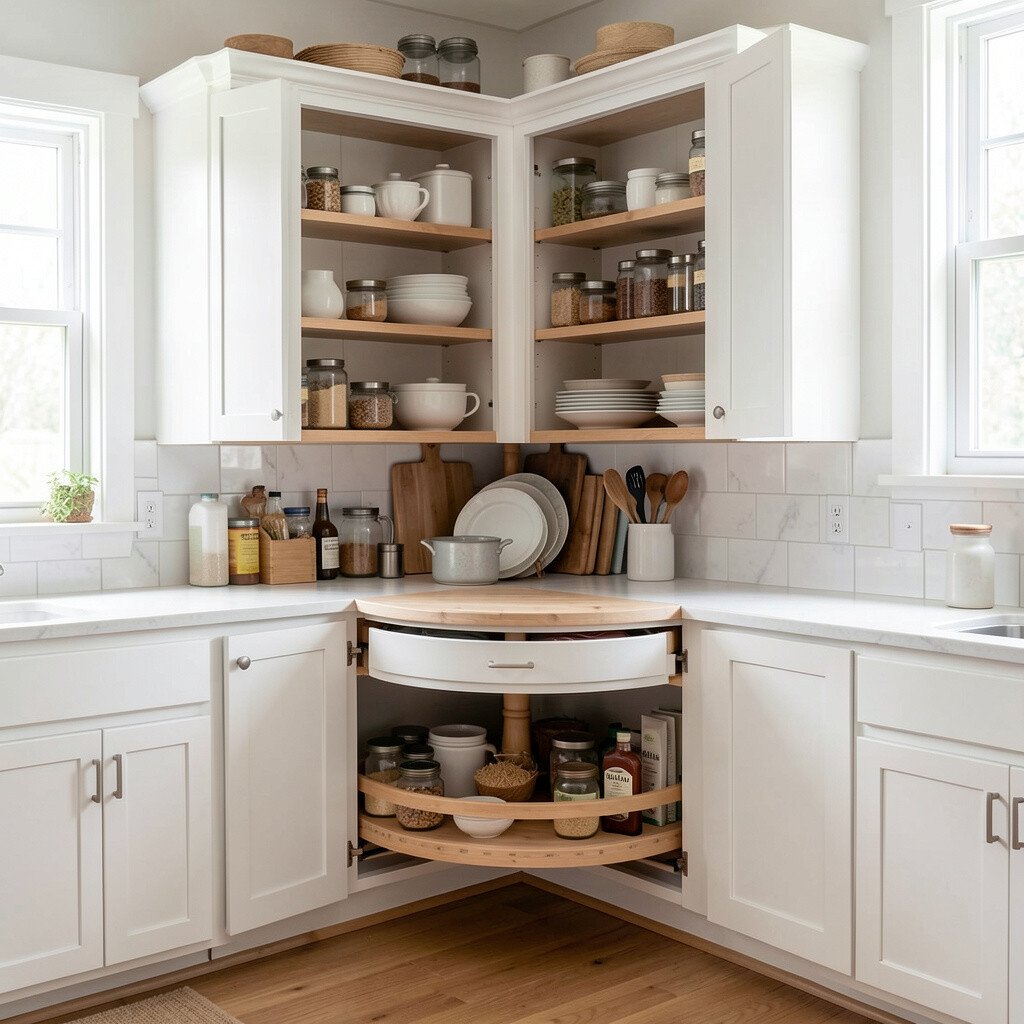
Corner cabinets are notorious for hiding items behind other items. A lazy Susan turns that dead space into a smooth, reachable circle.
Install one in a corner where you store oils, baking tools, or smaller appliances. The visual benefit is that everything becomes visible, and you don’t have to squeeze in for a long search. Personalize by arranging items by height so tall bottles don’t block smaller jars.
When budgeting, choose a model that fits your cabinet size and weight needs. Some lazy Susans are easy to mount with basic tools, which helps keep costs down. If you often use a specific gadget, put it at the top spot for quick access.
17. Hang a Rail for Towels and Wraps
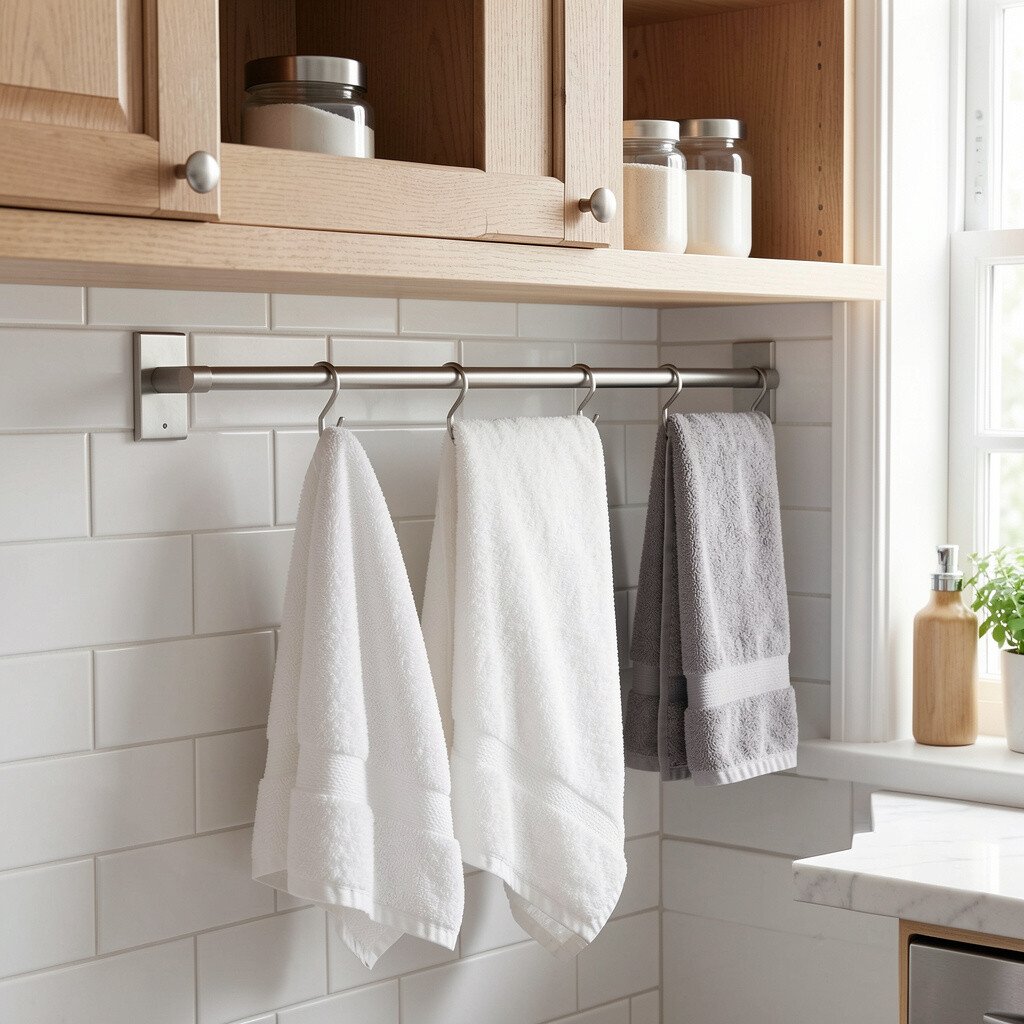
Paper towels and plastic wrap usually take over a cabinet when they aren’t organized. A rail system helps you keep them together and within easy reach.
Mount the rail near the fridge, stove, or prep area so you can grab what you need without turning the kitchen upside down. This makes the counter area feel purposeful and tidy, not cluttered. For personalization, choose hooks that match your kitchen hardware and keep one spot for reusable towels.
To control cost, use a rail you can mount with minimal hardware and add only the pieces you need at first. This aligns with the current trend of using vertical space instead of wasting cabinet room. Keep a spare roll stored inside a cabinet or bin so you’re never caught short.
18. Add a Small Shelf for Cutting Boards
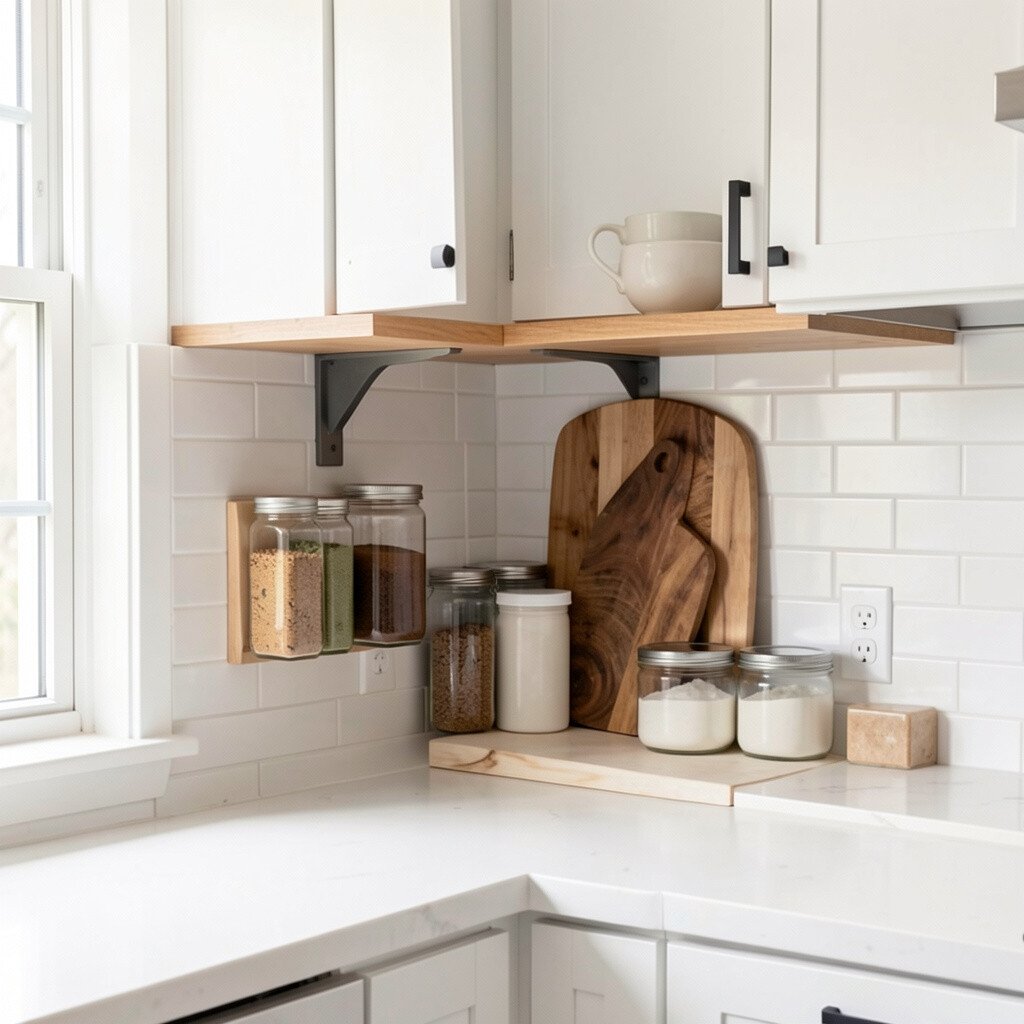
Cutting boards can lean, slide, and take up space in ways that feel unfair. A slim shelf or holder keeps them stacked neatly and protects edges from damage.
Place the shelf near where you prep food so boards move quickly from storage to counter. You’ll like the way a tidy board area looks, especially if you keep them in a consistent color pattern. For personalization, store boards by size and keep a “daily” board separate from special-use boards.
Consider building a simple shelf with wood or using a ready-made organizer, depending on your comfort level. Either way, this is a practical fix that can prevent scratches and keep your workflow smoother. Just wipe boards dry before stacking so moisture doesn’t linger.
19. Use a Pegboard or Shelf for Recipe Cards
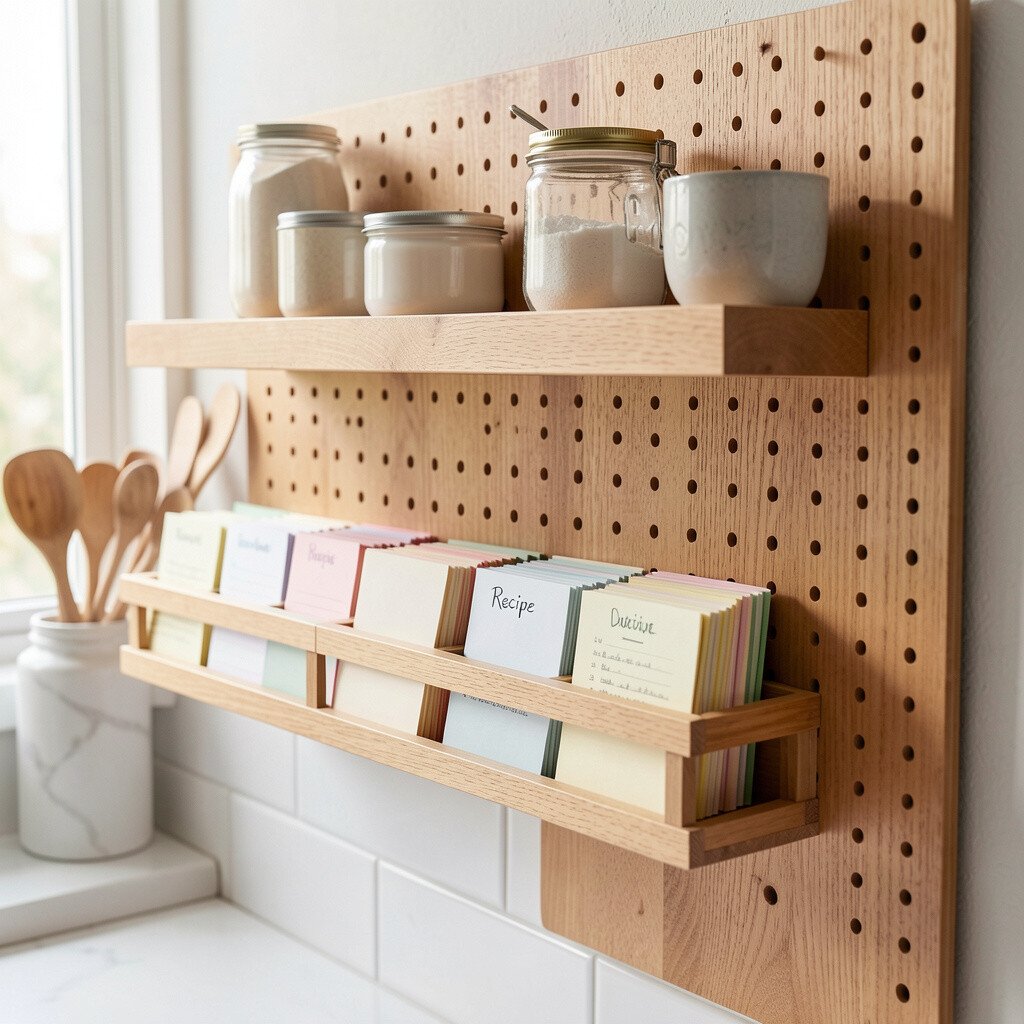
When recipes float around the counter, storage problems get worse fast. A dedicated board or shelf for recipe cards keeps instructions in one place and makes cooking feel smoother.
Keep your favorites in an easy-to-read spot near your prep area, and tuck less-used cards into a small holder below. This makes your kitchen feel personal because you’re actively using what you love. For uniqueness, arrange cards by meal type or keep a “weeknight” section that matches your routine.
If you want to stay budget-friendly, use a small board and clip holders instead of buying a full system. Current trends include mixing functional tools with decorative touches, so you can frame a few cards or use a small stand that matches your decor. Keep it updated by removing cards you haven’t used in a while and adding new ones after you cook.