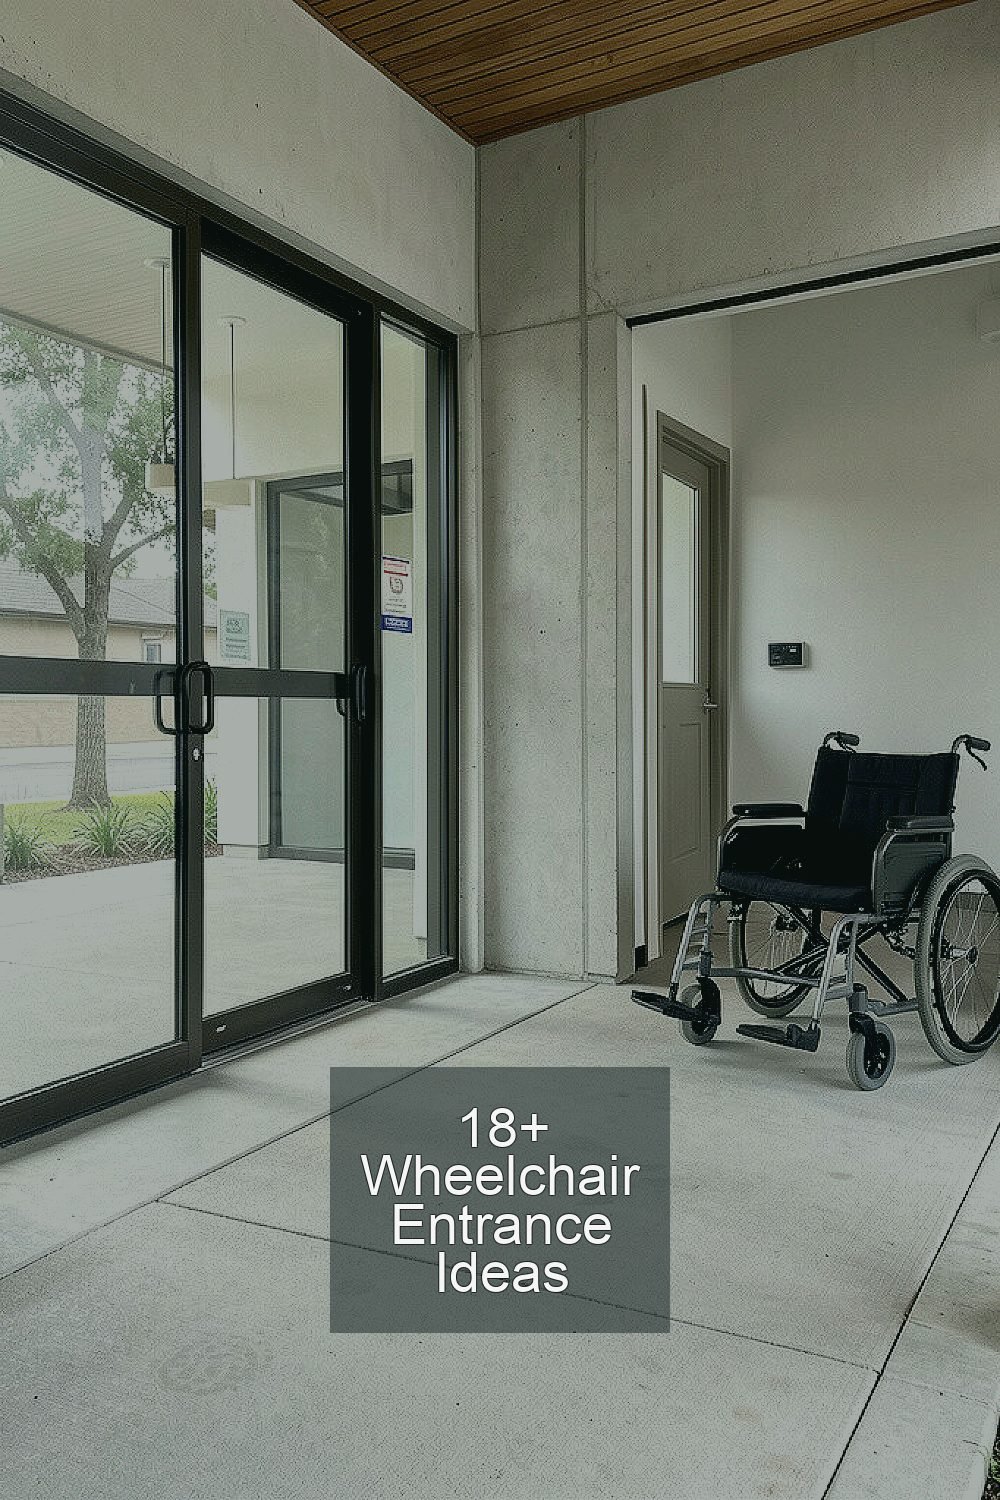
A smooth entry can change how a place feels the moment someone arrives. Small design choices can make everyday movement feel safer and calmer.
When an entrance supports wheelchair access, it helps everyone enjoy the space with less stress. It also signals that the building truly welcomes people of all abilities.
1. Curbed Threshold With a Gentle Ramp Edge
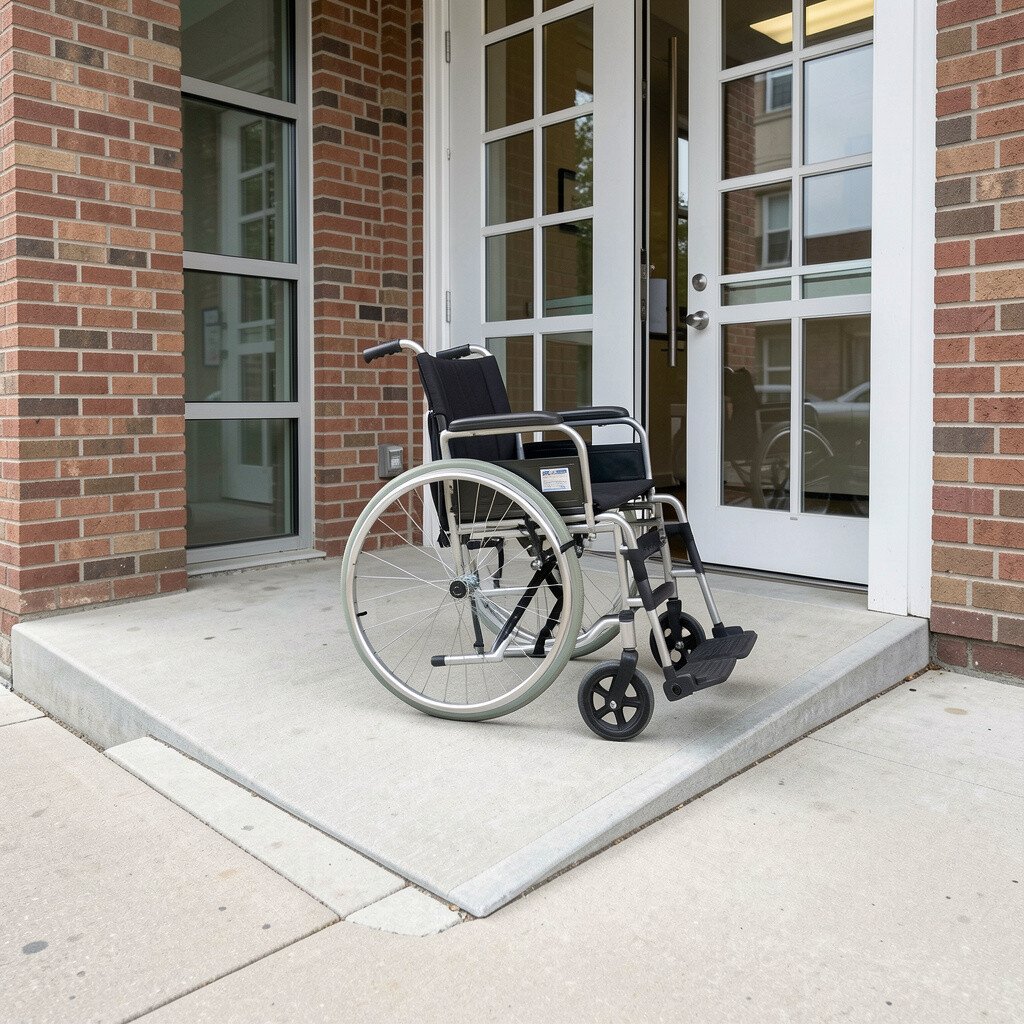
Picture the main entrance where the ground meets the door in a way that looks firm, neat, and level. A shallow ramp edge can guide a wheelchair up without the jolt that often comes from raised thresholds.
This approach keeps the visual line of the doorway tidy while improving rolling comfort. Choose a slope that stays easy to push and add slip-resistant surfacing so tires feel steady in rain or winter.
2. Wide Side Door Path With Clear Wall Clearance
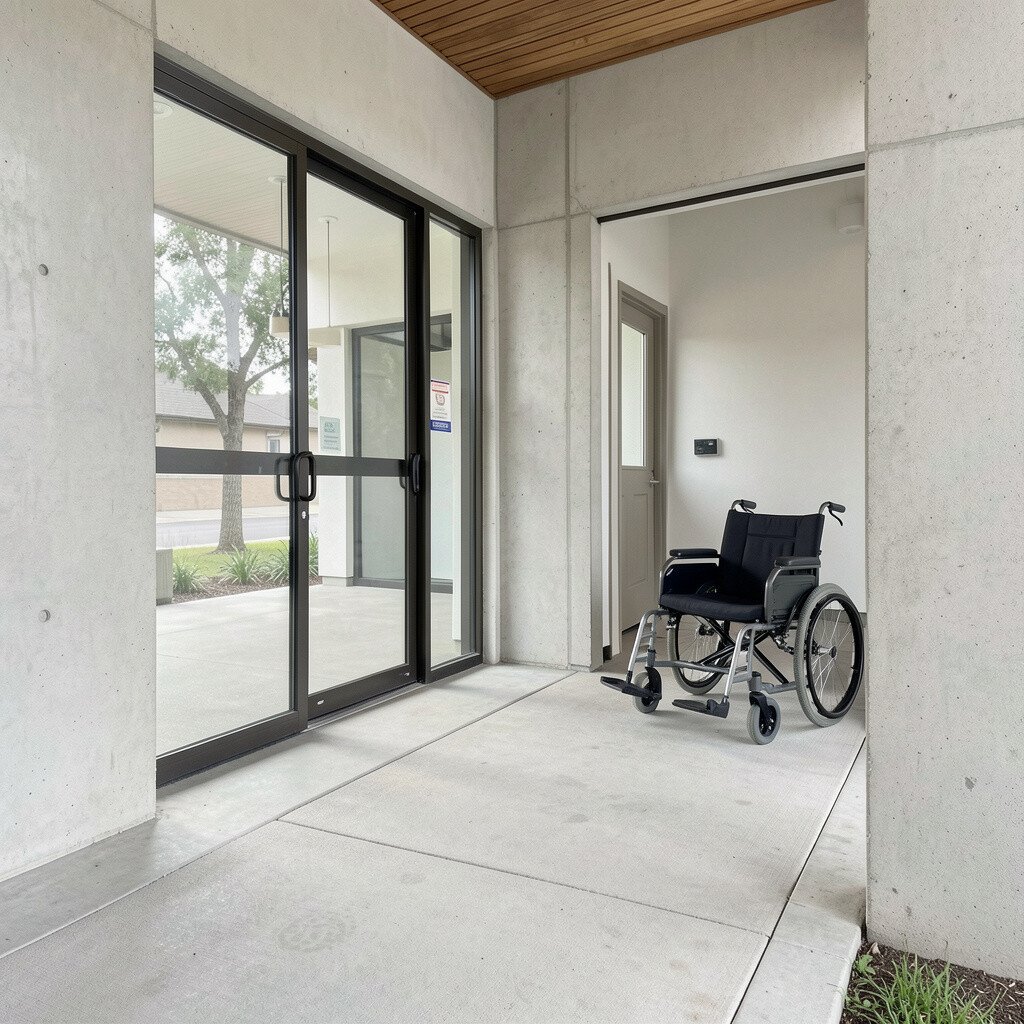
Imagine rolling from the main entrance along a side path that feels roomy, not squeezed. Wider clearance near walls makes it easier to turn and reduces the need for awkward repositioning.
Place the route so the wheelchair can travel straight for a short distance before any turns, which helps with control. You can also add smooth protective edging on nearby surfaces to prevent scuffs and keep the path looking cared for.
To personalize it, match the flooring color to the existing lobby style so the accessible path feels intentional, not tacked on. If you worry about cost, measure the narrowest pinch points first and fix only those sections with durable materials.
3. Non-Slip Entry Flooring With Visual Texture Cues

Think about how the entrance floor looks under daylight and how it feels under tires. Textured, non-slip flooring can reduce slipping while making the route easier to follow by feel and sight.
Many modern designs use tactile-visual cues that stand out without looking harsh. A mat or tile pattern can guide wheels toward the correct line near the door, especially when lighting is bright or reflective.
For a personal touch, coordinate the texture with the building theme using warm tones that match the lobby. When choosing materials, consider maintenance too since high-traffic surfaces may need periodic cleaning or replacement.
4. Doorway Rework With Lever Hardware and Wider Opening Plans

Picture the door opening smoothly with a lever handle that sits at a comfortable height. Wider doorways and easier hardware reduce the effort needed to enter from a wheelchair, especially when pushing through a main entrance.
Replacing hardware with levers and ensuring the door swings with enough space can prevent the “stuck feeling” that happens with heavy doors. Pair this with a clear turning area just inside so a person can adjust without blocking traffic.
5. Smooth Landing Areas for Turning Before the Door

Look at where the path meets the doorway and notice if there is enough flat space to adjust. A landing area gives room to turn, line up the wheels, and approach confidently.
Include a landing before any ramp segment so tires do not have to roll into a turn while climbing. Keeping the landing level also helps with comfort and reduces the chance of hitting edges.
To personalize, place a small bench or wall feature near the landing so it feels like part of the entrance experience. Budget wisely by focusing on the landing first, since it often brings quick improvements without major demolition.
6. Portable Ramp System for Seasonal or Temporary Access
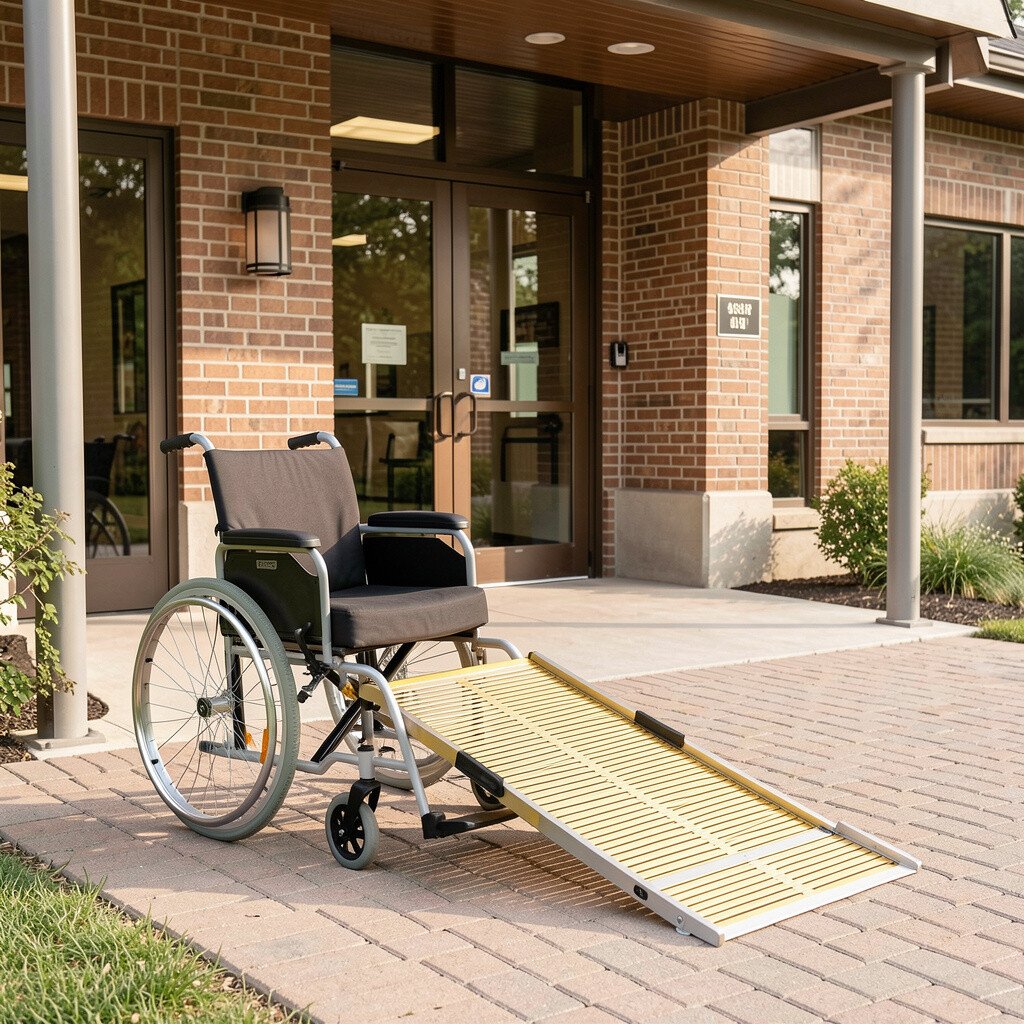
Imagine a neat ramp that can be set up when snow falls or when renovations disrupt access. Portable ramp systems can be stored away and used as needed, keeping the main entrance accessible year-round.
They can be especially useful for older buildings where permanent changes are hard to schedule. Use anti-slip surfaces and sturdy side rails so the ramp stays stable during push and pull.
7. Rearranged Furniture to Keep the Main Route Obvious
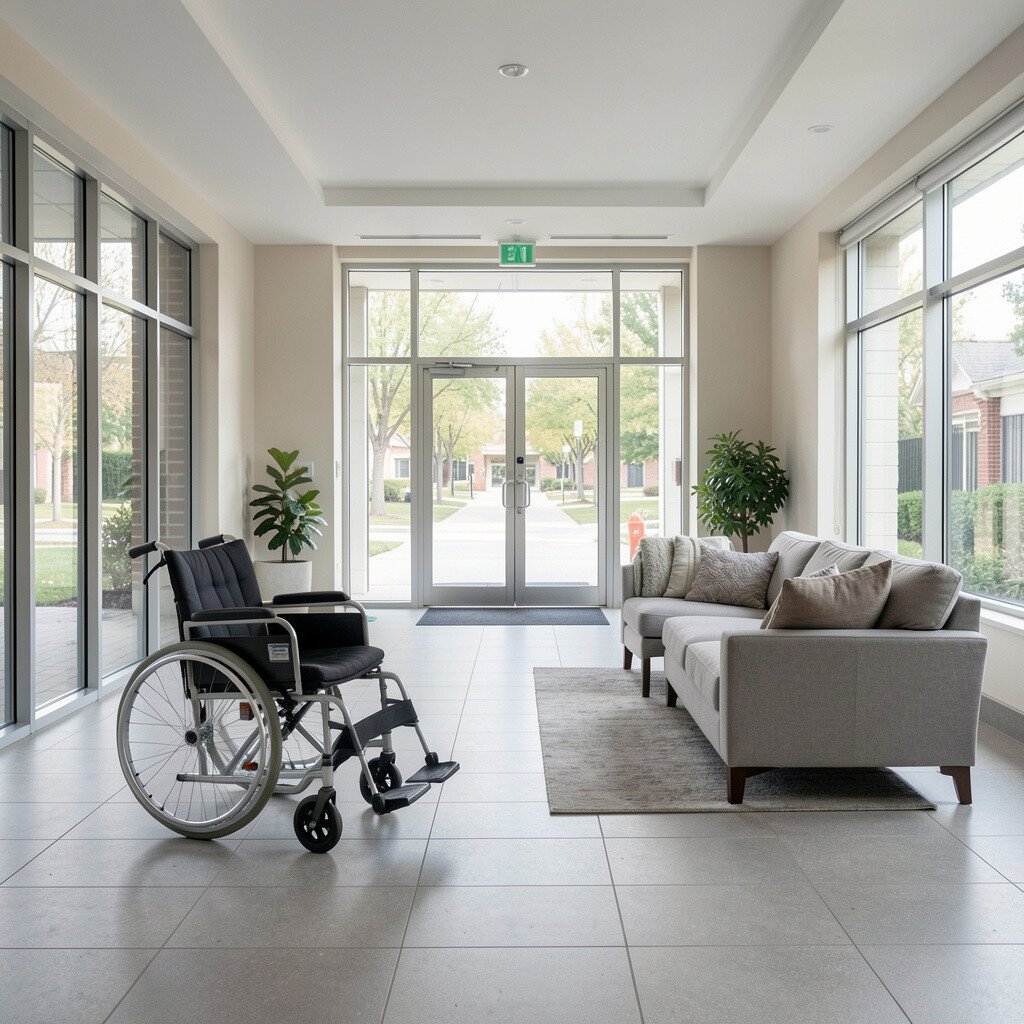
Walk through the entrance in your mind and notice what might block the route. Even a great ramp can feel difficult if chairs, planters, or welcome displays sit along the path.
Clearing a straight line from the door outward helps wheelchair users roll with confidence and helps others avoid bumping into barriers. Choose fewer, larger decorative items rather than many small ones so the route stays visually simple.
For personalization, swap heavy planters for lightweight ones that can be moved during events. If cost is a worry, start with rearranging what you already have and only add hardware or flooring where needed.
8. Grab Bars and Handrails on Both Sides of the Accessible Line

Picture steady rails placed where hands naturally rest while moving up a ramp or across a landing. Well-positioned grab bars and handrails offer confidence and help with balance.
Install rails on both sides when possible and match the finish to the existing decor so they do not look like an afterthought. Smooth, comfortable grips also matter because they change how it feels when someone is guiding themselves or being assisted.
9. Curbless Design With Raised-Planter Mini Barriers Instead
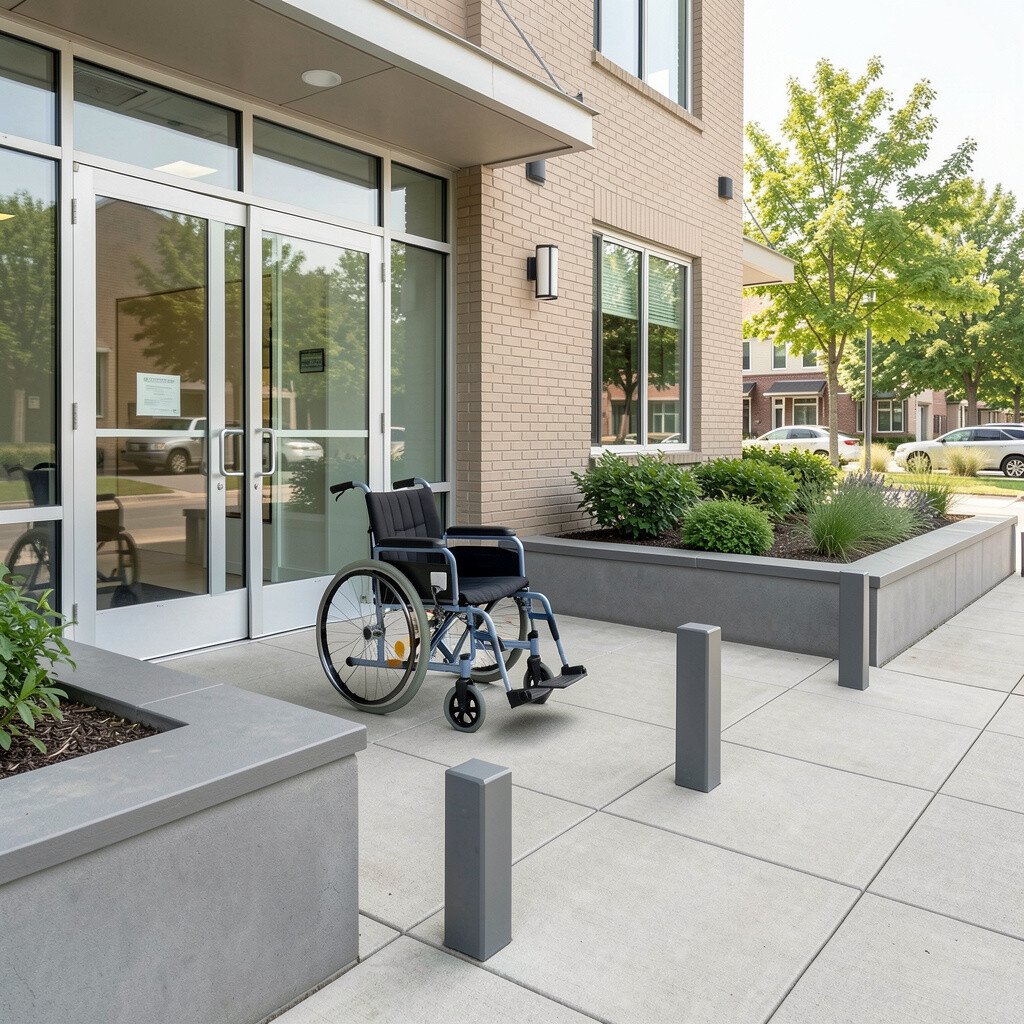
See a main entrance that feels open, with no lip to catch wheels. A curbless transition can create a clean look, but it requires smart planning for drainage and edging.
If you need separation between landscaping and the walkway, use raised planters or slim edging that acts as a visual boundary rather than a height barrier. This keeps the entry visually rich while maintaining easy rolling access.
Personalize with matching stone or brick tones so the design fits the building identity. Consider costs for drainage improvements since a curbless approach may require careful grading to manage water.
10. Outdoor Lighting That Highlights the Wheel Path
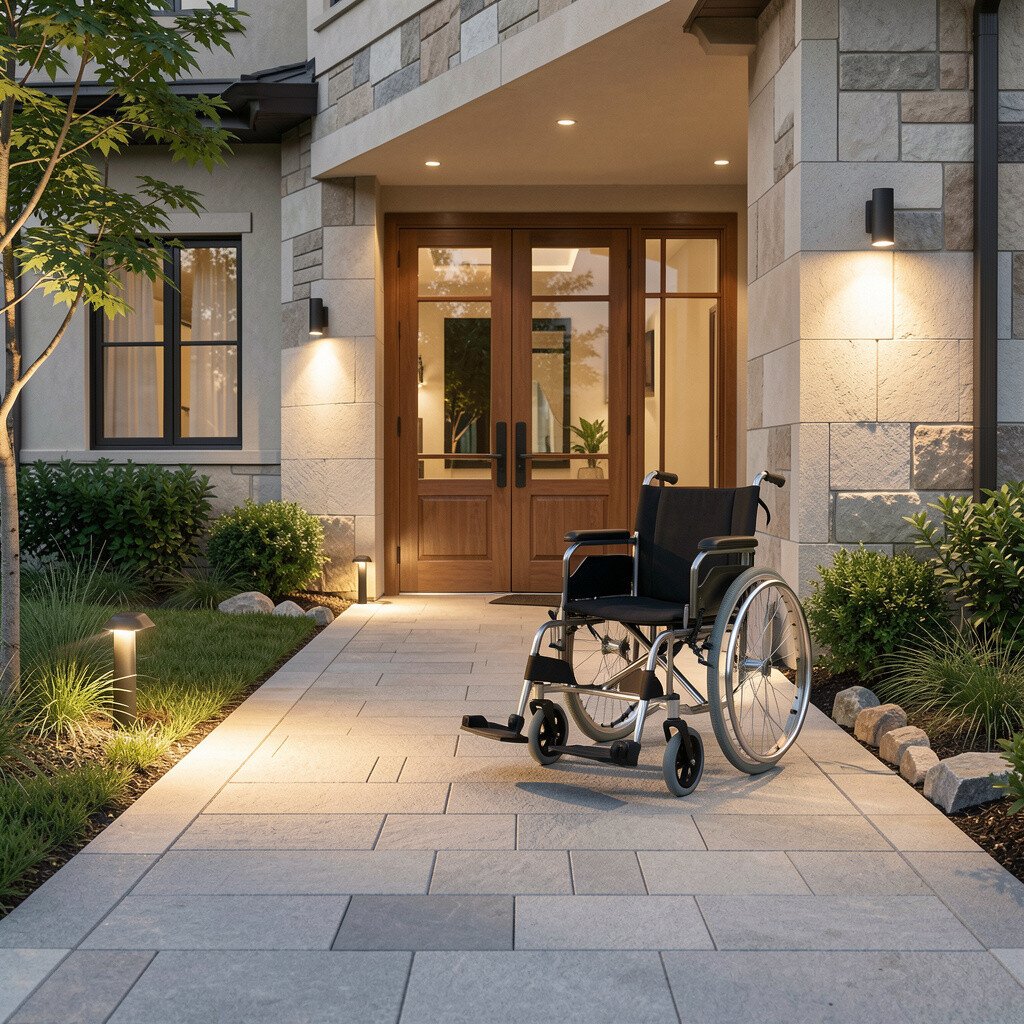
Imagine stepping outside at dusk and seeing a bright, calm path to the door. Lighting that aims toward the wheel route improves visibility and reduces uncertainty on ramps, landings, and textured floors.
Use glare-controlled fixtures so the area looks welcoming instead of harsh. Motion-sensing lights can be a smart trend, since they activate when someone approaches and help conserve energy.
11. Wider Accessible Landing and Welcome Zone for Group Arrival
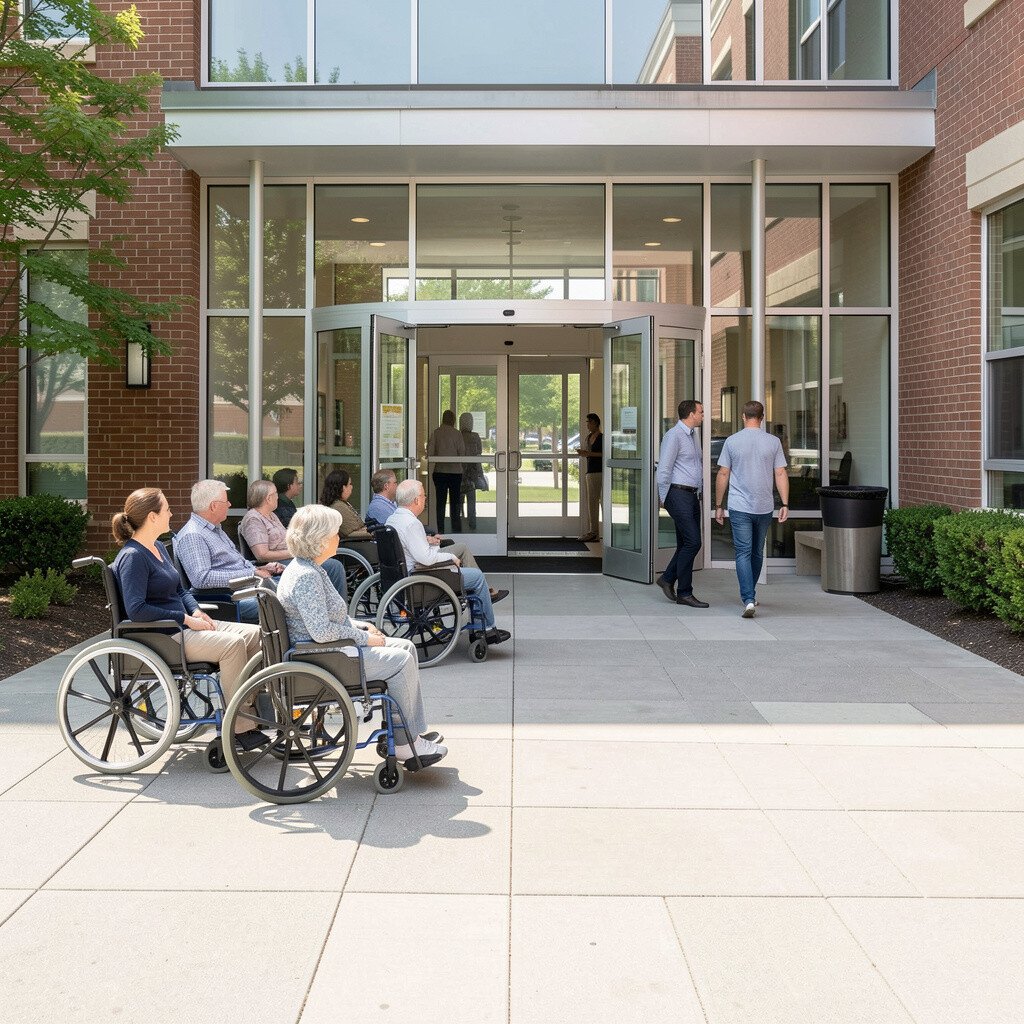
Think about how often people arrive together, with help, bags, or friends ready to assist. A wider welcome zone near the main entrance lets someone pause, adjust, and interact without blocking foot traffic.
Create a space that supports a clear turn and allows space for an assistant to stand safely. Adding a fixed bench in the welcome zone can also help with waiting or getting ready to roll.
To personalize, choose seating colors that match seasonal decor and keep the area tidy with simple signage that does not clutter. For cost, start by defining the zone with durable floor markings and only upgrade seating if you need better comfort.
12. Level Approach From Parking With Ground-Surface Upgrades

Picture the trip from parking to the main entrance feeling smooth and predictable. A level approach reduces the “last hurdle” problem where access breaks down near the door.
Upgrade uneven ground with compacted base, consistent paving, and proper drainage so puddles do not form near the ramp. If the path crosses grass, consider a hard-surface connector that stays stable after rain.
Personalization can be as simple as matching the walkway pattern to other outdoor areas so it feels like one unified design. Costs vary, so prioritize sections that slope or crack first since those often cause the biggest trouble.
13. Automatic Door Opener or Push-Button Activation at the Main Entrance
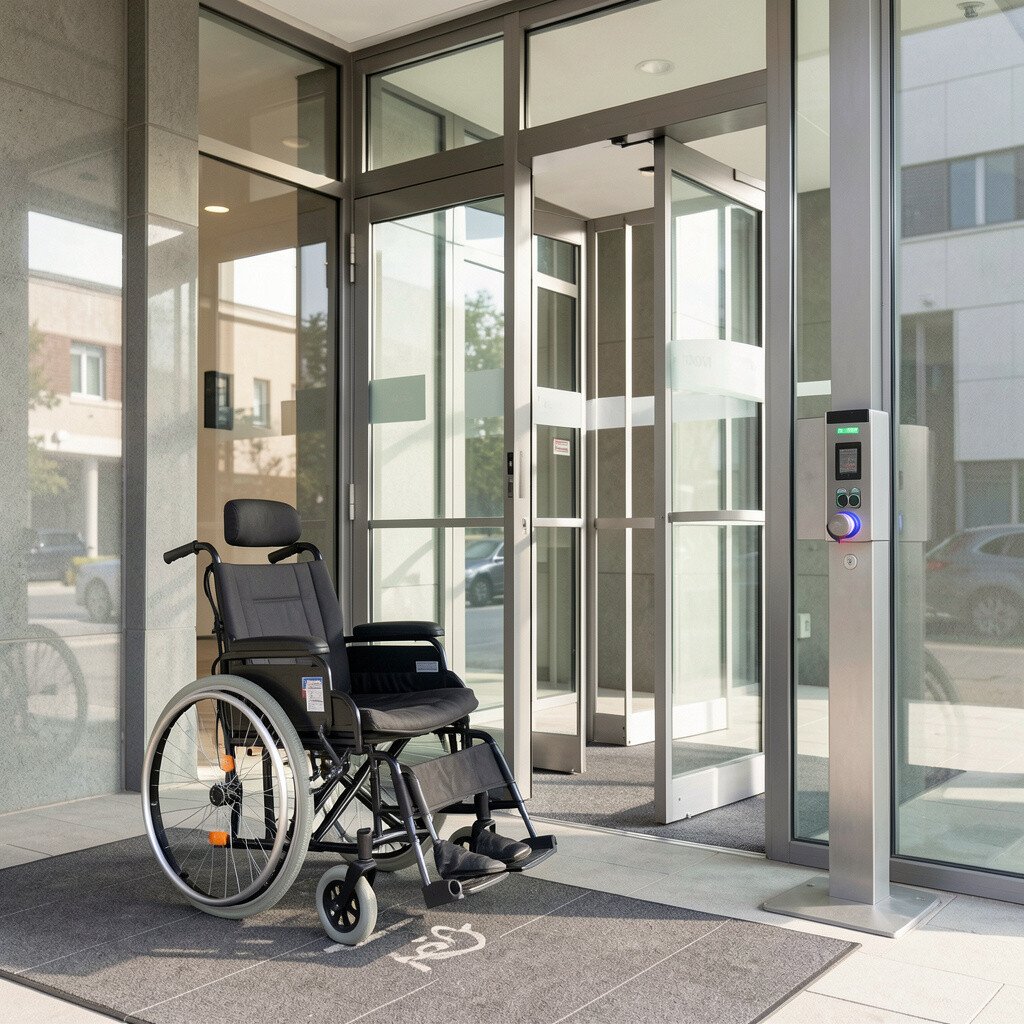
Imagine arriving and pressing a button that opens the door with a smooth, quiet motion. Automatic door openers and push-button activation can greatly reduce effort for wheelchair users at busy entrances.
Set the button at an accessible height and place it near the path so someone does not have to reach across a tight area. Many current designs also include sensors that open doors when someone is near, which can feel very natural at the start of a trip.
14. Smart Signage and Floor Marking for a Single Clear Route

See how easy it is to follow when the entrance has one obvious line to follow. Floor markings paired with clear, simple signage can guide wheelchair users to the accessible route without confusion.
Use high-contrast markings that look clean in daylight and remain visible at night. Keep text short and place symbols where someone can spot them while seated rather than only at standing eye level.
For personalization, match the graphic style to your building branding so it feels welcoming and modern. If you want to control cost, start with floor decals and a few signs before investing in larger redesigns.
15. Spring-Loaded or Powered Entry Assist for Heavy Main Doors
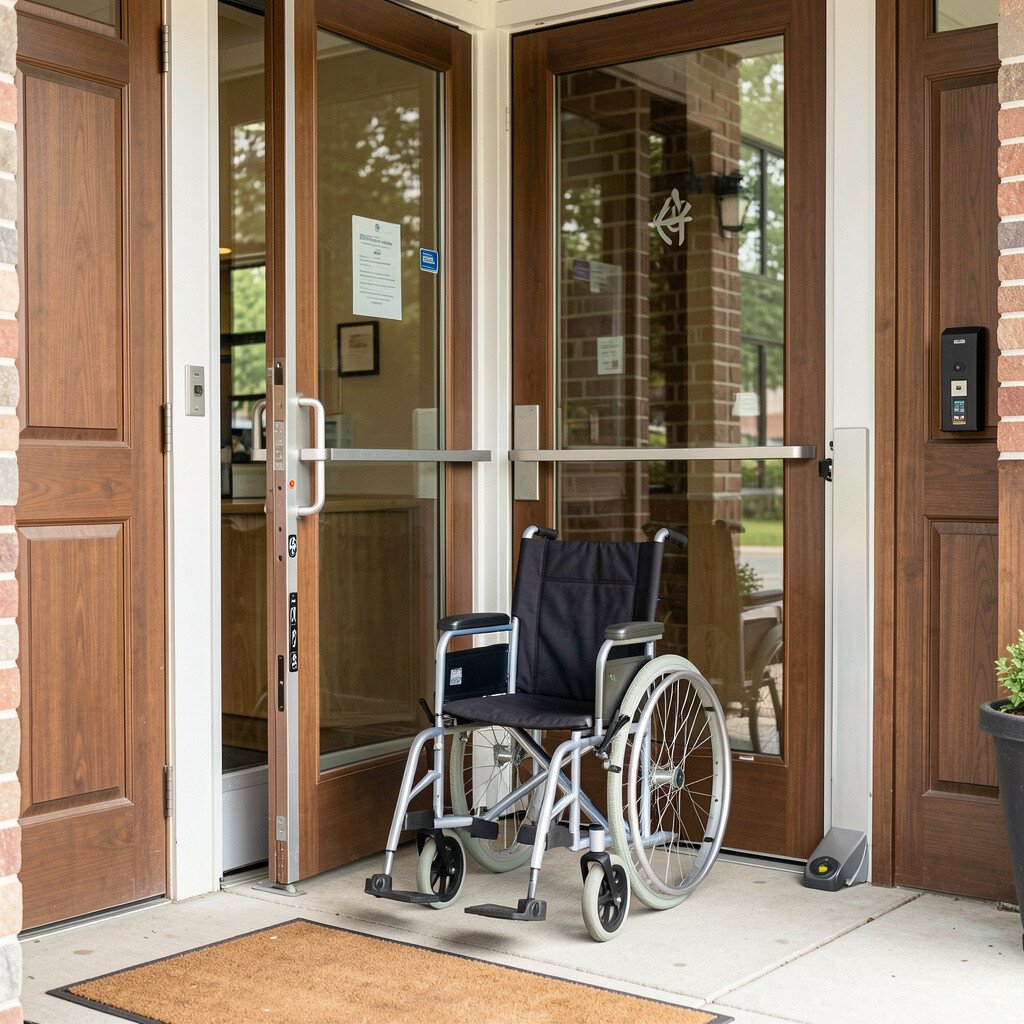
Picture a heavy main door that still feels easy to manage, even with limited strength or fatigue. Entry assist systems can help doors swing or open with less push, supporting smooth arrival for wheelchair users.
Spring-loaded mechanisms can reduce force needs, while powered systems can handle larger entrances with consistent performance. Choose systems that maintain safe speed and include features that prevent sudden movement.
Uniqueness shows up when the assist hardware looks integrated, like it belongs with the door. Consider cost based on door weight, frequency of use, and whether the building already has power access near the entry.
16. Ramp With Side Curbing and Raised Edging for Tire Guidance
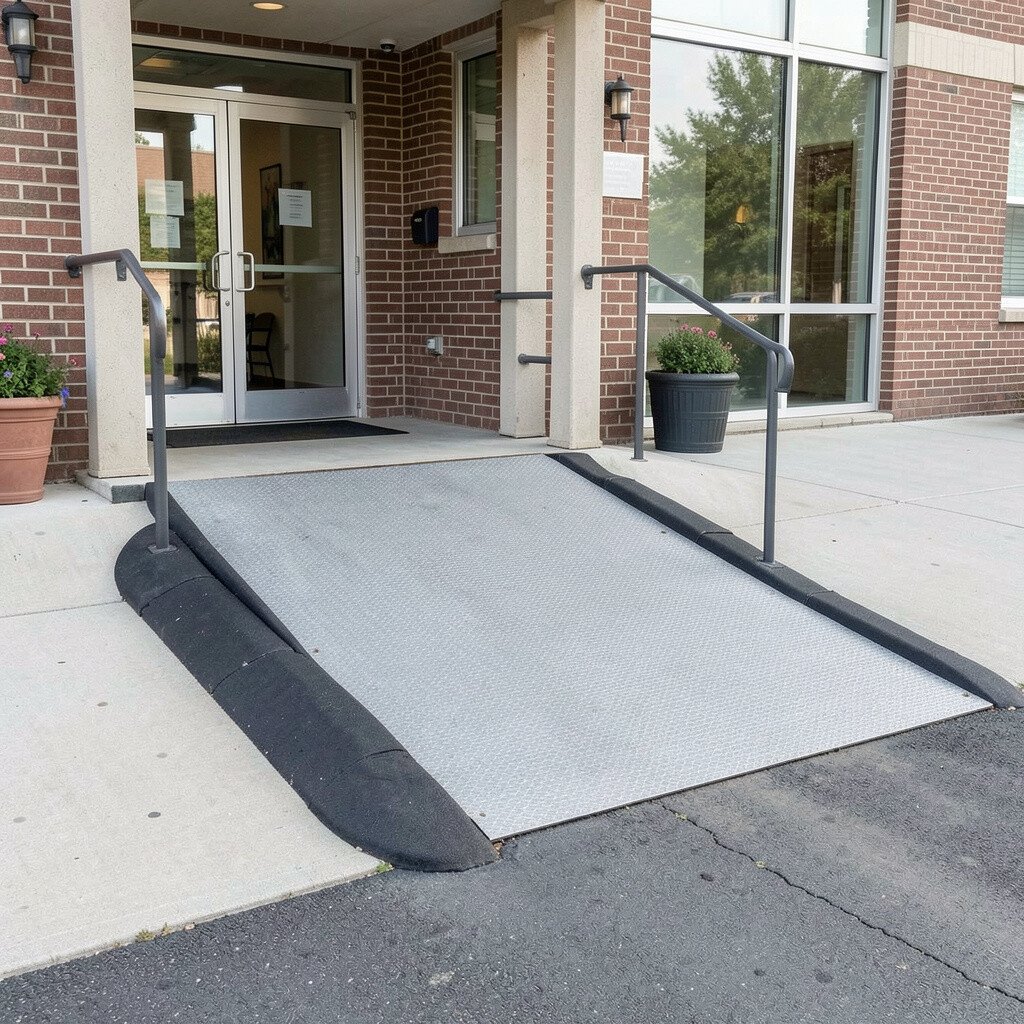
Imagine rolling up a ramp where the tires feel gently guided by raised edges on both sides. Side curbing and raised edging can act like a safety rail, helping prevent wheels from drifting toward the border.
This design improves stability during pushes and can also reduce scuffing on ramp edges. Make sure the edging is smooth and consistent so it does not create snag points for small wheels or casters.
17. Seating-Adjacent Waiting Spot That Works for Wheelchair Users
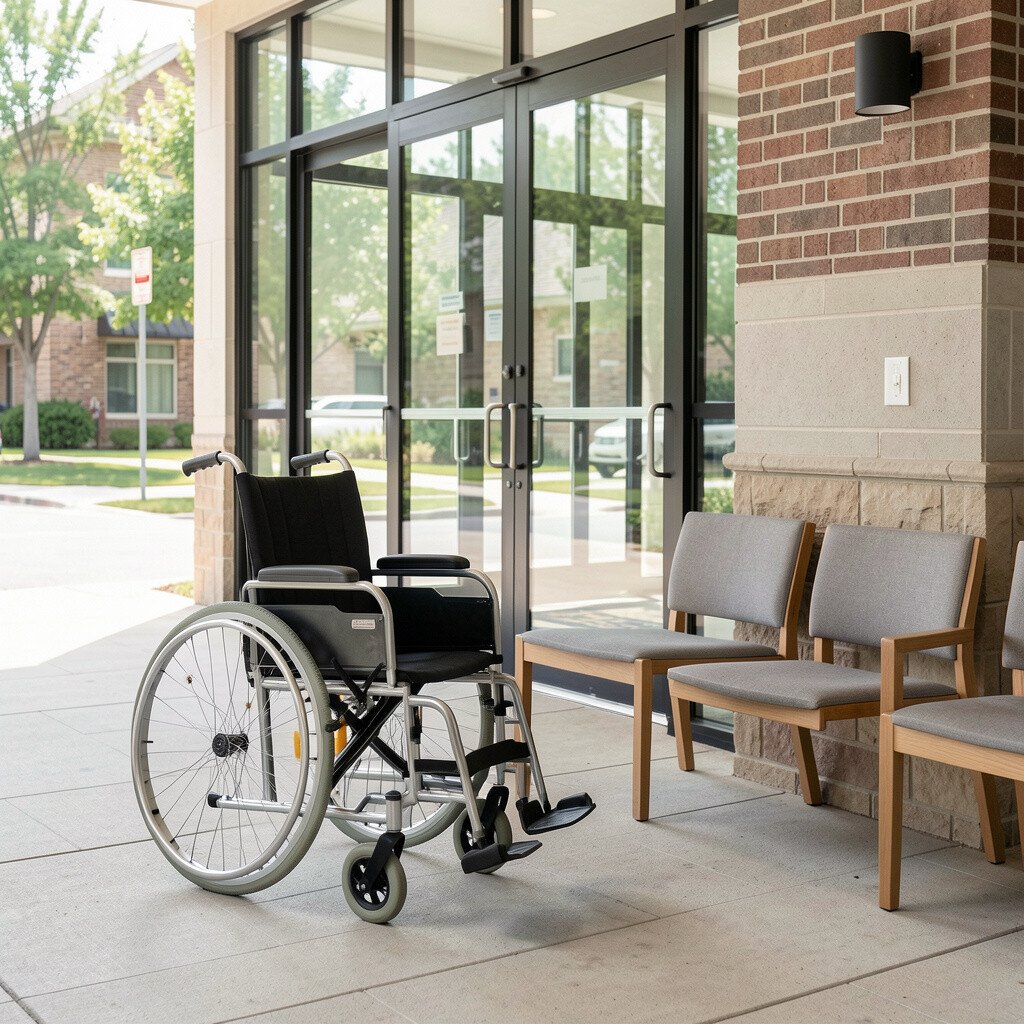
Picture a waiting area near the main entrance that includes space for a wheelchair to park comfortably. When people can pause nearby, it reduces pressure and makes assistance easier.
Choose seating with arm-friendly access and leave a clear area beside it so someone can roll in without needing to maneuver around chairs. This also helps visitors who are waiting for an attendant, a ride, or a door opening.
Personalization can come through art, plants, or a small water feature that fits your style. When budgeting, prioritize floor clearance and stable surfaces first, then add comfort elements that match your community needs.
18. Convert an Existing Step to a Ramp Stair Hybrid That Feels Seamless
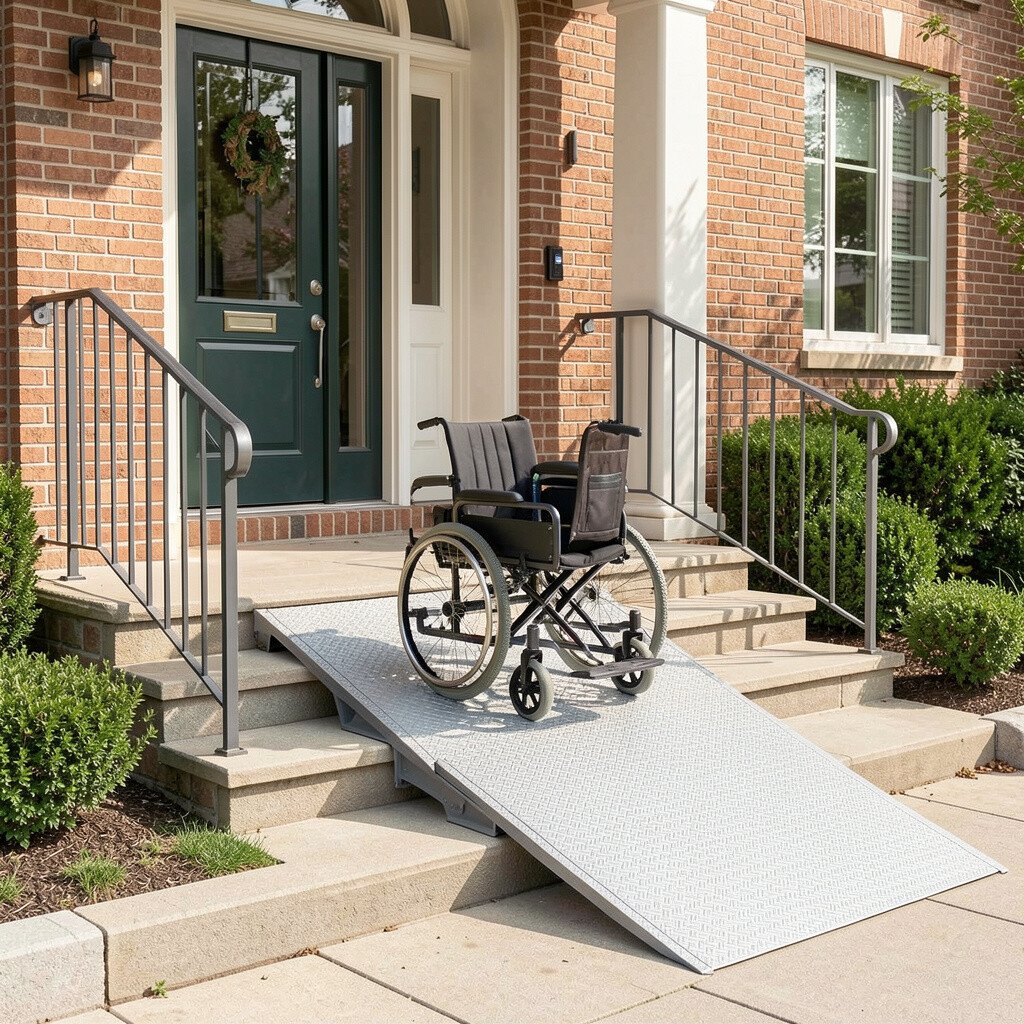
Imagine keeping the character of the original entrance while making it easier to use. A ramp-stair hybrid can use the existing structure but rework the step area so wheelchair access becomes part of the same design line.
This approach can be visually pleasing because it preserves the look of the entrance while upgrading function. A gradual ramp next to the steps often feels familiar to staff and visitors, which can improve day-to-day usage.
To make it unique, use matching finishes for railings and ramp surfaces so the hybrid feels intentionally designed. For cost considerations, evaluate structural feasibility early, since some hybrid retrofits depend on the space beside the stairs.
19. Create a Smooth “Rampside” Route That Connects to the Main Entrance Hall

Think beyond the ramp itself and picture the full journey inside the building. A rampside route connects the accessible entrance to hallways, elevators, or service desks so movement remains smooth after the door opens.
Ensure turns are wide enough, floors are consistent in height, and transitions between materials are gradual. Many modern facilities plan these routes as part of their overall accessibility goals, which helps wheelchair users navigate without stopping to ask for directions.
Personalize the experience with clear lighting, comfortable colors, and minimal clutter so the route feels calm. If you want to keep costs down, start by fixing the hardest transition near the doorway and then build outward along the route over time.