There’s something special about a sunny corner that feels made just for you. With a few simple skills and everyday materials, a window nook can become your favorite spot in the home.
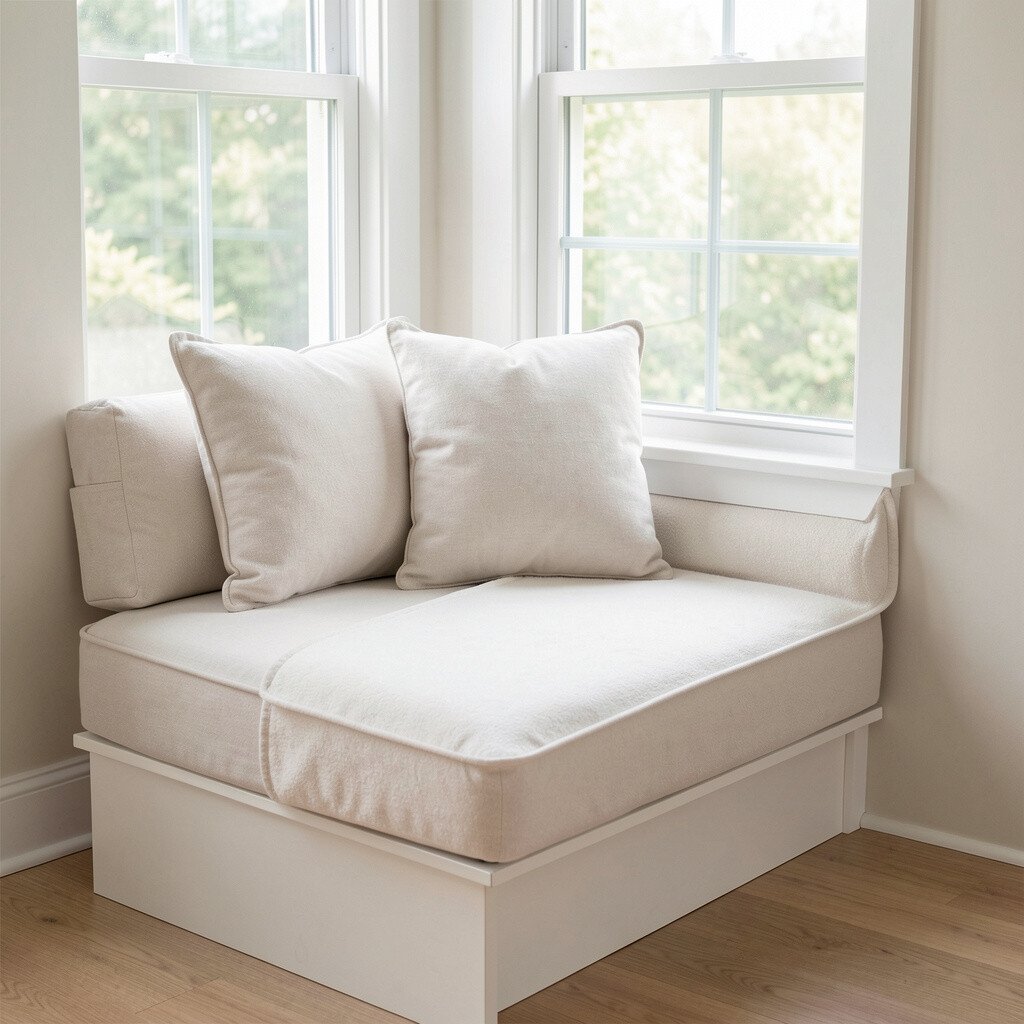
A window nook can look instantly inviting when you add a comfy cushion. Measure your window ledge, then build a simple base from plywood or thick foam sheets so it sits level and snug.
Choose a fabric you love because it sets the mood right away. For a clean, fresh feel, sew or buy removable covers with zippers so you can wash them when life gets messy. Add a few non-slip strips underneath to keep everything from sliding when someone leans in to read.
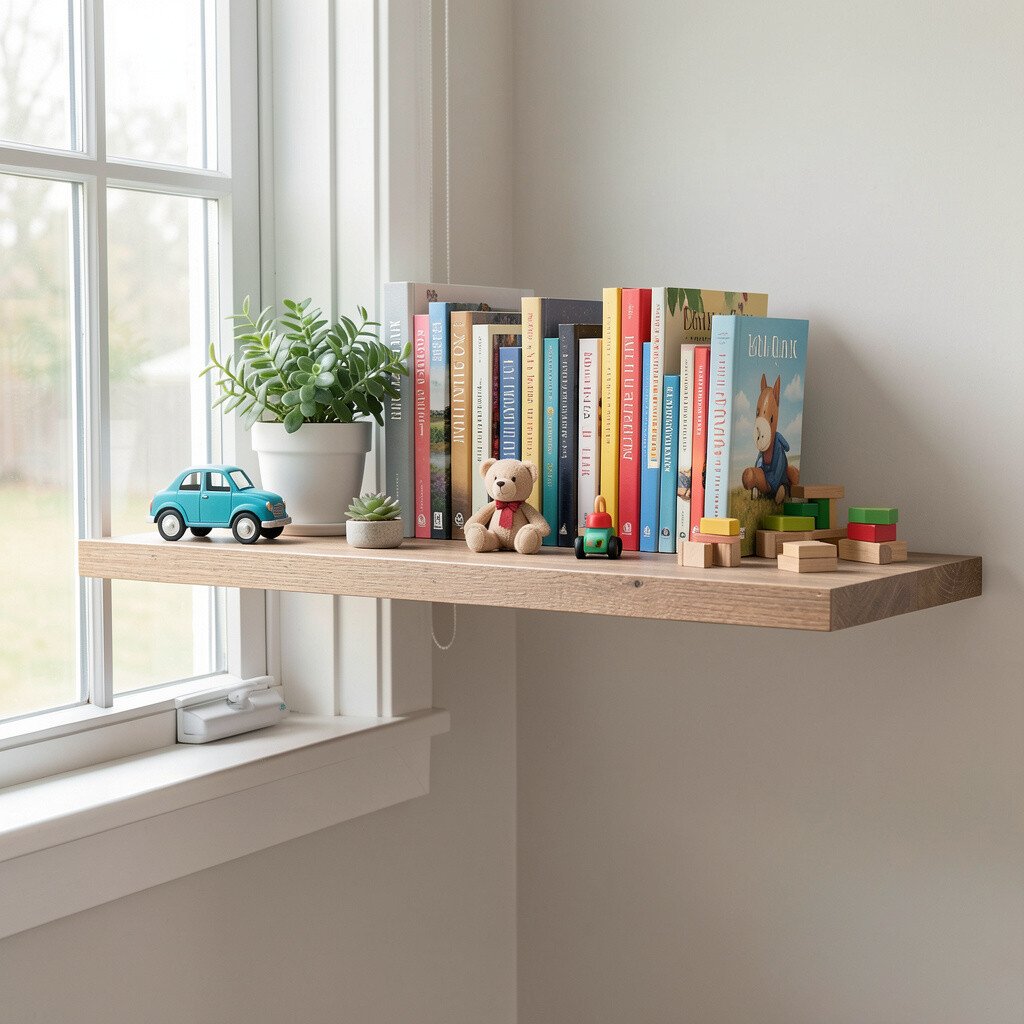
2. Floating Shelf Ledge for Books, Plants, and Little Toys
Floating Shelf Ledge for Books, Plants, and Little Toys
If your window nook feels empty, a floating shelf can fill the space without blocking light. Pick a shelf length that matches your window width, then use a stud finder and sturdy wall anchors for safety.
Style it with a short row of books stacked like colorful blocks, then tuck in a small plant pot near the brightest side. A trailing plant looks extra cute here because it spills gently downward and makes the whole nook feel alive. Keep a small tray for glasses, remote controls, or charging cords so the area stays tidy.
For cost control, shop for shelves at home centers and pair them with inexpensive brackets in a finish that matches your hardware. If you want a trendier look, try mixing materials by pairing a light wood shelf with matte black metal brackets. Use a slightly thicker shelf board if you plan to place heavier items like ceramic planters.
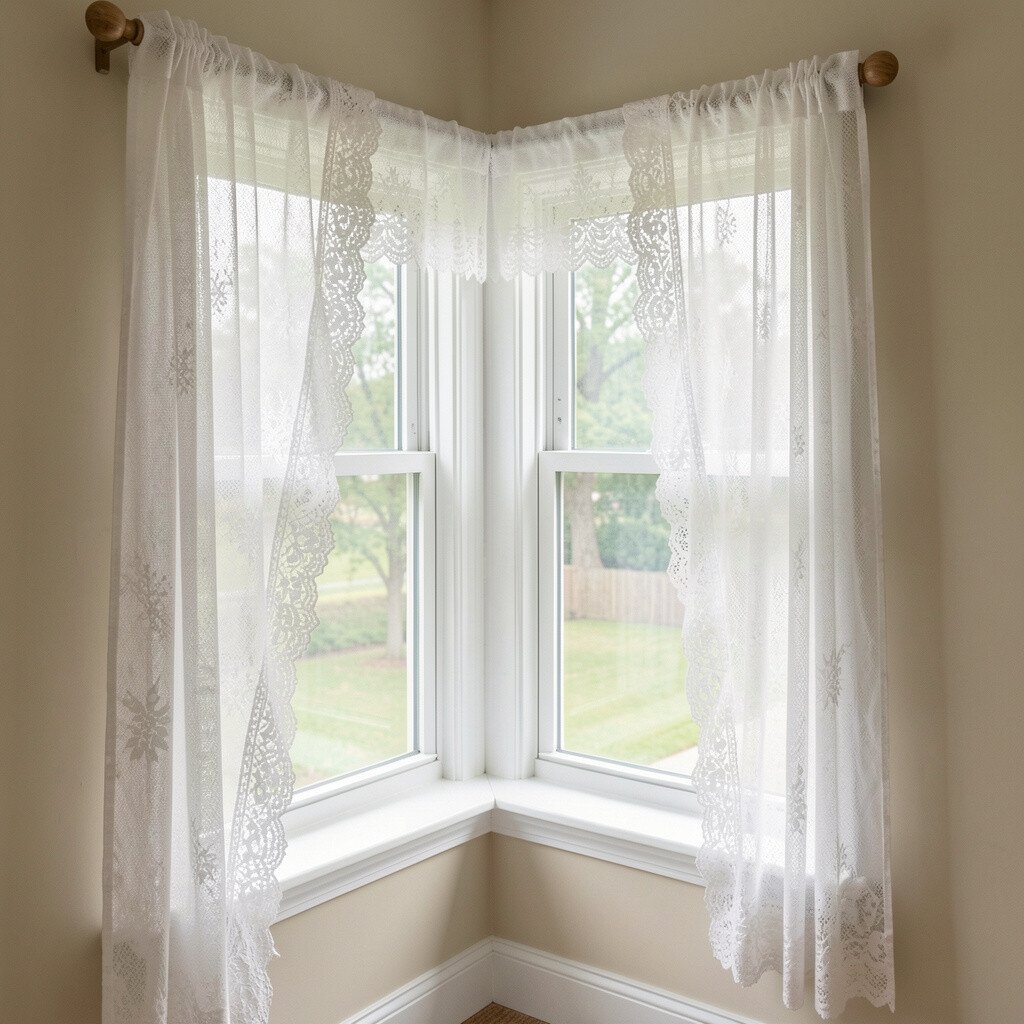
3. Lace-Edge Curtain Panel That Frames the View
Lace-Edge Curtain Panel That Frames the View
A window nook looks softer when you add a curtain panel that feels light and airy. Choose a sheer lace or textured fabric, then hang it on a simple tension rod or a small track.
Let the panel fall to just below the sill so your nook stays bright. Add tiebacks in a matching fabric so you can open the window fully and still keep the look neat. For personalization, stencil tiny shapes on the hem or sew on a thin ribbon trim.
If you rent, select clip-on rings or a tension setup that leaves minimal marks. This small change offers big benefits, since it softens harsh sunlight and makes the corner feel cozy instead of bare. Wash and iron occasionally so the fabric keeps its crisp, pretty edge.
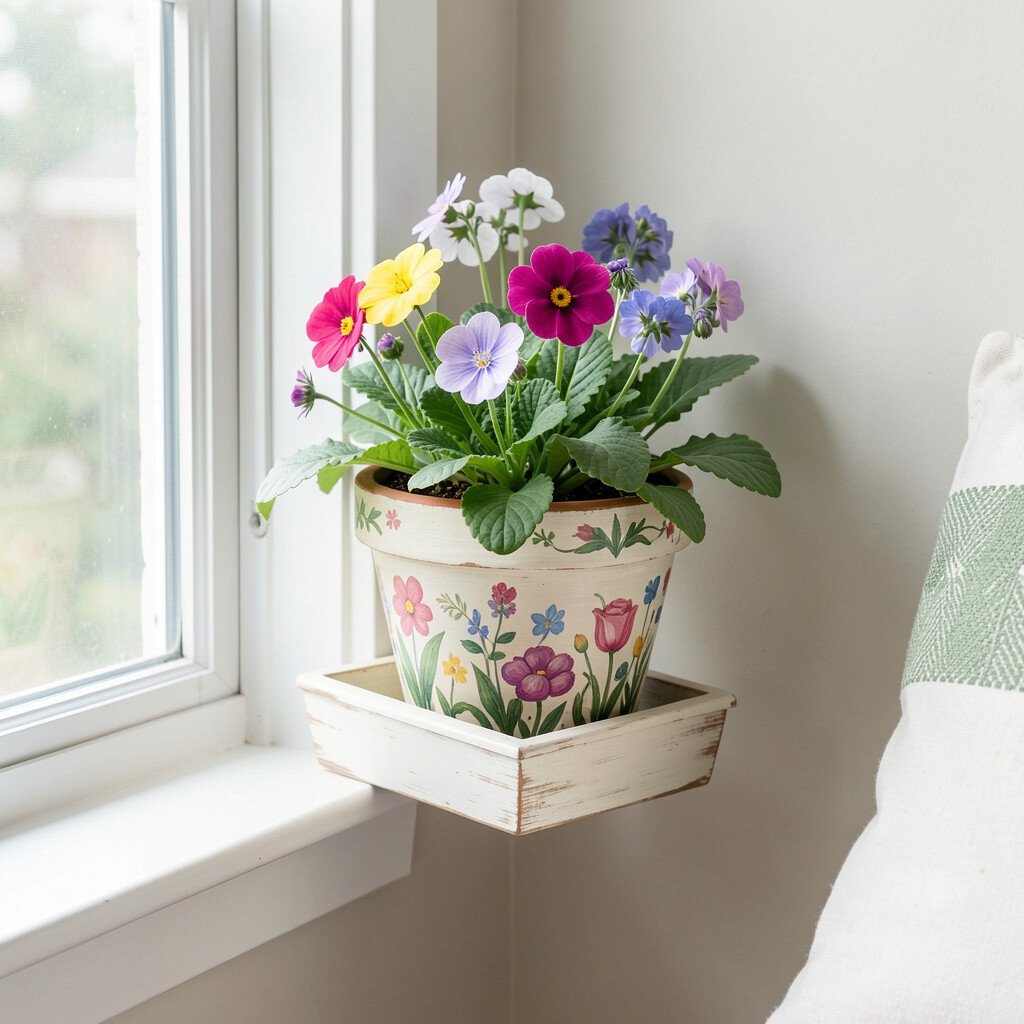
4. Painted Flower Pot Display With a Mini Catch Tray
Painted Flower Pot Display With a Mini Catch Tray
Turn plain window planters into a cheerful display with a little paint and a smart base. Use a tray that fits under the pots so spills don’t stain your sill or wood trim.
Pick a color theme that matches your room, like pastel petals, ocean blues, or bold modern stripes. Paint with outdoor-safe craft paint and seal it when the pots are dry so the finish lasts longer. Add labels for herbs or small notes, and your nook will feel both decorative and useful.
5. Reading Hammock Chair Seat Inspired by Window Light
Reading Hammock Chair Seat Inspired by Window Light
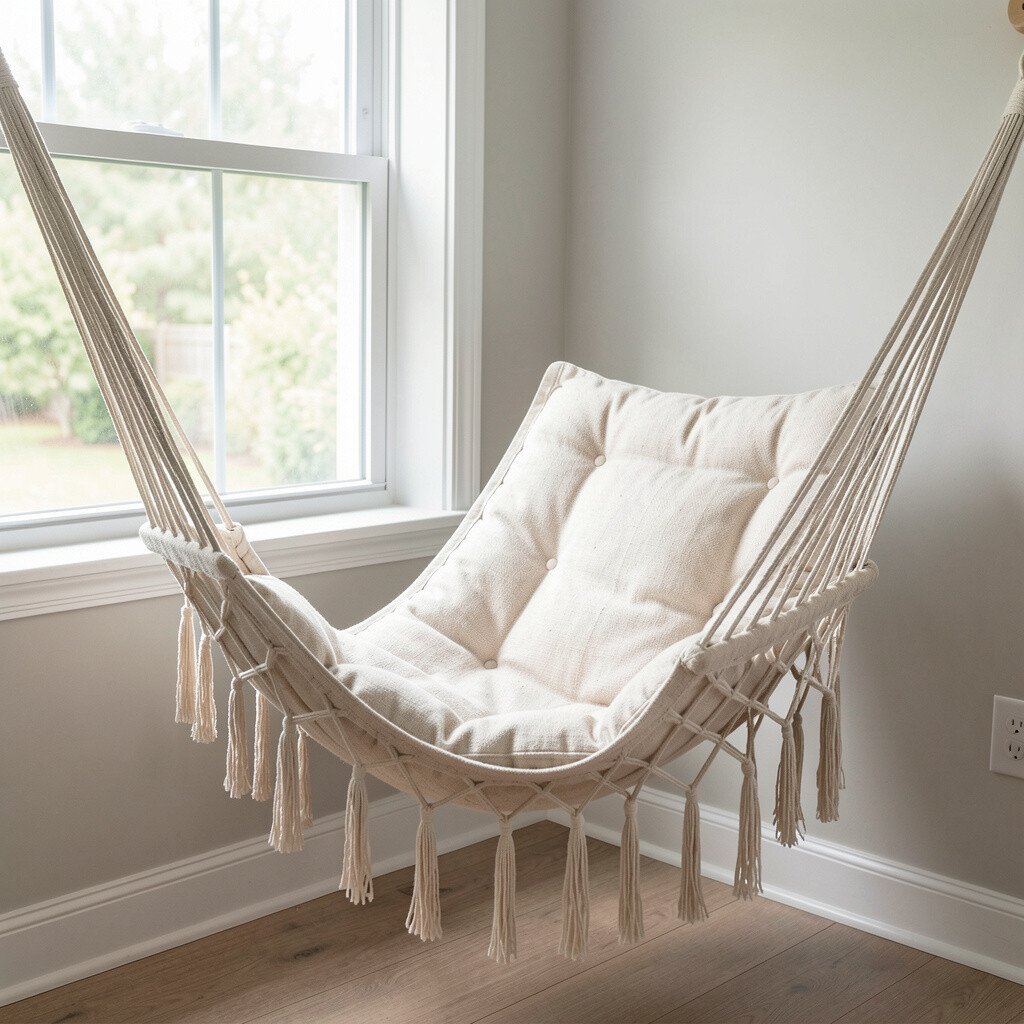
A window nook can become your favorite reading spot with a hammock-style chair seat. Start with a sturdy frame kit or repurpose strong hanging brackets, then add soft fabric panels sized for comfort and support.
Choose a breathable fabric so it feels cool in warm months. When you hang it, aim for a slight angle toward the light, so you get a gentle glow while you relax.
To personalize, stitch on a small pocket for books and keep a lightweight throw nearby. This project is unique because it uses the window’s warmth like a natural spotlight. Budget-friendly options include using thick canvas remnants and hardware you already own.
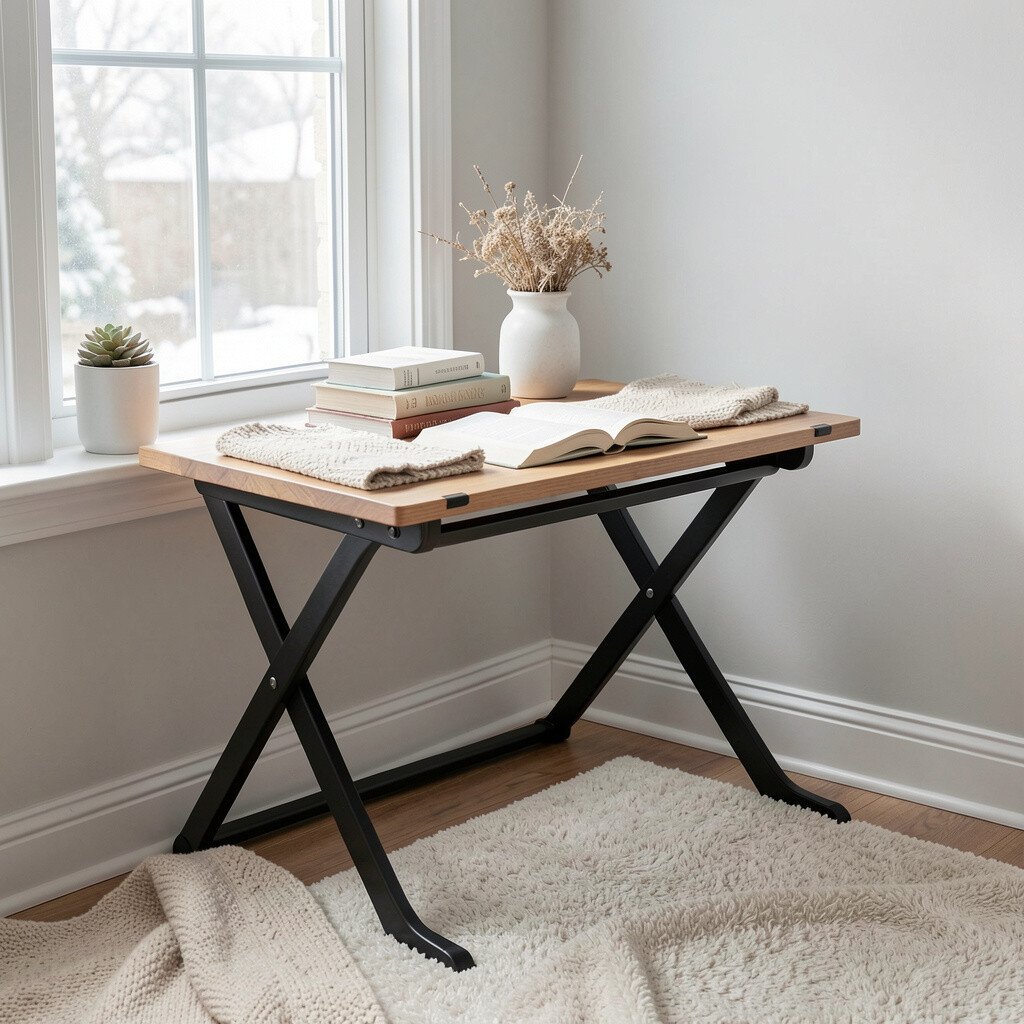
6. DIY Window Nook Corner Desk With a Lift-Up Surface
DIY Window Nook Corner Desk With a Lift-Up Surface
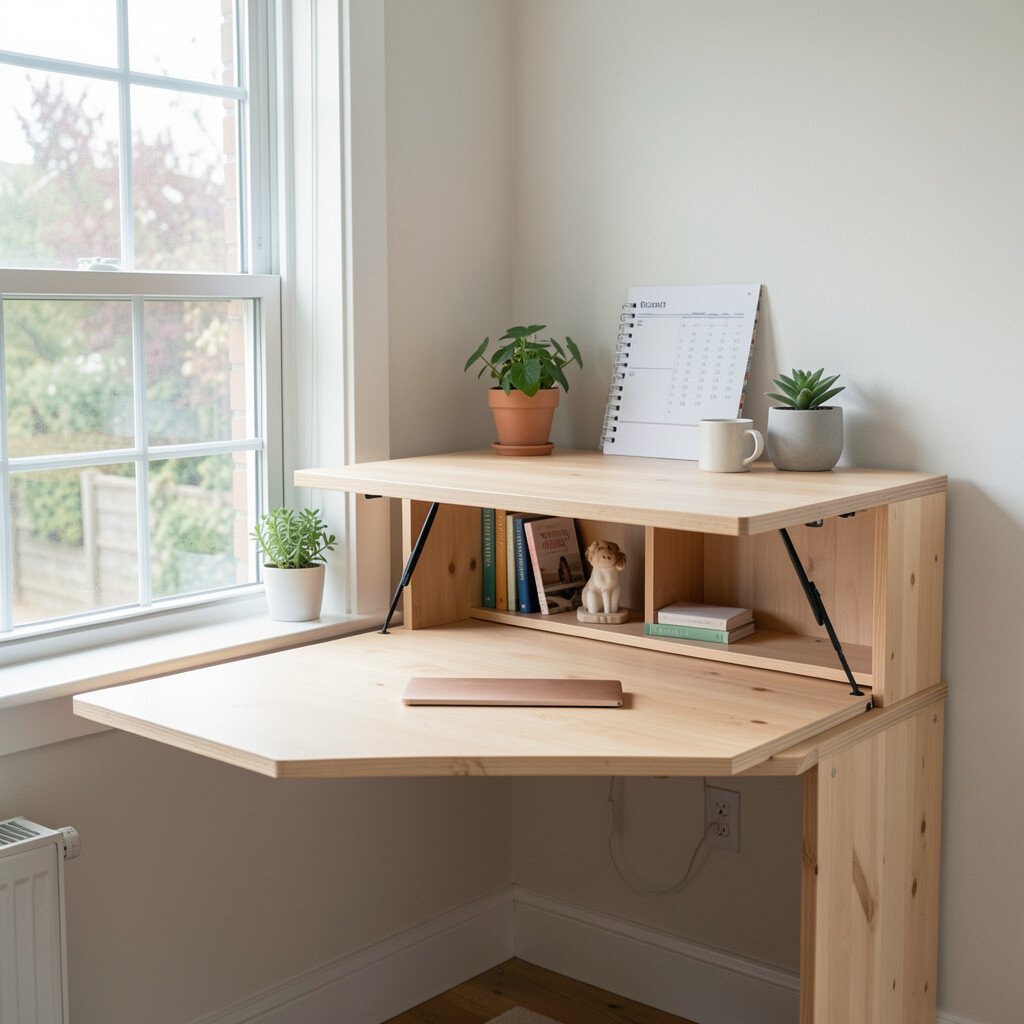
If you need a place for bills, sketches, or laptop time, create a desk that stays out of the way. Build a slim cabinet base that fits the nook footprint, then add a lift-up top using simple hinges.
Paint the cabinet the same color as your wall to make it look built-in. Add a small cable hole and a hidden power strip inside so cords stay invisible.
For practical use, install a peg rail on the underside of the lift-up lid so pens and sticky notes have a home. Choose a stain or durable seal for the tabletop so it handles daily touches. A lift-up design is trending because it keeps clutter from piling up while still giving you full function.
7. Pebble and Tile Sill Mat for Warmth and Sound Control
Pebble and Tile Sill Mat for Warmth and Sound Control
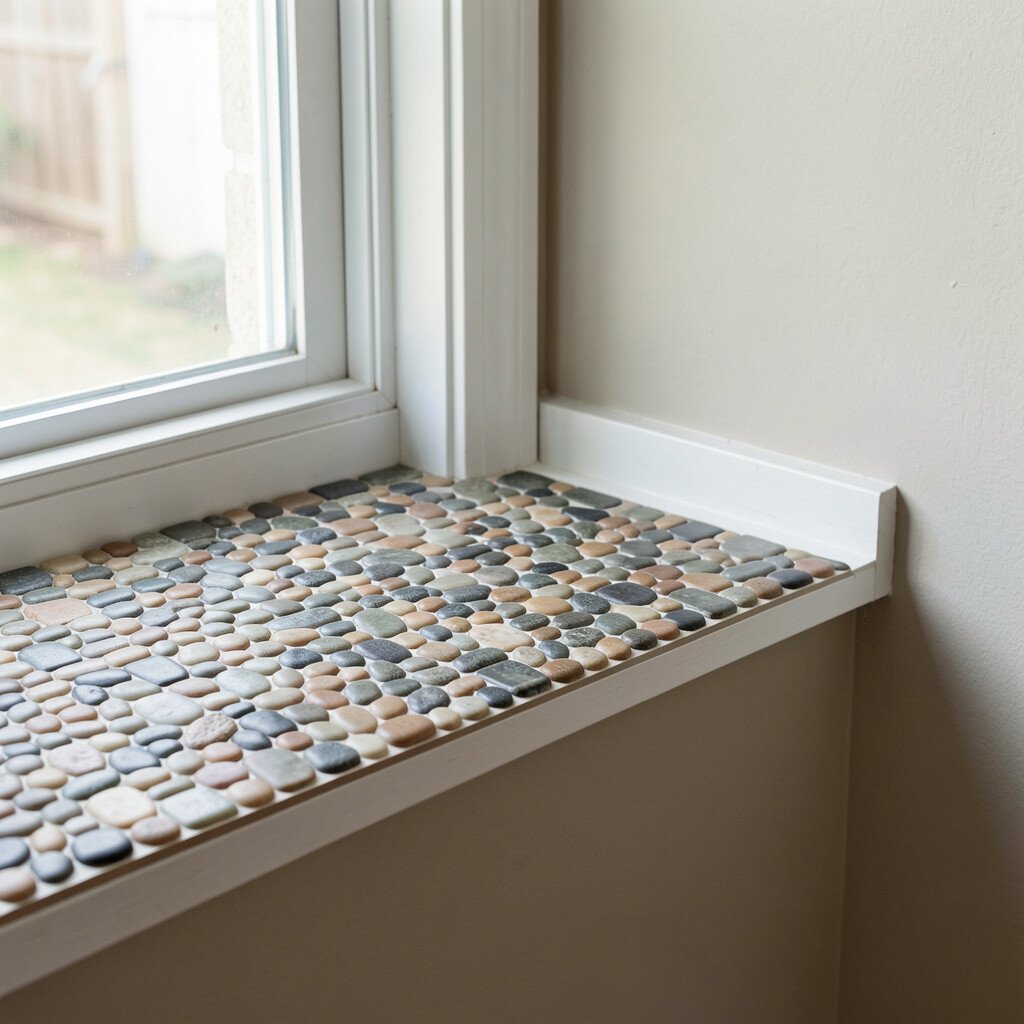
A bare windowsill can feel cold, and it can also echo footsteps or create a drummy sound under items. Make a sill mat using small tiles or pebbles set into a flexible backing.
Use a non-slip base so it stays put even when you place glasses, planters, or a lamp on top. The textured surface is easy on small feet and helps protect wood from scratches.
When you personalize, grout color can match your decor, and you can add a border in a contrasting shade. This project is unique because it turns a utility area into a mini design moment. Keep cost low by using leftover tile bits or craft pebbles from clearance racks.
8. Sun-Clip Window Fan Organizer for Papers and Stationery
Sun-Clip Window Fan Organizer for Papers and Stationery
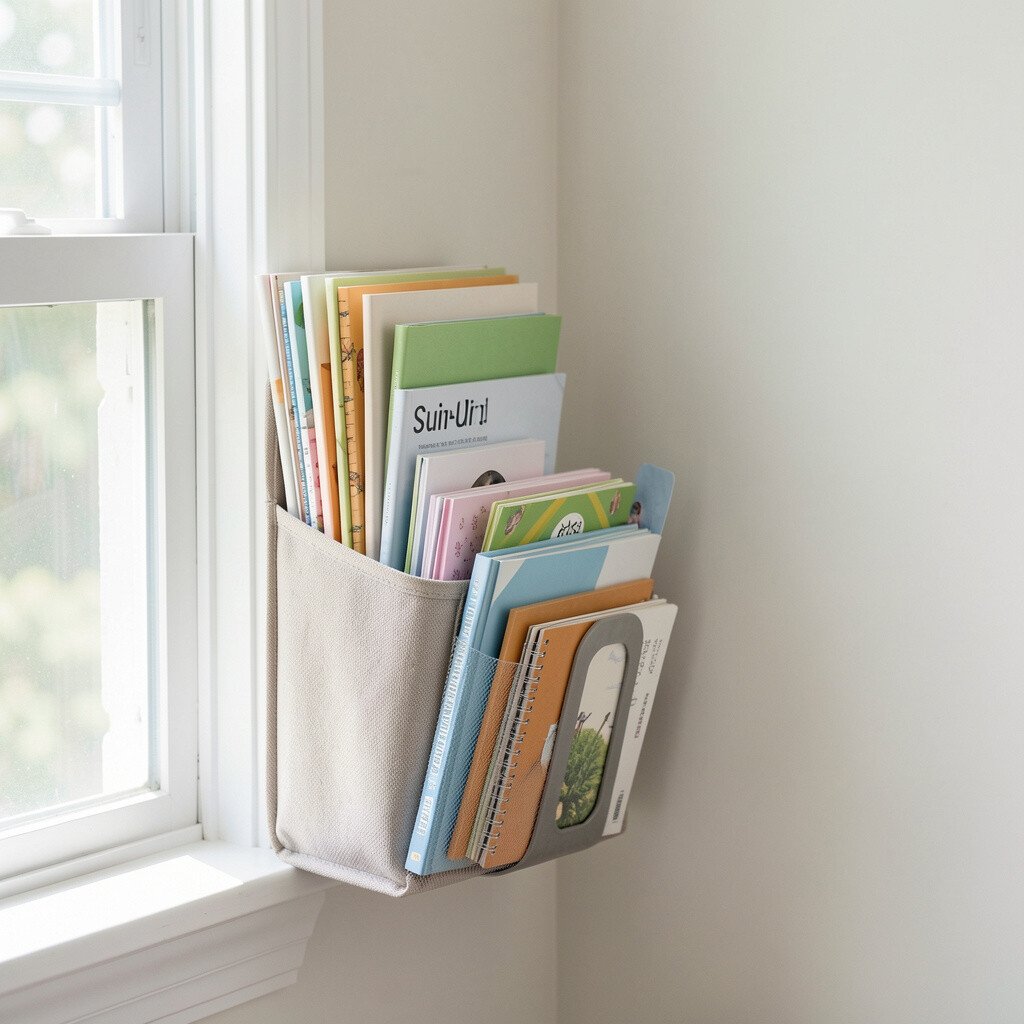
If your nook holds mail or craft supplies, a neat organizer makes a huge difference. Create a slim insert that clips onto the window ledge area, then add compartments for envelopes, stamps, and scissors.
Choose foam board or thin plywood for the compartments, and cover with fabric or contact paper for a soft finish. Add a small divider for postcards so they don’t slide into each other.
For personalization, paint tiny icons on each section, like hearts for cards and stars for notes. Keep it practical by using labels on the inside edges so the front stays clean and pretty. This kind of ledge organization is trending because it keeps desktop clutter off the counter.
9. Stenciled Window Ledge Backdrop for a Gallery Look
Stenciled Window Ledge Backdrop for a Gallery Look
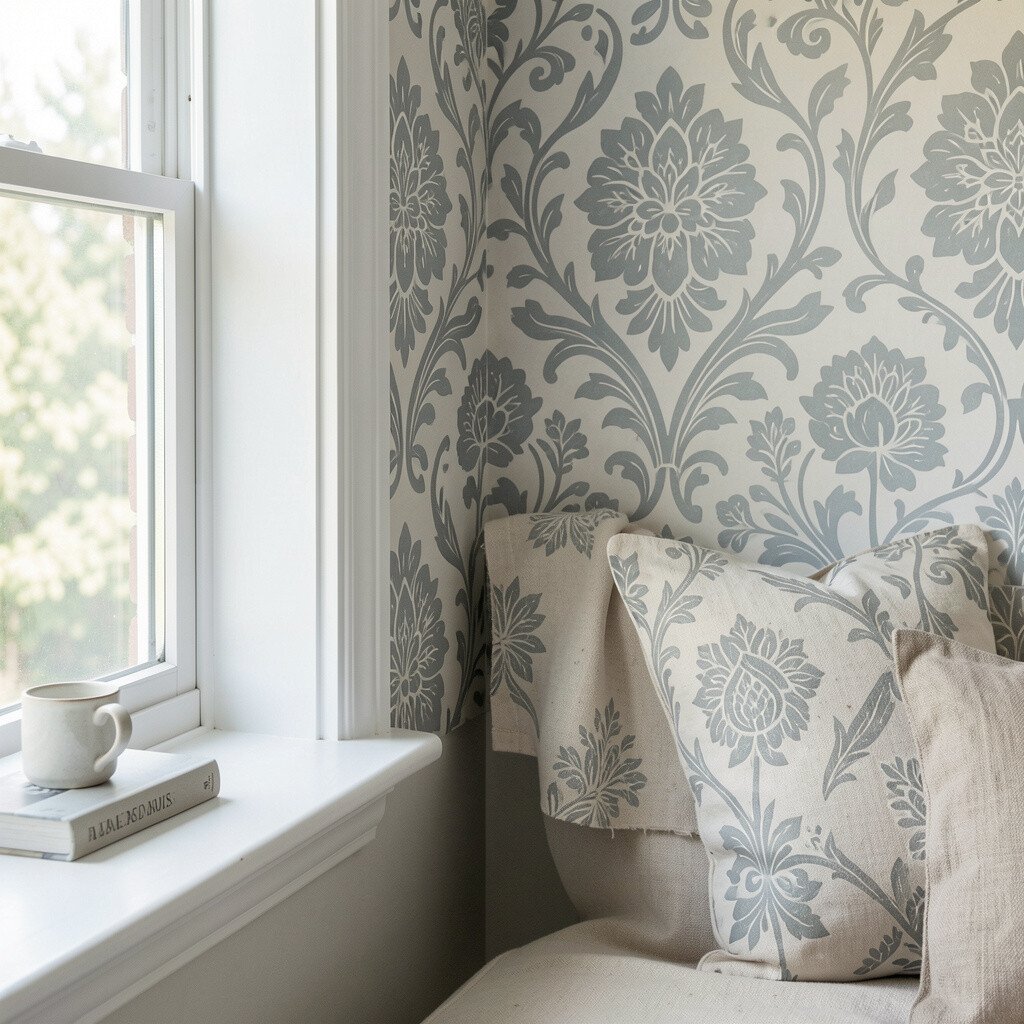
A little backdrop can make a window nook feel like a themed gallery. Paint or apply removable wallpaper behind the sill area, then stencil a pattern around the edges.
Try simple shapes like tiny stars, sun rays, or soft botanicals so the look stays playful. Use painter’s tape to keep lines sharp, and let each layer dry before removing tape.
For personalization, choose stencil colors that match your curtains and cushions. This project helps because it adds depth even when the nook is just a few objects. Keep it budget-friendly with temporary wallpaper panels and a basic stencil kit.
When you style, limit the number of items so the backdrop can shine. Swap in seasonal decor, like fall leaves, holiday snowflakes, or spring florals, for an always-fresh feel.
10. DIY Draft-Blocking Window Pillow With Velcro Panels
DIY Draft-Blocking Window Pillow With Velcro Panels
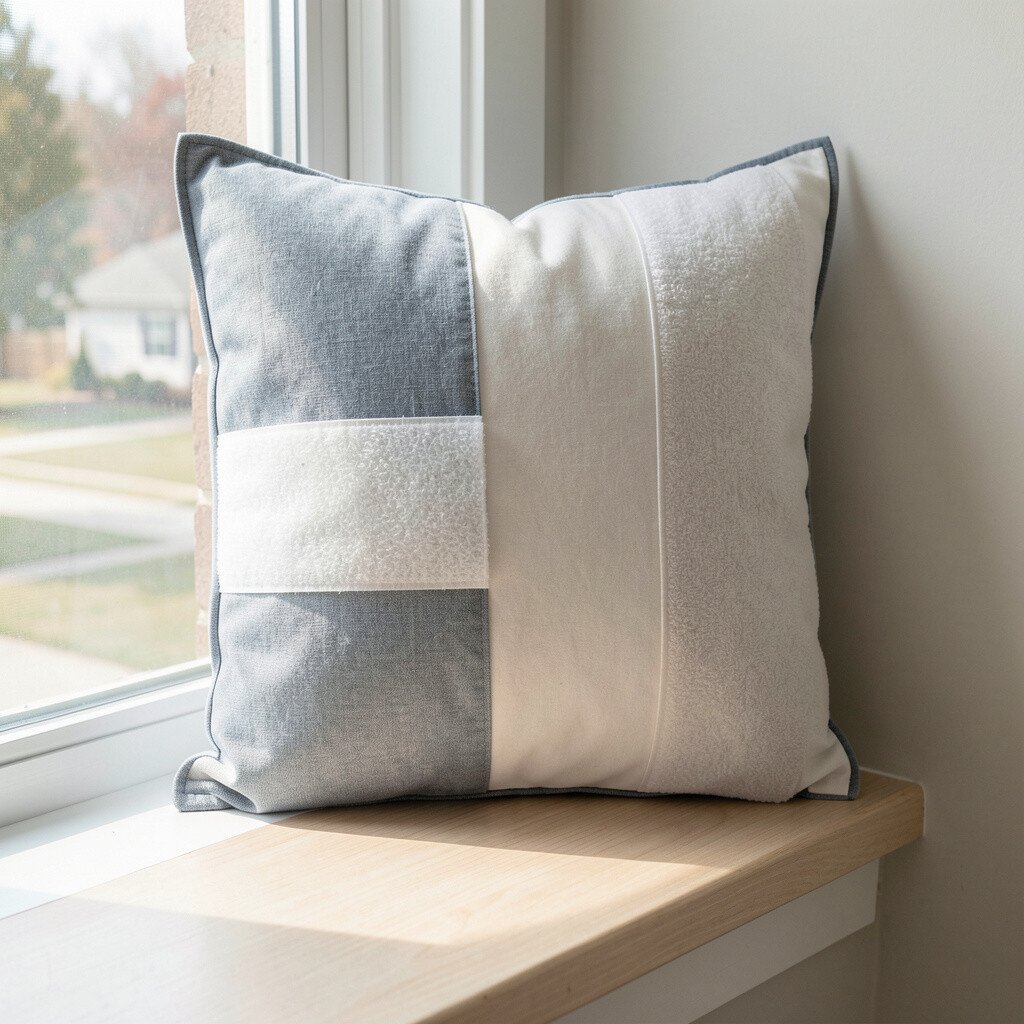
Drafty windows can make a nook feel uncomfortable, even when the decor is cute. Add a draft-blocking pillow using foam inserts and fabric that matches your room.
Use Velcro panels so you can remove sections for cleaning or for when the weather warms up. Measure the gap around the sill and cut the pillow to sit snugly without forcing the fit.
This project is a practical win because it helps keep rooms warmer and reduces outside noise. Personalize it with embroidered initials or simple stitched patterns that look neat up close. Cost stays low since you can repurpose old blankets or thrifted fabric for the cover.
11. Mason Jar Light Catcher With Faux Stained Glass Film
Mason Jar Light Catcher With Faux Stained Glass Film
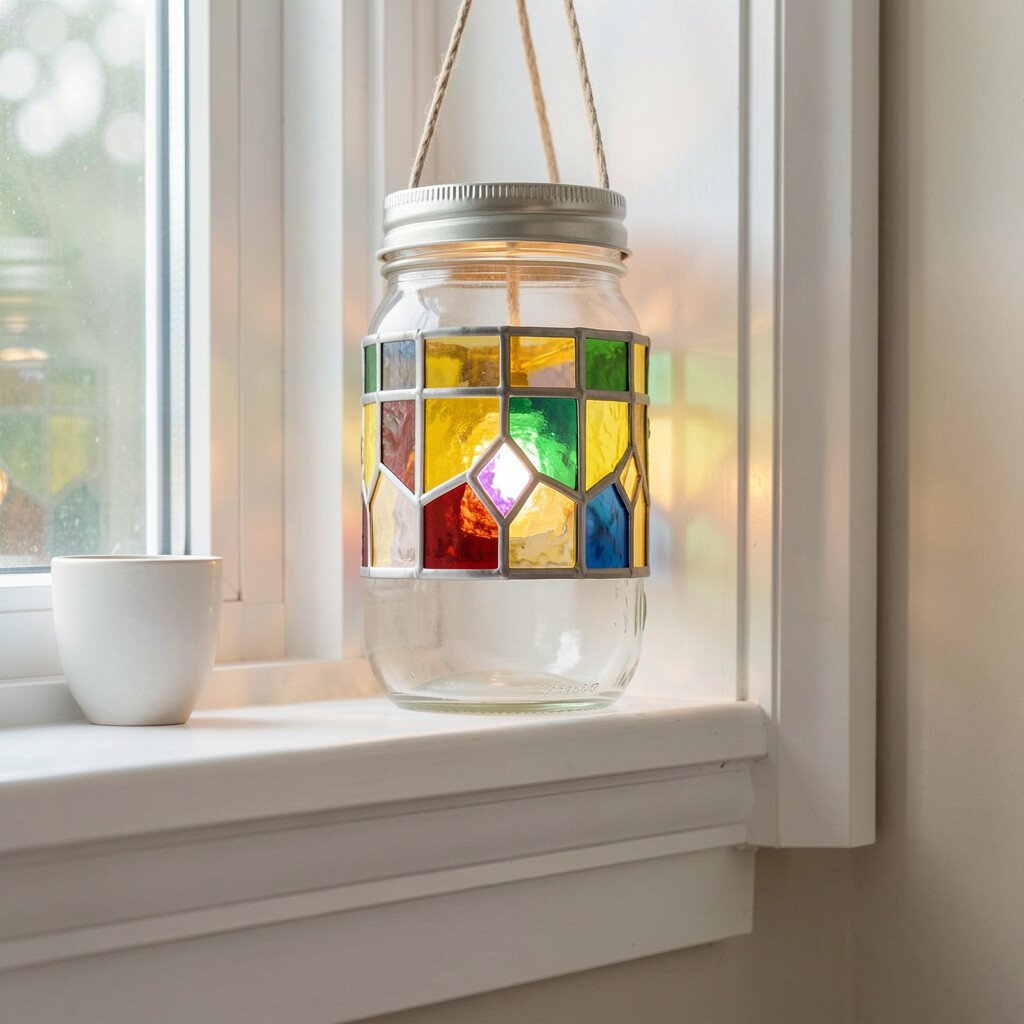
Make sunlight sparkle with a set of jar “light catchers” using clear jars and stained glass film. Place the jars on the sill, then cut and apply film pieces so each jar holds colorful light.
Choose film in jewel tones or soft pastels, depending on your room vibe. The visual effect is gorgeous because you’ll see shifting color spots on the wall when the sun hits.
For practical safety, keep jars dry and stable on a non-slip coaster. This project is unique because it creates a mini light show without expensive lighting fixtures. If you want it to last, seal the edges of the film with a thin clear adhesive made for crafts.
12. DIY Drawer-Style Storage Under the Sill
DIY Drawer-Style Storage Under the Sill
Sometimes window nooks are pretty but not practical for storage. Build small pull-out drawers under the sill or beneath a built-in bench if your space allows it.
Use thin plywood boxes with smooth slides, or choose simple wooden tracks for a softer feel. Paint the fronts and add pulls so opening drawers feels easy and satisfying.
Personalize by using fabric-lined interiors so items don’t rattle, and add dividers for craft paper, chargers, or snacks. This adds clear benefits by keeping your nook organized while still looking tidy. Keep costs reasonable by using scrap wood and repurposed drawer parts from old furniture.
13. Woven Macramé Plant Hanger for Window Corner Height
Woven Macramé Plant Hanger for Window Corner Height
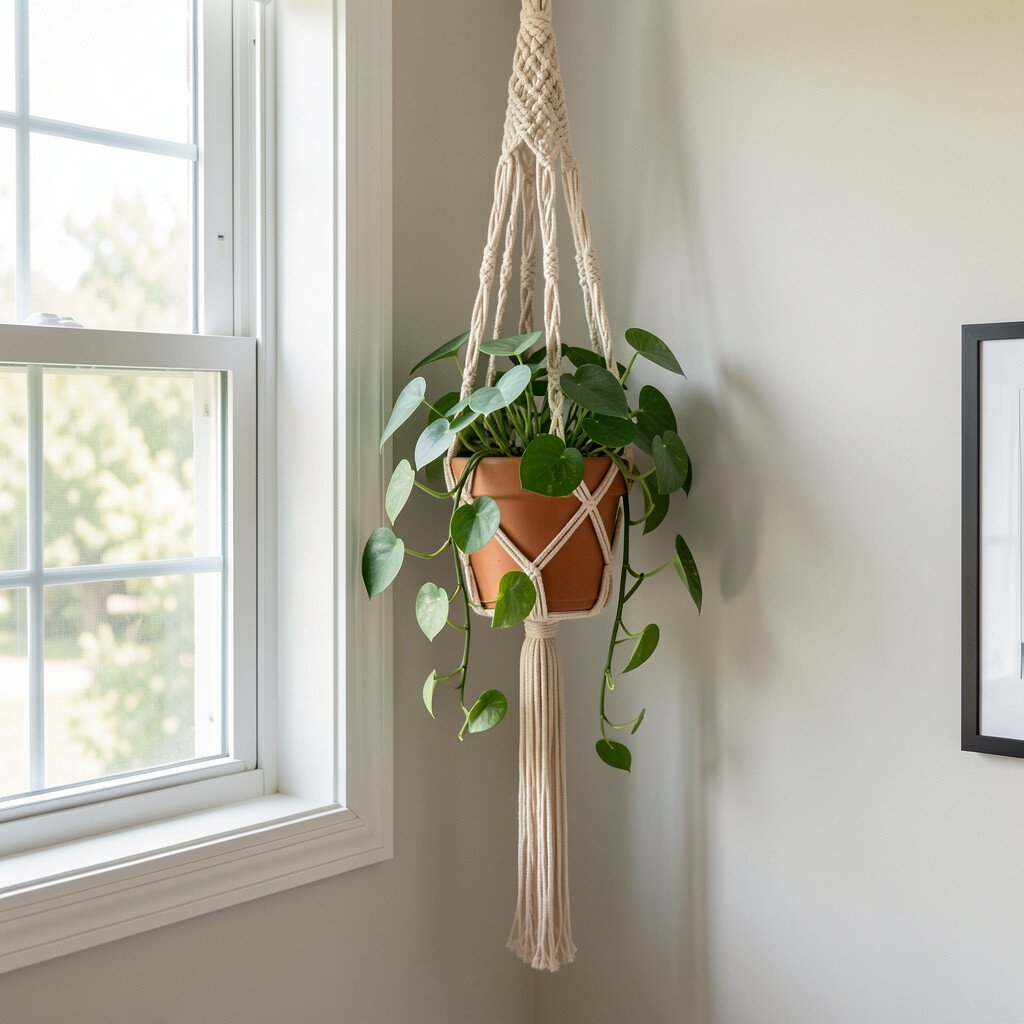
A window corner can look taller and more graceful with a macramé plant hanger. Choose a strong cord, then measure the hanging height so pots don’t scrape the sill or block the view.
Hang it near the light but keep airflow in mind so plants stay healthy. Use a simple knot pattern you can repeat, and secure the top to a ceiling hook or sturdy wall bracket.
This project is unique because it adds vertical texture, which makes a small nook feel bigger. Personalize with a charm or a small tassel and adjust the rope length for a custom look. For budget-friendly options, use thicker cotton cord from craft stores and thrift a few plant stands.
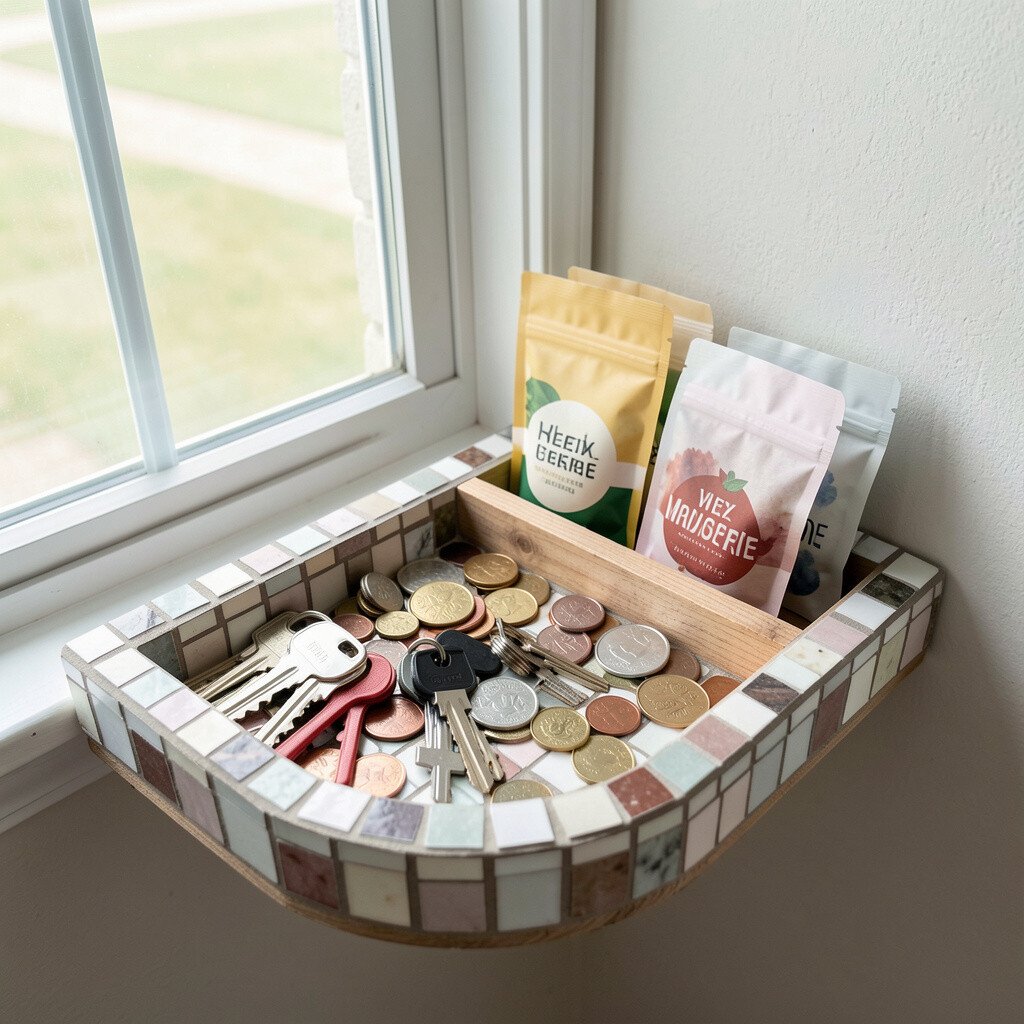
14. Window Nook Mosaic Tray for Keys, Coins, and Tea Bags
Window Nook Mosaic Tray for Keys, Coins, and Tea Bags
Create a small mosaic tray that turns everyday items into decor. Use a shallow base from an old serving tray or foam board, then glue small tile pieces or beads in a pattern you like.
Seal the surface so it wipes clean, and add a non-slip liner underneath for stability. Your keys and coins will feel like they belong in a special home instead of in a random bowl.
Personalize with a theme such as waves, geometric lines, or a tiny heart in the center. This project has real benefits because it protects surfaces from scratches and keeps small items in one spot. Keep costs low by using leftover tiles and letting imperfections add character rather than perfection.
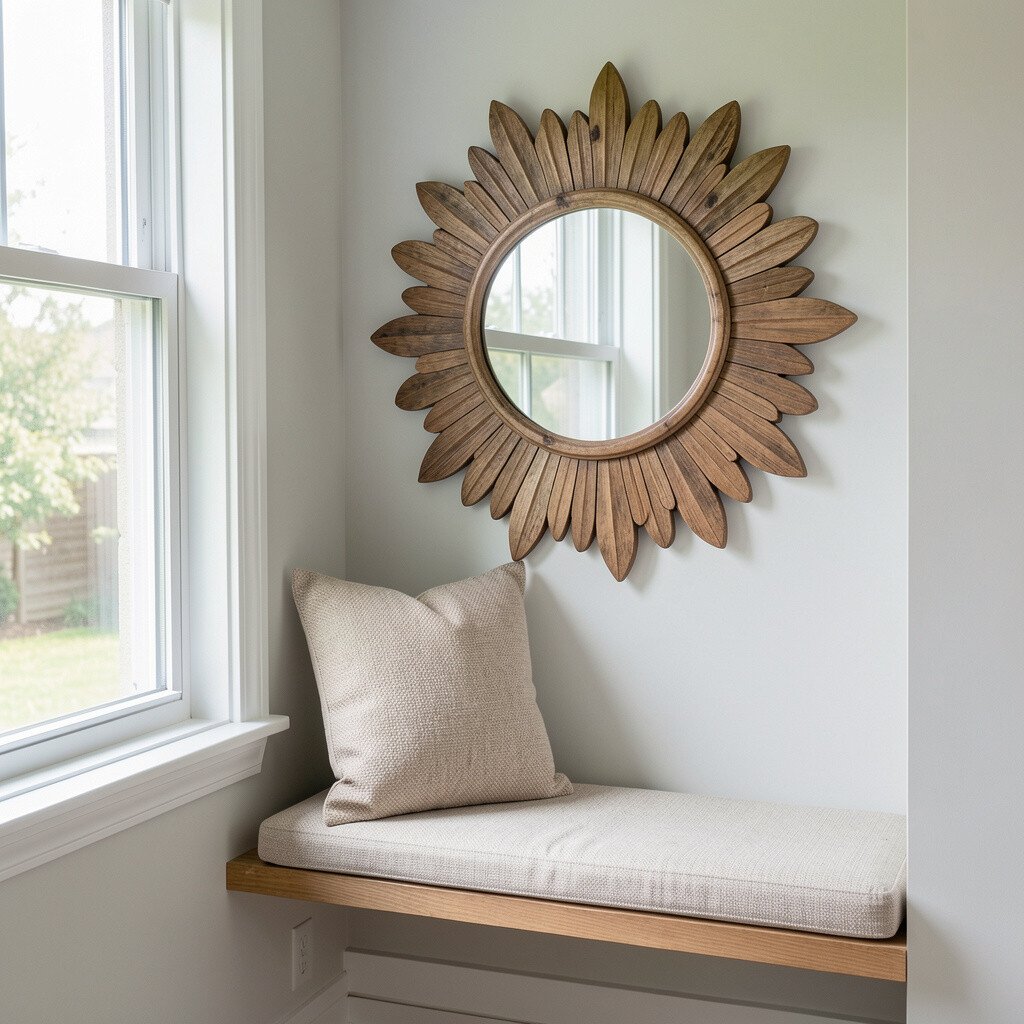
15. DIY Sunburst Wall Mirror Sized to Fit the Nook
DIY Sunburst Wall Mirror Sized to Fit the Nook
A mirror can make a window nook look brighter and more open. Build a sunburst frame from thin wood strips or use cardboard and paint for a lighter option.
Choose a size that doesn’t crowd the sill, then position it so it reflects the brightest part of the room. This visual trick helps you enjoy more light during the day and adds a stylish focal point.
For personalization, stain the rays in warm oak tones or paint them in bold colors for a playful look. This is unique because it pairs sunlight with art-like shape, not just a plain mirror. Budget is flexible since you can repurpose an inexpensive mirror and spend more on the frame details.
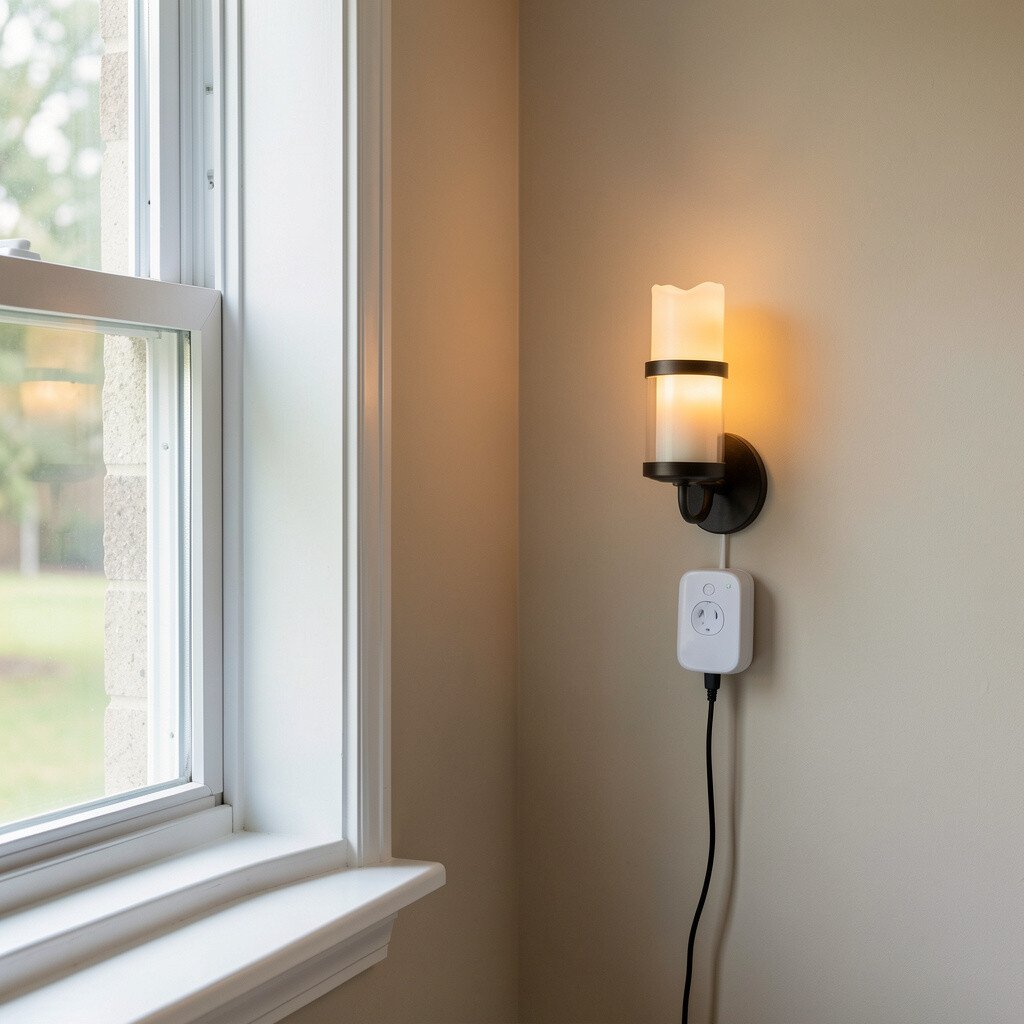
16. Switchless LED Candle-Like Sconce Using a Plug Timer
Switchless LED Candle-Like Sconce Using a Plug Timer
If your nook needs cozy evening vibes, add a plug-in LED sconce. Use battery-free LED candles or a small plug-in wall light that mimics candle glow, then aim it slightly toward your seat.
Choose warm white bulbs for a soft look, and use a plug timer so the light turns on automatically. This offers benefits like safer lighting and less clutter from extra switches.
For personalization, wrap the cord neatly with fabric clips and choose a shade that matches your curtains. This project feels unique because it brings calm ambiance to a window corner without complicated wiring. Costs can stay low by using small plug-in fixtures found on sale.
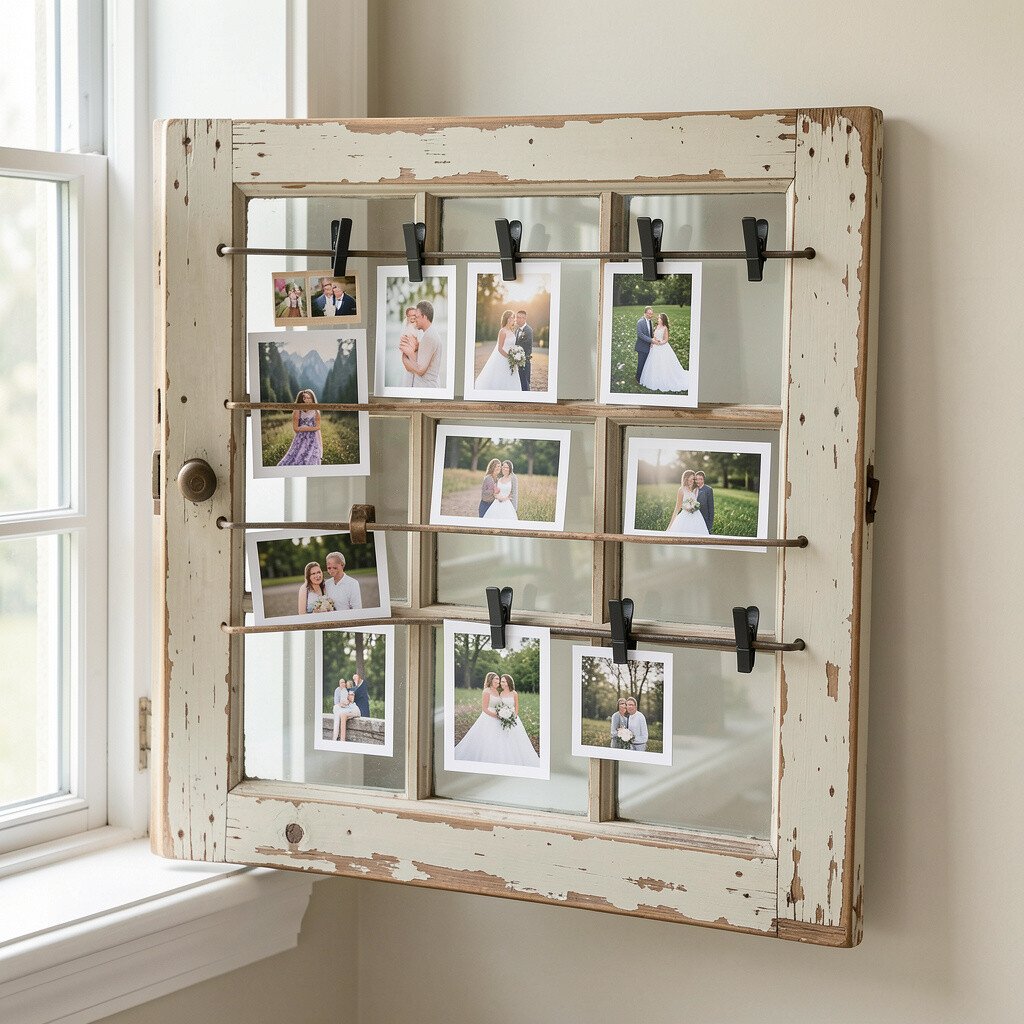
17. Upcycled Window Frame Photo Display With Clip Rails
Upcycled Window Frame Photo Display With Clip Rails
An old window frame can become a charming photo display for your nook. Sand and clean the frame, then add clip rails or small clothespins along the sides so photos can rotate.
Use it at a comfortable height, and fill it with personal memories, art prints, or seasonal cards. This personalization makes the nook feel truly yours and not like a generic decoration.
For practical tips, use protective clear film over photos if you plan to keep it near sunny light. Consider adding a small ledge behind the frame for tiny mementos like tickets or pressed leaves. This project is unique because it turns architectural leftovers into a functional gallery.
18. Heat-Friendly Lap Desk With Fold-Down Legs for Winter Reading
Heat-Friendly Lap Desk With Fold-Down Legs for Winter Reading
When it’s chilly, comfort matters more, and a lap desk can help. Build a simple top from plywood or a cutting board, then attach fold-down legs so it rests safely on your lap or bench.
Sand the edges and seal the surface so it wipes clean after tea or snacks. For practical use, add a small lip at the edge so your book doesn’t slide.
Personalize with a painted corner design, or stain it for a warm, natural feel. This project brings benefits because it supports your posture and makes long reading sessions easier. Keep cost low by using a board you already own and buying only legs and hinges.
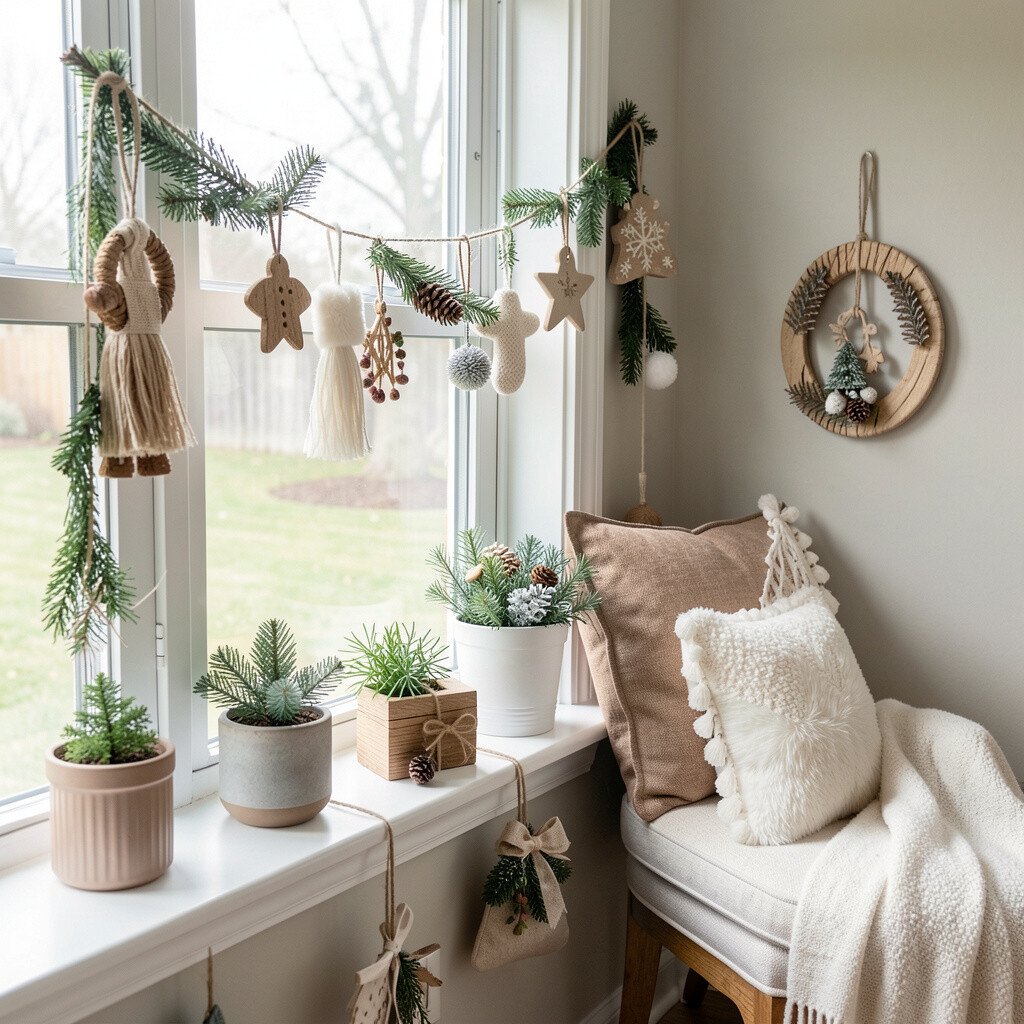
19. Seasonal Window Nook Garland With Interchangeable Attachments
Seasonal Window Nook Garland With Interchangeable Attachments
A garland that changes with the seasons keeps your nook feeling fresh without starting over each time. Use a length of twine, ribbon, or lightweight garland wire, then add interchangeable clips for ornaments, faux leaves, or mini lights.
Choose attachments that attach quickly, like clothespins or magnet-backed pieces, so you can swap items in minutes. This is practical because you can store everything in one bin and pull it out when the mood changes.
For personalization, match each season to your color palette, like warm cinnamon tones in fall and bright greens in spring. Costs can stay reasonable since garland bases are often reusable year after year. Keep the look current by using natural textures, simple shapes, and a limited color range so it feels modern, not messy.
When styling, leave a little negative space so the window still feels airy. A small seasonal garland makes the whole nook feel intentional, like it’s been cared for even on ordinary days.